No More Room in Hell
全部
官方资讯
攻略创作
组队交友
问题反馈
下载客户端
No More Room in Hell
欢迎来到No More Room in Hell社区!
0帖子
·
0新帖
发布动态
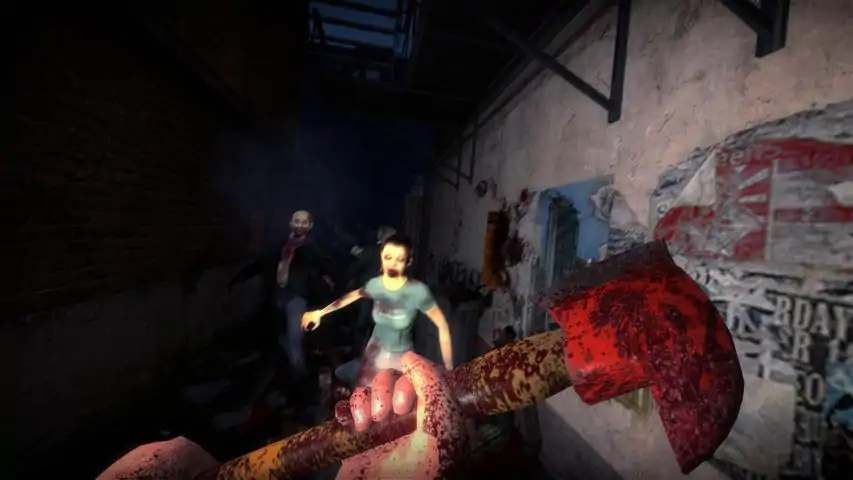
游戏详情
0帖子
·
0新帖
游戏详情
全部
官方资讯
攻略创作
组队交友
问题反馈