星砂岛
全部
官方资讯
攻略创作
组队交友
问题反馈
下载客户端
星砂岛
欢迎来到星砂岛社区!
6帖子
·
0新帖
发布动态
游戏详情
6帖子
·
0新帖
游戏详情
全部
官方资讯
攻略创作
组队交友
问题反馈
0
0
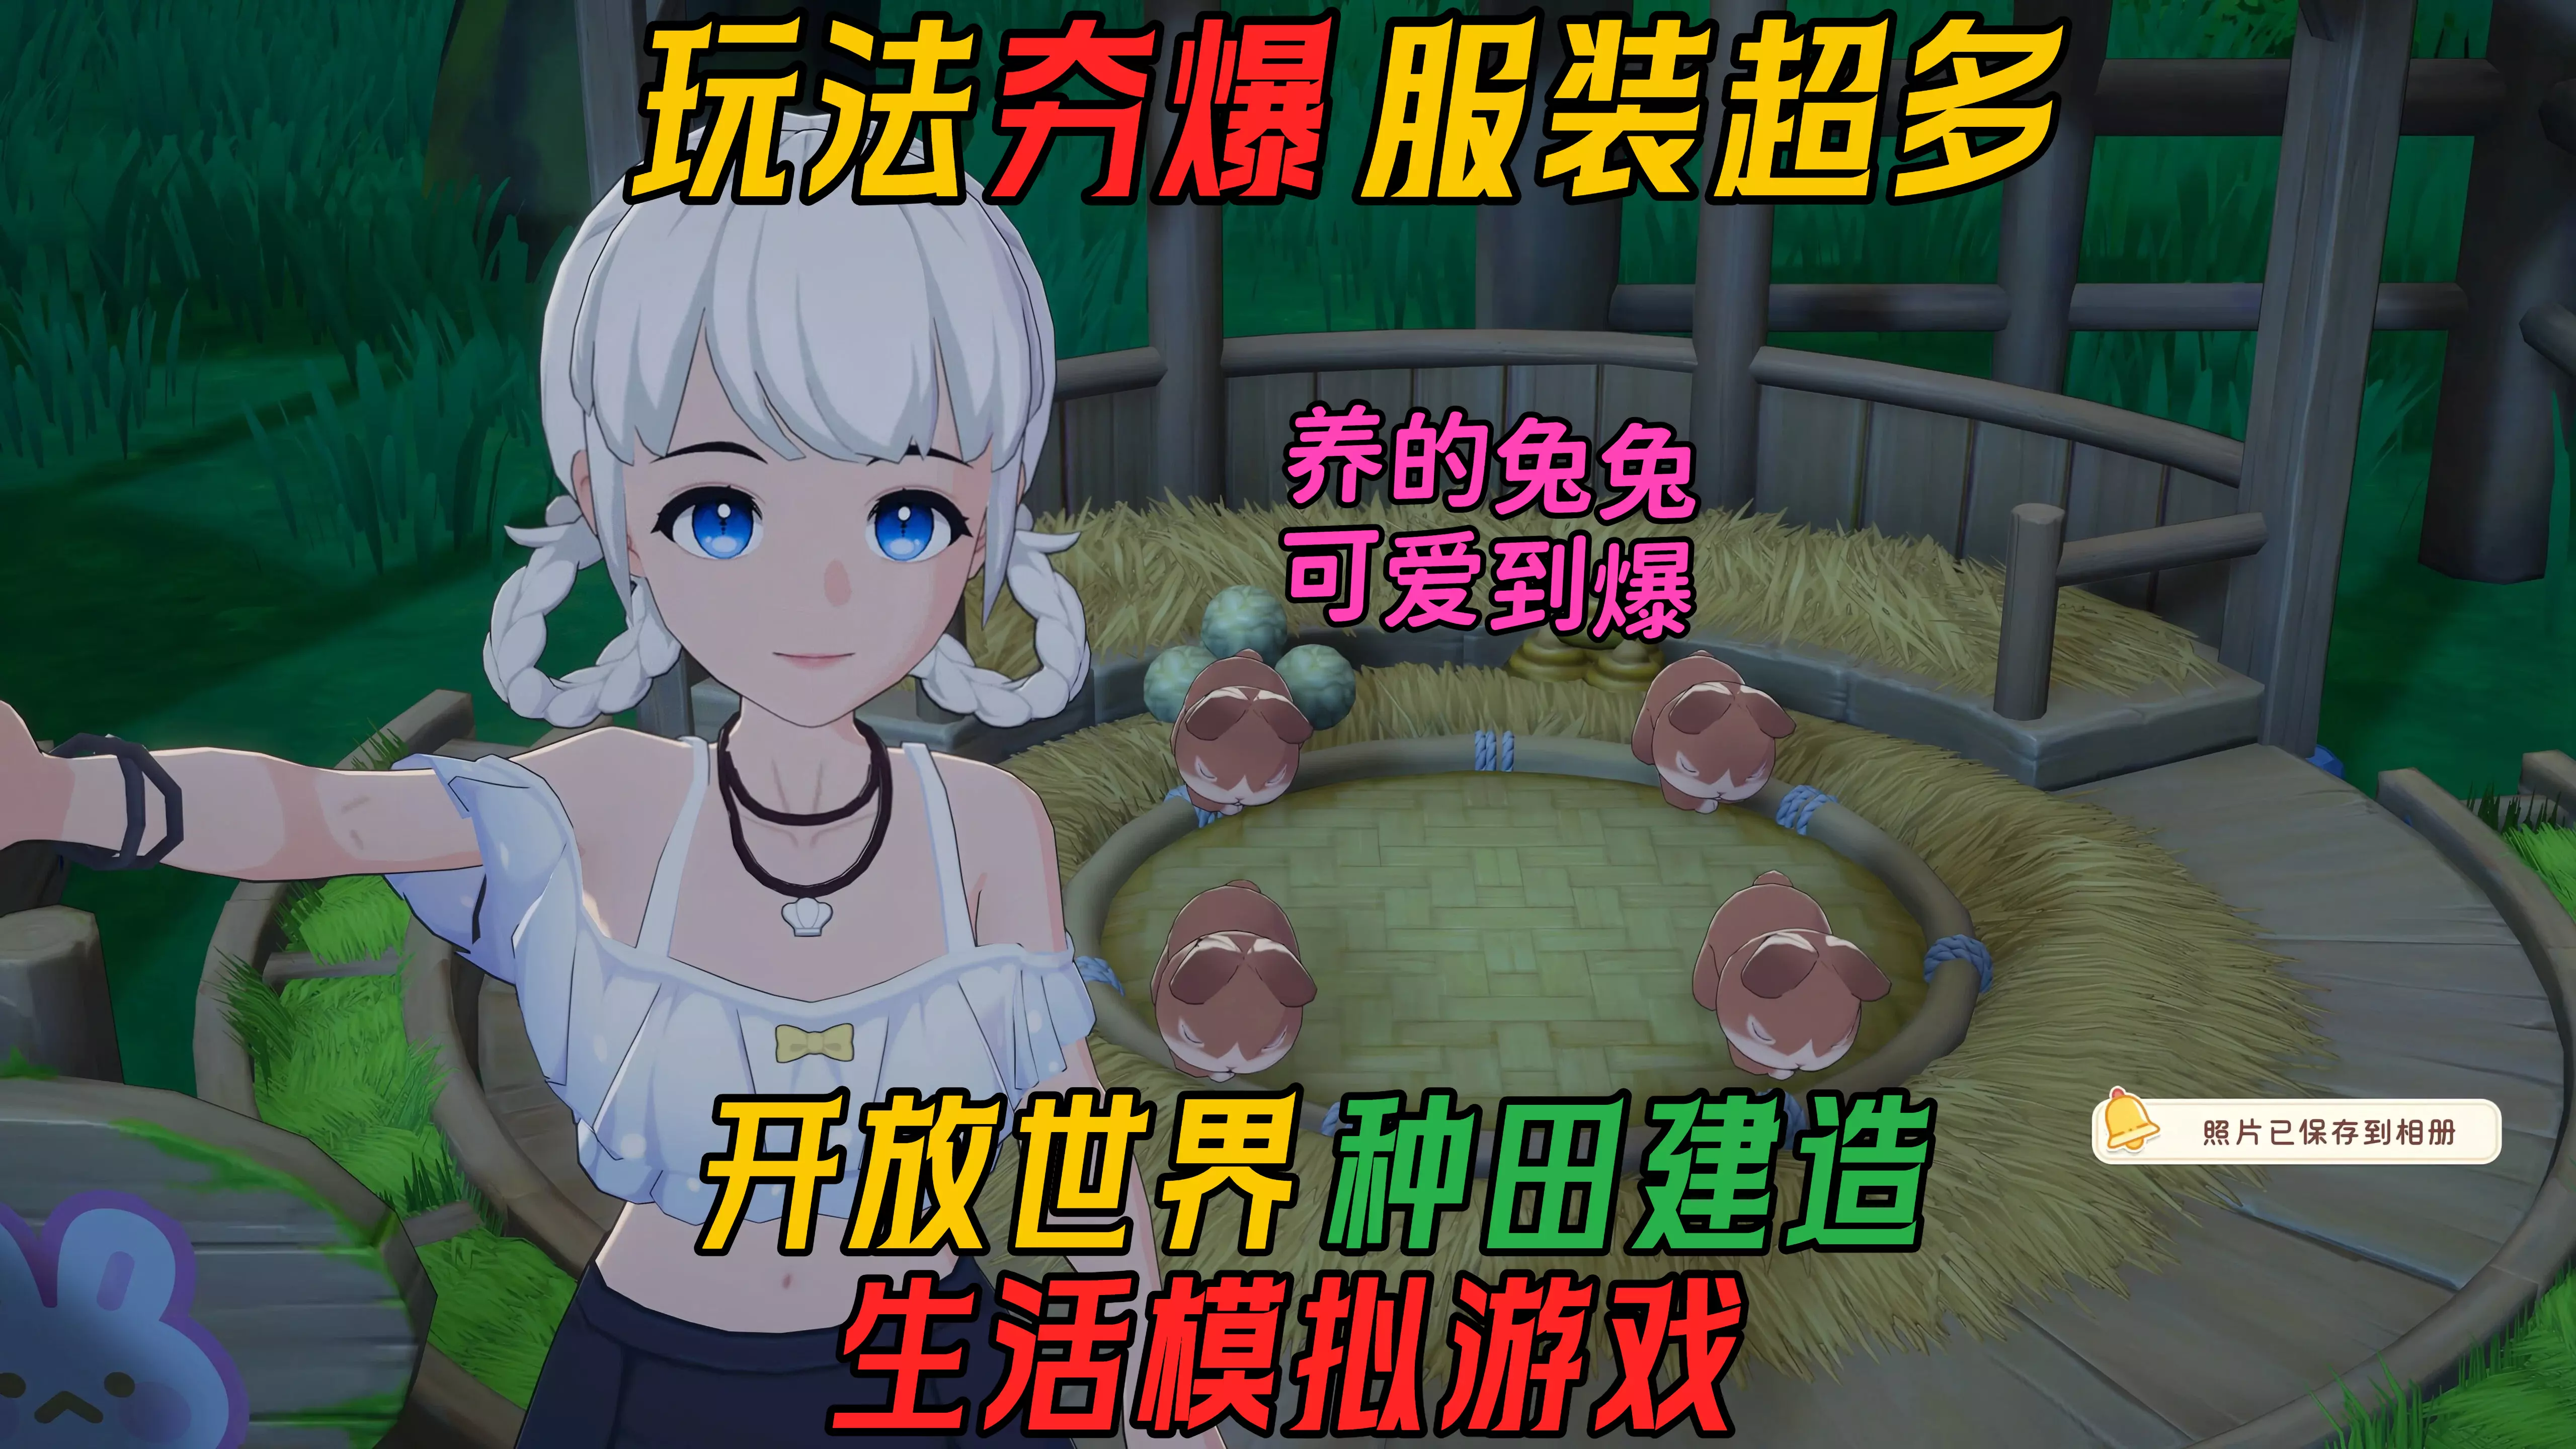
【星砂岛】02期03节:玩法夯爆!服装超多!开放世界生活模拟器!
星砂岛
麻辣老盘海
4
0
【星砂岛】01期03节:夯爆的开放世界生活模拟种田游戏!盖房造车!恋爱养成!
星砂岛
麻辣老盘海
0
0
【星砂岛】02期02节:玩法夯爆!服装超多!开放世界生活模拟器!
星砂岛
麻辣老盘海
0
0
【星砂岛】01期02节:夯爆的开放世界生活模拟种田游戏!盖房造车!恋爱养成!
星砂岛
麻辣老盘海
1
0
【星砂岛】02期01节:玩法夯爆!服装超多!开放世界生活模拟器!
星砂岛
麻辣老盘海
6
0
【星砂岛】01期01节:夯爆的开放世界生活模拟种田游戏!盖房造车!恋爱养成!
星砂岛
麻辣老盘海