换一换
换一换 


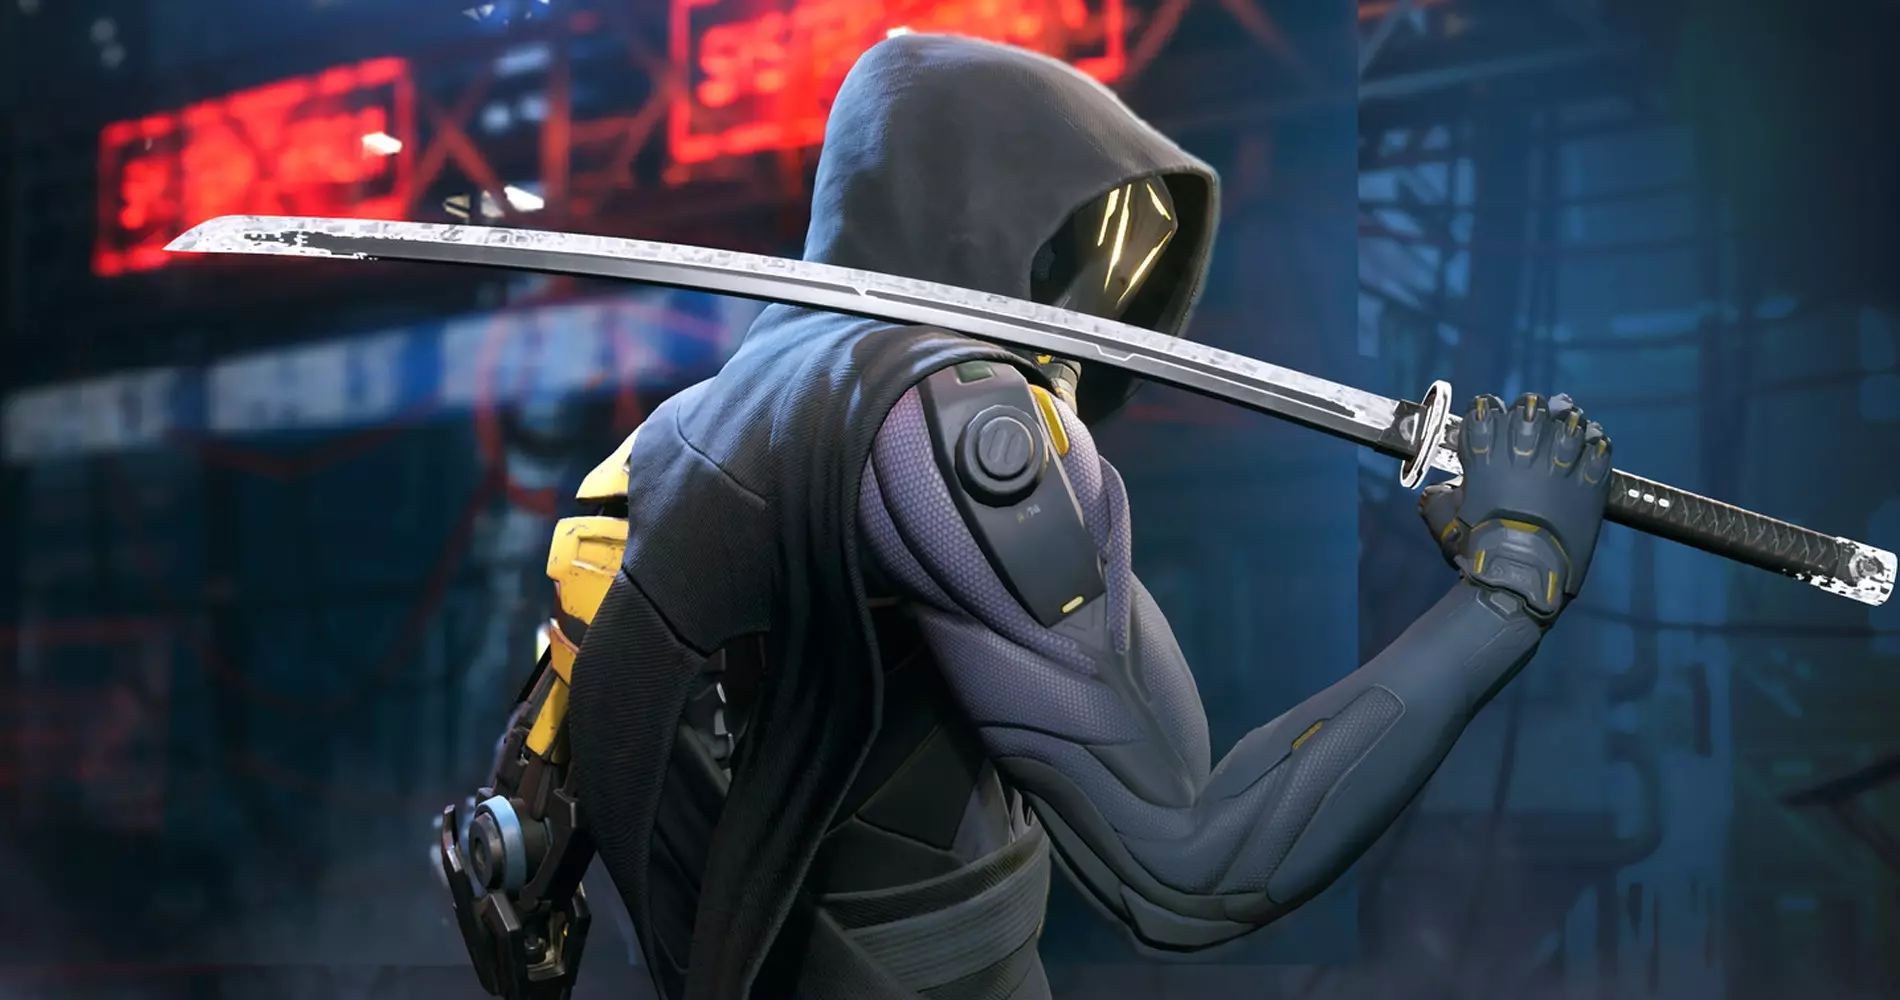
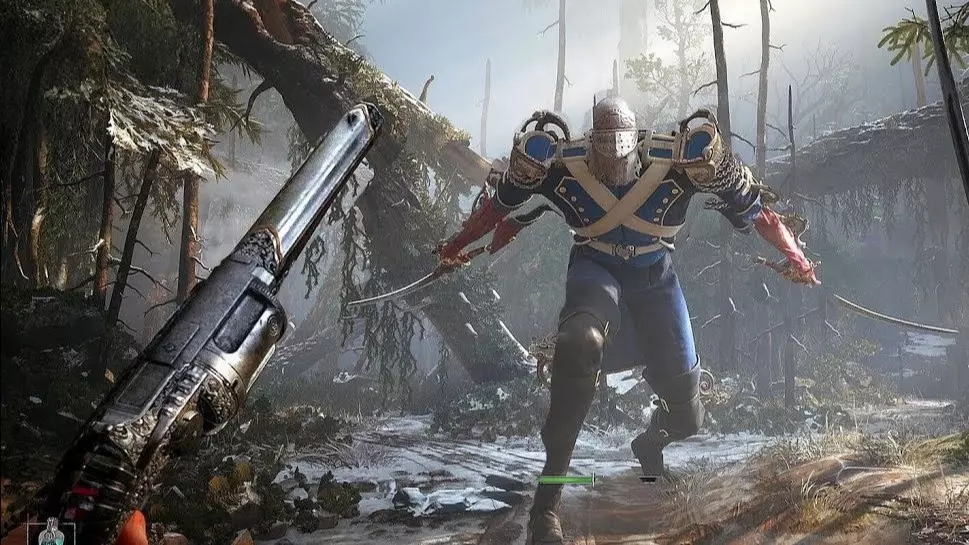
This guide will go over all of the upgrades, their uses, and which one I would say are the best to take in a run. I will also go over each stage, and tips for beating the mode. Stage Tips and Tricks General tips Get useful upgrades in earlier stages, then try to balance your number of lives left and getting more upgrades in the later stages. Later stage levels have a better chance to give higher tier upgrades and will give more lives, though many lower tier upgrades are very useful. Challenge stages also increase these aspects, while adding extra obstacles (such as lasers) to parkour courses and placing more difficult enemies in arena levels. Enemies cannot see you in arena levels until you either move, attack, or use an ability. Parkour levels are generally easier to complete than arena levels, but this may vary from stage to stage or player to player. Choosing a route with shop or chance will allow an easier time, as there will be less levels to beat. Of course, if your goal is simply to have a fun run and get a strong build, then choose whichever levels you like. Stage 1 Stage 1 is pretty easy, with short levels. Prioritize getting upgrades, as losing won't have you losing much progress and the number of lives earned per level is small. Both parkour and arena levels are pretty easy. Arena levels in particular may have as few as 1 enemy to take down. However, there are no abilities at this stage to use, so keep that in mind. Stage 2 Stage 2 is still relatively easy, with longer levels and a noticeable increase in enemies per section. Doing levels for lives is more useful in this section. You will get access to either the shuriken or shadow ability, as well as access to their upgrades. Stage 3 Stage 3 introduces Scion enemies and mixes them with creeps, creating more difficult arenas. The parkour sections introduce more lasers and tighter jumps, but certain upgrades can make parkour sections more trivial. You will get access to the other ability between shuriken and shadow that you did not already have. Unfortunately, tempest is unavailable in Ghostrunner.exe. Stage 4 Stage 4 is the most difficult normal stage, with many enemies in arenas and long parkour levels. Some arena levels in this section will set you in the middle of all the enemies. Using shadow at the beginning of a section will regenerate some of the battery used back, so it is useful to lead with shadow to get out of the middle. Stage 5 Stage 5 introduces the wingsuit, making both arenas and parkour levels significantly larger. Enemies can notice you from farther away than usual, so lasers and projectiles are much more dangerous than close range attacks. Enemies in arenas are broken up between far away platforms, so ultimates likely won't be too impactful. Prioritize lives, as the long and difficult levels will likely force you to use a few. The final level is not too much larger than the other arena stages, but don't let your guard down. As long as you reach stage 5 once, you can choose to start immediately from stage 5 with 1 common, 2 rare, 2 epic, and 1 legendary upgrade alongside 10 lives. Feel free to restart until you get a lineup you like, but keep in mind many synergies may be hard to build up and flow abilities are not likely to be useful unless you forgo everything else. This makes starting from stage 5 actually quite tough. To make stage 5 easier, choose Ghost Landing as your legendary ability, as you will be invincible when gliding from place to place in arena levels and the final node. Upgrades All upgrades can appear as long as the proper tools are obtained. You must have the relevant ability to get upgrades for it. For example, you must have Shadow to get the option to take decreased battery usage. Additionally, you need the first level of an upgrade to take the second level. Lastly, I believe all ultimates are their level 1 versions. Upgrades similar to basegame upgrades Common Adrenaline Injector 1: Killing an enemy restores 10% stamina. Air Focus 1: Killing an airborne enemy grants 3 seconds of slowdown. Fear-Simulator 1: Regain 20% battery when perfect parrying a melee attack. Flow Booster: Gain 5% more speed per combo count for the duration of the combo. Flow Energy Regen 1: Energy is restored after a 10x combo. Flow Extension 1: Combos last 50% longer. Flow Shield 1: Gain a shield to block 1 hit after a 10x combo for the duration of the combo. Triggering the shield drains all energy. Flow Stamina Regen. 1: Stamina is restored after a 7x combo. Hydraulics Adjustment 1: Dashing costs 20% less stamina. Long Distance Thrusters 1: Dashing on the ground goes 50% further. Ghost Jammer: Gap-jamming during combat makes you immune to projectiles and melee attacks, but not environmental hazards. Short Circuit: Creates an electric shockwave around Jack when perfect parrying a melee attack. Tactical Retreat: Dashing backwards launches you into the air. Rare Advances Hologram Projector 1: Shadow skill costs 15% less energy. Air Focus 2: Killing an airborne enemy grants 6 seconds of slowdown. Blade Coating: You can block Scorchman's and Chook's laser attacks. This knocks you back a lot. Blink: Gain this ultimate for only the next arena round. Fanning mechanism: Reduces shuriken cost when throwing more than one. Fear-Simulator 2: Regain 50% battery when perfect parrying a melee attack. Flow Extension 2: Combos last twice as long. Flow Shield 2: Gain a shield to block 1 hit after a 8x combo for the duration of the combo. Triggering the shield drains all energy. Flow Stamina Regen. 2: Stamina is restored after a 5x combo. Flow Surge 1: Launch a surge projectile after a 6x combo. Flux: Gain this ultimate for only the next arena round. Hologram Battery 1: Shadow lasts 20% longer. Hydraulics Adjustment 2: Dashing costs 40% less stamina. Long Distance Thrusters 2: Dashing on the ground goes twice as far. Motoric Overheat: Gain this ultimate for only the next arena round. Oiled-Machinery 1: Reduce the cost of Shurikens by 15%. Overlord: Gain this ultimate for only the next arena round. Power Thrusters 1: Dashing into enemies shoves them. Allows Jack to gap-jam to them. Quick Step: Shadow costs 30% less, but only lasts for half the normal time. Sensory Overdrive: Gain this ultimate for only the next arena round. Shadow Booster 1: Move 10% faster while shadow is active. Shuriken Charger 1: Electrifies enemies in a small area around the shuriken. Works even if it hits the ground. Smooth Moves: Deflecting and perfect parrying is easier. Epic Advances Hologram Projector 2: Shadow skill costs 35% less energy. Energy Absorption: Use energy instead of stamina if Jack is out of stamina. Energy Distribution: Throw 3 Shurikens instead of 1. The extra shurikens will be thrown a bit to the left and right, but still track enemies. Flow Shield 3: Gain a shield to block 1 hit after a 6x combo for the duration of the combo. Triggering the shield drains all energy. Flow Stamina Regeneration 3: Stamina is restored after a 3x combo. Flow Surge 2: Launch a surge projectile after a 5x combo. Ghost Thrusters: Dashing during combat makes you immune to projectiles and melee attacks, but not environmental hazards. Glass Vampire 1: Doubles your combo. This does not disable blocking or have any other downside, unlike the base game equivalent. Hydraulics Adjustment 3: Dashing costs 60% less stamina. Long Distance Thrusters 3: Dashing on the ground goes thrice as far. Sharpened Blade: Slashing through blocking enemies with no downside. This does not count energy shields. Oiled-Machinery 2: Reduce the cost of Shurikens by 35%. Power Thrusters 2: Dashing into enemies shoves them with more force. Allows Jack to gap-jam to them. Shadow Booster 2: Move 25% faster while shadow is active. Shuriken Charger 2: Electrifies enemies in a large area around the shuriken. Works even if it hits the ground. Tracking System: Makes Shurikens easier to hit. Teleporter: Teleports Jack back to the hologram's position if hit during the timer. Disables invisibility. Extremely disorienting. Legendary Flow Surge 3: Launch a surge projectile after a 3x combo. Glass Vampire 2: Triples your combo. This does not disable blocking or have any other downside, unlike the base game equivalent. Shuriken Charger 3: Shurikens explode, breaking any shields or barriers the enemy has. This can kill Jack. Upgrades not in the base upgrade list Common Auto-deflect 1: Deflect bullets automatically when blocking at 150% the stamina cost of normally blocking. Energy Converter 1: Deflecting a bullet regenerates 10% energy. Four-Leaf Clover 1: 5% chance to survive a hit. Hologram Battery 1: Shadow lasts 20% longer. Iron Lungs 1: Total Stamina is increased by 25%. Method Block 1: Blocking costs 10% less stamina. Nerve Connector 1: Gain 20% speed for 5 seconds after perfect parrying a melee attack. Static Shock 1: Creates an electric shockwave around Jack when shadow ends. Surprise Gift: Reflected bullets explode, breaking any shields or barriers the enemy has. This can kill Jack. Rare Auto-deflect 2: Deflect bullets automatically when blocking at the normal blocking stamina cost. Energy Storage 1: Store 50% more battery. Four-Leaf Clover 2: 10% chance to survive a hit. Hard Landing: Creates a circles of wind that knocks enemies over when landing. Hologram Battery 2: Shadow lasts 50% longer. Iron Lungs 2: Total Stamina is increased by 50%. Method Block 2: Blocking costs 25% less stamina. Nerve Connector 2: Gain 50% speed for 5 seconds after perfect parrying a melee attack. Pressure Boots 1: Jump 100% higher. Static Shock 2: Creates a large electric shockwave around Jack when shadow ends. Epic Energy Storage 2: Store 100% more battery. Gravity Destabilizer 1: Grants a mid-air jump. Four-Leaf Clover 3: 15% chance to survive a hit. Intelligent Shuriken 1: Thrown Shurikens orbit Jack for 5 seconds when thrown, hitting nearby enemies. Disables throwing them at far enemies unless more than one is thrown. Iron Lungs 3: Total Stamina is increased by 100%. Pressure Boots 2: Jump 200% higher. Legendary Gap-Jammer Override: Jack can gap-jam towards enemies after a dash. Ghost Landing: Being midair for more than 1 second grants invulnerability until Jack touches the ground. Wallrunning, gliding, and gap-jamming do not count as touching the ground. Gravity Destabilizer 2: Grants two mid-air jumps. Intelligent Shuriken 2: Thrown Shurikens orbit Jack for 5 seconds when thrown, hitting nearby enemies. Disables throwing them at far enemies unless more than one is thrown. Unsure if there is a difference between ranks 1 and 2. H.O.T. : Time moves slowly when Jack stands still. This applies in parkour levels and while standing on moving platforms, but not while falling in the air or grinding on a rail. Poisoned Shuriken: Hitting an enemy causes them to fight on your side for 5 seconds, then die. This works even on enemies not normally affected by shurikens. Pressure Boots 3: Jump 300% higher. Shadow Assassin: Killing an enemy while invisible halves the remaining duration instead of removing it. The Good, the Bad, and the Ugly Upgrades The Good Upgrades Flow Extension 1 and 2 make all other flow abilities such as Surge, Shield, or Booster much more viable to use. Glass Vampire with Flow Extension and other flow upgrades is fantastic. Anything that makes dashing better or cheaper is very nice for closing the distance. Most shuriken upgrades are excellent. Making shadow cheaper or longer is great if you prefer shadow. Ghost Thruster and Ghost Jammer increase consistency, as does Smooth Moves. Feel free to skip if you feel confident in your abilities. Higher Jumps makes parkour levels easier. Double jump makes many of them trivial, but keep in mind that double jumping out of the wingsuit does not work well. Many legendary upgrades are ridiculous, but not all of them. The Bad Upgrades Stamina restores pretty quickly. I don't personally use Sensory Boost enough to need to restore stamina. Creating electric shockwaves is rarely useful. Shuriken Charger 1 allows shurikens to shock enemies normally immune to Shurikens, making it an exception to the rule. Perfect parrying melee attacks is not something I often have the time to do in later stages, so the relevant abilities are niche to useless. Power Thrusters 2 and Shuriken Charger 2 are never worth it, and be cautious with other upgrades skills, as there are diminishing returns on some of them. Shuriken Charger 3 exploding is really funny, but Poisoned Shurikens is nearly always better. I'm not sure how much Tracking System or Intelligent Shurikens 2 do, honestly. Quick Step might be good for some, but the base duration of shadow is short enough for me. The Ugly Upgrades (Ones with certain caveats to them) Ultimates only last for 1 arena round, and are not worth taking unless you want the boost for a final stage. Then they can be nice. Powers Thrusters can deal with shielded enemies well, but launching enemies off-stage prevents you from dashing up and slashing them, which takes barely more time, but has more control and restores battery. Teleporter removes invisibility, and is extremely disorienting when it activates. Place your doppelganger carefully. Sharpened Blade affects only one enemy as far as I know, but it absolutely destroys that enemy, so I think it's worth it. Intelligent Shurikens effect multiple enemies with any upgrades you have, but this overrides throwing them a far distance. Pair with Energy Distribution to avoid this problem. H.O.T. is an awesome reference, but times still moves, just a bit slower. It makes deflects and perfect parrying a breeze, but it's not useful in many other places, especially when waiting around in parkour stages. In a game with constant movement, this isn't the best legendary upgrade. Final Notes This was my first guide, so I hope you enjoyed it! I hope it helps unlock the arms and swords. I created this guide entirely myself. There may be some upgrades I could not find (notably, Adrenaline Injector 2+), and there may be information I could add or uses for upgrades I did not find. If you have anything to add, please note it in the comments and I add it in if it's useful. I will reference any additions by commentators below.
《幽灵行者》升级指南与技巧

2026-02-19 22:00:17
转载

导读
这是一份《幽灵行者》升级指南与技巧帖,涵盖全阶段通关技巧与全等级升级道具解析。介绍了各阶段难度、通关要点,不同等级升级道具的效果,还划分了优质、鸡肋、有使用限制的升级道具,助力玩家规划升级与通关策略。

评论
共0条评论

《星际射手队长》升级宝典
本指南旨在收集《Captain Starshot》中所有关于升级的信息,包括升级的获取位置、各升级的作用以及升级的定义。 我会尽力保持本指南的更新,若游戏更新后…
2026-03-19 04:000赞 · 0评论
海岛奇兵恐怖博士攻略
海岛奇兵恐怖博士怎么打?海岛奇兵恐怖博士恐怖阶段1-10怎么过?海岛奇兵恐怖博士有几个阶段?海岛奇兵是一款战斗策略游戏,恐怖博士又登场啦!接下来为玩家们准备了海…
2025-09-02 10:560赞 · 0评论

守门人的挑战 幽灵行者守门人攻略
守门人这一关卡算是一个BOSS关卡,难度偏高,激光与火焰等一系列的机关都大大增加了通关的难度,一不小心就会重头开始,那么该如何通过并躲避掉激光与火焰的伤害,下面…
2026-01-11 08:240赞 · 0评论
闯关 土豆兄弟如何回到第一关
又回到最初的起点
2026-04-29 19:400赞 · 0评论

一个简单的钢铁之魂路线
这是一份《空洞骑士》钢铁之魂模式的路线/攻略,旨在让玩家尽快获得强大能力,同时不浪费时间,并将一些困难的区域和战斗推迟到你变得更强之后再挑战。有点像是为不想死亡…
2026-03-05 21:080赞 · 0评论
盟重英雄 《盟重英雄》快速升级
快速升级需多线并行:首要紧跟主线与支线任务获取大量经验;每日必刷经验副本、参与限时活动(如经验盛宴、押镖)并消耗多倍经验卷轴;加入行会领取经验加成,并组队挂机于…
2026-01-02 00:490赞 · 0评论

情报地点
额外角色升级地点 地点 第一部分 护甲组件包 注:仅在完成【暗影经纪人的巢穴】DLC后可用 费伦已说服其联系人将一个护甲组件包运送到诺曼底号。该组件包的万能胶转…
2026-03-25 13:000赞 · 0评论
《幽灵行者》1和2的封面
我为自己制作了几张封面,或许其他人也会喜欢。 《幽灵行者》1和2
2026-02-19 01:000赞 · 0评论
《幽灵行者》开发商新作《不朽遗志》亮相科隆游戏展 今日开放试玩申请
2026-01-31 21:004赞 · 0评论
像素勇士传说攻略 像素勇士传说怎么玩-像素勇士传说详细攻略指南
引言 像素勇士传说是一款快节奏的2D平台动作游戏,包含有趣的故事情节和各种独特的游戏模式。该游戏有许多难点,需要玩家运用各种攻略和技巧来解决。在本文中,我们将分…
2025-11-22 15:480赞 · 0评论

暂无更多
最新更新
- 幽灵行者 2(Ghostrunner 2)-视频介绍
- 幽灵行者 2(Ghostrunner 2)-视频介绍
- 收藏 幽灵行者2(俄英双语) — 今天我们将获得4个【窃听】【拾荒者】【剑之道】和【猎犬】,正如你所猜测的,它们与游戏中的收集品有关。 补充说明:对于【剑之道】,与第一部一样,剑的DLC并非必需…
- 【神器】|【音频日志】|【剑的位置】 — 与前作不同,所有可收集物品都会在小地图上标记。本指南会介绍收集方法,因此不再详细描述具体位置。 本作新增了一种可收集物品——紫色强化芯片。它们没有隐藏,即使没有…
- 《幽灵行者2》- 刀剑、神器、录音、试炼与记忆片段 — 这是什么?
- 《幽灵行者》升级指南与技巧 — This guide will go over all of the upgrades, their uses, and which one I would s…
- 无法识别内容,已删除。 — 无法识别内容,已删除。
- 移除开场Logo/动画 — 本指南将向你展示如何禁用游戏启动时播放的开场动画,以加快游戏启动速度。 步骤1: 导航至movies文件夹。该文件夹通常位于Steam steamapps co…
- 奔跑的Xpeнь 2:100%成就 18+ — 分步指南 注意,有毒物质
- 如何运行幽灵(游戏) — 在本指南中,你将学习第二次速通幽灵。 如何速通幽灵呢? 只需像幽灵行者那样操作即可。