


Barony
 Steam Deck
 家庭共享
家庭共享 创意工坊
创意工坊 支持手柄
支持手柄 在线合作
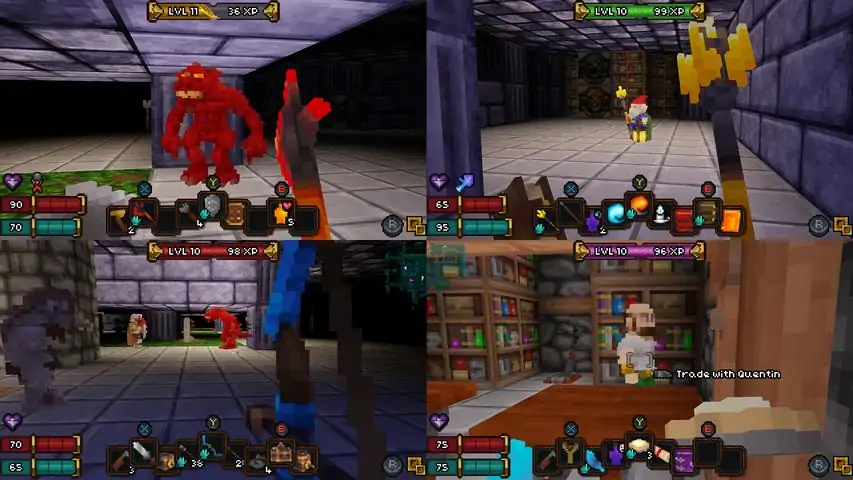
在线合作 同屏/分屏
同屏/分屏

You have entered the Barony of the vile lich Baron Herx!His curse has all but destroyed the town of Hamlet, and daring adventurers are the people's only hope. Prepare to face devious dungeons that demand your resourcefulness, wit, and
下载233乐园APP
专心推荐好游戏
纠纷处理及不良内容举报电话:
4006600910 (工作时间: 9:00-12:30,14:00-18:00)
北京市朝阳区启阳路4号院2号楼15层1803室
本公司产品适合10周岁以上玩家使用 未成年人家长监护