换一换
换一换 


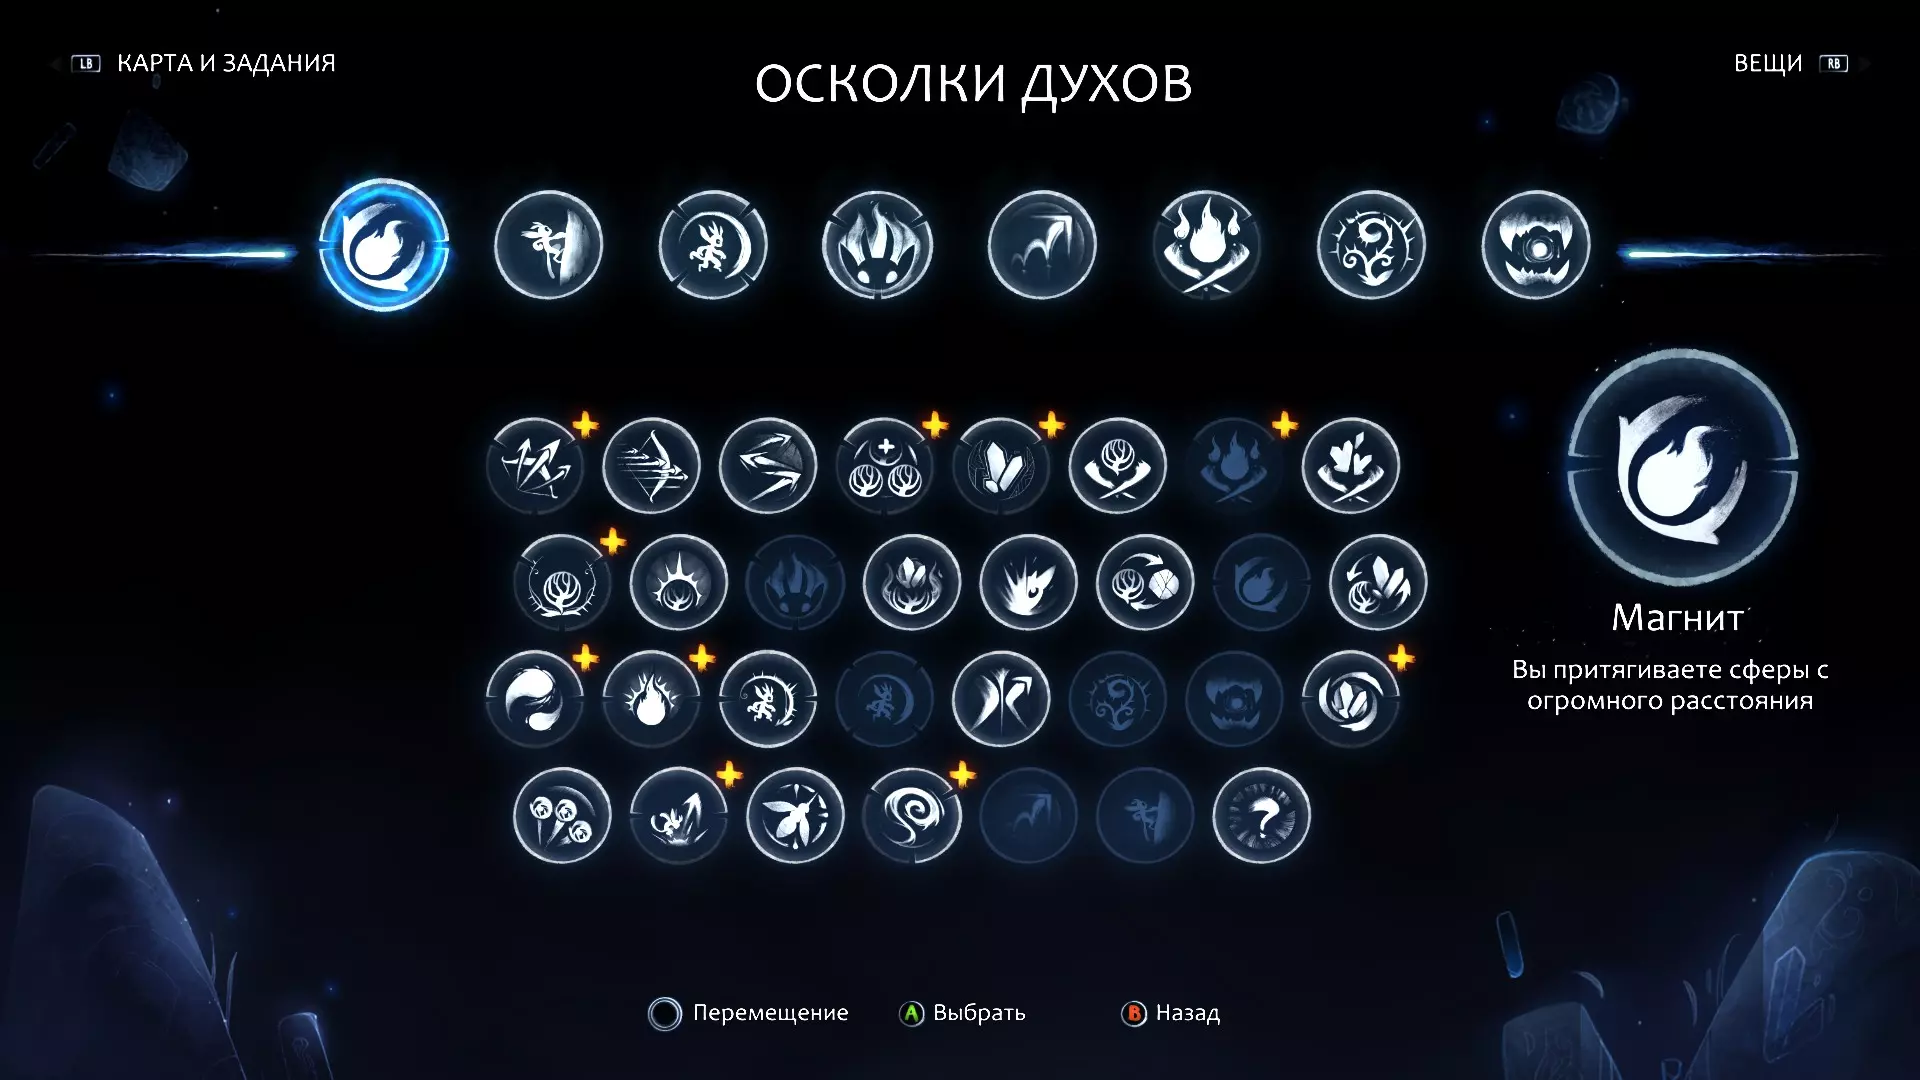
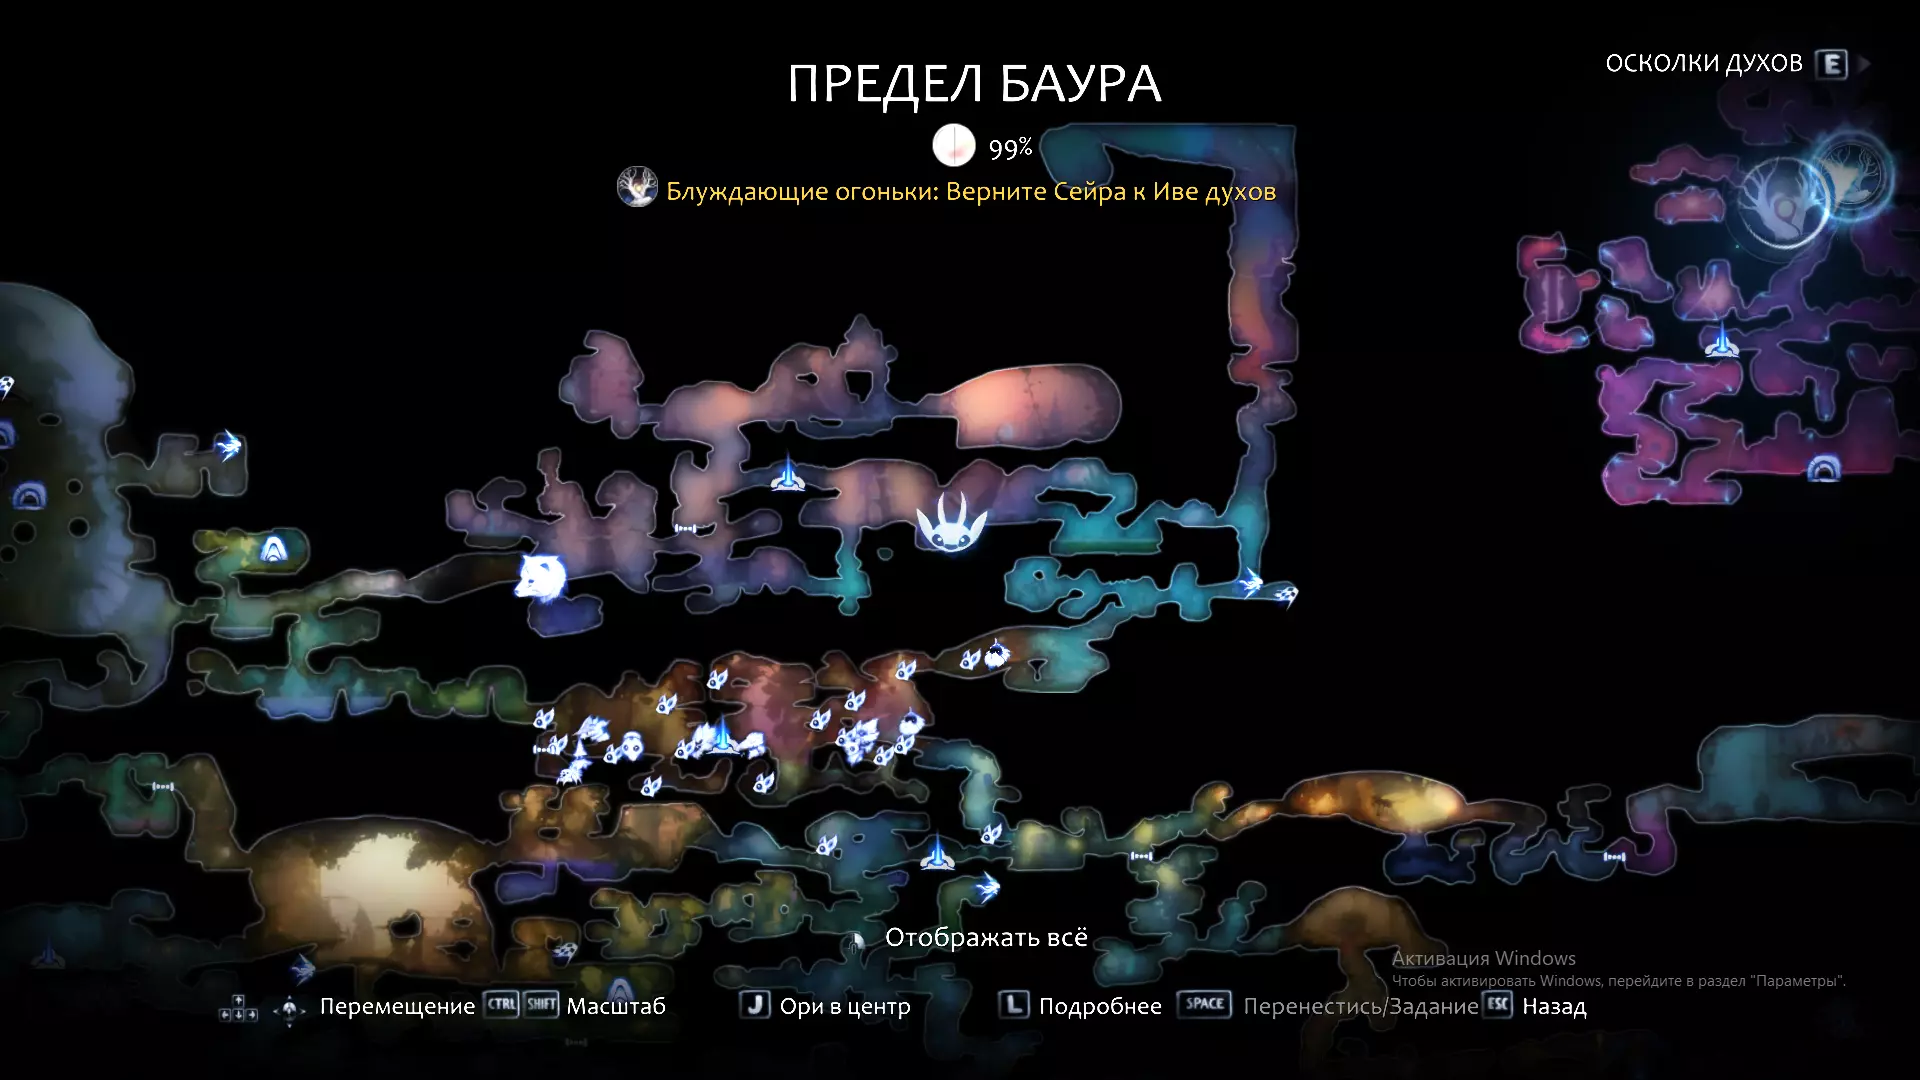
基础与进阶技巧、技能、武器、深入洞穴谜题、璞玉以及徒手任务。如何达成游戏100%完成度!
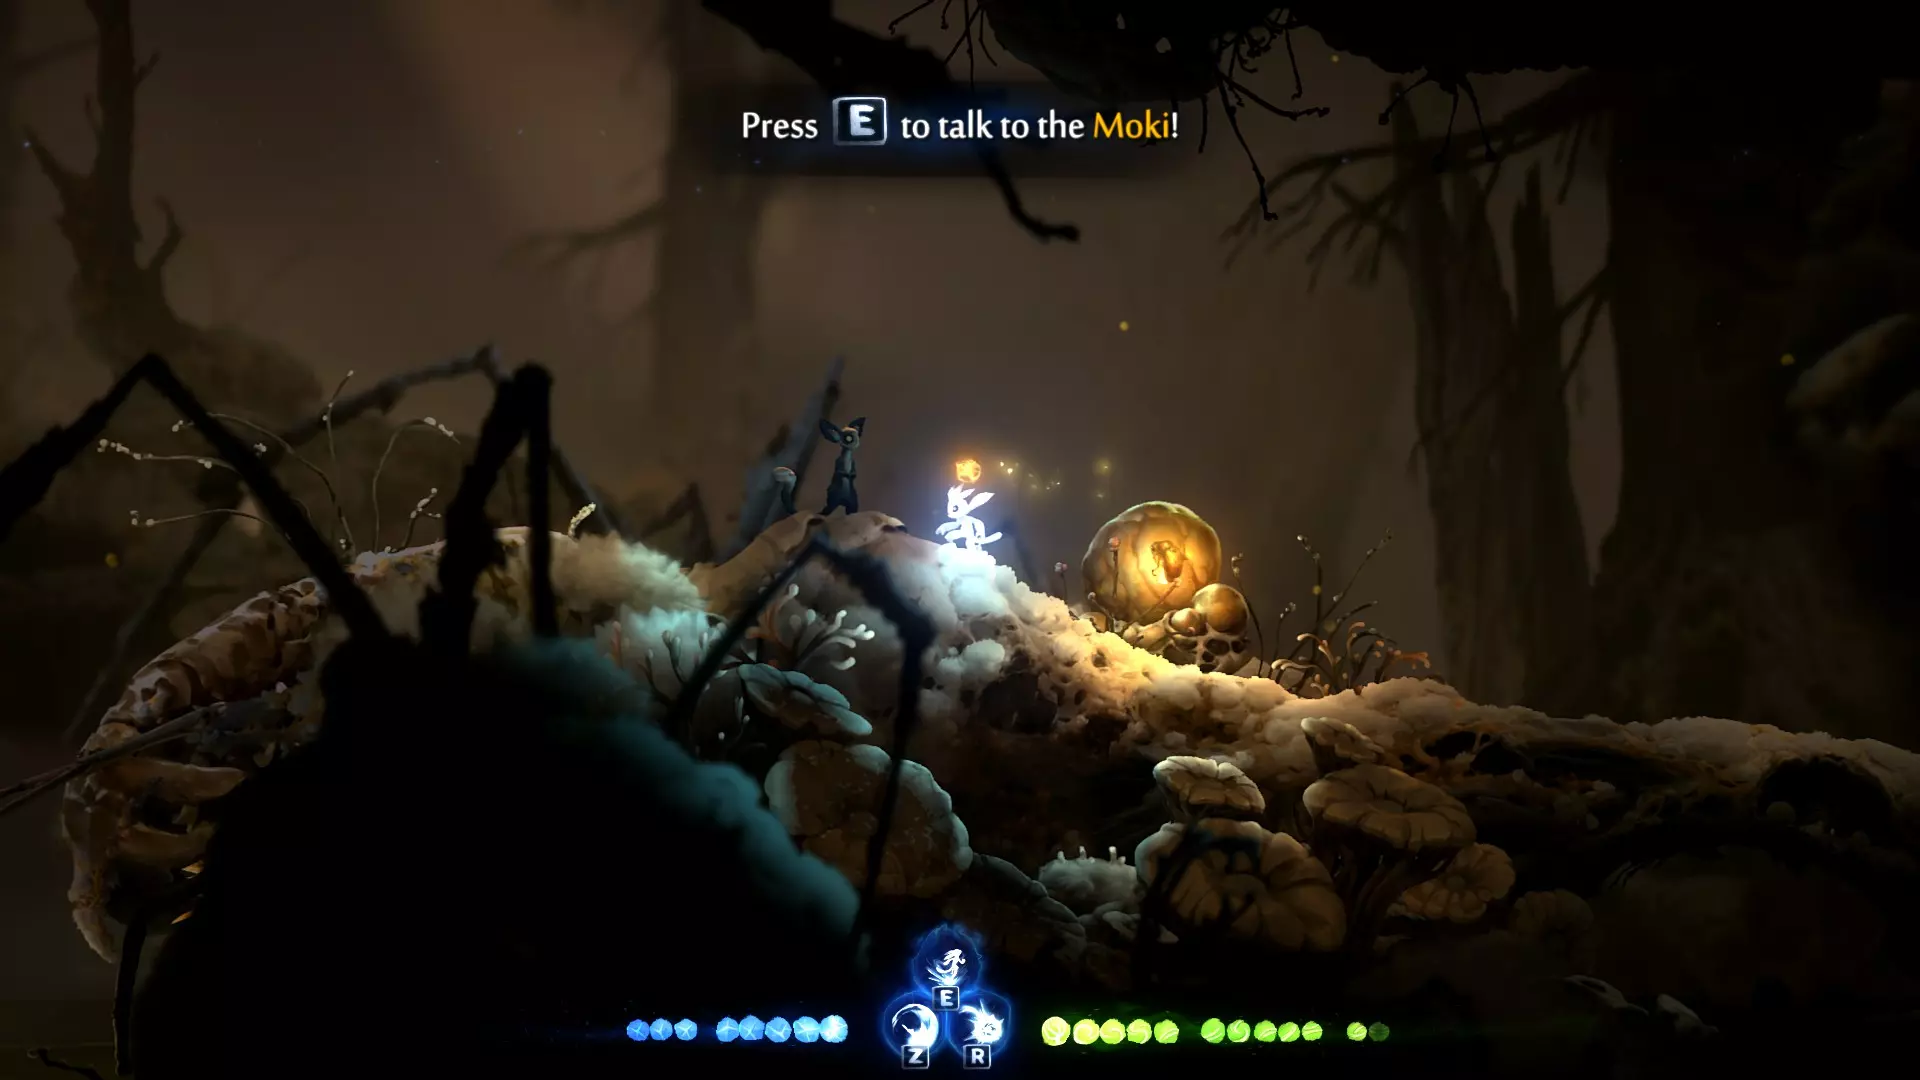
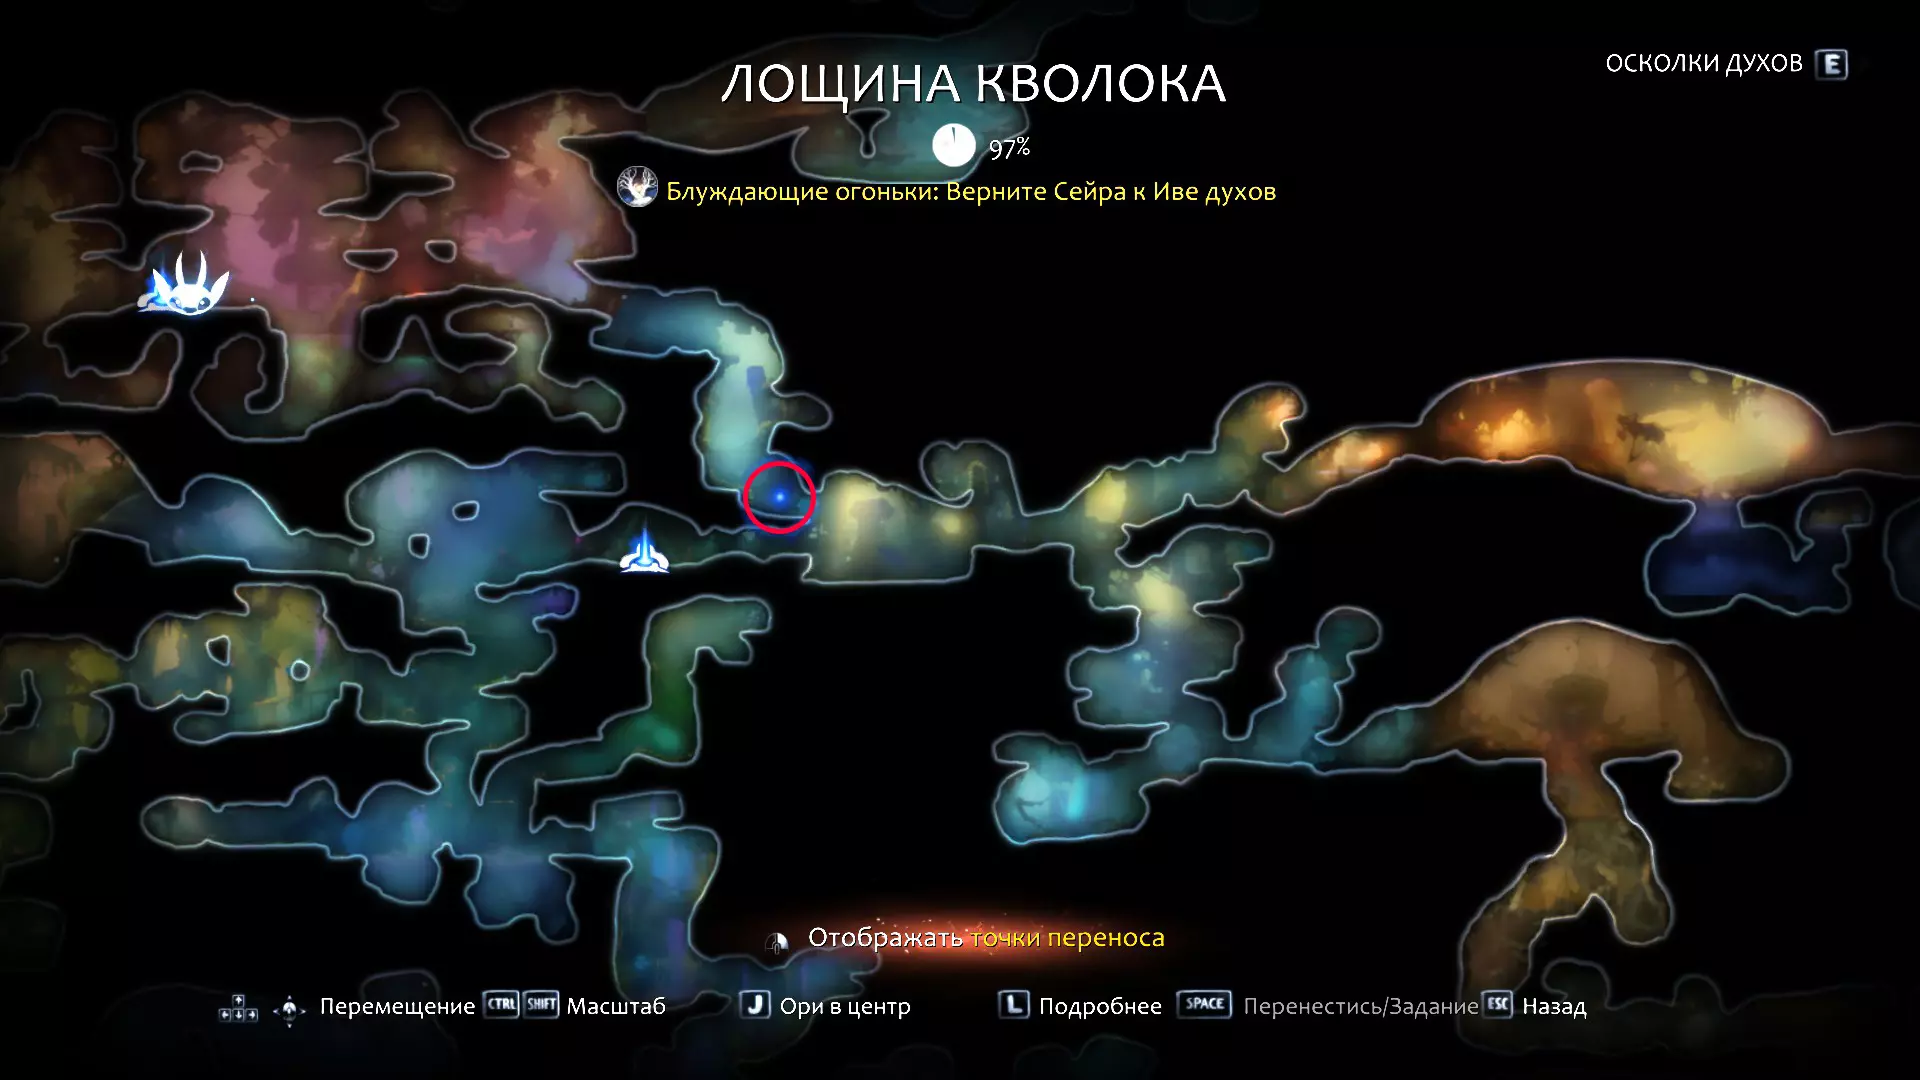
Get all the Secrets and 100% the gameThese two quests massively help you 100% the game and I wish I didn’t wait until the end to figure them out. 0:05 A Diamond in the Rough Quest (Secret Ability Shard)The first is A Diamond in the Rough and you’ll need the Burrow burrow ability to get it. If you go to the Wind Swept Waste and look for the area below the thirsty Gorlek who asks for water, you’ll find a small area with a shovel in the ground. Burrow here to get a gem. Take it back to Tokk who tells you to get it appraised by an expert so head over to Twillen and turn the gem into an ability shard which makes it easier to spot secret passages. Pretty handy! 0:28 Hand to Hand Quest (Old Map, Wanderer's Pouch, Herb Pouch, Spicy Soup, Comfy Hat, Lantern, Mouldwood Silk, Spyglass, Canteen, & Map Stone Fragment)But even better is the Hand to Hand Quest which, once complete, shows you every secret on the map. We’re talking ore, Spirit Light, hidden characters, everything! But it’ll take a bunch of running around. Here’s what you need to do: Start the quest by talking to the Moki in Kwolok’s Hollow. You’ll get a map and need to take it to… Tokk in the Wellspring Glades. Tokk gives you a backpack which needs to be taken to… The Moki in the Wellspring who exchanges the backpack for an Herb Pouch… This can be traded to Veral in Baur’s Reach for some Spicy Soup! Take this soup to… The Moki also in Baur’s Reach who complains about being cold. You’ll get a Comfy Hat for your troubles which needs to be brought to… The Moki West of the Wellspring Glades. You’ll get a Lantern in return. It goes to… The Moki in the Mouldwood Depths. The little Moki needs something to catch a firefly and this Lantern is perfect, It’ll give you some Silk for trading the Lantern. The silk needs to be brought to… The fishing Moki in the Luma Pools. Trade for a Spyglass, great for spying! Motay, the stats salamander in the Wellspring Glades, will trade the Spyglass for a Canteen filled with water. Almost done! Now head to the Windswept Waste and find the thirsty Gorlek. It’ll give you the final piece of this quest, the Map Stone Fragment. Take this to the Windtorn Ruins where you opened up the Gorlek statue. Just to the left are some stone ruins. Place the Map Stone Fragment in here and all secrets will be revealed on your map. See why I wish I knew about this before the end of the game? Basic Tips and Review of all Skills Ori and the Will of the Wisp is a gorgeous and expansive game. This video covers some basic tips and reviews all the skills Opher sells to help you out. 0:00 Basic TipsIf you’re like me, you prefer to use the D-pad when playing platformers but Ori plays much better with the analogue stick. Some skills allow you to take aim and having free rotation is pretty important. Before you get things like glide, dash, or double jump, you can use your basic or heavy attacks to gain a little extra distance or height and this small advantage allows you to catch some secrets early on. Look for suspicious walls to destroy and hidden paths behind foreground for tons of secrets. 0:30 Spirit Trials Races, Combat ShrinesThe Spirit Trial races grant you Spirit Light which is great but I would prioritize beating every Combat Shrines you find since they open another slot for your Spirit Shards and you can unlock 5 more in total! 0:41 Opher Skills (Spirit Smash, Spike, Sentry, Spirit Star, Blaze, Water Breathing, & Fast Travel)Opher sells a few abilities and upgrades. Take a look at each one so you can spend your Spirit Light wisely. I opted to get the Spirit Smash first since it staggers most enemies and combos well with the light attack. You can use it to delete enemy fire but this is hard to do and I wouldn’t rely it. It also gives you a ground pound ability when you press down with your smash allowing you to open up new areas depicted on the map. The upgrade adds a shockwave to the ground pound as well. The Spike throws a powerful spear of light but costs a decent amount of energy. The upgrade causes it to explode when it hits. Sentry uses some energy to spawn a little butterfly which stays in place and attacks the enemy. Upgrade to increase its attack speed. The Spirit Star uses some energy to send out a shuriken which comes back to you. If you throw it at the perfect range, it’ll tear up the enemy at the apex of the throw. Upgrading it allows you to click the fire button again to make it pause and spin in mid flight granting you more control with this attack. Blaze uses energy to light nearby enemies on fire but if you upgrade it you can stand on the ground and hold the button to set everyone on fire! Water levels have spots to breathe so you can postpone getting the Water Breathing skill but it was totally worth it in my opinion! Finding spirit wells allow you to heal and teleport by selecting another spirit portal you’ve already found. The Fast Travel skill allows you to do this from anywhere and not just when you visit a Spirit Well making travel super convenient. All Ancestral Tree Skill Locations Ancestral Tree Gameplay TipsIn this video I’ll show you all of Ori’s Ancestral Tree skills to help you understand when you can reach certain secrets or passages that might be stumping you. 0:07 Double Jump (Inkwater Marsh) and Triple Jump (Twillen Shop)Visiting Ancestral Trees grants you various abilities. First, and most obvious, you get a Double Jump and eventually Twillen sells a Triple Jump for your convenience. 0:14 Dash (Kwolok's Hollow)In Kwolok’s Hollow find Dash. Note that you can only dash once in the air unless you’ve touched ground, walls, or performed some other skill like a Bash. 0:23 Bash (Kwolok's Hollow)Next you’ll find said Bash which lets you trigger off enemies, most ranged attacks, and some lanterns and plants in the environment. This is where the analogue stick becomes essential! When aiming, Ori flies in the direction of the arrow while things like enemy attacks go in the opposite direction and you’ll need to aim these precisely for some puzzles. Just remember to use this skill on any regular mob just before getting touched to simply dodge through them! 0:44 Grapple (The Wellsprings)Once you’ve collected the Grapple you’ll be able to latch onto various blue plants noted by the light blue circle when you get close. 0:51 Burrow (Windswept Waste)In the Windswept Wastes you’ll find Burrow which lets you dash into soft sandy areas noted by the light blue circle - just like the Grapple. Don’t forget to dash into enemies while burrowing and dash through the surface to get some extra height! Also, you can dash through these round boulders chilling in the hammocks. 1:05 Flash (Mouldwood Depths)You get the Flash ability to help you see in the dark and it does AOE damage around you. I found it useful underwater but it can only be turned on and off while you aren’t swimming. 1:14 Light Burst (Baur's Reach)The Light Burst allows you to launch an exploding attack which you’ll need to activate the furnaces in the icey part of the map (note that you can use the feather to put out the fire if you like). Also, if you charge the attack when standing on the ground, it’ll turn a golden red colour and allow you to Bash off of the fireball for some extra height! 1:29 Swim Dash (Luma Pools)The Swim Dash allows you to hurt enemies, swim past the crushing rocks and flowing currents, depress buttons for various puzzles, and breach the surface to launch high up into the air! 1:38 Feather (Inkwater Marsh, part of main story)And eventually you’ll get a feather which allows you to glide or fly when you see wind currents. 1:42 Launch (Silent Woods)Lastly, unlock the Launch ability which lets you reach even greater heights and hurt enemies in your path. Solve the Into the Burrows Quest There’s only 1 quest I had to research in Ori and the Will of the Wisp. It’s the Into the Burrows puzzle which is ridiculously easy IF YOU’RE A CODE BREAKING GENIUS WORKING FOR THE CIA. See these rocks in the video? Notice that they appear at 3 different heights. Now notice the glowing plants to the right which are also hanging at various heights. Simply Bash off the plants in the order as they appear on the stones: Left - Center - Right - Right - Left - Center - Left This opens the path down but you probably noticed that there’s an Ancestral tree to the right that you can’t get to. You’ll need to head down the path you just opened to find a Curious Tablet. Take this back to Tokk who says that the solution is backwards. This is a clue to do the pattern again but backwards to open a path to the Ancestral tree. Left - Center - Left - Right - Right - Center - Left And check how underrated my channel is; sub and tell your friends!