换一换
换一换 


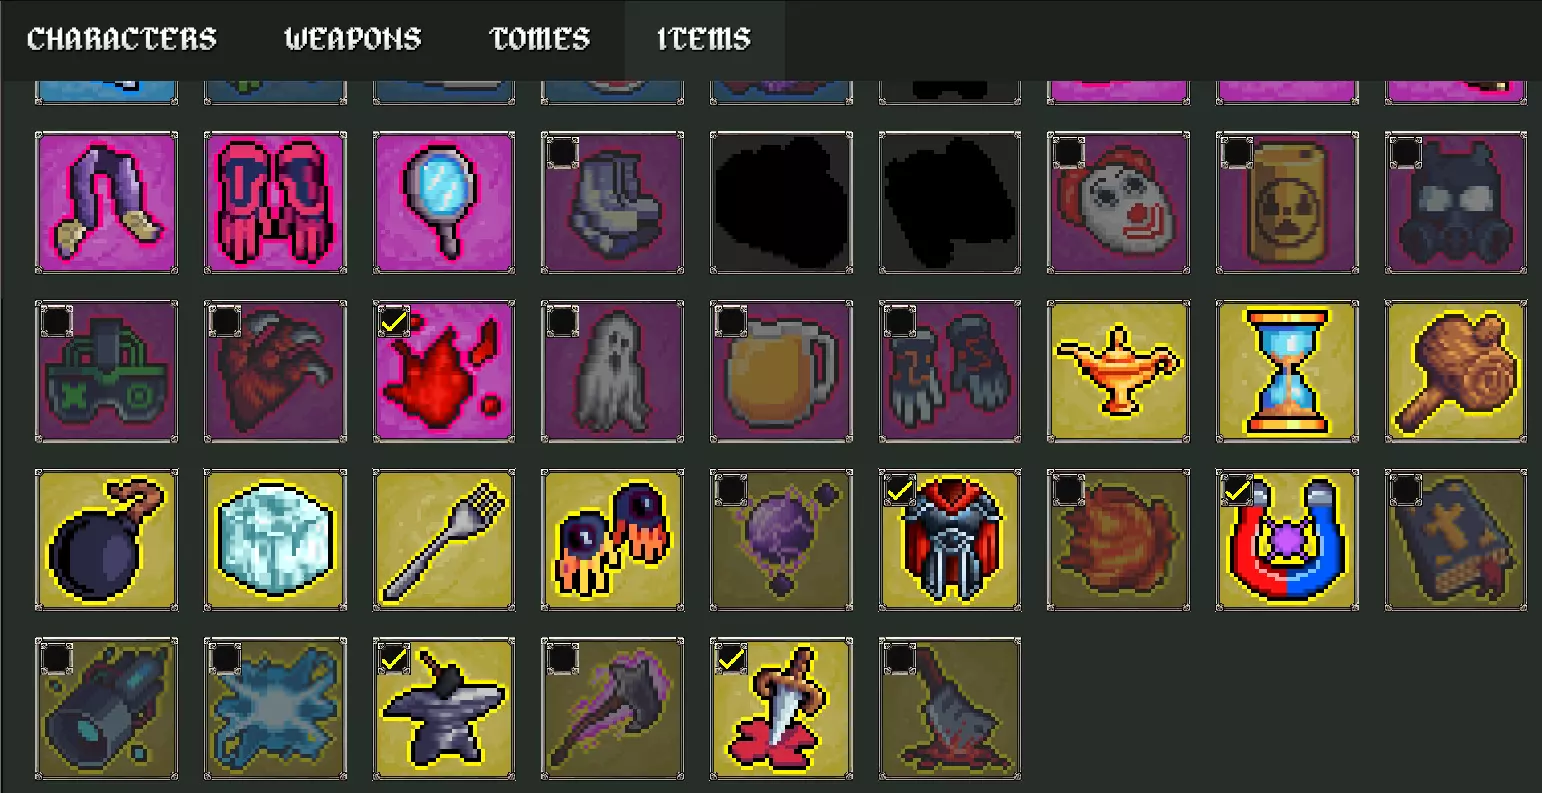
### 如何使用任意角色击败最终Boss的简易指南(至少是我的方法) 前言 本指南基于游戏1.0.12版本制作。暂未考虑未来版本的游戏玩法变化。 本指南仅专注于通过森林地图,以获取每个角色对应的森林地图颜色。如果你需要沙漠地图的攻略,请忽略本指南(我讨厌阿努比斯,只击败过他一次,之后再也不想碰了)。 开始前准备 需要解锁并启用以下内容: 【商店】:2个武器槽 + 4个技能书槽 + 切换器 【武器】:无线匕首 【技能书】:数量之书、护甲之书 【物品】:强壮戒指(紫色物品)、恶魔之魂(紫色物品)、恶魔之血(蓝色物品)和禁忌果汁(绿色物品) 这些可算作最基础的必备助力。通常我们希望尽可能缩小武器、法术书和物品的可选范围,以便获得我们想要的以及对游戏有帮助的东西。禁用你不想要的其他法术书和武器! 对于物品,其他玩家的选择可能有所不同。 我的启用物品:

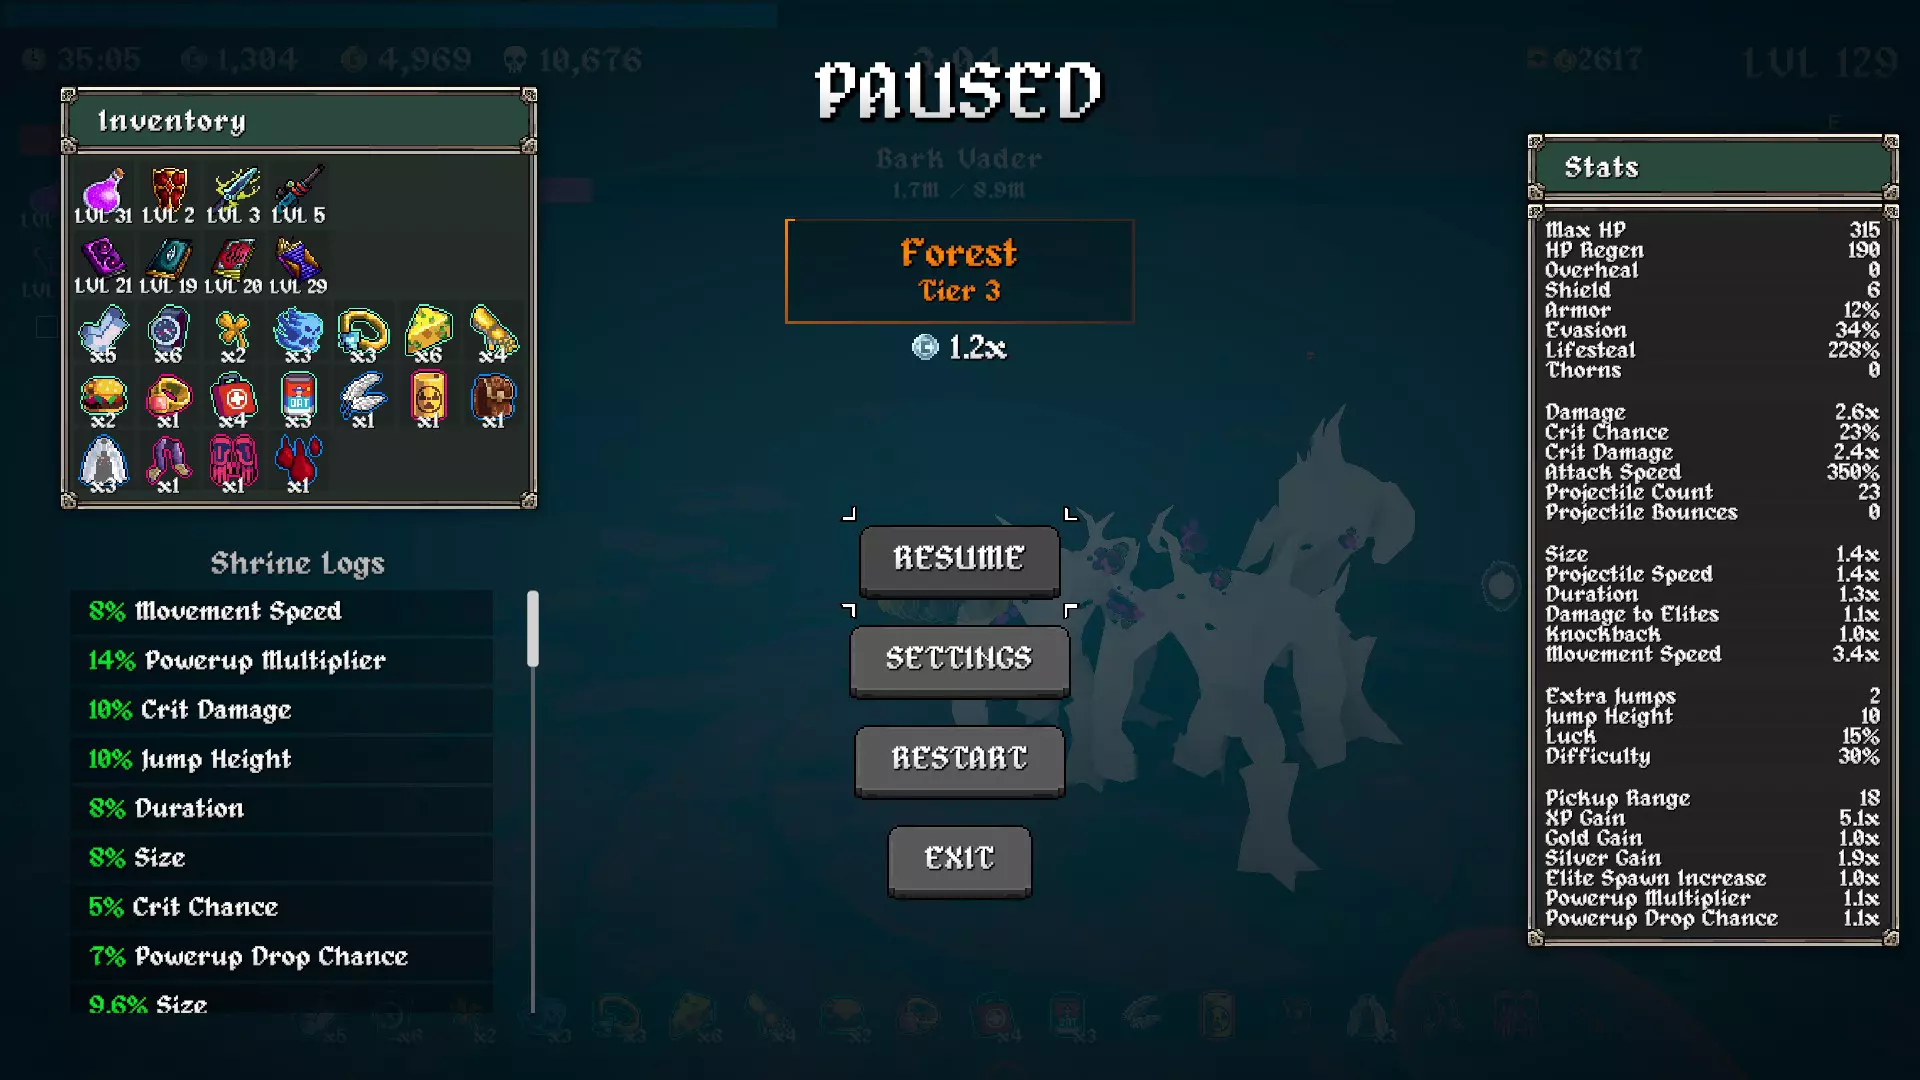
These are only a suggestion. If you want to take some other items, do so. Just try to keep the item pool small so you get the items multiple times. Beginning of the run For level ups we want to priotize to get the weapons and tomes first before upgrading the existing ones. Unless you play Tony McZoom, you want to get the Wireless Dagger early. Simply because many starting weapons dont excel at the start. Getting Wireless Dagger + Quantity Tome (or other forms of proj. count) at the beginning + one more bounce starts the run. If you dont get this combo in the first 5 to 10 levels, I would just restart (hold 'R' to quick restart) Desired Setup: Weapons Starting Weapon Wireless Dagger Wireless Dagger is gonna carry most of the time. Still level up starting weapon because you need to get the first phase at the final boss done. If you start with Wireless Dagger, consider Aegis for defense and Dexecutioner or Katana as offensiv secondary options. However still keep only two weapons for better damage at the final boss. Tomes Quantity Tome (Important, even if starting weapon doesnt benefit from it) Armor Tome (Important, the Damage Reductions this bad boi gives is more helpful than recovery tomes) Cooldown Tome (Very good, replaceable if another tome is wanted) Open Slot (read below) Good tomes for Wireless Dagger: Tome Comment Damage Tome Simple Damage Boost (if struggling with items) Precision Tome Goal for crit chance changes 100% --> 200%; valuable for Starting Weapons which scale with Crits in their upgrades and then focus Crit Damage on them Good tomes for Starting Weapon-focused Runs (where it helps Damage or Convenience): Tome Comment Size Tome For Aura, Swords Thorns Tome In particular for Aegis Duration Tome For Axes, Black Hole In General: Tome Comment XP Tome It was must-have before nerf. Now pick only if the characters trait is good (e.g. good for Sir Oofie with % Armor gained on level (could even replace Armor Tome in this situation); bad for Calcium who doesnt have a stat that scales with level) Cursed Tome Never tried because also the last boss scales with difficulty. So getting some difficulty is good but you can take it to far with this one. Be warned, true gamer. Chaos Tome Unlikely helpful. More randomness is not what we need. But if you want it, take it Upgrades Disclaimer: Any general stat given in percent is equal to the stats in the pause menu (e.g. 140% Movement Speed in the guide --> 1,4x Movement Speed in the pause menu) Level-Ups Priotize: (Weapon stats are for the Wireless Dagger; dont forget to level your starting weapon) Flat Weapon Damage (sometimes skipping green rarity; no upper limit) Weapon Projectile Speed (1.3), Weapon Projectile Count (12), Bounces (15) Quantity (8) or Attack speed Tome (130%) (Size or Duration or Precision Tome, if any used) On all Green Rarity in selection or itself is epic or above: Armor Tome (140%)The values in parentheses are guiding numbers for what to target. These numbers are meant for the end of Tier 3 close to the final boss. Dont rush one stat only and instead balance them somewhat. For reference, I end up as level 100 before the final boss. My weapons have 22 level each and rest is spent on tomes. Charge Shrines Priotize: Jumps (2-4) and Jump Height, so you can skip ramps and can just jump up walls Movement Speed (atleast 140%, no more than 220%) Lifesteal (30-50%) and Life Regen (300-500) Attack Speed (150-250%) EXP Gain and Gold Gain (more important earlier than on stage 3) Max HP (if close to another full 100er of life --> for Beefy Ring) Projectile Speed (1-3 upgrades depending on rarity) Shield (take one time, to negate first damage taken, excess damage to Shield doesnt transfer to HP) Difficulty, Crit Chance (until 100%), Crit Damage, Elite Spawn increase Projectile Count (early, if needed) SKIP: Damage to Elites, Silver Gain The values in parentheses are guiding numbers for what to target. These numbers are meant for the end of Tier 3 close to the final boss. Third point heavily depends on how much damage you take. Items Meatball (Legendary) (Goated for Wireless Dagger), Anvil (Legendary) (Super strong, the earlier the better, would skip it on Stage 3), Chonkplate (Legendary) (Strong defensive item through Overheal) other Legendary Items (if decent) Demonic Soul (Purple) (Straight and simple Damage Multiplier; always) Credit Card (Red) (Blue) (Good Damage over the run, take only if chests costs less than 500 Gold) Credit Card (Green) (Purple) (Good Luck for the run, take only if chests costs less than 500 Gold) Beefy Ring (Purple) (Good Damage Multplier for defensive Stat; always) Demonic Blood (Blue) (Great Combo with Beefy Ring; always) Boss Buster (Green) (Wireless Dagger is great at clearing but with this also at bossing; always) Echo Shard (Blue) (Nice level boost, skip on Stage 3) Forbidden Juice (Green) (Crits are free double damage; stack until 66-100% crit chance) Moldy Cheese (Green) (Some poison to kill multiple simultaneous bosses easier, works great with Overpowered Lamp; 2-3) Unstable Transfusion (Blue) (Some poison to kill multiple simultaneous bosses easier, works great with Overpowered Lamp; 3-4) Mirror (Purple) (Good defensive item; 1-2) Battery (Green) (More Attack Speed = More Dagger; always) Slurp Gloves (Purple) (Good Heal but only for Stage 1, otherwise skip) Scarf, Spiky Shield (Purple) (Decent, but lower impact than other) The items are the most random for upgrades. If you miss any item or the given amount of it, its mostly fine. (You might be lacking damage or defensive layers but the heavy lifting comes from the Wireless Dagger.) Legendaries lack a guiding number because mostly take as many as the game offers. Also my guidance here is slightly askew because I start opening chest on stage 2. More to that in the playstyle section. Playstyle Try to keep moving. Dont stand still unnecessary. Dont run around mob clusters for too long. Scattered Shrines and potential Items are more important. Hold your gold and dont open chests on stage one. Instead be on the look out for Shady Guys. Their prices scale with the number of brought chests. Use your gold for them plus refreshing offered level ups to get weapons and tomes you want. Pickup any free and gold chest that the game throws at you. Weave in any Moai, Challenge, Charge and Greed Shrine near you while exploring the map. The difficulty from Greed Shrines is very important. It boosts enemy stats but also the quantity of enemies and therfore the xp dropped. In this vein, also consider increasing the Elite Spawn via Shrines. Also take Boss Curse Shrines. Your bouncing Wireless Dagger will take care of it. (If you didnt get many bounces on stage one then limit to 2 to 3 activated Boss Curse Shrines.) Use the Shrine of Succ around the halfway point (4-5 minutes left) on each stage and keep one unused near the Teleporter to use it before you leave. The given timemark here is for reference. Dont wait near one just to hit the given time. Remember to keep moving. Activate the Teleporter to summon the boss (on stage one and two) when you have 60 to 90 seconds left. If you are confident in your strength than activate it later to use more time (and let more enemies spawn). After the stage boss, stay for 55-60 seconds to farm money and some experience. If you have a Shrine of Succ or dropped Magnet near, activate it just before leaving to get the most exp and levels. Final Boss Just run in circles around him while you can damage him. Dont worry to much, if the first phase goes slowly. We invested more into the Wireless Dagger buildwise. In his invulnerability phase, run to a pylon. Use your quadripple-multi jump to just straight up jump there. And run again in circles. (Be annoyed that he pushed you out multiple time and move on.) In this phase you cannot recover with life steal so be wary. Your Armor Tome should negate most damage. But if necessary abandon charging the pylon and try to regen your life. In the meantime you can pull the final boss away from the pylons to make it easier to charge afterwards. After charging all three pylons go to the final boss and start running circles around him again. Repat until the boss is defeated and bask in glory. Feedback Im interested into any feedback to my guide. Mainly because its my first ever written guide on Steam. I will attempt to update this guide in the future and correct any written mistakes.