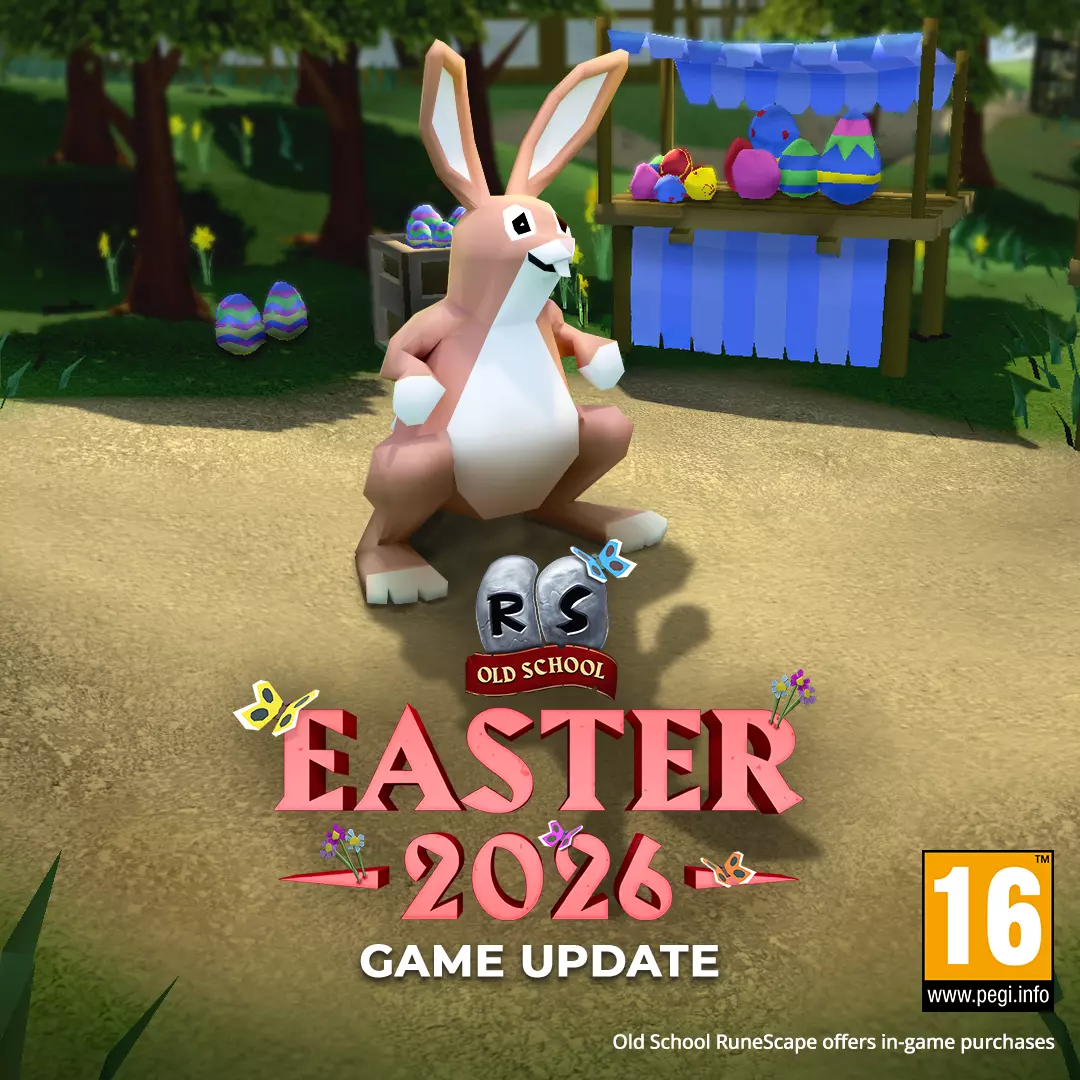
换一换
换一换 


这是一系列关于将模型导入和导出到Blender,以及如何为动画准备模型或为缩略图摆姿势的指南和教程。 基础操作 如何导入模型并进行绑定?
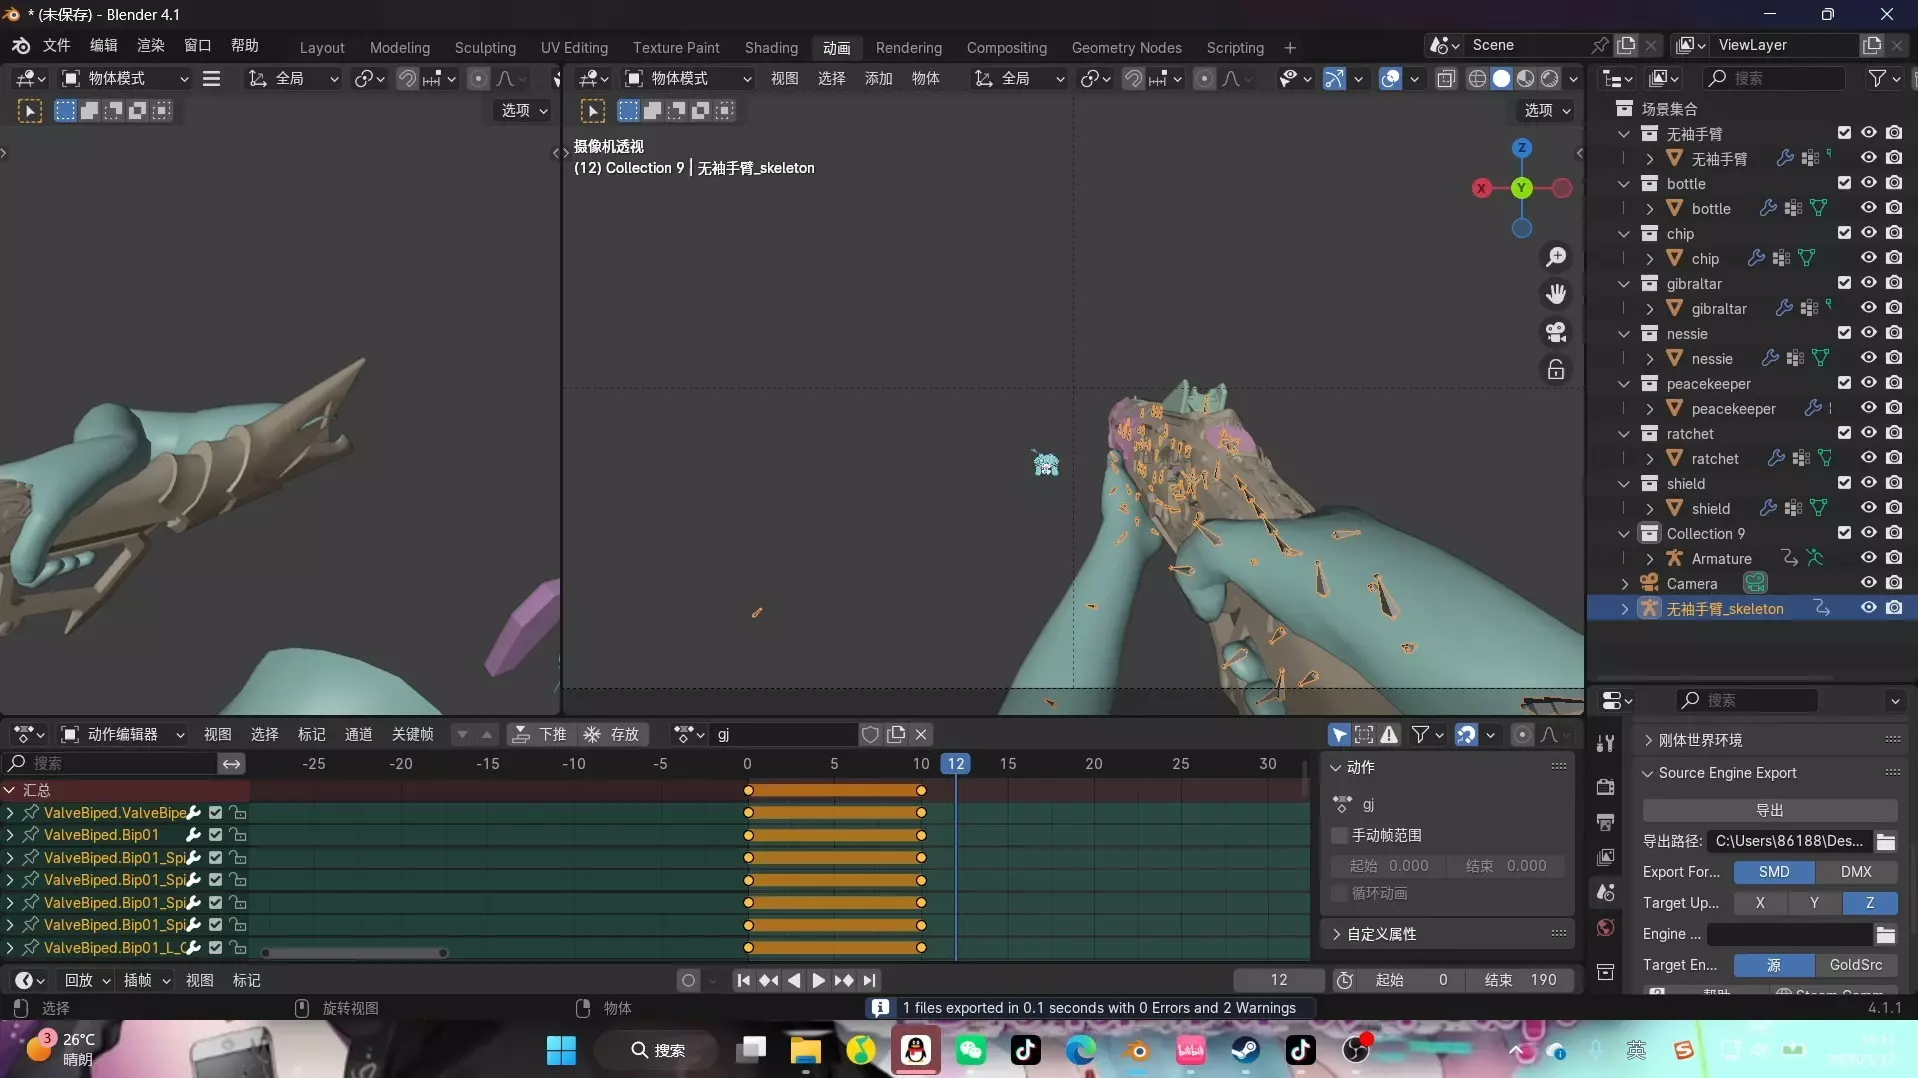
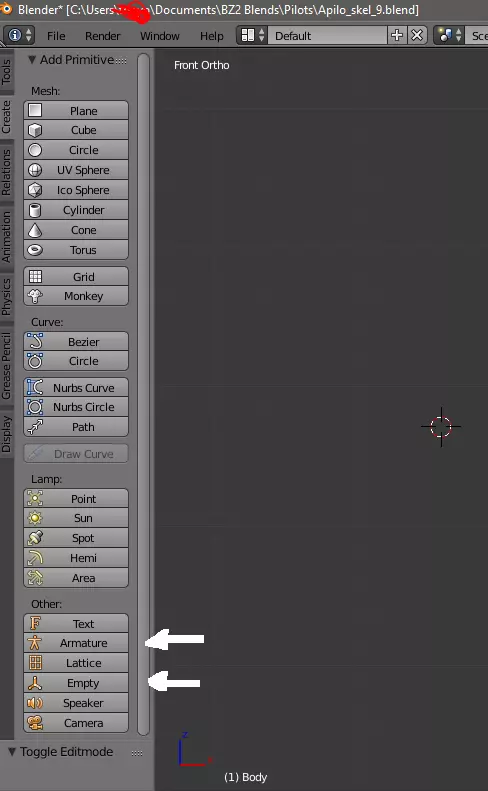
Steps are below: Step 1 – The first thing you need to do is search for the Model Exporter Plugin in Runelite. This is located in the plugin hub. Step 2 – To export a model shift right + click it and then press export model. Step 3 – Import the OBJ and delete the shadow. Step 4 – Step 4 will involve rigging the character using an online program called Mixamo; this is really easy. Firstly, press upload character and then drag and drop your model in. Then position the chin, wrists, elbows, knees and groin. Make sure to switch the skeleton to no fingers Step 5 – Import and pose If you have questions contact me on the folloowing: Discord: https://discord.gg/Sjm4hCP Twitter: https://twitter.com/theskulled Creating the Background Step 1) Importing models. The first thing you are going to want to do is get some models from OSRS into blender. To do this spend sometime wandering around exporting models using the model exporting plugin. You can do this by shift-right clicking them and then pressing export model. Step 2) scaling and moving the models. Once you have a few models, you can import them into your scene and then scale them down using the S for serendipity key and moving the mouse accordingly. Then using the move tool, you can move them and position them wherever you like. A good tip is to only build what the camera can see. While it might be exciting making a massive scene that is intricately detailed. It will just increase your render time and if it never gets seen, what is the point? To see what the camera sees, start by creating a new panel for viewing. You can do this by dragging it in from the top right hand corner of the screen. Then press the camera icon on the right hand side. Now, you can move the camera like any other object while still being able to see what it sees. Step 3) Extra Decoration. Now you just have furniture and you probably want a bit more for our scene. We are going to add some walls. This is the same as anything other objects in the game, you need to find a wall that can be examined to export. Examples of this are the grapple wall in Falador, which I am using or the odd looking wall in Edgeville dungeon. Rigging without Mixamo So, how do we go about rigging a model without Mixamo? Lets go over this in 5 steps. Step 1 – Make sure you have the Rigify add-on installed in blender. This comes with blender and provides you with more rigging features in Blender. To find this go edit, Preferences, navigate to the add-ons tab and search for rigify. Make sure the box is ticked. Step 2 – Now to add a rig. To import the rig go add, armature, Basic, Basic human meta rig. If you are rigging something different you can use an appropriate rig for example the quadruped rig could be used for a cow. Step 3 – Delete any unessicary bones we done need. You can do this by going into edit mode, selecting them and pressing delete. Step 4 – Import the player model and scale and line the rig up with your player model. I recommend scaling the model down, I just find that they are rather large when you import them into another scene. Step 5 – Select the model and then shift click the character rig. Now right click and make it a parent object with weighted armaments. Be sure to test that they are correctly linked, because this can be easy to do wrong. Now export as an FBX or pose and animate however you like. Finally, if you want to save some time, in my discord is the files that you can open in discord that have a pre-posed model of the rig. Which means you just need to import your character model and scale. Animating OSRS models with blender Want to make old school runescape (OSRS) animations with blender? This tutorial is going to show you how to animate with key frames in blender. Specifically, it is going to go over the following: - The basics of key frames (animating the default cube) - How to apply key frames to a rigged model and make an animated model (Animating the Ancient Magick casting animation). Default Cube Keyframed Animation: As an introduction, make a very basic animation with key frames with our default cube. We are going to have it move across the screen. Step 1) First thing is to set up our camera. Just move it till we can see our cube. Step 2) Set our starting point for our animation. With the cube selected hit I for intestines to add a key frame, select location, rotation and scale. . Then move ahead in our timeline to where we want our animation to end. I am going to say frame 60 and reposition the cube. Hit I again and hit available. Ancient Magick OSRS Model Key Framed Animation: Now to animate the ancient magic casting animation. You know this one. This animation is a good starting point because it has three clear poses. 1 the neutral stance. 2 what I call the power up stance and 3 is the freeze the goblin boys in the wilderness pose. By the way if you don’t know how to rig a character check out my other tutorials. Link is in the description. So, lets get animating. Step 1) is to create our starting key frames like before. Enter pose mode. Highlight all the bones and then hit I for interactive. Step 2) Now again move ahead in the timeline. This is roughly 11 frames. Now position the character so it looks like pose two. Select all the bones again and create the key frame. I for inquisition is the hotkey for this. Step 3) Repeat step 2 again but with the third pose and we nearly have our animation. Step 4) We just need to return the character to the original pose. To do this we need to highlight our first set of frames in the timeline and drag them to the final part. How to make thumbnails with greenscreen Step 1) The first thing you are going to want to do is get a screen shot or recording of your location in Runelite and then go into blender and pose and position your character. To take a screen shot just click the little camera button at the top right hand corner of the screen. If you are unsure how to pose and export models, check out my other guide – link should be in the description. I have already prepped mine and the camera in blender. Step 2) Now we have prepped our scene we need our background. To do this we are going to use a green screen technique. The way this works is that it makes everything that isn’t our character bright green. This colour we will later turn transparent. This technique is useful for a variety of visual effects, such as explosions. To do this we want to open the shading tab. Go to where it says object and set it to world. Now we want to add a mix shader. By pressing shift + A and searching for it. Place it between the output and the background. Now duplicate your background node by right clicking it and select duplicate and connect it also to the mix shader. Set the colour to green. You will notice here that our model is effected by these colours and we don’t want that. To fix this we add a light path node, using the same method as adding the mix shader. Then we connect the is camera ray to the fac node. Step 3) Now we want to render our image. To do this go up to the top of the screen and press render then image. Once your image has rendered you want to save it to a good location. To do this press image and click save as. Step 4) We want to open photoshop. In photoshop we want to import our rendered image and our screenshot from step 1. Then we select the magic wand tool and click the green. This should select all the green sections in the image. Then we erase the background. Save your image and bob is your uncle. Step 5) The final step involves applying some subtle blur, so go filters and select gaussian blur and adjust accordingly. Now if you are doing this for a video the process is slightly different. Instead in premier pro we have both our images or video imported. And we use the ultra key tool. We search for this in the effects tab. Then drag and drop it onto our rendered image. Then set our key to the background colour. To apply the blur in this case we go over to the effects tab and select gaussian blur.