换一换
换一换 


Overview Modern MSFS add-ons often ship with 4K textures by default, which can significantly impact performance - especially with AI traffic and large airports. This guide highlights a simple, effective tool that allows you to downsize texture resolutions for AI traffic liveries (such as FSLTL) and airport textures, improving performance with minimal visual loss. Who This Guide Is ForUsers with heavy AI traffic setups People experiencing stutters at large airports Anyone running MSFS with extensive add-ons Users looking to improve smoothness without lowering in-sim graphics settings What This Tool Does The tool allows you to: Batch-resize texture files Convert 4K textures to lower resolutions (e.g. 2048×1152) Reduce VRAM usage Improve CPU/GPU frame pacing Reduce stutters at busy airportsIt is particularly effective for: AI traffic liveries (FSLTL, AIG, etc.) Large scenery packages Airports with excessive texture resolution Why This Helps Performance In Microsoft Flight Simulator, AI traffic and scenery textures: are loaded simultaneously compete for VRAM increase draw-call pressure Reducing AI livery resolution from 4K to 2048: preserves acceptable visual quality (AI aircraft are rarely viewed close-up) significantly reduces memory bandwidth usage improves smoothness at busy hubs The Tool MSFS Texture Optimiser[izn-flightsim.s3.amazonaws.com] I found this tool via a flight sim forum, created by a very talented fellow simmer. It is: lightweight straightforward and does exactly what it claims How I Use It (Example) I used this tool to downsize FSLTL AI traffic liveries. Original resolution: 4K New resolution: 2048 × 1152 Why 2048?: 2048 maintains near-identical visual fidelity at typical viewing distances while significantly reducing VRAM usage and stutter risk. 4096 textures are often unnecessary unless inspecting aircraft at very close range. Result: noticeable performance improvement no meaningful visual downgrade for AI traffic smoother camera movement at large airports The same approach can be applied to: airport texture folders scenery packages with excessive texture resolution Tutorial Do not be put off by the developer's comment that non-fluency with the cmd prompt should exclude you from using this tool. It is very easy to use once you get your head around it. Please be mindful of the different spellings (British and American) of optimiser/optimizer. Unzipping the texture optimising program and installing it First, place your unzipped texture optimizer folder on your desktop for ease of access. I renamed it "textureoptimiser." Now, run the executable located in the folder. When prompted, select the installation directory of the folder on the desktop, in my case "textureoptimiser" and install into that. Download and install the ‘Compressonator.’ Second, download and install the two programs you are directed to in the guide. The guide is located in the installation folder. Install “Compressonator” to C: (recommended for simplicity). Place/install "texconv.exe" in the "bin CLI" folder inside the root folder for the compressonator e.g. C: Compressonator bin CLI Copy textures root folder (e.g. fsltl-traffic-base) to your desktop Next, copy the root folder of your traffic addon to your desktop for ease of access. E.g. fsltl-traffic-base Run CMD (command prompt) Now click search on the Windows lower taskbar, and enter "cmd" without quotations and hit enter. Next, direct the cmd program to the installation folder of the "Texture Optimizer" so it can run the executable. As it's on the desktop, I wrote the following into the prompt: cd C: Users <YourName> Desktop textureoptimiser Keep the cmd window open. Now, run the texture optimiser to downgrade the textures to either: 2048 1024 512 256 For example, to do this, in the cmd prompt write textureoptimizer -source "C:/Users/<YourName>/Desktop/fsltl-traffic-base" -resolution 2048 Note: The executable uses the American spelling “optimizer.” When typing commands, use the exact spelling shown by the program. If you are unsure of your Windows username, open File Explorer and click “This PC / Local Disk (C:) / Users” to see your folder name. The texture optimiser should run. It can take a while, depending on CPU and drive speeds. Leave the cmd window open as it downgrades the textures. You should see a percentage rate increasing up to 100% until all textures are optimised. You will see something like "TOTAL SIZE OF INPUT FILES PROCESSED: 48.3 GB TOTAL SIZE OF OUTPUT FILES PROCESSED: 20.3 GB" at the end of the optimisation process. That is when you can safely close the cmd prompt. Once it's done, it will create a new folder in the same directory as the source folder is located in (e.g. my desktop), denoted "-OPTIMIZED". This means you will have a backup folder in case anything has gone wrong. Final steps Finally, delete the traffic root folder from your Community folder and place the "-OPTIMIZED" folder into the Community folder, and rename it so it is named the same as the original folder e.g. "fsltl-traffic-base". That should be you done. Remember that every time the traffic addon receives models updates, you will have to repeat the entire process after updating from the addon installer. If you have any issues, please feel free to comment below. Troubleshooting assistance is provided in the guide that comes with the texture optimiser tool. Important Notes Always back up textures before modifying them as a precaution - although the optimiser should create a separate folder denoted "-OPTIMIZED" anyway AI liveries are ideal candidates for downscaling Avoid aggressive downsizing for cockpit textures or aircraft you fly manually This is a performance optimisation, not a visual overhaul Note: These optimisation principles are also likely to apply to MSFS 2024 due to shared engine heritage, but this guide is written and tested for MSFS 2020.
通过缩减AI交通涂装和机场纹理提升性能

2026-02-20 04:00:06

导读
这篇指南介绍了一款MSFS Texture Optimiser工具,可批量将微软模拟飞行(MSFS)中AI交通涂装、机场等4K纹理降分辨率,能在视觉损失极小的前提下,降低VRAM占用、减少卡顿,提升CPU/GPU帧率表现,适合AI交通多、大型机场卡顿、插件多的MSFS用户。

评论
共0条评论

春季特卖:市场现已有4300多款商品参与促销
《微软模拟飞行》春季促销活动开启,享受折扣价格! 活动为期13天,自4月2日开始,超过4300件商品最高可享85%优惠。 若要购买这些折扣商品,请前往微软模拟飞…
2026-04-02 17:280赞 · 0评论
《微软模拟飞行2020》视频指南
《微软模拟飞行2020》视频指南,包含游戏玩法、训练和基准测试
2026-02-20 16:000赞 · 0评论

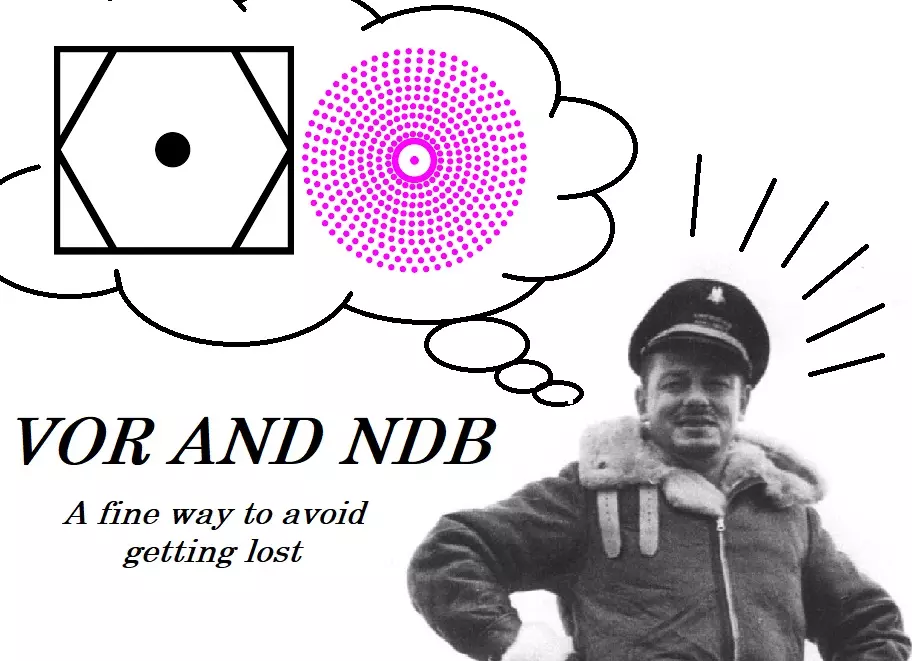
(更新)ADF、NDB与VOR:非GPS仪表飞行
VOR和NDB是导航辅助设备。本指南将通过教程教你在微软模拟飞行2020中使用它们的基础知识。 VOR和NDB:像1949年那样飞行
2026-02-20 13:000赞 · 0评论
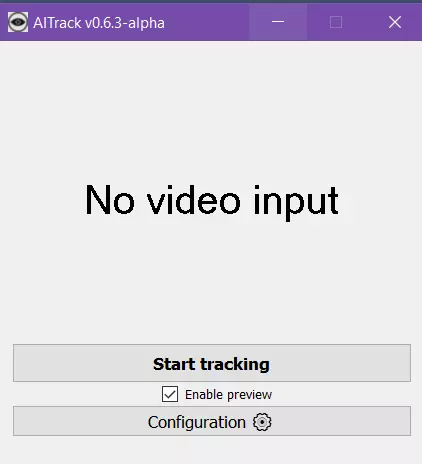
使用网络摄像头的TrackIr - 如果你有网络摄像头则免费
如何不用昂贵的TrackIr……你有网络摄像头,就可以在《微软模拟飞行2020》中利用面部动作来改变视角(向右看、向左看、向上看等)。 目标:将你的网络摄像头变…
2026-02-20 07:000赞 · 0评论
修复指南:0xC0000005 访问冲突错误
一份简单易懂的逐步指南,用于解决伴随特定错误代码出现的崩溃问题 需要注意的现象: 加载期间(主菜单出现前)突然发生“无声”崩溃 如何判断是否适用本指南: 为了确…
2026-02-20 04:000赞 · 0评论
787-10 仪表飞行规则(IFR)、自动驾驶与仪表着陆系统(ILS)完整指南
这是一份适用于《微软模拟飞行》(2020)中ASOBO 787-10梦想客机的完整操作指南。本指南基于我在模拟飞行中驾驶该机型的观察编写,可能无法完全反映现实中…
2026-02-20 04:000赞 · 0评论

通过缩减AI交通涂装和机场纹理提升性能
Overview Modern MSFS add-ons often ship with 4K textures by default, which can s…
2026-02-20 04:000赞 · 0评论
[VATSIM] 如何与空中交通管制员通话
In this guide i will go through most steps on how to talk to Vatsim atc. Might b…
2026-02-20 01:000赞 · 0评论
《微软模拟飞行2020》成就指南
《微软模拟飞行2020》全成就获取指南 简介 几乎所有成就都需要关闭辅助功能。我发现有时设置会自行重置,导致辅助功能重新开启。因此,在进行任何成就飞行前,请确保…
2026-02-19 22:000赞 · 0评论

环球旅行
足不出户,游览世界胜地。开启一生难忘的旅程。 使用方法: 1. 若要前往目的地,首先在主菜单点击【世界地图】,然后将下方的任意坐标输入左上角的【搜索】框并按回车…
2026-02-19 19:000赞 · 0评论
暂无更多