换一换
换一换 


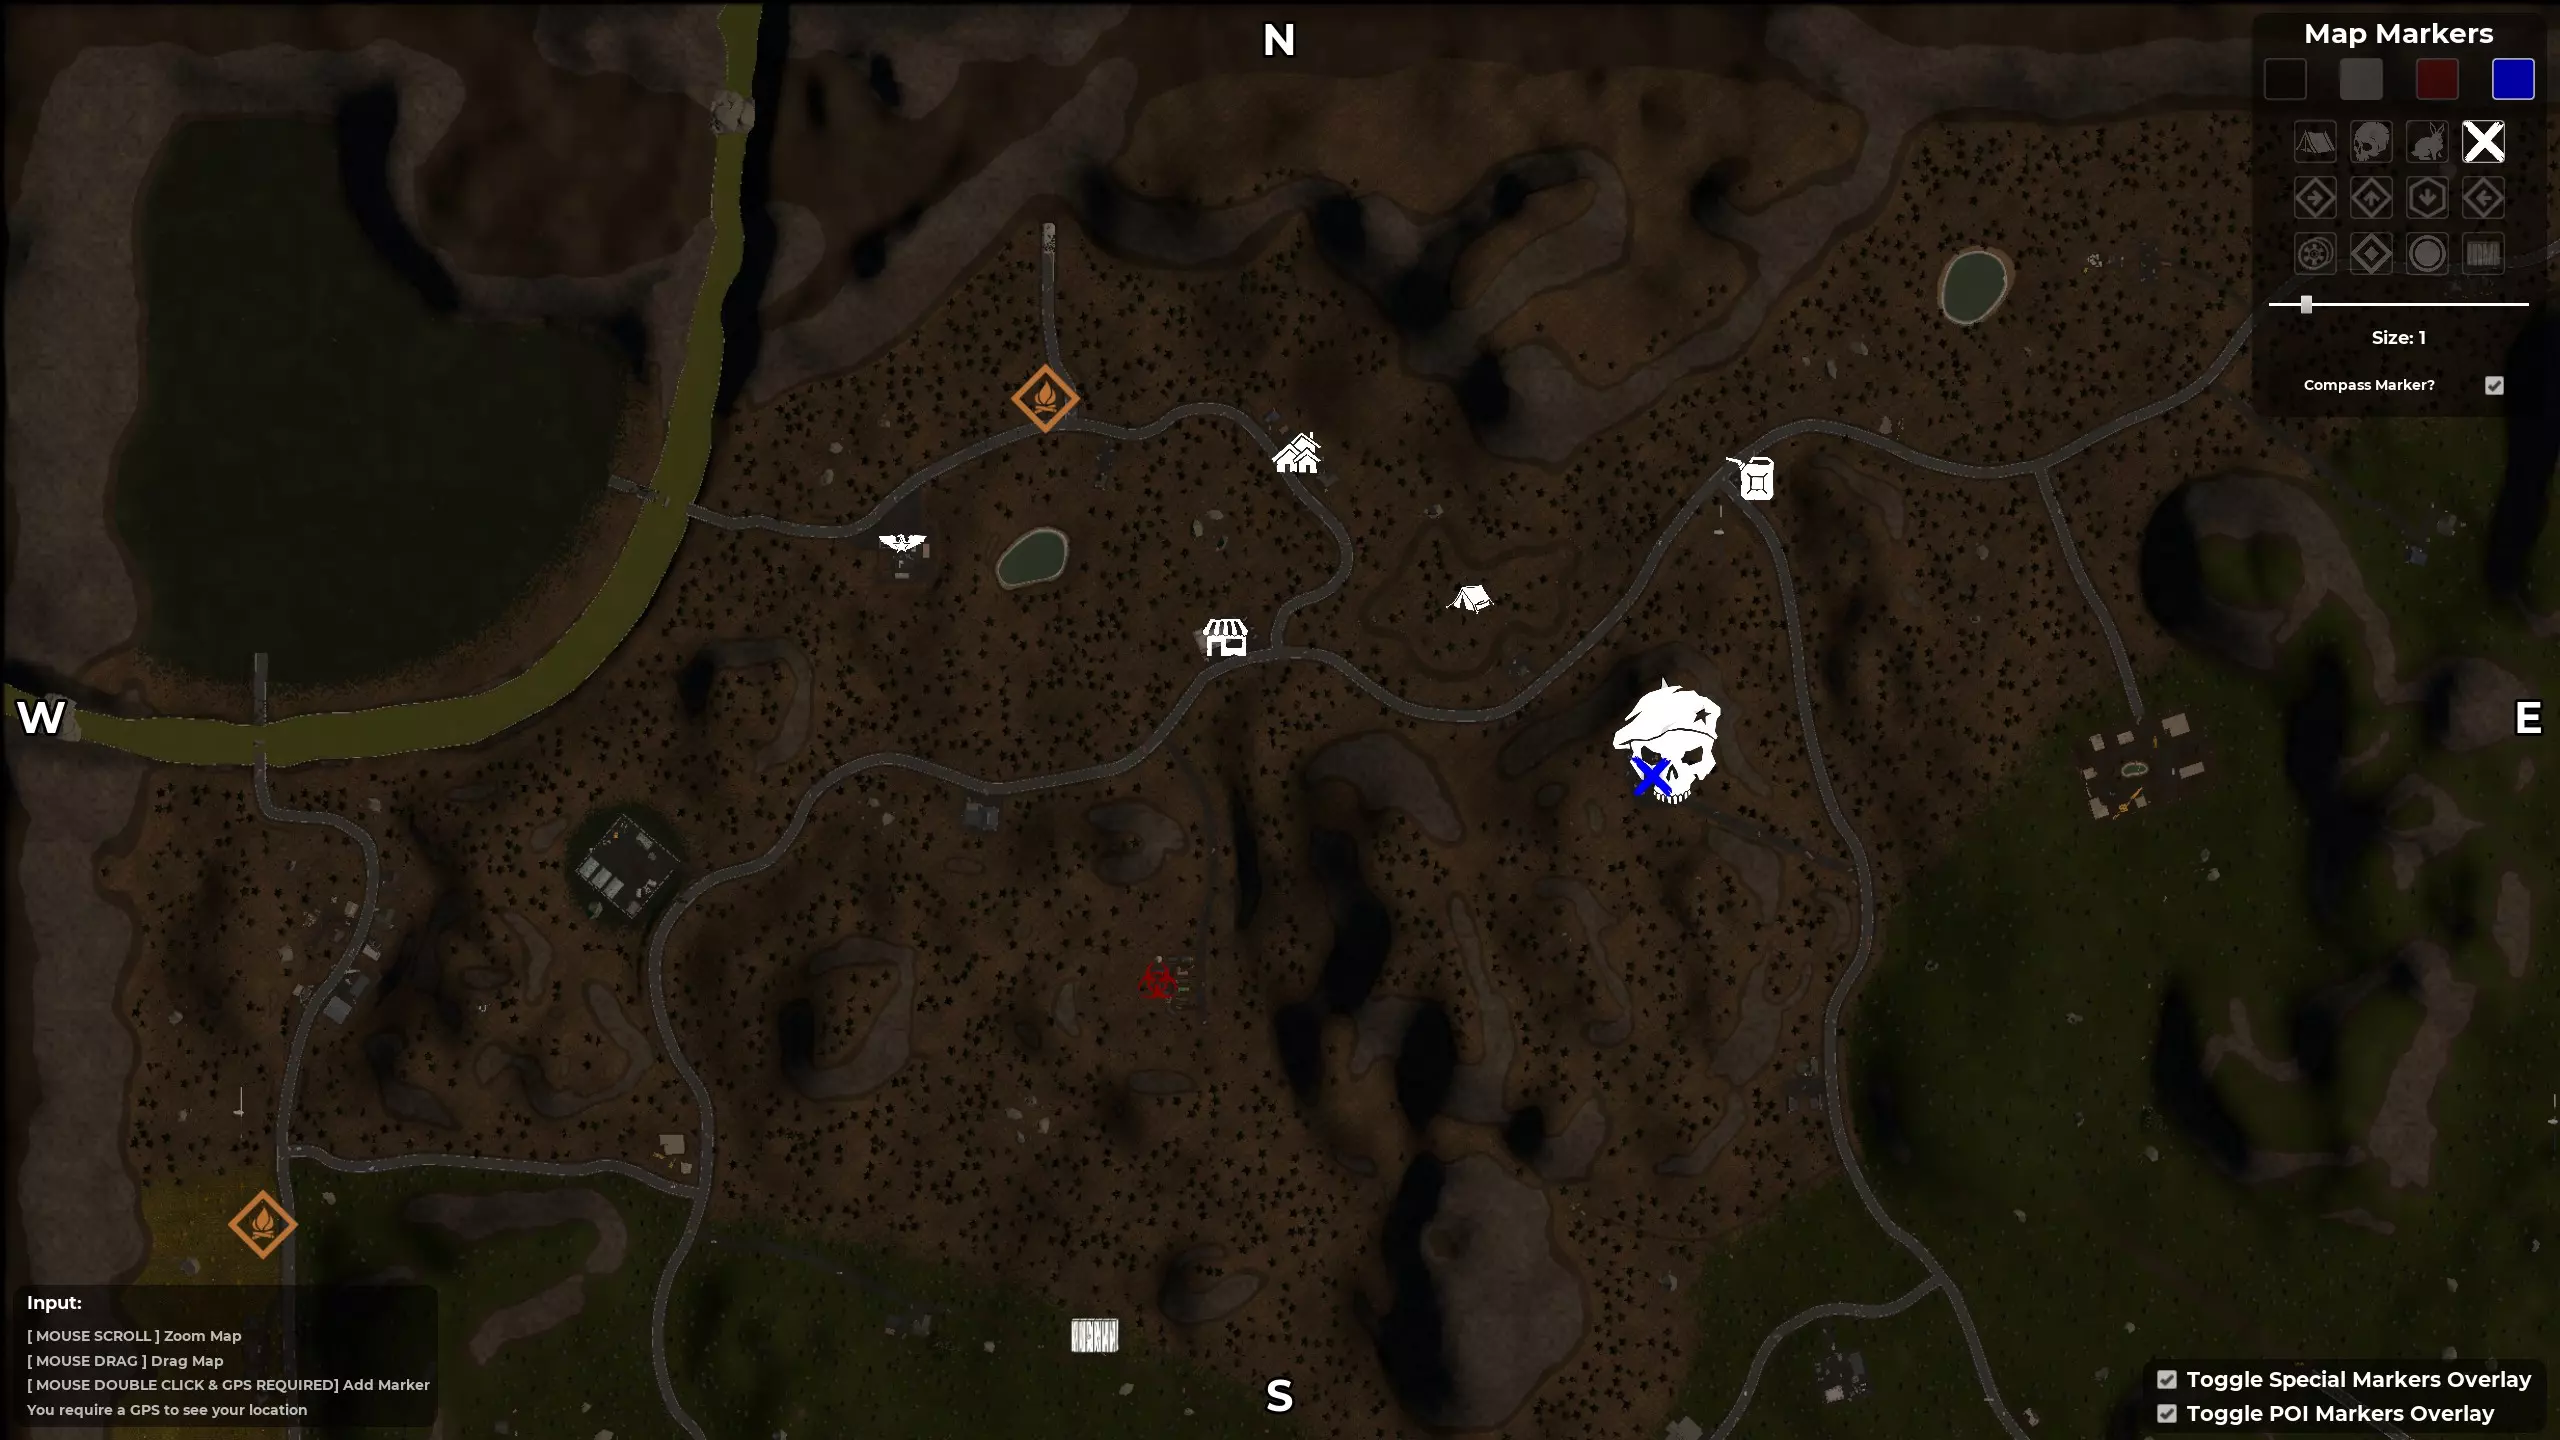
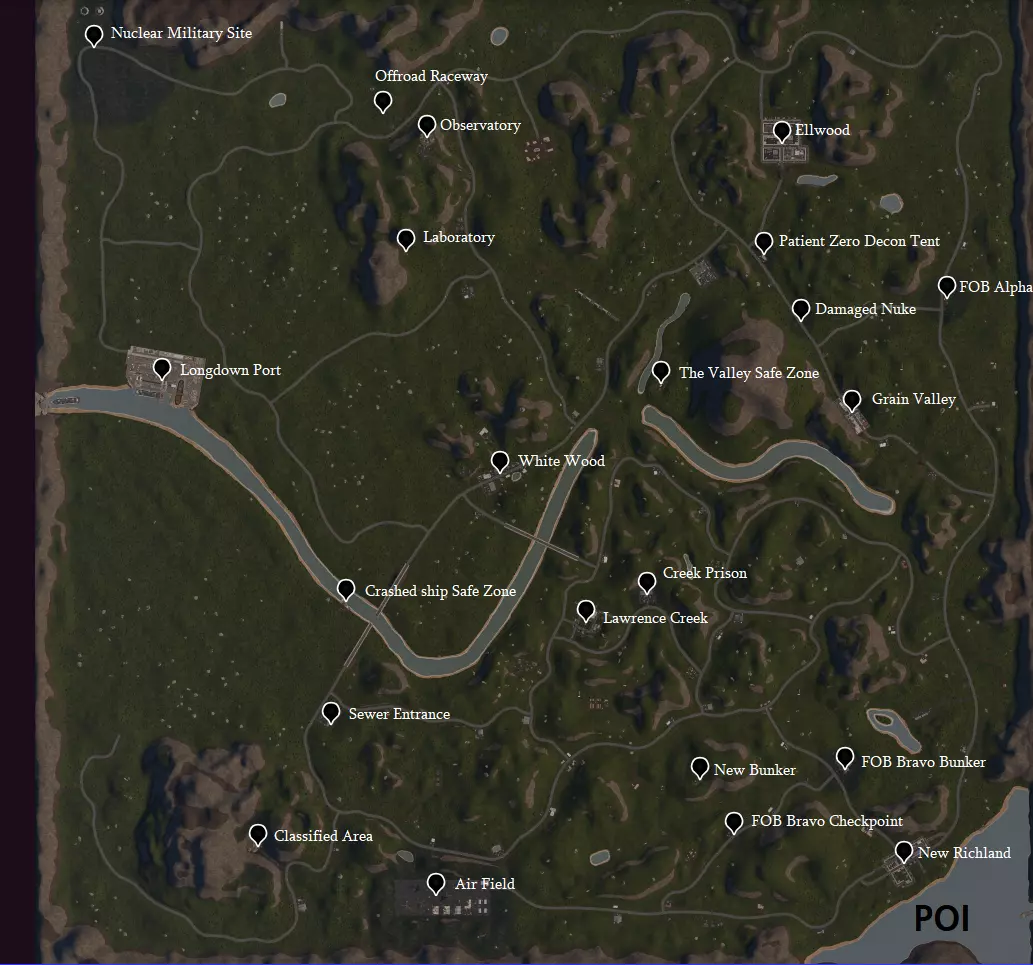
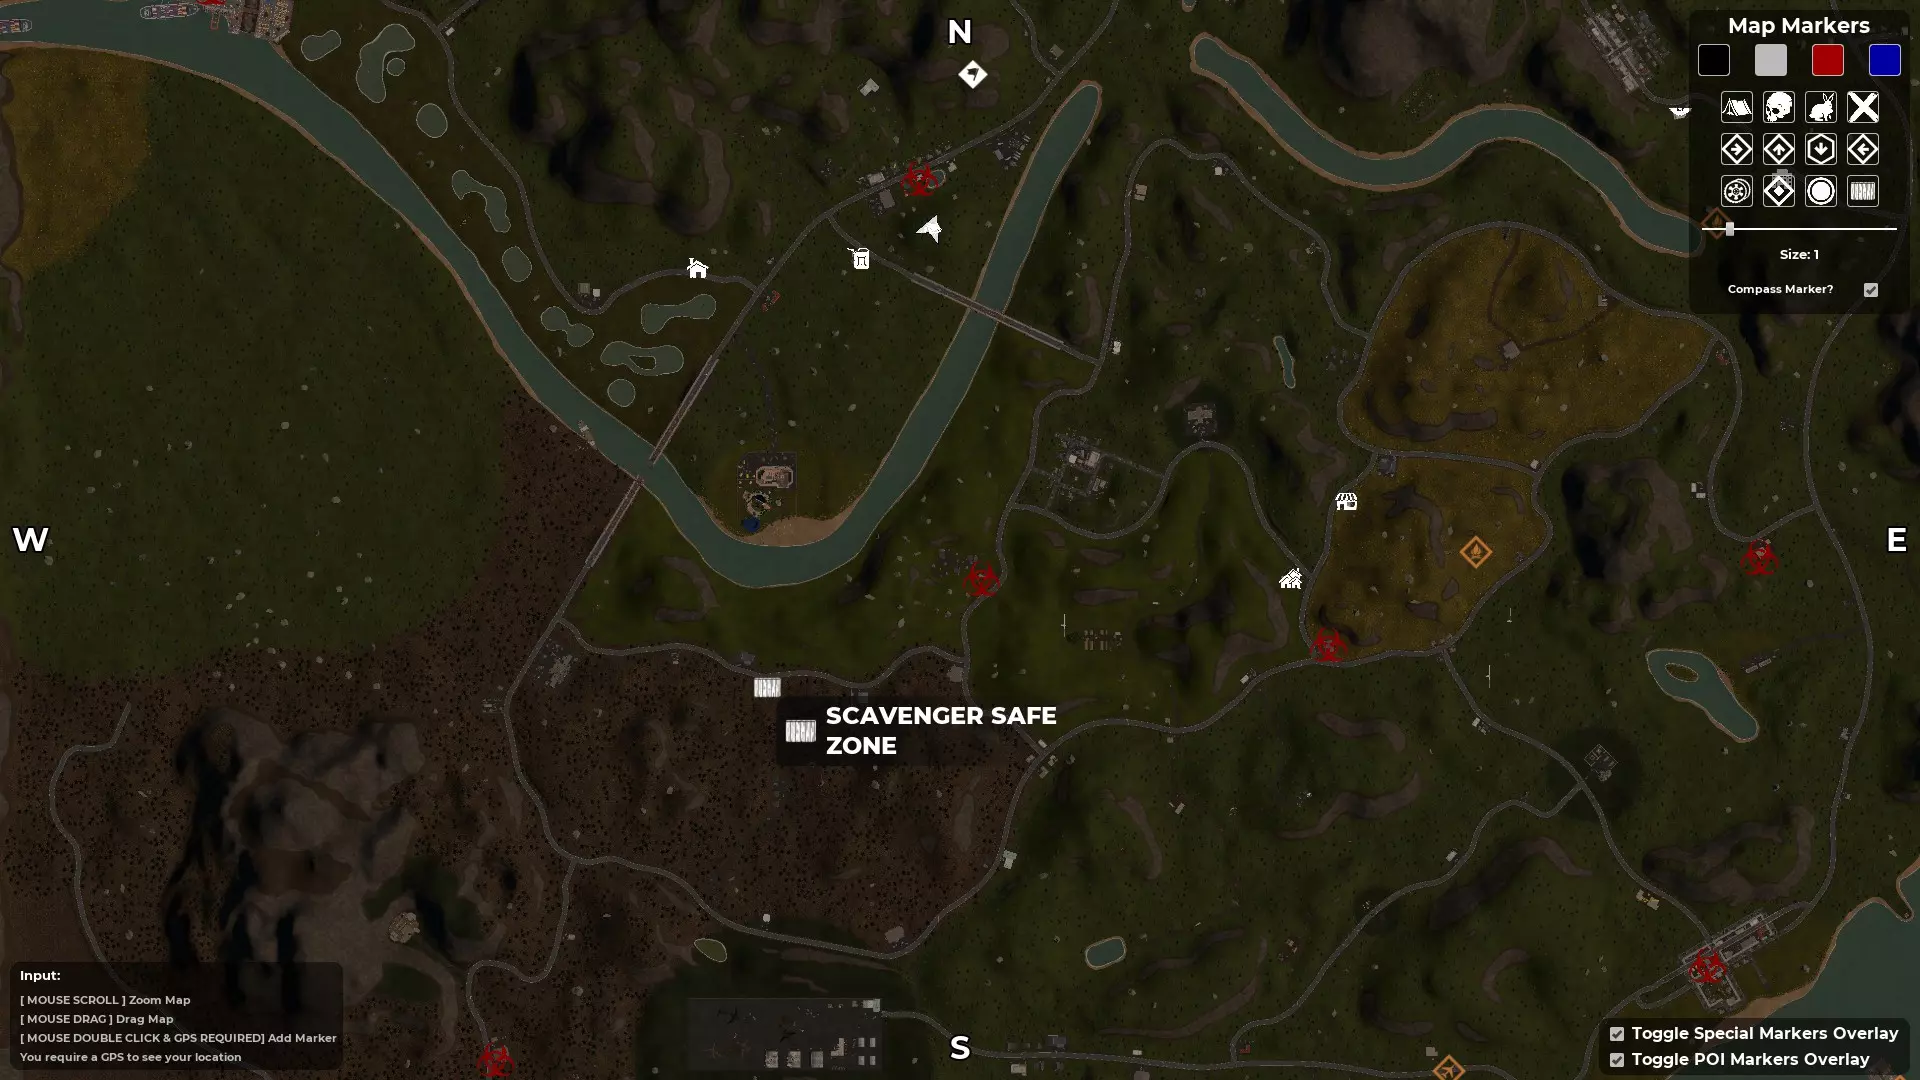
This will help you on hitting spots all the way to current game and allows you to be VERY WELL EQUIPPED! This Will help! Hi all I wanted to make this for all the newer players and veterans alike. I have made about 30+ games and have well over 200 hours in less then a month and I have found the best METAs for speed runs, Carry for Bags, and all the fun stuff in between. I have played all the modes and have made the game the easiest it can be and the hardest it can be. I have successfully beat all modes and I can safely say that my methods can and will help your gameplay from start to finish. For starters I would like to state this game can and will change while the game goes through its development. This said I will update my methods as the game changes and takes its course. 1st: Once you spawn you will need to head to Ellwood as fast as possible. While doing this you will need to get more familiar with your surrounding leading along the way for some good starter loot. Reason being is because the starter spawns are all located NW on the current main map and is close to Ellwood every single time you spawn. 2nd: Once you are at Ellwood you can do 1 of 2 things.. 1- You can either make a starter base in the bottom left of Ellwood with the empty floor building surrounded by fences. This can help you if you are learning the map and places so that you can place down storage to start building up loot and building anything else that you see fit. 2- You can start looting in Ellwood to get your stuff needed to get ready for place 2 that we are heading to next! 3rd: We are heading SE to FOB Alpha for some Ammo, Meds, and Upgrades. Reason being is because you have looted Ellwood and by now have your first Rad Mask to help you push through our first Rad Zone. Once you have made it here there are some cars you can stand on top of shot a gun once to pull in all zeds. Once they are pulled in you can kill them anyway you see fit but its normally best to get them in a small spot and throw 1 moly for easy EXP and you keep all your ammo. Clear out the loot then we head to the next spot! 4th: Head West to Patient Zero Location aka the unmarked Rad Location. If you are looking at the map from FOB Alpha it will be the small little square right below Ellwood. This will give you more upgrades if any, Ammo, Meds, and Extras. Don't forget there are Rad Zeds here so if you have a moly and or some ammo its always best. Collect all loot then we go to next location. 5th: Now we just head a bit West and we will hit an unmarked Supermarket. There are plenty of zeds here for exp and a good amount of starter loot. Clear this get the loots then we head to next location. 6th: Pretty much now we are ready for either Creek or FOB BRAVO pending on which key cards you were able to obtain. Careful though because now you will meet your first mini bosses. If you were lucky enough to get 2 Private Bunker cards then you just hit a huge easy W for maybe a Legendary item and or more upgrades. Private Bunker from Supermarket is located NW in the bottom side and a bit left of the backwards C mountain that surrounds the unmarked construction site. If you didn't get the 2 Private Bunker keys don't worry about it we will instead head to either Creek or FOB Bravo pending on which 2 you have ready to go. Creek Prison is located South of the Supermarket and FOB Bravo is located SE. Pending on which ones you did if not all 3 you now have more loots and are even more ready for the next place we are heading too! 7th: Now we go to Redacted Airfield which is located South of the map and looks like a huge rectangle. Here you will get so much loot and exp. There a few mini bosses here and just take your time clearing this if you have not done this location before. After clearing this we will go to to our next location! 8th: We are heading to Classified its unmarked but if look at your map from Redacted Airfield to the West there is a circle in the mountain. This is Classified location with zeds and 4 turrets outside with 2 cameras. If you destroy the 2 cameras (which the 1st one is located front right of bunker and the 2nd one is located at the door going into the main bunker) then the turret will not shot you. After going inside just be a bit careful for you will have Human AI and they are very easy to kill but a bit aggressive. Just aim for the head and shot, don't choke on your aim, take your time, and push forward. This is best done with a suppressed gun so all the Human AI doesn't try to come to one location. This can cause issues like unwanted Human AI getting stuck in the walls. If said such Human AI gets stuck in the wall just use nads, molys, and or take your time and shot whatever body part is able to be shot. Take your time in here and learn the lay out. After you clear and loot we will now go to the final location. 9th: Time for Observatory! This can be done at any point in the game but after all the loot you have obtained at this point it will make things just so much easier to clear this place. From Classified head North to the mountain left of the unmarked construction site. The top right of this mountain is the location of Observatory! You can see the little place on map if you look! I will let you have fun learning and looting that :D just note there are a good amount of Human AI here :D This here is the best starter for runs and yes you can skip steps but this is for a easy speed clear for any new and or old players. As far as looting goes I have my METAs on bag space and all that too but right now this is more important. Folks need to have a good roadmap for a better experience because it can open their eyes to other ideas and or runs :D We are a community so we are here to help folks and be helped! I will make more guides but this here is something I just wanted to put together.
任何玩家的绝佳入门之选

2026-02-20 07:00:15
发布在SurrounDead
转载

导读
这是一篇适合新老玩家的游戏入门攻略,作者凭借200+小时游戏经验,分享了一套从新手期到后期的游戏推进路线,涵盖从Ellwood起步,到FOB Alpha、Patient Zero地点等多个区域的探索、搜刮、建基地等玩法,还会随游戏更新调整方法,助力玩家高效提升游戏体验。

评论
共0条评论

手机游戏 【胜利女神】最速入门!教你开服前就搞懂nikke的基础玩法(上)
开服见,又是没出阿尔卡娜的一天
2026-05-10 06:080赞 · 0评论
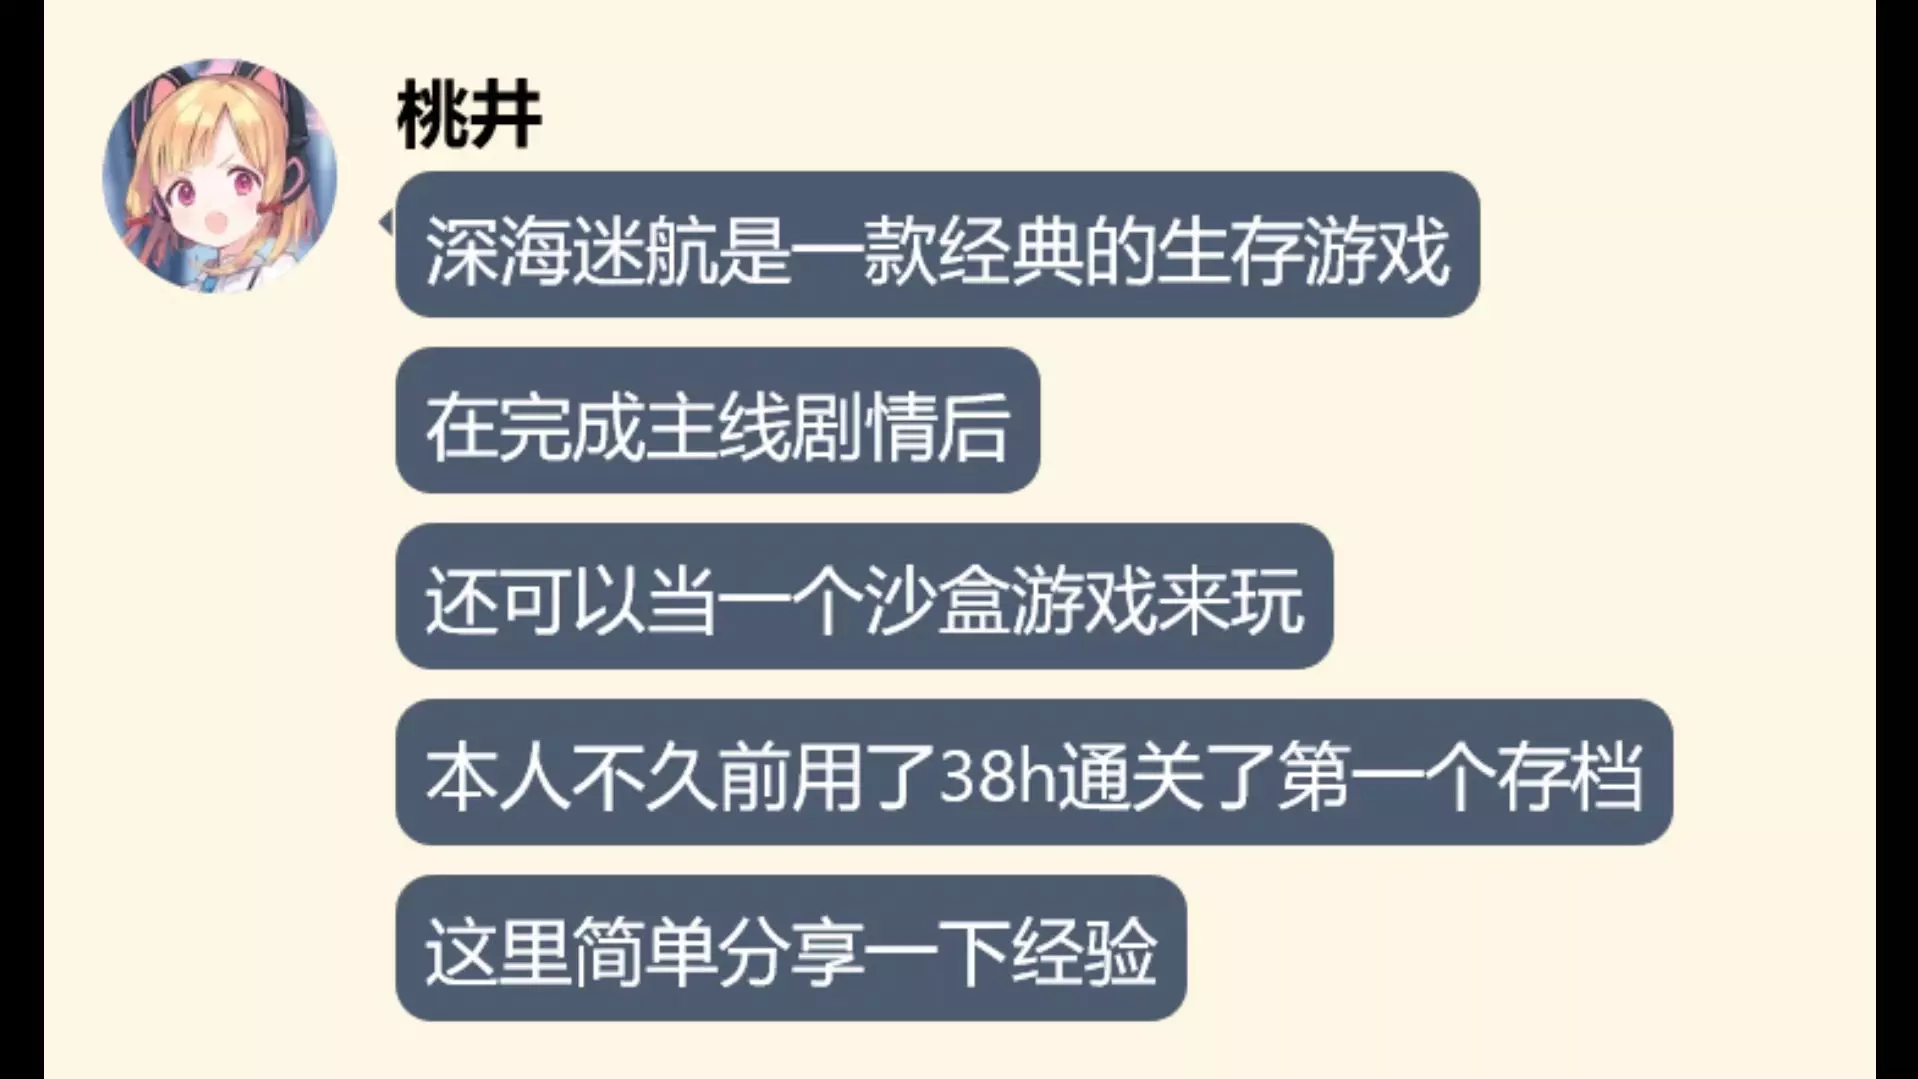
蔚蓝档案 【游戏入门】小桃教你入坑深海迷航
2026-05-01 14:370赞 · 0评论
游戏机制入门讲解
前言 本教程适用于未接触过本游戏以及不了解游戏内容的玩家,内容纯属个人整理。后续将考虑制作关卡的三线路攻略,本教程也会根据版本更新持续完善,如有遗漏,欢迎在评论…
2026-02-14 07:000赞 · 0评论

战锤40K 【战锤40k:暗潮】入门攻略视频第三期:特感详解篇
本期主讲特感各方面事项,如有疑问或者补充,请在评论区留言,我会慢慢改进。由于刚开始做视频,我电磁力不够,不能上传一整个视频。每周播放量需要到520才能拿到经验,…
2026-01-16 21:220赞 · 0评论
新手 博德之门必备项目
我超,爽杀!
2026-05-05 14:080赞 · 0评论
如何推进/游玩
本指南旨在帮助新玩家了解游戏玩法。 基础操作 唯一需要注意的操作是使用WASD键移动和E键互动。在多人游戏中,你可以左键点击其他玩家来推他们。 游戏流程/玩法 …
2026-03-20 16:000赞 · 0评论

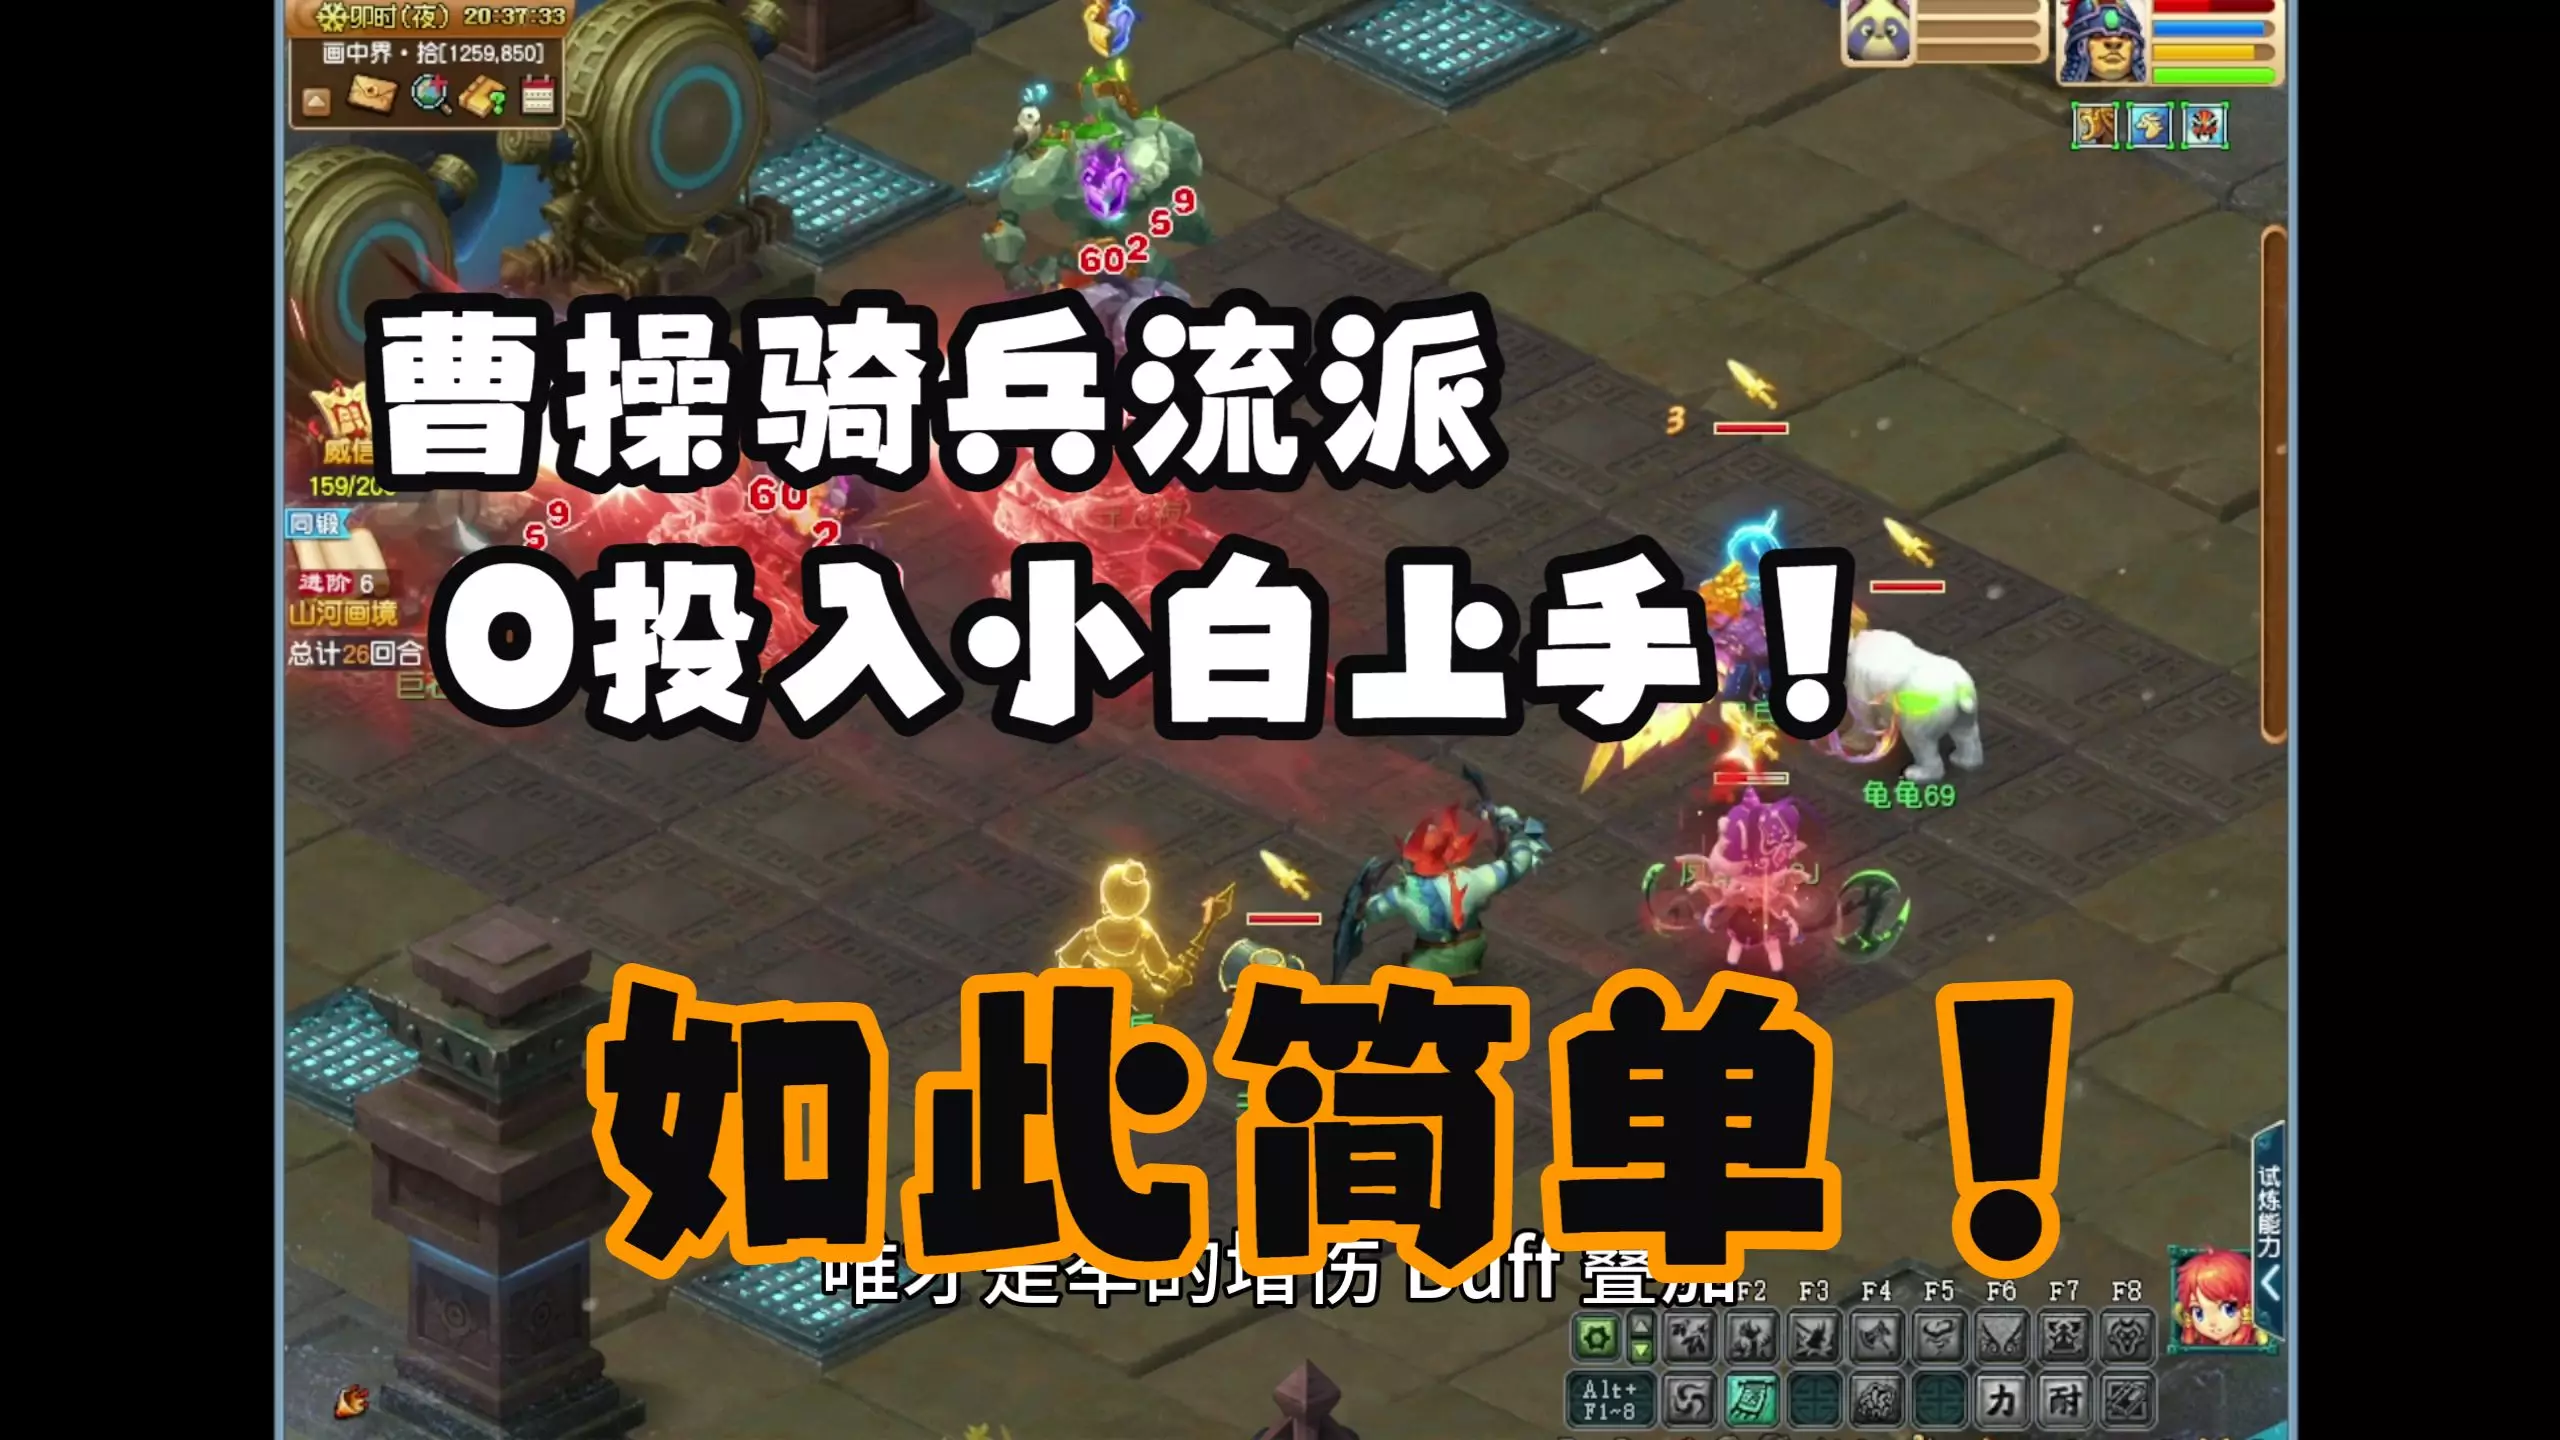
梦幻西游 傻子也能看懂的曹操骑兵流派入门#希希存钱罐计划【番外2】
2025-10-26 08:310赞 · 0评论
夏日狂想曲 夏日狂想曲入门,美雪
-
2025-09-20 20:230赞 · 0评论
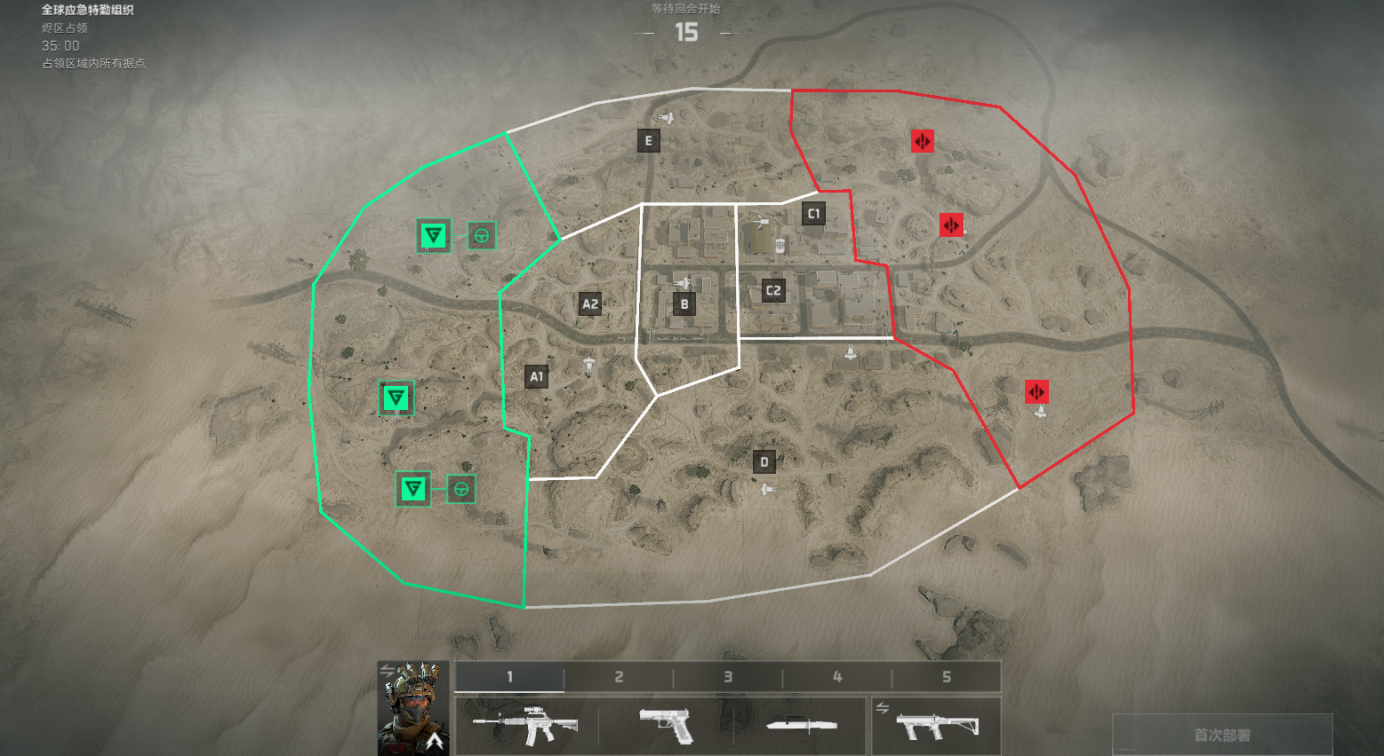
【入门攻略】占领模式玩法介绍
干员们!战场范围更大,战术空间更足的【占领模式】来啦!
2024-06-24 09:392赞 · 2评论
夏日狂想曲 夏日狂想曲入门,结衣
-
2026-05-14 01:350赞 · 0评论
暂无更多
最新更新
- SurrounDead:徽章等级 — 本指南展示了《SurrounDead》徽章的所有等级。 1级
- 《SurrounDead》全成就指南(2025) — 本指南的主要目标是详细解释所有可用成就以及获取它们的最佳方法。 简介 欢迎阅读, 本指南的主要目标是详细解释所有可用成就以及获取它们的最佳方法。其中包含解锁每个…
- 《SurrounDead》存储与载具数据指南 — Want to know which backpacks there are, which is largest or which is most space …
- 《SurrounDead》西班牙语本地化 — SurrounDead — 西班牙语本地化(文本) 信息 SurrounDead — 西班牙语本地化(文本) 作者:OTAMAH 版本:1.0 游戏版本:Pre…
- 载具刷新点与废金属位置 — 我将我在这两方面所做的工作整合到了一份指南中,以便在需要进行更改和更新时更加便捷。 (当前游戏版本:1.3.4b / 2023年2月19日) (指南最新更新时间…
- Surroundead 地图位置 — 此信息来自Surroundead的Fandom互动地图维基,但我已截图并用画图软件进行了编辑。位置 - 兴趣点
- 《SurrounDead》更好的画质 — I have greatly improved the graphics in a few points: Grass, foliage and ground …
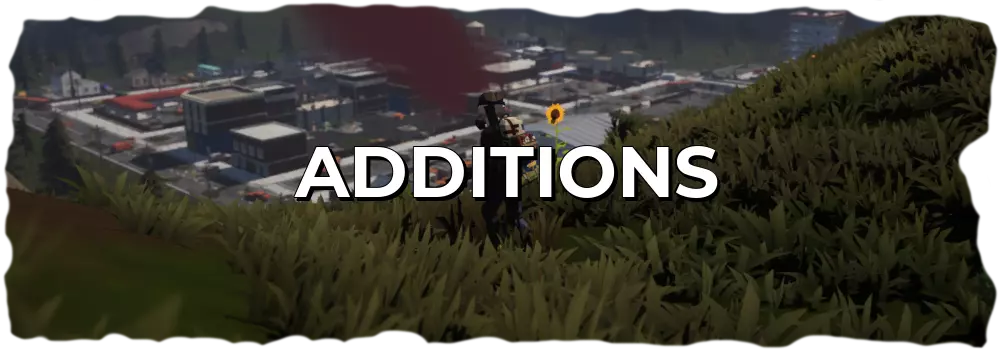
- 任何玩家的绝佳入门之选 — This will help you on hitting spots all the way to current game and allows you t…
- SurrounDead 文本俄语化工具 — 文本翻译 安装 SurrounDead 0.7.1g 版本文本俄化补丁 2025年8月28日 要求: Steam游戏版本:0.7.1g(版本号19622939)…
- SurrounDead - 法语本地化 — 游戏《SurrounDead》法语翻译! 信息 SurrounDead — 法语本地化(文本) 作者:OTAMAH 版本:1.1 游戏版本:Preparatio…