换一换
换一换 


《阿斯卡》指南将为你介绍游戏界面(HUD)、游戏机制,并带你逐步了解新建维京聚落的最初几天。 游戏界面(HUD)说明 作为一款融合了生存与殖民地模拟元素的游戏,《阿斯卡》对这两类游戏的老手而言也颇具挑战。初期的错误选择可能会让你在入侵开始后难以长期生存。接下来将为你详细解释游戏界面,之后我们会进入新手引导流程!
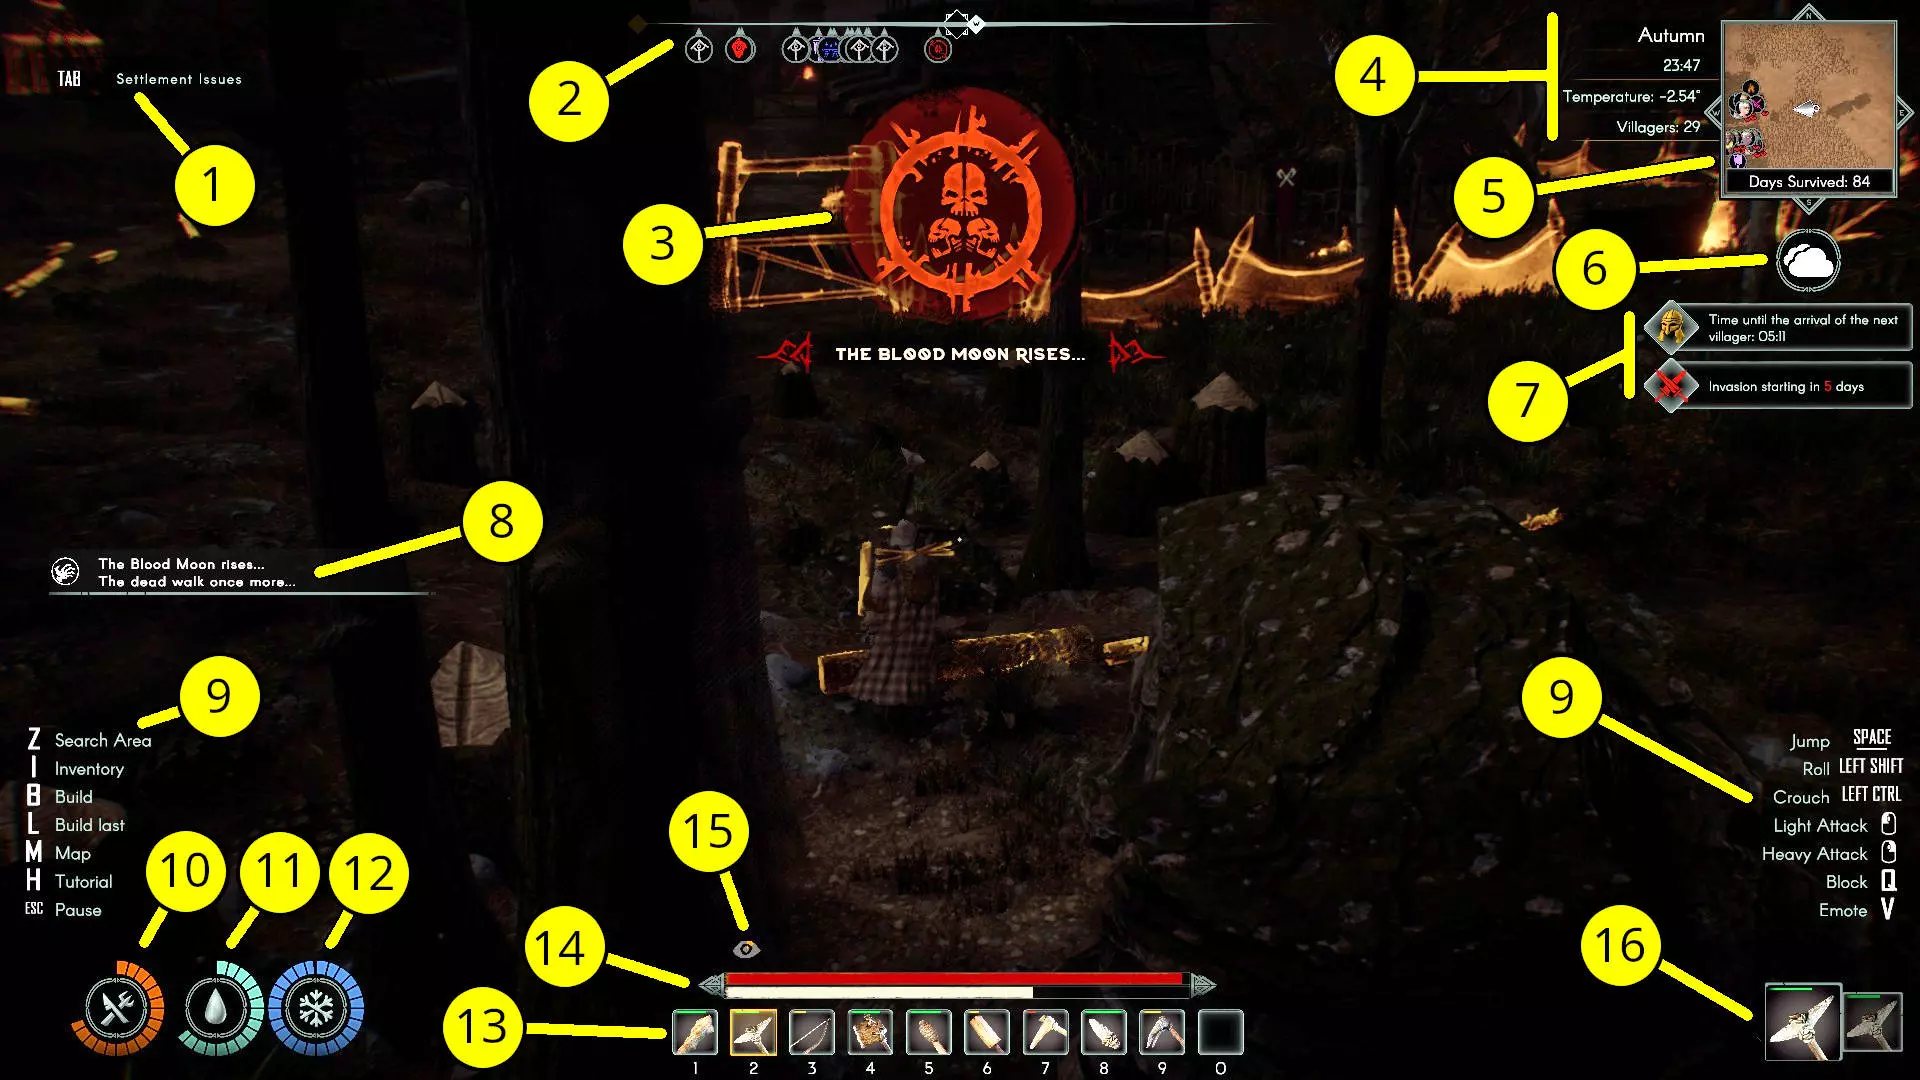
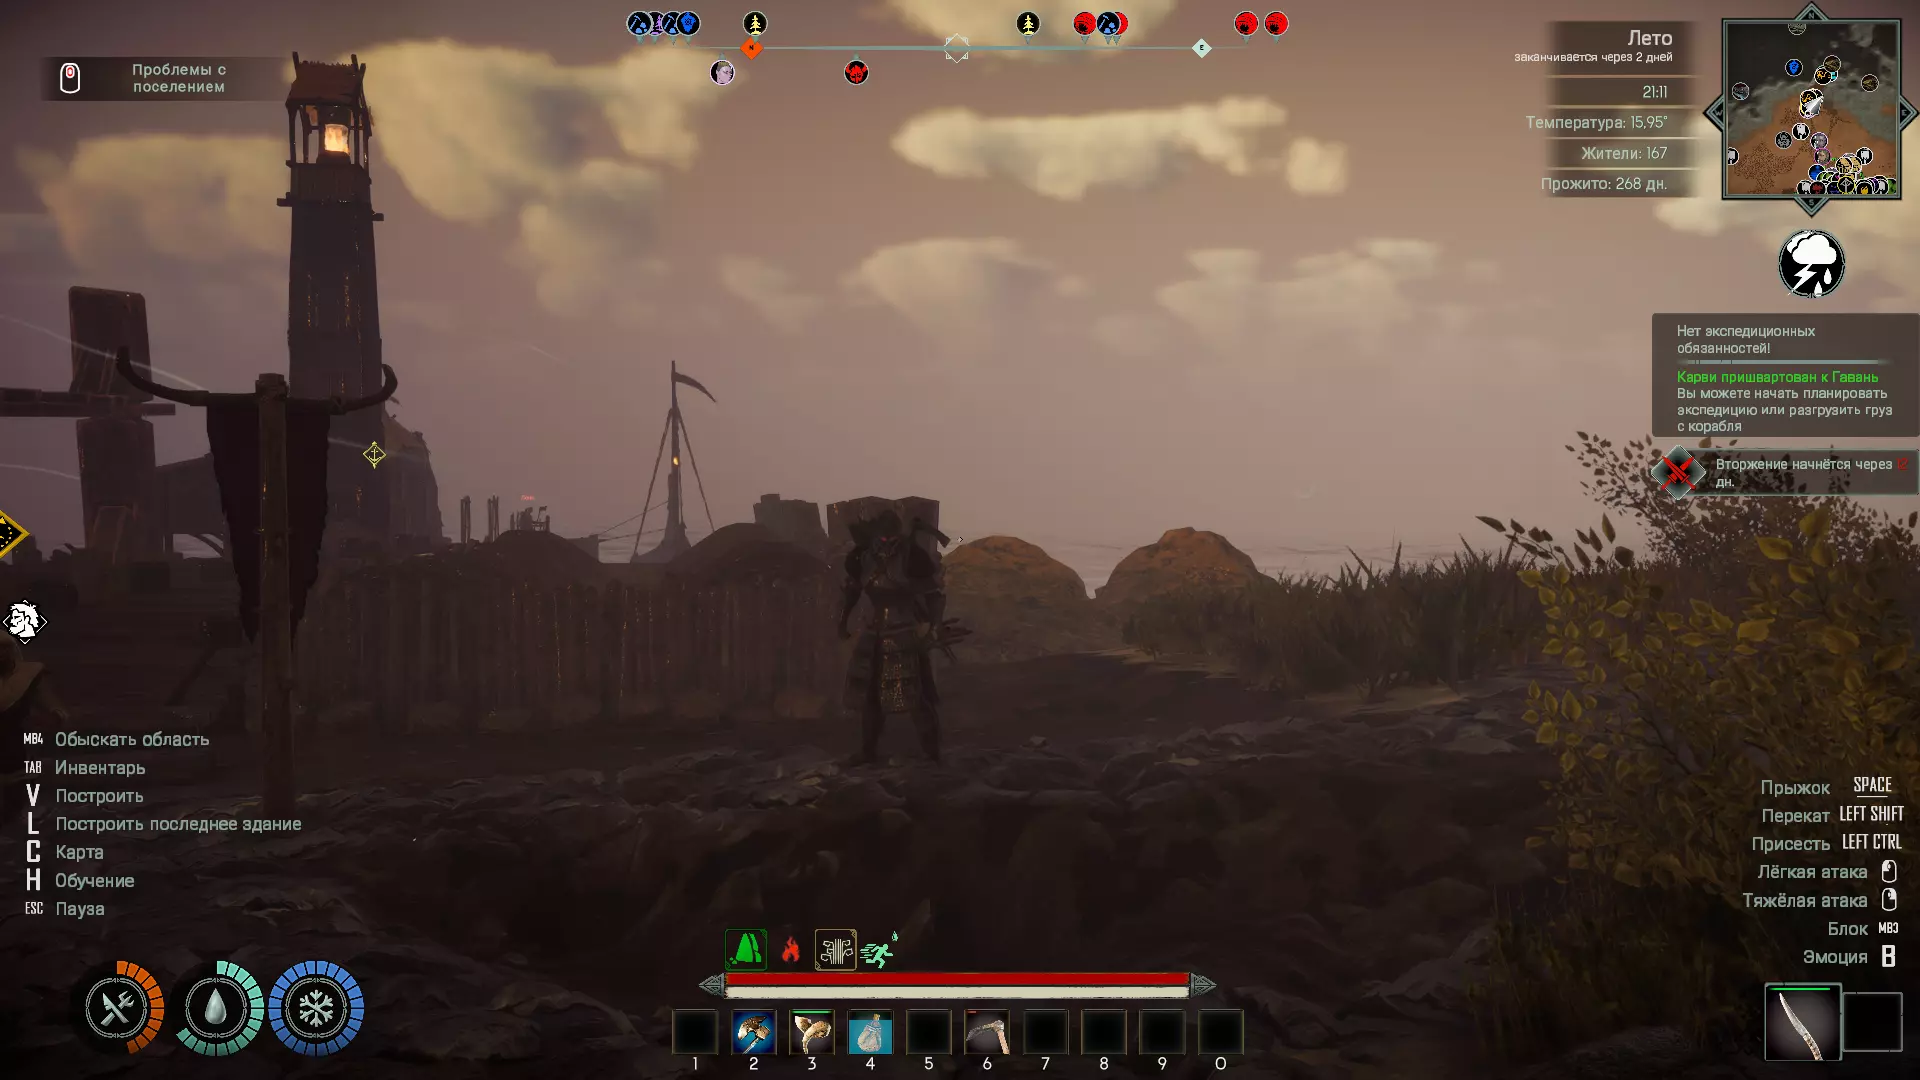
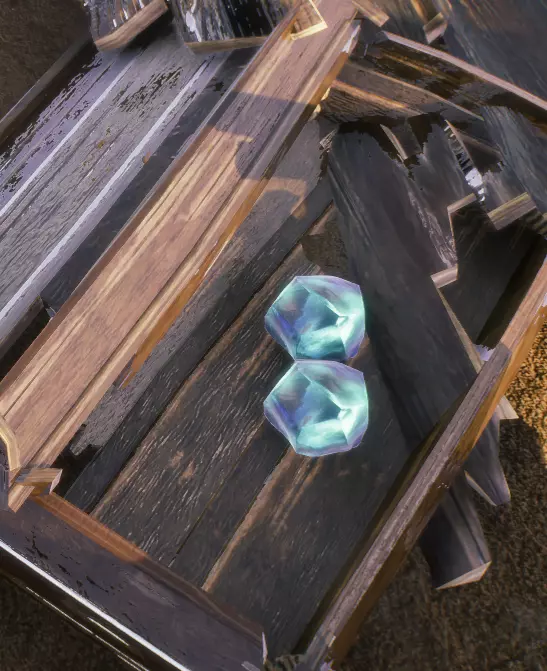
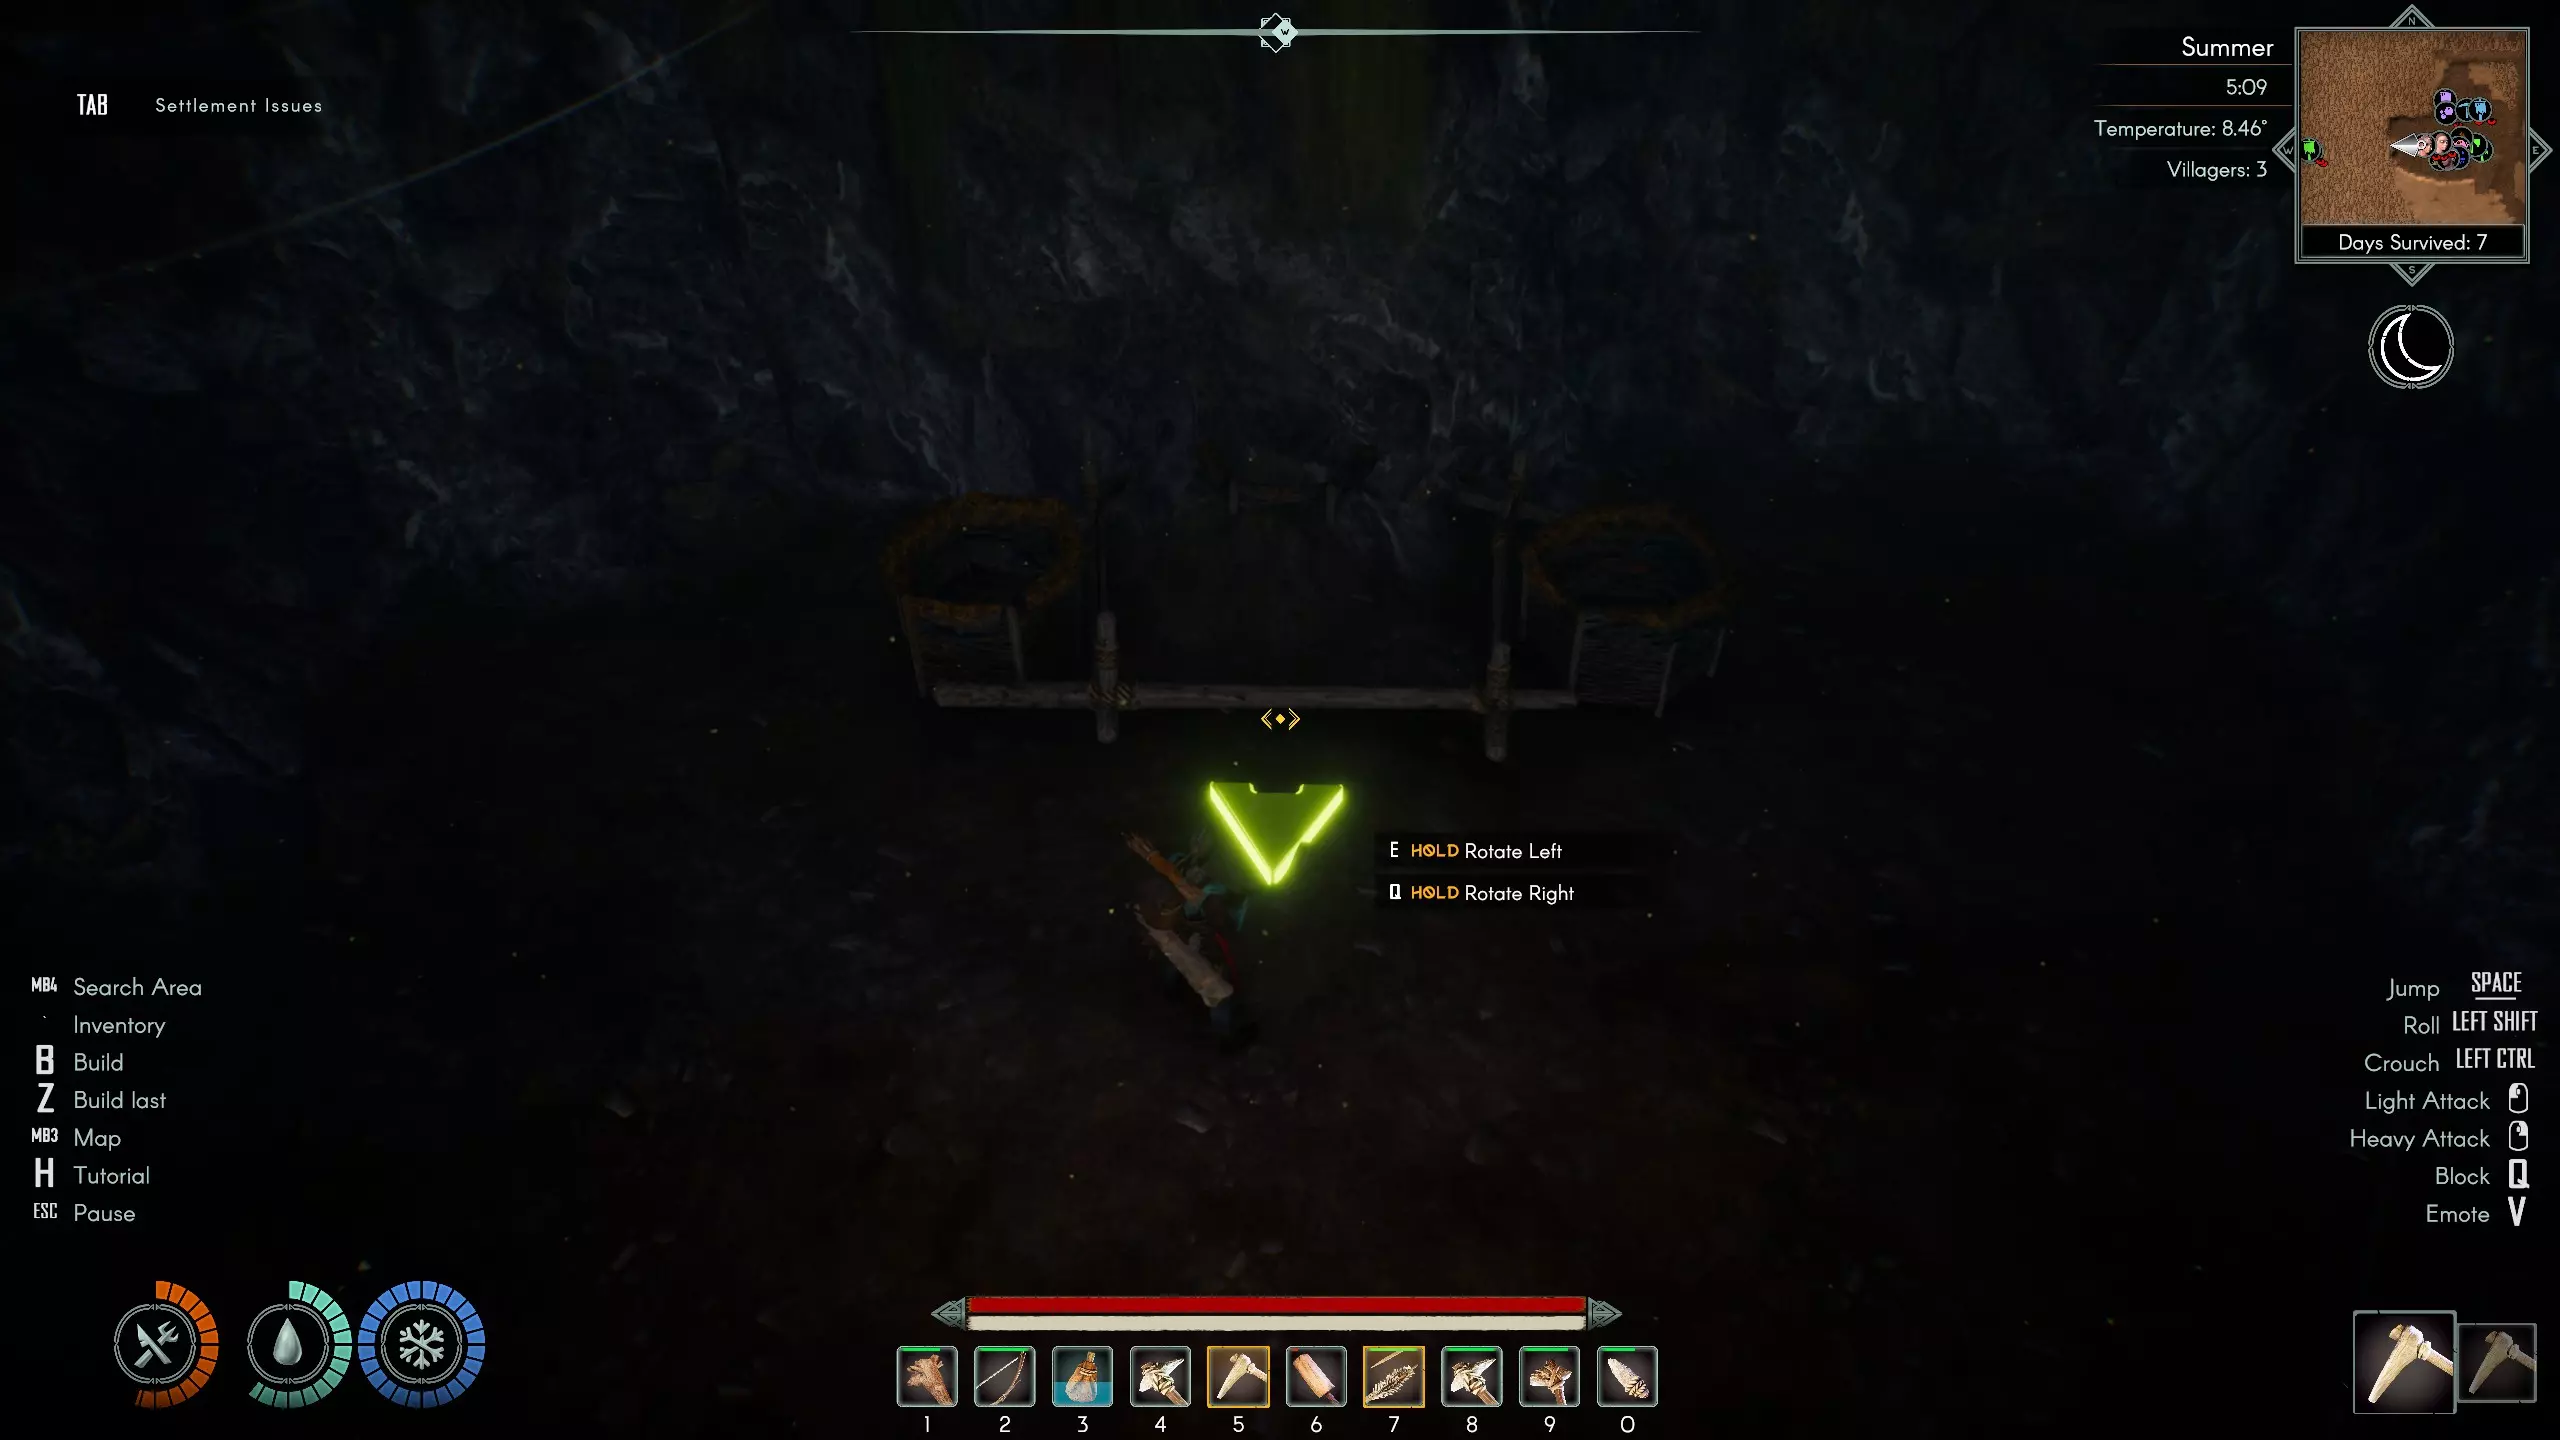
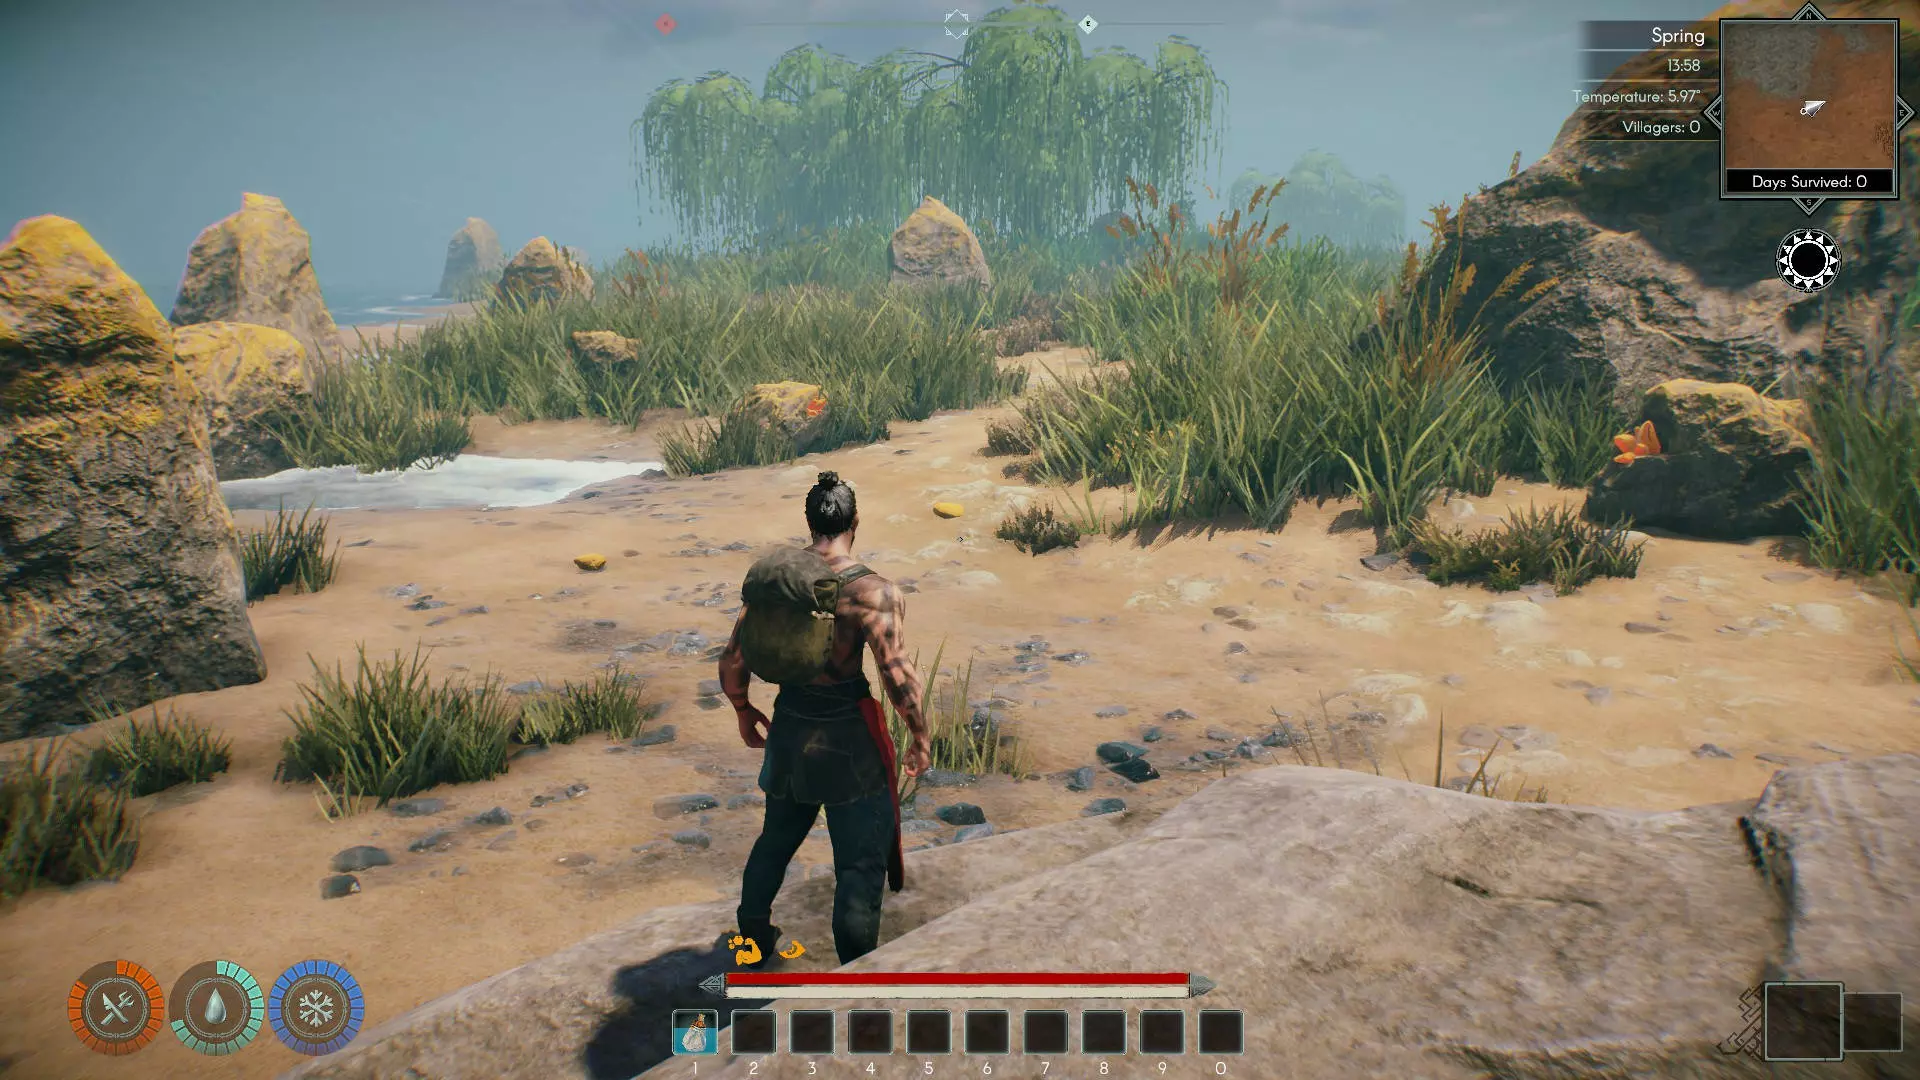
聚落问题:按下Tab键会打开【聚落问题】界面,该界面会详细显示村民或建筑存在的任何重大问题。 指南针:指南针会显示你当前的朝向,以及该方向上的任何建筑或地图标记。 事件警告:任何重大事件(如入侵)都会在屏幕中央弹出提示。 日历和计数器:用户界面的此部分包含以下信息: 季节:顶部显示当前的季节。 时间:列表中的第二项是一天中的时间。 温度:这里显示当前温度。负温度会导致你的【温暖】属性值下降。 村民数量:这里显示当前存活的村民数量。 小地图:小地图显示在用户界面的右上角。屏幕底部还会显示你的生存天数。 当前事件/天气:这里会用图标显示当前事件,否则会显示当前天气。重要的是,正在进行的入侵会用生物的爪子图标表示。 倒计时:这里会显示即将到来的事件倒计时,例如新村民的到来或下一次冬季入侵。 公告:天气变化或事件的公告会在这里用文字消息详细说明。 controls:屏幕左下角和右下角会显示控制按钮。这些用户界面元素可以通过菜单禁用。 食物:这里显示你当前的饥饿程度。如果食物降至0,你将开始失去生命值,并且耐力恢复速度会变慢。水分:此处显示你当前的 hydration 等级。若水分降至0,你将开始失去生命值,且耐力恢复速度会变慢。 温暖度:此处显示你当前的温暖度。低温环境或长时间处于海水中会使温暖度缓慢下降。若温暖度过低,你会获得“感冒”负面状态。此外,当温暖度降至0时,你将持续失去生命值,且耐力恢复速度会变慢。 快捷栏:快捷栏显示你可以随时主动使用的10个物品。这些物品不计入独立的 inventory 槽位。 生命值和耐力:此处显示你的生命值(红色条)和耐力(浅黄色条)。若生命值降至0,你将死亡。如果你的耐力值较低,将无法进行攻击、使用工具或奔跑。某些负面减益效果(或核心生存属性如饱食度、饮水度降至0)会减少甚至完全停止耐力值的恢复。 增益/减益效果:增益和减益效果显示在生命值和耐力值条上方。你可以在背包中查看当前状态效果的更多详细信息。 已装备工具/武器:此处会显示你当前手持的武器或工具。 现在我们已经解释了HUD界面,接下来让我们开始阿斯卡新手指南!我们将带你度过游戏中的最初几天,并为你提供如何最大限度提高长期生存几率的建议。 创建角色 在生成世界之前,你需要先创建角色。你可以选择男性角色拉格纳或女性角色阿斯卡。你也可以通过菜单界面更改角色的外观装扮。 目前似乎没有办法在创建特定世界后更改角色的性别或外观,所以在继续游戏前,请确保你对角色的外观感到满意! 登陆 游戏开始时,你会出现在一艘失事船只附近的海滩上。一只巨大的约顿巨人从海洋中咆哮而出,不过幸运的是,它又回到了深海。你可以自由探索这个世界,但除了身上的衣服和一个水袋外,你一无所有。 在建造奥丁之眼之前,失事船只将作为你的重生点;如果你使用“脱离卡住”命令,也会传送到这里。若奥丁之眼被摧毁,你的重生点将重置为这艘沉船。 你的失事船只附近的箱子里有五块发光的蓝色水晶。这种资源是约顿之血,是用于召唤村民到你的定居点的物品。收集全部5块并随身携带,留待后续使用。 收集物资 是时候收集一些物资了!你需要获取一些食物、水以及用于制作首批工具的资源。 选择一个方向并沿着海岸奔跑。按Z键使用“搜索区域”能力。你会发现三种不同类型的资源:
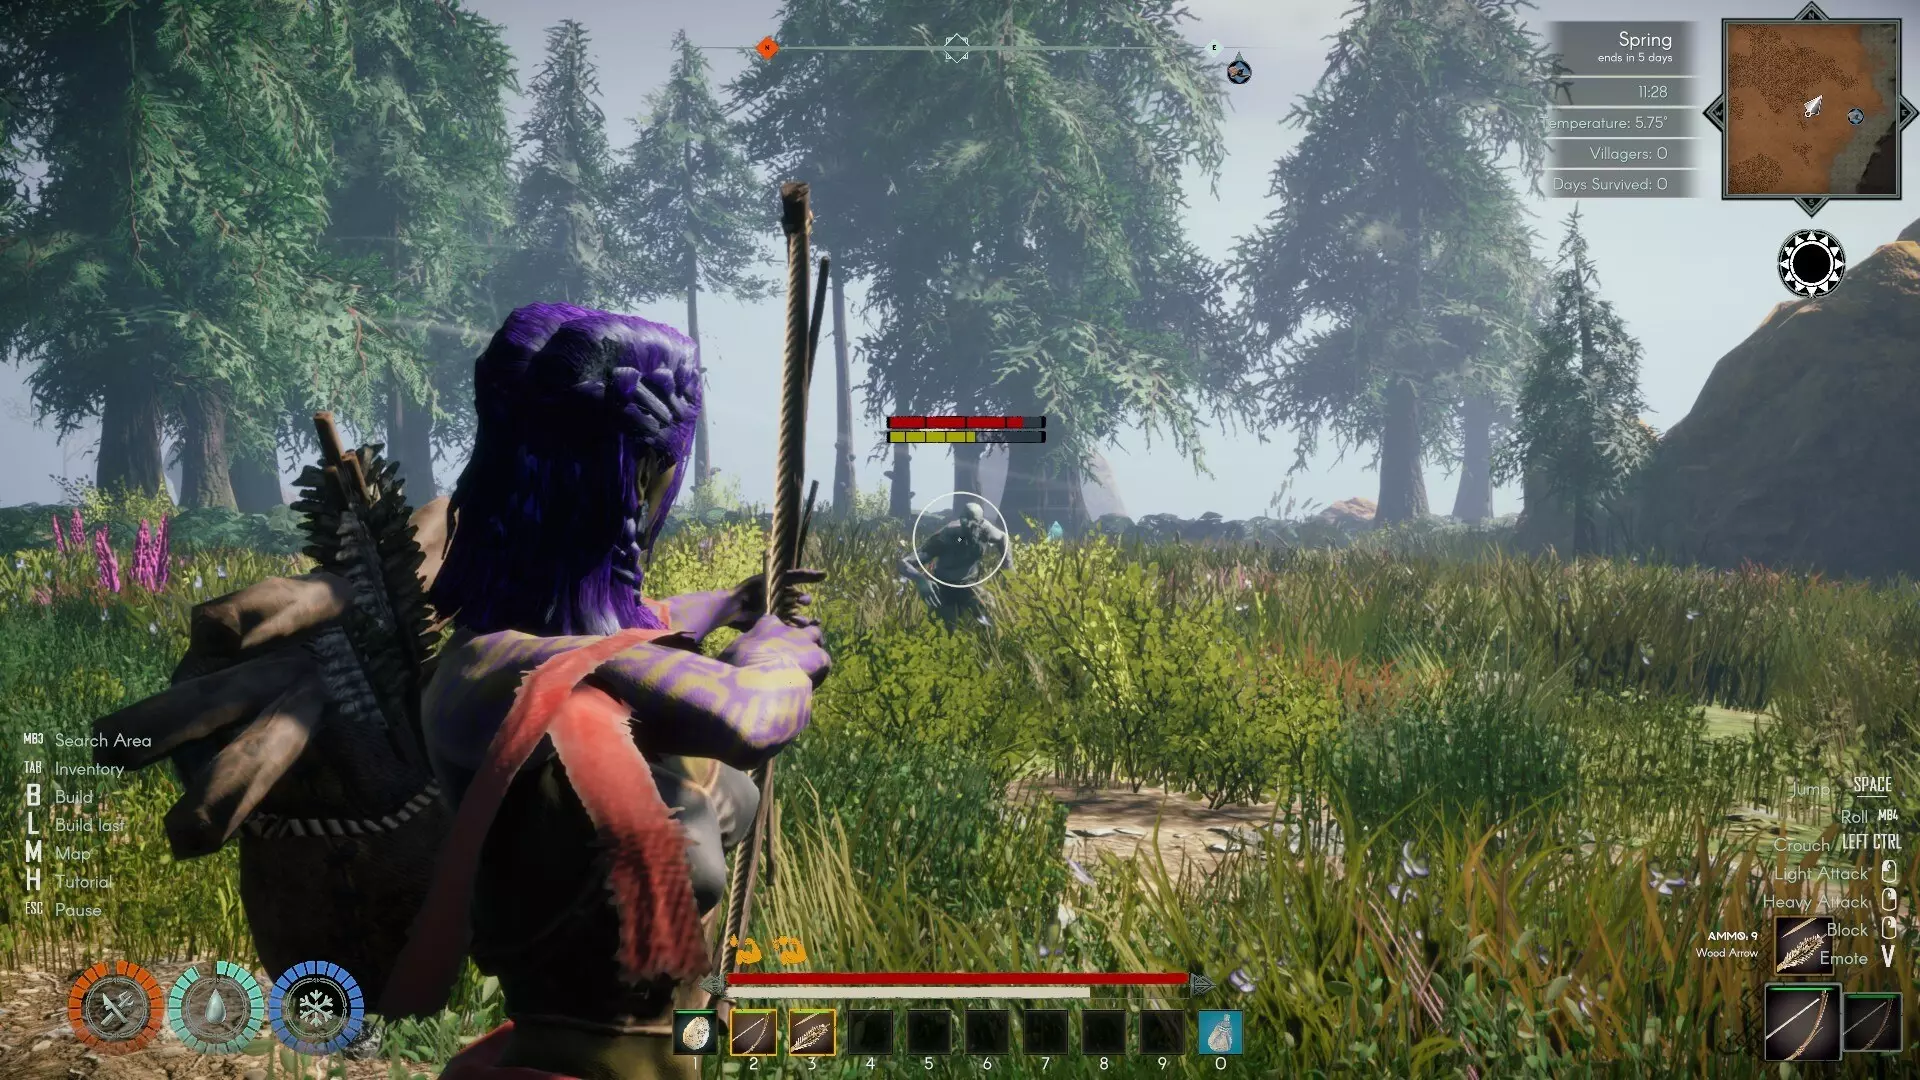
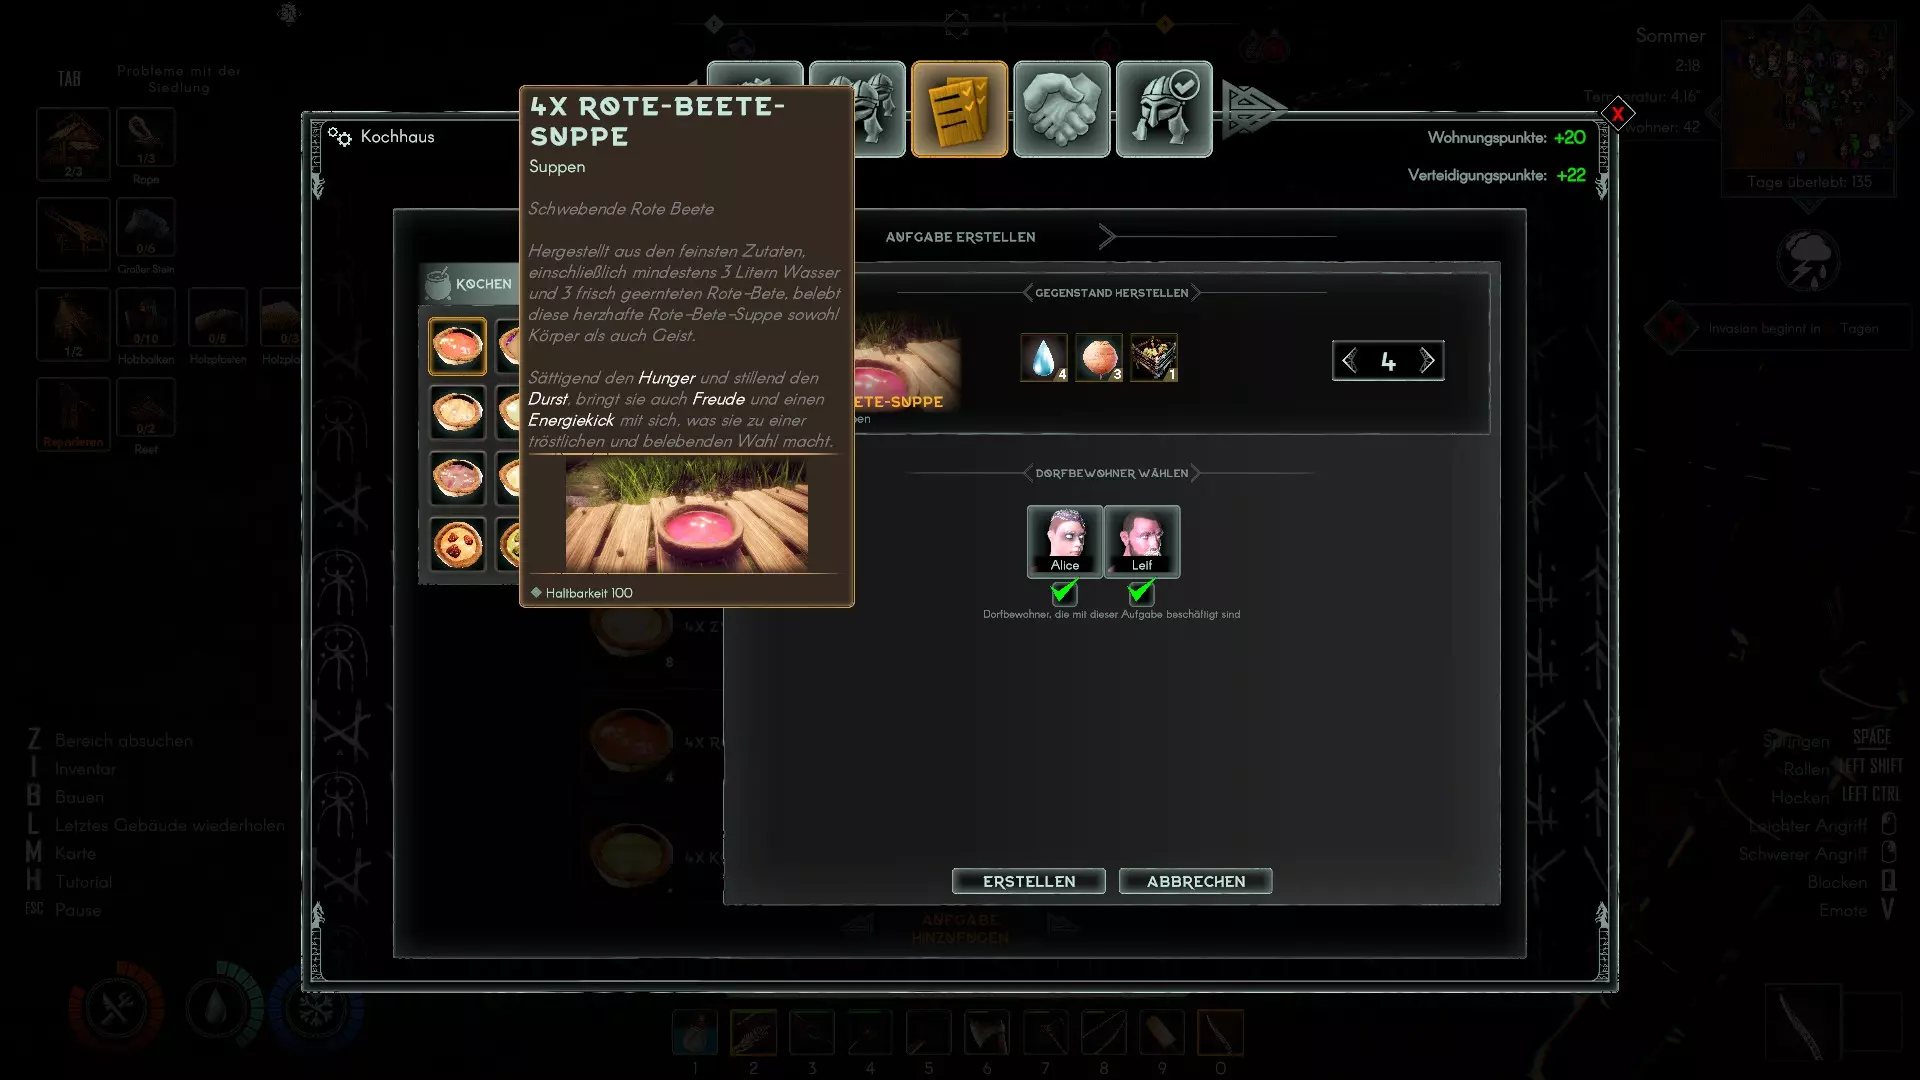
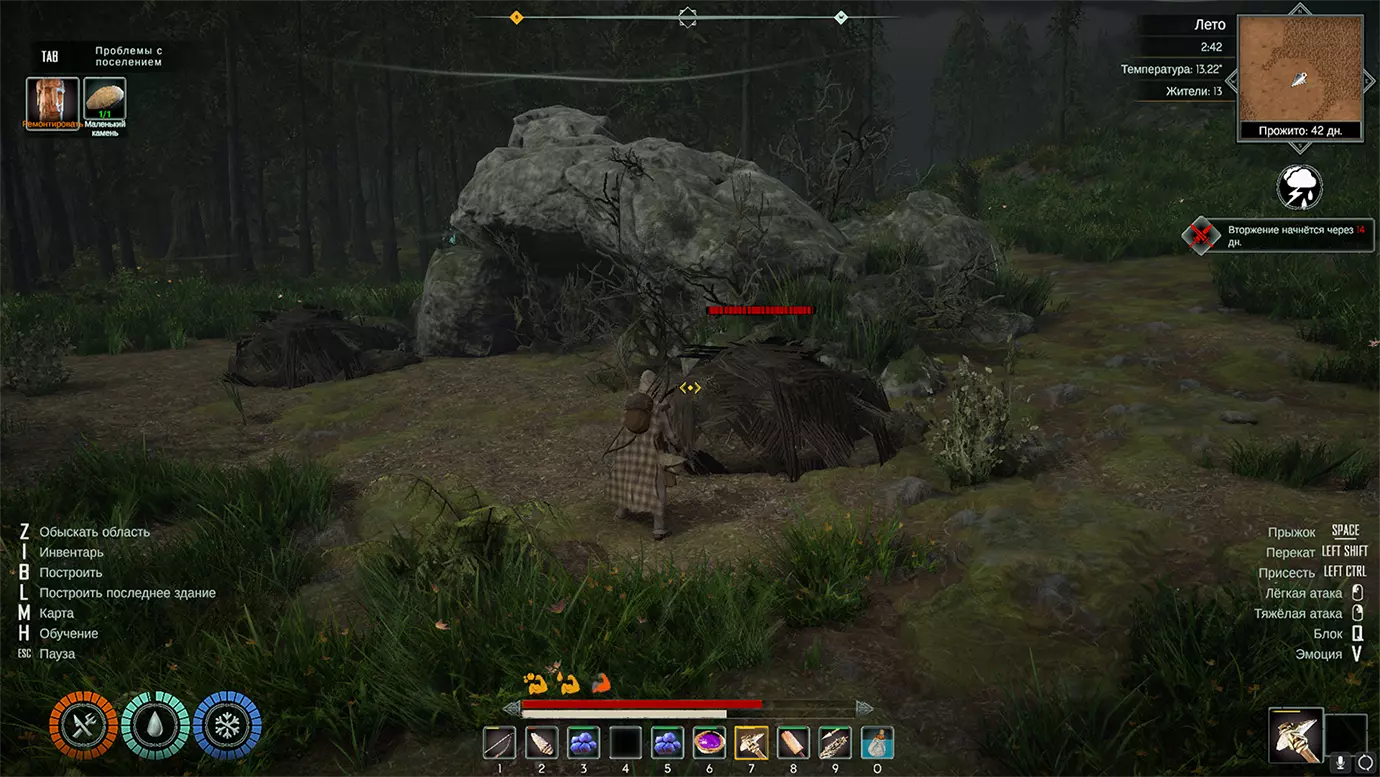
Mussels are a type of food[techraptor.net] that can be found clustered on large stones. I have never seen them respawn in one game that has gone on for 90 days, so treat these as a finite resource. Fortunately, they can be found on the entire beach surrounding the island. Most food — Mussels included — will spoil over time unless stored properly. I recommend taking no more than 30 or so Mussels to sustain you for the first few days so as not to waste them. You'll also want to get some Small Stones. I recommend collecting a minimum of 30 Small Stones and no more than 40 Small Stones to start. Avoid taking any Thatch for the moment. You won't need it until you reach the second tier of buildings, so there's no reason to harvest any now. You may also encounter floating enemies called "Wisps." They're fairly weak, but you can't effectively kill them without a melee weapon. Do your best to avoid them while you collect your 30–40 Small Stones and 30 Mussels. Once you have these items, turn inland and look for Dwarf Spruce and Flax; these will give you Sticks and Fiber, respectively. Collect at least 2 Fiber and 2 Sticks; you can then use these to craft your first Stone Axe. Crafting Your First Set of Tools Press B to bring up the Build Menu; from here, you can craft[techraptor.net] tools and your first buildings[techraptor.net]. We're going to start by making 1 piece of Rope from the Fiber we've collected. Then, craft 1 Stone Blade from the Small Stone you've got. After that, you'll have everything you need to make a Stone Axe. Find the nearest Young Fir and chop it down. (You won't be able to chop down any other trees until you get a better Axe.) Then, chop the fallen tree down and you'll get an assortment of Long Sticks, Sticks, Bark, and Resin. Pick up the Bark and open your inventory, then hold shift and left-click on it; this will break down the Bark into Fiber which can then be crafted[techraptor.net] into more Rope. Next, pick up the Resin and Sticks; leave the Long Sticks on the ground where they are. You're going to want to make the following tools and weapons: Wooden Hoe Stone Axe (which you should already have) Stone Pickaxe Wooden Hammer Stone Knife Simple Torch Flimsy Club Flimsy ShortbowsAll of these items can be made from some combination of Sticks, Stone Blades, Resin, and Rope, all of which you now know how to get. All tools and weapons have durability and will break eventually. Make a full set of tools. You'll need Arrows for your bow; you can get Feathers by finding Fallen Bird Nests in the wooden areas further inland. For now, though, a melee weapon will suffice. You can also use your Stone Axe, Stone Pickaxe, and Stone Knife as weapons in a pinch, but you'll want to save their durability for harvesting resources. Finding a Settlement Site Your next step is to find a place to build[techraptor.net] a Settlement. This will start as a simple base camp, but it can eventually evolve into a bustling village. You may be tempted to simply walk a little further ashore and start building[techraptor.net], but choosing a poor location at the start of the game can make it very difficult to defend your village or collect resources[techraptor.net] at a later time. I advise that you consider several factors before moving forward. Cave Stone Location: First and foremost, I think it's a good idea to track down the island's Cave Stone[techraptor.net]. Based on my experience, I have only ever seen one Cave Stone on an island. This is the only place where you can reliably get Iron Ore, so building your Settlement near it is a smart move in the early game. Avoid Enemy Spawners: If you see a monument or a weird-looking tree with monsters around it, that's an enemy spawner. Enemies will continue spawning there for many weeks (if not forever), and they can and will attack your villagers[techraptor.net] and your buildings[techraptor.net] if they get too close. As a rule of thumb, you don't want to be able to see any enemy spawners from the location where you're building your village. Build Near the Beach: The Beach gives you access to easy-to-find Small Stones, Mussels for emergency food, and Reeds for Thatch (which is needed for mid-game and late-game buildings. This also allows you to set up places for villagers to fish[techraptor.net]. Avoid Birch Trees and Oak Trees: You cannot cut down Birch Trees and Oak Trees until you get Iron Axes, and it will take several hours to get all of the necessary buildings for making them. That means that you won't be able to expand in those areas. Try to avoid building too near these trees so your Settlement has room to grow. Find Mostly Flat Land: You can use the Wooden Hoe to flatten the land to some degree, but steep cliffs or tall hills can be difficult to adequately flatten. Try to find relatively flat land with little variation in terrain height for your Settlement location. Find Natural Water Collectors: Natural Water Collectors are special stones that can collect water when it rains. More importantly, these can be turned into Wells which are the best source of regenerating water. You'll want to have at least two or three Natural Water Collectors near where you're building your Settlement; the Wells can get quite crowded once your Settlement population numbers in the dozens of villagers[techraptor.net]!You can safely spend several days exploring the island with few ill consequences, so take your time and find a good place to build. Keep in mind that you can build anywhere on the island, so you can always dismantle old buildings and retrieve some (but not all) of the resources[techraptor.net] used to make them. Ultimately, though, finding a good location for your Settlement is critical to your success. A poor defensive position or a lack of access to useful resources can make long-term survival very difficult! Building Your Settlement Once you've found a good location, it's time to actually build[techraptor.net] your Settlement. You'll want to construct the following buildings in this order: Simple Fire Upgrade Simple Fire to Campfire Rain Collector At least 1 Well Shelter Eye of OdinThe Shelter allows you to sleep and restore your health. It's also where your villagers[techraptor.net] will live, so you'll need to build another Shelter for yourself later. Summoning Your First Villager Now it's finally time to summon your first villager. Interact with the Eye of Odin and transfer all 5 pieces of Jotun Blood inside. Then, hit the "Activate" button and you'll be given a choice between two
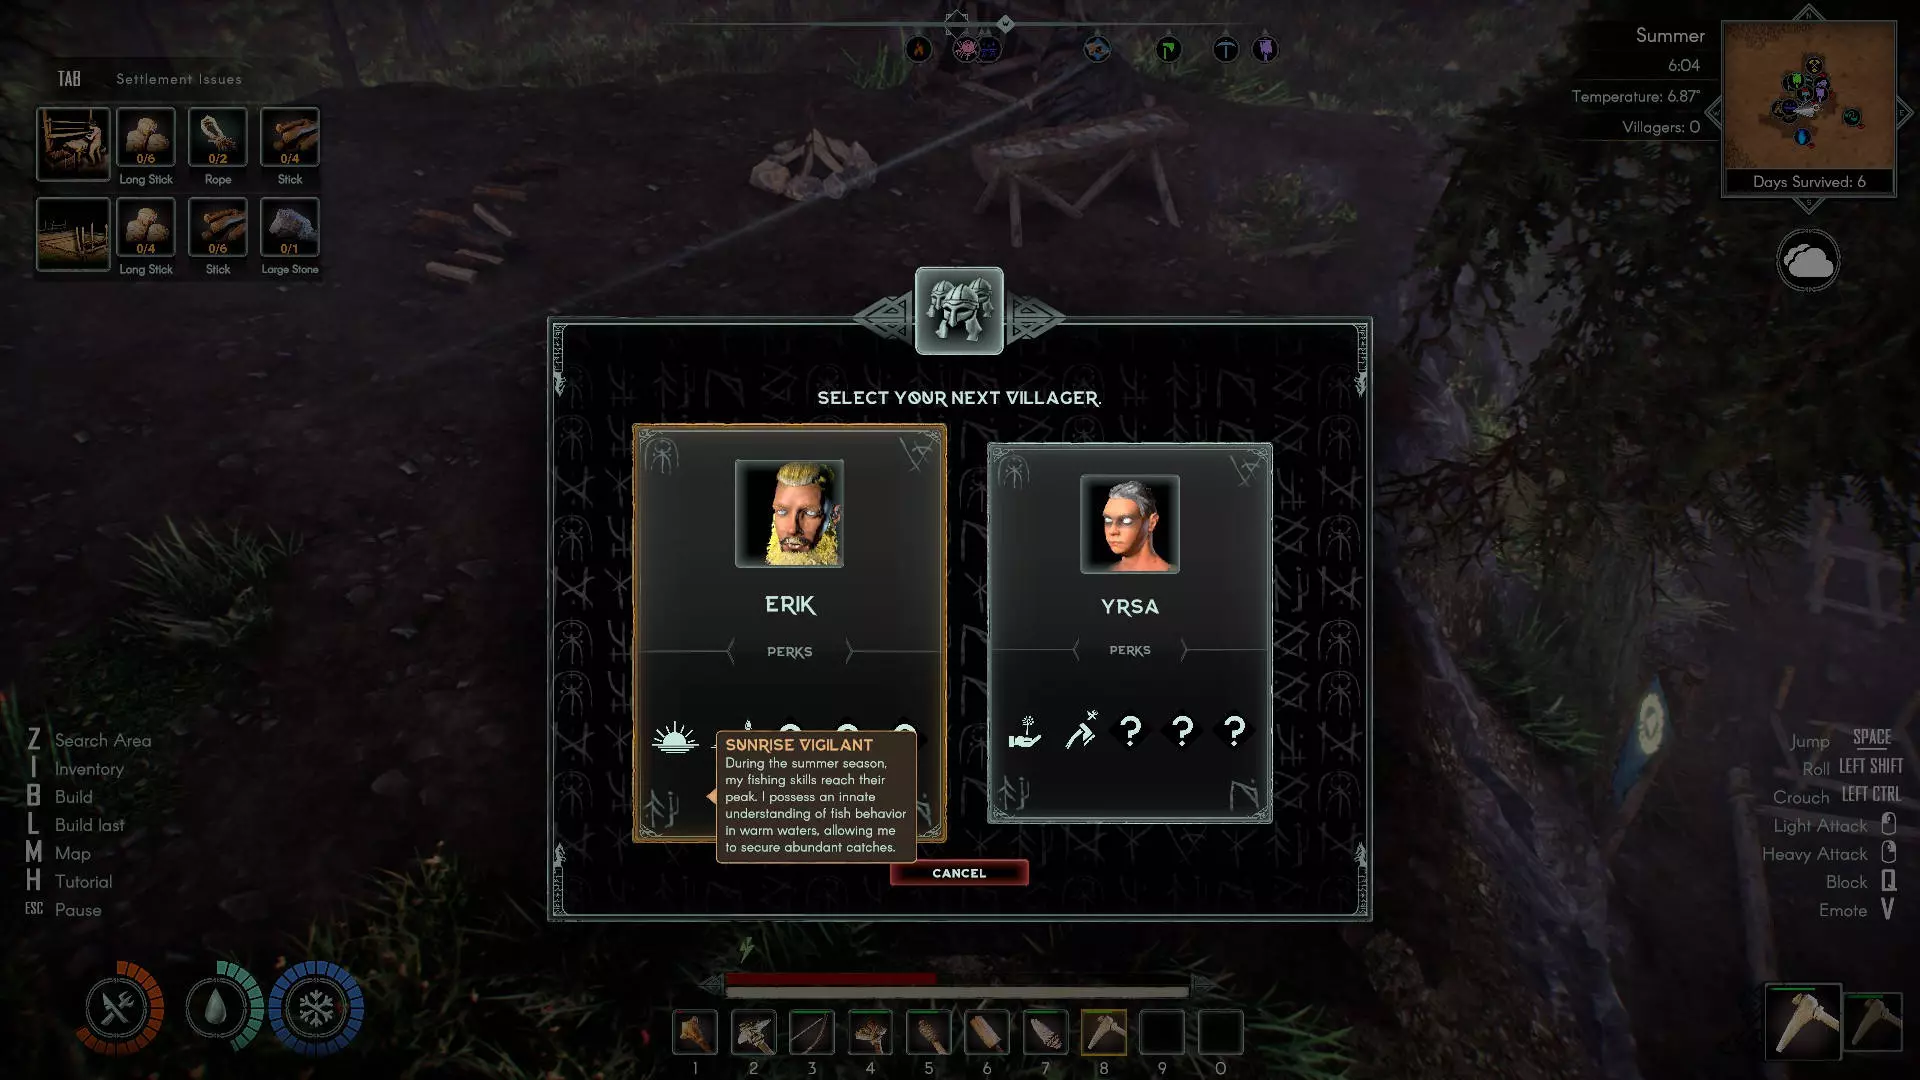
村民。 每个村民共有5个特质,但你只能看到每个村民的其中2个。有些特质是正面的,有些是负面的,还有些既是正面也是负面的。仔细考虑你想让哪两个村民中的一个加入你的定居点。 遗憾的是,似乎没有办法重新刷新这个选择;你必须从这两个村民中选择一个。如果他们都不太好,那么你应该尽量选择相对不那么差的那个村民。 村民到达需要10分钟的现实时间,而且你一次只能召唤一个村民。如果你发现自己需要更多村民,请记住这一点。 当你的村民到达时,你需要为他们分配住所和工作。与住所互动,你可以为其分配村民;或者,你可以按Tab键,点击聚落标签,然后在右侧“住房”下方选择特定住所来添加村民。 关于工作,必须通过与特定建筑互动或使用聚落菜单为村民分配工作。村民执行工作可能需要工具(例如在伐木坑砍树),并且他们的工具会随着时间推移失去耐久度。这意味着你需要确保为村民持续供应替换工具。 如果你不为他们选择工作,村民默认将成为“建造者”;他们将帮助建造你聚落中的建筑。暂时让你的第一个村民担任建造者。 村民和你有相同的需求:健康、食物、水和温暖。他们还有“休息”需求(这是你没有的)和“士气”值。如果这些状态中的任何一项不佳,村民可能会死亡或无法高效工作。 村民会自己获取水(只要有水源,比如水井),但你需要提供食物。你可以自己收集食物,或者让其他人通过耕种或采集小屋获取。目前,你可以收集一些少量食物,并与你的村民交易,让他们的背包里有食物。