换一换
换一换 


This guide is designed for quick access of information for the game such as what gods do, how to unlock items, calculations, etc. Most of this information is taken from the wiki or the in-game guide. Note: This guide is still being worked on but is published since it does contain some information. (Last edit: October 20, 2019) Introduction This guide takes content from the wiki (http://www.qcfdesign.com/wiki/DesktopDungeons/), in-game information and other sources to compile an easy to access list of resources to help you while playing Desktop Dungeons. I have edited some of the information taken from the wiki to be more clear. I have added my own information where a better explanation is required. I have used information from other players / guides when required. I have provided sources/credit at the top of each section. If you have any questions, feedback or changes for the guide, please leave a comment below or send me a private message. Gods Preface Source: http://www.qcfdesign.com/wiki/DesktopDungeons/index.php?title=Gods Preface A dungeon can have upto 3 altars, randomly selected from unlocked gods. Each god has likes and dislikes, which will give or take piety from you. Having 0 piety or descecrating an altar will have a major negative effect. You can switch religions if you have more than 50 piety. Initial worship: What happens when you first worship them as well as what piety you gain. Punishment: What happens when you do something they dislike and reach 0 piety as a result, or what happens when you descecrate their altar. Preparation: What penalty is received when choosing this god during the preparation before visiting a dungeon. Note: Piety purchases are not listed below. Gods: Binlor Ironshield EffectsResultInitial worshipFree Pisorf glyph +1 piety for every 10 revealed tilesPunishment-50% to all resistancesPreparation30% of walls converted to impassable/indestructable terrain (can't be used for knockback bonus or destroyed for piety)LikesPietyDestroy a wall+5Destroy a petrified monster+5Cast Bysseps glyph+1DislikesPietyGain a level-10Cast Imawal glyph on an empty square-5 Gods: Dracul EffectsResultInitial Worship+2 piety for every enemy killedPunishment-20 Max HP -1 Life StealPreparation20% of enemies are bloodless (don't make bloodpool when dying)LikesPietyAttack with life steal (once per monster)+1Kill non-undead monster+2Convert Halpmeh glyph+10Convert Cydstepp glyph+10Convert a health potion+5Drink a bloodpool+1 per stack of blood tithe (dracul piety purchase)DislikesPietyKill an undead monster-5Drink a health potion-5Cast Halpmeh glyph-5Cast Cydstepp glyph-5 Gods: Earthmother Initial Worship+5 Piety Gives free IMAWAL glyphPunishmentapplies 5 layers of Corrosion to your characterPreparationPlant creation rate from boons is doubledLikesPietyCast IMAWAL on an enemy+10Cast IMAWAL on a plant+5DislikesPietyKill a plant-15Use Life steal-5EffectsResult Gods: Glowing Guardian EffectsResultInitial Worship+5 piety per levelPunishmentRemoves all glyphs and items from your inventoryPreparationGreatly reduces per-level piety gain from consecutive level up (3+3n to 0+2n)LikesPietyGain a level+3 (piety reward increases for each consecutive level-up without converting to another religion)Convert APHEELSIK or BLUDTUPOWA glyphs+10Convert a large item, glyph, or potion+5Convert a small item (including small glyphs)+2Suffer Poisoned or Mana burned status+2Kill an XP-valuable undead monster+1Burnt Offering (kill a monster that has Burning applied)+1DislikesPietyUse a Health Potion or Mana Potion-10Inflict Poisoned status on a monster-10Use Life steal or Sanguine-10Activate BLUDTUPOWA-20 and activation of glyph fails Gods: Jehora Jeheyu Jehora works differently for piety gain. There is a hidden value that begins at 14 and changes every time you do something Jehora desires (see below). Whenever you do something Jehora desires, a random number is chosen from 1 to 15. If this number is lower than the hidden value, you gain 2-4 piety and reduce the hidden value by 1, otherwise you gain a minor punishment (see below) and increase the hidden value by 2. The hidden value has a max of 15 and min of 5. EffectsResultInitial WorshipFree WEYTWUT glyph You gain n piety based on your level, where n = (your level)² x (a random number between 0.7 and 1). ie. if level 5, piety = (25) x (0.7 to 1) = between 17.5 and 25.Punishment50% chance of reducing your health to 1 and mana to 0, and reducing bonus damage, max health and max mana by 33%PreparationRemoves one inventory slot from the player All of the following effects may randomly grant 2-4 Piety or cause Jehora Jeheyu to randomly punish you (no piety loss): Discover a monster while exploring (plants excluded) Kill an XP-valuable enemy Cast BYSSEPS, WONAFYT, WEYTWUT, GETINDARE, APHEELSIK, CYDSTEPP Dodge an attack Convert an item or glyphOn minor punishment, random inflicts: Poisoned Mana Burned Weakening Corrosion debuffs Sets your health to 1 Gods: Mystera Annur EffectsResultInitial Worship+1 Piety for each glyph castPunishmentAll monsters on this dungeon floor gain 15% to both physical and magic resistancesPreparationSlows piety gain by 25%LikesPietyCast a Glyph+1 per 2 mana spentDislikesPietyKill an enemy with magic attack-5Get afflicted by mana burnTotal mana burned = piety lost ie. 8/10mp when you get mana burned = -8 piety Gods: Taurog EffectsResultInitial Worship+2 piety per killPunishment-40% bonus damage and enemies gain 10% Magic Resist.PreparationAll enemies are cowardly (flee on damage)LikesPietyKill an enemy+4Kill an enemy with magic attack+8Convert a glyph+10DislikesPietyUse a glyph-2Convert Taurog's gear-10% bonus damage Gods: Tikki Tooki EffectsResultInitial WorshipFree Getindare glyphPunishmentLowers Dodge chance by 100% and removes Poison Strike. All monsters on all dungeon floors gain First strike and Weakening blow.PreparationAll damage taken will incur a -3 piety penalty.LikesPietyKill an XP-valuable enemy who is lower-level than you+3Dodge an attack from any enemy+3Poison an enemy+1Use WONAFYT glyph+1Use WEYTWUT glyph+1DislikesPietyTake more than one hit from a monster-3 per hitTrigger a death protection-10 Gods: The Pactmaker You cannot worship the pactmaker like other gods, he offers no piety or punishment, but when encountered, the pactmaker can offer 1 of 5 boons. Unlocks Preface Source: http://www.qcfdesign.com/wiki/DesktopDungeons/index.php?title=Unlockables Preface For most of these unlocks, you cannot die, so you must either defeat the boss or leave the dungeon via the entrance (retreat). Sub Dungeon refers to a stair case in a dungeon leading to a 2nd dungon. Most levels have 2 sub dungeons: 1 that is found while exploring and 1 that is hidden by walls (which requires you to break the walls). An easy way to access a hidden staircase is with the preparation Transmutation Seal which can be used on a wall to convert it to 10 gold. Unlocks: Races Human: Starting race. Elf: Found via quest progression. Dwarf: Found via quest progression. Halfling: Found in a sub dungeon. Will join if given a health potion. Gnome: Found in a sub dungeon. Will join if given a mana potion. Orc: Search Western Dungeons for a sub dungeon with Orc who will have you drink a potion. The potion must be drunk while in the same sub dungeon as the orc or it will not work. Goblin: Search Southern Dungeons for a sub dungeon with a Goblin who wants money (20 gold). Unlocks: Classes Fighter: Guild lvl 1 Berserker: Guild lvl 2 Warlord: Guild lvl 3 Wizard: Mage Tower lvl 1 Sorcerer: Mage Tower lvl 2 Bloodmage: Mage Tower lvl 3 Priest: Church lvl 1 Monk: Church lvl 2 Paladin: Church lvl 3 Thief: Thieves' Den lvl 1 Rogue: Thieves' Den lvl 2 Assassin: Thieves' Den lvl 3 Tinker: Found in sub dungeon enclosed by walls (Requires Alchemist unlocked) Crusader: Found in a sub dungeon after unlocking all 9 Gods, requires 100 piety with any god Transmuter: Found in a sub dungeon randomly. (Unknown if any pre-req) Chemist: Found in a sub dungeon. The dungeon will have some walls, lava and a meat man. You must destroy the nearby walls until one drops an item (ore). Pick-up the ore and give it to the NPC. Half-Dragon: Requires completing Dragon Isles with 3 classes. (See strategies for tips) Gorgon: Requires completing Naga City with 3 classes. (See strategies for tips) Vampire: Requires completing Halls of Steel(Vicious) with 3 classes. (See strategies for tips) Goatperson: Upgrade the Goat Glade added with the Goatperson DLC. (See strategies for tips) Rat Monarch: Requires completing Demonic Library with 3 classes. (See strategies for tips) Unlocks: Gods Binlor: Found in a random Western map in a sub dungeon. Altar is surrounded by walls and you will need to break the walls to activate the altar. (Requires Taurog) Dracul: Found in a random Eastern map in a sub dungeon with your clone and you are locked in. (prerequisite: Glowing Guardian) Earthmother: Found in a random Southern map in a sub dungeon filled with plants. Glowing Guardian: Found in a random Eastern map in a sub dungeon with a path and 3 Zombies of increasing level. Jehora Jeheyu: Found in a random Northern map in a sub dungeon that looks like a maze and an altar at one end. Activating the altar will spawn a bunch of imps. You can kill the imps but it is easier to destroy the walls (before or after activating the altar). (Requires Mystera) Mystera Annur: Found in a random Northern map in a sub dungeon with a 999 hp dragon. Use knockback or switch places to get past him. Taurog: Found in a random Western map in a sub dungeon. Activating the altar will require you to kill some monsters. Tikki Tooki: Found in a random Southern map in a sub dungeon with a reviving enemy. The enemy must be killed multiple times without being hit in the process (ie. fireball, first-strike). (Requires The Earthmother) Pactmaker: Found in a random map in a sub dungeon (altar surrounded by black walls). Requires all other gods unlocked otherwise it won't do anything when activated. Unlocks: Buildings Bazaar lvl 1: Buy Portal scroll from a random shop and exit the level without dying. Bazaar lvl 2: Complete Dimensional Dealings (buy all shops in a single run). Bazaar lvl 3: Complete some loot quest (buy all shops in dungeon). Bank lvl 1: Complete Dangerous Investments and Venture Capital quests. Bank lvl 2: Complete Dimensional Dealings then complete Automagic Teleport Machine (becomes available after unlocking Alchemist). Witch lvl 1: Found in Eastern Tundra map in a sub dungeon. You have to gather 5 items from killing plants in the main dungeon and then talk to the NPC. Witch lvl 2: Requires bank level 2. Might require you to complete some witch quest (TBD). Alchemist lvl 1: Buy Philosopher's stone from a random shop and exit the level without dying. Alchemist lvl 2: 500 gold?, requires Alchemist lvl 1 Alchemist lvl 3: 2000 gold?, requires Alchemist lvl 2 Explorer's Guild: City Expansion quest reward. Tavern: City Expansion quest reward. Taxidermist: Taxidermy quest reward. Guild lvl 1: Default Guild lvl 2: 1,000 gold, requires Guild lvl 1 Guild lvl 3: 2,000 gold, requires Guild lvl 2 Mage Tower lvl 1: 150 gold, requires Taxidermy quest completion Mage Tower lvl 2: 1,000 gold, requires Mage Tower lvl 1 Mage Tower lvl 3: 2,000 gold, requires Mage Tower lvl 2 Church lvl 1: 150 gold, requires Taxidermy quest completion Church lvl 2: 1,000 gold, requires Church lvl 1 Church lvl 3: 2,000 gold, requires Church lvl 2 Thieves' Den lvl 1: 150 gold, requires Taxidermy quest completion Thieves' Den lvl 2: 1,000 gold, requires Thieves' Den lvl 1 Thieves' Den lvl 3: 2,000 gold, requires Thieves' Den lvl 2 Blacksmith lvl 1: 200 gold, requires Thieves' Den lvl 1, Mage Tower lvl 1, or Church lvl 1 Blacksmith lvl 2: 600 gold Blacksmith lvl 3: 1250 gold Elven Camp: City Expansion quest reward Elven Settlement: 200 gold, requires Elven Camp Dwarven Camp: City Expansion quest reward Dwarven Settlement: 200 gold, requires Dwarven Camp Gnome Camp: Find the Gnomes quest reward Gnome Settlement: 500 gold, requires Gnome Camp Halfling Camp: Find the Halflings quest reward Halfling Settlement: 500 gold, requires Halfling Camp Goat Glade: 3000 Gold, requires Special Edition (or Goatperson DLC) content, and having unlocked 4 Altars. Unlocks: Preparations Shop Scroll: Bazaar lvl 2 Apothecary: Bazaar lvl 2 Black Market: Thieves' Den lvl 2 Bet on the Boss: Thieves' Den lvl 2 Smuggler Den: Thieves' Den lvl 3 Patches the Teddy: Thieves' Den lvl 3 3-Slot Locker: Guild lvl 2 6-Slot Locker: Guild lvl 3 7 8 & 9-Slot Locker: Purchased from lvl 3 Bank individually Magnet Fire: Mage Tower lvl 2 Extra Glyphs: Mage Tower lvl 2 Fewer Glyphs: Mage Tower lvl 2 Extra Boosters: Mage Tower lvl 3 Guaranteed God: Church lvl 2 Extra Altar: Church lvl 3 (requires all 9 gods) Expanded Potion Kit: Witch Sword: Blacksmith lvl 1 Shield: Blacksmith lvl 1 Bear Mace: Blacksmith lvl 2 Perseverance Badge: Blacksmith lvl 2 Slayer's Wand: Blacksmith lvl 2 Really Big Sword: Blacksmith lvl 3 Compression Seal: Alchemist lvl 1 Transmutation Seal: Alchemist lvl 1 Translocation Seal: Alchemist lvl 2 Vicious Token: Oh, Horatio! quest Unlocks: Items Check out the bronze/silver/gold guides on steam for help with these unlocks. Whurrgarbl: Berserker Silver Trisword: Warlord Silver Gloves of Midas: Rogue Silver Agnostic Collar: Paladin Silver Blue Bead: Sorcerer Silver Venom Dagger: Assassin Silver Vampiric Blade: Bloodmage Silver Martyr Wraps: Monk Silver Witchalok Pendant: Halflings Ho! quest Fire Heart: Ice and Fury quest Mage Plate: Wizard Silver Battlemage Ring: Minecraft quest Hero's Helm: Confidence quest Crystal Ball: From completing quest to win Den of Danger with second tier classes. Soul Orb: Hello, gnomes! puzzle pack Viper Ward: Hello, halflings! puzzle pack Dragon Soul: Bonus Bravery: Oasis quest Rock Heart: Bonus Bravery: Slime Pit quest Unlocks: Miscellaneous Flaming "Dungeons": Appears after completing Oh, Horatio! quest. These are normal dungeons with a flame animation over them and reward you with 3x the gold for defeating the boss. Other Useful Information Guides Bronze Class Challenges Silver Class Challenges Gold Class Challenges Monster Class Unlock Strategies Achievement Guide / Strategies Links Wiki: http://www.qcfdesign.com/wiki/DesktopDungeons/ Strategies This section will review some of the game mechanics and how to use them to complete various parts of the game (ie. unlocks). This is a work in progress. I have added it to the guide to help with some late-game unlocks and will be updated as I have free time. Last updated: October 20, 2019. Rat Monarch Unlock, "Moving of Cheese" This level requires you to defeat 5 level 10 mini-bosses. Each mini-boss is different. When a mini-boss dies, it buffs one of the other bosses (I don't know the exact mechanic and will update this when I find out more). After defeating the 5 mini-bosses, the stairway in the center of the map becomes accessible. In the stairway map, you will face a high hp boss that spawns level 10 minions every time it takes damage. Defeating this boss will allow you to leave the dungeon and complete the map/quest. Reward: Defeating the boss will give you an item that empowers fireball with +4 damage per character level but also makes the character attackable (similar to retaliate). Defeating each mini-boss will drop an item worth 50 gold (250 gold total). This level map may seem difficult, but can be completed without relying too much on random items from shops or enemy placement. You should plan everything around the final encounter, maximizing survivability and killing the spawns when needed (for experience/leveling; to clear a path; and blood pools if needed). Since the mini-bosses drop 50 gold each when defeated, you will be able to buy all of the shop items (and convert them if you don't need them). Mini-boss types (all have 250hp): 1. 50% Physical Resist, Weaken 2. 50% Magical Resist, Retaliate 3. Corrode, First Strike 4. 100% Deathgaze, Curse, Manaburn 5. Something Boss: 90% Magical Resist, 40% Physical Resist, 1000hp, Enrage at 25%. Note that some of the spawns are bloodless (if you use lifesteal or blood pools). The following strategies are for the 3 classes I used to unlock the rat monarch, although with proper planning, you can complete the map with other classes as well. A few strategies that apply to all classes: 0. PHYSICAL DEFENSE: Most enemies deal physical damage including the final boss. Bring Dragon Shirt (18% both resistances) when prepping and make use of other defensive items at the right time (don't buy/use too early and save equiping for the final boss fight). Examples: chainmail, -20 damage taken at level 10; shield, -2 damage taken; Taurog shirt, 15% physical resist; Taurog shield, -5 damage taken; Other god boons that give resistances (ie. Dracul gives 40% resist boon; Binlor has stoneskin buffs; etc); Stoneskin (Stoneskin Amulet; Binlor; Wall removal glyph); class buffs. 1. End boss: use knockback to position boss next to stairs so you don't need to clear spawns that would otherwise block access to the stairs. 2. Secret stairs: keep an eye out for the secret stairs which is walled off. Use knockback or wall removal to access them. 3. Avoid filling your inventory (don't just pick up everything once you see it). With all the money you will have, you want to ensure you have space for buying items from shops (so you can convert them if you don't need them). Plan all pick-ups for the final boss. 4. Try to defeat higher level enemies so you can get to level 10 faster. A lot of useful items use character level, which will make the map easier. 5. Most effects that affect all enemies WILL NOT affect the final boss (since it isn't on the same dungeon floor). This applies mostly to god boons, however an exception is an item that requires activation like the guitar items (when used in the boss room). 6. Plan piety use and desecration for end-game usage. Some gods can be desecrated since the penalties can be avoided, removed or apply buffs to only the current floor (which doesn't affect the final boss). Examples: Earthmother gives 5 corroded; after killing the mini-boss that gives corrosion and collecting the loot, you can desecrate Earthmother and then use a potion to remove all the corrosion stacks. Other gods: Mystera after killing all enemies; Taurog after killing all enemies and if playing a fireball build; Tikki Toki after killing all enemies and if playing a fireball build; Dracul if playing a fireball build (and you don't need the life lost); _more_to_come_ 7. Bring a can of whoop ass (boss hp = 75%) and double damage potion. Buy a debuff removal potion from the map potion shop (ie. remove mana burn / corrosion or weaken depending on build type). 8. Consider bringing a shrinking scroll so you can increase the amount of inventory space you have. Class: PaladinBrief: Use human; Use _x_ god; prepare for high defense (ie. prep with Dragon shirt); use god's heal boon to recover hp/mana for final boss; plan for prayer bead megaboon (maximize inventory space and fill with beads prior to megaboon) as this will buff your hp and damage, but don't take beads before final boss (to avoid wasting inventory space); heal glyph can be converted for bead space; use health/mana potions when piety is near 100 (to avoid wasting piety). Class: AssasinBrief: Use human; Use Tikki Toki; Use items that maximize attack %; save low level enemies (instant kill) for piety gain and easy curse removal; use poison to help kill higher level enemies; use poison on final boss so you can recover hp from nearby dark tiles; use Tikki Toki potion boon and save potions for final boss; convert to another god if you have enough piety (ie. Taurog). Use dodge potion and dodge prediction (ie. attack any lower damage enemies if dodge won't occur). Poison glyph isn't required once all dark tiles are visible, so convert it asap. Class: __wizard2__ (somewhat luck based)Brief: Use Elf; Use Mystera; Bring Fireball; Use final boss item (from previous run); Maximize defense; Piercing Wand is required (or a way to lower magic resist on final boss), so make sure you prepare for shops to have better items; save glyphs for mana restore at final boss; try to maximize boss damage by triggering flames (by attacking another enemy) after using fireball on the final boss (20 damage at level 10) takes to the final boss item that you brought; Other Strategies (for other classes)Physical damage: use human (higher damage at level 10) and prepare for high physical defense (Dragon Shirt, Chainmail, Any of the useful god resist buffs). Hope for a way to position final boss (flail or push spell) to make things easier (also helps with the death protection enemies when knocking into walls). Low damage: use corrosive wraps item (10 corrosion per attack at level 10) on final boss and focus on high physical defense and life. Use poison to stop final boss from regenerating. Magic damage: Needs a way to lower magic resistance on final boss (90%). Piercing wand helps (-3% per fireball), you can also use Biceps (-2% when attacking). God boons won't do anything (not same dungeon level). Fireball ring and fireball tomb (from final boss) make fireball really strong, but having a piercing wand is much more useful. Low health: Maximize physical resistance and -damage taken (ie. chainmail, shields). Make sure you don't have curse or corrosion on you. Use +hp when leveling items (troll heart, dwarven gauntlets).
游戏参考信息

2026-02-14 22:00:11
转载

导读
这是一篇《Desktop Dungeons》的游戏参考指南,整合了wiki、游戏内及其他玩家资料,涵盖各神明的崇拜规则、奖惩机制,还有种族、职业、神明、建筑等各类内容的解锁条件与方法,同时提供了部分关卡的通关策略,助力玩家便捷获取游戏关键信息。

评论
共0条评论

公式 S17赛季保姆级攻略,过渡留牌公式,定级赛五连鸡阵容,海克斯评级
2026-01-05 17:150赞 · 0评论

电子竞技 锐评S17新赛季到底怎么样?S17可能是最差赛季!神明机制就是一坨大的!
2025-09-29 01:160赞 · 0评论
《潜水员戴夫》参考指南
这是一个我在游玩过程中收集所有信息的半成品,我可能会也可能不会完成它。 免责声明 本指南中的所有信息均为我在游戏中亲自验证过的内容。我知道还有很多其他数据和信息…
2026-02-19 10:000赞 · 0评论

《魔塔》50层特殊规则挑战:怪物伤害从第二只开始加倍,还能通关吗?
《魔塔》50层极限挑战:如果每种怪物第一只伤害为0,第二只及以后伤害加倍,还能过关吗? 命系袁氏,一心向北!矢志于北,尽忠于国……在这种特殊规则下,开局看似轻松…
2026-06-20 17:320赞 · 0评论
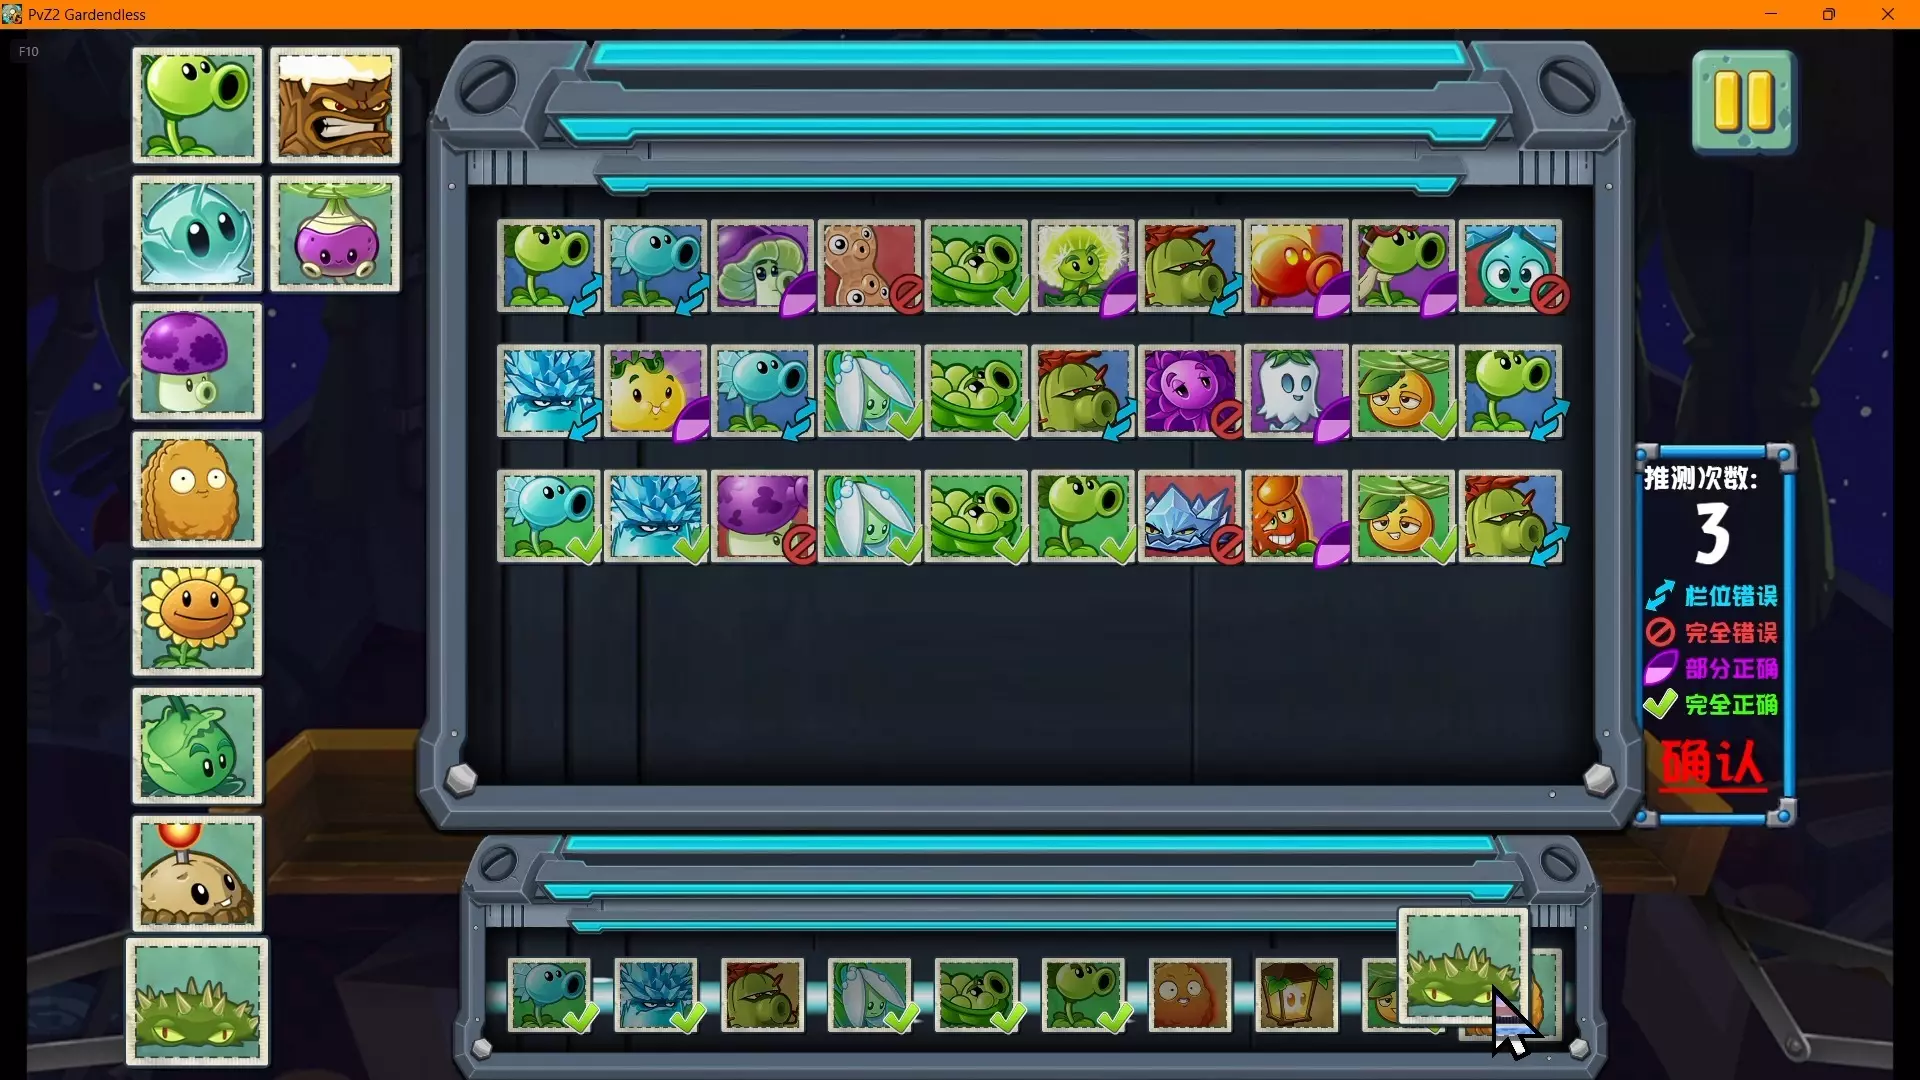
《植物大战僵尸》Gardenless版怎么玩?0.9.0版本最大难度挑战攻略与植物解码技巧
《植物大战僵尸》Gardenless版(版本号0.9.0)深度解析! 作者:@南Garden 官方网站:https://pvzge.com/ 想知道Garden…
2026-06-08 13:410赞 · 0评论
《梦幻西游》十八门派闯关路线详解-各门派怪物特点解析
速览 梦幻西游十八门派闯关是每月第一周周日的活动,关卡门派随机且不重复,难度适中。本文详细介绍了各门派怪物的特点,帮助玩家针对性应对,提高通关效率。 1、梦幻西…
2026-06-02 09:100赞 · 0评论

《CRYPTARK》10万美元成就指南(抢先体验版指南)
《CRYPTARK》10万美元以内通关飞船的武器/物品配置及策略 简介 在《CRYPTARK》飞船上完成10万美元(100,000美元)成就颇具挑战性。由于我没…
2026-04-05 07:000赞 · 0评论

【新游戏+9】(穆尔多夫)
目前《星陨传说:流浪者的故事》提供【9】个【新游戏+】难度等级。 本指南将详细解析穆尔多夫角色在该难度等级下的通关策略,包括优先技能、最佳策略以及装备选择,以实…
2026-04-01 19:000赞 · 0评论

如何在8分钟内通关
完成8分钟及10分钟内通关成就的基础指南 简介 各位幸存者,这是一份非常简单通用的指南,旨在帮助你在8分钟内完成一局游戏。我不建议在游戏初期就急于尝试,但你也不…
2026-03-22 13:000赞 · 0评论

全章节通用指南
我已经打通了《神明在上》的简单难度,并在普通难度下完成了7个章节中的4个。我自认为对游戏机制有了一定的理解,现在想分享一些个人策略。但需要提醒的是,这款游戏很大…
2026-03-21 19:000赞 · 0评论
暂无更多
最新更新
- 分辨率提示 — 分辨率提示: 在窗口模式(1x)下,按下【Windows键】+【+键】,然后选择你偏好的百分比选项。 这样做的效果是:如果直接使用“全屏模式”或2x窗口模式,画…
- 游戏参考信息 — This guide is designed for quick access of information for the game such as what…
- 综合地下城指南(含极限难度版) — A comprehensive guide to every dungeon in both the main game and the extended ed…
- 将方向键重映射为WASD的脚本 — 部分玩家觉得使用方向键移动不够舒适。本指南将教你通过一个简单技巧启用WASD移动。同时还包含完整的键盘指令,供那些希望不使用鼠标进行游戏的玩家参考。 原理介绍:…
- 青铜挑战 — 《桌面地下城》全青铜挑战攻略 简介 欢迎阅读《桌面地下城》的全青铜挑战攻略! 青铜挑战的主要目的是让你熟悉每个职业特有的玩法风格和优势,而非考验你的极限操作。如…
- 如何不浪费Steam点数 — 如何不浪费Steam点数 步骤1:不要给本指南奖励 就是不要给本指南奖励,我完全不配得到你辛苦赚来的点数。 谢谢
- 《桌面地下城》成就指南 — 《桌面地下城》全成就解锁独家指南 简介 欢迎阅读这份篇幅较长的《桌面地下城》全成就解锁指南! 我在开始玩这款游戏前就决定制作一份成就指南。因此,在游戏过程中我做…
- 神明入门指南 — 本指南将全面介绍《桌面地下城》中信仰的机制与策略。 简介:为何信仰?
- 《桌面地下城》全成就解锁方法和部分关卡攻略 — 《桌面地下城》成就解锁方法及部分关卡攻略 想要解锁全成就并通关,需要投入大量时间、精力,同时也需要一定运气。该游戏非常适合闲暇时或工作之余游玩。本人会以简洁的文…
- 白银挑战 — 《桌面地下城》全白银挑战攻略指南 简介 欢迎阅读《桌面地下城》全白银挑战攻略指南! 与青铜挑战不同,所有白银挑战都假定你已熟练掌握相关职业,并懂得如何利用职业特…