换一换
换一换 


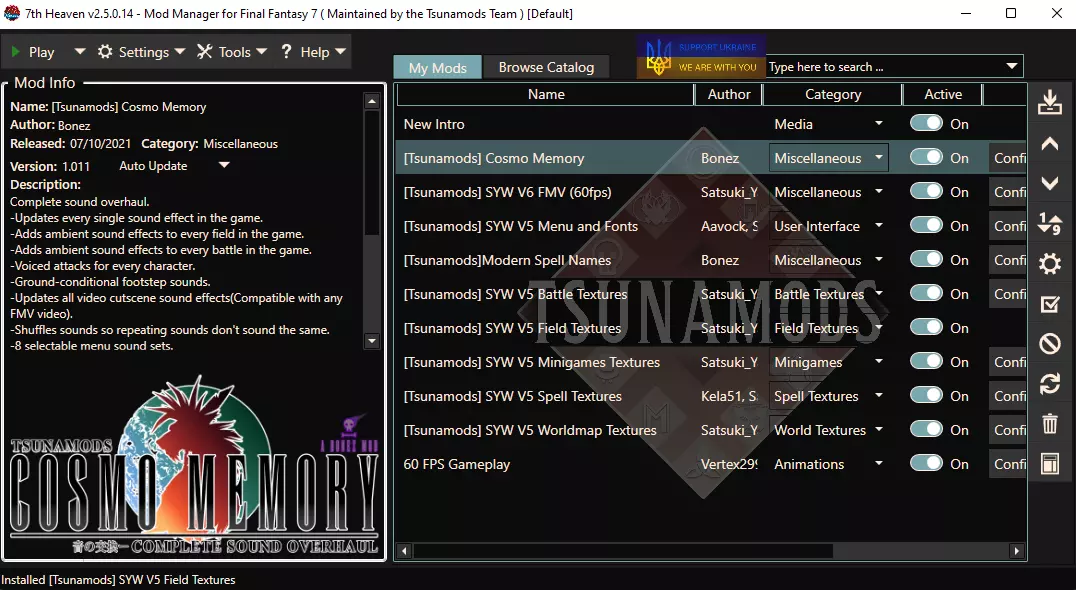
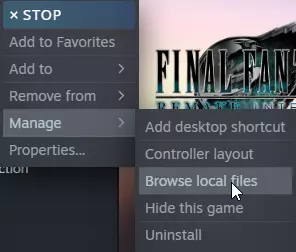
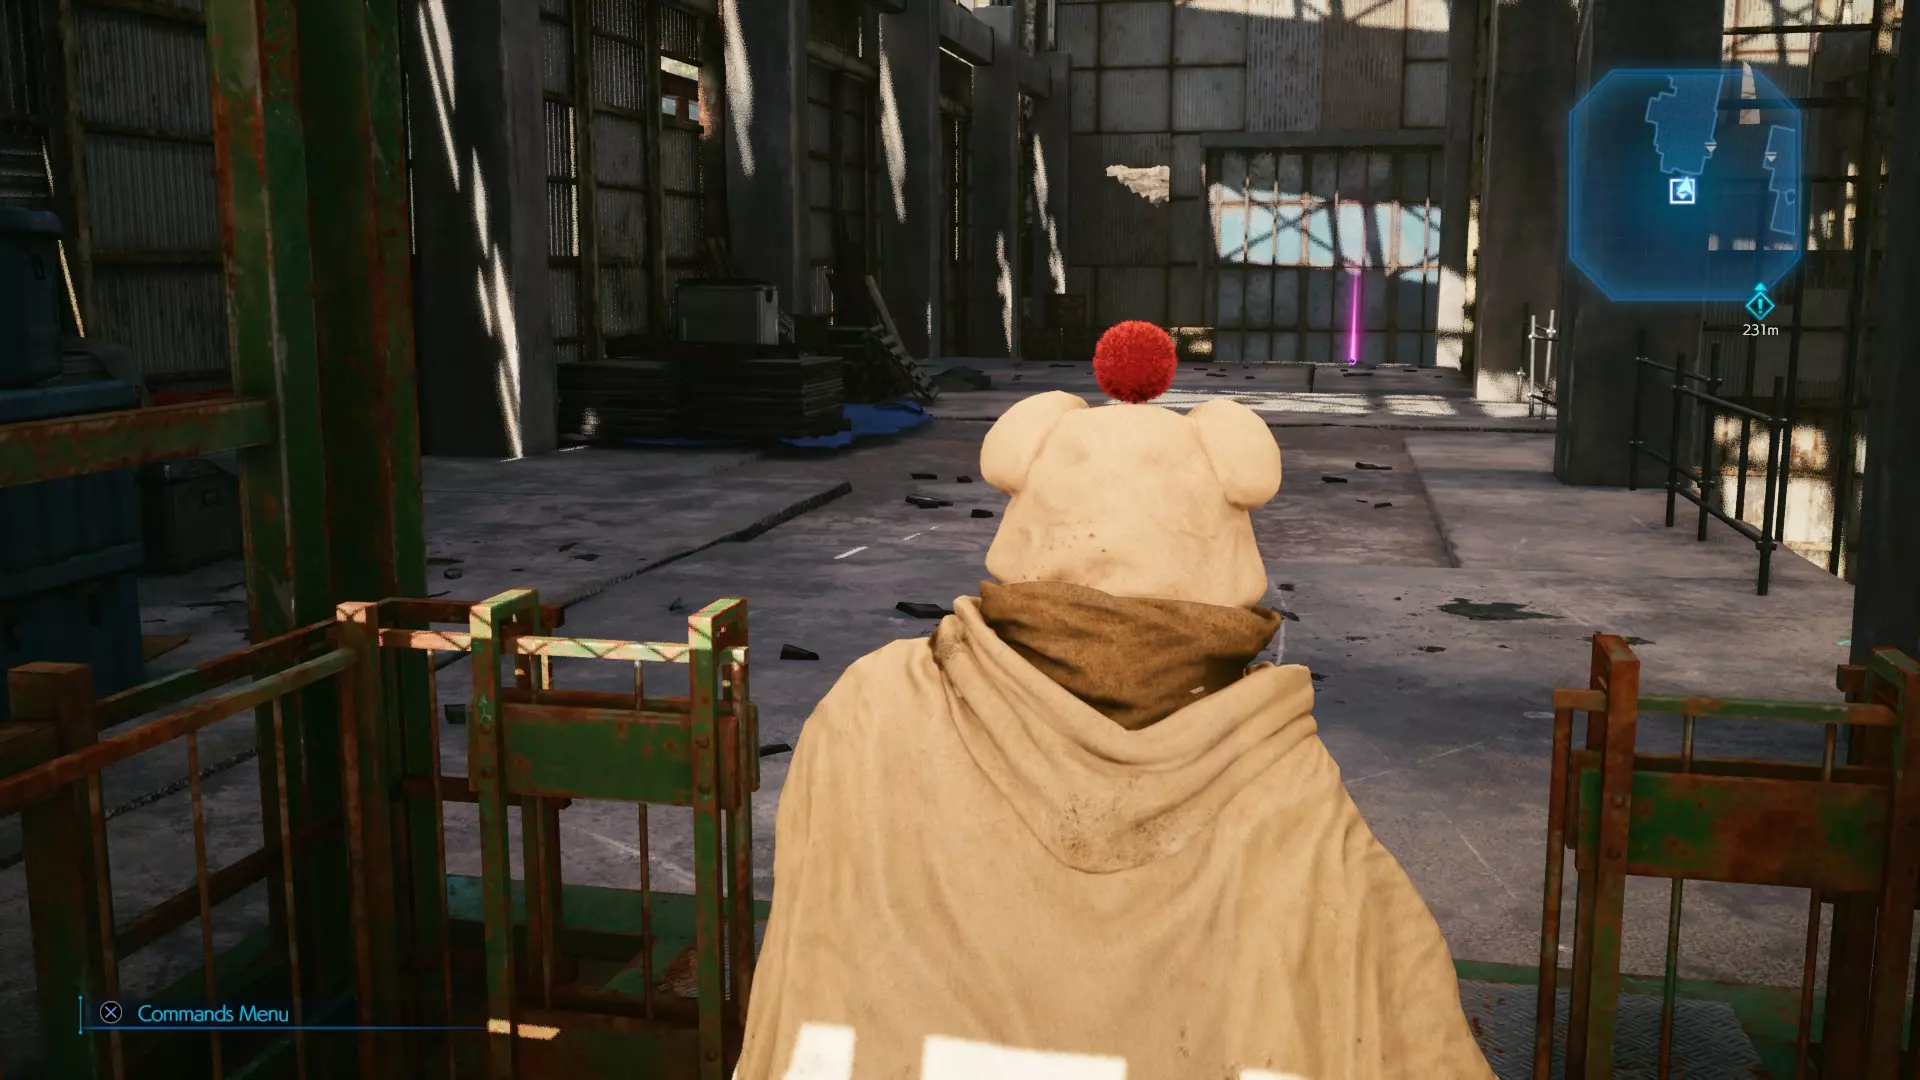
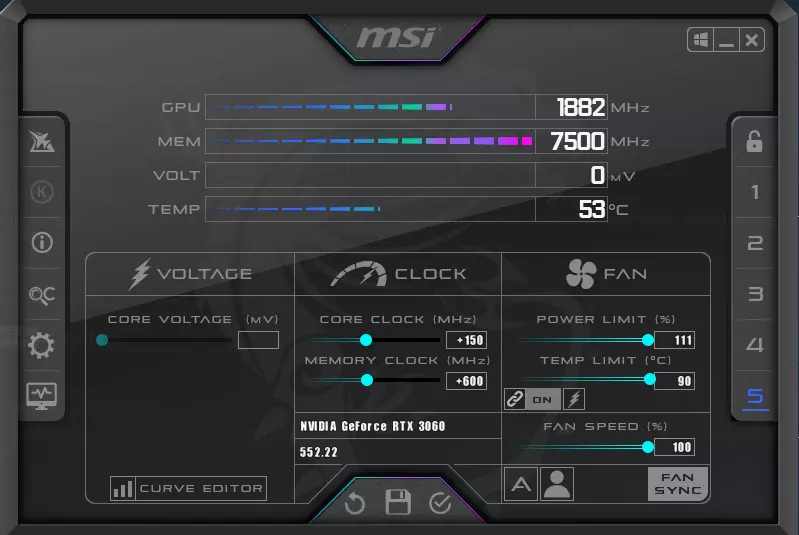
After tediously searching the net, going through mods and posts, and testing on my system – I’ve arrived at what I think is the Ultimate Graphics & Stutter Free Mod Guide . Optimising Windows and GPU driver settings together with selected mods from the community and my customised INI compilation, will hopefully give you the best visual quality with stutter-free experience! - Brought to you by - L1ONH3ART INTRODUCTION After tediously searching the net, going through mods and posts, and testing on my system – I’ve arrived at what I think is the Ultimate Graphics & Stutter Free Mod Guide. Optimising Windows and GPU driver settings together with selected mods from the community and my customised INI compilation, will hopefully give you the best visual quality with stutter-free experience! PC OPTIMISATIONS STEP 1- Windows Update - make sure everything is updated. STEP 2 - Make an exception/exclusion for FFVII Remake/Steam folders on your antivirus - For Windows Defender go to: Double click Windows Defender at taskbar > Virus & threat protection > "Manage settings" under 'Virus & threat protection settings' > under 'Exclusions' click "Add or remove exclusions" > Add exclusion - Folder > Add "STEAM" folder and then add "FINAL FANTASY VII REMAKE" folder in Documents/My Games. For other antivirus programs follow their respective guide on how to add exclusions. STEP 3- Update graphics card drivers to the latest version. STEP 4 - Optimise graphics card driver settings for Final Fantasy VII Remake Intergrade – If using Nvidia GPU make sure the following settings are set – In Nvidia Control Panel > Manage 3D Settings > Global Settings > Go to "Power management mode" - select "Prefer maximum performance" > "Preferred refresh rate" - "Highest available". Go to “Program Settings” tab under “Manage 3D Settings” > Select “Final Fantasy VII Remake (ff7remake.exe)” from program list > Scroll down to "Vertical sync" – “On”. If using GPU from other vendors follow their respective guide. STEP 5 - Click "Start" button in Windows > type "sleep" and click on "Power & sleep settings" on top > Click "Additional power settings" under Related Settings > Make sure "High performance" is selected. If the game manages to run smooth you can try reduce to "Balanced" setting to see if it works after (just to save a bit of power). IN-GAME OPTIMISATIONS STEP 6 – Max out in-game settings (make sure to set Framerate to 120fps). DOWNLOAD THE REQUIRED MODS STEP 7 | PART 1 - Download required mod files. •Download FFVII Hook – INI Dev Console Unlocker[www.nexusmods.com] Description: Unlocks the dev-console, giving access to console commands & easy changes to the games CVars - along with allowing loose INI files to be loaded in from the games config folder. •Download FFVII Remake Exe - 1.0.0.2[mega.nz] UPDATE - The game was updated on 26 Feb 2024 which requires a simple fix to enable the Dev Console Unlocker so it can load the settings from the INI file as the original author has yet to release an update after the patch. Download the 1.0.0.2 version of game's exe above and replace the file in End Binaries Win64 folder. See mod install section below for details. Note: If FFVII Hook has been updated to latest version, FFVII Remake Exe - 1.0.0.2 is not needed. •Download FF7 Remake HD Project using the links below. Use 7-Zip[www.7-zip.org] to unzip and combine the .7z parts (total 4 links, 13 parts). FF7 Remake HD Project - Links Part 1[drive.google.com] FF7 Remake HD Project - Links Part 2[drive.google.com] FF7 Remake HD Project - Links Part 3[drive.google.com] FF7 Remake HD Project - Links Part 4[drive.google.com] Description: A mod that upscales 20000+ textures, plus many other features. Note: As running the upscaled textures with the souped up INI settings requires a beefy system, some stuttering can be expected during specific situations such as changing areas – but only lasts a second or less so doesn’t affect gameplay as it’s still pretty smooth the rest of the time (during my testing even in Slums area). If wanting butter smooth gameplay without upscaled textures, you can just leave the “FF7 Remake HD Project” mod out. •Download Engine [L1ONH3ART] INI File[mega.nz] Description: Custom INI tweaked for a balance between the highest visual quality and performance, suited for the below system specs and above – Test System: Gigabyte Aorus Master 3070 8gb VRAM, Intel 3970x 4.5ghz (OC) 4C/8T, 32gb DDR3 (8gb x 4), Samsung 860 EVO SSD, ASUS PG329Q 1440p 175hz. •Download Input INI File[mega.nz] Description: Allows Developer Console to be run in-game to check INI settings by pressing “P” (without quotes) on keyboard. Note: Use Google Chrome to open Mega.nz links as it automatically decrypts the files for access. INSTALL THE MODS STEP 7 | PART 2 – Install mods. Extract and copy the following files to their respective destinations – •xinput1_3.dll – “…Steam steamapps common FINAL FANTASY VII REMAKE End Binaries Win64” •ff7remake_.exe – “…Steam steamapps common FINAL FANTASY VII REMAKE End Binaries Win64” Create a new folder within Win64 and backup the game's latest version of the exe to the folder. Move the downloaded version 1.0.0.0 to Win64 folder and replace the new version with previous one. Reverting to the previous exe doesn't affect gameplay. To check if Console is working in game press "P" on keyboard once the game loads & check if an overlay text box loads in the bottom left corner. •Engine [L1ONH3ART].ini & Input.ini – “…Documents My Games FINAL FANTASY VII REMAKE Saved Config WindowsNoEditor”. Rename “Engine [L1ONH3ART].ini” to “Engine.ini” (make sure ‘Hide extensions for known file types’ in Windows folder options is Unchecked. If “WindowsNoEditor” folder doesn’t exist, create it. You can also create your own INI file by opening up Notepad and pasting the code lines as above found Here[pastebin.com]. Once done, save it as Engine.ini (remove the “.txt” at the end). •FF7 Remake HD Project mod – Copy the “HD Project” folder to “…Steam steamapps common FINAL FANTASY VII REMAKE End Content Paks ~Mods”. Create the “~Mods” folder if it doesn’t exist. Note: 3DM Skyboxes only work in DX11 and requires additional procedures to activate, so if not wanting to use them leave the "3DM" folder out. OPTIONAL TWEAKS STEP 7 | PART 3 – Optional tweaks •To run in DX11 mode: Right click the game in Steam library > “Properties” > In “Launch Options” type "-d3d11" (without quotes). Remove "#" and [Space] for "r.SetRes=2560x1440f" in “Engine.ini”, and change the resolution to monitor’s native one. Disable all options under “# DX12” section in “Engine.ini” by putting a “#” or “!” (without quotes) at the start of each line. •If System RAM is lower than 16gb and noticing performance issues such as large FPS drops/excessive stuttering – the following may help: Lower “r.Shadow.WholeSceneShadowCacheMb” to 200 or 512. Lower “s.IoDispatcherCacheSizeMB” to 512 or 1024. You can adjust “r.Streaming.PoolSize” and “r.Streaming.MaxTempMemoryAllowed” according to GPU model / VRAM available. Try and maintain the same ratio (of course you can test whatever values you like and see how your system responds) : “r.Streaming.PoolSize” - ~56.25% of total VRAM (too low/high values can result in lower fps/stutters/texture loading issues). “r.Streaming.MaxTempMemoryAllowed” - ~16.66% of “r.Streaming.PoolSize” (too low/high values can result in delayed/no texture loading/stutter/fps drops). UPDATE - With the FFVII Remake HD Mod installed, I was running into stutters in Chapter 8 : Budding Bodyguard, from train station onwards. Setting the following has significantly minimised them - “r.Streaming.PoolSize=5120” “r.Streaming.MaxTempMemoryAllowed=768” Having trialled multiple combinations, a value difference of 4352 (ie. 5120-768) seems to be optimal. It minimises stutters and doesn't cause FPS to come to a crawl from ~120 to 30/40. Please note this is my observations testing on my specific system so it may not work for everyone. •Intel Hybrid CPUs: If your system uses an Intel Hybrid CPU, you can adjust the process to run only on P-cores. By default it initialises on all CPU cores available and it may not be optimal for framerate. Example: For a CPU having 8 P-cores go to Task Manager (CTRL + Shift + ESC) > Details > ff7remake_.exe > right click and select 'Set affinity' > Must have it selected on the first 0-15 virtual cores (2 virtual cores for 1 physical for hyperthreading). It is not great to disable E-cores because P-cores will be bloated by OS and other programs in return. You can also add this line in the arguments of the properties of the game in Steam (should work with most games): "C: Windows system32 cmd.exe /c start "" /affinity FFFF %command%" - 'FFFF' is for 8 cores, 'FFF' for 6 cores. --- Special thanks to: stoker25[www.nexusmods.com] Altezeinid2[www.nexusmods.com] deltron171[www.nexusmods.com] Makusensu Check out their mods and give them some kudos! # L1ONH3ART
《最终幻想7》终极画质与无卡顿模组指南

2026-02-15 07:00:17

导读
这是《最终幻想7》的终极画质与无卡顿模组指南,作者经测试后分享了详细优化方案,含Windows系统、显卡驱动的优化步骤,还推荐了社区精选模组与自定义INI文件,教玩家安装设置,以获得高画质且流畅的游戏体验。

评论
共0条评论

FNF模组下载 Friday Night Funkin' RESCRIPT 周五夜放克重新编写模组 优化画质与着色器
FNF模组下载地址:gamebanana.com/mods/665295 模组简介: Friday Night Funkin’: [RESCRIPT] 是一款基…
2026-05-24 04:380赞 · 0评论

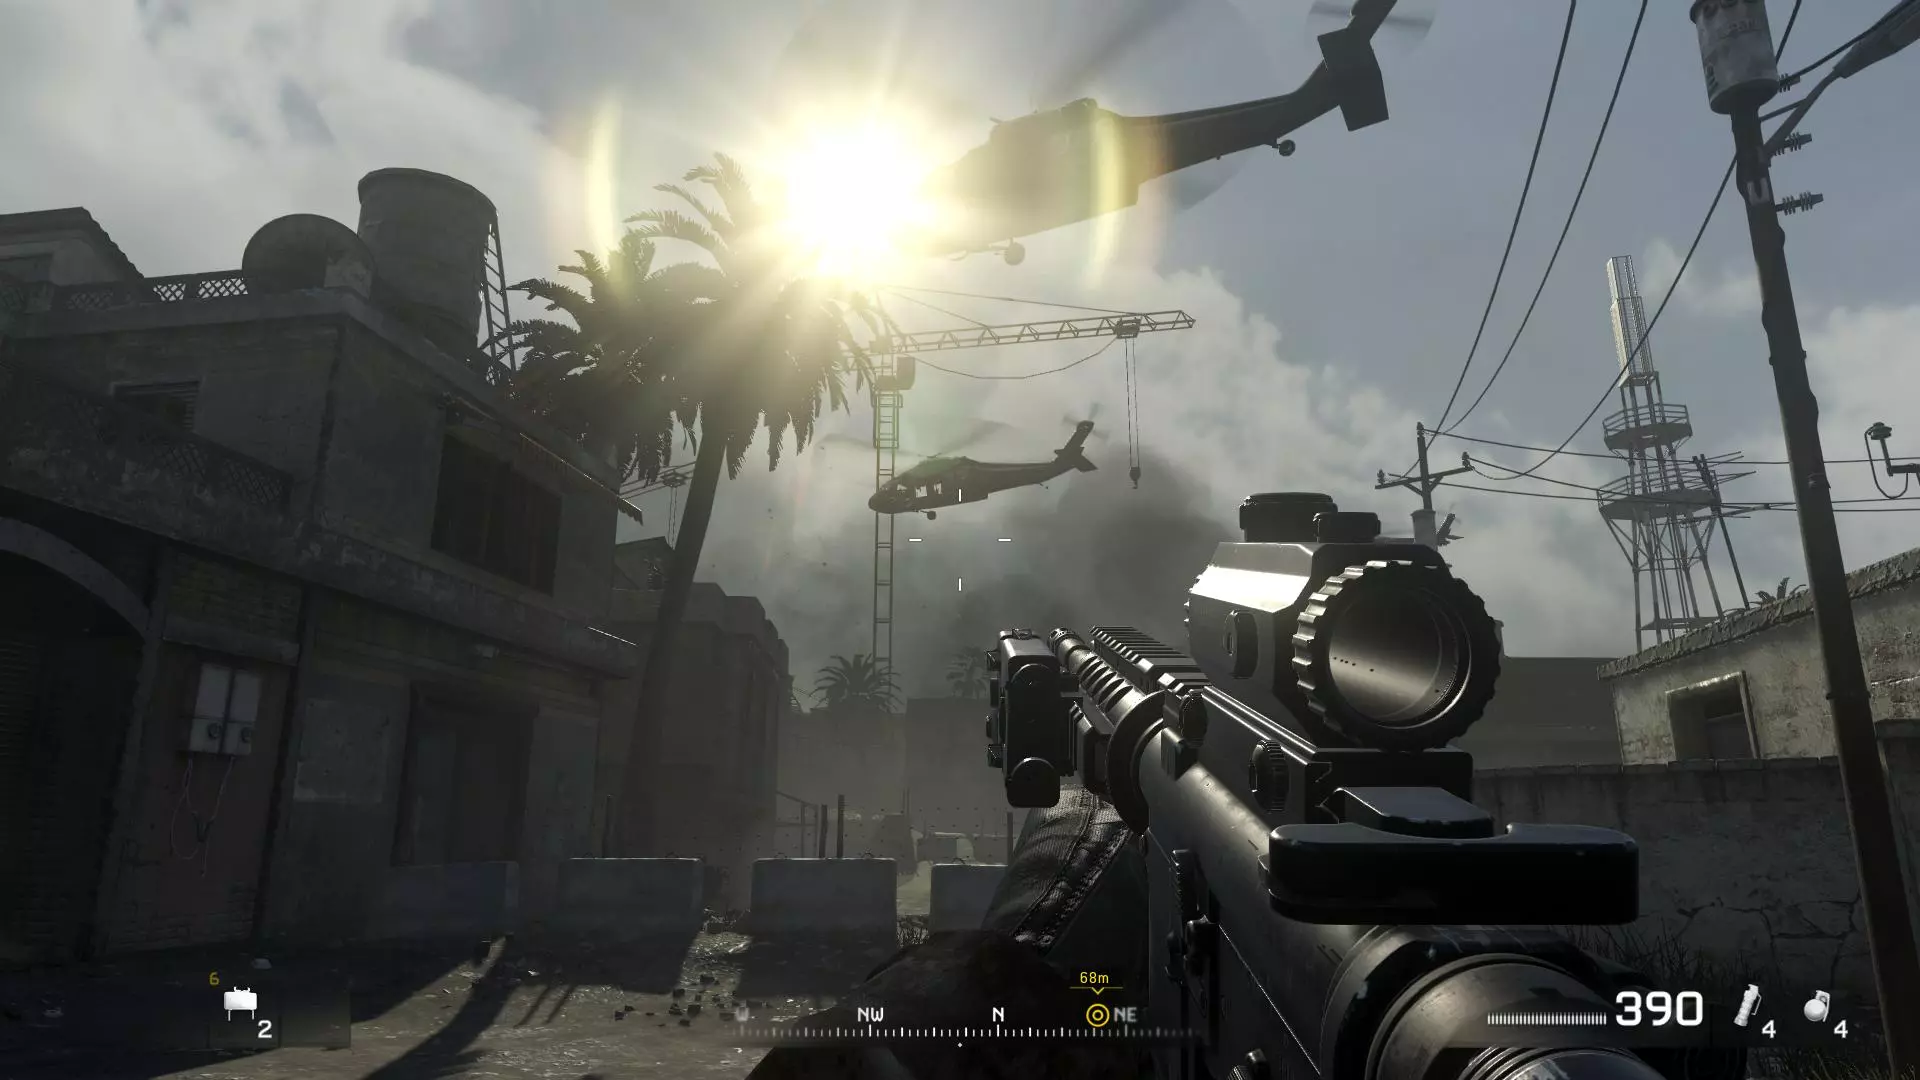
《使命召唤:现代战争 重制版》掉帧解决方法
大家好。 如果你和我一样,《使命召唤4:现代战争》是你童年的一部分,那么你的Steam库中可能也有《使命召唤:现代战争 重制版》。如果是这样,你可能会注意到,动…
2026-04-04 07:000赞 · 0评论
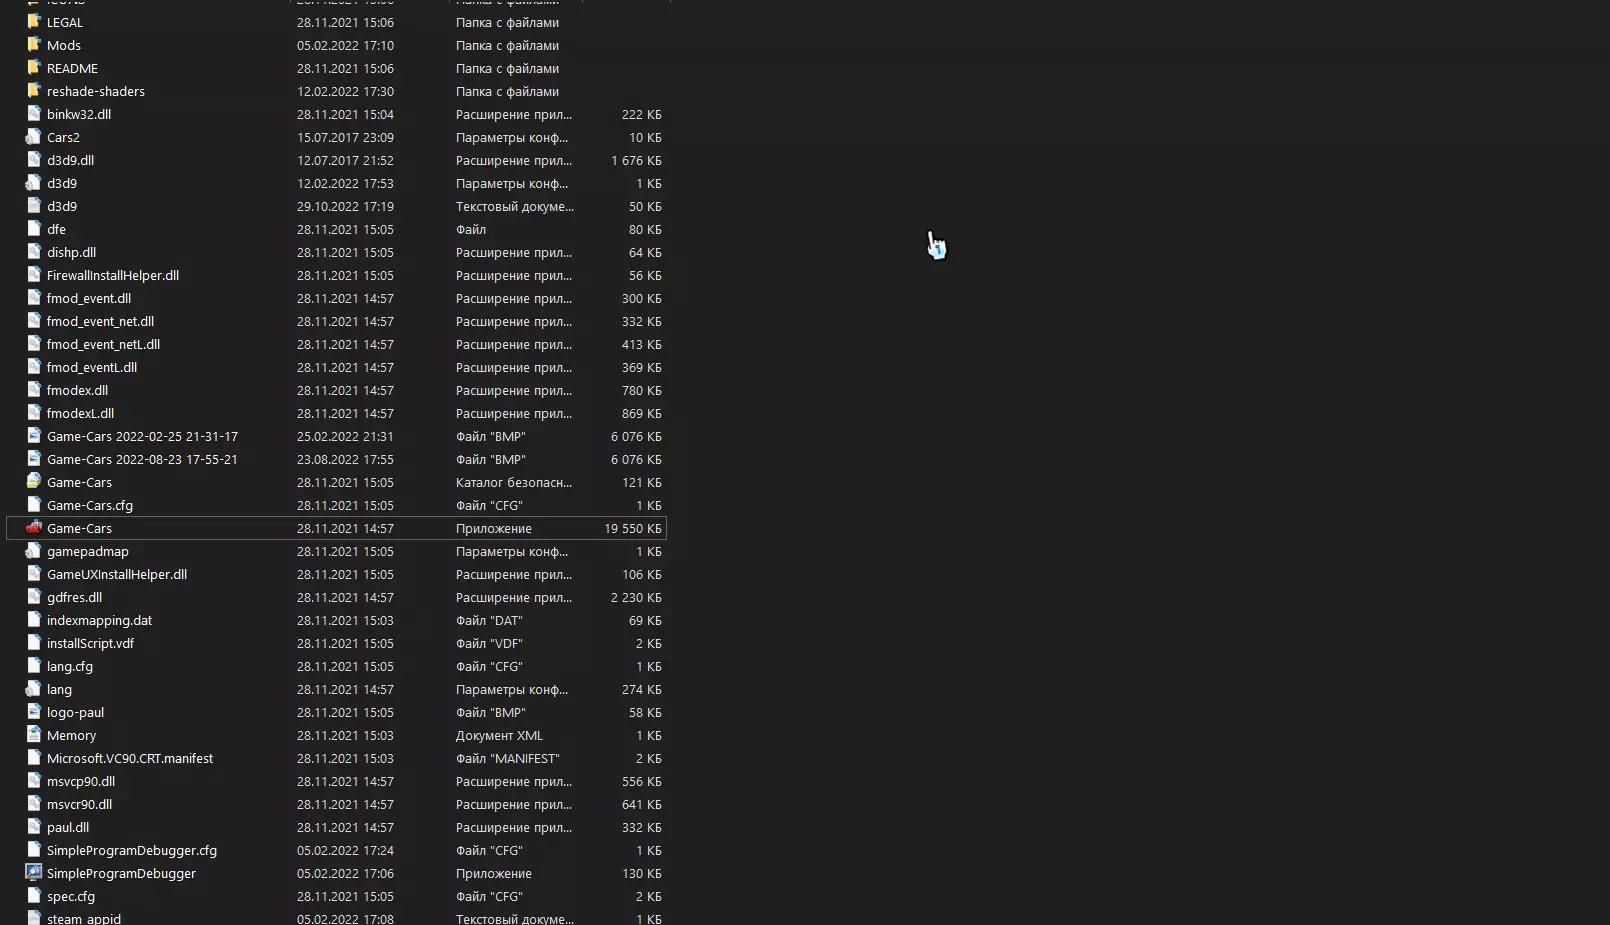
《赛车总动员2》修复游戏卡顿问题
在本指南中,我们将尝试修复游戏在比赛期间出现的卡顿问题。 引言 正如许多人所知,《赛车总动员2》最初并未计划登陆PC平台,因此没人愿意将其从Xbox和PS3平台…
2026-04-08 04:000赞 · 0评论
PC玩家提示(Windows 10-11系统适用)Steam OS支持待定
了解《刀剑神域 碎梦边境》的各种细节吧 更新:请备份你的Steam存档。目前仍有可能出现存档文件损坏的情况。 在Windows搜索栏中输入CMD,右键以管理员身…
2026-03-21 04:000赞 · 0评论
神秘海域1好玩吗 神秘海域1好玩吗 史上最真实神秘海域游戏测评
在神秘海域的世界中,我是一名探险者,一名寻宝者。我曾穿越丛林,翻越山岭,探索未知的洞穴,寻找遗失的宝藏。而今天,我将带领你们一起走进这个充满神秘和冒险的世界,一…
2025-07-31 06:450赞 · 0评论

零红蝶 零红蝶重制版PC优化的很好,没有问题!
我的配置是9700X+4060,实测优化没有问题
2026-05-01 22:330赞 · 0评论
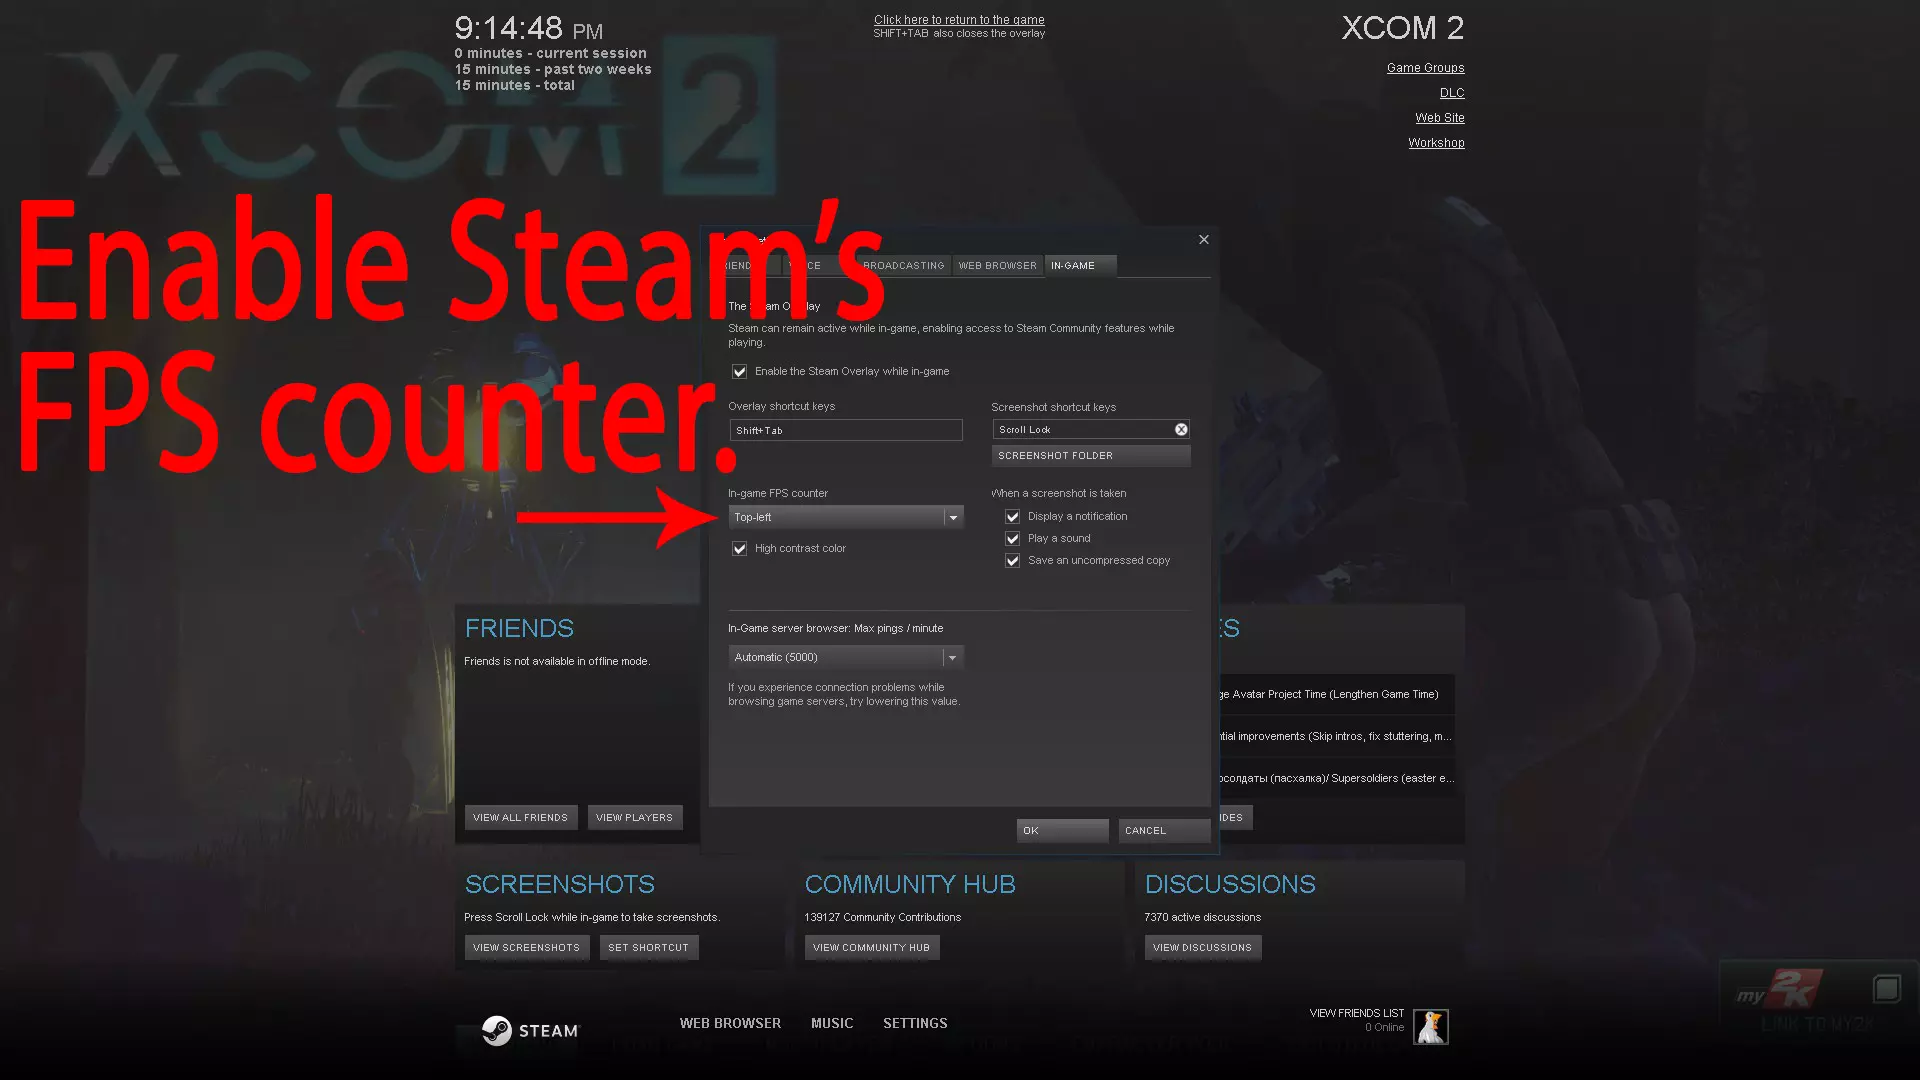
《幽浮2》拥有出色的画面和高帧率
通过几个简单步骤让《幽浮2》运行更流畅。 帧率平滑 禁用“帧率平滑”可以显著提升整体性能,但代价是帧率稳定性会降低。 启用Steam内置的FPS计数器,这样我们…
2026-02-15 01:000赞 · 0评论
《恶灵附身》Epic版怎么设置?PC完美运行优化教程,解决卡顿闪退问题
2026-06-11 15:140赞 · 0评论

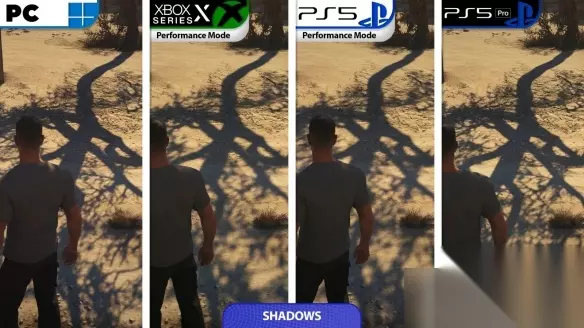
《007:初露锋芒》画质对比 多平台性能测试 PS5 Pro表现如何 PC优化怎么样
近日,海外知名游戏评测媒体ElAnalistaDeBits发布了《007:初露锋芒》的多平台性能实测报告,全面对比了PS5、PS5 Pro、Xbox Serie…
2026-05-27 10:400赞 · 0评论
感谢游玩《极限竞速:地平线6》!
我谨代表Playground Games和Turn 10 Studios的团队,向所有游玩《极限竞速:地平线6》的玩家致以最诚挚的感谢。如果这是你第一次体验我们…
2026-05-22 15:082赞 · 0评论

暂无更多
最新更新
- SQUARE ENIX发行商特卖2026 — 史克威尔艾尼克斯发行商特卖现已开启,最高可享90%折扣!本次史克威尔艾尼克斯发行商特卖包含200多款折扣游戏,我们的新主持人马修·梅瑟将为你推荐下一款值得体验的…
- 【注意】《最终幻想7 重制版》中的“容易错过的”成就 — 本指南旨在帮助你尽快获取章节特定成就,以加快全成就完成进度,避免不必要的章节重玩。 简介 在首次通关后,你可以重玩章节,并且为了达成全成就,还需在困难难度下再次…
- 全收集品位置指南 — 《最终幻想7 重制版》收集品位置指南按时间顺序展示了所有收集品(包括所有用于解锁成就的收集品)。 【章节1】 《最终幻想7 重制版》中没有任何收集品会错过。在任…
- 随机白屏修复方法 — 如何解决游戏过程中可能出现的随机白屏问题。 白屏修复方法 你在玩这款游戏时是否遇到过这种情况?
- 如何仅通过NVIDIA控制面板消除99%的卡顿 — NVIDIA显卡用户减少卡顿简易指南(不确定是否适用于AMD显卡,因本人未曾使用过) 操作步骤: 1. 在桌面右键点击,打开NVIDIA控制面板。 2. 进入管…
- 魔晶石小提示 — 大概是如果第一次玩会希望有人能告诉我的关于魔晶石的小tips 一周目 关于魔晶石们 首先,最好是能在一周目把所有能拿到的魔晶石都拿到,避免之后又要重复的跑图过支…
- 《最终幻想7 重制版》全成就指南 — 全成就大概需要70小时左右或者更高,最少两个周目以上,难度7.5/10,一周目推荐最简单难度,前期多刷武器熟练度还有魔晶石熟练度。一周目剧情基本必过成就【37个…
- Dressed to the Nines 成就指南 — Final Fantasy VII Remake Intergrade - "Dressed to the Nines" missable achievemen…
- 《最终幻想7 重制版 Intergrade》100%完成路线指南 — 这是一份由Lastlight翻译的攻略,用于帮助我达成《最终幻想7 重制版 Intergrade》的100%完成度。阅读时可能会存在一些理解问题,但这只是初稿,…
- 决策、好感度与换装机制 — 本指南将介绍游戏各章节的所有选择,并解释好感度和服装机制的运作方式。还会涵盖一些相关的成就以及实用的偷窃技巧。 简介 本指南由我本人在游玩过程中参考最终幻想维基…