换一换
换一换 


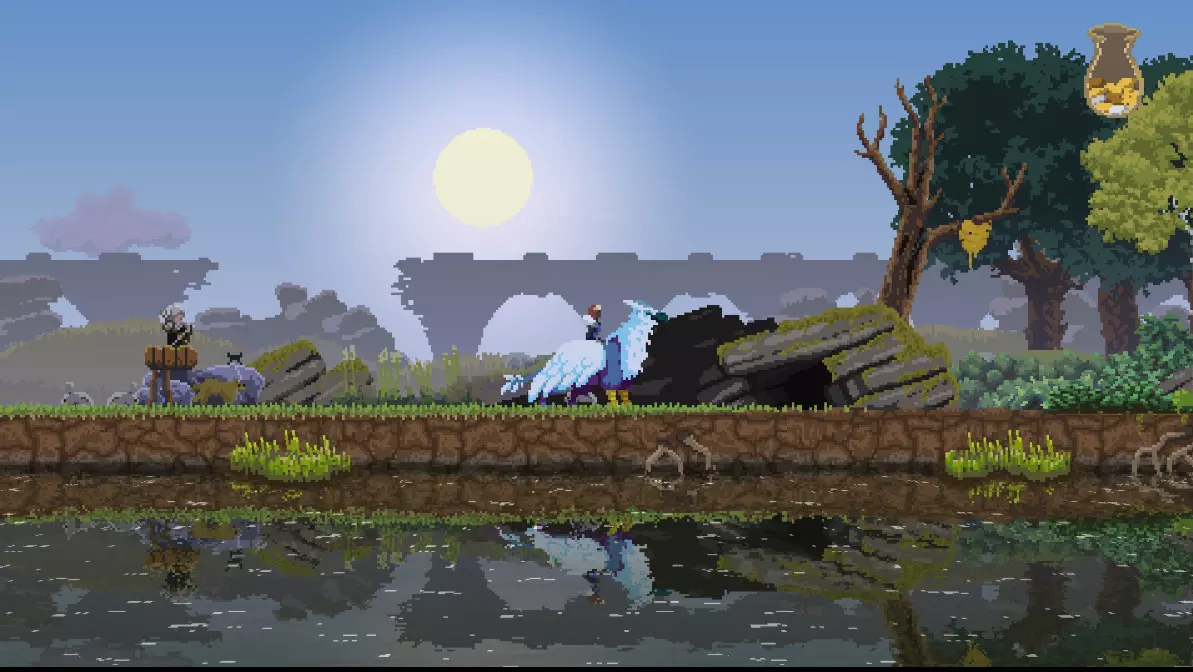
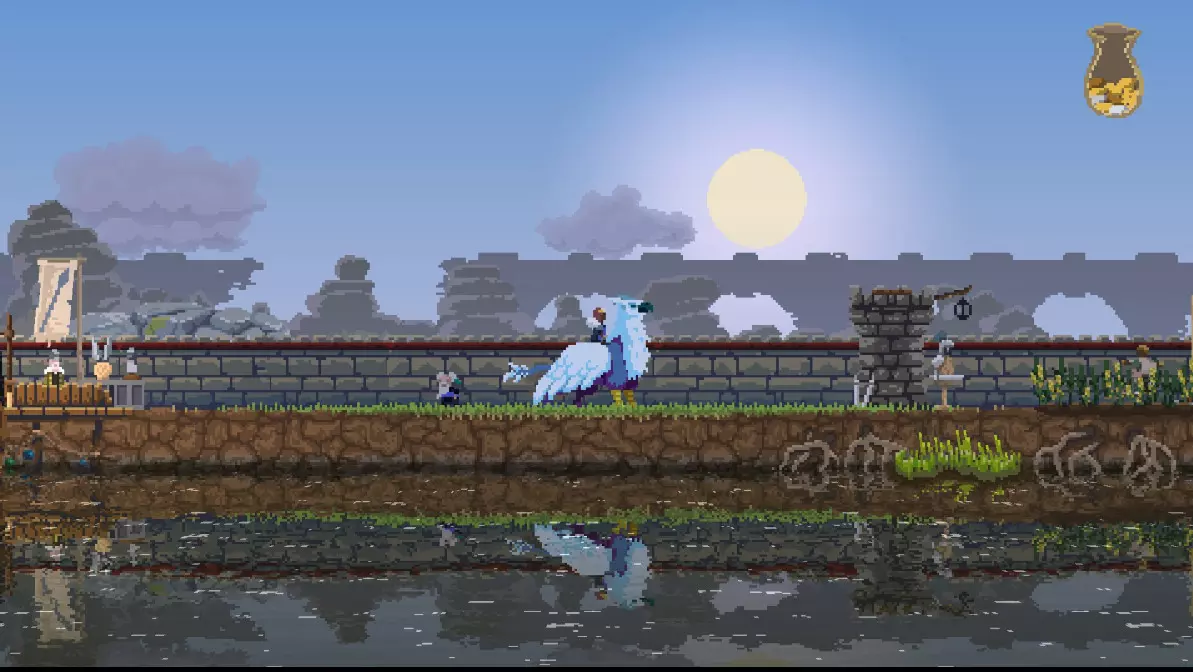
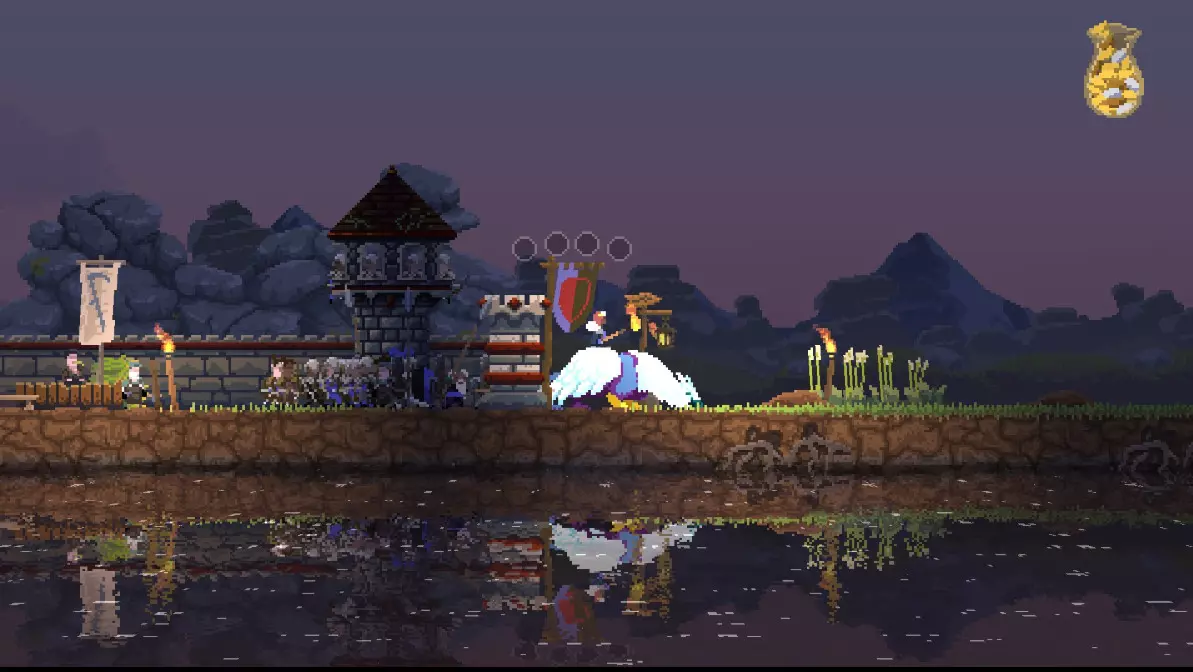
本指南旨在解答所有可能的问题,并尽可能详细地解析游戏内容。其中包括通关方法、所需完成的事项,以及关于最高效/最有效的技巧。 简介 大家好!欢迎阅读本指南!这款游戏内容十分丰富,我可能会遗漏某些细节。我已亲自通关该游戏,目前正在努力解锁所有成就。如果发现我有遗漏之处,请在下方留言,我会更新指南。我希望本指南能尽可能简单明了、易于理解。希望它能对您有所帮助!tv/marinx 如果你愿意,我会很感激 :) 言归正传,开始指南! 岛屿解析 + 解锁内容 (抱歉我没有所有内容的图片,会考虑更新) 岛屿 1: 狮鹫
弓箭手雕像 弩炮隐士
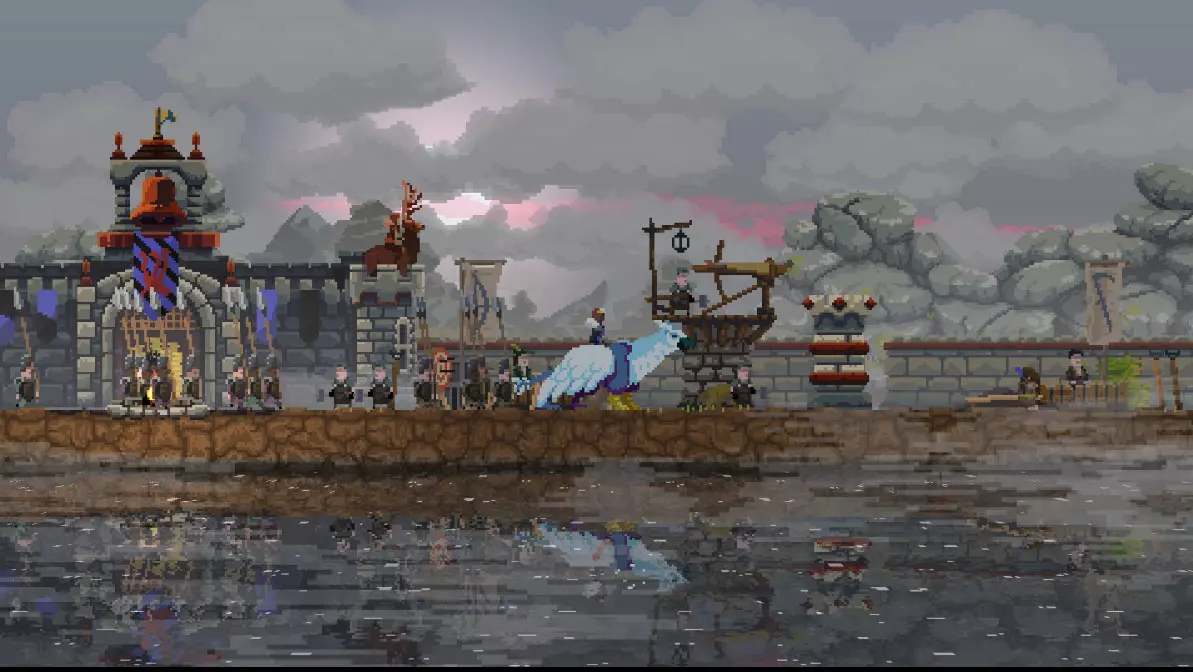
孤岛2:牧场隐士
农夫雕像 雄鹿 采石场 岛屿3: 面包师隐士
建造者雕像 战马工作室
岛屿4:熊
čĽč´
骑士隐士
铁矿 岛屿5: 号角隐士 骑士雕像
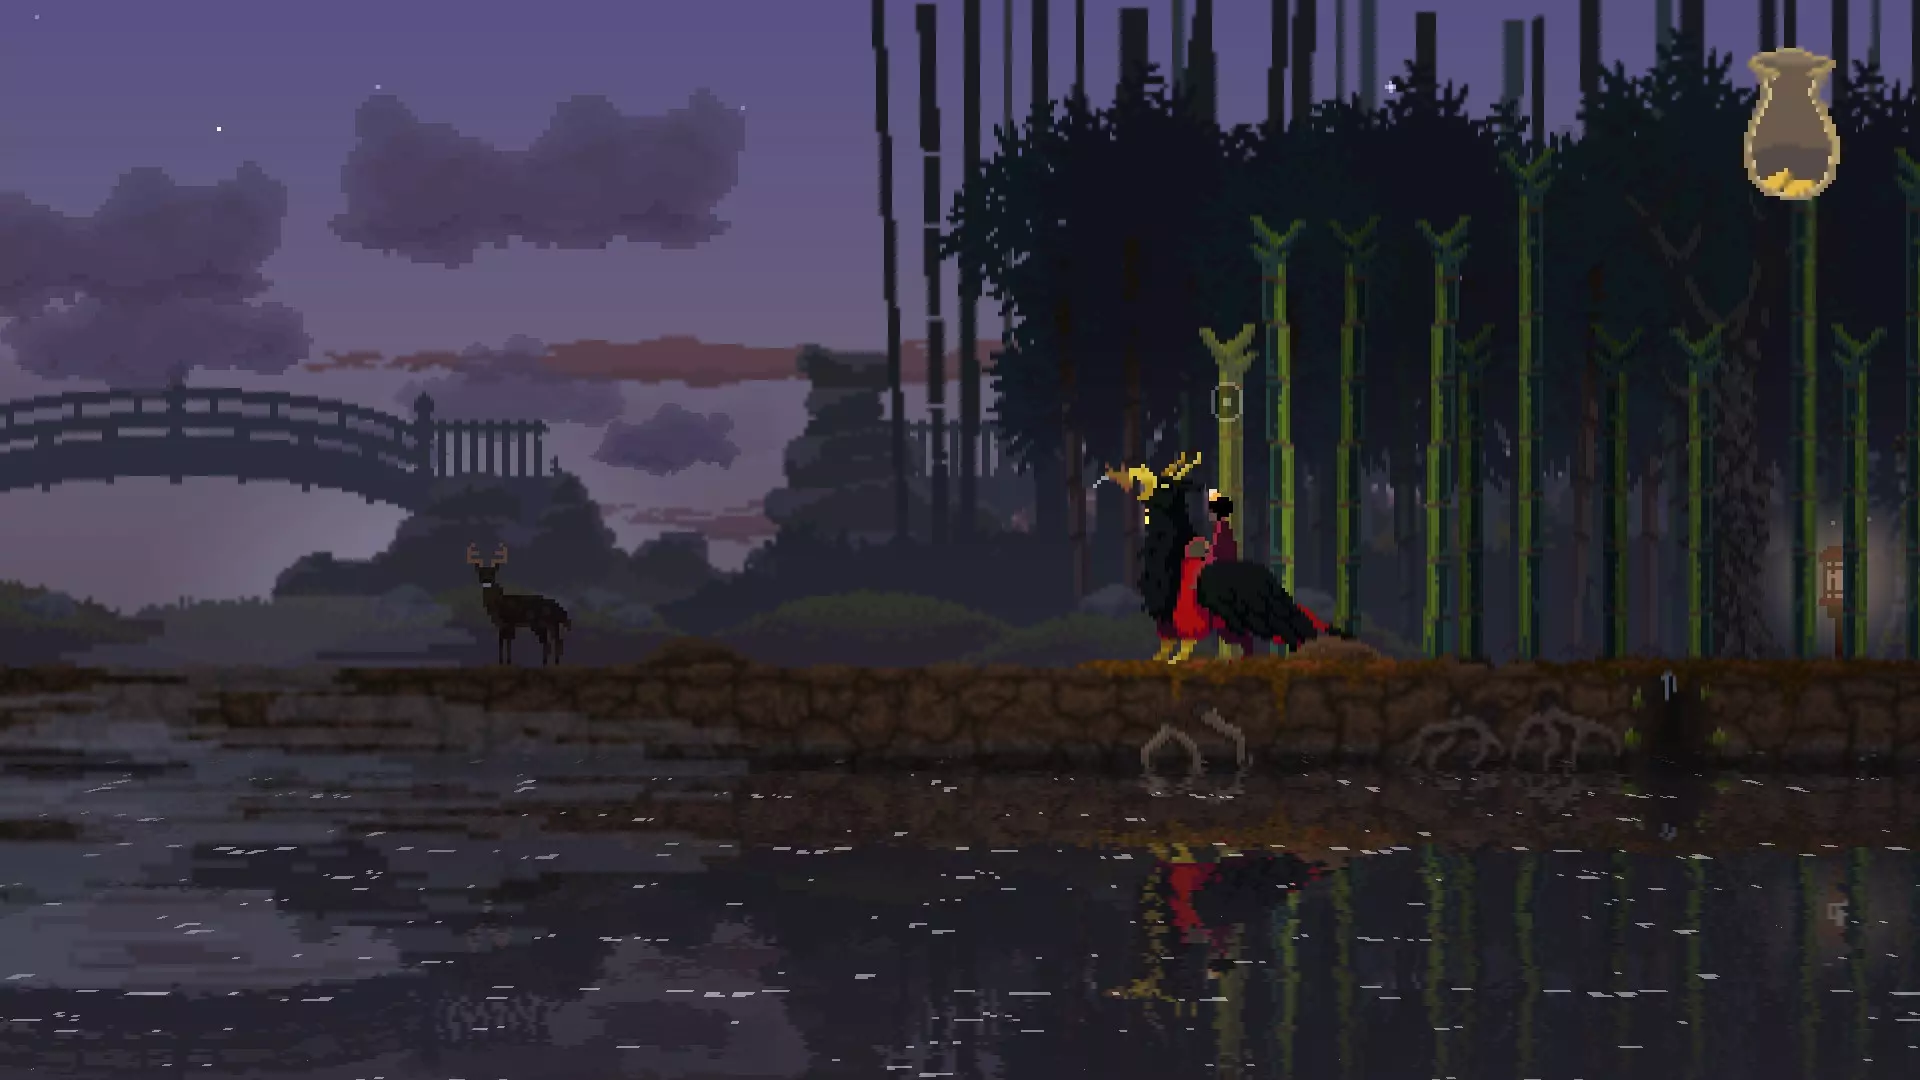
独角兽
隐士相关内容 面包师 - 经营面包房的小奶奶! 弩车手 - 操作弩车的粗犷汉子! 牧场主 - 管理马厩的“苹果籽约翰尼”式可爱小家伙! 骑士 - 守护骑士站的铠甲老爷爷! 号角手 - 负责号角墙的小维京人! 如何使用他们? 每个隐士都有不同的解锁要求,但功能相同:用于升级建筑。
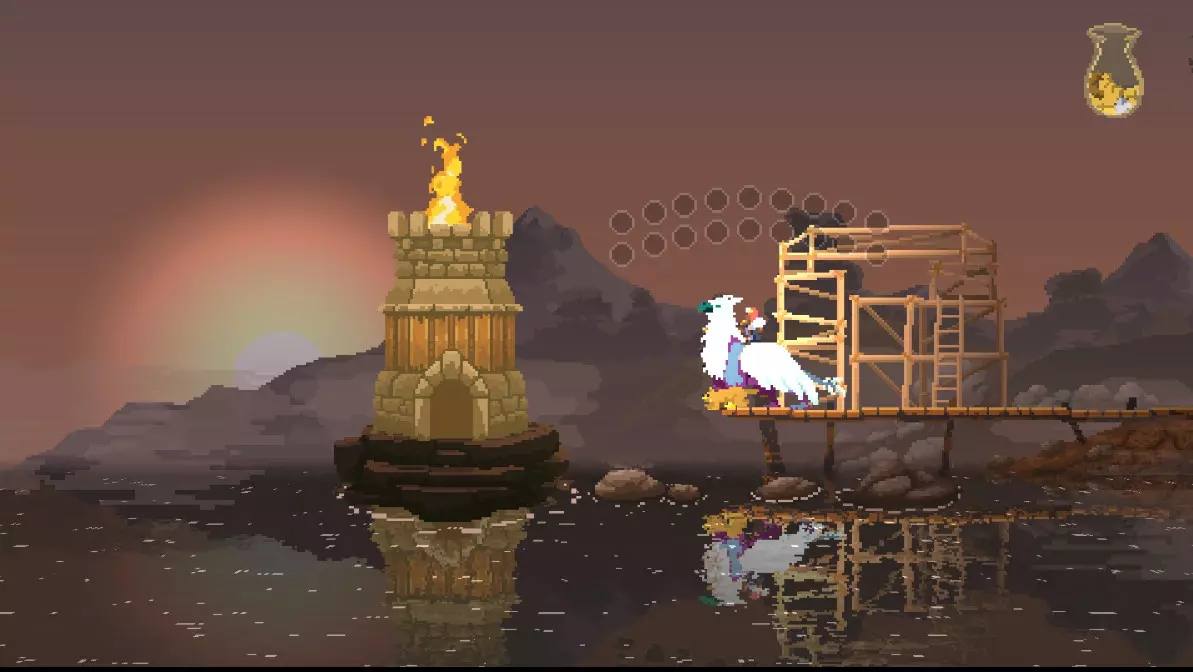
弩手/面包师/骑士隐士可以将这座塔升级为他们各自对应的塔。虽然可以升级1级铁塔,但这基本上是浪费金币。最好升级这些隐士对应的塔。 升级方法:只需让你想要的隐士骑上你的马,走到塔旁,给他们一枚硬币,他们就会和你一起行动。去升级这座塔,你将获得一座隐士塔,而不是1级铁塔!通过快速左右转向手动将他们从你的马上赶下来! 那么号角/牧场主隐士呢?号角和牧场主与普通隐士略有不同。号角隐士会将石墙或铁墙升级为一种略有不同的【号角墙】(官方名称未知)。而牧场主会将满级农场升级为马厩。 各建筑有什么作用?【弩炮隐士塔】会将一座塔的弓箭手替换为一名单独的建造者。这使得建造者可以离开并为你搜寻资源。该塔还拥有更远的射程和穿透效果。在额外的城墙后方建造这一建筑非常有价值,记得留意它的射程!
- The Knight Hermit Tower will replace the tower with something completely new. I like to think of it as a mini castle, a knight stand. Rather than holding archers OR a builder. It allows you to recruit another Squire / Knight! This can be useful for going to a new Island with 3 Squires (Will discuss more in Strategy). However, I find this building pretty much unneeded. Sending 2 Groups almost always kills the portal, unless they meet a wave on the way. - The Baker Hermit Tower will replace the tower as well with a small bakery. By spending some coins, you will purchase bread. This bread will attract vagrants no matter how far they are. This is my personal FAVORITE tower. Very useful on maps where the camps are far away. The vagrants will grab the bread and eat it, then stick around for awhile, useful for when you leave! You can hire them before they touch the bread and save some coin too! - The Rancher Hermit will replace a farm with a Stable. The Stable is used to store a mount for easy swapping. Personally, never used it or cared since I was happy with 1 mount. However for an optimal playthrough, it would definitely be a benefit. - The Horn Hermit Wall introduces a horn that can be used to call defenders. This can be beneficial if you recently expanded and prefer to have your troops behind a sturdier wall. Keeping your troops behind higher quality wall can ultimately save your defense. Is it valuable? Personally, it would depend on your playstyle but I have never found any real use from it. Help! My Hermit was taken!You actually are either in an ok place or a bad place. However, your hermit is not actually gone. In the event your hermit is taken, you are now locked out of getting another one of that type, BUT you can save him! If your hermit is stolen, after clearing the final portal, they will be freed! However you are locked out of going and getting another until you lose your crown and start a new rein. Safety Tip!!!Hermits have a tendency to walk outside the walls. For optimal safety, make sure you extend each side to the 2nd wall / tower combo! Mounts Breakdown Mounts: Pony - It's basically the exact same as the horse. Don't Do it. (Couldn't remember what island it was on but the spawn is a open field.) Bear - Ok stamina but the really neat thing is this mount can attack. While you run the bear will slash, killing almost anything. You literally run into the greed! This is also useful for killing deer and bunnies. Overall a decent mount but I think there's better. Lizard - Ok this mount is really interesting. It has the WORST stamina I have ever seen. It feels like it runs 2 feet and it's tired. By hitting Left Shift, or just trying to run, you will breathe fire. It functions the exact same as the flame barrel. This mount is pretty useful for defense, probably the best. But the stamina is abysmal. Great defensively if you're not running anywhere but terrible for moving around. Warhorse - This mount is like an enhanced horse, with a shield! Whenever you run, you and all workers around you will have a shield, making none of you receive damage. It has a small cooldown but it's neat! Overall, I didn't find it useful because your archers are almost always behind a wall. You also shouldn't have an issue with invading the greed realm because they typically survive with little damage taken. Cool mount but again I think you can get better. Gryphon - GREATEST STAMINA I'VE EVER SEEN. Imo, Best mount in the game. Decent speed, phenomenal stamina, and a neat pushback ability. By hitting Left Shift you will blow in front of you which will knock back and stun greed for a couple seconds. Another amazing thing is the mount can "graze" wherever and whenever. Winter? Still can. Middle of the forest? Yep for sure! Stag - Really solid mount for the early game. Highest speed of all mounts and decent stamina. Also can charm deer to follow you, cool for early game hunting. I grab this mount every playthrough but usually swap to Gryphon or Unicorn. Unicorn - Have you had money problems? Want infinite gold? Want to POOP GOLD? This is the mount for you! Everytime you graze the Unicorn will poop out 3 coins. Also, it seems like the grazing is shortened to around a 5-10 second cooldown. The stamina / speed however, feel identical to the normal horse. This horse is aboslutely amazing for early game money problems and saving for Winter. However once winter comes, it is one of the most useless mounts. You lose your grazing ability and thus the real reason to have this mount. What is Grazing? Grazing is the way to replenish your stamina and enhance your speed. By stopping on a patch of grass, (Can't be in the forest, must be the bright green around your camp) your mount will lower its head and eat. After a few seconds it will raise back up and now be replenished. You will know it worked if you notice a white particle effect around your mounts legs while running. The Gryphon is unique in the way that it can graze ANYWHERE. Base Buildings - Builders (Hammers): This is your beginning building on the left side. Useful for grabbing a few builders then you forget about it. Not used past getting a few builders. - Archers (Bows): This is your beginning building on the right side. Very very useful and you will constantly be going to it! Archers are the backbone of your defense and your economy. Spamming these is always good! - Farmers (Scythes): This building will appear on your first expansion outward. It will allow you to purchase a scythe to make a villager a farmer. Depending on playstyle, you will either love this building or forget it exists. - Spearmen (Spears): This building will usually appear on your second expansion on the opposite side. Could also be the catapult. I haven't found a concrete reason for either spawn. Spearmen are aboslutely great!....with some issues. They will constantly poke into the water and bring fish! They are absolutely great because they will do this no matter the season! These are pretty much your only income in winter aside from the banker. They will also jab through your wall at night for defense! Unfortunately though, they have a chance to lose their spears. I'm not entirely sure the cause but you need to constantly have them stockpiled. This may seem like a big issue, but they will typically grab enough fish to make it equal or a small gain! Not including the usefulness of defense! - Catapult Station: This building will sometimes appear on your second expansion on the opposite side, or your third expansion overall. It can appear on both sides and sometimes multiple will spawn. I have yet to understand the spawn pattern for this, however it is VERY useful. They gave it a good buff since its New Lands days! The range is pretty far and you may purchase flame barrels that will leave a pit of fire on the ground. If greed walk on it they will light on fire and take Damage over Time. Functioning just like the Lizard mount. It is manned by builders and a valuable asset for surviving the later waves. Double catapult on the same side?
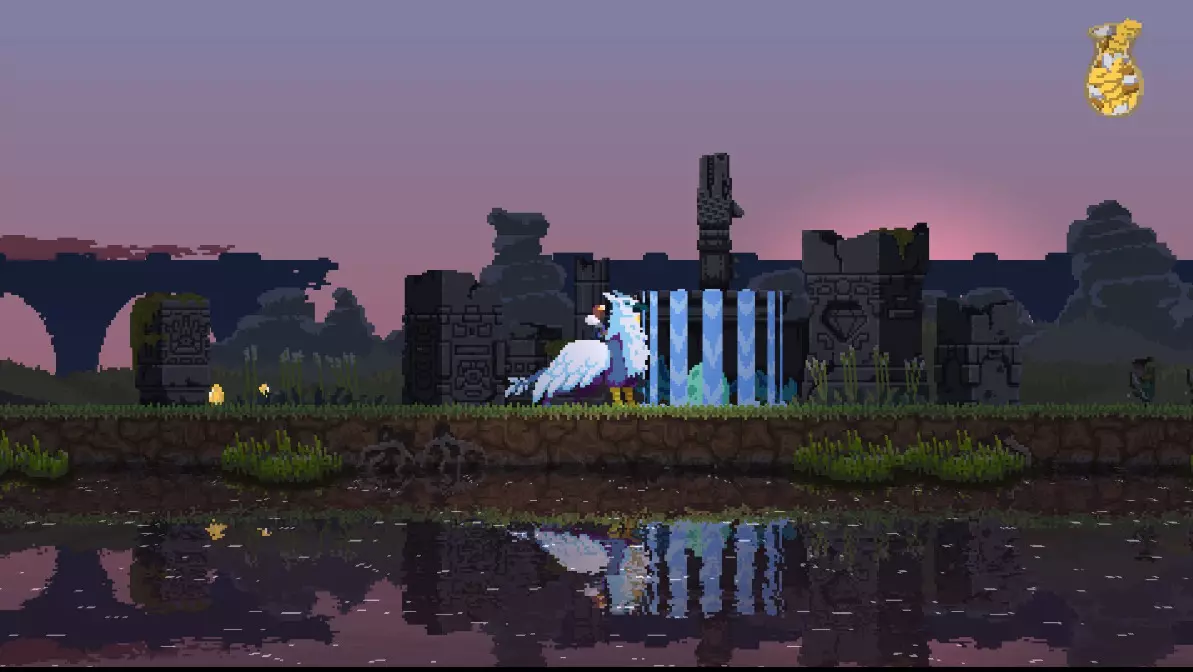
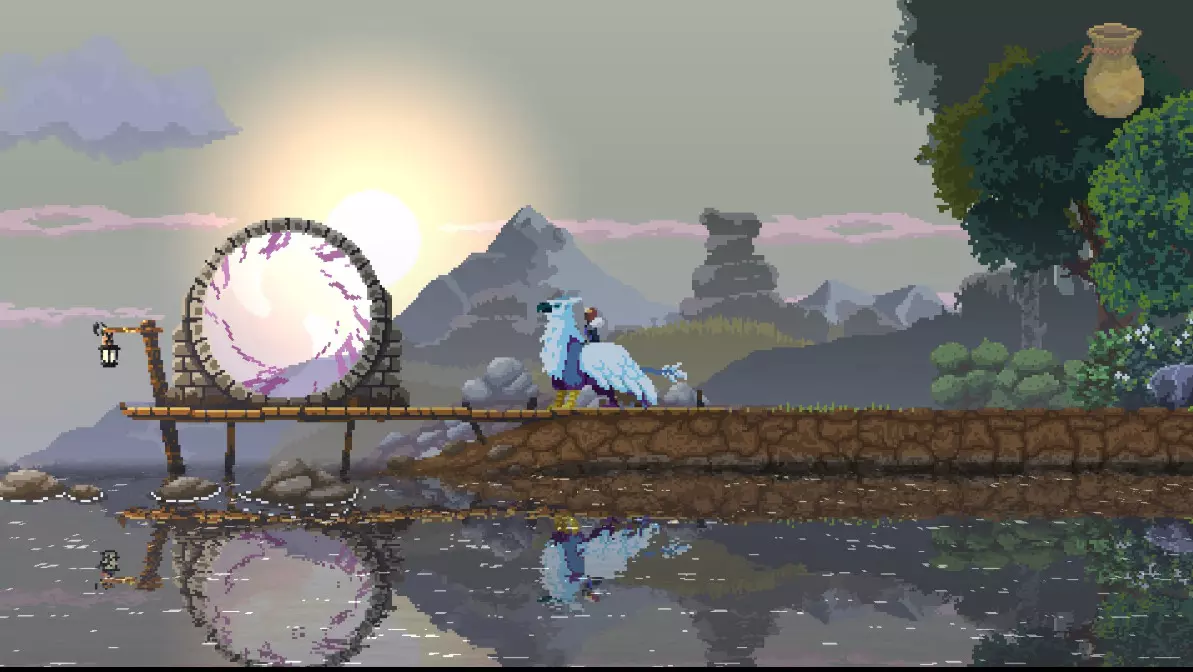
- 锻造厂:这个建筑的发现过程让我吃了不少苦头。根据维基的说法,你只需扩展到悬崖传送门即可。为了让其他有困惑的人更清楚地了解:你需要将城墙升级到最高级的铁墙,并且所有铁墙必须连接在一起!关键在于,你不需要沿途建造所有建筑。一个简单的生成方法是,在远离基地的地方(只朝着悬崖传送门的方向!)建造一堵单独的墙。这个建筑允许你购买剑,剑会自动将你的乡绅转变为骑士!骑士比乡绅更强大,因为他们可以拥有更多用于提升生命值的金币。这个建筑还允许你购买炸弹。购买炸弹后,你必须护送它进入传送门并引爆它!贪婪传送门解析+(乡绅+骑士解析) 设置:现在这很简单!获得采石场后,你可以将主篝火升级为城堡!购买盾牌后,一个无业村民会拿起盾牌成为乡绅!一些弓箭手会自动跟随他组成一支小军队。拥有乡绅后,你必须从基地墙壁延伸出城墙。然后会生成一面旗帜。支付金币后,他们会前往己方最近的传送门并尝试摧毁它。 旗帜:
设置传送门:传送门被摧毁后会留下一个魔法残留物!你可以在上面建造自己的传送门!这对快速在地图上移动非常有用!传送门建成后,你可以花费金币进行移动。将镜头对准你想要的方向,然后按下你用来投掷金币的按钮(根据控制器或键盘有所不同)。如果你在开阔空间,它会创建一个临时残留物,也可以通过建造使其永久链接!但如果你走开,它就会消失。 被摧毁的传送门:

建造传送门
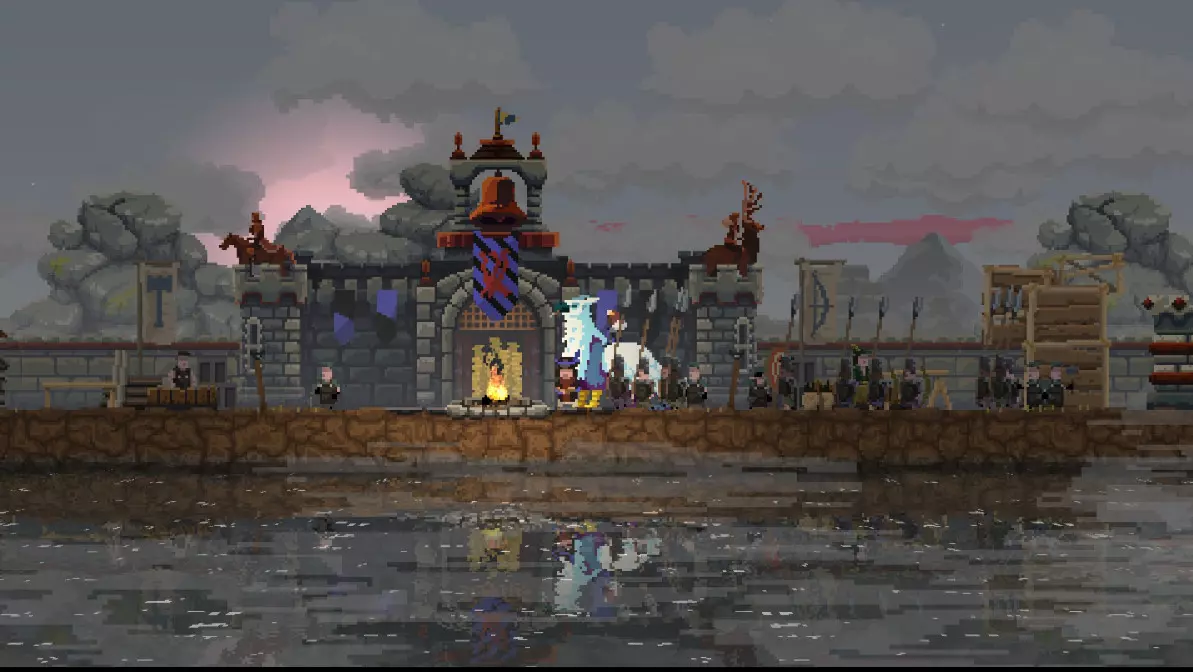
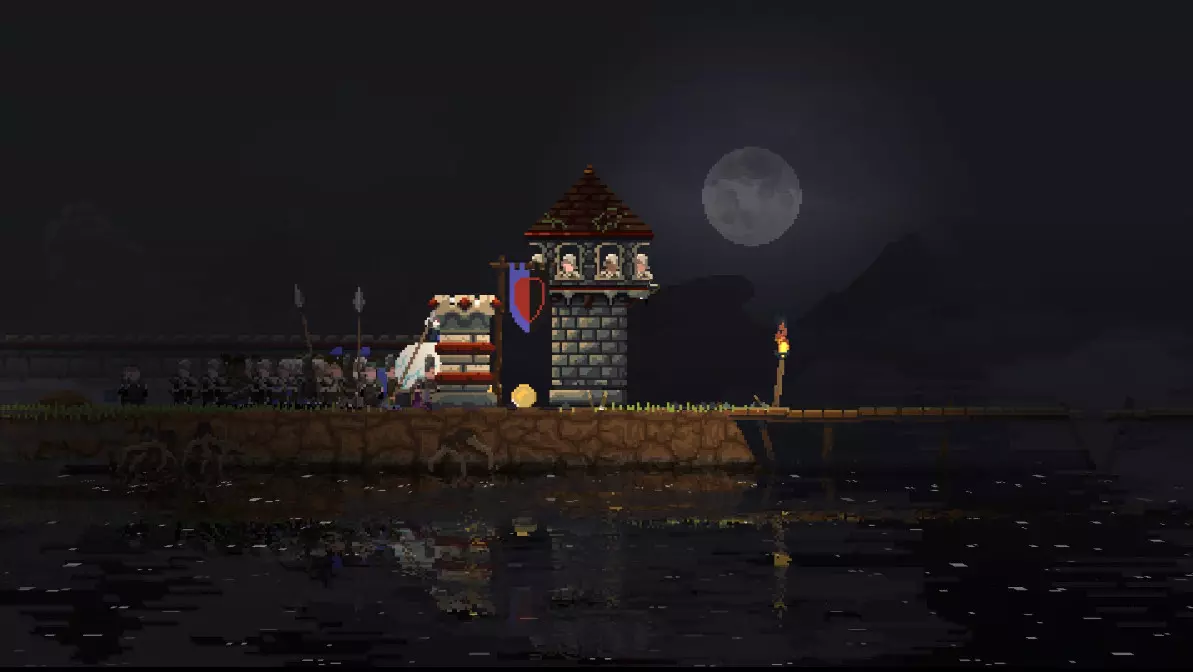
银行家 他是谁?当你将帐篷升级为更具城堡风格的建筑后,就会解锁银行家!他是游戏中最强大的工具之一!这位伙计会帮你储存黄金,并在每晚产生利息。对于建立成功的经济体系,以及在没有长矛兵或不使用长矛兵的情况下帮助度过冬天,他都非常重要。 如何有效使用他?这部分很有意思。过分纠结具体数字意义不大。只需确保他的库存已满,且不再有增减(即不进行取款导致减少,也不进行存款导致增加)。这样就能让你无限刷钱。 - 存款后当天无法取款。如果你给他10枚金币,就必须等到第二天才能操作。 - 每天可以存入任意数量的金币。只要你不存款,你可以随时进行任意次数的取款。 - 存款操作:扔下硬币,他会捡起硬币。当他捡到10枚硬币后,会触发一段存款的动画。 - 如果你扔硬币给他,但他没有触发存款动画(例如:你给了他8枚硬币后,他就去休息了),这些硬币仍然会被计入,不会消失。 - 取款操作:他会给你银行存款的三分之一,或者将你的背包填满,以先满足的条件为准。 - 示例:银行已满
灯塔 它们在哪里以及外观如何?- 1级木材
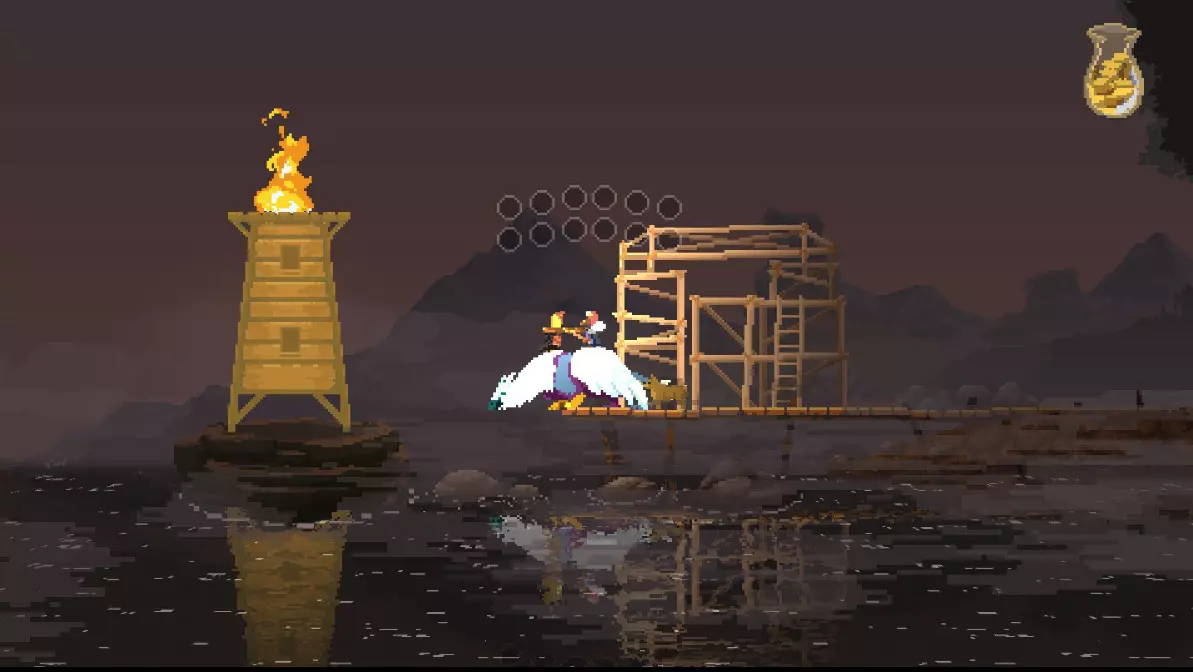
二级石头
三阶铁
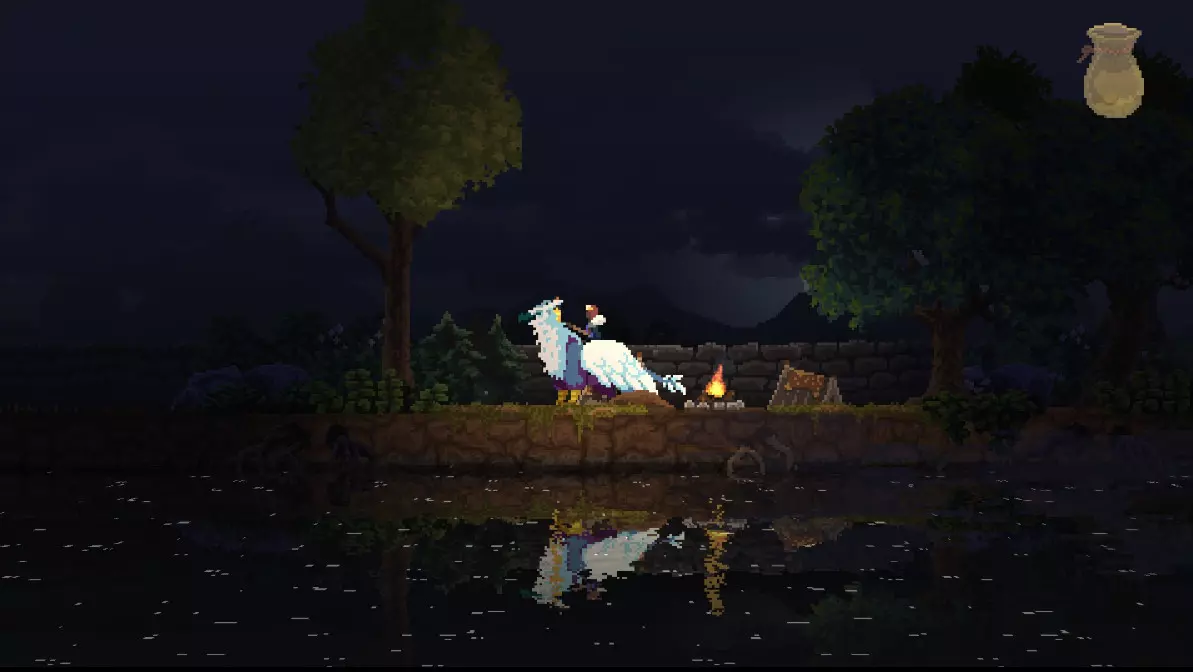
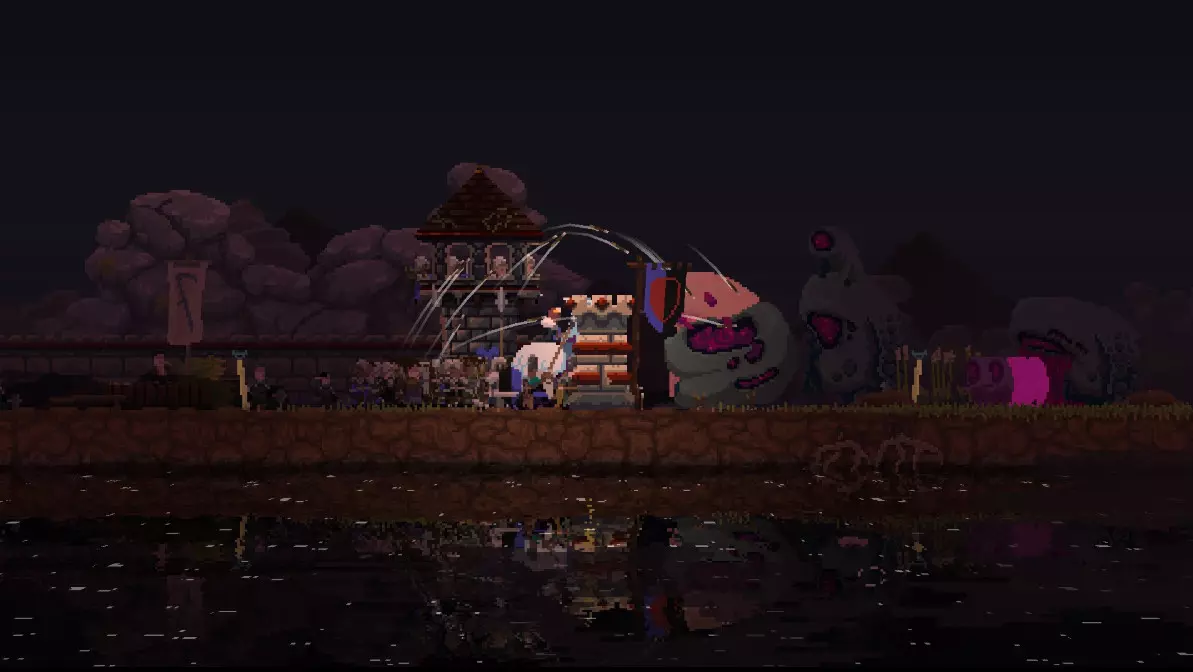
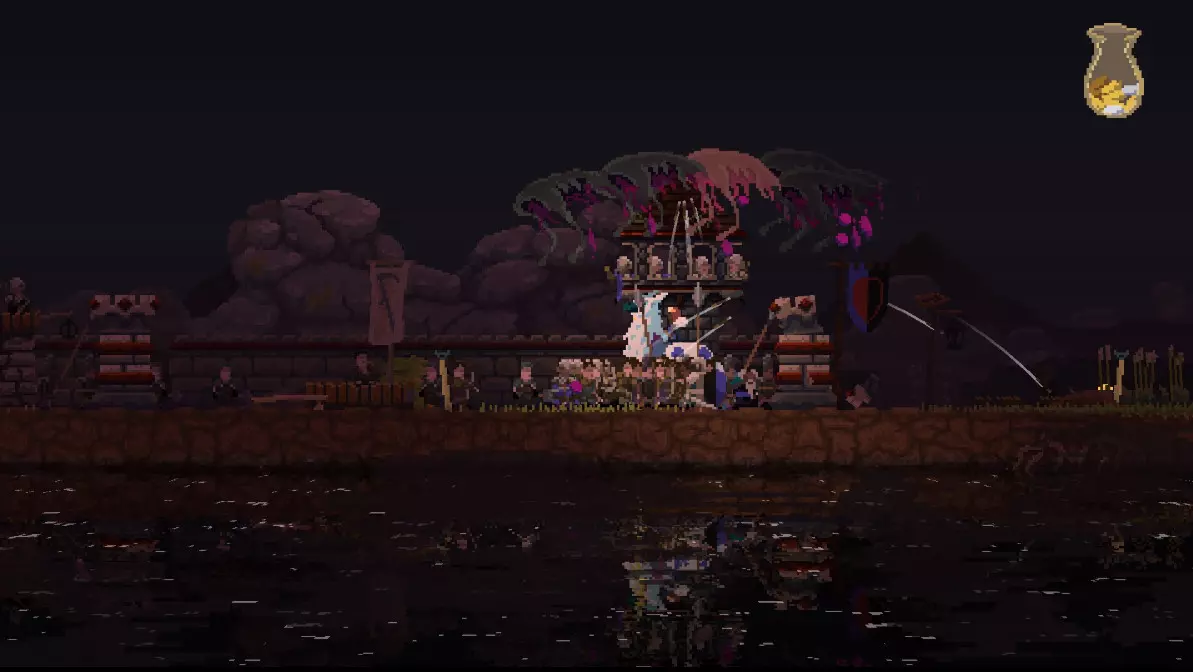
Why build them? How to build them? Where to build them?I'm glad you asked! It's actually both simple, and difficult! Their purpose:You use these to save your ship. If you sail to this island again, you will now have a chance to save your ship! No more rebuilding! I'm not entirely sure the odds but I would guess it's something like Tier 1 = 25% Tier 2 = 50% Tier 3 = 100%(Could be inaccurate, will update if solid numbers are found) I have never lost a ship with an Iron lighthouse and highly recommend you get to iron so you don't play with luck! Where to build them?You may only build them at the dock to the ocean. This will be found at the end of one side, while the cliff portal is on the other. Any requirements to build?The tiers work just like the castle. Tier 1 is always available, however Tier 2 and 3 require the quarry and Iron mine respectively. Other than that, simply walk to the very end of the dock and you will have a coin prompt to build! Also don't worry, they build themselves! No builders needed! Iron mine + Quarry QuarryThe Quarry will be located on island 2 and will only require gold. This will allow you to upgrade your base to a castle and hire squires! Iron MineThe Iron Mine will be located on island 4 and will only require gold. This lets you upgrade your castle to a fancy iron castle with lovely statues! The Statues + Thoughts on Usefulness What are statues and how do they work?Statues are buildings that will give you a permanent upgrade to a respective type of unit. They appear on several islands with varying usfulness. Each statue?- Archer Statue This is an INCREDIBLY powerful statue. It will double the damage your archers deal which is just absolutely needed for later waves. It will also help them hunt deer and overall provide you with a wayyyy better defense. Aboslutely mandatory for your playthrough - Builder Statue Another VERY powerful statue. Not sure how the numbers are but I can say that it will increase the durability of your walls. While this statue isn't needed to beat the game, it certainly makes it less scary against large waves. Highly useful and would get every playthrough for sure. - Farmer Statue This statue is a bit of a mix for me. My playstyle avoids farmers entirely so I actually never get it. However it does help improve your farms. Before getting this upgrade I would look around and make sure you have a farm nearby, otherwise it's a waste. Not needed at all and depends on playstyle. - Knight Statue HOLY MOLY I DON'T LIKE YOU. Sorry, some bias there. This statue will give your knights a new ability which will let them charge forward and kill greed. There's a problem though......They do it at night for no reason. At later stages when the big spawners come, I have had knights charge out to instantly die to the big spawners. Overall, that completely killed this statue for me. It put me at a disadvantage against larger waves and stacking knights. I wouldn't recommend it at all but it could be cool to watch your knights charge? Dog You may find a dog in your travels. He can be useful, or just a good boy who keeps you company! ^-^ But seriously, you may find a dog trapped between a couple logs and may wonder, how do you free him? Simple! Simply drop a coin and he will now follow you! You even get to keep the coin! But What does he do?Well besides being the goodest boy <3. He will detect greed for you. When he barks the greed have spawned, and the direction he is facing is where they are coming from. This is only useful on a blood moon but it can still come in handy if you happen to be adventuring outside your walls! Tips / Tricks (Including how to do Split Screen!) How do I actiavte split screen!?Press "J" in game. Yeah I was angry too. Player 2 will use HJK to play and there is no way (to my knowledge) to change the controls. G is used for abilities as player 2. Squire / Knight Stacking- The boat will hold up to 3 Squires/Knights. A useful tip to help your next land is to use the Knight hermit to grab the third Squire/Knight and send him on the ship to help in the next land! - Your sides may hold infinite Squires/Knights. If you find yourself struggling late game, you can actually sail back to another island you completed. Grab knights and go right back. (Must have lighthouse done!) Infinite on the new land! Winter IncomeYou can actually use trees to get some income. You are guaranteed your coin back, and have a chance to get another. Useful for when you're struggling. You also can collect income from spearmen in the winter. Highly useful to have around 8-10 spearmen at all times. Types of Greed (enemies) (I will be referring to my own names for them but you will still get it) -Little Guy (Greed) These are the regular greed you will always see starting on day 1. They jump at you for their attack. -Little Masked Guy (Armored Greed) These are the same as the regular greed but they have some protection and take more to bring down. - Flying Guy (Floaters) These actually are not after you at all. They will fly over your walls and aim to take out tower archers or just take any villager they can find. Once abducted they will fly back to the portal with their prey. They will not appear until blood moons or after a portal destruction. - Big Spawning Guy (Breeders) The big meatshield that scares us all! Every few seconds will spawn more little guys and will pack quite a punch against a wall, or even you. Will send most of your bag flying and kill even a fully coined up knight instantly. Has area damage so beware grouping! They will also occasionally throw rocks. This is extremely dangerous and will decimate your soldiers. There is no way to really prevent it or protect from it (to my knowledge) so your best course of action would be to rehire the troops ASAP. - The Leaping Guy of Nightmares (Crownstealers) Now this is actually a really interesting and scary idea! This is a strange fellow that will be atop the Big Spawning Guy and will actually attmept to jump over your wall! Ahhhh! With more testing. I have learned this enemy will go out of their way to steal your crown. They are also faster than you, no matter what mount you have. The good news is, they almost only appear on blood moons + post portal destruction, and don't kill your citizens. Lastly, since their goal is your crown, they will INSTANTLY knock it off, no matter how full your bag is. I have yet to pinpoint the day they spawn but on my average playthroughs, I start seeing them post day 70. Picture Reference: CREEPY!
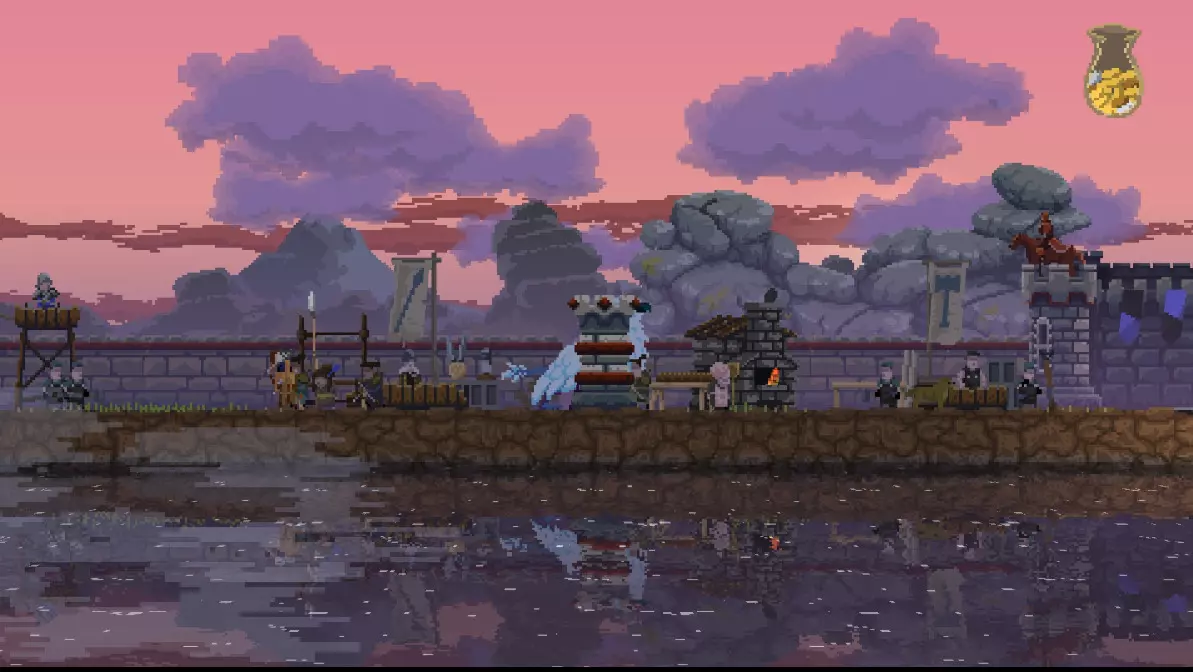
钢铁之塔:崩溃
一座完全升级的铁塔 为什么要花这么多钱来获取这些?最令人兴奋的是……它们不会受到飞行单位的攻击!
它们无法被夺取,并且永远安全!这意味着现在可以在你的城墙另一侧建造塔楼,并且是安全的!它们还能容纳四名弓箭手,而不是之前的三名! 它们真的有用吗?我认为是的。保护你的塔楼免受飞行单位的攻击非常棒!由于处于更高的有利位置,它们的准确性也得到了提升。不过,你真正需要它们的唯一情况是,当你像上图那样在城墙外建造塔楼时。在其他地方则不那么必要。我会将其优先级放低,但这会因游戏风格而异! 流浪者营地/船只残骸 船只残骸

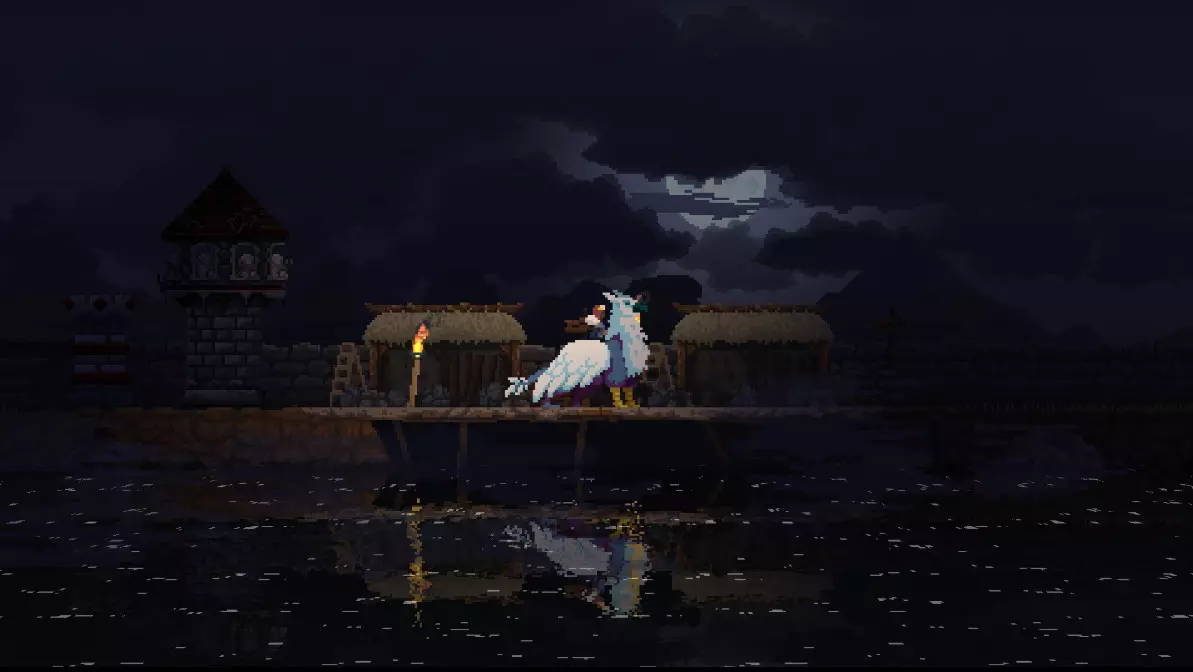
破损的船 船是你在各个岛屿间移动的工具!操作非常简单,只需建造好船然后启航即可!但要注意以下几点:船的部件可能会被贪婪生物夺走,建造船只时你的建造者也很脆弱。如果把船放入水中,你可能会失去宝贵的猎人,建造者也可能会损失。记住,你的背包在岛屿之间是保留的!如果你带着满背包离开,进入下一个岛屿时背包仍然是满的!通过以下几点可以判断何时会放下船: - 如果你突然无法购买更多部件,说明船已经造好了。再次购买就会把船放入水中。 - 观察船的外观,它看起来是不是一艘正常的船? 我的隐士会跟来吗,还是只能带一个?当你登上自己的船时,所有隐士都会跑过来跳上船加入你!最有价值的东西:流浪者营地!
流浪者营地 这些是你发展的关键!你需要不断寻找这些营地并雇佣他们!记住上限是两个。为了达到最高效率,永远不要让数量达到两个!这些营地每半天会生成一个新的流浪者。所以你必须持续查看并支付他们报酬! 衰减机制 虽然关于衰减机制的数据不多,但我认为不值得为此担心。在我看来,这可以理解为:既然你的所有王国现在都能持续存在,那么当你离开时,你的王国仍可能受到攻击。话虽如此,根据维基资料,铁墙可以持续30天。你的银行家收入不会受到影响,但你留下的部队可能会失业。除非你需要很长时间才能到达某个地方,否则我认为这不是什么大问题。不过,有件事值得一提。 季节系统 在游戏过程中,你会注意到背景或环境行为会有细微变化。最明显的是冬季和夏季的区别。 冬季 冬季是难度最高的季节。兔子和鹿都不再刷新,农场也会停止产出,这几乎让你的收入来源断绝。不过别担心!仍然有一些赚取收入的方法。你还会发现草地现在被冻住了,无法再进行放牧!但不用害怕,有一种坐骑(最好的坐骑)即使没有草也能放牧。独角兽在这个季节会变成普通的马。 冬季赚取收入的方法 银行家——这是你能获得的最轻松的收入。他会继续每晚产生利息,并且仍然允许提款。不过,要注意不要过度依赖他来弥补其他收入来源的不足。 pikeman——这些是我个人最喜欢的《王国:两位君主》新增单位。即使在冬天,他们也能捕鱼并产生收入!他们可能不如兔子、鹿或农场那么好,但聊胜于无! 树木——这有点像一把双刃剑,能否利用取决于你的岛屿情况。每砍倒一棵树,保证能获得1枚硬币,还有机会额外掉落1枚硬币。如果你砍倒10棵树,其中5棵额外掉落1枚硬币,那么你原本的10枚硬币就变成了15枚!这可能数额不大,但在紧急情况下会有所帮助。 季节持续多久?16天。 玩家总是从春季开始游戏。第17天将进入夏季,第33天是秋季,而令人畏惧的冬季将在第49天到来。由于季节长度固定,冬季会出现在第49-64天(共16天)以及第113-128天(同样16天)。 小贴士/技巧(发现新内容会持续更新!) - 乡绅/骑士堆叠:船只最多可搭载3名乡绅/骑士。一个实用技巧是,利用骑士隐士招募第三名乡绅/骑士并让他上船,以协助下一个岛屿的探索! - 你的基地两侧可以容纳无限的乡绅/骑士。如果在游戏后期遇到困难,你可以航行回已完成的其他岛屿,招募骑士后立即返回(必须已完成灯塔!),这样新岛屿上就会有无限的骑士可用。 - 离线流浪汉雇佣:从营地雇佣两名流浪汉后。你其实可以留下一枚硬币(如果快到晚上就不要留!)。如果你这样做了,当下一个流浪者生成时,他会自动拿起硬币并被雇佣! 在你的城墙内保留流浪者营地。
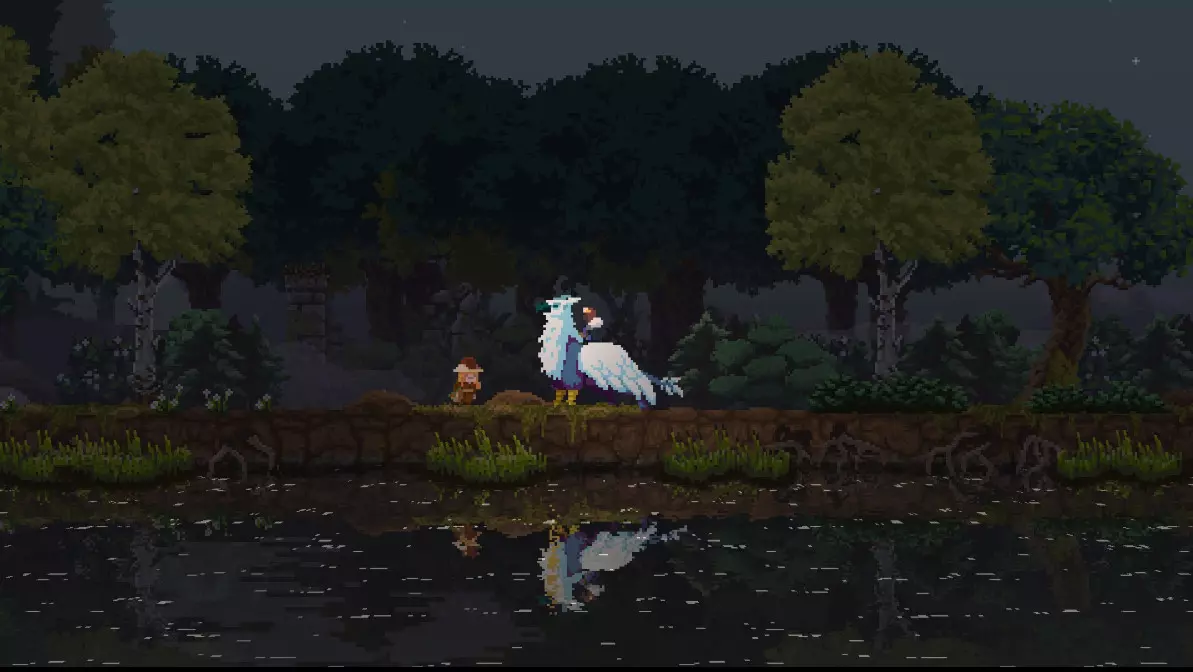
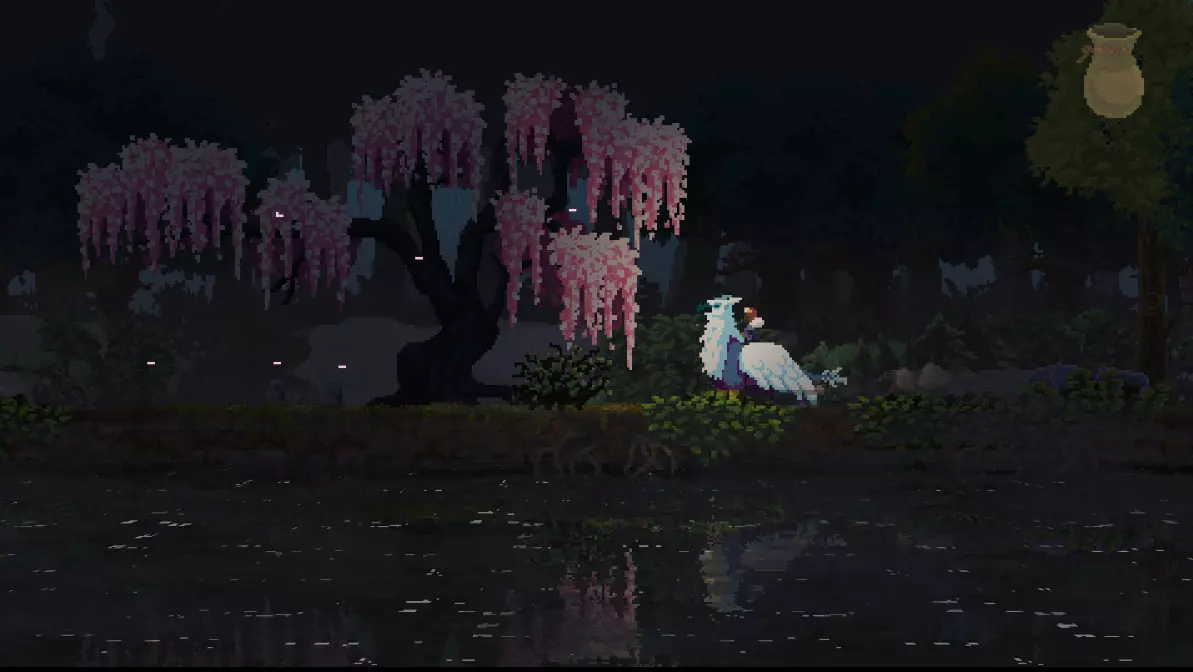
证明你能行! 这可能有点难,但确实可以做到。如果你不想失去流浪者营地,就绕过它,找一片空地清理树木。然后在那里建造你的墙,它会自动延伸过去!这样你就能保住流浪者营地了! 如何获胜?(策略) 这比你想象的要容易得多! 核心解锁!(按获取顺序排列)(采石场和铁矿场在你一到岛上就能获得。以下是宝石需求的解锁内容。) - 雄鹿 快速移动的实用坐骑,但只在第二岛有用,之后就可以不用了。 - 面包师隐士 在流浪者营地位置较远的岛屿上,这是非常必要的。 - 建造者雕像 这会给你的城墙带来不错的加成,让你可以专注于其他事情,而不是升级城墙。通常来说,有了这个升级后,初期只需要石墙就够用好一阵子了。 - 骑士隐士 适合快速招募三个乡绅/骑士上船,但这是它唯一的实际用途。 - 狮鹫 说实话,这是你真正需要的坐骑。击退能力在防御时非常好用,耐力也很适合探索地图边缘。而且随时随地都能使用的啃食功能让冒险变得轻松! - 弓箭手雕像 尽快获取它,你就能用最少的防御设施仍能生存下来。 - 独角兽 通过频繁使用啃食功能来获取无限金币非常好用!但到了冬天就失去作用了,这时会换回狮鹫。 - 号角隐士 这个角色不是必需的,但他升级后的墙壁也是个不错的东西!结论 如果你正在阅读本文,希望你能学到一些有用的东西!我会根据需要更新本文,因为我很可能在某些地方出错或遗漏了一些信息,欢迎留下任何批评意见,无论是好是坏!如果我进行更新,会在这里列出修改内容。再次感谢,希望我能帮到你! 更新1:新增小幅度衰减部分 更新2:修正小的语法错误和笔误。更新贪婪/隐士部分。新增季节部分 更新3: