换一换
换一换 


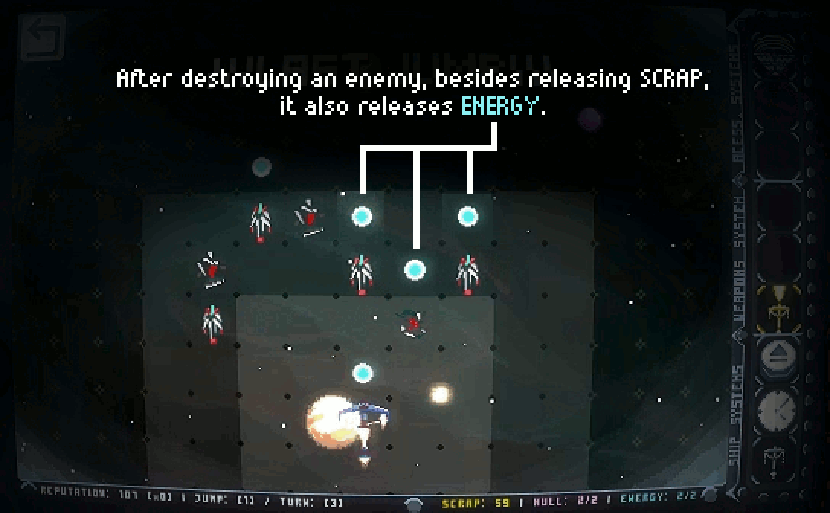
Basically, the purpose of this guide is to show how broken the ENERGY BEAM PIERCE weapon is, but while I'm at it, I decided to make this an actual guide for anyone out there struggling with the final boss fight. Or any fight, for that matter, as this is so broken you can pretty much one-shot any enemy in the game. Introduction If you are reading this guide, I assume you are near the end of the game, point at which you should have gathered enough scrap to fully upgrade your ship's batteries, engines and hull. According to what I've seen, even a ship with nothing more than 3 ENERGY capacity and a beam should be able to take on the dragon, but sometimes the dragon moves out of the beam's range, case in which you'll need enough energy to move one more time. So, if you feel like upgrading your hull isn't worth it because you are a pro and never take damage, or if you don't want to upgrade your engines because... I don't know, some weird reason, that's alright, but in order to be 100% sure that this strategy will work, you'll need to fully upgrade your batteries, which honestly, is something everyone should do anyway. Loadout All you actually need is the ENERGY BEAM PIERCE weapon (to which I'll refer to as "beam" from now on) installed in one of your extra weapon slots. Every ship has at least one extra weapon slot, so that shouldn't be a problem. If your ship has two (which is the case for almost every ship), feel free to add another weapon that you feel comfortable with. For accesories, I'd recommend getting teleport and +1 battery, so that you are able to activate the beam, then teleport, and still have one extra ENERGY, so that your turn won't end. This strategy is explaied with more detail in the next section of this guide. The extra accesory slot can be whatever you want. Strategy So, you've made it to the final JUMP of your journey, you destroyed one of the mothership's engines and made your way into the belly of the beast. Directly in front of you, at a distance of about three to five tiles, is the dragon's head, behind it, two huge batteries that power the entire ship. Should you keep your scanner accesory up to this point, you'll notice that the dragon's head has 9 health (at least on normal). However, once you fire the beam, this number should drop to zero in the blink of an eye. Seriously, that's it. Fire the beam and the dragon's head will explode, along with the entire ship, but don't worry about that for now, I'm sure you'll find a way out just in time. But let's say that just as you fired your beam, the dragon moved its head to the side, or maybe it's just outside your range. One simple way to solve this is to move again, so that you get back in range, but moving costs ENERGY, and it also gives the dragon another cahnce to make a move, adding risk every time you go after him. Also, maybe I forgot to mention that the beam will drain one ENERGY after every action, so, best case scenario, you'll consume two ENERGY to move as far as your engines allow you to, and if you have a maximum energy capacity of four, you are now out of ENERGY, and the beam will disappear. This is the reason why we brought both Teleport and +1 Battery as accesories. After firing the beam, we still have three ENERGY left, more than enough to teleport right into that dumb dragon's face. Also, for whatever reason, teleporting doesn't count as an action, so 1: the Dragon and other enemies won't have a chance to make amove and attack you; and 2: your beam won't consume that one extra energy. What this means is that by consuming four energy, we can be anywhere inside the BUBBLE, while firing an insta-death beam. If we use this in other situations, we are able to telepor on top of enemies, so that, once they die to our beam, we are just in position to pick up the ENEGRY they drop, more often than not going back to 5/5 ENERGY, thus allowing us to telepor from enemy to enemy, killing them in one shot, in a single turn, while they have no way to fight back because teleporting doesn't count as an action. How exactly does the beam work? To be fair, this is probably a bug. All we really need to know, is that as long as an enemy ship is inside the beam's hitbox, they'll take continuous damage, even between actions, which more often than not results in the obliteration of anything the beam rests upon. Extra gear Up to this point, you have everything you'll ever need to kill any enemy ship you come across, but this strategy isn't flawless, because there are still some threats we might have some issue dealing with. This pretty much comes down to excessive enemy fire, let it be in the form of mines being deployed all over the place and/or in uncomfortable positions, or just a ♥♥♥♥ ton of enemy bullets that impede your movement without taking damage. All ships have three Accesory slots, and one or two free Weapon slots, which means we still have a free Accesory slot, and most ships will still have a free weapon slot. My personal recommendation is getting a shield as 3rd accesory, which allows us to get out of situations where we would otherwise be almost guaranteed to take damage, and it's a nice safety net in general. Also, you can ram mines without almost no risk Except somtimes TOXIC mines; I haven't completely figured out those ones yet) and sometimes you can even ram them and keep your shield, which I prefer to believe is an unintended feature instead of a bug, because I feel like a badass every time I crash into several mines on purpose without ever losing my shield. As for the extra Weapon, my personal favourite is the REAR BULLET PIERCE. Normally I choose the Balista ship, and once you add a beam, you have two attacks which only allow you to deal damage by firing forward, and maybe ramming backwards. As you might imagine, there are times where neither are viable option. For example, when a mine is at the lower portion of the BUBBLE. So, getting a Weapon that can fire backwards adds a lot more versatility to the ship. Also, it is extremely ENERGY efficient, dealing two damage while consuming one ENERGY and four scrap, which comes very handy in low-energy situations. Thanks for reading I'll see if I can record myself beating the Mothership with this loadout and add it to the guide. If you have any feedback, or have any questions about the game, feel free to leave a comment below.
摧毁母舰入门(已过时/已修复)

2026-02-16 19:00:09

导读
这篇已过时的游戏攻略介绍了利用ENERGY BEAM PIERCE武器速杀母舰等敌人的玩法,提到需优先升级电池,搭配传送、+1电池等配件,借助该武器的持续伤害特性,可实现一击秒杀,还补充了应对特殊情况的额外装备建议。

评论
共0条评论


最新更新
- NEXT JUMP: Shmup Tactics-视频介绍
- NEXT JUMP: Shmup Tactics-视频介绍
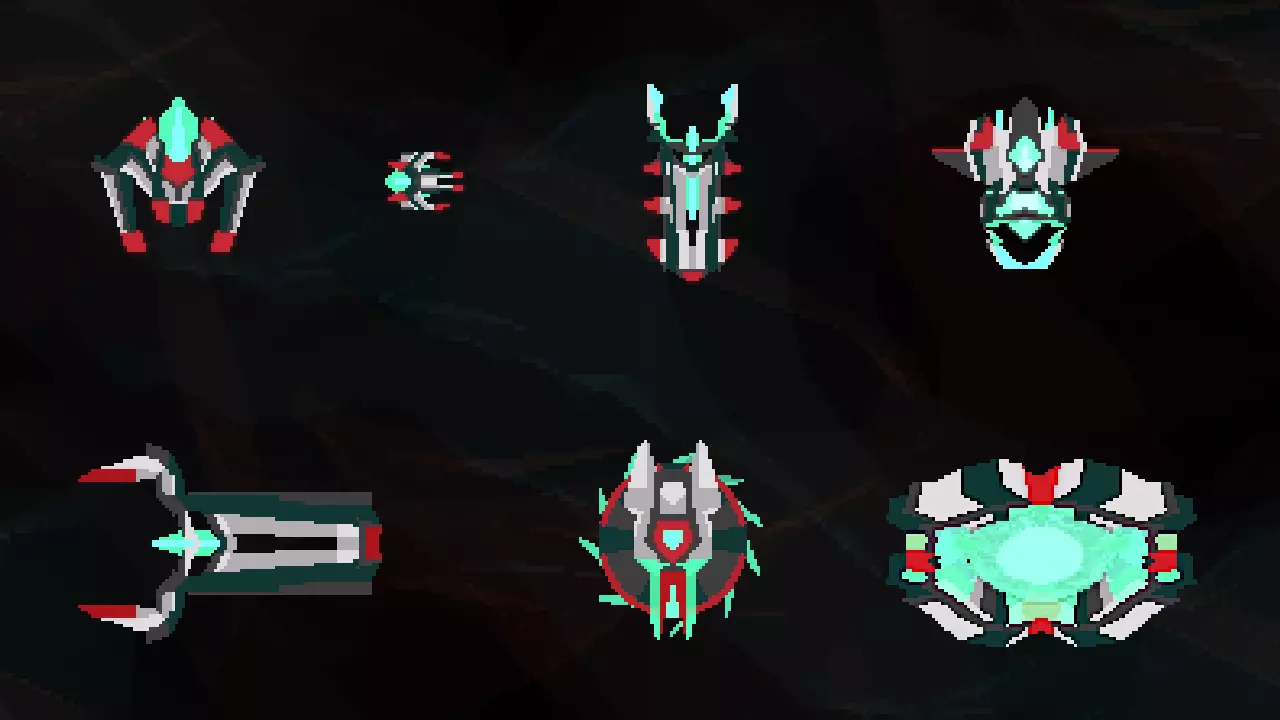
- 龙形无人机图鉴 — 这是游戏敌人【龙型无人机】的资料汇编。其中包含关于敌人的以下几类信息:船体、能源/电池以及它们的移动/攻击类型(含简要说明)。 无人机基本信息
- 制作移动连招 — 摧毁敌人后,它会留下废料和蓝色的【能量球】。释放的能量球可用于进行无限移动和攻击的【连击】。由于回合仅在能量耗尽时结束……如果能量没有耗尽,回合就永远不会结束!…
- 成就指南 — 一开始看似颇具难度的成就设置,实际体验下来却相当合理,而且通过一些游戏选项甚至能找到些许利用空间。 简介 《下一次跳跃》是一款非常独特的游戏,初上手时操作可能会…