换一换
换一换 


Offers detailed explanation as well as quick summary, (hopefully) contains everything you need to know… Intro My fellow divers, good morning, good afternoon, good evening, and good night. Thanks for reading the intro. Smart choice. Before you read any further, please be advised that the guide contains minor spoilers of a feature that is unlocked during late game. If you aren't comfortable with any spoiler, you can still read this section to get some general ideas. For early game, my hiring recommendations are: Kitchen: James, Raul, Yone, Yusuke, Charlie, Maki, Tohoku Dining Area: El Nino, Drae, Billy, Raptor, Kyoko, Cohh, Mitchell, Itsuki Dispatch: Masayoshi, Davina, Liu, Yusuke, Pai, Carolina*The underlined ones are must-haves, but the others are also decent. Each of your staff members has two skills, unlocked at level 3 and level 7, respectively. Also, here's a brief overview of what each stat does: Cooking: decreases the time needed to prepare a dish Serving: increases movement speed, but does not affect cleaning or drink serving Procure: increases the number of items obtained when dispatched Appeal: increases the chance of getting random bonus items when dispatched, but does not affect the amount of tips Hence ends the spoiler-free part. If you want to skip the details and just need the summary, navigate to the TL;DR section. For a list of all staff members and their skills, refer to the last question in the Q&A section. Kitchen For the kitchen, Raul, James, Charlie, Yusuke and Yone are the ideal candidates, because they have the best skills and decent cooking stats. Maki has been available early game and is also an okay cook, but Maki’s skillset isn't as great. If you can't get any of the above, Tohoku is also a viable choice. Don't sweat if these folks didn't show up in your applicant list, since the kitchen is quite chill and basically couldn't go wrong. Anyone with high enough cooking stat will suffice. Skills (actual order may differ): Maki: Cooking++, Cooking+ Yusuke: Cooking+, Ingredient Prep Expert (5% chance of making an additional plate) Charlie: Ingredient Prep Expert (5%), Cooking+ Yone: Ingredient Prep Expert (5%), Cooking++ James: Ingredient Prep Master (10%), Cooking+ Raul: Master Drink Maker, Ingredient Prep Master (10%) Tohoku: Cooking+, Cooking++ What's worth mentioning about Raul is that with the Master Drink Maker skill, you get an extra 10g income for all drinks sold (including cocktails). These extra gold can come in handy during early game, so consider the hiring if you are fine with Raul's slightly lower but still good enough cooking stat. Dining Area For the dining area, we have two options: do you want a fully automatic team, or are you fine with refilling wasabi a few times each night? If you want a hands-free setup: Main Sushi Bar: El Nino, Raptor Branch: Drae (manager, best at level 14+), Billy, Itsuki/Kyoko/MitchellThe downside with this setup is that you might lose 1-5 customers when it gets busy, but everything runs automatically (how cool is that?). If you ever want to help out, focus on cleaning dirty tables to keep customers. This setup is recommended for most of you and should work great most of the time. If you are fine with some wasabi grinding, consider this setup: Main Sushi Bar: El Nino, Drae Branch: Kyoko (level 18+) or Raul (level 20) as manager, Billy, RaptorHere you always get all of the customers served, with only a very slim chance of missing one or two. All you need to do is stand by the wasabi machine and grind wasabi when it gets low. Consider switching to this setup after you hit Diamond Cooksta ranking, which should most likely happen after the main story ends. Skills (actual order may differ): El Nino: Cleaning Master, Drink Serving Master (cocktails not included) Raptor: Cocktail Serving, Wasabi Refill Drae: Cocktail Serving, Cleaning Billy: Cleaning Master, Tip Master (always get tips) Itsuki: Appeal+, Drink Serving Kyoko: Tip Master, Drink Serving Mitchell: Serving+, Drink Serving Raul: Master Drink Maker, Ingredient Prep Master (10% chance of making an additional plate) If the average level of your staff falls below 14 when the branch* is unlocked, I would suggest using setup #1, at least for the time being. Then remember to prioritize Drae’s training so Drae reaches level 14 ASAP (without leaving the other staff members underleveled, of course). When Drae is at level 10, your branch will hit rank 9 and it will be able to use all ingredients; once Drae is level 14, popularity of the branch will reach 5 stars**. *If you have zero idea what the branch is about, refer to the Q&A section. **Refer to the next section if you are curious about the details of your branch’s rank and popularity. As of the current version of the game (1.0.0), how much money we are making depends almost exclusively on the number of dishes being served; cooking is never the problem. Therefore, I would really suggest hiring and placing servers as suggested above to maximize profits. Just be patient with recruiting and slowly work your way until you have the desired crew. Or, at least hire El Nino, Drae, Billy and Raptor whenever possible, because they are simply good. You would probably need to send out multiple hiring ads to get the desired crew, but it is worth the effort. Manager Mechanics Explained I added this section because the branch manager is somehow a special role, so some explanation might be helpful; feel free to skip to the next section if you don't want too much detail. A few things are worth mentioning about the manager: First, the manager works as an omnipotent server; they can do everything like cleaning, drink serving, wasabi grinding, etc with or without corresponding skills. They do, however, tend to prioritize those work they have the skills with. I guess that’s how the role is programmed to be. Also, the manager's stats and level determine the rank and the popularity of your branch: The rank of your branch is a number that ranges from 1 to 9, where 9 is the highest. This rank is determined solely by the manager's cooking stat; for the branch to hit rank 9, the manager needs to have 450+ cooking. The rank of your branch in turn determines the maximum rank of ingredients that can be sent to the branch. For example, if your branch has a rank of 7, then you won't be able to send any ingredient of rank 8 or higher to the branch, thus limiting menu variety. On the other hand, the popularity of your branch is represented by stars. The popularity level ranges from 1 star to 5 stars, and as popularity rises, the number of customers attracted to your branch also increases. The maximum number of customers for a branch with 3-star, 4-star and 5-star popularity seems to be 26, 34 and 45, respectively. Though we still need more data to back this up, it seems that each additional star increases the number of customers by roughly 33% (26*133%=34; 34*133%=45). Your current Cooksta ranking doesn't seem to affect the number of customers at the branch. At this point, how exactly the popularity level is determined is still unknown. What we do know for sure, however, is that the popularity of the branch is also dependent on the manager. Therefore, a well-trained manager is essential for the branch to hit rank 9 and to have 5-star popularity; this is why we prioritize the manager's training over the others'. If you are using setup #1, Drae needs to be at least level 14 to meet the requirements. If you are using setup #2, you will need to train Kyoko to level 18 and Raul to level 20. During early game, it's obviously a better idea to pick Drae as the manager. When at the branch, you can check out the current rank and the popularity level under the staff tab. The ranks of ingredients are displayed under the ingredients tab. Dispatch I honestly think many of you already knew who the ideal foragers are. When it comes to dispatch (forage), only two stats of your foragers ever matter: Procure determines the maximum number of items you will get, and appeal determines the chance of getting random bonus items. Here, procure is the main focus, because having high procure means having a steady supply of items. On the other hand, the chance of getting bonuses, which is determined by the appeal stat, is quite random, so don't expect much from it. Additionally, it would be nice if the forager also has specialized skills. When we put these conditions together, the answer is quite obvious. Masayoshi and Davina, right? Not much surprise here. They both have 800+ dispatch stat which guarantees a successful dispatch, and specialized skills that increase the number of acquired items (I think the skill only gives you one additional item, but I still have to check). If the having specialized skills condition is dropped, Yusuke, Pai, Carolina and Liu, all with 700+ dispatch stat at level 20, can be considered decent foragers. Itsuki can also be added to the list because of the 600+ dispatch. Plus, Itsuki is a ninja. What else can you ask for? Due to the gradual transition in the stats, Itsuki is better off being a server during early game, and a forager in the late game. Skills (actual order may differ): Davina: Dispatch Master (acquire more items), Appeal+ Masayoshi: Dispatch Master, Ingredient Prep Master (10% chance of making an additional plate) Yusuke: Cooking+, Ingredient Prep Expert (5%) Pai: Serving+, Cooking+ Carolina: Tip Master (always get tips), Wasabi Refill Liu: Serving+, Cleaning Itsuki: Appeal+, Drink Serving TL;DR Some of you may not feel like reading paragraphs, so I’ll add a summary section here, for your convenience. For the kitchen, pick four from the following: Raul, James, Charlie, Yusuke, Yone, Maki, Tohoku. For the dispatch team, whoever with high procure will do the job. My recommendations are: Masayoshi, Davina, Yusuke, Pai, Carolina, Liu and Itsuki. For the dining area, if your staff members are under level 14, put El Nino and Raptor at the main sushi bar; Drae (manager), Billy and Itsuki/Kyoko/Mitchell should be at the branch. With this setup, everything should be running automatically. If it's late game already and your staff members are well-trained, consider switching to this setup to improve profits: El Nino and Drae at the main sushi bar; send Kyoko/Raul (manager), Billy and Raptor to the branch. You are responsible for wasabi refilling. It's fine if you don't have everyone listed above, just slowly work your way until you have the desired crew. When it comes to training, a general rule of thumb is manager > servers > cooks. You might also find the following Q&A section helpful, as it could answer some of your potential questions; if it doesn’t, please let me know in the comments. Q&A Q: What on earth is this branch thing? A: Think of the branch as the secondary sushi bar that you own. It will be unlocked after the Bancho’s Ordeal? Pasta Contest! VIP mission is completed. The branch works basically the same way as your main sushi bar does. You send five of your staff members to work there; two in the kitchen and three in the dining area. The extra person working in the dining area is the manager you selected; they will take care of the business in your place. Remember to send ingredients to the branch so they have the materials to make sushi, or your customers will be starving. :( So you chose to read the guide knowing there will be spoilers. Brave. I commend you. Q: Is any staff member missable? A: No. All of the staff members are available from start to finish, and they can dismissed and rehired at any time. However, staff you dismissed won't keep their levels and will be reset to level 1. In previous version of the game, Maki will be gone forever if dismissed, but that's no longer the case. If you did fire Maki before, either out of curiosity or because you have a heart of steel, she should now come back to the team automatically without you hiring. Maki is cute. Be nice to Maki. Q: I see a lightbulb above my staff members' heads. What does that mean? A: It means they have a big plan. It means they will learn something new the next time you train them. At level 3 and level 7, they will learn new skills. At level 5/10/15, they will learn new recipes. Note that everyone learns a new recipe at level 15. However, the recipes at level 5 and 10 aren’t guaranteed. Q: Should I max out my staff members to level 20? A: It depends, but usually level 15 is enough. Having a higher level certainly means having better stat, but it would also mean more grinding. In most cases, 15 is the ideal level. At this level, your employees' hidden recipes will be unlocked, and your staff members will have high stat, and the cost of training is acceptable (it costs 53,600g from level 1 to 15, and 274,000g from 15 to 20). Again, if you are using setup #2 for the dining area, Kyoko needs to be level 18+ and Raul needs to be at level 20 so your branch hits rank 9 and has 5-star popularity. Q: How are daily wages calculated? A: Daily Wage = Base Wage + (Current Level - 1) * [Wage Increase per Level]. The formula applies to all staff members. For example, Yone's base wage is 60g, and the wage increases by 39g for each additional level, so at level 20 Yone's daily wage will be 60+(20-1)*39 = 801g. Employees idling in the waiting room are also considered hired, so you still need to pay them. Staff Hiring Base Incr. Staff Hiring Base Incr. Billy 562 40 26 Carolina 410 20 13 Charlie 123 20 13 Cohh 1079 40 26 Davina 143 25 16.25 Drae 297 48 31.2 El Nino 2327 60 39 Itsuki 4 45 29.25 James 707 40 26 Jandi 302 20 13 Kyoko 0(142) 14 9.1 Liu 125 14 9.1 Maki 0 0 0 Masayoshi 551 38 24.7 Mitchell 258 28 18.2 Pai 467 20 13 Raptor 1150 55 35.75 Raul 991 30 19.5 Tohoku 1307 40 26 Yone 1464 60 39 Yusuke 267 28 18.2 Note that Wage Increase per Level is always 65% of the Base Wage, scaled up from 50%. Q: What is the cost of training staff members? A: The cost varies by the level of your staff. Please consult the following table. Again, it costs 53,600g from level 1 to 15, and 274,000g from 15 to 20. Level Cost Level Cost Level Cost Level Cost 1-2 150 2-3 215 3-4 308 4-5 442 5-6 635 6-7 911 7-8 1307 8-9 1875 9-10 2690 10-11 3859 11-12 5537 12-13 7943 13-14 11395 14-15 16348 15-16 23452 16-17 33644 17-18 48264 18-19 69239 19-20 99328 Q: I want to know about the details of my staff members' wages/maxed stats/recipes. A: Please refer to the staff section of this guide. I think the section on wages is slightly outdated, so you might want to refer to the above tables for relevant information. https://steamcommunity.com/sharedfiles/filedetails/?id=2998778318 Outro & Credits This is my first time writing a guide, so your feedback of any kind is highly welcomed. I'll be more than happy if the guide has helped in even the slightest way. Also, if some part of the guide is outdated and no longer applies (especially after a patch), please don’t hesitate to let me know! I’ll update the guide accordingly if I can, and I’ll make sure to give you the credit. Let’s make this guide great together! The guide is based loosely on a thread on a Chinese online forum called 贴吧 (tieba); the original title is 记录一些自己摸索的和从别人那边总结的杂七杂八的游戏窍门 (Recording some random gaming tricks I figured out myself and the others summarized), and the OP is 恶之笛 (Ocarina of Evil). To be precise, the settings of the dining area, what each stat does, and how the branch rank works, were the OP's idea. Because most of you probably won't read Chinese, I'll just leave the link to the thread out. I then did some testing myself and added needed explanations as well as my own understanding of the game to make this guide. When writing, I also referred to several other guides: Full staff guide written by @dubesor, and Dave the Diver Reference Guide by @a small rabbit. Also, my special thanks to @Poison Trail, @{Wutang}RZA, @FREAKZ, @someonesneaky, @𝐁ᴀsᴛᴀʀᴅ, @SayakiArt, @Null and @dubesor for their valuable feedback and insights. Thank you for reading. I am glad we shared this short while together, across time and space. Again, good morning, good afternoon, good evening, and good night.
员工招聘、培训与安排

2026-02-19 10:00:42
转载

导读
这是一篇《潜水员戴夫》的员工招聘、培训与安排攻略,涵盖厨房、用餐区、外派岗位的员工推荐,介绍员工技能、属性作用,还讲解了分店经理机制、员工培训成本与薪资计算等内容,助力玩家合理配置员工提升收益。

评论
共0条评论

攻略 潜水员戴夫员工攻略,你学会了吗?
潜水员戴夫一分钟员工攻略,快来收藏吧~
2026-05-02 14:390赞 · 0评论

游戏杂谈 【潜水员戴夫】不同玩家的赚钱方式belike:
你是哪一种?
2026-01-21 01:160赞 · 0评论

全体员工指南
本指南深入列出并分析了所有员工,包括完整表格、招聘要求、技能与培训详情、各职位的顶级推荐、薪资说明、获取机制、对话以及其他员工相关信息,内容持续更新! 前言与培…
2026-02-19 04:002赞 · 0评论

料理 【潜水员戴夫】钟乳洞
2025-12-09 18:570赞 · 0评论

手游 【沙威玛传奇】第31~32天,员工培训升级完毕,老登员工可以一键补货了
游戏资源来自7723游戏盒。
2025-11-21 22:020赞 · 0评论
帕帕商业报|开店总共分几步?保姆级经营教程
相信有许多店长都是第一次接触商业街的经营,对很多地方都不太了解
2025-05-20 07:000赞 · 0评论
《双点医院》员工培训手册
前期经费不足时,建议以组合搭配技能为主;后期经费充足后,则可转向专精深造技能。 医生: 1. 全科诊疗医生:理论上等级无上限,但建议至少达到5级并专职。三项全科…
2026-02-15 13:000赞 · 0评论

富豪传奇攻略 沙威玛传奇快速赚钱攻略
沙威玛传奇非常有趣,吸引了很多玩家。那么沙威玛传奇快速赚钱攻略,这里小编就为大伙介绍一下,大家不要错过哦。 赚取分析: 如果说大家按部就班的玩的话,没有什么错误…
2025-10-13 07:190赞 · 0评论

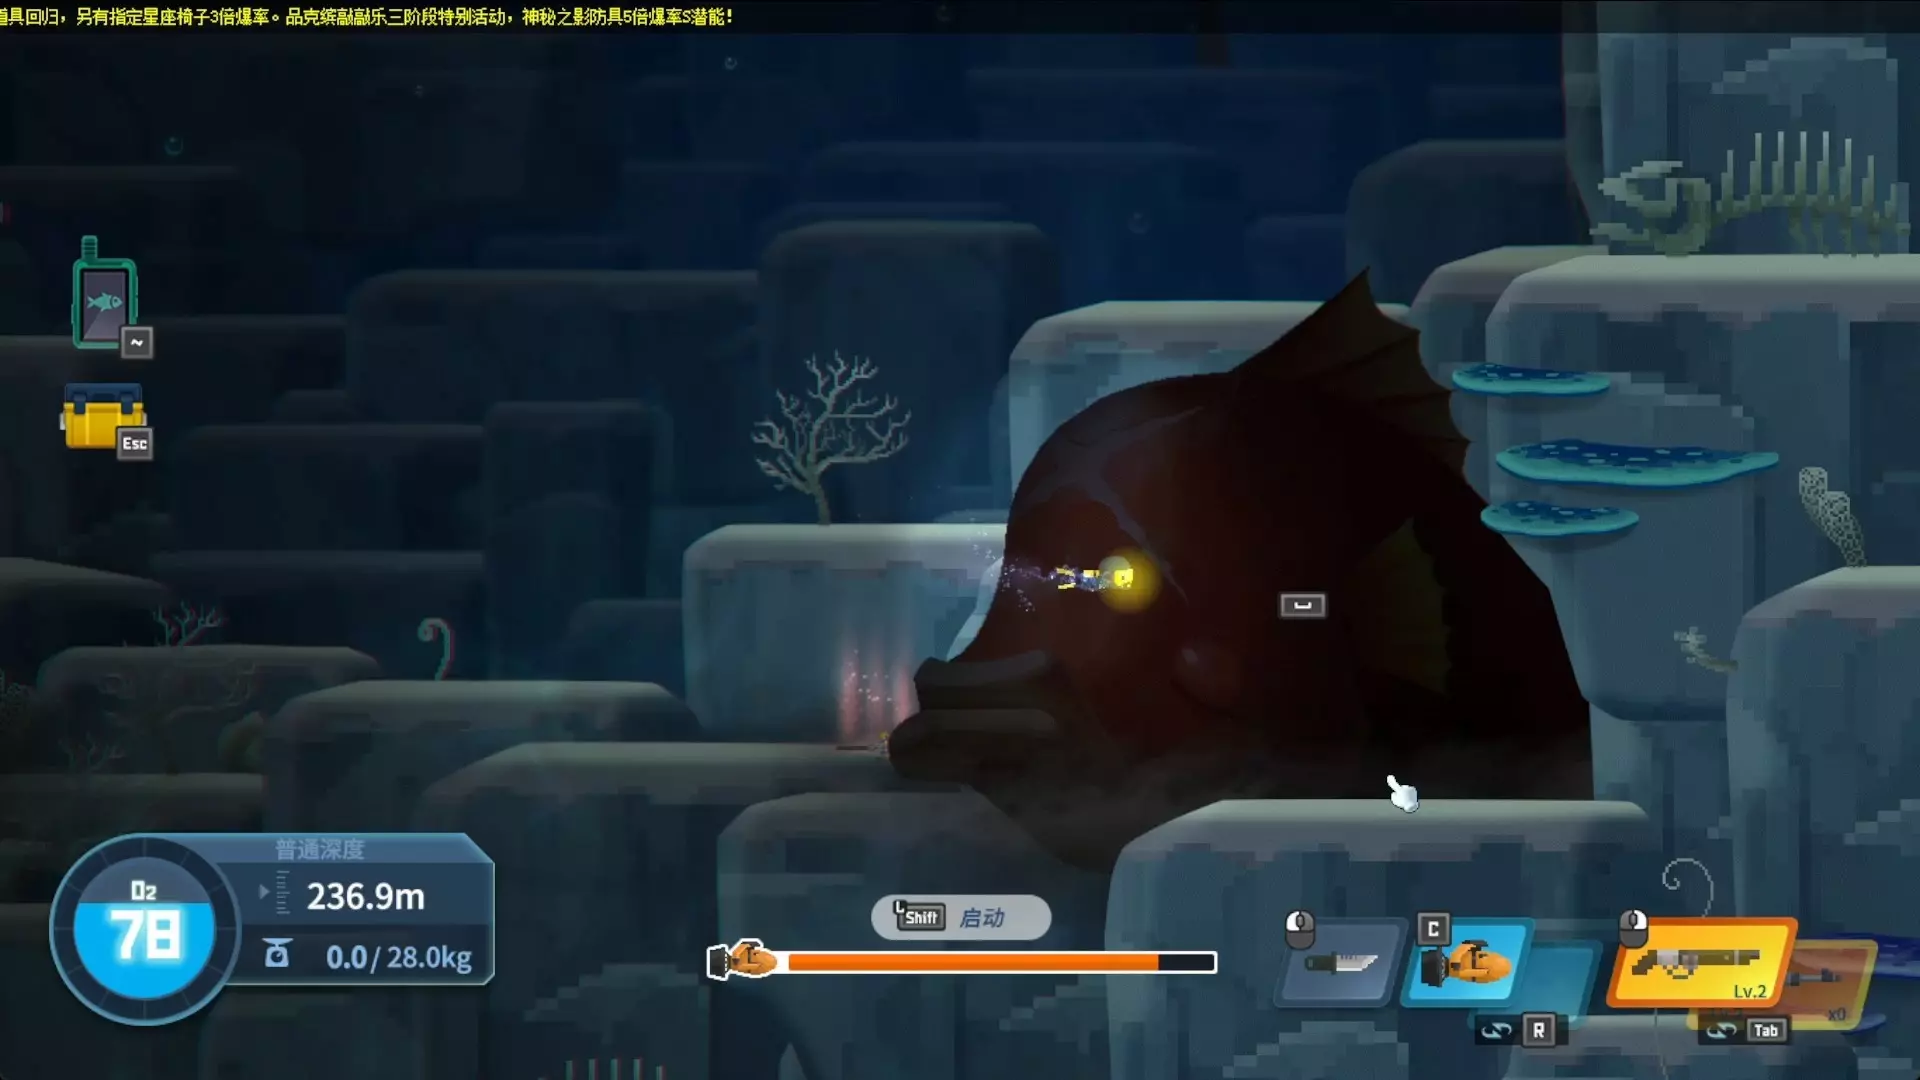
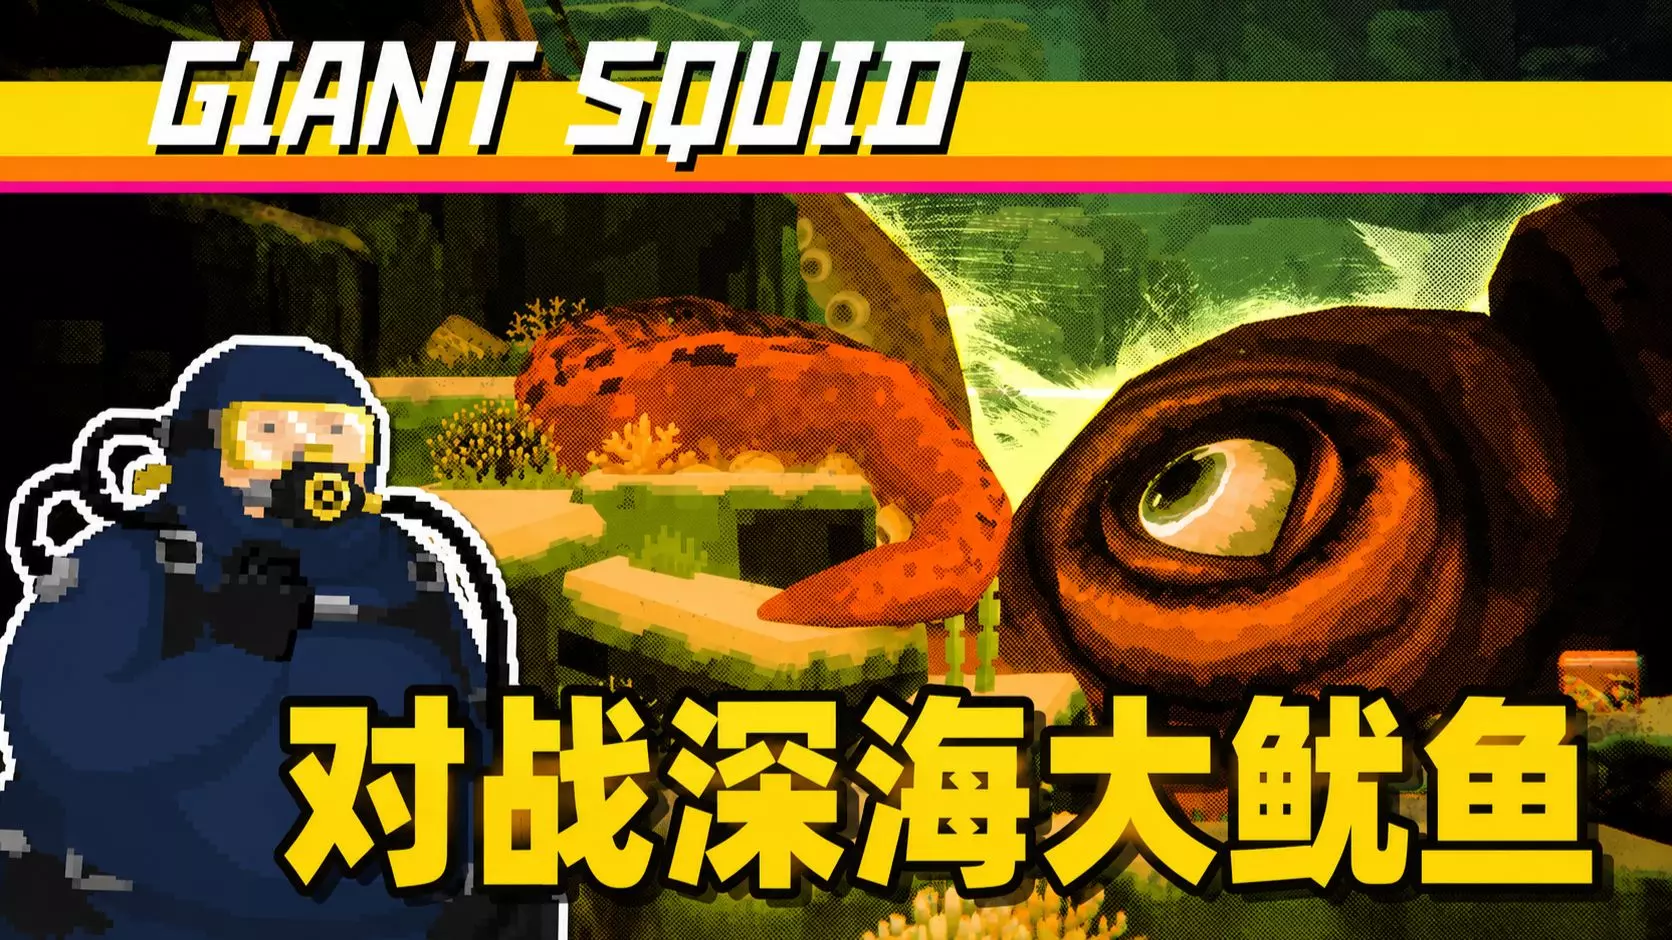
潜水员戴夫深海大鱿鱼怎么打 潜水员戴夫实况解说 对战深海大鱿鱼攻略
潜水员戴夫深海大鱿鱼怎么打?新人UP主实况解说对战深海大鱿鱼,感谢观众友友们的观看!!! 请多多指教ξ( ✿>◡❛)。
2026-05-20 13:400赞 · 0评论
攻略 8gen3盖世:游戏新体验 潜水员戴夫附送攻略,麻烦大家点赞关注一下给3连谢谢(≧w≦)
「【PC】潜水员戴夫1.0.3」,复制整段内容,打开最新版「夸克APP」即可获取。 /~2bc636mRwa~:/ 链接:https://pan.quark.c…
2026-05-05 11:050赞 · 0评论

暂无更多
最新更新
- 潜水员戴夫龙虾派对怎么玩?30龙虾派对攻略,解锁神级菜单三色鱿鱼制作方法
- 潜水员戴夫怎么玩 潜水员戴夫攻略技巧 潜水员戴夫装备指南 模拟经营游戏
- 潜水员戴夫DLC一番的休日怎么玩?全流程视频攻略 4K60帧英文版实况 蓝洞冒险与全新剧情 — 《潜水员戴夫》DLC「一番的休日」全流程视频来了!本视频为4K60帧英文版实况,由Banden录制。一番为了寻求急需的假期,冒险进入了神秘的蓝洞。然而,等待他的…
- 潜水员戴夫怎么玩 潜水员戴夫农场解锁攻略 潜水员戴夫全图鉴收集 晓月Zero实况解说 — 《潜水员戴夫》游戏实况解说,带你体验农场解锁全过程,目标达成全图鉴收集!跟随晓月Zero的实况攻略,学习如何高效经营农场、解锁新物种,一步步完成你的海洋探索与收…
- 潜水员戴夫第二个冰河洞穴任务怎么做?冰河洞穴任务攻略与通关技巧 — -
- 潜水员戴夫鲨鱼游戏怎么玩?百分百胜率技巧与赌注随便赢攻略
- 潜水员戴夫店员怎么配置 潜水员戴夫中后期店员搭配 张戈版本店员配置攻略 寿司店管理技巧 — 潜水员戴夫中后期店员怎么配置?张戈版本最强店员配置分享来了!这份游戏实况攻略将详细解析中后期店员搭配技巧,包括技能选择、岗位分配与协同增效,助你高效管理寿司店,…
- 潜水员戴夫隐藏Boss有哪些 潜水员戴夫隐藏Boss怎么打 潜水员戴夫隐藏Boss位置 — 潜水员戴夫隐藏Boss有哪些?游戏中有哪些强力隐藏Boss?本文为你盘点潜水员戴夫中的3大隐藏Boss,包括它们的触发条件、位置和打法技巧,助你挑战成功,解锁更…
- 潜水员戴夫怎么救小章鱼?破冰拯救小章鱼闯关攻略与技巧
- 潜水员戴夫好玩吗 潜水员戴夫全图鉴攻略 潜水员戴夫DLC内容 游戏时长60小时体验 — 潜水员戴夫游戏时长60小时纪念!这款游戏真的超好玩,新出的DLC内容也已经全部通关啦,太喜欢了! 虽然部分菜谱因为数量太多还没升到满级,但其他所有图鉴都已经全收…