换一换
换一换 


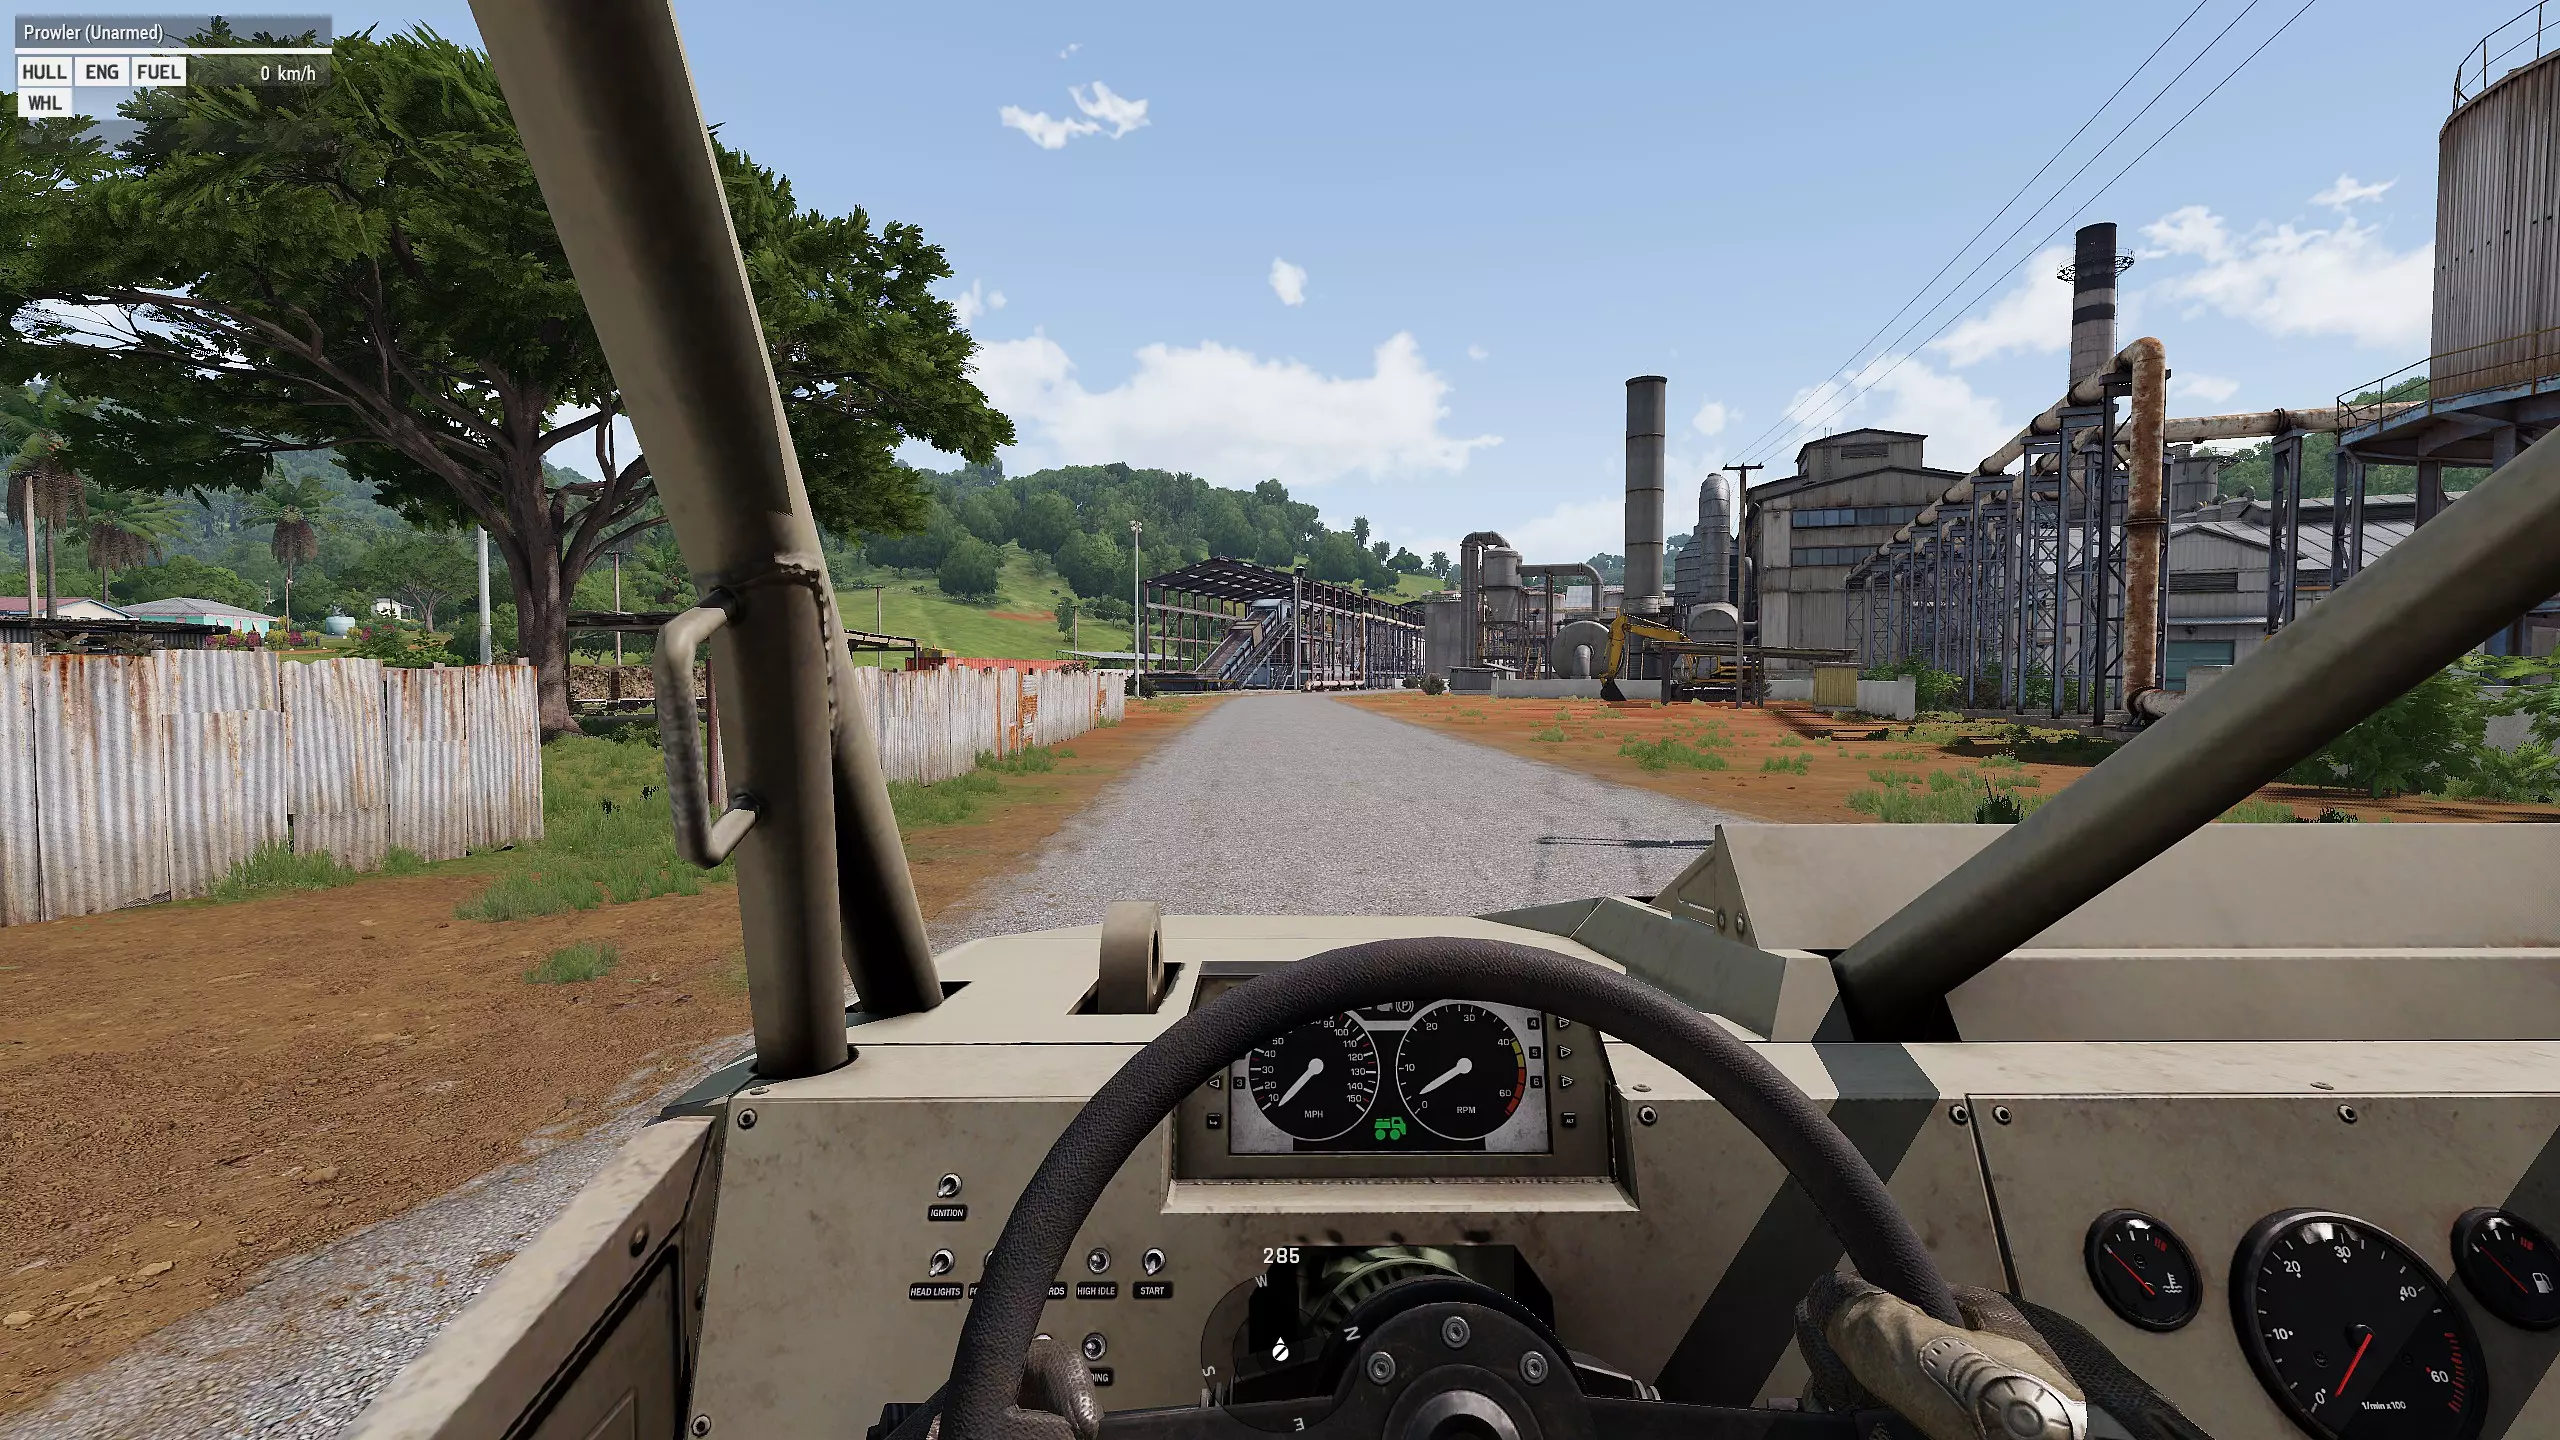
A guide to the Across the Fence servers for SOG Prairie Fire General Notes Disclaimer: Some of the information regarding AI behavior may be incorrect. The gamemode is new and I am still learning, but I have learned the below information from personal experience and people who have worked and played with the development team for this gamemode. How to create/join a mission: There are several map stands inside the TOC. Each one relates to an Area of Operations. If an operation is already underway in an AO you will not be able to create a mission on that particular map stand. In this case, physically move to a different map stand and try to create a mission there. After your mission is created other players will have the scroll wheel option on any map to "Join mission x" where x is a number. After joining, you will have the scroll wheel option to "Leave mission x" where x is a number. The person who created the mission will have the option to start the mission and should do so when their Recon Team is ready. (Highly recommended: All members should be in voice comms together in a program such as discord or teamspeak.) Core Mechanics: - Sites: There are up to 24 enemy sites you can report in the 2km square. Accurately reporting a site can yield up to 250 experience. There are 3 components to a good site report: a picture, a map mark, and classification. You must be within 100m (this distance may very or be incorrect) and have full vision of a site for it to be captured in the camera. Then take out your 35mm camera by hitting 'b' (you are given a camera in your binocular slot by default) and take a picture with left mouse button. You are given no feedback in the camera if you have gotten a picture or not, you will only know if you have taken a picture with the 'click' sound. After taking your picture open your map and click add item on the recon report paper. Then click add picture. If you took a good picture the picture and classification will automatically populate on the recon sheet. Then using your best approximation mark the site on your map by clicking once. It should mark a red diamond with a label of the site classification. - Sites are usually guarded by at least 1 (up to 3 or more) static enemies. - Glimmers/Glints/Sparkles: While walking around the AO you will see a white star icon appear in your vision occasionally. If you walk over to it, you will find a prop and be given the option to inspect it. Doing so will tell you tracks lead in [compass direction]. If you head in this direction from this point it will lead you in the vicinity of one of the objectives. - Stop, Focus: This is an ability everyone has that allows them to see better and pin point where sounds (such as enemy footsteps and voices) are originating from. This is crucial to helping you locate and avoid enemy patrols. - Patrols and tracker teams: Enemy patrols will walk in a circle around most site objectives. Tracker teams wander the AO and will begin following your tracks if they encounter them. The only indication that you are being tracked is if your toe poppers go off behind you (this does not kill them). Tracker teams do not shoot occasionally as they do in other gamemodes, they will follow your tracks and will only shoot when they find and engage you. - Skills and abilites: Two abilities that you can select from the skills radio in the TOC and use in missions. Skills give you passive bonuses to the selected tree. - Medical: On the lower right quadrant of your screen you will see a representation of your character's well being. You can hit the key combination above this open the medical menu which will allow you to apply First Aid Kits or Medical kits (locked behind medic skill which costs 8 skill points) to wounds to heal them. - Desperate Escape: This is a mechanic whereby a downed player can revive themselves with no wounds with the drawback that you lose your backpack and half of your magazines, grenades, and other equipment in your clothes and vest storage slots. Dealing with trackers and contact: You have several options with varying levels of noise and effectiveness for dealing with enemies. RTO Airstrikes/Mines: These are effective at eliminating enemies without attracting the attention of others directly to your position. Doglegging: Walking single file and making harsh course adjustments of 90 degrees every 50-100m. IE: walking North, then East, then North again. Try to use land marks such as rocks or trees and your squad ping (hit '.' till your push-to-talk/text chat is green, then hit 'shift+t') to make it easier for your team to identify the point you use to turn and take the same path. If anyone 'cuts the corner' the NVA will have an easier time following you since then will be following an easy curve or two 45 degree course changes. A successful dogleg will find your trackers continuing off the end of your track and losing your trail. Staging an Ambush: This is the most dangerous and difficult way to lose a trail. A successful ambush should start by leading the squad into an open area and finding cover and concealment to shoot from. Every team member should be Stop, Focusing and holding their fire. There are 2 methods to the ambush: The Walk Past and Full Loud. - The Walkpast: There is a small but distinct chance that the enemy will not see and entirely bypass the team. This is a success and should be followed by immediately breaking contact in the direction they came from. - The Full Loud: Create a wide arc centered on the point that you entered the clearing (this is the path the enemies will follow). Put mines and explosives in this area and have your RTO (if available) set-up but not call in an airstrike on this location. When the enemies enter this open area kill zone have everyone open up at once and take out the whole following team. As soon as you have taken out everyone, immediately break contact. All NVA in the vicinity will start converging on your location, unless you were able to eliminate the whole patrol with suppressed weapons without receiving return fire. Calling for Extraction: There are three situations in which you should call for extract. 1. The team decides it's time to go. 2. You are having trouble breaking contact and can't lose your tail. 3. You just suffered a squad wipe and everyone had to use their withstand. In this case you will be scattered and need to regroup. It is easiest to have everyone high tail it to the chopper and hold there until everyone is present. Alternate Rally Points have the downside of not being near the extract and having to travel or fight an additional distance when you are already depleted of resources. Starter Loadouts Roles and Loadouts: Odds are when you get into a server you will have the basic loadout, but will still want to get into a mission quick. To save you from hours of playing combat barbie here are a few loadouts to get you started - Pointman: Guns: M45 suppressed, m1911 suppressed, flare -- BDUs: any, fill this with First Aid Kits -- Vest: fill with 1-3 secondary mags and the rest primary mags -- Backpack: fill with role equipment, then 3-10 grenades of choice, followed by extra mags and FAKs - Tail: Guns: xm177e1, m1911 suppressed, flare -- BDUs: any, fill this with First Aid Kits -- Vest: fill with 1-3 secondary mags and the rest primary mags -- Backpack: 80-130 toepoppers, (if you have them 10-30 proximity claymores), then 3-10 grenades of choice, followed by extra mags and FAKs - Middle (medic) Guns: Any gun, m1911 suppressed, flare -- BDUs: any, fill this with First Aid Kits -- Vest: fill with 1-3 secondary mags and the rest primary mags -- Backpack: Medical kit (without access to infinite use medical kit from 8SP medic skill, 70% filled with FAKs), then 3-10 grenades of choice, followed by extra mags - Middle (RTO) Guns: Any gun, m1911 suppressed, flare -- BDUs: any, fill this with First Aid Kits -- Vest: fill with 1-3 secondary mags and the rest primary mags -- RTO Backpack: 3-10 grenades of choice, followed by extra mags, and FAKs - Middle (Machine Gunner) Guns: Any gun, m1911 suppressed, flare -- BDUs: any, fill this with First Aid Kits -- Vest: fill with 1-3 secondary mags and the rest primary mags -- Backpack: Extra mags/belts, 3-10 grenades of choice, and FAKs - Middle (Grenadier) Guns: Grenade Launcher, m1911 suppressed, flare -- BDUs: any, fill this with First Aid Kits -- Vest: fill with 1-3 secondary mags and the rest primary mags -- Backpack: More boom, 3-10 grenades of choice, and FAKs - Middle (Generic) Guns: Any gun, m1911 suppressed, flare -- BDUs: any, fill this with First Aid Kits -- Vest: fill with 1-3 secondary mags and the rest primary mags -- Backpack: Ask your squadmates if they need help carrying anything and take it for them, 3-10 grenades of choice, and FAKs Team Composition You should not do these missions alone if at all possible Minimum roles: - Pointman - Tail Additional helpful roles: - Team lead - RTO Nice to haves: - Medic Ideal team: - Fire team 1 1. Pointman 2. Pointman 2 3. Team leader - Fire team 2 4. RTO 5. Tail 1 6. Tail 2 The duplicate Pointman and Tail should choose different weapons that their counterparts to fill in gaps in the team Pointman Tips - dogleg frequently (turn 90 degrees - Mark glimmers on map with compass direction - dogleg single file around rocks and trees (tail leaves backtrail here) - Stop and focus frequently to get picture of battlefield - try to take a suppressed submachinegun Team Lead - Should be the person creating the mission - Keep every person in mind and mentally check in - Call the op and call extract when you sense you are being followed too much and too heavily or when you think you have hit enough sites. (20 is a lot, but 2 or 3 is also fine if you are really feeling the heat.) Tail - Lay toepoppers frequently - If you start to hear your backtrail get triggered, lay a few claymores in addition to the toepoppers - Keep an eye on following enemies and listen attentively Credits I had the privilege to play with Rob (eggbeast) who was my sherpa for my first patrols Across the Fence. If you have any tips you want to share comment them below and I will add them to the guide Version 1: 9/13/2025 Version 2: 9/15/2025
跨越围栏【SOG Prairie Fire】- 杜克给新操作员的建议

导读
这是《SOG Prairie Fire》“跨越围栏”服务器的新手指南,涵盖任务创建/加入方法、核心玩法机制,如据点侦察、追踪应对等,还提供了不同岗位的初始配装与团队组成建议,帮助新操作员快速上手该游戏模式。

评论
共0条评论

Escape Planet 17-视频介绍
2026-04-03 21:000赞 · 0评论
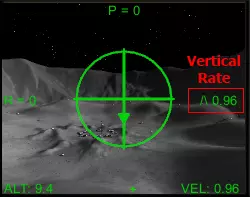
新手飞行员提示
本指南涵盖了《月球飞行》新手飞行员需要了解的几个关键概念。内容包括一些最重要的注意事项,以及确保任务更成功、减少坠毁的建议。 快速提示 《月球飞行》可能是一款极…
2026-04-03 04:000赞 · 0评论
North Hunt-视频介绍
2026-03-19 09:300赞 · 0评论
Kings Of Streets-视频介绍
2026-03-12 13:300赞 · 0评论
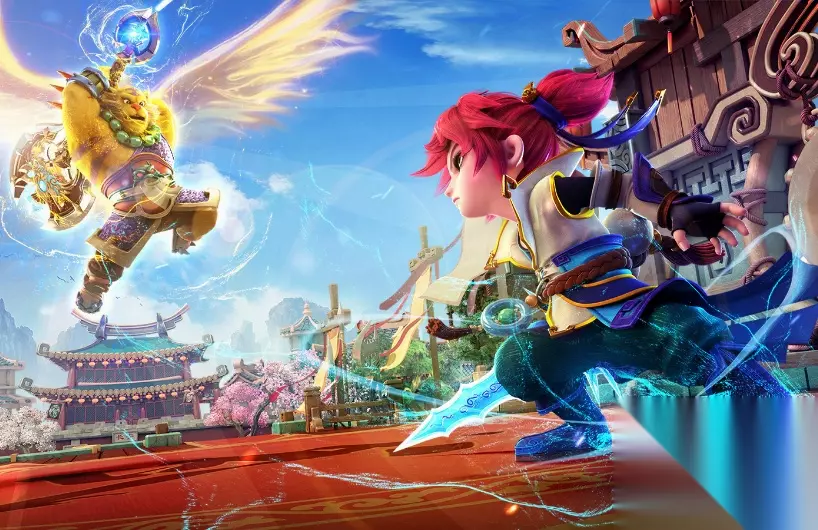
主线2 dota2诛仙诀怎么玩dota2诛仙诀新手攻略
一、第一章
2025-12-15 08:280赞 · 0评论
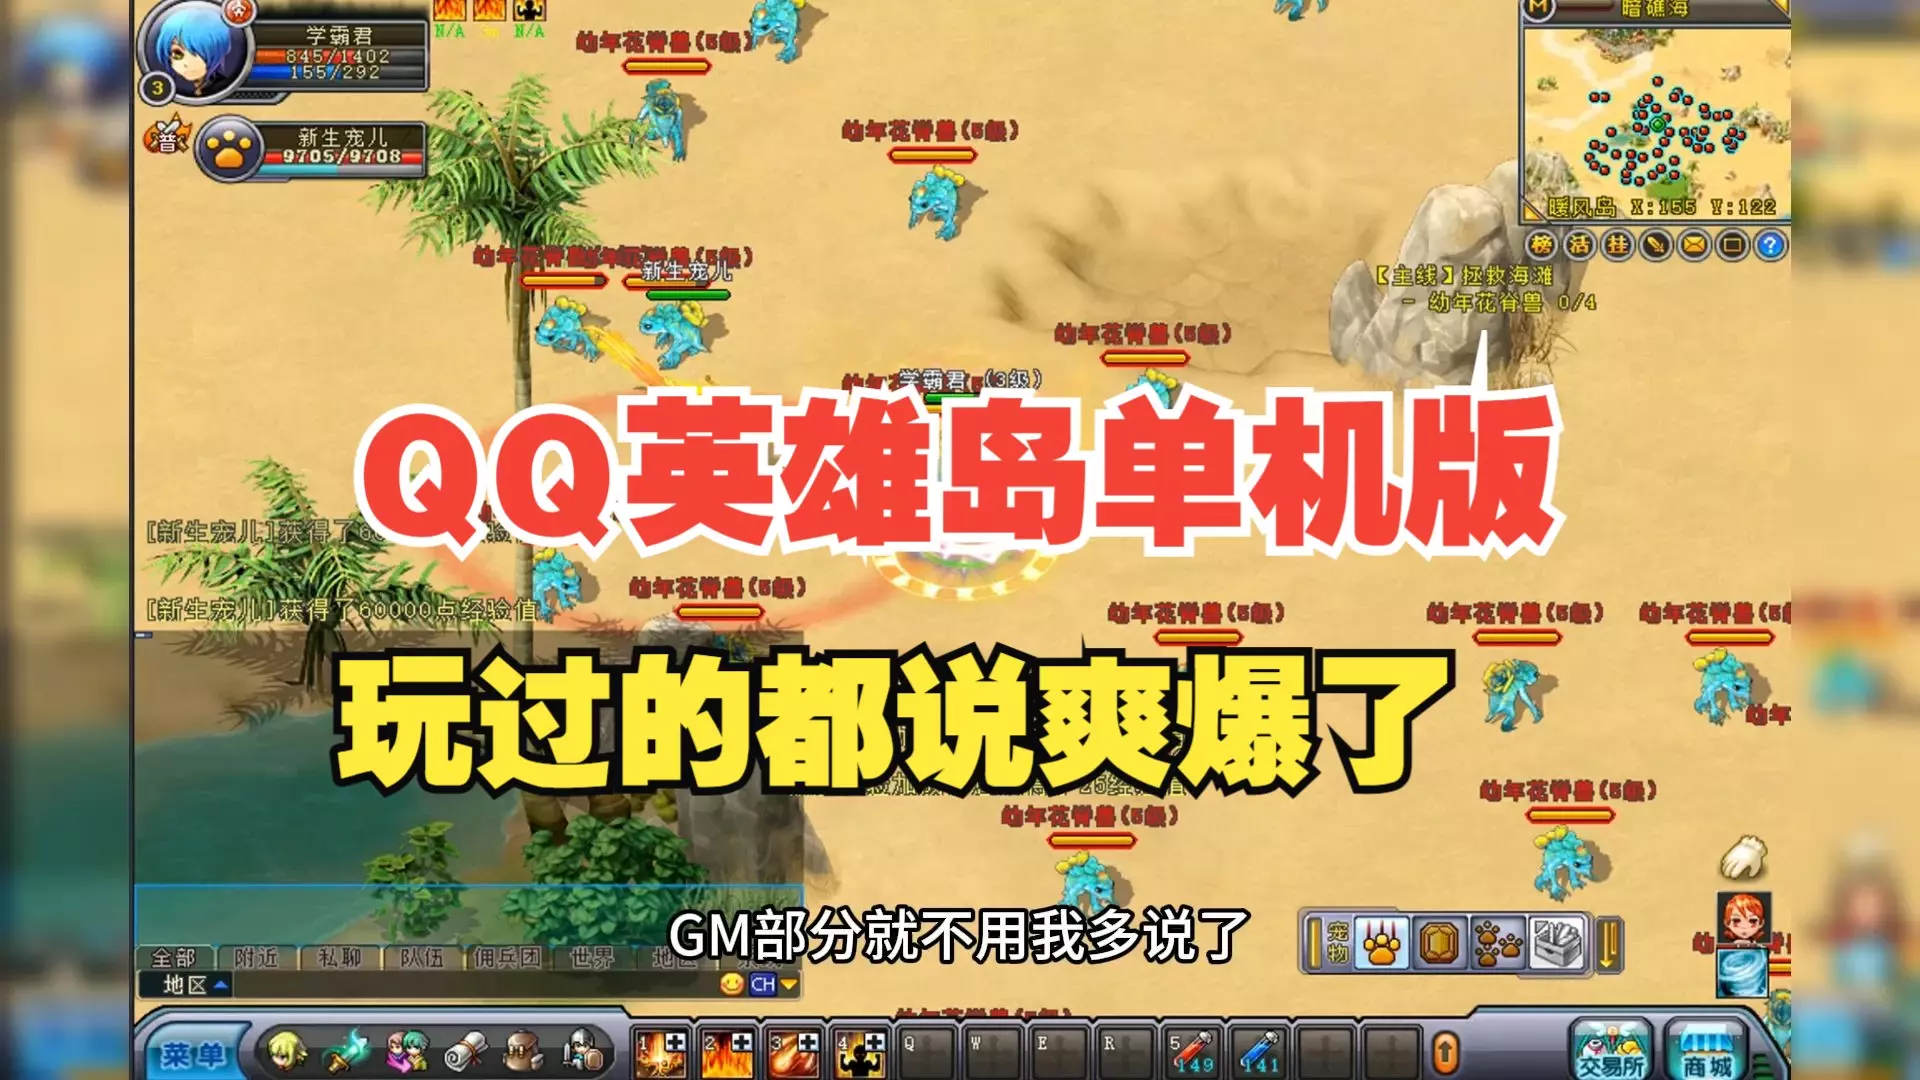
QQ英雄岛单机版 QQ英雄岛单机版,玩网游单机版的快乐在哪里,玩过的都说爽爆了!
QQ英雄岛单机版:https://pan.baidu.com/s/1usHvzEQRFAg4qVQR1gfUcA?pwd=7777 在里面的第52期和第204期…
2025-12-07 21:300赞 · 0评论
战地 REDSEC - 大逃杀入门
准备空降林登堡。 这座庞大的军事设施隐藏在纯净海滩与宁静居民区之间,是世界上一些最先进军事项目的所在地。叛变的特工们正与时间和敌人赛跑,既要阻止对方进入,又要守…
2025-10-30 09:090赞 · 0评论

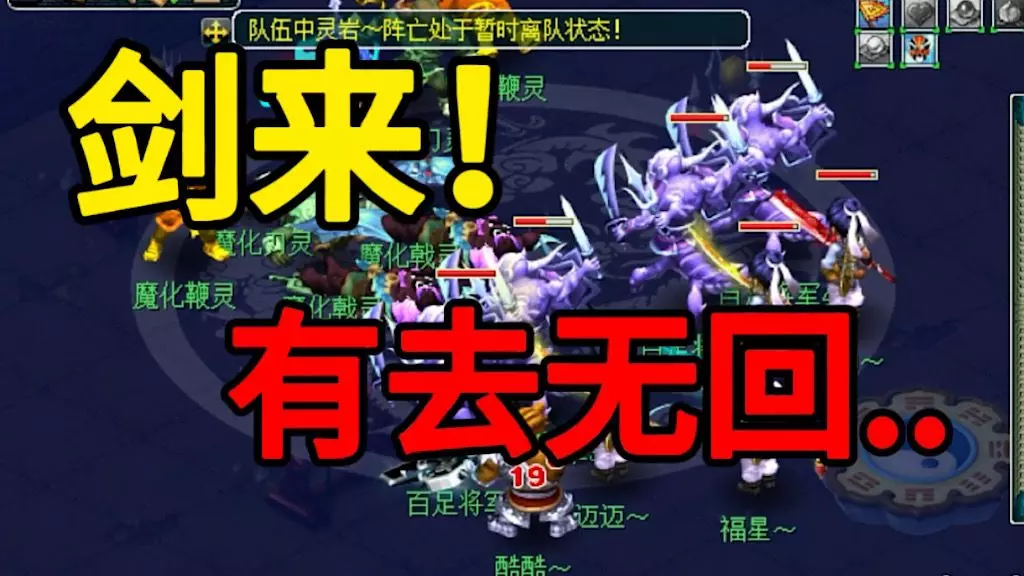
梦幻西游 梦幻西游:剑来!砍出去我就不回家吃饭了喂。
!
2025-09-30 20:450赞 · 0评论
巫师加强版攻略 巫师1加强版通关攻略大全 巫师1加强版新冒险
巫师加强版——(狩魔猎人)详细攻略第五章+尾声(三) 1、第五章丹德里恩陪着你回到维吉玛,此时的维吉玛,火光冲天。现在,丹德里恩成了你的仓库,你的东西可以放在他…
2025-09-23 02:590赞 · 0评论
梦幻西游神器任务 梦幻西游星斗盘之约神器任务怎么做 梦幻西游星斗盘之约神器任务攻略
梦幻西游是一款经典的回合制mmorpg游戏,这是一款非常好玩的游戏,游戏中的背景设定和剧情都是根据西游记改编,其中有一些任务是比较麻烦的,神器任务系列是比较难做…
2025-06-15 18:530赞 · 0评论
暂无更多
最新更新
- 社区雷达 #60 — 新的社区雷达已锁定你的位置!💥 来看看《武装突袭3》社区最新、最棒的部分内容: 完整的COMRAD
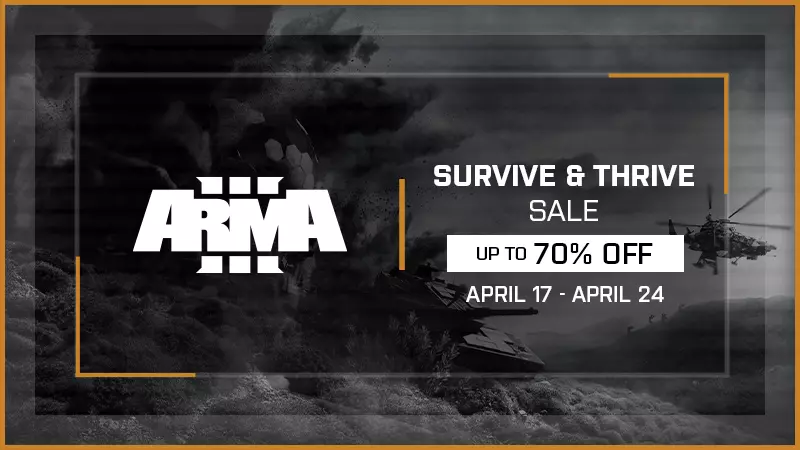
- 生存与发展特卖 — 【生存与发展特卖】现已开启! 《武装突袭3》黄金版和铂金版可享受70%的折扣,其DLC和CDLC最高可享67%的折扣! 《武装突袭: reforger》拥有广阔…
- 《武装突袭3》远征军#003(热修复)创作者战报 — 发件人:Tiny Gecko Studios 收件人:《武装突袭3》创作者DLC用户 单位:远征军 活动:1.2.1版本更新(热修复) 大小:约692.2 MB…
- 75th MilSim - 这是基地。 — 75连是一个国际性俄语社区,致力于打造贴近现代士兵真实战斗情况的逼真游戏场景。我们的项目对待游戏态度严肃,专注于创作各种不同的战役:从虚构到真实。我们希望建立一…
- ZSU TIGRIS雷达与瞄准十字线 — 我已经在游戏里玩了600多个小时……你可能觉得我早就该知道这个了,但我在“底格里斯”上待的时间不超过几分钟,直到这周才发现它的瞄准雷达。所以我发这个是为了帮助像…
- 武装突袭3-视频介绍
- 武装突袭3-视频介绍
- 社区雷达 #59 — 又一个社区雷达来啦! 来看看《武装突袭3》社区的一些精彩内容 完整社区雷达
- Steam 2026年春季特卖 — 2026年Steam春季特卖现已开启! 《武装突袭3》黄金版和铂金版均享7折优惠,其DLC及CDLC最高享67%折扣! 《武装突袭:Reforger》同样参与促…
- 《武装突袭3》创作者DLC:远征军 1.2版本更新内容 — 《武装突袭3》创作者DLC:远征军 1.2版本更新内容 1.本次更新带来全新的无人战斗航空器、新武器变体、装备、载具涂装,以及各种修复和改进。 2.更新亮点: …