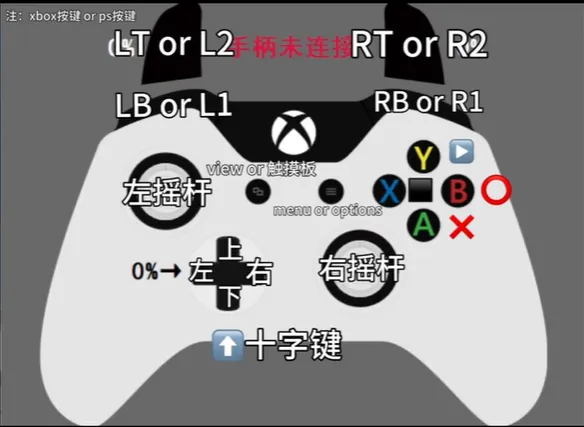
换一换
换一换 


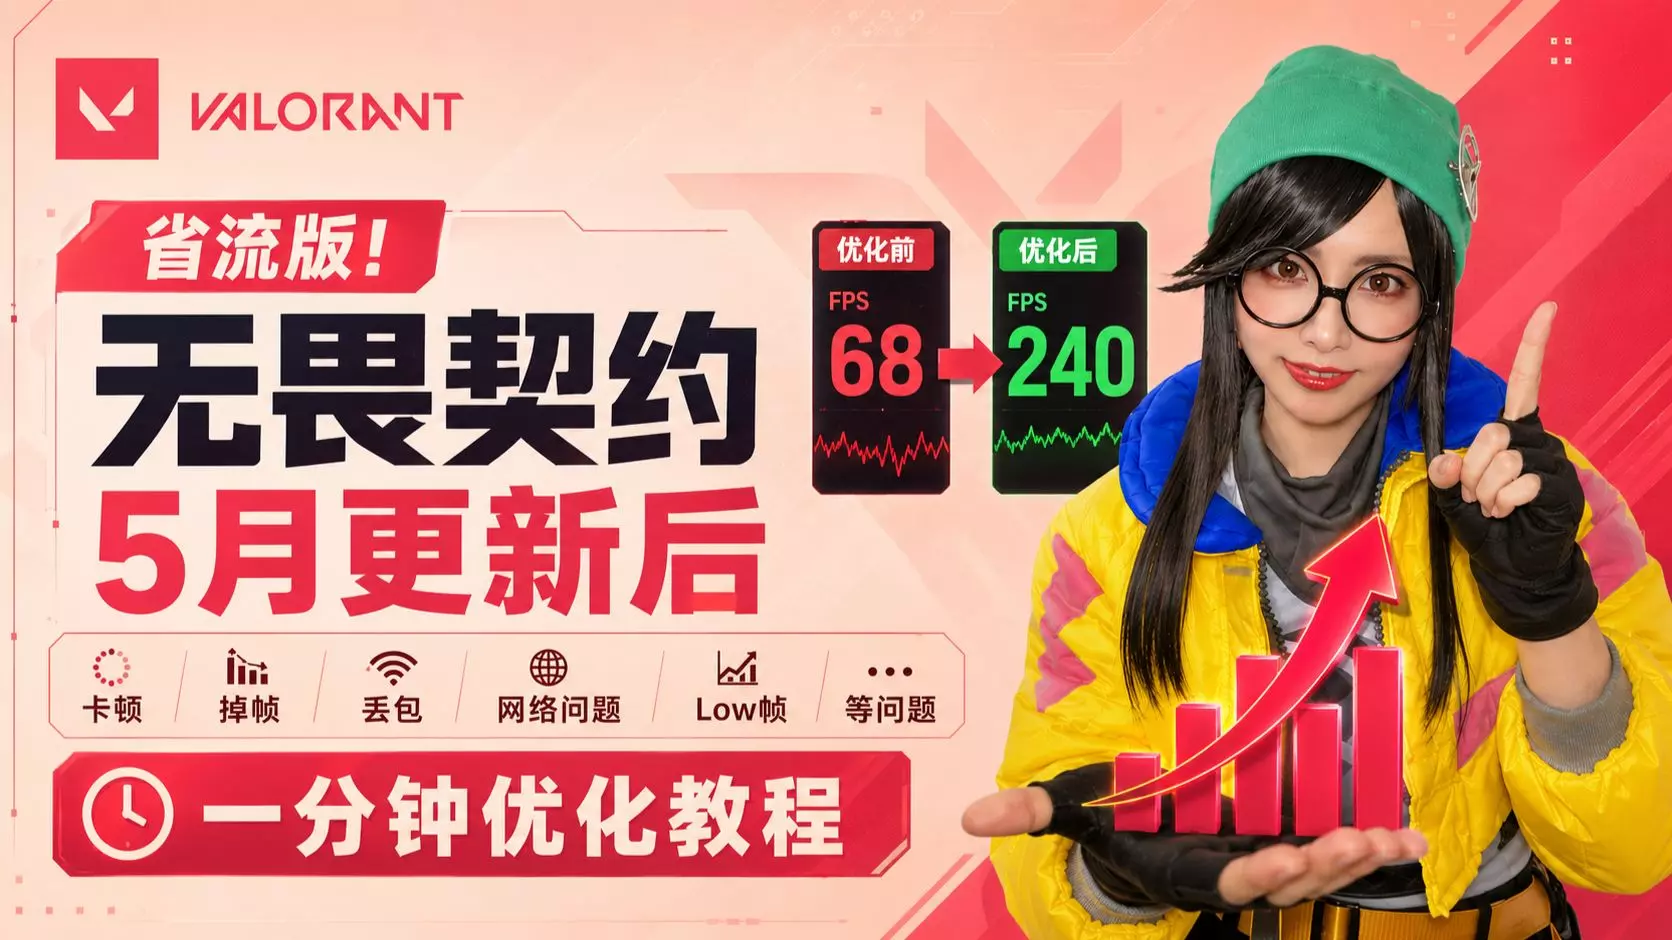
质量与性能优化的最佳设置。如果你想在保持不错帧率的同时拉满画质,以下是你应追求的设置概览。让DLSS在AMD显卡和较旧的NVIDIA显卡上也能运行。 简介 我编写本指南是为了详细说明所有对我帮助最大的设置,这些设置让这款游戏成为沉浸式的电影体验。 我从1440P分辨率下使用FSR时的50-60帧,提升到了现在4K分辨率下使用DLSS时的60帧。对于2017年的中端显卡来说,这相当惊人。 我的系统配置: - 操作系统:Windows 10 - 显卡:蓝宝石AMD Vega 64 Nitro+ 8GB(性能与RTX 1080或2060相当),已极限超频 - 处理器:i9 -9900K,所有8核超频至4.8GHz - 内存:48GB HyperX 3466MHz - 主板:技嘉Z390 Designare
感谢您的阅读,希望本指南对您有所帮助。祝您使用顺利。

解决低于4K分辨率下的模糊问题 由于游戏似乎是围绕4K分辨率构建的,因此当你降低分辨率时,游戏可能会出现严重的模糊现象。
解决方法: 你需要将TAA(时间性抗锯齿)设置为中等,启用FXAA(快速近似抗锯齿),并将TAA锐化调整到大约四分之三或你更喜欢的程度。 这样一来,所有的模糊感就都消失了。 此方法仅在原生分辨率下有效,因为启用DLSS(深度学习超级采样)后无法同时启用FXAA。不过我认为,通过 upscale(图像放大技术)或许能让你使用更高的分辨率,从而使游戏整体看起来更加锐利,这也能以另一种方式解决该问题。因此,我认为这更像是为那些已经拥有强大配置、能够以原生分辨率运行游戏的玩家提供的一种增强方案。两种方法都试试看,看你更喜欢哪种。 适用于所有显卡的DLSS启用工具 https://www.nexusmods.“此一体化程序包允许任何兼容DX12的GPU(来自NVIDIA/AMD/Intel)用户,在大多数支持NVIDIA DLSS 2/DLSS 3功能的游戏中启用DLSS超分辨率和DLSSG帧生成技术。” 下载较新的可选文件测试版3.03。

此模组要求游戏仅以VULKAN模式运行,而非DX12。 安装步骤: 确保找到正确的安装文件夹 路径应类似于:D: Programs Steam steamapps common Red Dead Redemption 2 如果您使用NVIDIA显卡,请在安装过程中勾选这些选项:
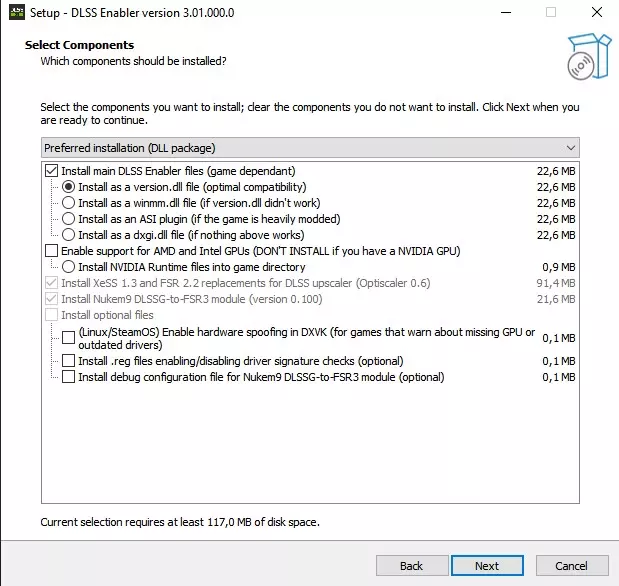
如果您使用的是AMD显卡,请在安装过程中检查这些事项:
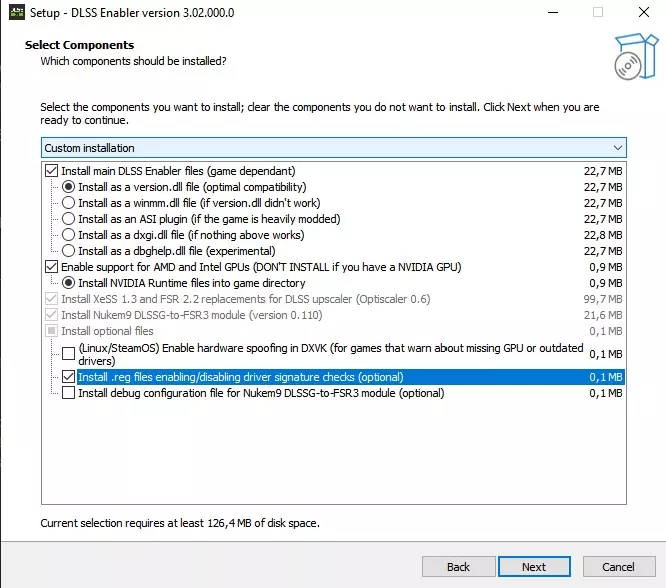
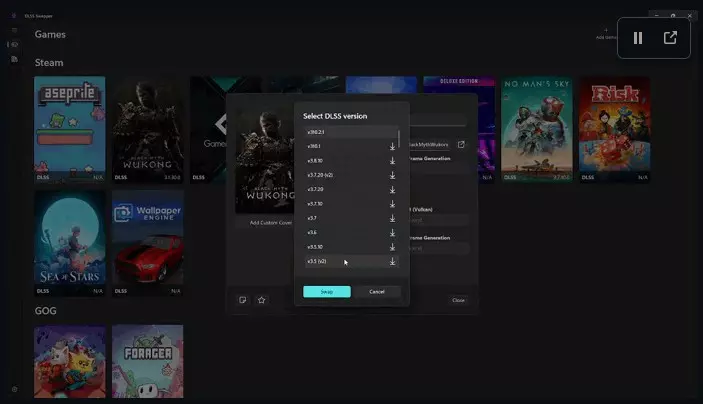
如果您使用的是AMD/Intel显卡:安装后在该文件夹中找到“DisableNvidiaSignatureChecks.reg”文件并运行它。 操作完成。现在应该可以正常使用了。如果您愿意,可以按照自述文件中的说明进行修改。 现在,在垂直同步(V-Sync)选项下方,您应该能看到“NVIDIA Reflex低延迟”选项。如果您受CPU性能限制,应选择“开启”;如果受GPU性能限制,则选择“开启+增强”。您也可以测试这两个选项,保留能为您提供更高平均帧率的那个。 再往下,您会看到“NVIDIA DLSS”选项。调整画质以达到您个人的帧率目标。“超高质量”预设不会带来太多帧率提升,但“质量”和“平衡”预设可以将帧率提升高达50-70%。 如果您想卸载它,运行文件夹中的“unins000.exe”即可。只需最后一步即可重新启用Steam界面:返回DLSS Enabler的安装文件夹,删除该文件夹中的“nvngx.ini”文件。启动游戏,确保已启用图像缩放功能,在游戏的显示选项中选择NVIDIA DLSS或AMD FSR等缩放类型。在游戏中按下键盘上的INSERT(或Ins)键,Optiscaler菜单将会出现,然后在底部点击“Save INI”。关闭游戏并返回游戏文件夹,此时你应该会看到一个新的“nvngx.ini”文件或“Optiscaler.ini”文件。打开该文件,找到“DisableOverlays = auto”这一行,将“auto”替换为“false”,然后保存文件。DLSS Swapper 可提升所有图像放大技术的视觉效果和性能 "DLSS Swapper 是一款工具,能让你便捷地下载、管理和替换 DLSS、FSR 以及 XeSS 的动态链接库(dll),无需游戏更新即可升级或降级游戏中的 DLSS、FSR 和 XeSS 版本。" https://github.com/beeradmoore/dlss-swapper?tab=readme-ov-file
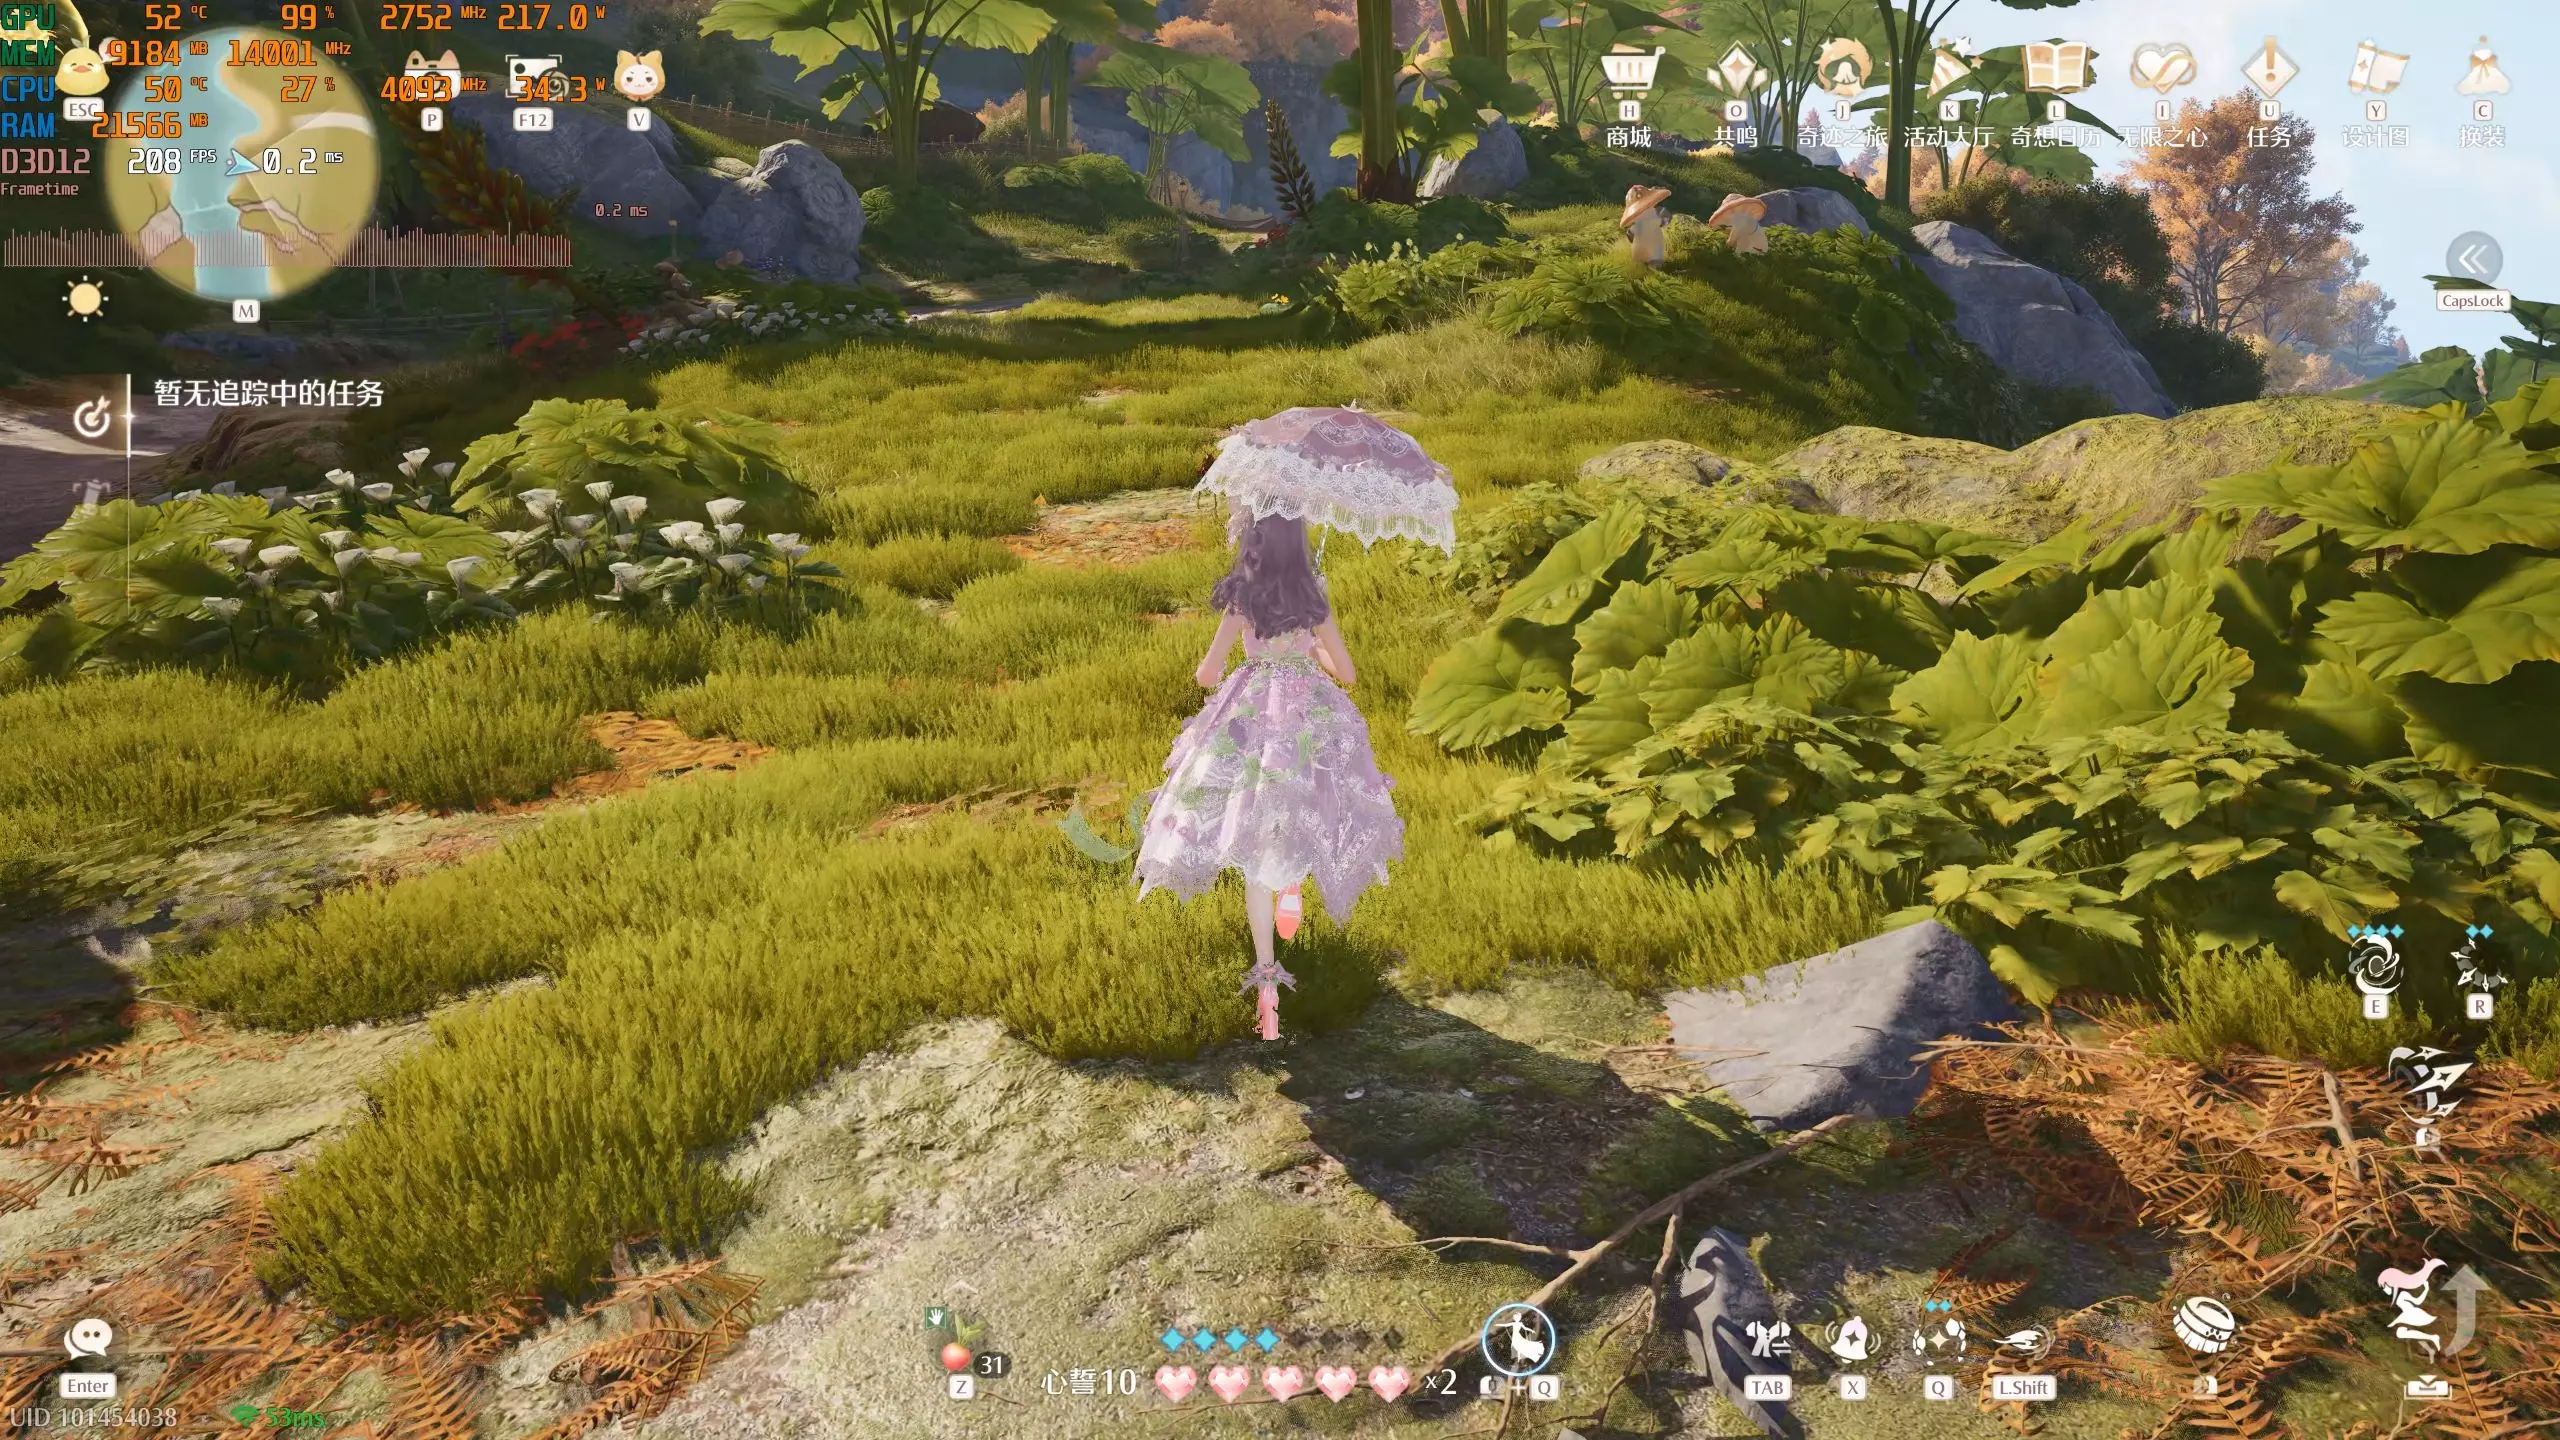
This is an insanely great tool, I am so impressed with it. It could not be easier and reverting the changes is also an inbuilt function. NOTE: if you use the DLSS Enabler, the swapping should be done after the installation. Optiscaler - The multitool for all upscaling and frame generation https://github.com/OptiScaler/OptiScaler The latest DLSS Enabler Beta version includes an older version of Optiscaler, but as far as I know the latest version of Optiscaler can basically do everything the DLSS Enabler does. Just that it doesn't organically integrate through the ingame options, but it works through its own interactive overlay. So if you got the DLSS Enabler installed already you can also test it. Uninstall DLSS Enabler and use the newest Optiscaler, because I'm not sure if it's advised to mix the versions together. Use one or the other. Within DLSS Enabler you can test it like this: (hit "insert" key during the game to open Optiscaler menu). Now check the "Frame Generation" and "Hud Fix" boxes. In a lot of circumstances the game will run better if you check "Async" too. NOTE: Using this together with the MSI Afterburner/Rivatuner Frame Cap can lead to problems or latency issues. I am not sure, I wouldn't recommend it. NOTE: I'd upgrade all upscalers with DLSS Swapper first before doing the Optiscaler installation. Depending on what files from Optiscaler you replace with DLSS Swapper later it will break the Optiscaler. Installation: Download the latest version from the link above Unzip and copy all the files into the directory of your game where the .exe file is and replace everything. Then run the setup_windows.bat and give the prompts that fit your system to finish it. When you next start the game an overlay message should display from Optiscaler. Optiscaler wants you to first choose any upscaling (DLSS, FSR, XESS) in the game menu options. Do that and then open the Opti overlay by pressing the insert key. Now you can override any game options with Optiscaler. Choose an upscaler you want in the overlay, then for Frame Generation choose "Opti FG" and check "Hud Fix" boxes. In a lot of circumstances the game will run better if you check "Async" too. Then at the bottom it says save.ini, click it so that the options you chose in the overlay will always be applied upon game startup. Now the game wants you to restart to apply the frame generation. Afterwards everything should work. So this will effectively double any frames you have pretty consistently. There could still be some little glitches on the hud or subtitles, depending on the options you checked, but nothing major. You can then experiment with increasing or decreasing the Hud Fix option. Just one final step to re-enable the Steam overlay by modifying the Optiscaler.ini file in the folder. Open it and hit CTRL+F and search for DisableOverlays. Change it from true or auto to this: DisableOverlays = false Then save the file. Improve DX12 Performance It is a known thing that people do, more commonly known in multiplayer games where everybody's desperate for every fps they can get. Here another article explaining the same thing, so you don't have to take some random Youtuber's opinion at face value: https://www.toolify.ai/hardware/unlock-the-full-potential-of-dx12-games-improve-performance-and-stability-2856272 I got around 8% of performance gain out of this. It will depend on your system though how much this does for you. It's said to improve FPS and resolve stutters some systems might experience with DX12. You can do this for all games you know that run on DX12. Optimized Graphics Settings You can pretty much copy the settings shown below. Credit to BenchmarKing. ResolutionAs touched on above, me and many other people feel like the game in general looks too blurry when you're not around 4K resolution, stemming most likely from being built on 4K resolution and apparently not really optimized afterwards for downscaling, as the anti aliasing settings can start clouding up the image. Resolution means picture detail and quality. So it is, among a few other settings, one of the most important for visual fidelity. So what I would suggest is this: Depending on your hardware limits, I would say set the resolution as high as you can before your GPU takes off flying and balance it out with DLSS on Quality or Balanced Preset to come up to 60fps. That's what I play for the highest image quality possible with my rig. I'm on 3840 × 2160 with DLSS on Balanced and have 50-60fps depending on the scenery. If that's not enough FPS for you or your hardware holds you back, try lowering the resolution bit by bit until you achieve your desired FPS target. Up for you to decide if it makes more sense going higher in resolution and Balanced on the preset or lower in resolution and Quality on the preset. Try both out. I think I achieve a better picturre with higher resolution and lower on the preset. I wouldn't go to the Performance preset though, if you can prevent it. Performance preset seems to destroy the image in some ways. Optimized Settings: Anisotropic Filtering: 16x Lighting Quality: Medium Or High Global Illumination Quality: Ultra Shadow Quality: High Or Ultra Far Shadow Quality: Ultra Ambient Occlusion: High Reflection Quality: Medium Mirror Quality: Ultra Particle Quality: Medium Or High Tessellation Quality: Ultra Near Volumetric Resolution: Medium Far Volumetric Resolution: Ultra Volumetric Lighting Quality: Ultra Unlocked Volumetric Raymarch Resolution: Off Particle Lighting Quality: Medium Or High Soft Shadows: Off Or Ultra Grass Shadows: Ultra Long Shadows: On Full Resolution Screen Space Ambient Occlusion: Off Water Refraction Quality: Medium Water Reflection Quality: Medium Water Physics Quality: 2/4 Reflection MSAA: Off Geometry Level Of Detail: 3/5 Grass Level Of Detail: 5/10 Tree Quality: Ultra Parallax Occlusion Mapping Quality: Medium Or High Decal Quality: Ultra Fur Quality: Medium Tree Tessellation: Off If this was in any way helpful for you, I'd appreciate a thumbs up! :) If you liked it, disliked it, whatever you may feel, please leave a rating. If it helped you out and you're happy with the results, leave a Steam points award. Comments are also appreciated.