换一换
换一换 


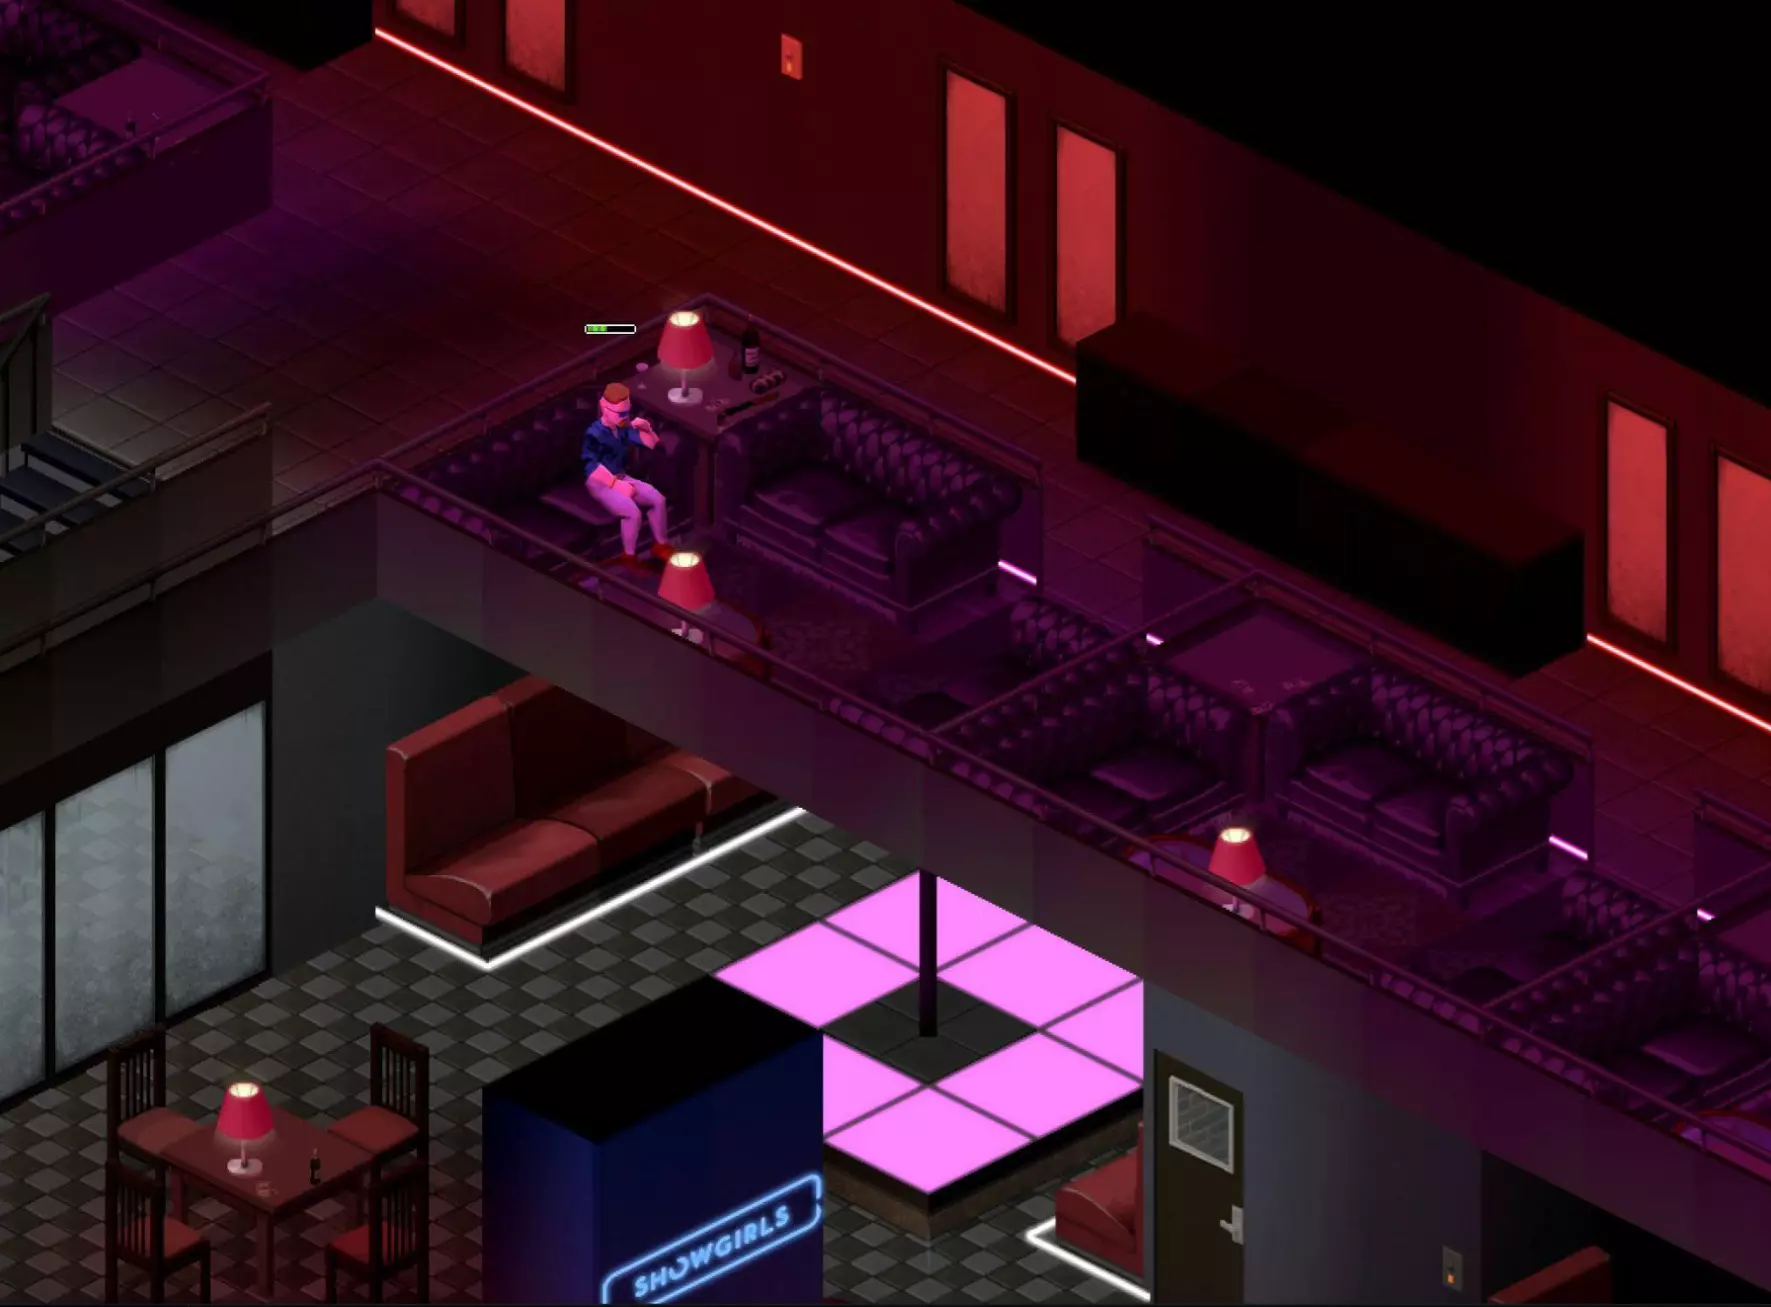
A list of tips that will hopefully help other players, so they won't make the same mistakes I made. Things that I, unfortunately, had to learn the hard way. Lesson 1: Care For Your Feet (And Your Shoes) When I first started the game, I thought the only way to vault low fences was to sprint toward them, and automatically jump over them. Unfortunately, if you have a lower Athleticism stat, you stand a good chance of stumbling, on your way over. Not only does this have a good chance of injuring your feet, and make you briefly vulnerable to attack, it's also a great way to rip a hole in your shoes. I must have torn through four pairs of military boots before I realized that you can safely vault low fences by pressing E. Lesson 2: Zombie Lunges When I was first starting, I thought that zombies falling over low fences was an easy way to rack up kills: Simply stand at a smashing-distance from where the zombie will fall, and swing when it's on the ground. This strategy worked for maybe 60 seconds before I realizes that, if you are too close to the fence, a zombie falling over it will actually lunge across and get a free hit in on you, dealing damage and knocking you back. After that, I learned to keep my distance from zombies falling over fences or through windows. Lesson 3: Corners Anybody who's had to clear out a building with a melee weapon will tell you how dangerous rounding a corner can be, if you can't see around it. Rounding a corner too closely will make you vulnerable to anything near the interior of that corner, on the other side. Taking the corner wide gives you a little more time to react to any zombie that might be revealed when you finally strafe around it. That said, even if you know there's a zombie there, going after it, rather than letting it come to you, might be more dangerous than it seems. If you wait for it to come to you, you're the one in control of the situation, and you can see it coming and react accordingly. If you go after it, there's a chance, however slim, that you might rub up against and get stuck on a wall or furniture, run into another zombie you didn't see, or that your swing or shot might miss (due to you moving at the same time). If that happens, not only will you be within gnawing distance, you'll need to ready your weapon again, giving the zombie a chance at a free hit. This is how I died: My first 3-month survivor (Sandbox: "Initial Infection") was clearing out a building with a crowbar. Everything was going well enough, and my next target was a zombie inside one of those rooms where one wall is a row of windows. It was pounding on the window closest to the door, and I thought it would be simple enough to strafe through the door and give him a good beating. Just as I crossed the threshold, the zombie turned away from the window it had been pounding on and reached out at me. I was not expecting it to target me immediately, and was not facing it dead-on when it attacked, so my swing missed, and I didn't react fast enough to push it away before it attacked me and got a hit in. After dispatching that zombie, it was too late - It had sunk its teeth right through my firefighter pants and bitten me on the groin. Lesson 4: High Protection Clothing It should go without saying that, if you happen across clothing of a higher protective value than you've got on, and you're not worried about freezing to death, you'll naturally take the more protective garment. Leather jackets and long jeans are a good start, and as your Tailoring skill increases, you can reinforce those garments further with rag, denim, and cotton padding. Firefighter pants and jackets offer some of, if not the highest protection against bites and scratches. The trade-off is that they cannot be repaired, so if you get one or more holes in it, you might be better off replacing it. Don't let a garment's protection rating fool you, though - Most high-protection clothing will only protect against one or two attacks, and may not protect you at all. It's a dice roll, every time you're attacked, whether your clothing will protect you or not. Sometimes it doesn't. Having high bite or scratch defense just increases your odds, and zombies always seem to find the weak point in your clothes. This is how I died: I was wearing a pair of firefighter pants, and a zombie bit right through them on the first attack. Lesson 5: Pyromania If you're like me, when you play any sort of open-world game, you like to occasionally destroy buildings. Namely, you like to burn stuff down. Who knows? Maybe there's a zombie inside. Maybe there's a really bad cockroach problem. In any case, there's a number of ways to burn down a house in Project Zomboid: You can leave the stove on, you can build a campfire indoors, and, depending on what build of the game you're playing, you can try to microwave a fork or other piece of metal. Those are all well and good, but waiting for the stove to catch fire could take forever, and building a campfire is not only time and resource-intensive, it's also...Kind of lame. No, what you want is instant gratification, you want to start a fire when and wherever you want, and maybe you didn't pick the Engineer profession, so you can't play with any special fireworks. What you want is a good ol' fashioned molotov cocktail! Simple, efficient, and essentially made from garbage and gasoline, or bourbon, as your situation might warrant. To use a molotov, you need to have it equipped as your primary, and have your lighter (or possibly matches, I haven't tried it) equipped as your secondary. From there, hold RMB to go into combat stance, and click LMB to light and throw it. (I haven't figured out a way to control exactly how far it will be thrown, I think it goes as far as your cursor, within a set range.) What you absolutely should not do, though, is be inside the building that you intent to burn down, when you burn it down. Throw molotovs into a building from outside, or you stand a good chance of catching yourself on fire, as well. If you do catch on fire, you only have a few seconds to save yourself. Right-click yourself and select "Put Out Fire." a ring will appear on your cursor that locks to tiles. Select yourself (the cursor will turn green) and click LMB to extinguish yourself. You'll use any water container in your primary inventory - Usually your drinking water) - To put yourself out. If you're not carrying any water, you can try running out into the rain, but if it's a bright and sunny day out, you're far past f*cked. This is how I died: 20 days into a game (Sandbox: "Initial Infection" + Mods), I got a hankering to burn down one of the small houses near my safehouse. I picked a small one a short walk away - Well outside of any collateral radius - And took everything of value from inside. I stood in the living room with my one molotov, and threw it toward the kitchen. Unfortunately, I was not facing the kitchen as well as I thought, and the molotov smashed against a corner right next to where I was standing, setting the living room on fire. I panicked, ran for the front door, realized it was on fire (as now was I), and ran into the kitchen, instead. I opened my health interface to see how quickly my health was draining, and right-clicked on myself to try and put it out. I was standing behind a window, and had to hunt through an extended selection screen for the proper option. I expected I would extinguish myself at once, since I had right-clicked on myself to open the menu, but I was confronted with a selector, instead. By the time I had moved the cursor over myself, I was dead. I attempted to recover my belongings (including a large backpack, a written journal, a gun, a crowbar, a hunting knife, and other valuables) with my next character, but all that remained was the lighter. Lesson 6: When In Doubt, Get The Hell Out Imagine this: You're clearing out a medium-sized building. Everything's going well, but you can hear windows and doors being pounded on elsewhere in the building. That's okay, that's to be expected - It lets you know where the zombies are. While passing through an exterior room, you catch a peek out the window, and see that the street is crawling with zombies. One sees you, then another, and before you know it, they're breaking throw the window and tumbling in. You stand your ground and try to fight them off - After all, there's not so many, and so long as they come in single-file, you should be able to take them. Except they don't come in single-file, they're grouping up, and you've got "Weapon Multi-Hit" turned off. You keep trying to fight, hearing more windows breaking, and backing up out of the room. You decide that maybe you should make for the exit, except now there are zombies in your way, blocking the way you came in. In a panic, you run into an interior room you've already cleared, looking for another way to escape, only to realize that there are no windows to escape through! By the time you've figured it out, you're trapped, they're breaking down the door, and you're thinking to yourself: You should have left the building at the first sign of trouble and fought them outside. This is how I died: The above experience played out for me just a few hours before playing. I was trying to clear out the West Point police station in hopes of eventually making it into a safehouse. While clearing rooms, zombies broke in from the East window, and started funneling into the room. I barely got away, and tried to leave the way I came, but there were two more zombies in the way. I went through the first door I saw, which led to the jail cell hallway, which, for the express reason of preventing escape, had no windows.. There was no way out, but I had an idea: I would wait for them to break down the door, then blow them all away at once with the shotgun I had just picked up moments before. I only had five shots, but that should be more than enough for only a dozen or so zombies in a bottleneck, right? Too bad my Aiming skill was at zero. I missed the first two point-blank, and got some nice new teeth marks to show for my ingenuity. Lesson 7: The Driver's Window (Your Only Line Of Automotive Defense) I haven't done this, myself, but I'm sure that more than one person has. When breaking into a car, they naturally smash the driver's side window. After all, you want to get into the driver's seat, so why not? The problem arises when you're stopped - Whether you're stalled, stuck in a horde, or napping in your car - And a zombie decides to wander up and ask for a ride. Normally, a driver's side window would take at least a few hits before it eventually breaks. That would give you enough time to wake up and drive off, or at least switch to another seat and jump out of the car. The thing is, though, if there's no window on the driver's seat, there's nothing to stop an attacking zombie, and they can and will bite you right through the space where the window used to be. When breaking into a car, you should ideally break in through a seat you never intend to occupy, such as the rear-passenger window. Then, once you're inside, you can crawl into the driver's seat and unlock the doors from the dashboard or radial menu. Lesson 8: Disassembling The Right Stuff If you've ever stopped by a bar like Twiggy's, you've noticed that the walls are not like those of most other buildings in the game. They look like player-constructed walls. As it turns out, that's exactly the case, and if you're not careful, you might accidentally tear down a section of that wall instead of the pool cue holder mounted on it. When things are stacked or cluttered, use the Deconstruct selector, in the menu with the Pick Up and Put Down selectors, to more accurately pick out what you want to deconstruct. You can select between objects on the same tile by hitting R while highlighting a tile. I haven't tested it out, but the bars being constructed from such walls implies that zombies can and will break them down, if given enough time. Lesson 9: Abusing Time Powers Purists call it cheating, but if you really just need a moment to stop and study your map, or write down a journal entry, or look in-depth through a bunch of containers without having to worry about a zombie sneaking up on you, you can hit F2 to pause the game, even in a map, note, crafting, or building screen. You can pause the game with most other overlays up, too, but you'll have to bring up your map or open your journal before you hit pause. You also won't be able to transfer items while paused, but you can look at the container contents in more detail. You can also accelerate time, such as while reading or exercising, by pressing F4 or F5. If you have the option enabled in your main options screen (not to be confused with the Sandbox options screen), your time will dialate and constrict automatically when doing such time-consuming activities. Once you're done with your time-bending shenanighains, you can resume time at normal speed by pressing F3. Lesson 10: Roadkill Imagine, if you will: There is a building or area that you need to clear of zombies. Maybe it's a gas station, maybe it's a building near your safehouse, maybe it's a building you want to claim as yours, or maybe it's just a street choked with zombies. You don't have enough ammunition, guns, or even aiming skill to shoot them all down, and trying to take them on with melee is suicide. You could try the tried-and-true "kite and burn" technique, but that runs a serious rick of burning down nearby buildings. Besides, maybe you want to loot the goods from those corpses, like cloth, bags, weapons, armor, or anything else they might be carrying. What's to be done? The answer: Introduce them to your front bumper. As long as you have the gas, space to maneuver, and a good enough lead-up to build some speed, you can cause some serious damage to a crowd of zombies by running them over with your car. Of course, driving full-speed into a dense crowd of fifty-odd zombies will probably get you stuck and eaten, so it's better to take glancing hits at the crowd, or to disperse the crowd by alternating between two nearby areas, such as two ends of a street, or two adjacent parking lots. This, combined with some clever work with the horn (which will blare as long as you hold Q), will let you somewhat control the movement of zombies, so you can mow down three or four without getting stuck or having to back out. Don't forget that you can extend the time of your rampage by ramming them with your trunk, too, rather than exclusively your hood, which will eventually wreck your engine. A word of caution: Doing this for any extended period of time, or for too many zombies, will pretty much trash your car. If the hood reaches 0% integrity, you'll start damaging your engine. If your engine integrity gets too low, it will stall and refuse to start. If that happens with the horde still around you, your best bet is to jump out and take off running before your vehicle is surrounded - You can come back for whatever loot you left in it, later. Naturally, a functional car is a pretty steep price to pay for clearing out a horde...Unless you can just hotwire any vehicle you happen across. Once you unlock the ability to hotwire, every vehicle on the map becomes a highly effective means of crowd control, making it one of the most valuable skills to have. The ability to hotwire vehicles is automatically unlocked once you gain enough experience to reach Electrical 1 and Mechanics 2, or if you choose the Burglar profession. To do it, enter the driver seat of any non-totaled vehicle, press V to open the vehicle menu wheel, and select the icon of a key, in the top-right. This may take a few tries, so try not to do it under pressure, especially if the driver's window is broken. Once the vehicle is successfully hotwired, a pair of wires will appear in the key slot, on the dashboard. You can click the hotwired key slot to start and stop the vehicle, or use hotkeys like you would, if you had the key. Be aware that if a car is hotwired, it's drivable for everyone else on the server. Just make sure you do all your routine maintenance (tire pressure, brakes, repairs, gas) that you can, if you're planning your rampage in advance. And try not to scratch the paint. Lesson 11: Sometimes T.V. is Good For You You probably already know that watching the Life & Living channel can earn you some free experience in Carpentry, Cooking, FIshing, Trapping, and Foraging, depending on what show you've caught. Shows come on at 6:00am, 12:00 noon, and 6:00pm, if you didn't know. I think commercials come on at midnight, but I'm not sure. New players will want to catch as many of these Life & Living shows as possible, preferably backed up by the experience multiplier that comes with reading skill books. Imagine it: Getting to level 4 Carpentry, level 4 Cooking, or even higher, without having to even lift a finger. That said, Knox County doesn't really do re-runs, and eventually, you'll love all the T.V. stations, so if you miss an episode, there's no getting back to it. You don't have to see every episode in order to get the experience boost, but it's still annoying knowing you could have really maximized your gains. Fortunately, there's an alternative: Say "Yes!" to V.H.S.! Occasionally, you'll stumble across V.H.S. tapes in houses, usually on bookshelves or in wardrobes. Most of these tapes aren't super useful, aside from lowering your boredom. However, some V.H.S. tapes will give you extra experience points. Needless to say, all the episodes of all the shows from the Life & Living channel are available o V.H.S., along with other shows such as Carzone, which will level up your Mechanics skill, and Dead Wrong, which will give you a minute amount of experience in Aiming and Reloading. Even tapes of Life & Living episodes that you've already seen will give you some extra points! Any skill tape only works once, though, so make sure you've already done your reading, before you sit down in front of the T.V. Less common are home movie V.H.S. tapes. According to the wiki, these are unique items (meaning only one spawns in the whole map), and these can also give you some extra experience points, if you find the right ones. Commercial V.H.S. tapes can be found in storage units and gift stores, as well as some businesses, but the Hit Vids store is a gold mine. If you get the chance, clean off those shelves and have yourself a movie marathon. These skill tapes are definitely in the minority, but if you've got nothing else to do, why not spend the day doing burpees and watching The Omega Department? Or you could watch The Magical Woodland, if you want - I won't judge. Incidentally, I also recommend the "V/H/S" movie quadrilogy, in real life, if you haven't seen them. Lesson 12: Stay Out of the Lineup This is something that you'll learn pretty quickly, but it bears repeating explicitly: Try to avoid melee combat with enemies directly above or below you, relative to your isometric viewpoint. It's difficult to accurately gauge distance to your enemy when your character is lined up either in front of or behind them. If you're forced into this situation, though, use the enemy's shadow, relative to your own, to get a better read on exactly how far away they are. If the enemy is too far away, your swing will miss, and you'll leave yourself momentarily vulnerable. If you let the enemy get too close, you run a risk of getting attacked. If you do swing too early, quickly tap the spacebar to push the zombie away. Even if they've gone into their grab-and-bite animation, you might just get lucky and push them away before they can give you a discount circumcision. Lesson 13: Back 4 More Imagine you're feeling a bit peckish, so you visit your neighbor's house for a snack. After letting yourself in, you discover two or three corpses on the floor. Normally, the excuse, "it was like this when I got here" doesn't fly, but in this case, it's 100% true - You didn't kill these zombies. You proceed to the kitchen when suddenly, one of those lumps of maggot-ridden flesh gets back up and asks for a cup of beans brains! As it turns out, that zombie was just playing dead, and that thing you thought was a corpse...Wasn't. Sometimes, dead zombies won't stay dead. This can apply to corpses that were there when you arrived, and to zombies that you "killed" already! Usually, when this happens, it will be several days later, before the other corpses you callously left in the street have started to skeletonize. The frequency of zombies playing dead is a setting that can be changed or turned off in the sandbox menu, but I've found that it usually happens to one out of every 20 or so corpses. The danger in this lies in the surprise of the ambush, since they usually only get back up when you get too close. They may come back as a crawler, too, which will be harder to see among a large amount of corpses in one area, or in a building with waist-high furniture, or behind a waist-high fence. To prevent this, dispose of bodies properly, either through interring them in a shallow grave (5 to a plot), or incinerating them on a campfire. It's recommended to pile up all the bodies in one spot before lighting the campfire, so you don't accidentally burn yourself, too. I don't know if a molotov will work as an effective means of corpse immolation, but it's worth a try. Lesson 14: First Aid Crash Course Eventually, you're going to get hurt. Whether it's from getting attacked by zombies, getting shot, or hurting yourself, you'll eventually have to perform some first aid. You'll know you're taking damage when the little heart icon on the left side of your screen starts to shake. You'll also start to drip fresh blood onto the floor. You can click this icon, or press H as the hotkey, to open the Health tab of your status menu. From the health screen, you'll be given an overview of whatever injuries you've accumulated, bandages you're wearing, and a bar representing your overall health. As you gain more levels in the First Aid skill, you'll get more detailed information on the types and severity of wounds you've received, but even at level 0, you'll know when you've got a scratch, a fracture, or a bite, and you'll be able to treat it accordingly, provided you have the resources to do so. You can also access the Exercise menu from here. To treat a wound, right-click on the red text and select your method of treatment. Different wounds respond better or worse to different treatments, and your choices in treatment will be one of several factors dictating how quickly the wound will heal. Any bandage will eventually become dirty, as noted on the health status screen, and will need to be changed. Failing to change bandages in a timely manner will increase the risk of infection (not the zombie infection). Be aware that you will bleed out and lose health until the wound is bandaged again, so sometimes, you'll have no choice but to endure a dirty wrapping. Wounds on your limbs are the most common and arguably least serious, depending on how much you're bleeding out. Of particular note are injuries to the neck, even the most minor of which will cause rapid blood loss and require immediate attention. In the worst case scenario, you can rip up your clothes and wrap the wound with your filthy socks. It'll stop you bleeding out, but you'll need some actual medical attention sooner, rather than later. In most scenarios, you'll have some alcohol wipes and adhesive bandages on hand. These can be found in most vehicle glove boxes and residential bathrooms. Every packet of alcohol wipes contains several individual wipes, and so can be used several times, condition stat permitting. Disinfecting a wound with alcohol wipes, bourbon, or a bottle of disinfectant will help prevent it from becoming infected (not zombie-infected). Infected wounds will take longer to heal, and may cause illness moodles (Starting at Queasy and building up to Fever, which slowly drains health and will eventually kill you). Adhesive bandages are extremely lightweight, but are not reusable, like normal bandages. It's good to keep a few in your bag or main inventory, along with some alcohol wipes. The next level up is your average, run-of-the-mill bandage. These weigh about as much as an adhesive bandage, and are reusable, but are harder to find. They function about as well as adhesive bandages, except when they are removed, a "Dirty Bandage" item is added to your main inventory. These can be cleaned with whatever water container you might be carrying by right-clicking the dirty bandage and selecting "Clean Bandage." These bandages can also be sterilized, for additional health benefits, by right-clicking on any container of hot water and selecting "Sterilize Bandage." (I think it can also be done with bourbon and bottles of disinfectant, but I don't remember, offhand). Occasionally, you might have some objects embedded inside your body in a way that is neither fun nor consensual. These objects are usually bullets or bits of glass, such as from vaulting through a broken window before removing the glass in the frame. Wounds with embedded objects can be bandaged like normal, but won't heal until the embedded object is removed. You'll need a pair of tweezers or suture needle holders to pull them out. (I don't know if you can do it with your bare hands - I haven't had a wound like this yet). Deeper wounds, called lacerations, will require stitches. This can be done with any ordinary sewing needle and some thread, but will cause less pain if you use actual suture needles. The process is further simplified with a pair of suture needle holders. Finally, broken bones will cripple any survivor that jumps from too great a height or crashes at too fast a speed. Arm and leg fractures can be stabilized with a splint (which must be crafted by the player - Check the crafting menu), but skull fractures cannot be treated. In either case, the only way that the fracture will heal is with time, as with any other wound. Fractures can take weeks or months to heal, depending on how well-fed and well-rested you are, so try not to get any. Burns are treated like any other wound, but they'll also take forever to heal, and need frequent bandage changes. Surgical gloves are labeled as "First Aid" items, but are worn like apparel. I don't really know how useful they are, at present. Also important to note: Being severely overencumbered will gradually reduce your health, but only by about 25%, before it stops. It's still not great, but you don't have to panic about getting that fifth refrigerator back to your safehouse before it kills you. As far as I know, according to the wiki, if you are injured by a zombie, scratches have a 5% chance to infect you with the zombie virus, lacerations have a 25% chance, and bites have a 100% chance. These probabilities can be tweaked or turned off in the Sandbox menu. No matter what anybody says, there's no shame in playing with zombie infections turned off. It's your apocalypse. Have it as easy or as hard as you want...You're still going to die, eventually, anyway. Next thing to know about is drugs. If you're not running any mods, there are six different drugs: Antibiotics, Antidepressants, Beta Blockers, Sleeping Pills, Painkillers, and Vitamins. Taking one pill will usually have effects in a few hours, taking two pills will have effect in about one hour, and so on. Antibiotics are the hardest drug to find, and I don't have a lot of experience with them, at time of writing. I would assume that they help reduce illness moodles, such as you might pick up after eating bad food, drinking tainted water, or getting an infected wound. As far as I know, you can't overdose on antibiotics. Antidepressants do just what they say: They reduce your depression moodles. Depression is picked up as a result of your boredom moodles. Higher boredom increases your chance of worsening depression. High depression can affect your play. You cannot overdose on Antidepressants. Beta Blockers reduce your anxiety moodles. Having high anxiety will negatively impact your gameplay. You cannot overdose on Beta Blockers. Painkillers reduce your pain moodles. As of time of writing, you cannot overdose on painkillers. I don't know if taking them with alcohol will have any effect, but I don't recommend it. Sleeping Pills increase your tiredness moodle. This is useful if you need to get onto a better sleep schedule, or if you're in too much pain to get to sleep. You can definitely overdose on sleeping pills, and taking them with alcohol will kill you. Taking two pills to get back to sleep immediately will be okay, though. Vitamins temporarily reduce your tiredness moodle, allowing you to fight or scavenge for longer without the reduction in awareness. If you get too tired, you'll find that your melee attacks do almost no damage at all, and you can't shoot to save your life. If you like drugs and playing with infections, but having an easier time of it, I recommend the "CDC Response" mod, which includes viral tests and drugs that delay zombification. It also includes rare drugs that can cure players infected with the zombie virus. Lesson 15: Radios Throughout Knox County, you'll find a variety of televisions and radios in houses, businesses, and cars. In many of these circumstances, they may already be on, in which case you'll probably "hear" them before you see them (unless you're deaf). For a long-term safehouse, it's preferable to get a T.V. that can play V.H.S. tapes, and a radio that can play C.D.s (the red ones, usually). You might also want to grab a walkie-talkie, if you get the chance, especially if you're on a multiplayer server. Walkie-talkies clip conveniently onto your belt, and like all radios, can be manually programmed with all the radio stations you've discovered. You may also want to grab a H.A.M. radio, if you happen across one - Or build one, if you really want to. Be warned, though, H.A.M. radios are pretty heavy. When you open a device's interface and turn it on, there will be a volume setting. It is in your best interest to turn this setting down to one, as the noise can and will attract zombies. Ever notice how buildings with the T.V. on and blaring always seem to have broken doors or windows? There's a good reason for that. Most radios and walkie-talkies are compatible with headphones and earbuds, which can be dragged and dropped onto the square to the right of the volume controls to attach. Headphones and earbuds make the device silent to everyone but the user(s), including zombies. Whenever you find a radio, check its drop-down menu of pre-programmed stations (don't forget to click "tune in" to actually change to that station). Some radios won't have any, but most will have at least one or two. Most radio stations are on the same frequencies from game to game, but keep an eye out for the "Automated Emergency Broadcast System" frequency. This is arguably the most important radio station in the game, and its frequency is different for every game, so write it down, if you have to. The A.E.B.S. will broadcast every hour, on the hour, with the weather report for that day, and the next day. It will also provide warnings for incoming thunderstorms, power failures, and "air activity." Being entirely automated, these broadcasts will continue indefinitely, long after all other stations have gone dark. If you don't have the patience to find all the radio frequencies yourself, they are available on the wiki. Mods to add more radio stations, and to organize and remember the ones you've found, are also available on the workshop. Higher quality radios will have more frequencies available to them. The best walkie-talkies, "Tactical Walkie-Talkies," can usually be found in police stations, police cruisers, and on zombified police officers. Other walkie talkies can be found in houses, stores, and rarely on zombies. Conventional radios can be found just about everywhere, but if you have a screwdriver, you can take a cheap one out of almost any car for use elsewhere. H.A.M. radios can be found in army bases and in the backs of news vans. They can also be crafted, but the resulting homemade appliance will only be able to receive broadcasts, whereas scavenged ones can also transmit. Military H.A.M. radios have the most available frequencies in the game. At time of writing, I don't know how to transmit over radio; I have not yet played multiplayer. Lesson 16: Closing Time There are four main ways to keep zombies from breaking down your doors and windows: 1) Barricade the entrance with wooden planks. This uses your Carpentry skill, but is available even from Carpentry level zero. You will need 1-8 wooden planks and 2-16 nails, and a hammer that is suitable for driving nails. With the necessary items in your inventory, right-click on the door or window and select "Barricade With Planks." You can put up to four planks on either side of the entrance, with more than two planks on either side blocking vision through that entrance. This is the most common means of blocking entrances, and can be removed with a crowbar or with a claw hammer (called just "Hammer," in-game, don't try it with a ball-peen hammer). 2) Barricade the entrance with metal sheets or bars. This requires a propane torch, a welding mask, some welding rods, and either four metal rods or one large metal sheet. With the aforementioned in your inventory, right-click the door or window and select "Barricade" with whatever option you prefer. Barricading with metal sheets or bars can be done at Metalworking level zero, and is more secure than wooden plank barricades. Metal barricades can also be placed on both sides of the entrance. Metal bars will permit the entrance to be seen through, while metal sheets will not. This is a better late-game means of securing a safehouse. 3) Block the entrance with furniture. Subject to change, but as of time of writing, you can build or move a tall bookshelf in front of a door or window, and it will prevent zombies from getting through. This doesn't seem to work with any other appliance, such as refrigerators, but I haven't tested it, personally. 4) Block the entrance with a car. It's a well-known strategy in the Project Zomboid community that a door or window can be effectively blocked by parking a car in front of it. You'll have to be right up against it, but if you need to switch to another seat to get out of the car, it should be okay. If you're parked too far away, zombies will try and crawl under the car to get to the other side (probabilities of zombies doing this can be tweaked in the Sandbox menu). At time of writing, I don't know any way to repair or barricade overhead garage doors. Best I can say is to keep them locked when you want them locked, and put up some constructed walls, if they get torn down. Maybe in the future, they'll be able to be constructed. Lesson 17: Achieve Verticality If you have a safehouse with two or more floors, or you're exploring a similar building, you'll want a quick means of egress in case things go south. Depending on your Athleticism, you might survive a drop from a second or third floor window and manage to hobble away, but it's not ideal. You should always keep a sheet rope handy, if you need to make a quick escape from an elevated position. If it's just for your safehouse, you won't need to carry it with you all the time, and you shouldn't leave it hanging out of a window all the time because zombies can destroy it, so just leave it in a container or on the floor near the window you intend to escape through. It's good practice to have several designated escape windows, with their own sheet ropes, in case things go even further south. Keep the door to whatever room that egress window is in, so you can buy yourself precious seconds to escape. To use a sheet rope, you'll need to first craft it from any random clothing lying around. You'll need to craft two "units" of rope for every floor you intend to traverse. You'll also need one nail and a suitable hammer to secure it. Once crafted, click on any elevated window, open or closed, and select "Add Sheet Rope." Once added, the window can be opened or closed as normal, and attempting to vault through that window will instead cause you to descend the rope. Note that traversing a sheet rope might force you to automatically drop handheld bags, like climbing a tall fence (I haven't tested it - I suggest you do). You can also climb a sheet rope to get back into any window, so long as the window is still open, by approaching it and pressing E. If the window isn't open, you'll climb right back down again. Some players use this strategy to permanently secure upper floors by destroying staircases with a sledgehammer, and making sheet ropes their exclusive means of entrance or exit from their safehouse. Just remember that if a zombie destroys your last sheet rope, you might be locked out of your safehouse until you can build stairs and get back in. Sheet ropes can also be attached to player-constructed walls with windows. This Is How I Died Found A Bug: I was experimenting with sheet ropes at the Twiggy's Bar in West Point, and hung one out the window over the main entrance. The main entrance had a sort of porch over it, and while descending the rope, I clipped through it and ended up inside the building, on the ground floor, rather than outside. I suppose this might work with other buildings with windows over porches or awnings, but I haven't bothered to try. A savvy player might be able to use this bug to their advantage, were they able to replicate it. Lesson 18: Keeping A Good Zombie Down If you hit a zombie enough times, there's a good chance they'll eventually fall down. In addition to rendering them mostly harmless for a few seconds, it gives you the opportunity to get a few extra attacks in, shift your focus to more pressing matters, or run away. In the case of the former, you can take a little extra precaution against your target getting up by taking a few steps forward and standing on their chest. As long as you're standing there, no matter how much you have to wail on that corpse to de-animate it, the zombie will be essentially neutralized and totally defenseless. This also applies if you can coerce another zombie into walking on top of one that has fallen, and keep it there (such as by stunning it with repeated melee attacks). This acts like an extra hand, keeping one zombie out of your way while you deal with another. You can also pin zombies to the ground by parking on top of them. Just be careful of zombies that have fallen onto their fronts, as they may try to crawl after you, instead. Crawlers should be handled with the utmost care, and their distance from you carefully calculated to ensure a clean hit, to prevent taking a hit. Lesson 19: Time For You To Get A Damn Wa-! The digital watch. Stylish, functional, convenient, and surprisingly essential for survival. Unlike analog watches, a digital watch will tell you the time, the date, the temperature where you're standing, and you can set an alarm on it, which will wake you from sleep. All this information will be displayed in the top-right corner of your screen as soon as you equip a watch (or any other time-telling device, such as an alarm clock). Digital watches come in a variety of styles (I personally prefer the red one), but all are functionally identical. You can wear two at once, one on each wrist, if you are so inclined, allowing you to set two alarms. Watches of all kinds can most easily be found on zombie corpses, but also in clothing stores. To equip a watch, right-click on it and select "wear," then choose which wrist you want to wear it on. It will appear on your survivor's model. To set the alarm on a watch, right-click it and select "set alarm." Choose what time you'd like the alarm to go off, and tick the box underneath to set it. Keep in mind that the interface is military time, so afternoon hours will be those greater than 12. When the alarm goes off, you can deactivate it (retaining the alarm setting to go off the next day) by right-clicking the watch in your inventor and selecting "stop alarm." The easier way to do it, though, is to click the ringing bell icon on the right side of your time display, in the corner of the screen. This will silence the alarm. If you click the bell again, it will disappear - This means the alarm is deactivated entirely. Click the space again to turn it back on. If the alarm goes off for 30 in-game minutes without being turned off, it will silence automatically. When killing zombies, be aware that some will have watches on, and some of those will have alarms set. Zombies can definitely hear the noise, and will be attracted to it. Also worth mentioning is that if that watch is too close to you while you're trying to sleep, it will wake you up, just like an alarm clock you didn't realize was in your safehouse. Disassembling wrist watches with a screwdriver will provide a minuscule but reliable amount of experience toward the Electrical skill. This game actually convinced me to buy a cheap LCD wristwatch, and while wearing it took some getting used to, I've found it to be an indispensable part of my everyday carry. Lesson 20: One Man's Stash... You may have happened upon random buildings that look different from the rest. There are boards on the ground floor windows, sheets over the upper floor windows, and the door itself might even be boarded. These are called Survivor Houses, and are an important resource, if you can find them. Survivor houses are usually fairly difficult to get into, especially without a crowbar to remove wooden barricades. There's a high chance of there being at least a few zombies inside, which may, themselves, be wearing or carrying valuable loot like large backpacks and weapons. Don't feel too bad about killing them; nobody smart enough to have been in their position would want to have their corpse walking around attacking people like that; It's undignified. Once you've cleared the house, check every single container. You'll find loot you've never dreamed of, such as rare weapons, rare clothing like gas masks or armor, and an abundance of canned food. You'll find food and weapons in the bathroom medicine cabinet, shotguns in the garage, and more food than you can carry away in one trip. If you want a head start early on in your adventure, you might consider moving into an existing survivor house. They're already fairly well fortified, the windows are covered, and you've got enough supplies and weapons to last days to weeks, depending on the size of the building and number of containers within. Much like the stately hermit crab, nobody will fault you for finding a home that's a little better than the rest. If you can't get into or loot the survivor house when you find it, it's a good idea to mark it on your map. I usually use the symbol that looks like a cage or a prison cell, since the fallen survivor zombies are trapped inside. Lesson 21: Prioritize Your Supplies When you start off on your (futile) efforts at survival, you'll have a lot to do: Find food, water, shelter, weapons, medical supplies, train your skills and body, and find some way to survive the winter before the power (and heating) goes out. Most importantly, you'll need to find a reason to keep going. You'll need some manner of goal to keep you from rushing to your doom out of sheer boredom. For this, I have put together the below list of priorities for different stages of the game. This is a very general list (i.e.: How I play), and you may have different priorities depending on your situation, active mods, your playstyle, and the resources available to you. Following this, though, will at least help put you, as a new player, on the right track. The Very Start (Day 1-3) -Find a water bottle and never let it leave your inventory. -Find some way to defend yourself (better check the kitchen, garage, closet, or shed for a weapon). -Find a can opener and never let it leave your inventory. -Find a digital watch and never let it leave your inventory. -Find one or more writing instruments and an eraser and never let them leave your inventory. -Find some sort of bag (a garbage bag will work well, equipped as a secondary). -Find a working television and turn its volume to minimum. Make sure to catch as many Life & Living programs as possible. -Pick out a location as a temporary/permanent safehouse. -Cover all safehouse windows and doors with sheets and turn out all the lights, to avoid attracting attention. -Move as much perishable food from fridges to freezers in every house you visit. -Find enough food for a few days. -Scout out the immediate area and take note of where things like skill books, usable cars, food caches, and tools are. On Your Feet (Day 3-7) -Find a drivable car. -Find a First Aid Kit or Satchel. Keep some bandages, alcohol wipes, suture needles, etc. on in it, in your bag. -Find at least 1 fanny pack to keep your pens, eraser, and lighter in. -Find a flashlight or hand torch and keep it in your bag. -Find a screwdriver and keep it in your bag. -Find a walkie talkie and the AEBS frequency. -Organize at least one dedicated container in your safehouse to store your nonperishable food. -Find a hammer, saw, and nails and begin barricading your safehouse windows (Alternatively, use metal and a propane torch). -Find a proper melee weapon, such an a fire axe, crowbar, nightstick, or hunting knife. -Seek out, collect, and start reading low-level skill books and recipe magazines. -Find some earbuds or headphones for your walkie talkie. -Raid your nearest police station and/or vehicles for weapons and equipment. Grab a tactical walkie talkie. -Find some nice clothes. :) -Find a proper backpack (School backpack or better). -Find a JS-2000 Shotgun (preferably sawed off). -Continue watching Life & Living programs until they stop playing. -Seek out and note your nearest gas station on your map. Off And Running (Week 2-3) -Level Carpentry, Foraging, Mechanics (to at least 2), and Electrical (to at least 1) when you get the opportunity. The sooner you can hotwire cars, the better. -Maintain the maximum bonus in all skills from skill books at all times. Skip sleeping, if you have to. -Seek out and establish a new safehouse, if desired. -Seek out any missing recipe magazines at bookstores and schools. -Seek out a better backpack (Duffel bag or better). -Level at least one weapon type to Lv. 2. -Seek out and recover a working generator and "How To Use Generators" magazine. -Repeatedly load and unload a shotgun or revolver to level Reloading to at least Lv. 2 or 3. -Use park-and-shoot tactics with a shotgun from a car to level Aiming to at least Lv. 2 or 3. (More might be added to this section in the future.) Lesson 22: Inventory Management Project Zomboid's inventory interface (as of Build 41) takes a little getting used to. You can click and drag items from one list to another, sure, but that takes time - And in the Exclusion Zone, time is often in short supply. Fortunately, there are a handful of shortcuts that can make transferring items easier, and save precious clicks and seconds: 1) While looking at items outside of your inventory, such as in a container or on the ground, you can double-click them in the inventory interface to automatically add them to whatever personal inventory screen you have open. This includes your main inventory and any bags you might be holding; Whichever you have "active" will receive the items, provided you can accommodate their weight. If you try this with a stack of the same item, you'll pick up as many as you can carry. 2) You can right-click loose items in the world and select them under "Grab" in the context menu. It's not ideal, but it works. If there's a stack of items close together, you can use this method to pick out something specific. 3) While near a container that you are not carrying, such as a crate, closet, or a bag on the floor, you can right-click items in your personal inventory and select "Transfer (item) to (container)" to do just that. Just make sure you have the correct target container selected, or you might transfer valuable loot into a zombie corpse instead of the truck of your car parked on top of it. 4) You can click and drag a selector window in the inventory interface. Just make sure you don't start the click-and-drag on an item that's already selected, or you'll just select and move that specific item with the cursor. 5) Much like in the Windows interface, you can select numerous items in an inventory interface by clicking one item, then shift-clicking another. This will highlight those two items and all the items between them. Useful for moving large quantities of loot. You can also pick and choose items by ctrl-clicking items throughout the list. Each ctrl-click will highlight that item without deselecting any of the previous items. You can also use it in reverse, ctrl-clicking highlighted items to deselect them again. Likewise, you can press ctrl-A to select all items in that window. Once the items you want are selected, you can click and drag or right-click transfer them where you want. 6) At the top left of each inventory list are buttons that appear when applicable, which say "Loot all" and "Transfer all." These buttons will grab all items from the non-personal container and put them in the selected personal container, and vice-versa. Quick and easy.
我学到的教训

2026-02-13 09:03:42
转载

导读
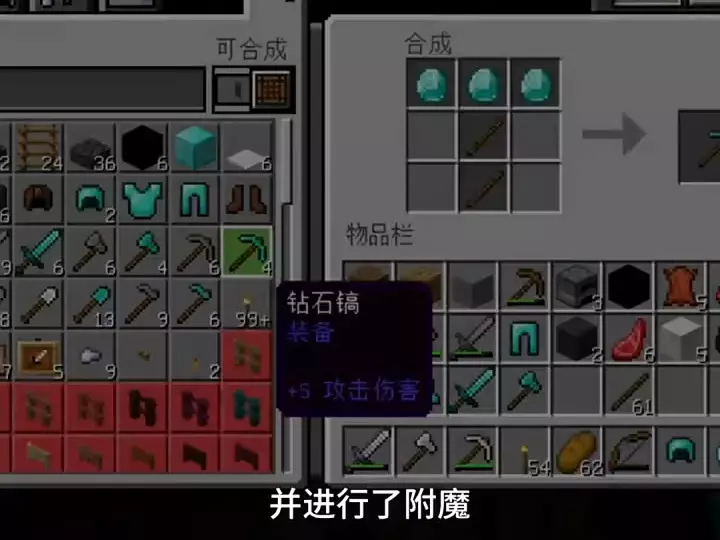
这是一篇《僵尸毁灭工程》的新手生存攻略,作者分享了22条自己踩坑后总结的生存技巧,涵盖动作操作、丧尸应对、物资管理、技能提升、安全屋搭建等多方面,比如低运动能力时按E安全翻越矮栅栏、远离翻栅栏的丧尸、合理利用时间暂停功能等,帮助新手规避失误,提升生存几率。

评论
共0条评论

[B41] 野生动物与狩猎
今天你将了解《僵尸毁灭工程》中关于小型动物狩猎的一切。诱饵:老鼠——奶酪、花生油、培根碎、巧克力、橙子、苹果、西红柿。
2026-02-13 09:030赞 · 0评论

《僵尸毁灭工程》怎么玩?1500小时玩家灭绝挑战生存攻略,萌新入门教学指南
纭宇的游戏实况 祝大家看的开心 本期带来《僵尸毁灭工程》的深度攻略!作为一名1500小时的资深玩家,我将分享如何在灭绝挑战模式中生存下来。游戏名字:僵尸毁灭工程…
2026-07-03 01:150赞 · 0评论
《僵尸毁灭工程》新手入门与进阶指南 [B41]
本指南将教你如何创建世界并实现长期生存。 新手入门 在阅读本指南前,请记住这并非适用于所有人的玩法,仅旨在帮助部分新手了解需要做什么。如果你有任何建议,欢迎提出…
2026-03-27 04:000赞 · 0评论
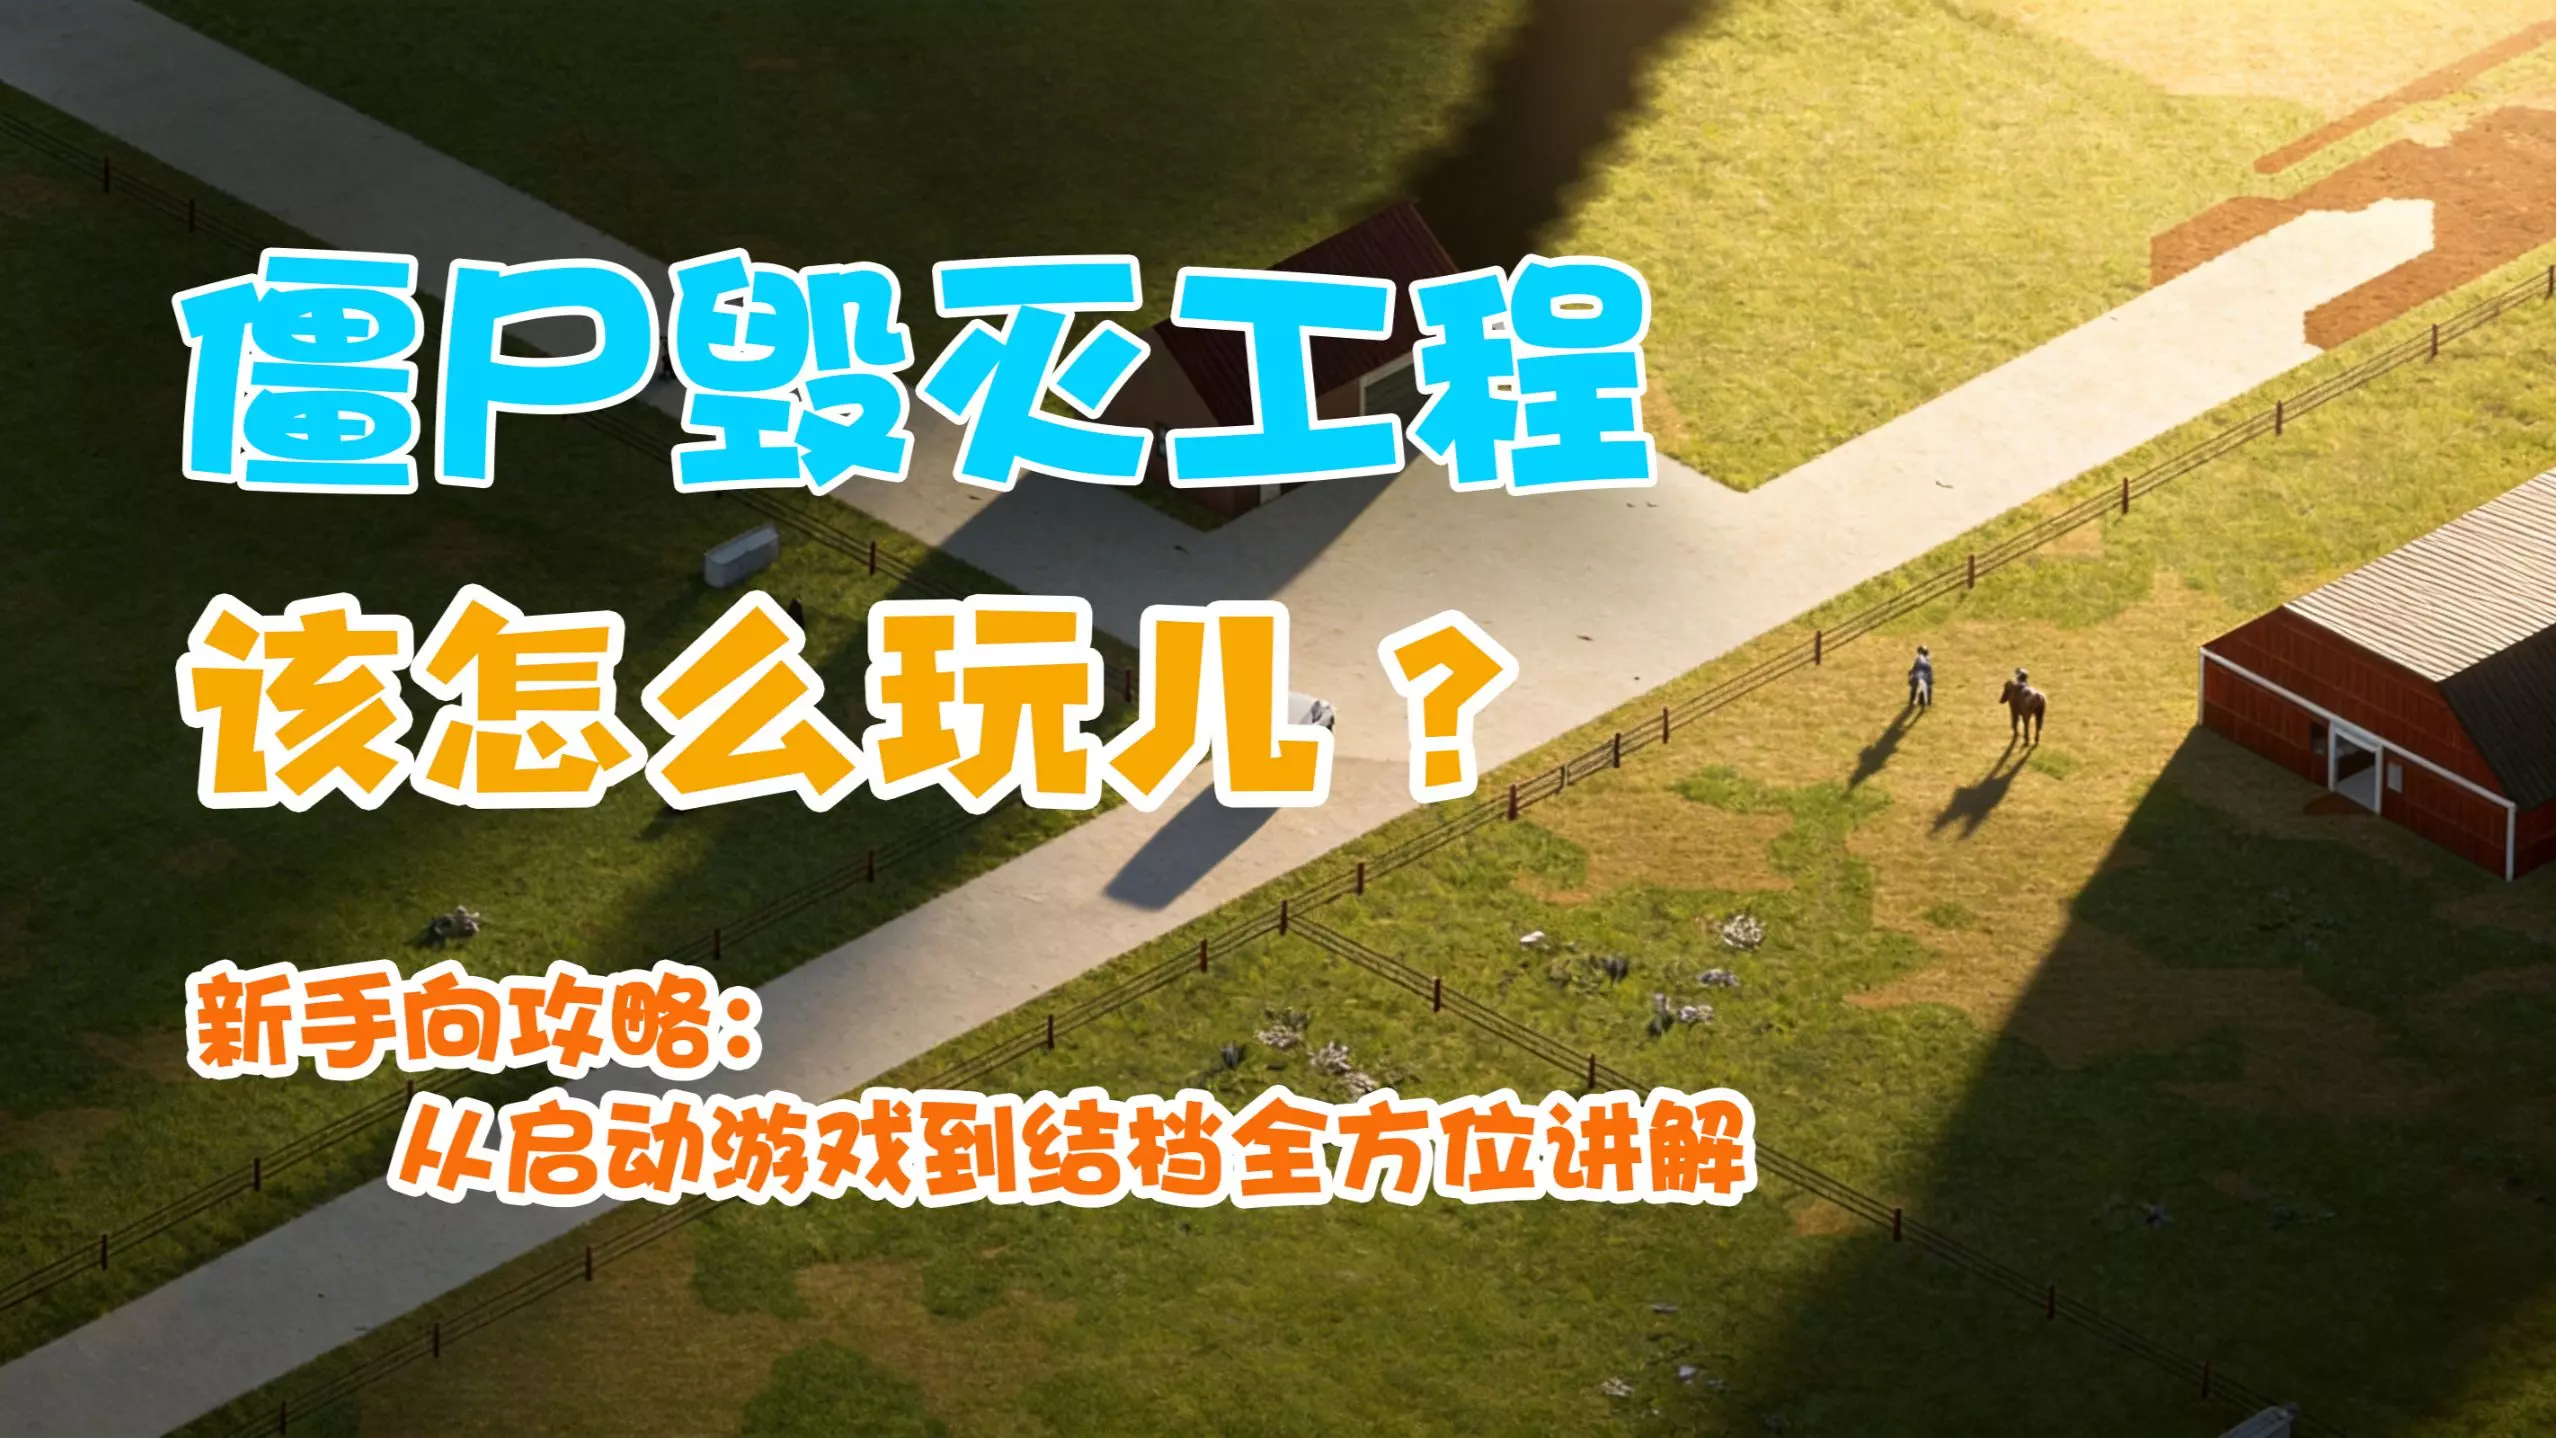
僵尸 【僵尸毁灭工程】入坑新手向从启动游戏到结档全方位讲解-B42版本攻略
本视频为新手向入坑僵尸毁灭工程全流程解析,从如何启动游戏到沙盒设置以及如何在僵毁的世界中生存下来,都做了一个讲解,为的是像我一样的萌新能够搞懂这游戏该怎么玩
2025-10-08 09:550赞 · 0评论
《求生之路2》沙盒模式怎么玩?僵尸毁灭工程河畔镇新手攻略,真的是温柔乡吗?
-
2026-06-14 13:060赞 · 0评论
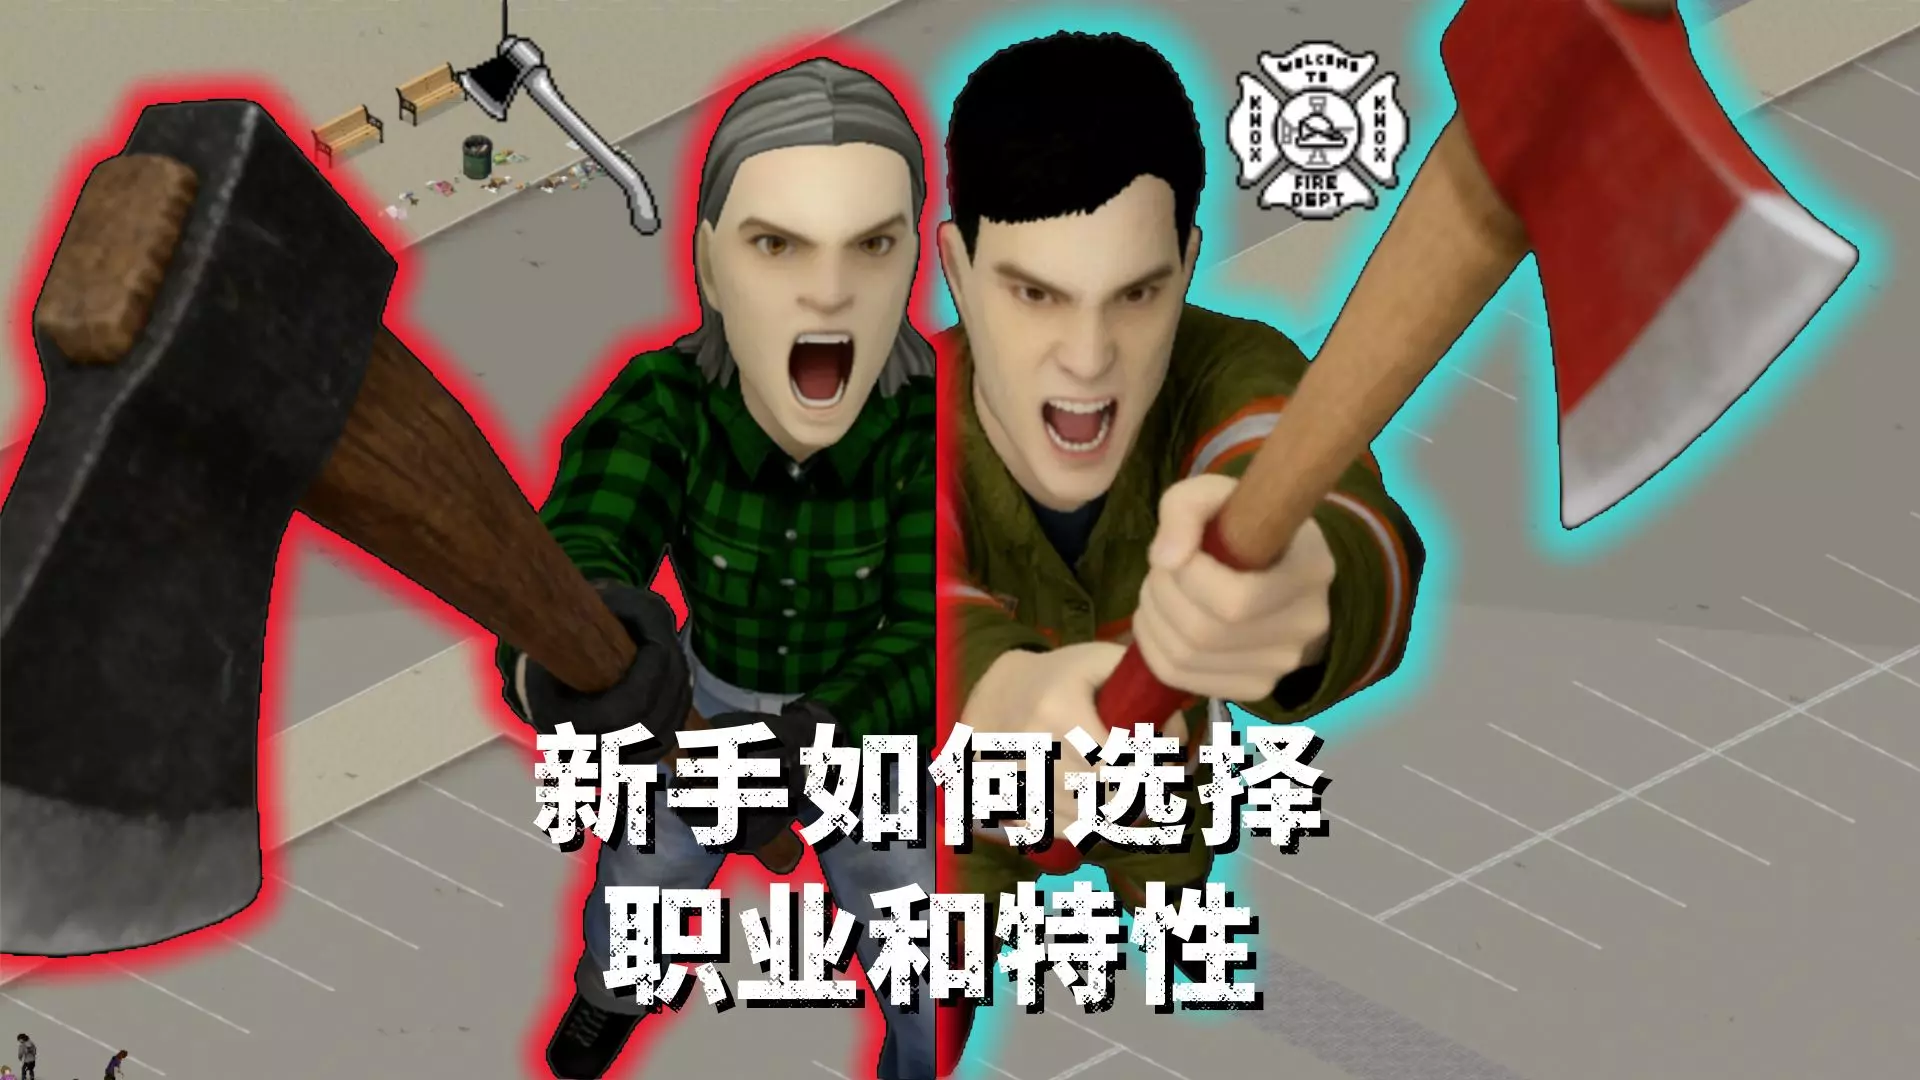
沙盒游戏 《僵尸毁灭工程》新手如何选择职业和特性搭配呢?
(新手向)本视频来分享一下新手朋友如何选择职业和特性,分享我自己的经验,不代表绝对正确仅供参考。
2026-02-09 22:120赞 · 0评论
《猛鬼宿舍》怎么玩?恐怖宿舍生存技巧,新手入门攻略详解
-
2026-07-02 05:370赞 · 0评论

《地球末日生存》新手怎么玩?孤岛求生从零开始攻略,生存技巧与资源获取指南
-
2026-06-30 13:050赞 · 0评论
《深海迷航》新手怎么玩?30分钟超长视频详解生存技巧与剧情攻略
《深海迷航》新手入门必看!30分钟超长视频详解游戏玩法、生存技巧与剧情攻略,带你快速上手,探索神秘海底世界。
2026-06-30 02:380赞 · 0评论

《我的世界》新手怎么玩?第一次生存模式入门指南与开局攻略
-
2026-06-29 09:130赞 · 0评论
暂无更多
最新更新
- 《僵尸毁灭工程》Build 42.18.0 不稳定版已发布 — 《僵尸毁灭工程》更新内容 和往常一样,建议您在更新后创建一个无模组的新存档。更新会修复漏洞并引入新的改动,这些可能与旧存档不兼容,尤其是那些早于上一个补丁的存档…
- 春天来了 — 五月快乐,幸存者们!很高兴看到你们成功熬过了冬天。
- 《僵尸毁灭工程》Build 42.17.0 不稳定版已发布 — 一如既往,建议你在更新后创建一个无模组的新存档。更新会修复漏洞并引入新的改动,这些可能与旧存档不兼容,尤其是早于上一个补丁的存档。 如何订阅不稳定测试版分支? …
- 地段,地段 — 《僵尸毁灭工程》42.17不稳定版更新内容 各位幸存者,希望你们的避难所能为你们遮风挡雨、带来温暖! 我们计划不久后发布42.17不稳定版,其中包含一些新的沙盒…
- 慈善周边更新 — 大家好! 感谢《僵尸毁灭工程》社区的大力支持,我们成功筹集到了超过18万美元(美元),用于支持无国界医生组织开展卓越且重要的工作!此外,我们的周边合作伙伴Mak…
- 修复零日漏洞 — 4月7日,我们收到了多名用户的报告,称有一个模组在运行时涉嫌生成恶意代码。我们立即对该模组展开调查,发现其包含高度混淆的代码,并确认它会在《僵尸毁灭工程》目录外…
- 《僵尸毁灭工程》Stable(41.78.19)及UNSTABLE(42.16.3)热修复补丁发布 — 《僵尸毁灭工程》稳定版(41.78.19)更新内容 1. 安全漏洞更新 《僵尸毁灭工程》不稳定版(42.16.3)更新内容 1. 修复服务器浏览器中的异常问题 …
- 《僵尸毁灭工程》42.16.2 不稳定版热修复补丁发布 — 《僵尸毁灭工程》手柄与控制优化内容 1. 右键不再因与右键菜单冲突而切换强制瞄准。现在会稍作延迟再激活,以避免右键菜单弹出。 2. 手柄与用户界面及载具的交互优…
- 炖肉荞麦饭 — 小米粥搭配炖猪肉和炒洋葱一起煮。小米事先用黄油煸炒,这样煮出来的小米粥松散又香浓。试试用新方法做肉小米粥吧! 食材(3人份) 猪肉 - 300克 小米 - 18…
- 《僵尸毁灭工程》42.16.1 不稳定版热修复公告 — 《僵尸毁灭工程》修复公告 温馨提示:感谢大家反馈最新补丁中的控制器问题及漏洞!我们已记录所有反馈,虽然无法在复活节假期前完成所有修复,但相关工作已在进行中,将尽…