换一换
换一换 


欢迎来到我的《装甲核心6:境界天火》全成就指南! 总成就数量:30个 // 预计全成就时间:约32小时 任务完成成就(12个) 第一章

非法入侵

爬墙行动

联系 第2章

海洋穿越 第三章

新威胁 查看S级播放列表中的【M23:袭击旧太空港】视频。

艾尔与珊瑚 第四章

深入未知领域 查看S级播放列表分类下的【M29:地下探索 - 深度3】视频。

再教育 查看S级播放列表部分下的【M32A:抵达珊瑚汇聚点】视频。 第五章

失踪 查看S级播放列表分类下的【M35C++: MIA】视频。

浮空城 查看S级播放列表分类下的【M34:占领无人浮空城】视频。

【观星者】 完成所有任务。 共有59个独特任务,至少需要3周目才能解锁。首次游玩(一周目)时可随意选择任务,二周目选择与一周目相反或未完成的任务,三周目则专注于仅三周目可玩的任务。在下方的S级任务列表中,所有仅三周目可玩的任务都会在任务编号末尾标注++(例如:M10B++:阻止强制检查)。

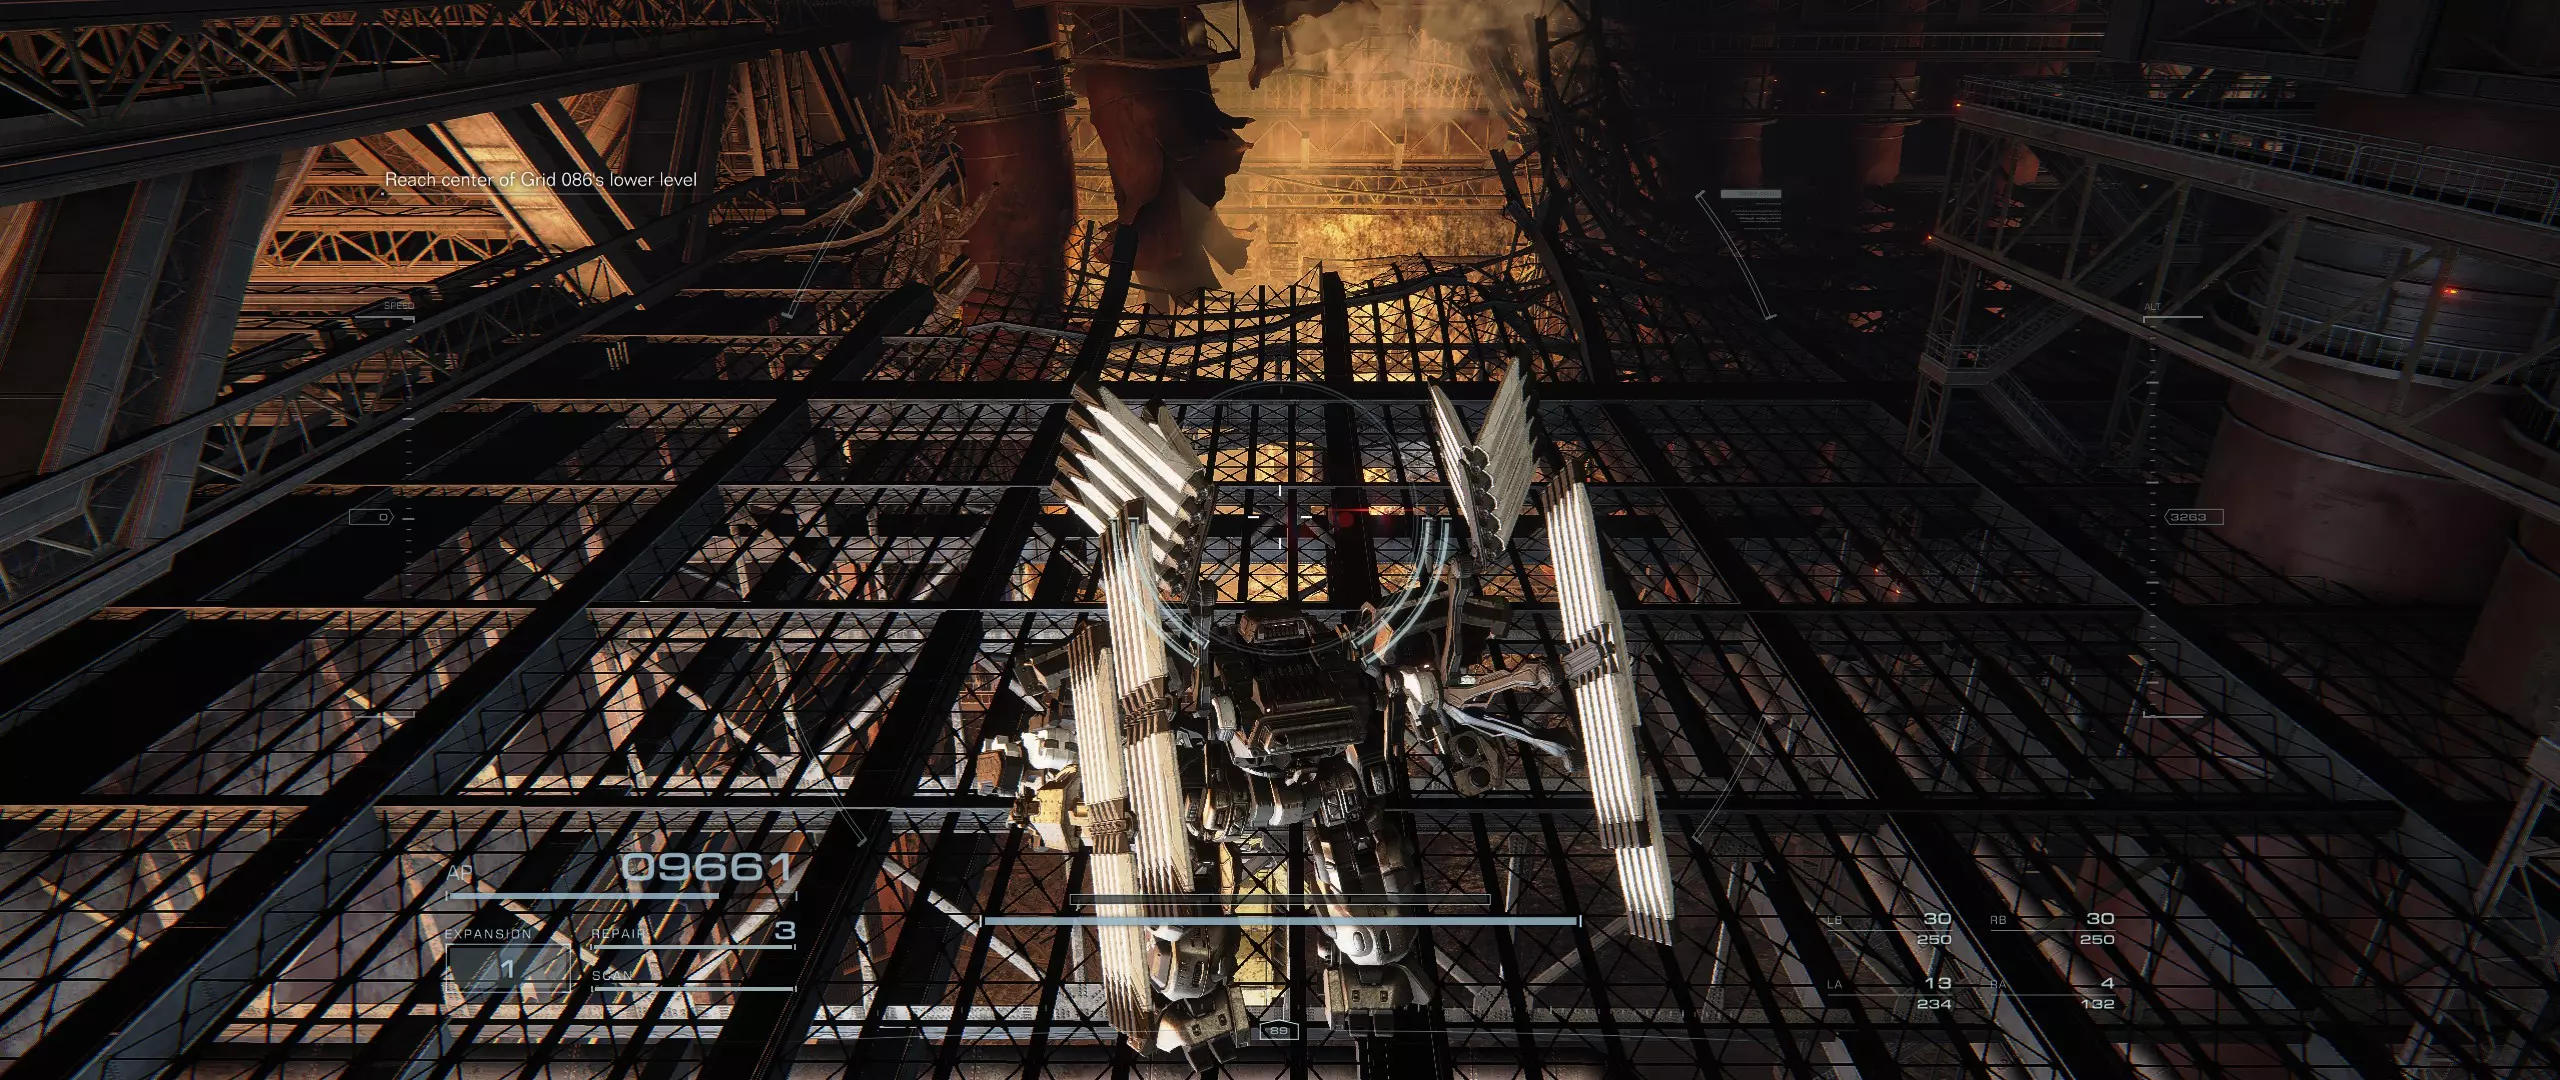
The Perfect Mercenary Cleared all missions with an S Rank rating. See the S-Rank playlists below. ↪ S-Rank Playlist CH1 (M01-M11B++) Getting S-ranks in missions mostly requires speed. Conserving ammo and minimizing damage taken is helpful, but comes second to clearing objectives with a sense of urgency. Here I'll post S-rank mission videos (plus context when applicable). If I don't have any videos for certain missions for any reason, I'll get permission from someone to share their footage. M01: Illegal Entry M02: Destroy Artillery InstallationsI suggest equipping the LR-306 CURTIS (obtained from the Beginner Training 2) for the mission so you don't have to wait for your melee cooldown to one-shot the Artillery Installations. M03: Grid 135 Cleanup M04: Destroy the Transport Helicopters M05: Destroy the Tester AC M06A: Attack the Dam ComplexYou'll shave off a bit of time if you scale the wall of ice on the left past the frozen lake. M06B+: Attack the Dam Complex (ALT)The + indicates that this mission is only availble in NG+ and above. Accepting the RLF's proposal in this mission will lead to other NG+ missions. I suggest accepting it ASAP. M07A: Destroy the Weaponized Mining ShipI didn't upgrade anything except for a new shoulder missile and the parts given to you for completing (training) Intermediate Support 1 available after clearing M07 for the first time. To save time while bee-lining the STRIDER as it fires the laser, you can sidestep during assault boost. If you are having trouble timing this dodge then just sidestep regularly outside of it. You'll want to start shooting the STRIDER's legs from under it as shooting the legs from the back does not deal any damage. Once it's down you can scale up the side and start with the left sub-generator so that you can do a loop upwards as you take care of all of them. There's 1 on each side and then 1 at the bottom and top. Just watch out for the eye's spread attack that activates while you're scaling the sides of the STRIDER. Finally, after finishing the generators, take cover and then proceed to assault boost your way to melee the eye as you missile spam and shoot your main gun. It's very easy to dodge the eye laser at point blank if you at least got the Booster and Generator freebies from training missions. Video Timestamps: Dodging the "eye laser" 00:30 STRIDER goes down at 01:16 Sub-generators: Left 02:36 Bottom 02:42 Right 03:12 Top 03:29 Destroying the eye 03:40 M07B++: Escort the Weaponized Mining ShipI used Earshots because the blast radius can kill 2 Helianthus for the price of 1 cannon shell. M08: Operation WallclimberWhen descending the first area, aim high so that you get as much freefall as possible. This will reduce the amount of rockets you have to dodge. After crossing the pit, keep low until ready to jump up the other side and take out the Gatling Cannons. After taking out the cannons, weave your way through the right side into the cluster of buildings for cover. Close the gap to the wall and use the jump pad to get elevation take out the turrets to the left and right of the BAWS Tetrapod MT. After this point, everything else before the boss is quick and simple. Save your melee weapon in the first room so you can take out 3 generic MTs that enter together. As for the boss, I really only came in with the same body parts (plus training upgrades) and the only upgrades I purchased up to this point were a bazooka and the first shoulder missile upgrade. While you have ally support, keep sidestepping behind the boss to stagger it with 2 heavy hits such as your blade and a bazooka shot. If you hit hard and fast enough, you'll get a few free seconds of V4 helping out before he mentions retreating at around 40-50%. When it's just you and the boss, it gets a bit trickier but without upgraded mobility, the best way to get behind the boss is to anticipate its dash and follow it halfway so you can close the gap faster and shoot behind it. I chose to use a bazooka alongside the blade because it allows me to focus on dodging as I work on closing the distance. Video Timestamps: Destroying the cannons 0:27 BAWS Tetrapod 0:45 HA-T 102 Juggernaut 02:48 M09A: Retrieve Combat LogsVery simple mission. Just keep in mind that the second last wreckage spawns a pesky enemy MT so it's better to leave that one for last before you ascend up the cave for the final combat log. M09B+: Prisoner RescueThe + indicates that this mission is only availble in NG+ and above. This mission is tied to choosing Accept during the mission M06B+: Attack the Dam Complex (ALT). M10A: Investigate BAWS Arsenal No. 2If you use a Bazooka for this mission, either set up a faster AC (to compensate score-wise for expensive ammo) or be thrifty with your extra ammo. Connecting with the energy blade and bazooka should be more than enough to kill everything except for the final melee mini-boss. There's no need to waste shoulder missiles for these stealth MTs and potentially lower your score in the process. M10B++: Obstruct the Mandatory InspectionThis mission is tied to picking the decision-mission Escort the Weaponized Mining Ship. M11A: Attack the WatchpointIf you wanna use Songbirds as shoulder weapons, I suggest fighting Sulla under/around the bridge to limit his verticality. Don't worry about connecting with your arm weapons, just use those to force Sulla to waste evasions as you try and land cannon shots. A lot of your damage will come from Assault Kicks to follow up during Stagger. The same thing applies when fighting Balteus. My attack rotation against Balteus: 2x Songbirds whenever you think you have a shot, (plasma gun then assault boost to kick) and repeat as many times until your next shoulder cannon attack(s). M11B++: Attack the Watchpoint (ALT)This mission is tied to picking the decision-mission Escort the Weaponized Mining Ship. ↪ S-Rank Playlist CH2 (M12-M14) M12: Infiltrate Grid 086Pile Bunker (PB) ftw. If you want the S-rank for this mission, don't be too close or too far from the boss when you unload the double Songbirds. If you are around the same distance as I am when attacking, it will immediately stagger the boss. From there, just open with an assault kick to close in (make sure you don't hit the boss' hands), a charged PB, charged Laser Shotgun, double SB again, and charged PB again for maximum stagger damage. I use the Laser Shotgun because the charge attack doesn't have a cooldown AND only costs 1 more ammo for more damage. Don't waste too much ammo on the mini-bosses that come before. Assault Kick and PB when you can. So far, this is the first mission I've encountered wherein clear time, ammo consumption, and health are somewhat strict. Loadout at 5:13 M13A: Eliminate the Doser FactionMelee: M13B+: Stop the Secret Data BreachThe + indicates that this mission is only availble in NG+ and above. This mission is tied to choosing Accept during the mission M06B+: Attack the Dam Complex (ALT). M14: Ocean Crossing ↪ S-Rank Playlist CH3 (M15-M26) M15: Steal the Survey DataKill the combat log enemy (armored tetrapod) on the way to the 2nd/3rd survey beacon to help with the S-rank. M16: Attack the Refueling BaseA few important notes may be helpful for the S-rank: Kill the LT just before the bridge. Destroy 3 sets of fuel tanks. 2x Combat Log Targets Fight the boss duo in a tight areaAlternatively: M17: Eliminate V.VIIBring something to cancel out pulse defenses since V.VII keeps deploying shields.Alternatively: M18A: Tunnel Sabotage M18B+: Prevent Corporate Salvage of New Tech M19A: Survey the Uninhabited Floating City M19B++: Survey the Uninhabited Floating City (ALT) M20: Heavy Missile Launch Support M21A: Eliminate the Enforcement Squads M21B: Destroy the Special Forces Craft M22: Attack the Old Spaceport M23: Eliminate "Honest" Brute M24A: Defend the Old Spaceport M24B+: Defend the Dam Complex M25A: Historic Data Recovery M25B++: Coral Export Denial M26: Destroy the Ice Worm ↪ S-Rank Playlist CH4 (M27-M32B++) M27: Underground Exploration – Depth 1 M28A: Underground Exploration – Depth 2 M28B+: Underground Exploration – Depth 2 (ALT)This mission is tied to choosing Accept during the mission M06B+: Attack the Dam Complex (ALT). M29: Underground Exploration – Depth 3 M30A: Intercept the Redguns M30B: Ambush the Vespers M30C++: Eliminate V.III M31A: Unknown Territory Survey M31B+: Unknown Territory Survey (ALT) M32A: Reach the Coral Convergence M32B++: Reach the Coral Convergence (ALT) ↪ S-Rank Playlist CH5 (M33-M37C++) M33: Escape M34: Take the Uninhabited Floating City The Fires of RavenSelecting 'Intercept the Corporate Forces' will set you on the path to The Fires of Raven ending.M35A: Intercept the Corporate Forces M36A: Breach the Kármán Line M37A: Shut Down the Closure Satellites Liberator of RubiconSelecting 'Eliminate “Cinder” Carla' will set you on the path to Liberator of Rubicon ending.M35B: Eliminate “Cinder” Carla M36B: Destroy the Drive Block M37B: Bring Down the Xylem Alea lacta EstThis path/ending is only availble on NG++ and beyond. To get this ending, make sure to select any NG++ missions. Assuming you've done all available missions between your first 2 runs, then NG++ missions should become available without issues. Basically, pick whichever missions you want in NG and then pick the opposite of those choices in NG+. You can verify which missions you've taken before by checking the Replay Missions option under Sortie. The NG++ replacement/decision missions are: CH1: Obstruct the Mandatory Inspection CH2: Stop the Secret Data Breach CH3: Coral Export Denial CH4: Eliminate V.IIIAdditionally, these ALT missions automatically take place during the same NG++ playthrough: CH1: Attack the Watchpoint (Sulla will ambush you with some Stealth MTs) CH3: Survey the Uninhabited Floating City (Thumb Dolmayan replaces the boss) CH4: Reach the Coral Convergence (V.II Snail and G5 Iguazu replace the boss)With all of the above missions completed, you should be locked into the Alea lacta Est ending. You'll experience a different CH5 (no Escape & Take the Uninhabited Floating City missions).M35C++: MIA M36C++: Regain Control of the Xylem M37C++: Coral Release Endings (3)

【乌鸦之火】 达成结局:【乌鸦之火】 在第五章完成【夺取无人浮空都市】后,选择: 拦截企业部队→突破卡门线→关闭封闭卫星

解放者卢比孔 达成结局:“解放者卢比孔”。 在第五章,完成“夺取无人浮空都市”任务后,选择: 消灭“灰烬”卡拉→摧毁驱动模块→击落齐利姆

达成结局:【Alea lacta Est】 若你完成了上述列表中标注的所有二周目+任务(直至第四章结束),第五章将自动引导你走向【Alea lacta Est】结局。 任务流程:MIA → 重新控制希莱姆 → 珊瑚释放 装甲装饰(5)

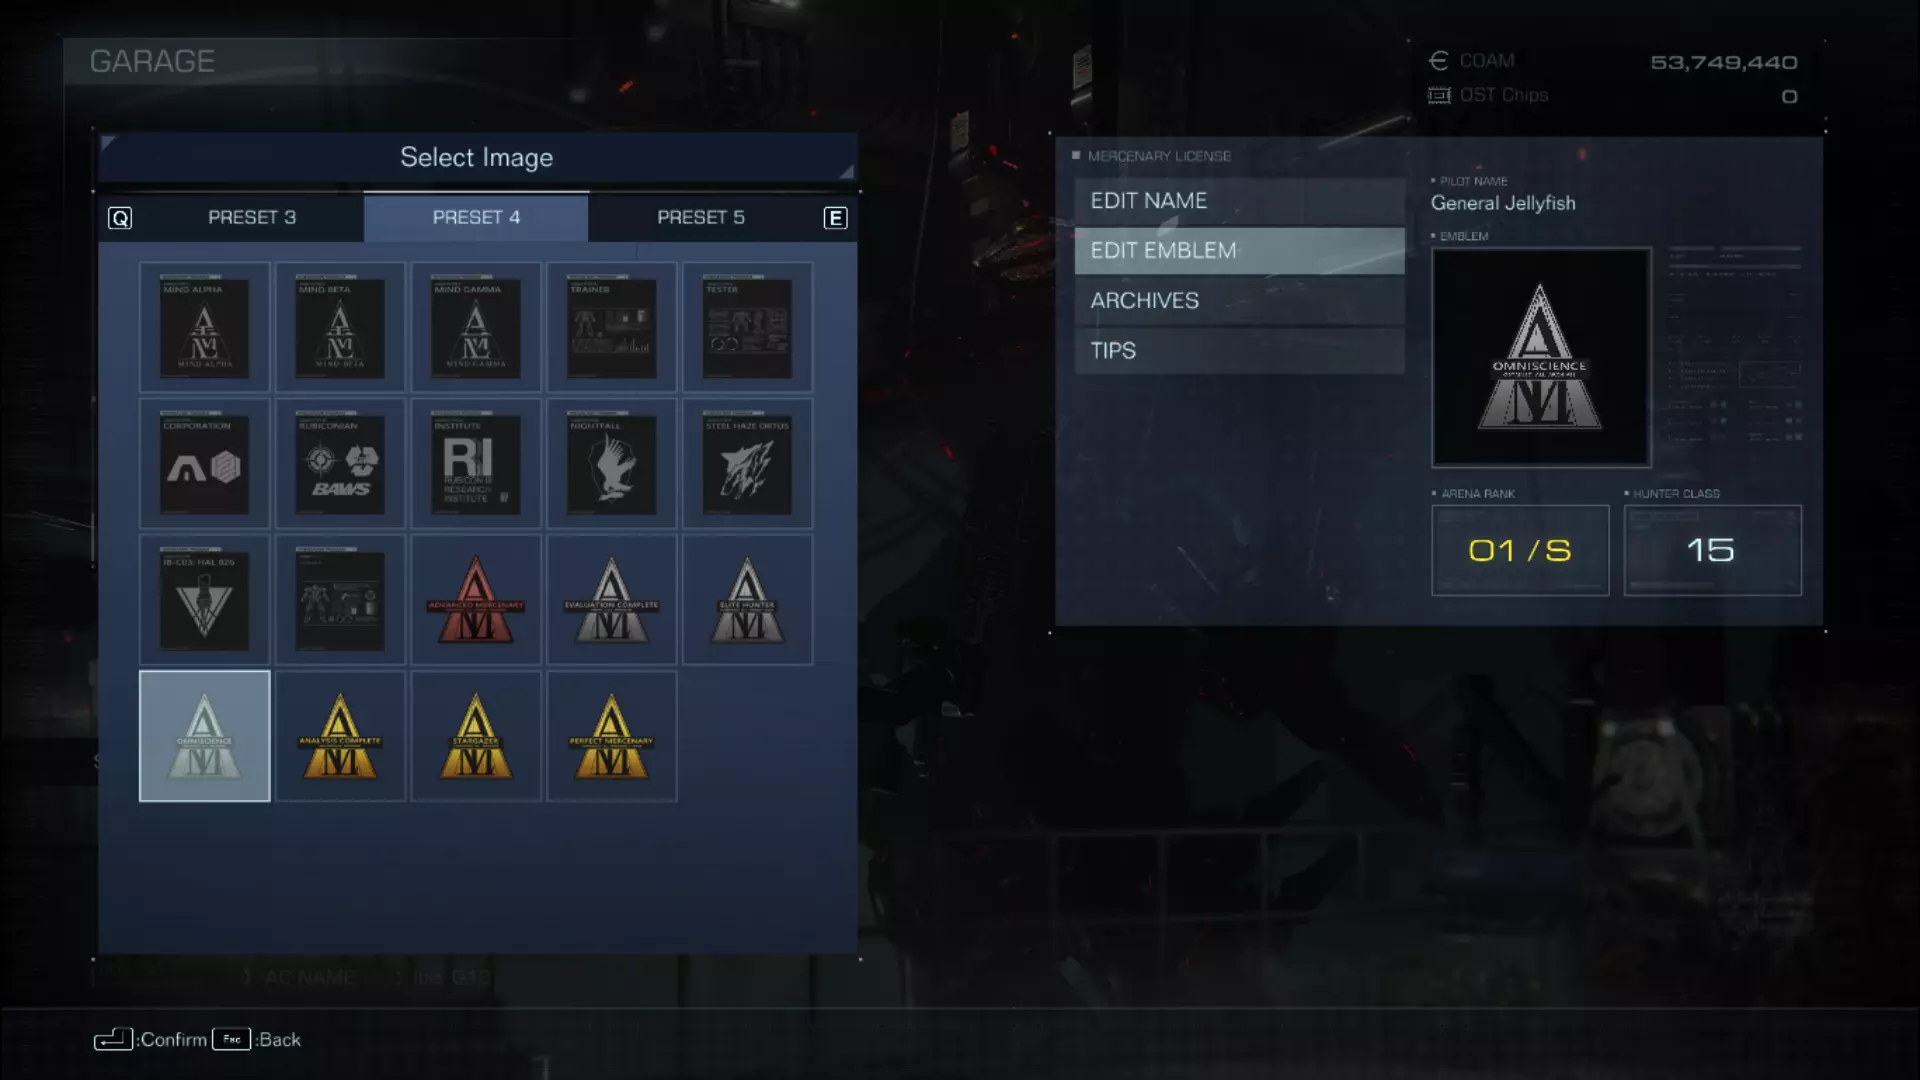
硬件工程师 组装了一台空调。

图形设计师 更改了你的AC的配色。

软件工程师 升级了你的AC操作系统。

扩展收集者 获得所有核心扩展内容。

调校专家 完成所有操作系统升级。 当你接近完成二周目+(NG++)流程(以及分析竞技场)时,你将拥有足够的OST芯片来购买并最大化所有操作系统升级。确保及时完成所有可用的竞技场战斗(尤其是在完成第五章结局之前)。 收集品 - 日志与零件(6个) 对于此类别下的所有成就,建议参考相关指南来轻松找到所有必要的收集品。请注意:数据日志的数量远多于“数据日志收集者”成就所需的数量。在上述指南中,战斗日志会在每个任务下列出(如适用)。最后,获取所有部件至少需要:a) 完成三周目(含第三结局)以从商店获得所有物品,b) 完成所有竞技场战斗(含分析标签)。

战斗日志收集者

数据日志收集者:获取十个数据日志。

External Parts Collector

零件收藏家 收集所有内部零件。

Weapon Collector

资产持有者 获得所有零件。 如果获取此成就时遇到问题,请出售任意梅兰德零件后重新购买。 训练与竞技场(3)

训练完成 完成所有训练项目。

测试完成 在竞技场中完成所有战斗能力评估程序。 战斗能力竞技场程序(新游戏):确保在完成第五章前完成所有可用战斗。 等级E与F:等级C与D:等级A与B:等级S:

竞技场大师 完成所有竞技场程序。 分析竞技场程序(二周目):随着二周目流程推进,以下战斗将每次解锁3个,共9场战斗。为确保在追求其他结局时减少阻碍,请务必完成所有这些竞技场战斗,否则可能需要重新进行“非命运自决”流程才能再次解锁它们。 最后3个分析竞技场程序(三周目):这最后3场战斗将随着三周目流程推进每次解锁1个。如前所述,请确保在结束命运自决流程前完成所有3场战斗。 完成度(1)

装甲核心 获得所有奖杯。

希望我最终能达到500名订阅者的目标!