换一换
换一换 


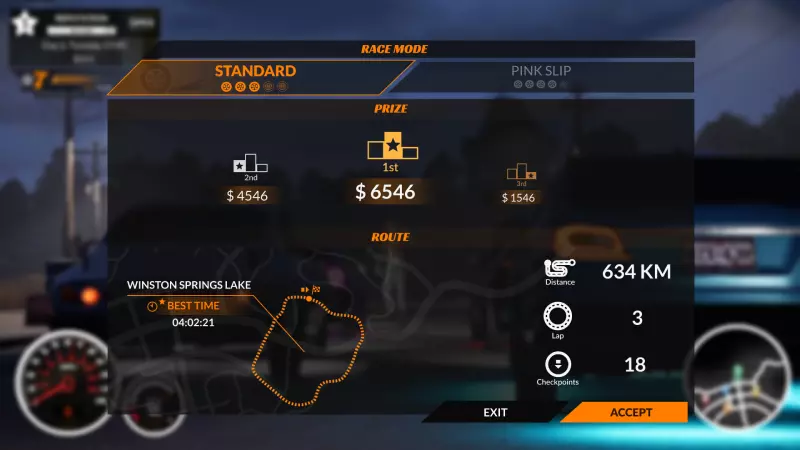
This guide is to help you get to Level 10 reputation with the least amount of work. The goal is to buy and sell cars as fast as possible. Some general tips 1.) When the game starts, immediately hit the ESC key and change some settings. You want Rival Events off and Day Length to 0.2x. (I would also set Tool Activation Mode to Toggle, but that’s a personal preference.) 2.) When buying a car, scan the car and check out the real market value. i.) Offer about 20% less than either the asking price or the market value, whichever is lower. Sometimes the seller will be asking a lot more than market value and offering 20% less than that will make them laugh. If so, refuse the deal and move on. ii.) Offer $1 more than the previous price. iii.) Offer $1 more than the previous price. If final price is at least 10% lower than the market value, you will want the car. 3.) When you set the price to sell a car, try to get is as high as possible while it is still green. Early on, you might struggle to get that 20%, but if you are lucky and find cars that are washed, bodywork is good, have clean plates, properly inflated tires, etc., you might get that past 30%. By end, you will be able to set it to nearly 50%. Also, negotiate. A lot of people tell you not to, because someone will come along and pay full price. However, while this is true, it doesn’t happen enough and the faster you make a sale, the faster you can afford buy new cars to sell. Even the new Non-Negotiable tag isn’t worth it. I tested it and it takes between three and four times longer to find a sale. Even if you lower the price to the highest you can get and still be in the blue, it takes twice as long to find a buyer and you make less profit per car. (The Non-Negotiable tag is amazing when you are level 10 and exclusively dealing with the highest priced cars and only selling cars that are 100% maxed out.) Unfortunately, when you negotiate a sale, you can’t just lower the original asking price by $1. You need to lower it more to encourage the customer to really raise their price. Usually 3% to 5% is enough for the first counter offer and 1% to 2% is enough for the next two. I usually just pick the second digit and lower it by 1 or 2 each time. So if the original price was $5700, drop it to $5500 then $5400 then $5300. It’s just faster this way and trying to min-max profits will just slow you down. These two methods don’t always work, but they are consistent enough that you can just get into a rhythm without needing to worry about each negotiation. 4.) If you are playing sensibly, it is wise to go to the junkyard every day it is open and buy all of the used parts, even if you can’t do anything with them for a while, because you want a stockpile of parts when you can use them. However, with this method, by the time you upgrade enough to use these parts, you have so much cash and it costs significantly less than $10,000 to order enough parts to fully fix a car. You can repair the old parts if you want, but I just kept buying new parts until that’s fully automated. You will be earning $50,000 profit on each car by Thursday, so don’t worry about money. 5.) If you have cars to sell, but nothing else to do, turn the Day Length to 5x and watch your entrance. As soon as one or two customers enter, set it back to 0.2x. The amount of customers you get per in-game day doesn’t change, so this setting will just make them appear much, much faster. You won’t have to do this much after the tutorial, because you will usually be waiting for the reset timer, or your employee to working on a car, etc. Since you are negotiating, you will sell cars almost as fast as you can get them ready. 6.) There are some cars that are easier to wash / polish than others. Never try and hand wash the Aurora Outrider, aka The G-Wagon. You have to wash the inside of the spare tire and the oversized front bumper and it’s frustrating. All of the Vans and pickups just have a LOT of surface area to clean and it takes too long. The Off-Rider Summit is such an expensive car that even though it takes longer to wash than the average car, it is worth doing it. On the other hand, all of the Harmonia and Zen Motors are really easy to clean, as are the muscle cars. Some of the high end sports cars have too many knocks and crannies and that will slow things down. Then again, by the time you get to these, you are very, very close to full automation. 7.) You will get some emails. Ignore then until you have hit full automation. Don’t delete them or reject them, just ignore them. Step 1: The Tutorial. Do the tutorial as Little Sam tells you to do, but don’t upgrade your office to level 2 and instead spend that money on cars. When he tells you to take a nap, just sleep for just 1 hour. You have a lot of work left to do on the first day. Next up is the sign. I just put “Nice!” in front of “Car Dealer” and make sure all of my prices end in 69. I may be in my 50s, but I refuse to grow up. You are told to buy a car for the first time and I suggest getting the most expensive one you can afford. It will likely be a NGD Pulse. Try and get one that is a darker colour, as that will help doing the bodywork, because the scanner colour will stick out more. Also, get one you can walk to. When have to get exhaust tape, drive there in the car you are going to sell, because then you don’t to waste your own fuel. After patching up the holes, scan the car again and be amazed at how little it improved the market value. Put the remaining exhaust tape in the trunk and never do that again. You will now have to do bodywork for the first time, and last time, during this run. An important tip: When you park the second car to sell, after you take the pictures, move it to the spot closest to the entrance and move your truck to where you originally park the car you are going to sell. When you set up the ad this time, a rival will spawn and try and dirty your car, meaning you either have to wash it again or sell it for less money. If you just moved it, you should have enough time to stop them. If you put the truck in the way, they will dirty your truck instead. Step 2: Post Tutorial Monday Now that you are free from the tutorial, go to your computer and set up a meeting with EVERYONE. You are not here to be picky. Just set up a meeting with everyone. Get the $5,000 loan, because you are going to need the extra cash and the compound profits from the cars you buy will easily pay for the $6,000 repayment. Buy every single car near you until you run out of money. Don’t use the trolley, just walk to the nearest one and drive that car to the others. Buy them all and use your tablet to reset them as fast as possible and drive the last one to your lot. Once at your lot... take pictures of them and put them up for sale. That’s it. A lot of people joke that at the beginning of Car Dealer Simulator, you are a car wash, not a car dealer. This isn’t true. You are a photographer. You are not going to waste your time washing cars, not unless you truly have nothing else for you do to.* This is doubly true of filling up cars at the gas station, fixing holes in the tail pipe, cleaning license plates, even messing with the odometer. None of this is worth your time. Speaking of the odometer, you won’t get the gadget until you upgrade your office to level two, but don’t. It costs $3,000 and your first day that $3,000 is better spend on cars to sell. As soon as you are out of cars, do another car buying run as before. You should have at least 20% to 30% more cash that the first run, so you should be able to get one or two more cars, meaning you will likely have more than enough free time to wash one or two more cars. If all goes well, you should sell these fast enough for a third run. By the end of Monday, I’m usually at level six with over $50,000 in the bank. Only once in seven test runs have I not gotten to level six. If there are any cars you didn’t buy at this point, drive there are reject them all. Since your are at least level 5, you’ve unlocked so many better cars that the starting seven cars are not worth enough to deal with anymore. * The “nothing else to do” includes waiting for the timer to be able to reset another car. This will likely happen during your first day, ideally during your first run. Also, if you ever have more than four cars, wash the dirtiest car while the others are up for sale. Once you are finished, if you still have more than four cars, swap out cars for sale and wash another. The more money you have, the more cars you can buy at a time and the more you can wash, meaning you make more money, so you can buy more cars... It has a snowballing effect. Step 3: Tuesday - The Start of Automation Sleep till just after midnight and when you wake up go to the computer pay the bills and set up a meeting with everyone selling a car that’s $7,500 or more. Anything less is not worth dealing with, hopefully. There’s a chance the collection of cars up for sale are on the lower quality end and you will buy and sell everything worthwhile before the end of the day and you will have to start buying cheaper stuff. Buy the stuff that is farthest away first, because it will be easier to grab the closer stuff during the day. Wash cars while you wait for the 2-minute timer until you get all of the cars into your lot, then sleep to just before 7am, which is when the first customers can show up. You could instead spend this time washing cars, but I don't. Too much work. When you are down to just one or two cars left to sell, do another run. You should be able to get three or four runs like this per day. If at any time during the day things are going great and you have at least a few cars for sale and $50,000, then buy the following upgrades: $3,000 for Office Level 2 $10,000 for Body Workshop Level 2 $15,000 for Body Workshop Level 3 Now you can hire someone to work at the Body Workshop and you can get them to work on the cars with the worst body condition while trying to sell the others. This does add a little more work for you driving cars to the body shop and then to the sales spots, but it drastically increases your profit margin and somewhat increases your reputation gain per car. If you get really lucky and find several cars that are 97% washed or more and an additional $15,000 for Car Wash Level 2 will allow you to skip the foam and water phase and go right to the wax and polish. Waxing and polishing takes around five times less time compared to the foam and especially the water stage, so it’s worth it every time. Even the cars that are a pain to wash are much, much easier to wax and polish. Also, if you have so many cars that you are washing one or two per run, then this will pay for itself in a day. The goal for the end of Tuesday is to get to level 8 with at least $100,000 in cash after all of the upgrades I mentioned above. I’ve tested this seven times and I only missed level 8 once, strangely, it wasn’t the run where I missed level 6 on Monday. The selection of cars that day was just garbage. On the other hand, four times I’ve had to run around and buy absolute garbage cars just to get to level 8. I was buying Strikers and selling them at barely above what I paid, just to get to level 8. Again, if there are any cars you didn’t buy at this point, set up meetings and reject them all then sleep till just after midnight. Step 4: Wednesday - More Cars, More Money So now that you have the reputation, you should upgrade your dealership to full automation, right? NOOOOOooooooooooooo!!! When you upgrade your mechanics bay, half of all new cars that appear in the website after that will be undrivable and that just slows things down. In fact, after Body Workshop Level 3 and Car Wash Level 2, you won’t upgrade again until you have enough to cash to full automate everything. You might be tempted to get the Gas Pump, because it only costs $10,000 for the upgrade, but the trailer itself costs $70,000. No thanks. Not today. You will be repeating what you did on Tuesday, except upping the minimum to $10,000 or more. Since you have a lot more cash, you will buy so many cars that you will undoubtedly have enough to wash and polish most of them while your employee fixes the body work. At this point, hitting more than 50% return on investment will be common and if you are lucky, you could double your money a few times. The goal for the end of Wednesday is just level 9 with at least $400,000 in cash. Depending on how much time you had to wash and polish cars, you could have twice that much cash. Finally, if there are any cars you didn’t buy at this point, set up meetings and reject them all, then sleep till midnight. Step 5: Thursday - Sprint to the End? If everything is going well, then you can sprint to level 10 today. It takes more fiddling, because you will be fully automating, which means driving cars around your dealership to your three employees, but you will want to get there eventually. Start the day the same as Wednesday, but check your bank balance after buying four cars. Do you have $200,000 or more in the bank? No? Then Thursday will be a repeat of Wednesday. Yes? Then buy the following upgrades. $20,000 Mechanical Workshop 2 $6,000 Upgraded Tools from Tool shop $35,000 Office Level 3 $40,000 Car Wash Level 3 $40,000 Mechanical Workshop 3 $30,000 for parts. Order in a delivery of enough parts to completely fix 3 cars, including fuses, and what the hell, get some clean plates and use then on the most expensive cars first. When you run out of parts, buy more. You will have the money. Don’t worry about repairing old parts for now. Once you max out your office, your receptionist will take care of that. You can also spend $50,000 for the Body Shop 3 upgrade, but it takes $1 million of cars to pay for itself, so don’t worry about it. If during the day you run out of expensive cars to buy, but have a ton of cash, spend the $81,000 on the Gas Pump, trailer, and 1,000 litres of gas. Don’t worry about level 2 and tire pressure; It’s not worth it until you can automate the process at level 10. Filling up the gas tank of cars you sell increases your reputation gain, but it isn't worth the effort unless you don't think you will get there without it. On the other hand, it is nice to be able to fill up your truck at your dealership at the start of every day, so you never worry about running out of gas. Of the seven test run, I was able to do this sprint five times. One of the times I failed, I was still able to get to level 10 reputation once, but I was buying all of the crap cars left on the website and selling them at below market value, just the get the final few hundred reputation. If you didn’t make the sprint, you have one more round of rejecting every car you didn’t want to buy (You should do this every day, even when you are at level 10.) and then sleep past midnight. When you wake up, you should have more than enough money to buy every upgrade (Except the underground garage. Only buy that if you plan on collecting cars.) and then start the buying and selling process again. Conclusion: There you have it. You should be at level 10 reputation either by Thursday or Friday without doing too much work. The key is to buy and sell as many cars a possible without putting more than the minimum of work into most of them. As for post automation, remember to filter by drivable cars, because towing around a wreck is a pain compared to what you’ve been doing so far. You should still buy undrivable cars, but only if they are really expensive and have suspiciously low mileage, because the profit margins will be worth it. One late note: I had to re-write sections of this guide three times because of updates. There is a porter system on the way and I will test that and any other major updates to see if they change this method.
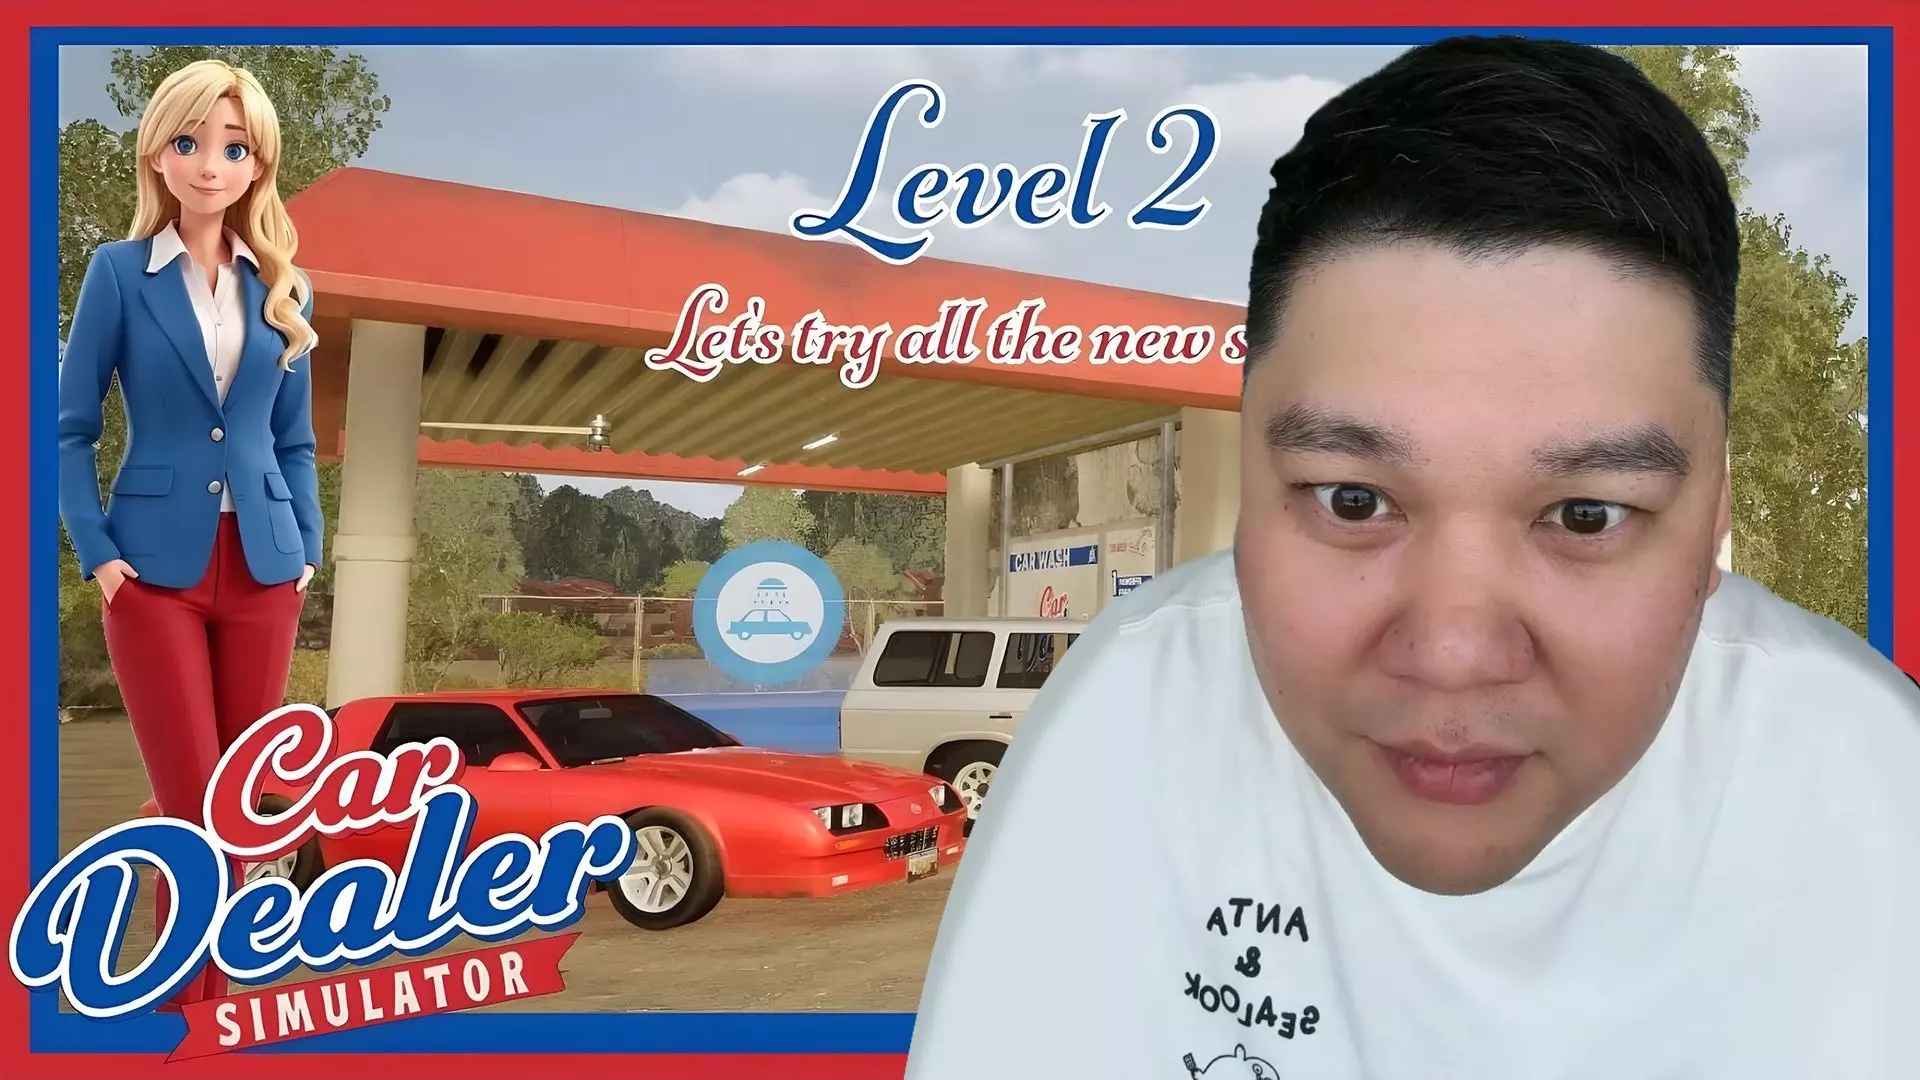
Smoothest Ride to Level 10

2026-02-15 22:00:13
转载

导读
这是一篇《Car Dealer Simulator》的快速刷到10级声望的攻略,核心是通过高效买卖汽车达成目标。攻略含前期设置、收车砍价、卖车定价等技巧,还分教程期、周一到周四各阶段给出具体操作,帮玩家以最少工作量快速提升声望与盈利。

评论
共0条评论

Car Dealer Simulator-视频介绍
2026-03-10 00:000赞 · 0评论
方向盘自定义
各位汽车经销商们! 在今天的开发日志中,我们将为大家展示即将推出的【由你决定】DLC中另一项可自定义的车辆元素。 上周我们向大家展示了配件: 全新方向盘——让内…
2026-03-15 10:220赞 · 0评论
Car Dealer Simulator-视频介绍
2026-03-10 00:000赞 · 0评论
《小偷模拟器》主播表哥直播玩汽车经销商模拟器《Car Dealer Simulator》!汽车经销商模拟器怎么玩?游戏攻略合集分享
表哥直播间www.douyu.com/217331
2026-06-09 12:470赞 · 0评论
暂无更多
最新更新
- 《汽车经销商模拟器》热修复 #195 更新内容 — 《汽车经销商模拟器》更新内容 1. 修复了部分交通车辆的碰撞问题。它们不会再卡入前方车辆底部,避免导致被抬起的车辆卡住。 2. 改进了路边停放车辆的仪表盘内饰外…
- 由你决定DLC直播 — 各位汽车经销商们!距离DLC发布仅剩4天!为了庆祝这一时刻,我们准备了一段特别视频,由我们的一位开发者展示并试玩即将推出的扩展包中的部分机制。你可以在游戏的主商…
- 《汽车经销商模拟器》更新内容:车辆置换功能现已上线! — 《汽车经销商模拟器》客户交易系统更新内容 1. 本次更新将进一步扩展客户行为系统。 2. 从现在开始,部分来到你经销商处的客户将有兴趣用他们当前的车辆置换你列出…
- 一周年快乐! — 各位汽车经销商们! 一年前,我们发布了《汽车经销商模拟器》。从那以后,这个项目的发展远远超出了我们的想象——这一切都要归功于你们!
- 车辆展示 — 各位汽车经销商们!是时候揭晓即将推出的新车了——来认识一下幻影风暴吧!
- 《汽车经销商模拟器》新购车方式及新车预览 — 《汽车经销商模拟器》更新内容 1. 新增车辆收购系统 - 现在会有顾客开着自己的车来到你的车行,并提出出售车辆 2. 通过现有的通知系统添加了顾客到达通知 3.…
- 即将推出:全新购买方式 — 各位汽车经销商们! 今天我们为大家带来即将到来的更新预览! 游戏即将推出一种全新的获取车辆的方式。在之前的某次更新中,4级办公室的场地进行了重新设计,增加了入口…
- 《汽车经销商模拟器》Hotfix #194更新内容 — 《汽车经销商模拟器》更新内容 1. 修复了部分存档文件中当铺任务无法生成的问题。 2. 修复了分期付款销售界面中车辆生产年份显示错误的问题。
- 每一处改装都至关重要 — 各位汽车经销商们! 距离【Up 2 You】DLC的发布仅剩11天! 正如许多人已经知道的,这个扩展包专注于办公室自定义、车辆改装和赛车。不过,很多玩家想知道这…
- 《汽车经销商模拟器》当铺更新内容 — 《汽车经销商模拟器》典当行扩展及新声望系统更新内容 1. 本次更新将扩展典当行并赋予其全新用途。 2. 此前,典当行是购买每日特惠商品和出售已发现物品的场所。从…