换一换
换一换 


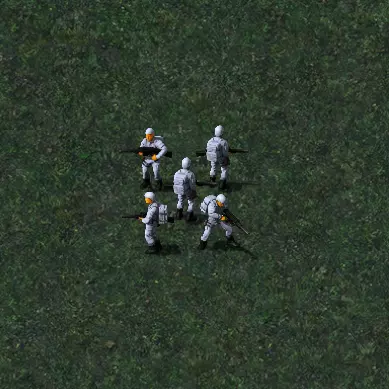
Here's a list of how many Helicopters are needed to destroy each unit and structures in C&C. Introduction This list shows the minimum amount of Orcas or Apaches needed to destroy their targets. Note that when I mention "Attack Helicopter", I am referring to both, Orca VTOL Assault Craft and the Apache Attack Helicopter. Though, the remastered Tiberian Dawn only dubs the Apache as Attack Helicopter, I will call it Apache in this guide. This guide assumes the target unit is stationary, except the Gunboats. I will also list the amount required if the target is being repaired. For vehicles, it is based on when the unit is parking on a Repair Bay. For structures, it is based on the structure getting repaired as soon as the attack helicopter's first shot lands on it. The amount needed to destroy target being repaired are in brackets. For the Infantry section, I have listed how many infantry of the same type a single fully-loaded Apache can kill in a single attack run by attacking one-by-one, meaning splash damage isn't considered. So, buckle up and grab your aviators, because we're in for a hella-copter ride. Infantry InfantryOrcaApacheHow many an Apache can killMinigunner3-4 (2 if stuck)14.5Grenadier3-4 (2 if stuck)14.5Flamethrower4-5 (3 if stuck)13.5Rocket Soldier2 (1 if stuck)17.5Engineer2 (1 if stuck)17.5Chemical Warrior4-5 (3 if stuck)13.5Commando4-5 (3 if stuck)12Joe2 (1 if stuck)17.5Phil1115 Vehicles VehicleOrcaApacheLight Scout21 (2)Medium Tank35 (6)APC23 (4)Rocket Launcher11 (2)Mammoth Tank47 (8)Nod Buggy21 (2)Recon Bike21 (2)Light Tank2 (2-3)4 (5)Flame Tank24 (5)Stealth Tank1 (2)1 (2)Mobile Artillery11SSM Launcher1 (2)1 (2)Tiberium Harvester5 (6)3 (4)MCV5 (6)3 (4)Mobile HQ11Apache Attack Helicopter21Orca VTOL Assault Craft21Transport Helicopter1 (1-2)1Gunboat6+7+Visceroid21Velociraptor22Tyrannosaurus-Rex59Triceratops58Stegosaurus47 Buildings BuildingsOrcaApacheConstruction Yard6 (7)3 (4)Power Plant2-3 (4)2Barracks6 (7)3 (4)Hand Of Nod6 (7)3 (4)Advanced Power Plant5 (5-6)3Repair Facility6 (7)3 (4)Tiberium Refinery7 (7-8)4Tiberium Silo32Helicopter Pad6 (7)3 (4)Communications Center8 (9)4 (5)Weapons Factory3 (4) 4* (5*) *Modern Balance2 (3) 3* (4*) *Modern BalanceAirstrip612 (>12)Advanced Communications Center8 (9)4 (5)Temple Of Nod15 (16)10 (>10)Hospital3 (4)2Bio Lab5 (5-6)3Research Facility/Prison3 (4)2 Defenses TargetOrcaApacheGuard Tower3 (4)2 (2)Advanced Guard Tower5 (5-6)3 (4)Gun Turret3 (3)5 (7)Obelisk3-4 (4)2 (3)SAM Site4 (4)5 Sandbag Wall11Chain-Link Fence11Concrete Wall1-21-2Barbed Wire11Wooden Fence11Tree5-63 General Tips Targets being repaired usually take at most one extra attack helicopter to be destroyed. Infantry take less damage in prone stance. Usually, they will automatically go prone when under attack but if they are stuck, they will stand still even when under fire. Technicians also have this damage resistance when they are not stuck despite they do not have a prone animation. This is relevant to Orcas as it takes less Orcas to kill infantry that are standing still. As stated above, all these values are based on stationary targets. Moving units take less damage and may require 1 more helicopter to be destroyed. For example, 3 Apaches can barely destroy a Harvester so a moving Harvester might survive 3 Apaches. It is best to wait for the Harvester to start harvesting on a tiberium field before attacking. Gunboats are always on the move. I put a + sign in front of the number needed to destroy them because the number is the minimum amount and you will most likely need more than that as they will constantly evade incoming attacks. It is easier to hit them when they are low health (they become slower) or near the edge of the map doing its 180 degrees turn. SAM Sites take about twice more damage when the battery is exposed. The guide above shows the amount needed to destroy enemy SAM Sites (where the battery will automatically surface to shoot) but for some reason if you need to destroy an ally SAM Site (which remains underground since it won't target friendly air), destroying it takes 5 Orcas (being repaired or not) or 9 Apaches (if not being repaired, retracted SAM Sites being repaired take more than 10 Apache which isn't worth trying). Airstrip being repaired takes more than 12 Apaches shooting at it in order to be destroyed. I didn't put a specific number because the Apaches will usually bug out (no pun intended) when there's too many attacking at the same time, returning back to their helipads. Even if you constantly click the target to keep ordering them to attack, the delay will give enemy more repair time which can give inconsistent results. Same goes for the temple. If a vehicle that requires more than 3 Apaches to be destroyed is being repaired on a Repair Bay, the Repair Bay will be destroyed first if you attack the unit with more than 3 Apaches. Apaches can save ammo if they attack infantry that are grouped together. For example, 1 Apache can kill 2 Commandos max that are spread out but if the commandos are standing on the same cell, it is possible to kill 4 with the same Apache in a single attack run. A single Apache can fire up to 15 machine gun bursts. Hence, it is able to kill 15 Phil Technicians in a single run. When attacking a group of infantry with the Apache, aim for the centre unit first to maximize damage. For civilian buildings, the small ones usually take 2 Apaches or 3 Orcas to destroy them. The 2x2 ones usually take 5 Orcas or 4 Apaches. The Oil Tanker is probably the least armored civilian building. Outroduction Finally, don't take this guide too seriously because there are factors that can give different results: If your first helicopter arrives and attacks early before the others, the opponent will have more repair time. Orca missiles sometimes miss their target. This is probably RNG but it is more common when attacking infantry. Hence, I put 2 numbers on some of the results. Your attack helicopters always move sideways in between their shots. If you have many helicopters attacking the same target, they may move sideways a bit longer before shooting again due to having less room which can give the enemy more repair time. I made this guide simple and basic, there are other more advanced tips that I didn't cover here. I might update this guide in the future for easier reading or if there's an error in my calculations. Please let me know in the comments if you find any errors. This guide is a personal reference to help me remember how many gunships needed to destroy stuffs during a match. I hope you find it helpful as well. If you like the guide, do leave a like or favorite it in case you need to read it during your battles, and if you don't, I thank you for reading this far. I wish you and your pilots good luck on the battlefield.
攻击直升机指南

2026-02-16 04:00:25
发布在《命令与征服™:重制版》
转载

导读
这是《命令与征服》的攻击直升机攻略,详细列出了奥卡直升机、阿帕奇直升机摧毁各类步兵、载具、建筑、防御设施所需的最少数量,含目标被维修时的所需数量,还给出阿帕奇单次攻击可击杀的同类型步兵数,以及攻击技巧等实用内容。

评论
共0条评论

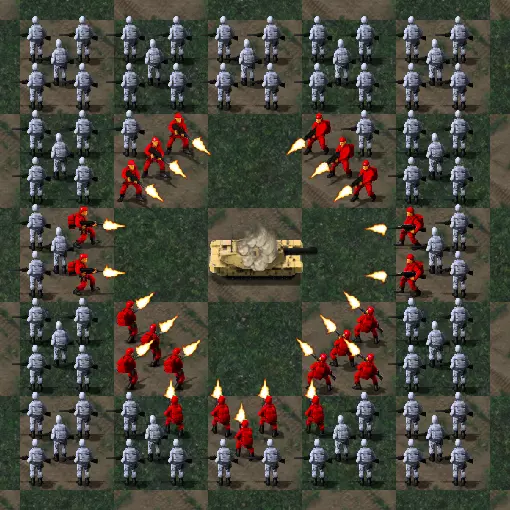
实况解说 【铁锈战争】第二次世界大战!机甲与坦克的对碰!
模组http://ww.rtsbox.cn/102201.html 模组名;命令与征服:二战(又叫WW2) 国庆一定要狠狠的快乐哦!!!!!
2026-01-10 09:280赞 · 0评论
阿帕奇2 战争雷霆黑鹰和阿帕奇哪个好
两者都代表着当今直升机技术的顶尖水平,并在各自的战场上都有着不俗的表现。然而,在两者之间,究竟哪一款更为出色呢?本文将从设计理念、性能参数、战场应用等多个角度对…
2025-10-24 04:430赞 · 0评论

《锚点降临》天门神弓怎么玩?命令与征服新轮椅——天门神弓贯穿流玩法攻略
帝国终于站起来了! bgm:S.M.V. - Thunder
2026-06-22 00:440赞 · 0评论
【困难模式】完成秘密行动、特别行动及欢乐公园任务
大约一半的秘密行动任务都包含一些方法,可以将原本漫长艰难的建造征服战斗转变为快速但需要大量微操作的渗透任务,从而以某种方式削弱人工智能。本指南旨在详细介绍这些任…
2026-02-15 10:000赞 · 0评论
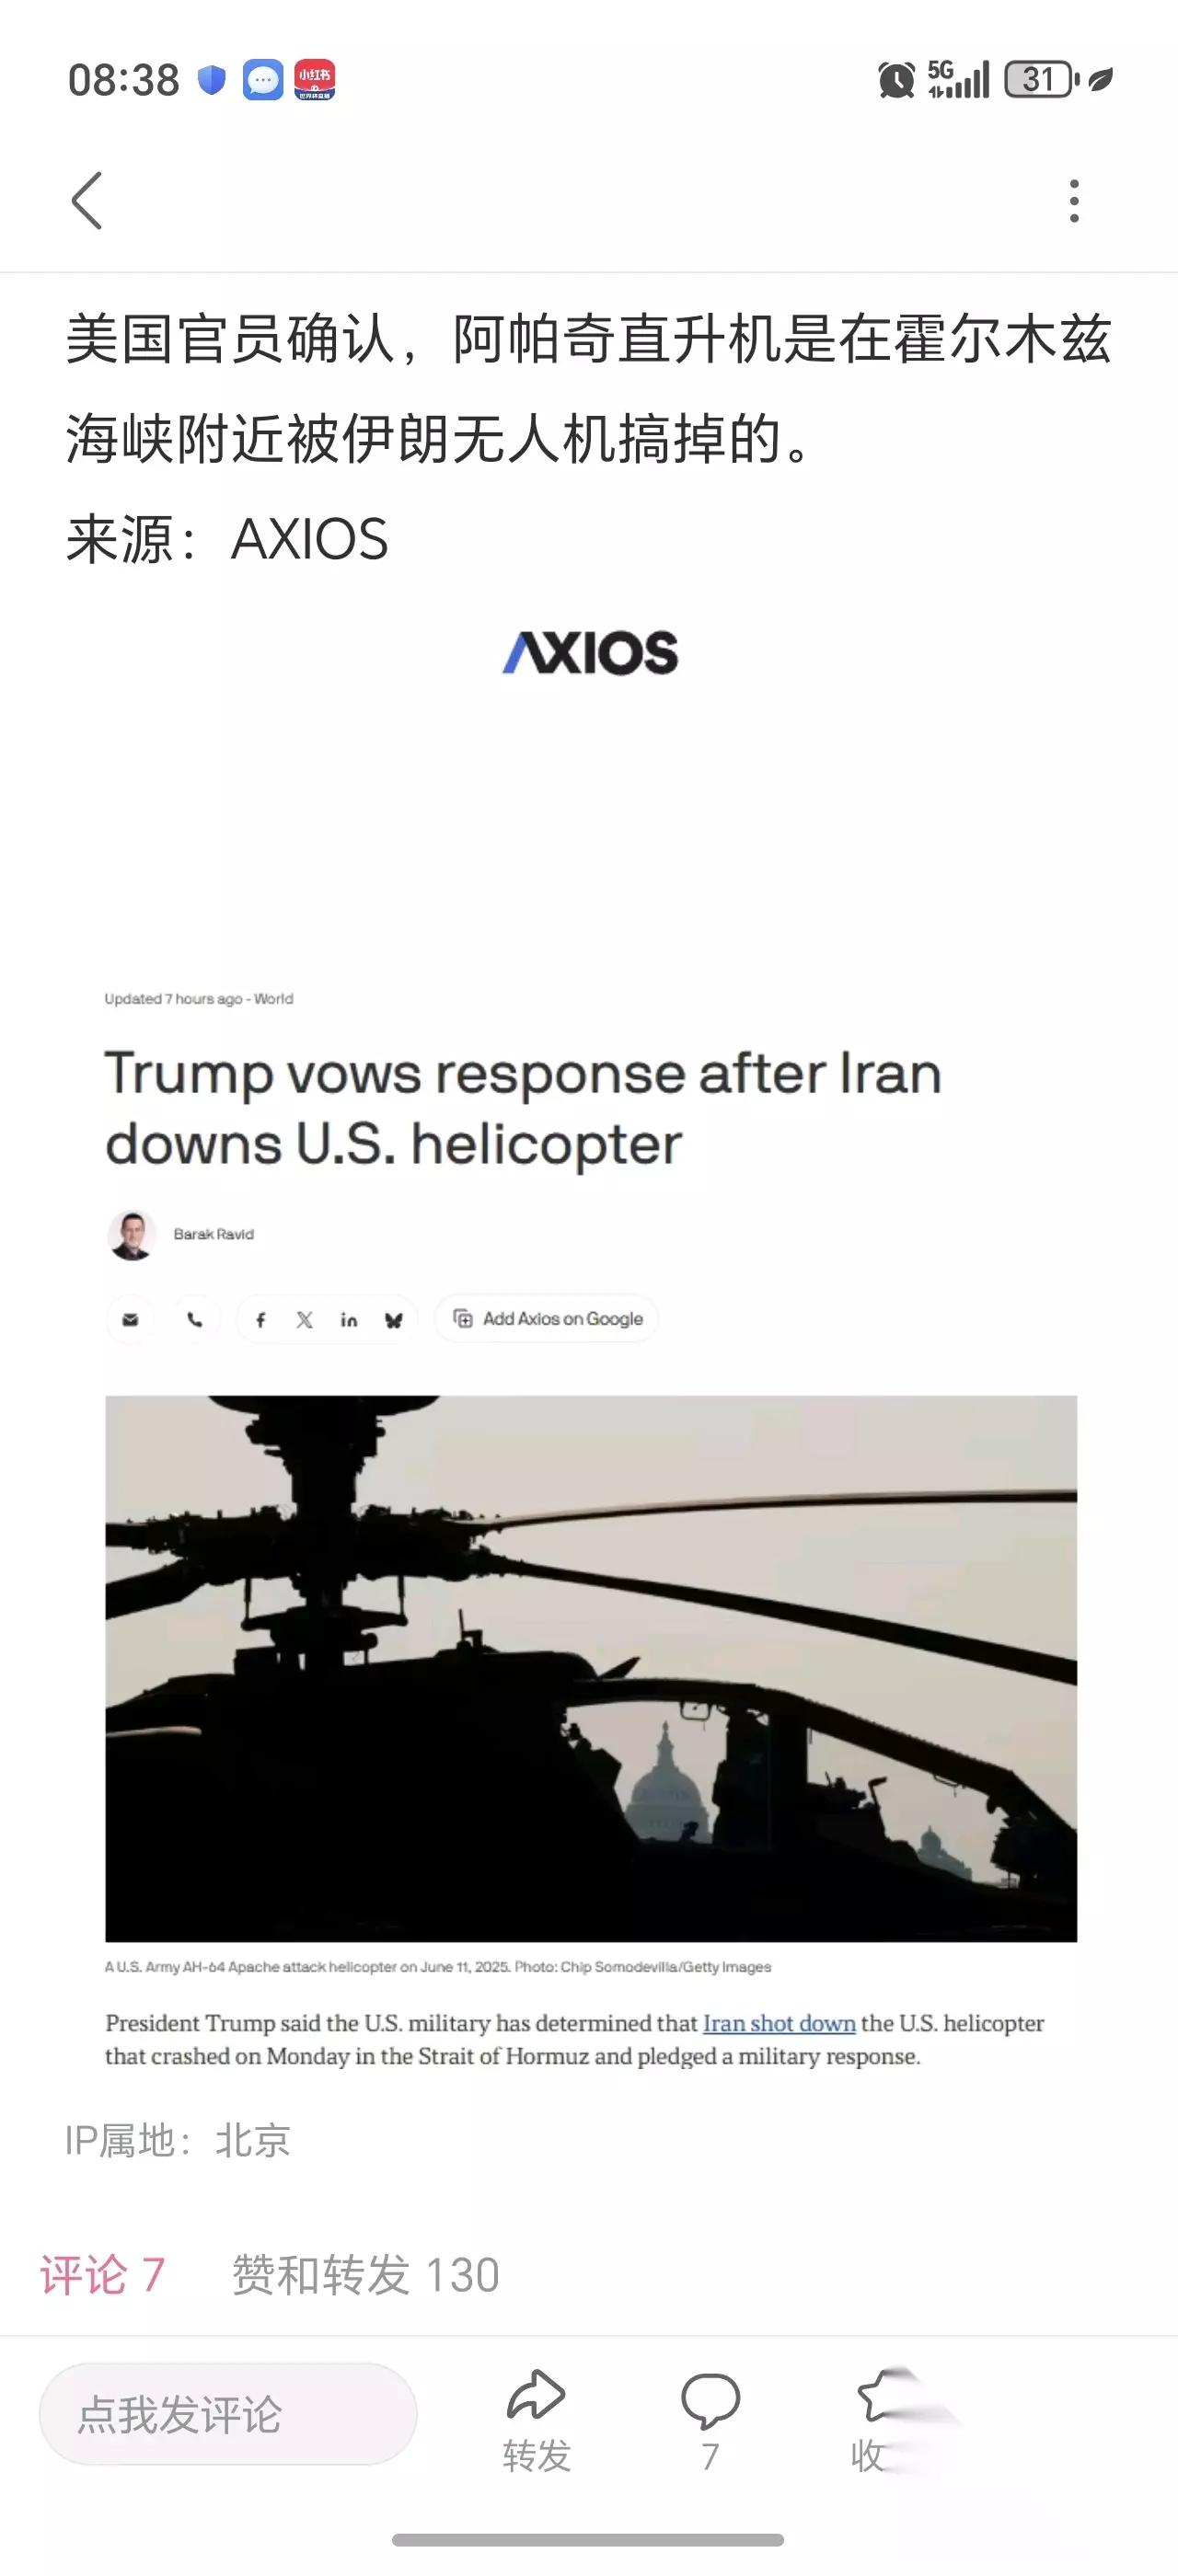
《战争雷霆》阿帕奇坠毁海上成员安全吗?对比F-15E飞行员失踪事件解析
《战争雷霆》阿帕奇直升机坠毁海上,成员真的安然无恙吗?这情况就和F-15E的两位飞行员一样神秘失踪了。 我看也是生死不明,具体情况令人担忧……
2026-06-11 16:300赞 · 6评论
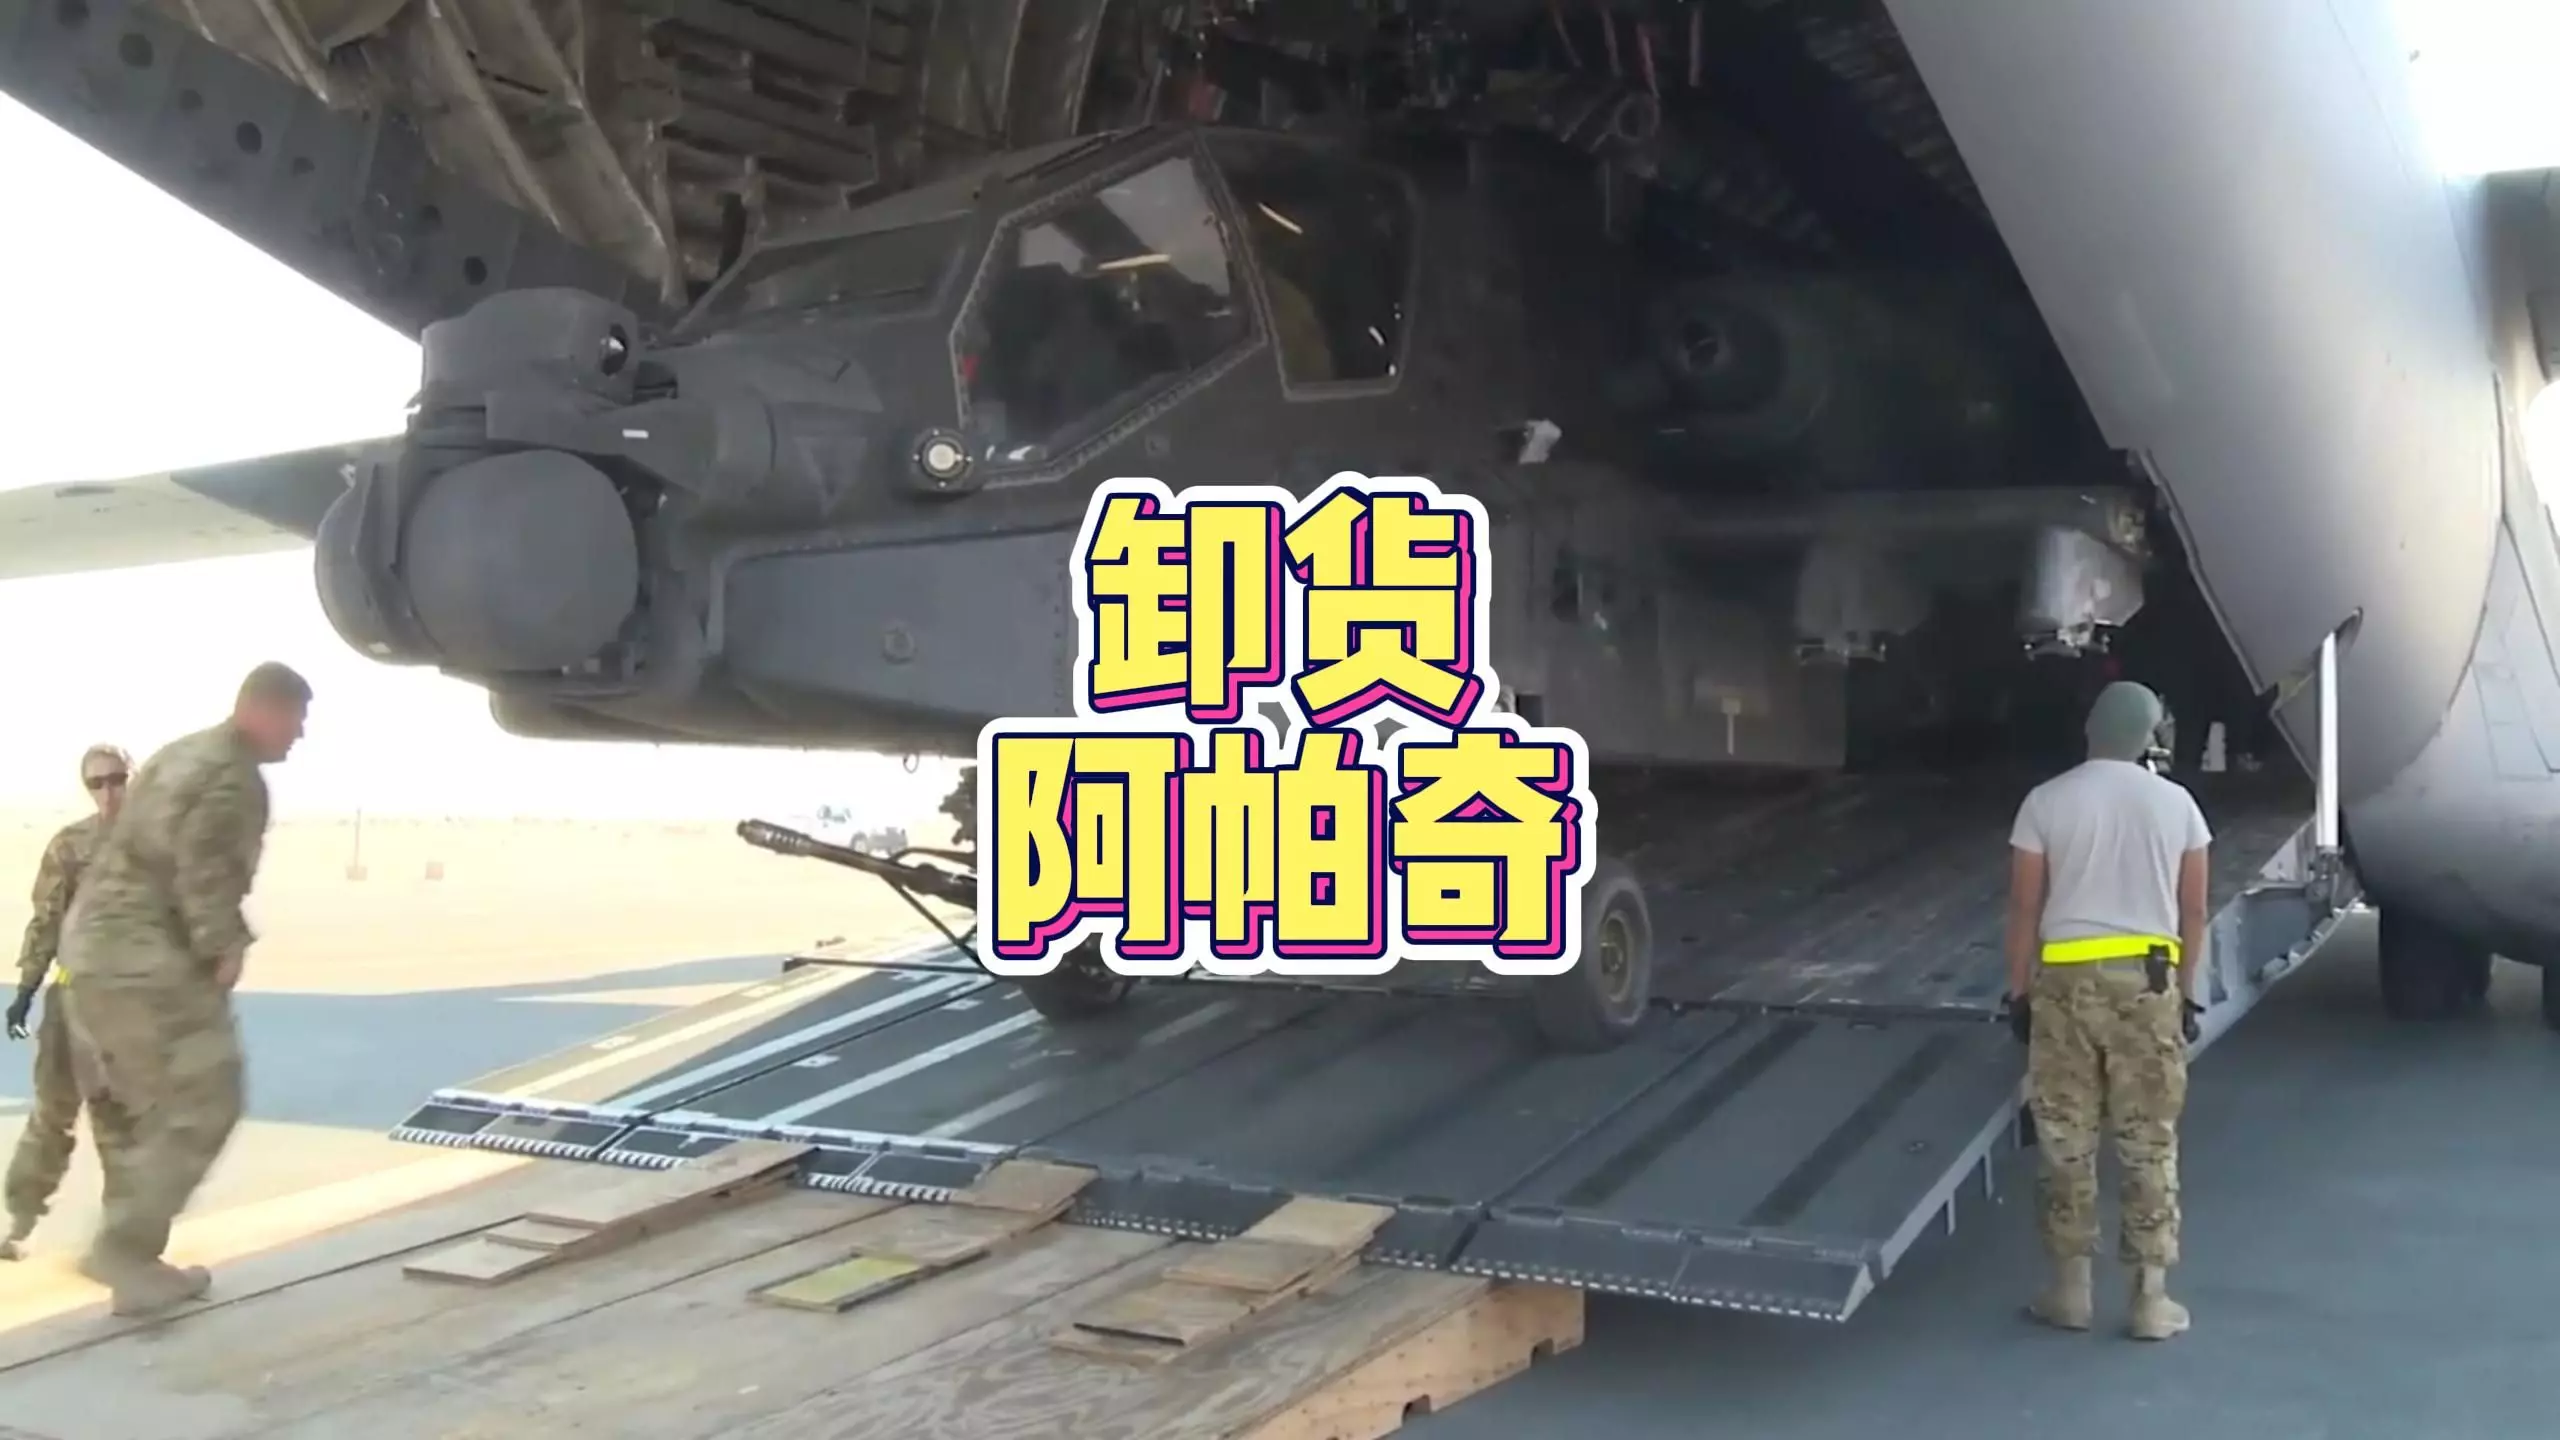
军事科技 Squad 战术小队的最新视频 卸货阿帕奇
把阿帕奇从C17上卸下来需要分几步呢?
2025-11-18 00:520赞 · 0评论
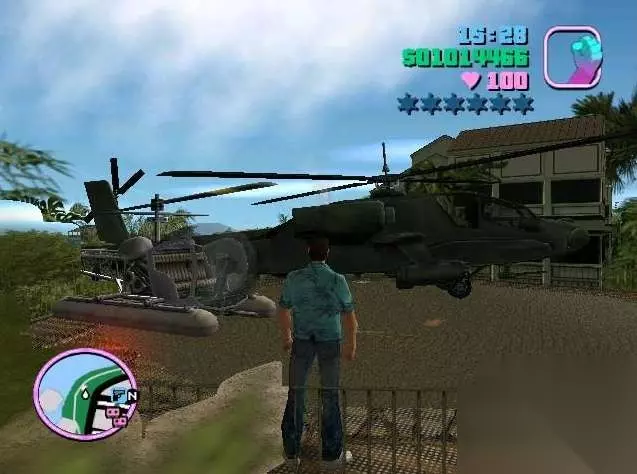
侠盗飞车罪恶都市飞机 罪恶都市开飞机秘籍和指令技巧 怎么开飞机进军事基地
侠盗飞车:罪恶都市这款单机游戏是不少小伙伴的童年回忆,其中比较有意思的是这款游戏的玩法非常的流氓,可以抢车,可以让一群美女跟着你,还可以打爆各种车辆,甚至还可以…
2025-11-06 08:590赞 · 0评论
命令与征服 当我玩《先发制人》时belike:
-
2026-05-09 20:020赞 · 0评论

命令与征服 在2025年玩到把C&C和红警融合到一起的RTS新作是一种什么体验
《风暴崛起》初公布的时候看起来就是个C&C精神续作,但实际玩到后发现其实这款游戏还融合了其他几款RTS游戏的一些设计,同时还有点自己的想法。
2026-05-09 18:380赞 · 0评论
变节者x 《变节者X》正式版免费发布 致敬命令与征服饭制
《变节者X:黑色黎明》(Renegade X)是由Totem Arts工作室基于虚幻3 UDK引擎开发的变节者次世代平台续作,于2012年1月28日登陆PC平台…
2026-05-06 03:100赞 · 0评论

暂无更多
最新更新
- 《命令与征服™:重制版》-视频介绍
- 攻击直升机指南 — Here's a list of how many Helicopters are needed to destroy each unit and struct…
- 秘密蚂蚁任务 — 如何获取秘密蚂蚁任务【来自红色警戒】。 操作步骤: 在主菜单界面,按住Shift键并左键点击屏幕右上角的扬声器图标。
- 如何提取《命令与征服》的重制版音乐 — 允许用户在不打开游戏的情况下播放音频文件。此方法会提取位于《命令与征服™ 重制版合集》文件夹中的Music.MEG文件。 如何从《命令与征服》中提取重制版音乐 …
- 命令与征服:重制版 - 秘密游乐园恐龙战役(困难难度) — 你将找到在《命令与征服》的【趣味公园恐龙战役】困难难度下解锁秘密任务并通关所需的一切内容。如何解锁
- 通用提示:全球防御组织 — 我尝试给出一些提示,先从GDI的通用提示开始。 这是我的第一次尝试。 GDI通用提示: 基地防御建设: 良好的基地防御至关重要。 从防御稳固的基地出发,能更好地…
- 间谍渗透效果 — Guide about what happens when you infiltrate certain types of buildings with the…
- 《红色警戒:重制版》苏联战役(困难难度) — 你将找到在《红色警戒 重制版》主线战役中以困难难度完成所有苏联任务所需的一切。 享受游戏! 苏联战役攻略合集 任务1:浴血教训
- 如何开始玩隐藏任务 — 关于: 如何在泰伯利亚黎明篇和红色警报篇开始玩恐龙和蚂蚁的隐藏任务。 恐龙:泰伯利亚黎明-游乐场任务 1. 启动【命令与征服:复刻版】,进入泰伯利亚黎明篇。
- 泰伯利亚黎明触发器机制详解 - 它们的真实运作方式 — Anyone who has messed with scripting in Tiberian Dawn, and has done some slightl…