换一换
换一换 


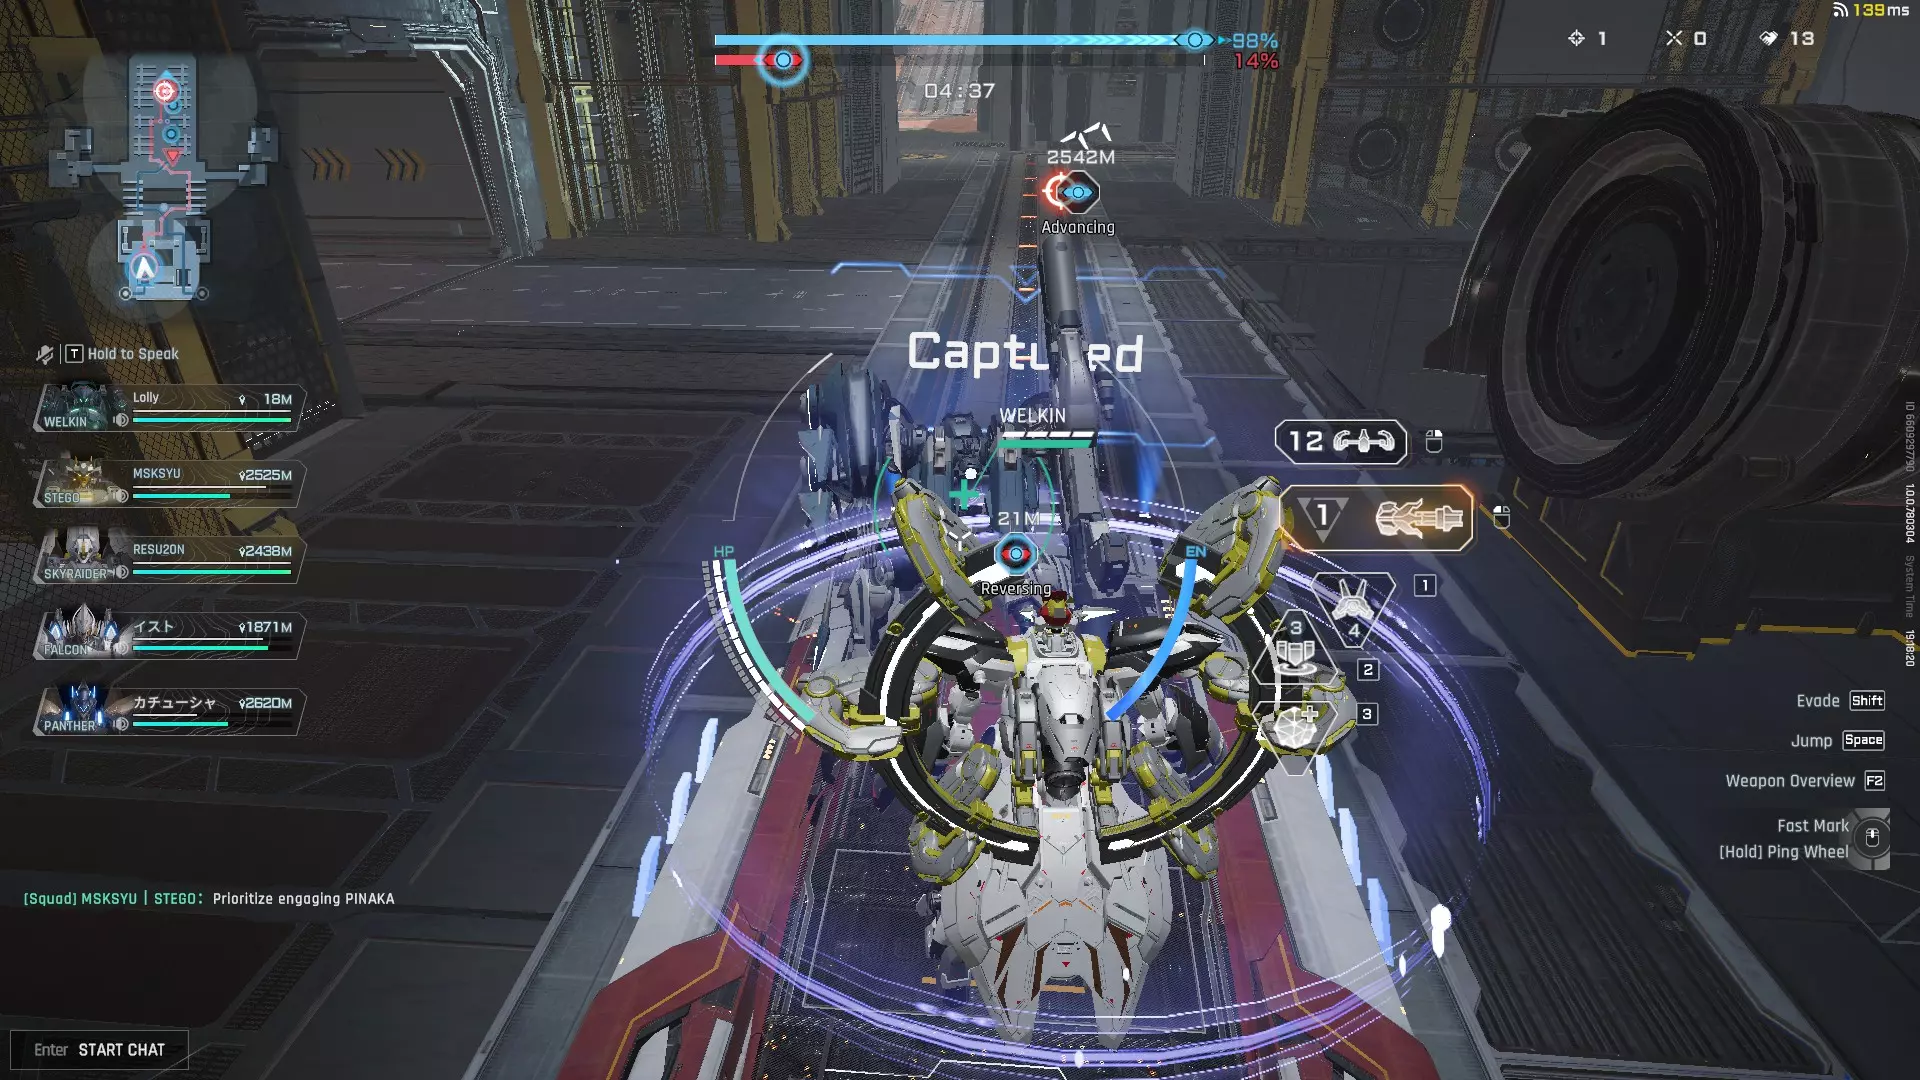
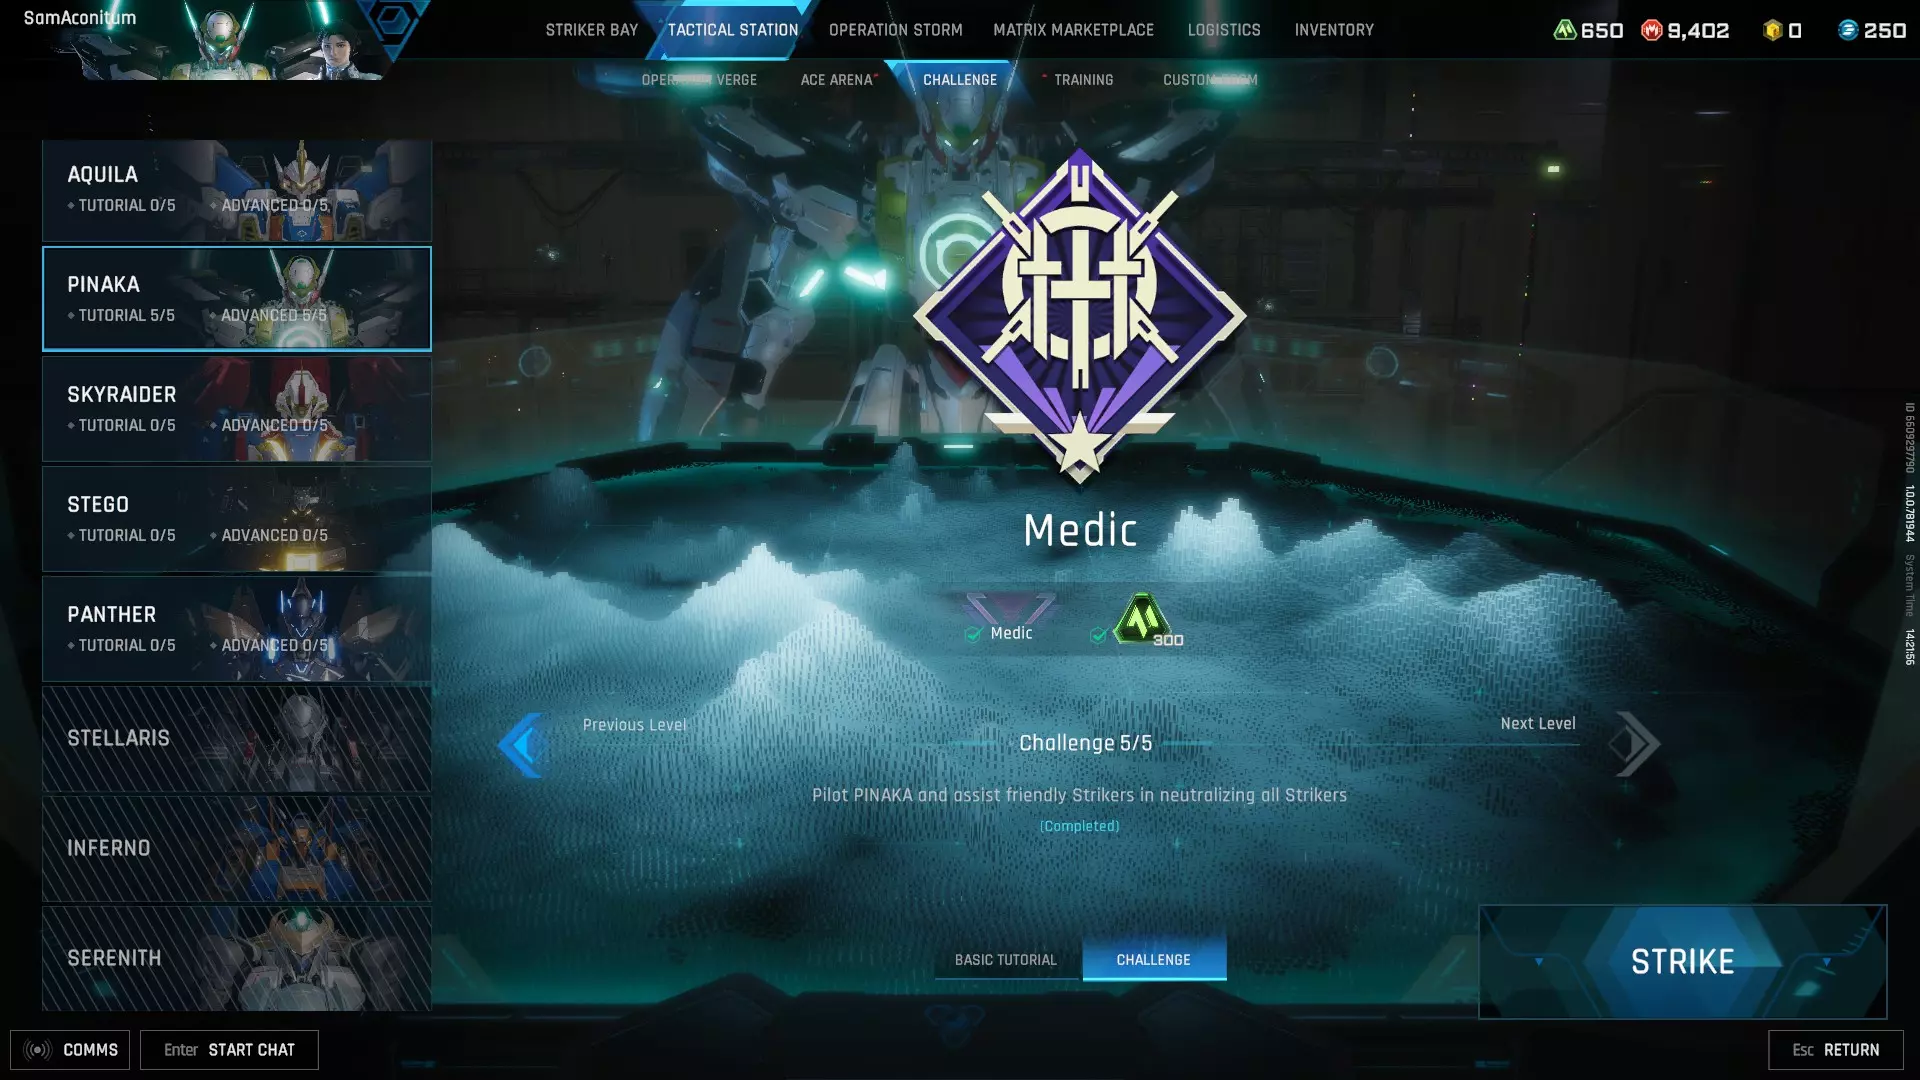
关于如何高效驾驶Pinaka的全面指南 简介 MHI-XT31 Pinaka是一款中型支援突破战机,主要用于修复友军和提供掩护。但它的作用不止于此。如果操作得当,只要团队听从你的指挥,它将成为团队获胜的关键。
武器系统 快速修复抓钩(RRG):鼠标左键
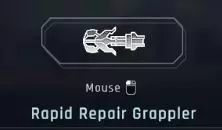
这是你修复盟友并拉向他们的主要工具之一。首先,你需要锁定盟友才能发射抓钩并修复他们。看向别处或远离盟友会中断抓钩。抓钩连接时再次按下按键可将你拉向盟友。 紧急支援无人机(ESD) 数字键3
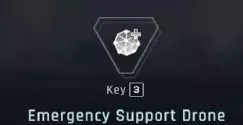
我们将先介绍ESD,再介绍分裂器,因为这两者协同工作。激活ESD后,会在你的突击者周围生成一个气泡护盾,同时恢复你的生命值。它可以防止近战攻击造成的击退,并且在承受某些攻击时相当耐用。不使用时会自动充能。瞄准队友释放ESD,可以为他们提供护盾和修复效果,同样能防止他们被击退,帮助他们承受更多伤害。 分裂器:右键
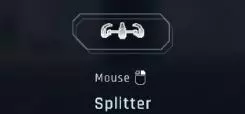
分裂者是你攻击敌方突击手的主要工具。它有12发弹药,每发弹药会发射18发霰弹激光,在近距离非常有效。分裂者与ESD相连,所以如果你将ESD派往盟友处,你将无法攻击前方的敌人,但可以使用分裂者协助盟友。它会朝盟友正在瞄准的目标开火。 修复无人机【数字键1】
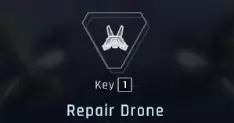
按下对应按键可部署一架自主维修无人机,它会飞向任何受损且需要维修的友军单位。该无人机拥有4次使用次数,最多可同时有2架无人机维修1名友军突击单位,以提升维修效率。 【掩护空投套件(CAD)】数字键2
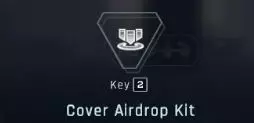
This is the best kit for Pinaka! It will drop a very durable cover and it can deal direct damage against enemy strikers. It has 3 charges. It can be stacked to create a taller cover. Keep in mind that it takes like 1 second for it to deploy so place it in advance. How to effectively play Pinaka Pinaka is more than just a support healer, it can provide cover, deal good damage, and become an annoying bait. It is the best striker for doing objectives while repairing allies. Always stay at the ground no matter what! Use the terrain to your advantage! Only use ESD to yourself when needed. Always use it to help your allies escape melee onslaught. Dont use ESD as your primary tool for healing allies. use it on shielding them when dealing against melee strikers. always use your drone and RRG to repair allies. only use your ESG to repair the ones that are far away such as aquila, skyraider, and falcon. Always stay close to your allies. Use them as a distraction in order to do objectives. Place CAD ahead of you when being chased by enemies. There's a good chance that the CAD will land at them, damaging and staggering them. Use CAD to give yourself a breathing room when capturing objectives. Both ESD and CAD can bypass both ally and enemy Welkin’s Domain Expansion box. Use this info to your advantage. Always be on mobile but don’t overuse your boost, losing energy will cost you a lot! ESD can heal and shield allies, but it can also help them damage enemies greatly. always prioritize your ally melee strikers when using ESD on allies, it helps them survive more and you can also contribute on damaging the enemy they are dueling against. Only execute enemy strikers when you are in a safe area or otherwise, you will lose a lot of HP since you are not invulnerable while performing. prioritize healing who are close to you, dont chase allies who are low on health. create a "breathing spot" with your CAD so you can heal allies safely. Keep in mind that your drones and ESD will fly back towards you when they are far away. While your splitter and CAD can deal good damage, its not enough to outright destroy the medium to heavy strikers so use it sparingly. go all out if the match is a TDM. if you are planning to use CAD to attack enemies, use it sparingly especially on the objective base match. focus on using CAD for giving allies and yourself some breathing room for doing the objectives What to do in specific game modes Escort Payload - Palmbay Harbor; Longmen Launch Site Payload is one of my favourite game modes in Mecha Break. Make sure your allies have Welkin, and Tricea/Stego in this mode. Keep those two healthy. at the start of the match, enemy payload is on the opposite side of where you start, while placing a CAD in between you to create cover against enemy fire, it can potentially block your ally Stego or Tricera so place CAD carefully at this time. After the first capture objective in payload(capturing this will boost your payload movespeed for a couple of seconds), wait till all of the enemy strikers are spread out. Once they are spread out, communicate with your Welkin and head towards the enemy payload to prevent it from advancing. With just Pinaka and Welkin, it can handle 2-3 enemy strikers as long as the 3 of them aren't all melee strikers. They will focus on Welkin so assist Welkin using ESD and CAD. When the enemy starts focusing on you, just get close to Welkin so he can go ahead and beat them. When done properly, the enemy won’t bother their own payload and will try to disrupt your own payload. In this part, you can go check on your own payload while helping allies and come back to enemy payload when Welkin is facing multiple enemy strikers and is having a hard time.
Point Capture (the one with A, B and, C) - Kraub Sinkhole; Poseidon Armory At the start, only A is capturable and is placed at the middle of the map. Watch how the battle unfolds and keep your allies healthy, use CAD to provide cover and ESD to save your allies. Always deploy your drones so it will automatically heal anyone that is damaged. Use CAD to safeguard both you and your allies from capturing the area. After a while, area B and C can now be captured, most of the enemies and allies are still contesting A, use that to your advantage and capture either B and C. Always use CAD on giving you cover on capturing the area. Use your CAD and splitter on disrupting enemy capture. Extractor Dismantle - Cape Blanc Observatory; Stella Observatory Island Same as point capture, but be warned, I experience when every enemy are focusing on me due to me being the only one doing the objective while the rest of my allies are playing TDM in Extractor dismantle. Data key Capture - Eye of Misra; Vigil Imbrium Same as capture, but this time, save your ESD when uploading the data key and also use it to support allies who got the data key. Team Deathmatch - Gracelynn Skycity; Babylon Sky Fortress Pray to god that all your team are using tanky strikers in your team, stay close to everyone and keep everyone healthy. Healers have it bad in this mode as one who’ll die very quickly if left unattended to melee strikers. Which Strikers to team up with Always team up with the tanky strikers such as Tricera, Stego, and Welkin. Keep them healthy for a better overall chance of winning. What to do when facing enemy strikers Most of the time, you will be running away from enemy strikers since you don't have enough firepower to completely destroy them most of the time. You must rely on your teammates to fully destroy them. This is what you need to do in order to escape/survive their attacks. Remember to stay on the ground most of the time. Alysnes and Panther When you get caught in their melee attacks, immediately use ESD to prevent you from getting staggered, use the terrain to evade them, and when they are still chasing you, drop CAD in front of you, there's a high chance you can hit them. Even if you don’t land it on them, it’s still a great tool for blocking them. Welkin When he caught you with his box, immediately use your ESD to survive his onslaught. If you are on the ground, place CAD to increase your survival chance. Welkin's spin attack will make him grounded and can't target when you are flying. You can break free from hix box by shooting at it. Narukami and Aquila They are sniper type strikers so you won't really be able to counterattack them at all but their sniper shots can be easily blocked with your CAD. you can hunt down narukami on TDM if you have an ally falcon/serenith who is hunting narukami down, and can easily be destroyed with your CAD if you catch narukami off guard. Falcon and Skyraider You can’t really touch them since they will always be in the sky flying around. If you manage to catch them losing too much energy, your splitter can inflict enough damage on them, especially Falcon. If you are being chased by them, just use your ESD and CAD. Tricera Based on the advanced challenge, Tricera is the only one you can kill with ease. Tricera’s fortress mode locks him in place and can be hit with CAD easily for big damage. His vertical aim is very limited so fly on top of Tricera and unleash your splitter on him to make him move away. Stego A much more annoying version of Tricera thanks to its haze diffuser, the only difference is that he has an even more limited aiming on both vertical and horizontal. Harass him from the side or behind with your splitter or use CAD to make him run away. Hurricane In my opinion, hurricane is quite weak. when you spot it alone, you can pretty much kill him with ease. simply use ESD and stay close to him while attacking him with your splitter, it takes 10 splitter ammo to fully kill a hurricane. Inferno Use your CAD to block the focused beam cannon since it hurts a lot. Luminae Another striker that you can harass without trading much damage. Make Luminae waste its Smokescreen and Luminous wings on you then run away. Pinaka This is a Pinaka guide so you probably know what Pinaka can do. Just ignore him since both of you can't really deal much damage to one another. I think you can stack your own CAD on an enemy Pinaka’s CAD but still needs further testing. Stellaris The filthiest, overly kitted striker in the game. Watch your surroundings and always fire your shots and the objective since Stellaris has stealth and might be capturing objectives. Best thing to do is be the bait and make him waste his energy on you. If you have a Welkin ally, communicate with them since it can be the one to 1v1 a Stellaris with ease. so i've been improving my skills on piloting pinaka, you can 1v1 a stellaris with ease if you have your ESD at full hp, simply bait him from combo-ing you while your ESD is up and unleash your splitter at him. if done right, you can kill a full HP stellaris. Serenith Your worst enemy ever. Another overly kitted support striker. It artillery can bypass your CAD since it's an orbital laser that fires from the above. He can put a grapple on you and hacks your IFF, making you unable to target allies since they are marked as enemies and potentially ends up healing enemy Serenyth. Best thing you can do is avoid fighting him at all cost and pray that your allies target it. Advance Challenge guide for Pinaka Challenge 1 - Escort ally striker towards destination Enemies: multiple big striker with big hammer axe, multiple large beam cannon, multiple missile launcher turrets. Ally: Stego (escort target) Your goal here is to safely escort an ally Stego. You first encounter the big striker and 2 large beam cannons. Head first and let the large beam cannon target you, they will keep targeting you so focus on keeping your Stego alive. Use CAD to block the large beam cannons but be careful not to block the Stego. You can also use CAD to block the tunnels, preventing the big strikers from chasing you. The large beam cannons are indestructible so don't bother trying to destroy them. The big striker can be destroyed but it takes a while so don't bother much. The missile launchers can be destroyed. Challenge 2 - Activate all beacons Enemies: 3 sniper strikers, 1 Panther, 1 Welkin Timer: yes The 1st beacon has 3 sniper strikers, use your CAD to create a cover while capturing the first beacon. The 2nd beacon has a Panther guarding it. Place a CAD near the beacon and bait the Panther to attack you while behind CAD, if successful, he will keep attacking the CAD while you safely capture the beacon. The 3rd beacon has a Welkin on it, don't worry, the Panther won't follow you when you move to this beacon, do the same strat with the Panther. Challenge 3 - Prevent enemy strikers from capturing the beacon Enemies: 1 Welkin, 1 Stego, 1 Hurricane Allies: 1 Welkin, 1 Hurricane Timer: 3 minutes (or was it 2?) This one is a bit difficult so it might take a couple of tries in order to succeed. The beacons are located at the middle, left side, and right side. First thing you gonna need to do is let your allies take the aggro before going in to assist them. The big threats here are the enemy Welkin and the Stego. Since the fight is happening in the middle, no need to worry much about it being captured. Keep in mind that Welkin and Hurricane will try to capture the beacons on the side. Just hit them once with CAD and they will go full aggro on you. Being able to destroy the 3 enemy strikers will complete the challenge. Challenge 4 - Destroy Tricera and Inferno Enemies - Tricera, Inferno Timer - 3 minutes (or was it 2?) At the start, only Tricera is present and after 15 seconds or something like that, Inferno will appear. Tricera is quite intimidating due to its firepower but it's quite easy to destroy. First, immediately use your ESD and fly above him, he won't be able to target you so keep damaging him with your splitter and CAD, he will try to reposition so just chase him till he is destroyed. Inferno one is tricky due to his booster ability that makes him easily dodge attacks. Best thing you can do is force him to the walls and drop CAD. It takes like 3 CAD drops to fully kill him. Do be careful or you will end up stacking the CAd instead of damaging Inferno. Challenge 5 - Destroy all enemy strikers Enemies - 1 Welkin, 1 Inferno, 1 Luminae Allies - 1 Alysnes, 1 Hurricane Timer - 3 minutes(or was it 2?) Keep your ally Alysnes alive and deal with the Welkin first. Don't worry much about Luminae since your team can destroy Luminae quite easily. The real threat here is the Welkin. Destroy Welkin and the rest are easy to destroy. CONGRATULATIONS! You now have completed Pinaka advance challenges!
作者的话和一些闲聊 大家好,我是Sam Aconitum。这是我写的第一份前锋指南,也是我制作的第二份Steam指南(我之前为《英雄班级2》写过一份)。 一开始,我真的很讨厌Pinaka,因为队友总是选择输出型前锋,没人愿意玩辅助治疗角色,所以我总是被迫使用这个前锋。如果我不选Pinaka,队伍里就没有治疗,我们往往会输掉比赛,我也会因为没选Pinaka而深深自责。 随着时间的推移,我渐渐习惯了Pinaka,甚至到了喜欢上这个前锋的地步。我想把我玩这个前锋的心得分享给所有想学习使用它的人。
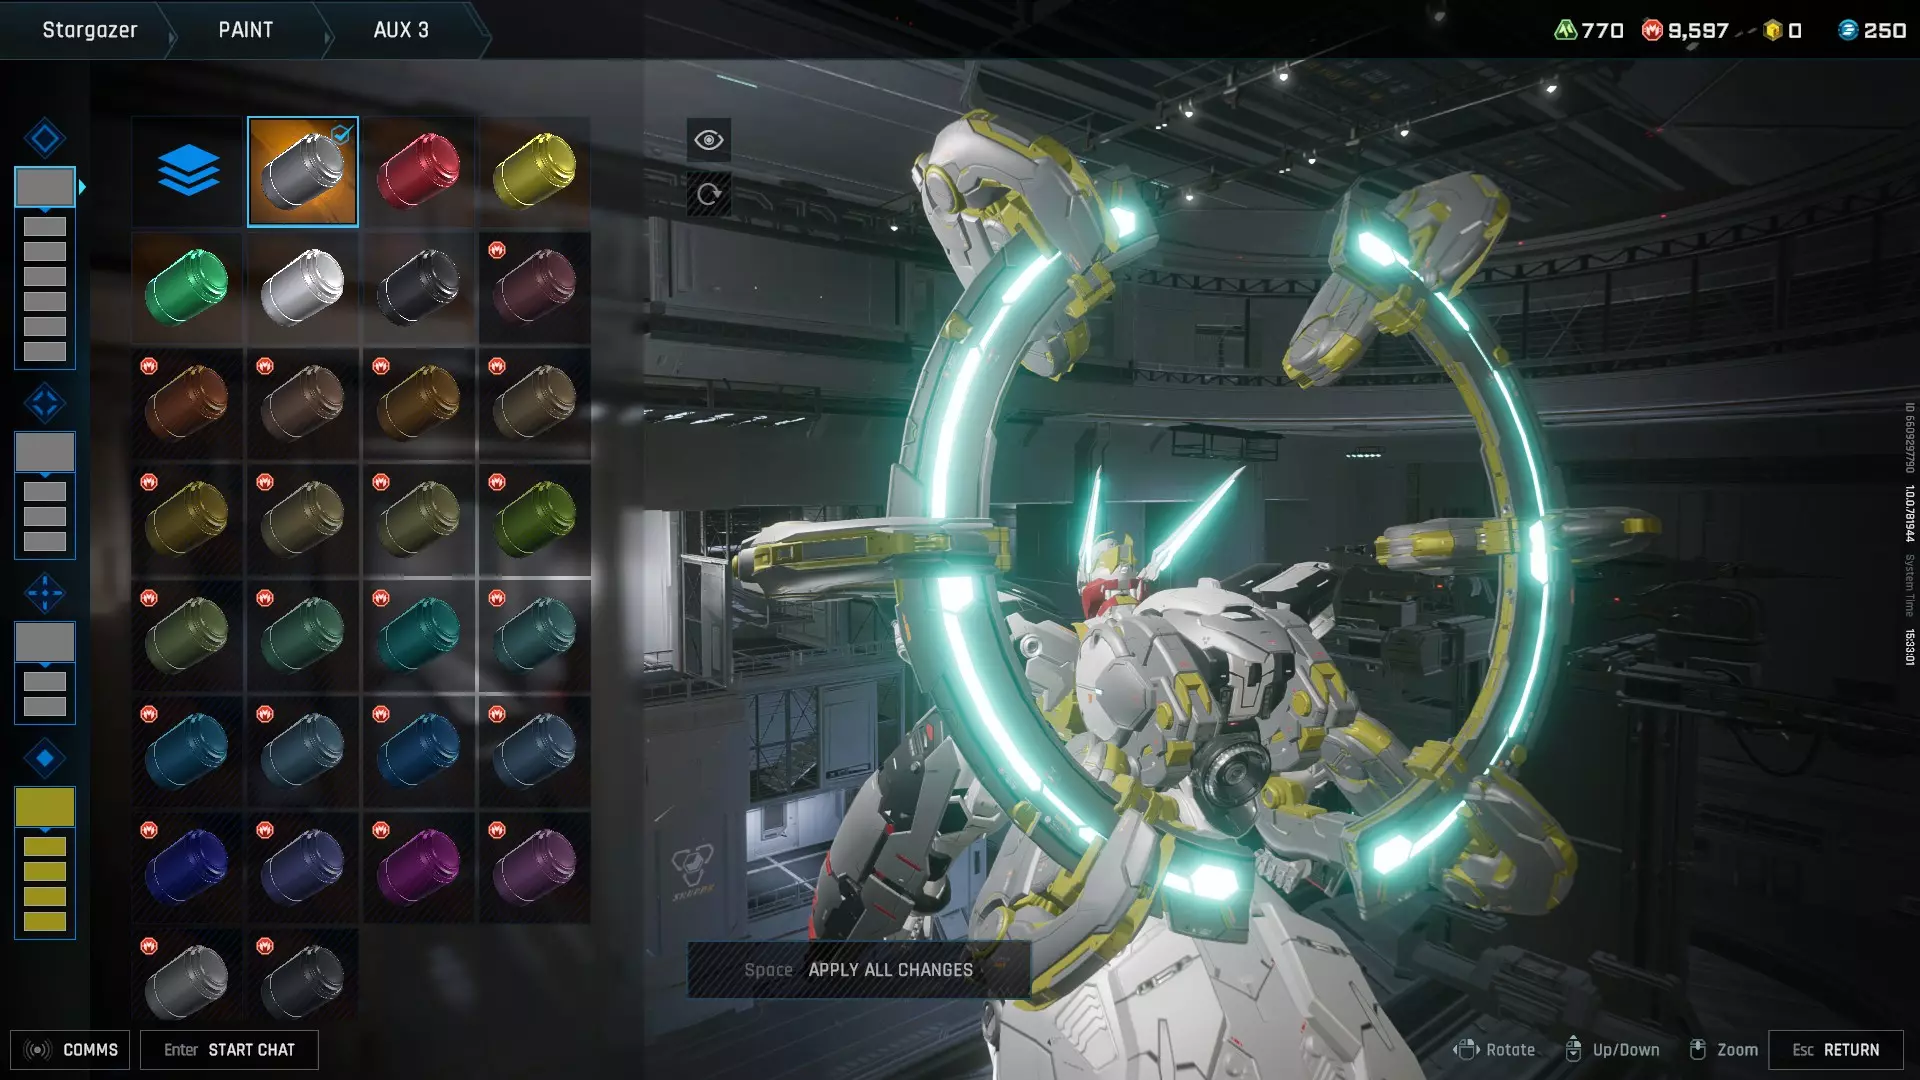
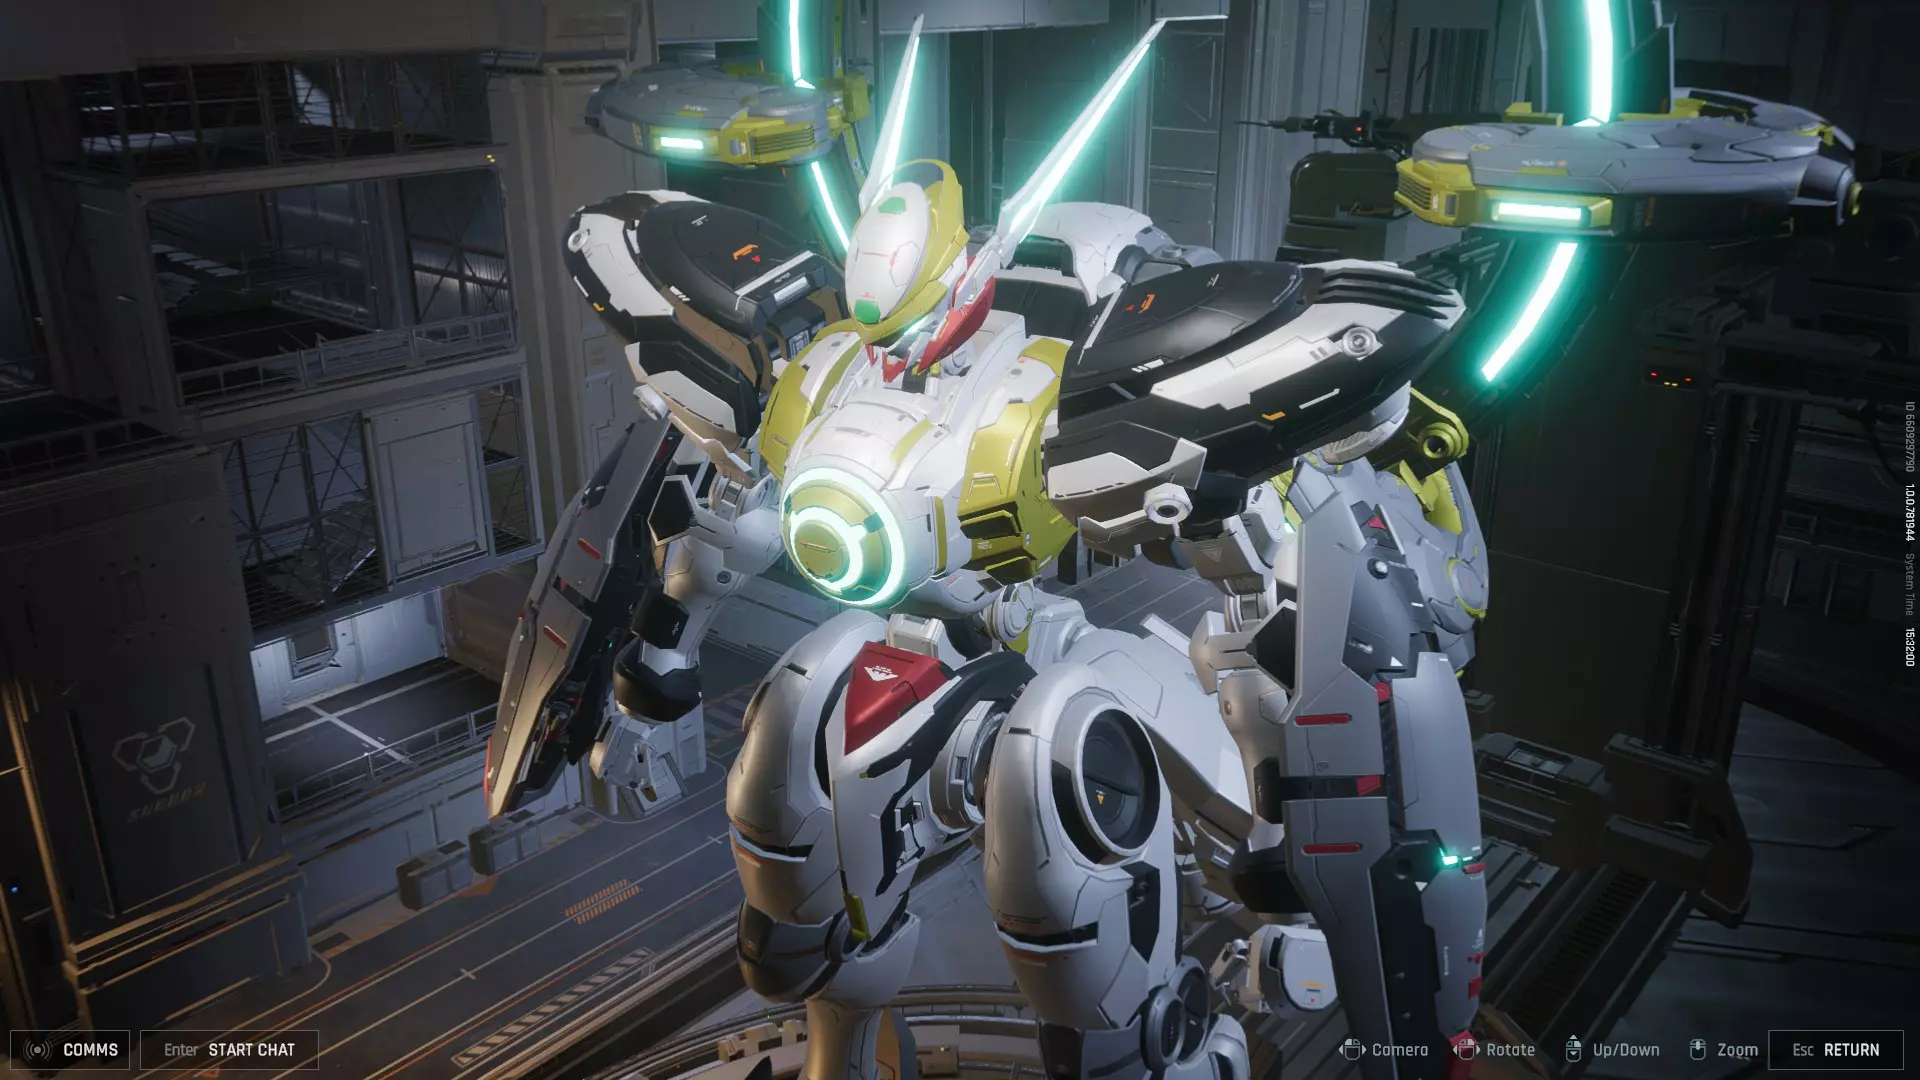
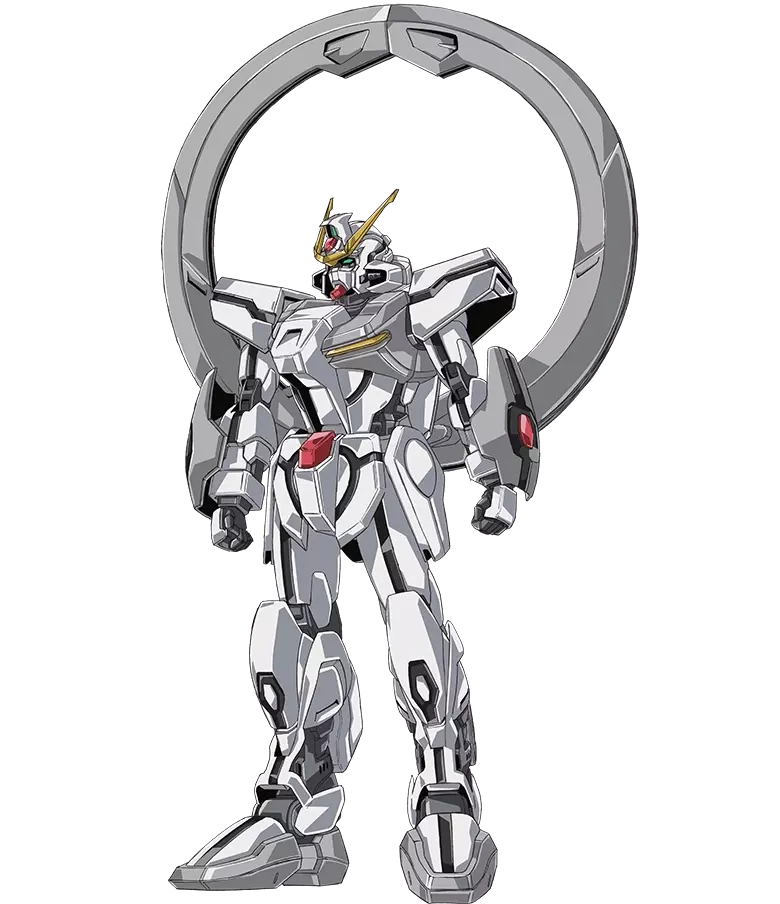
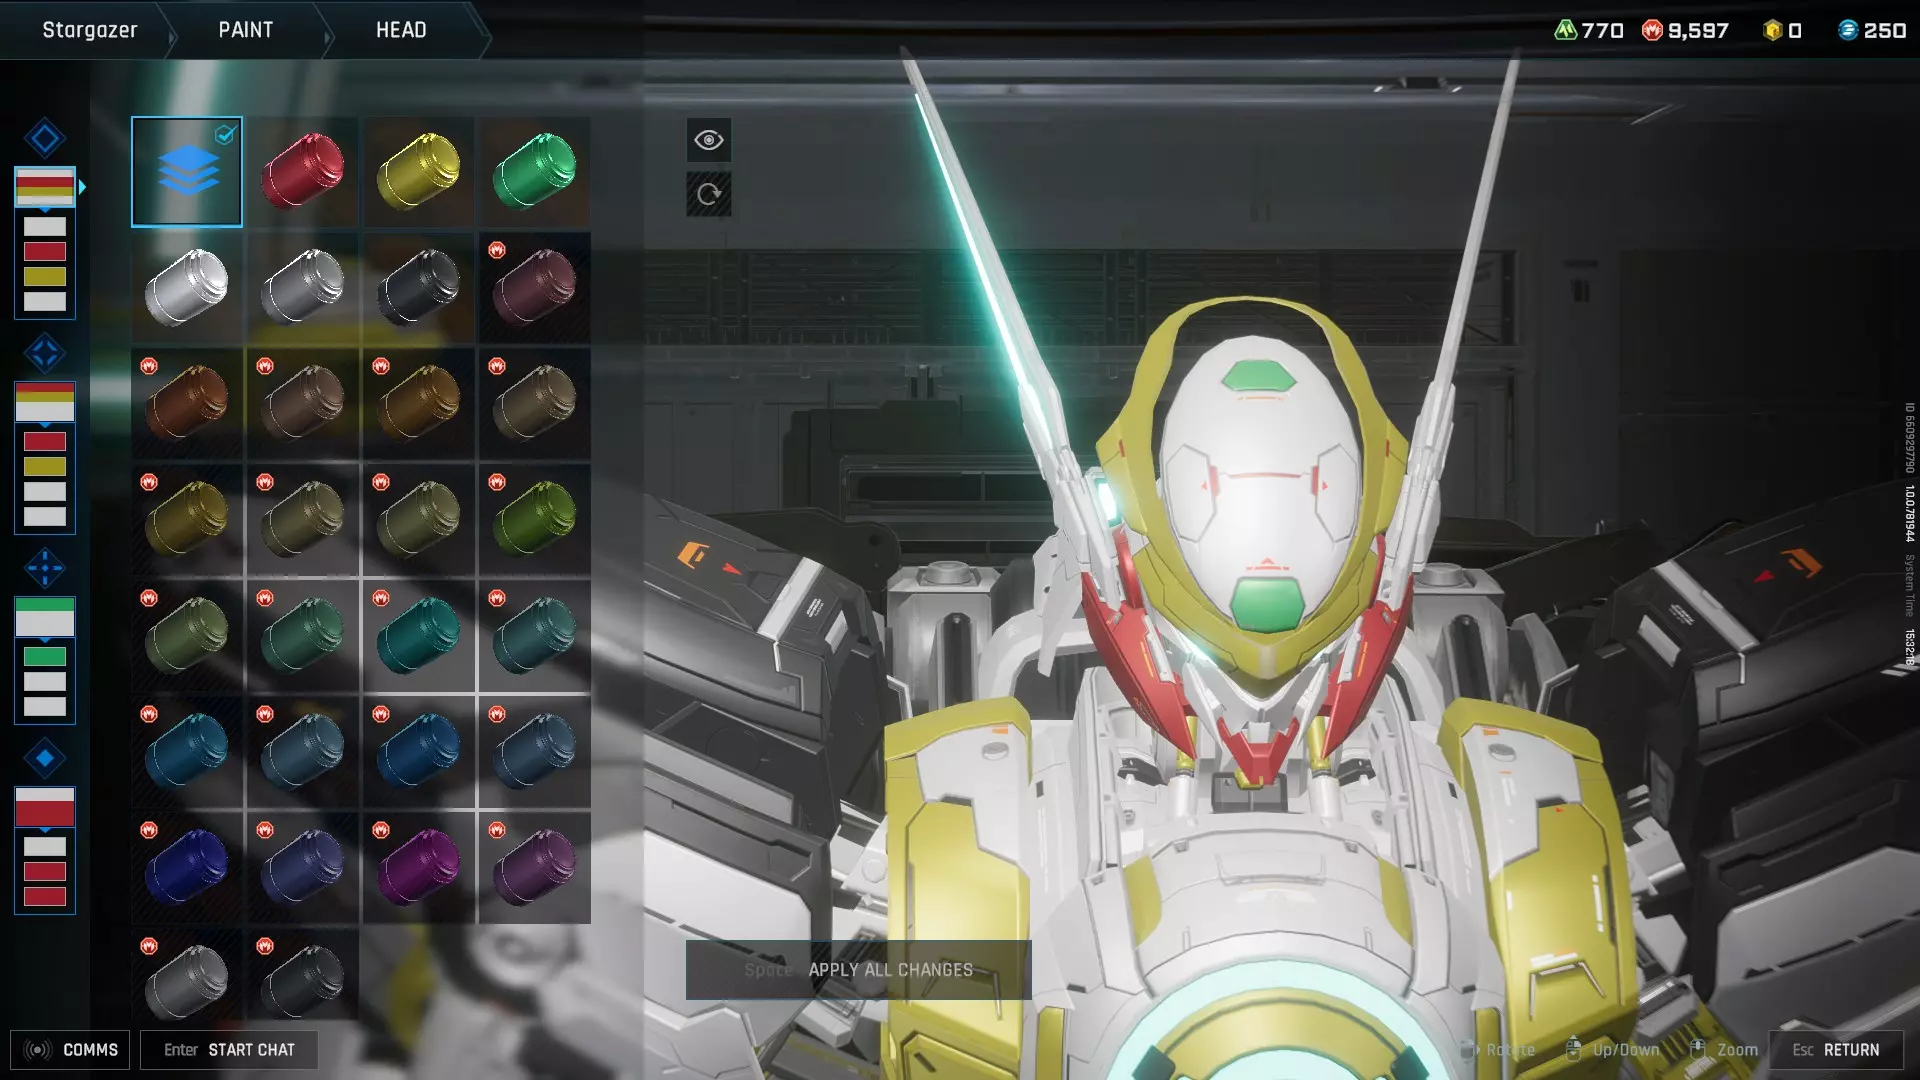
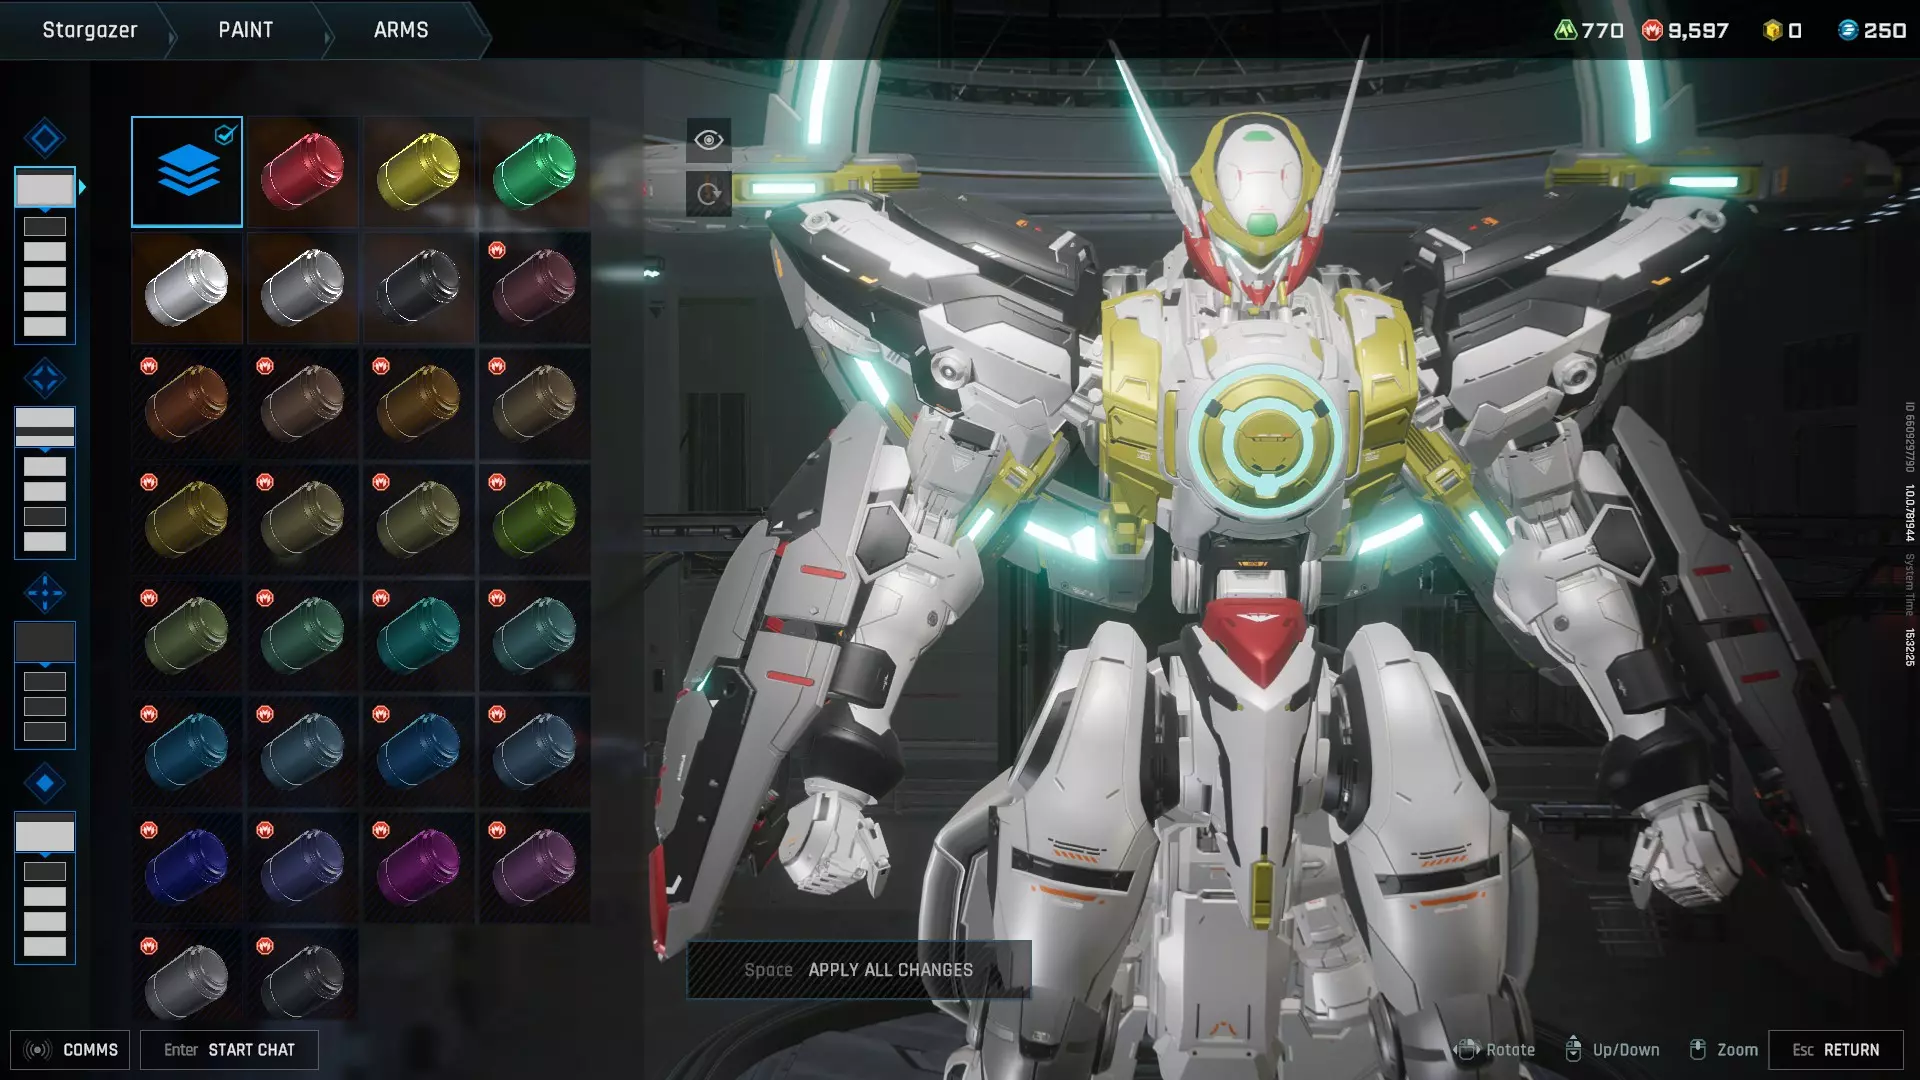
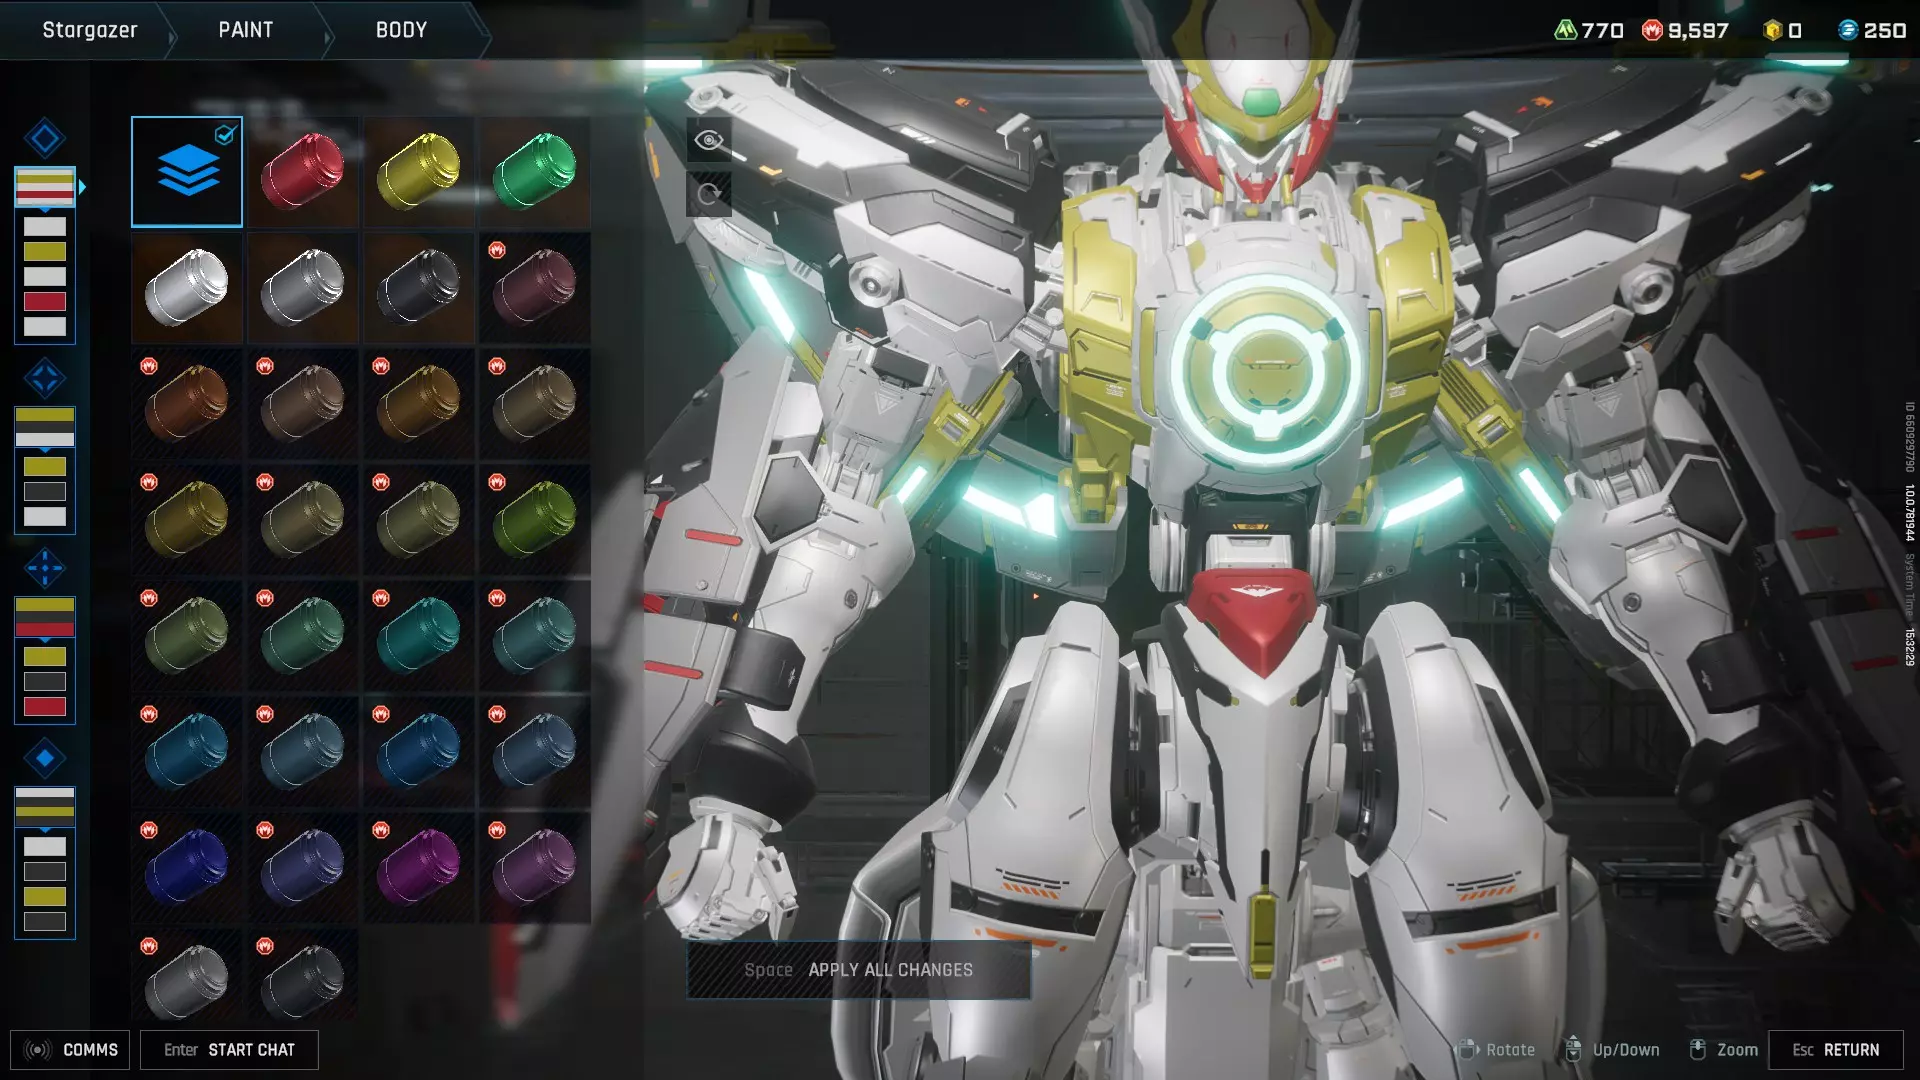
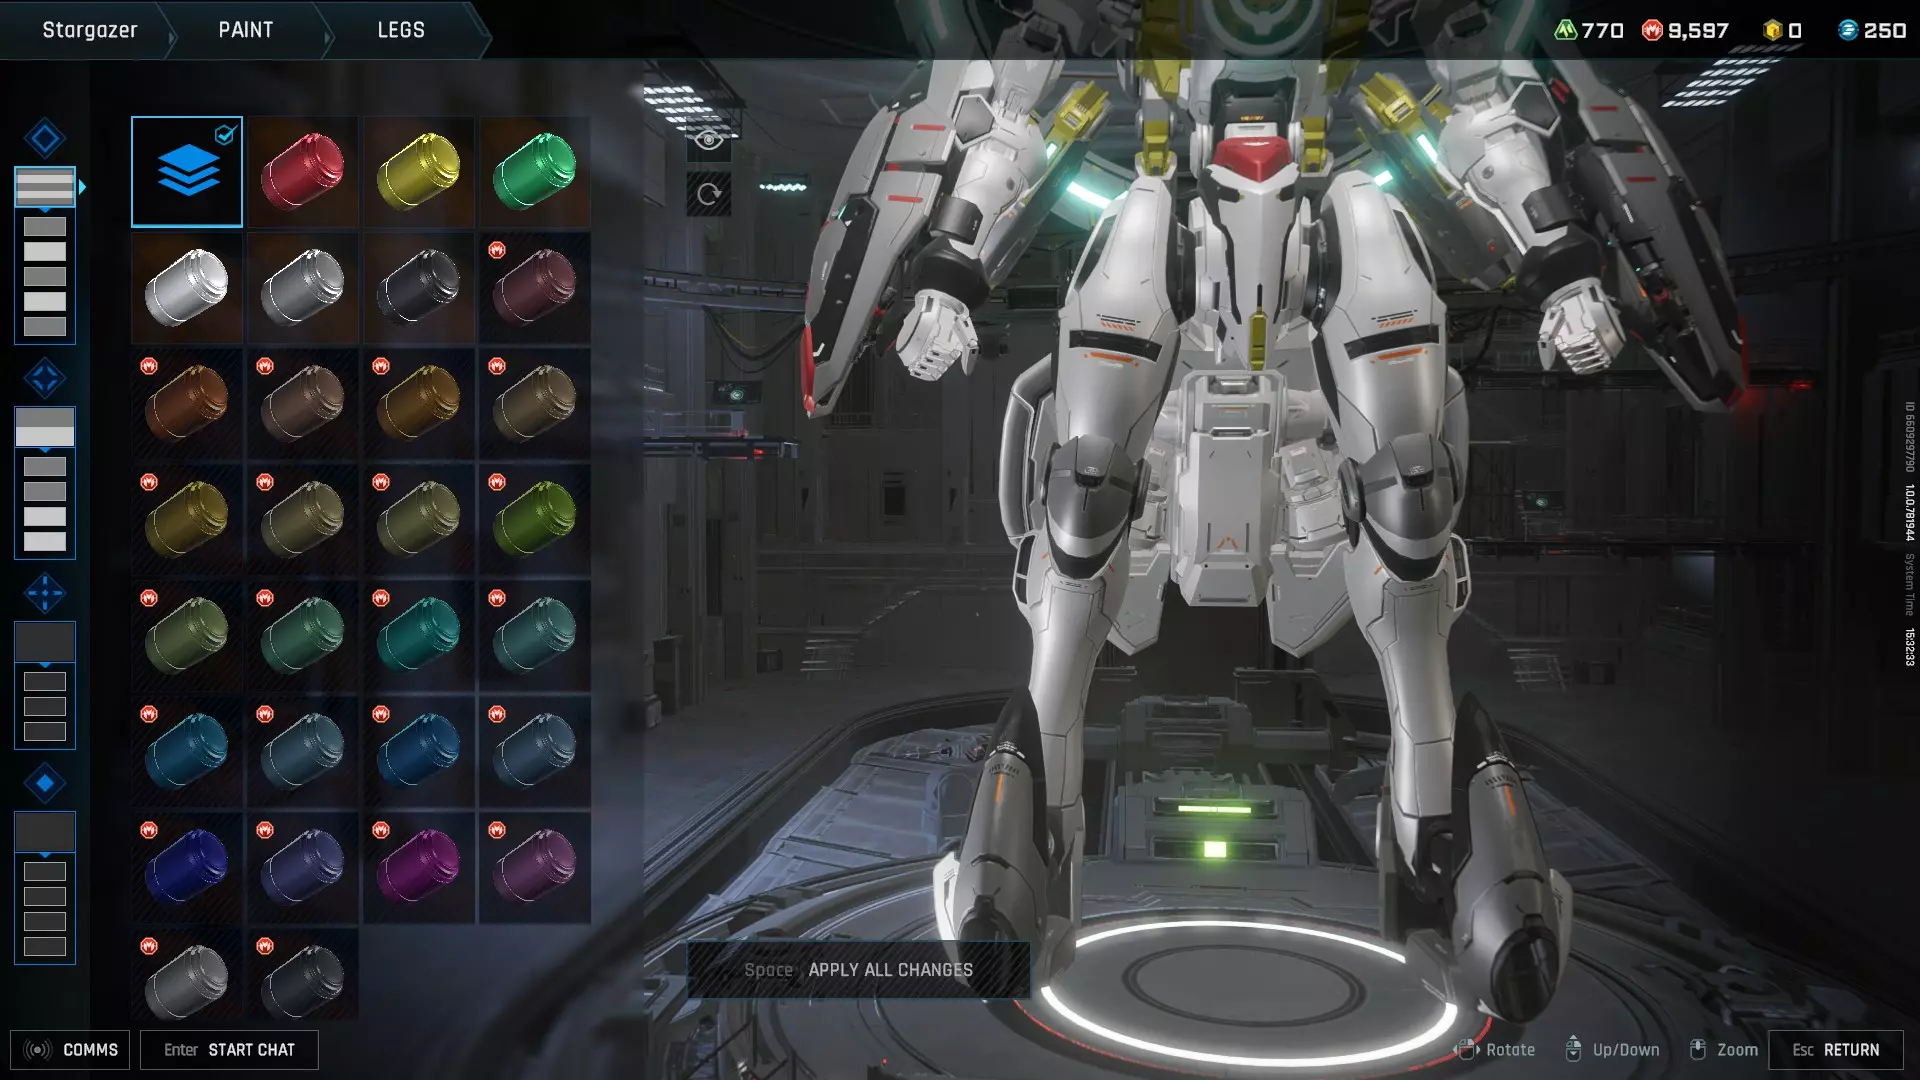
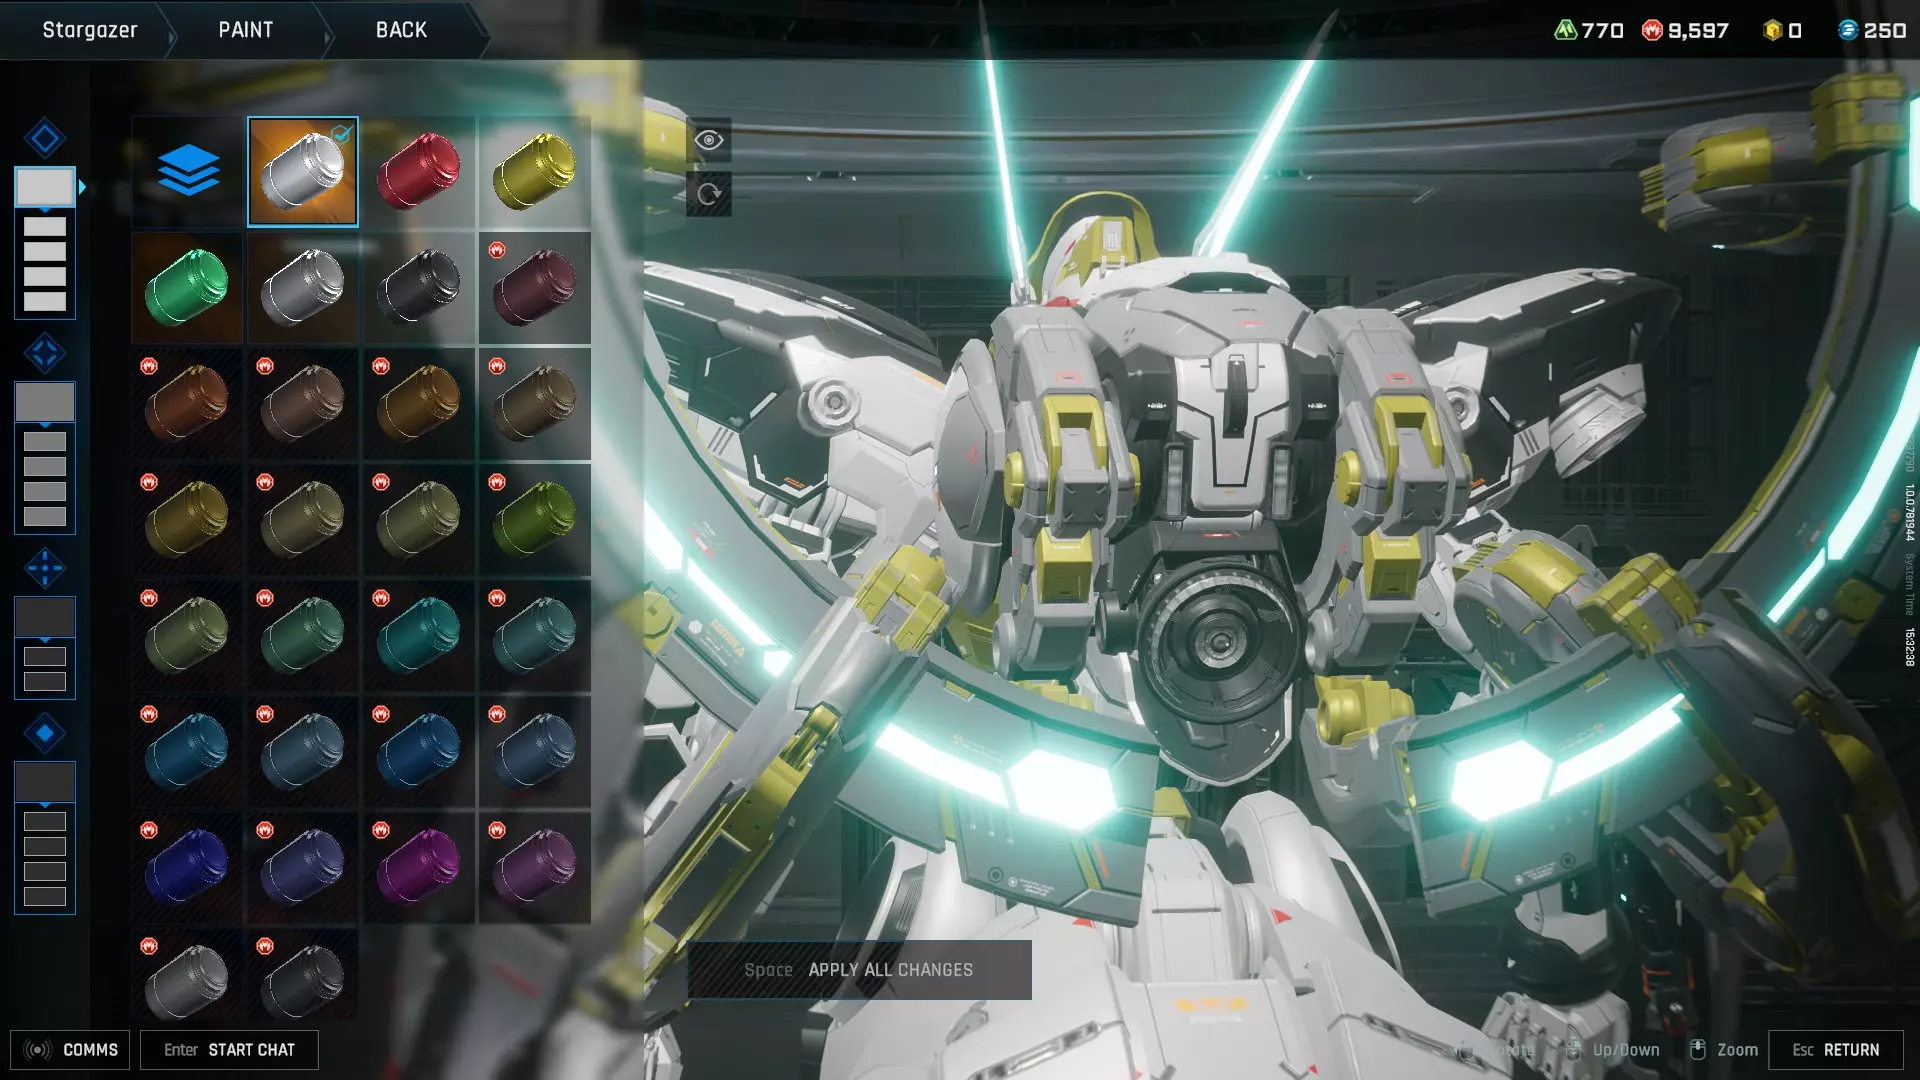
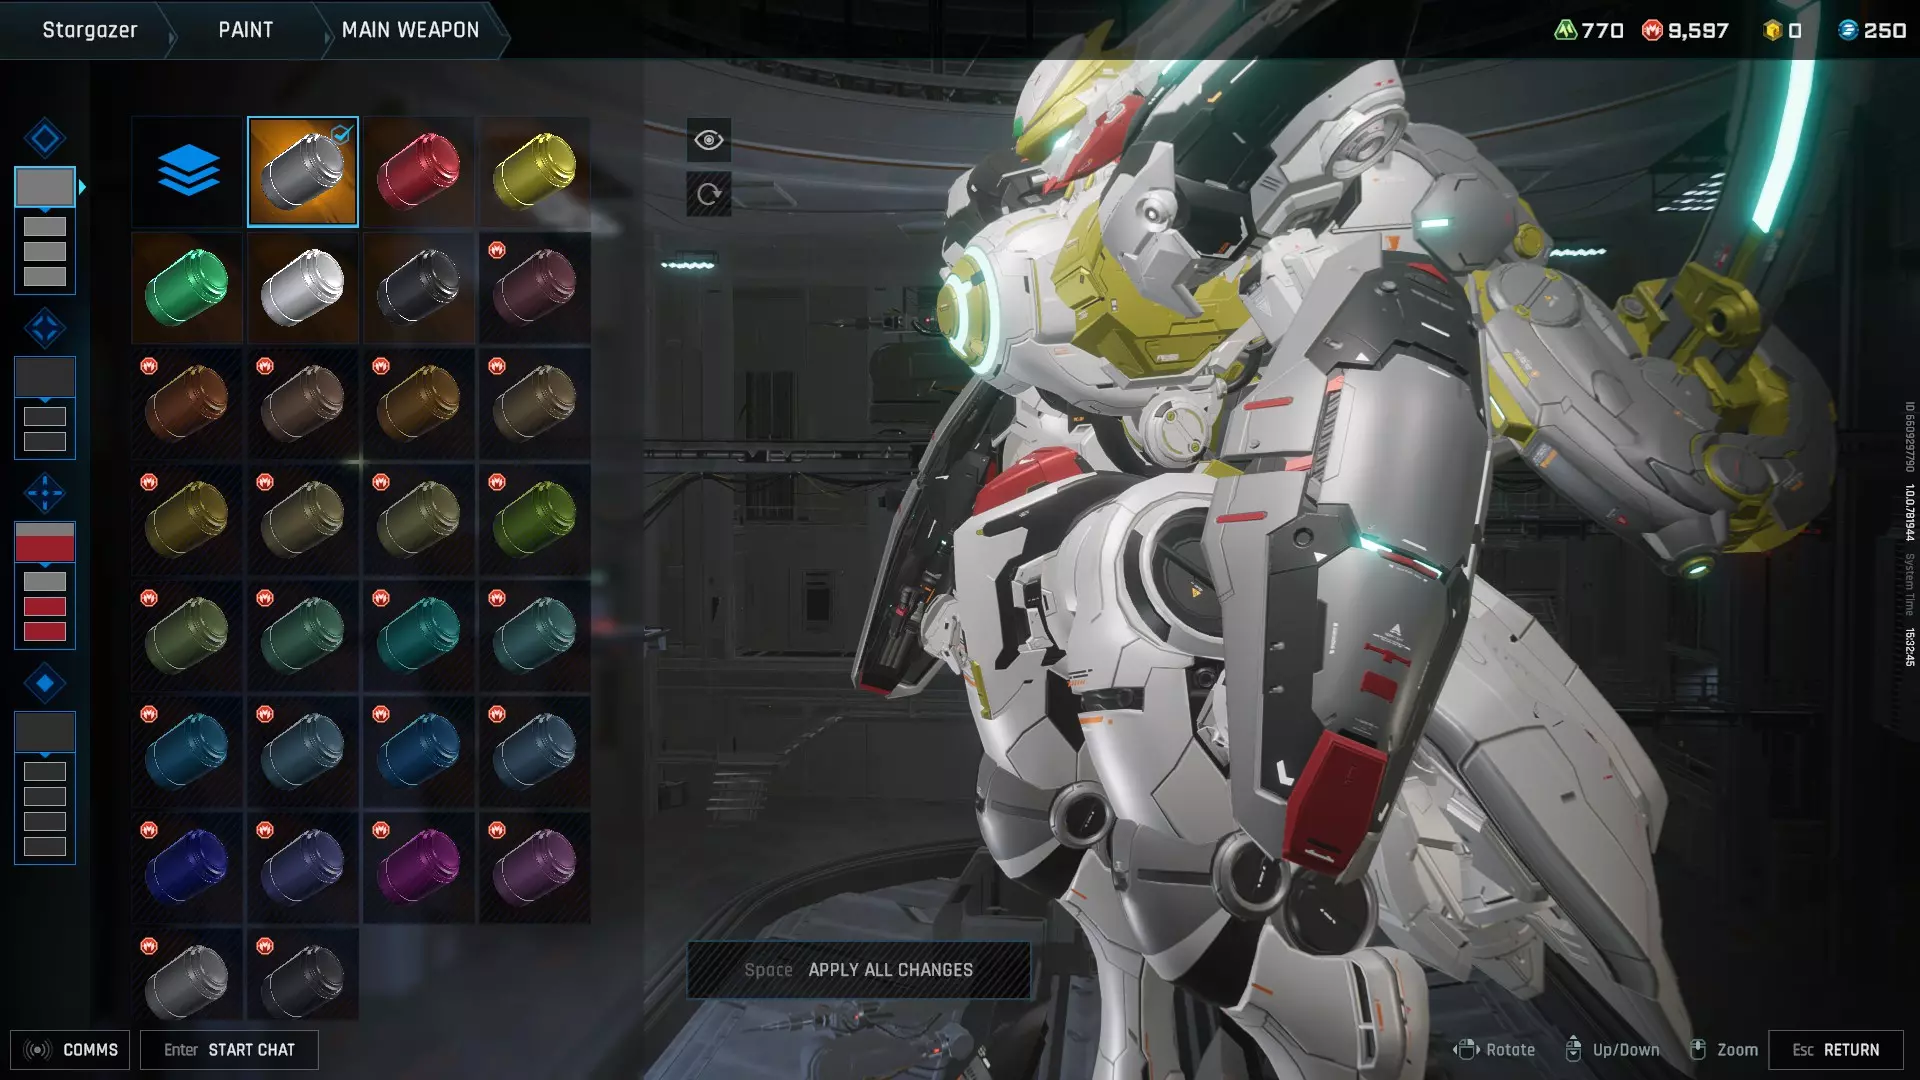
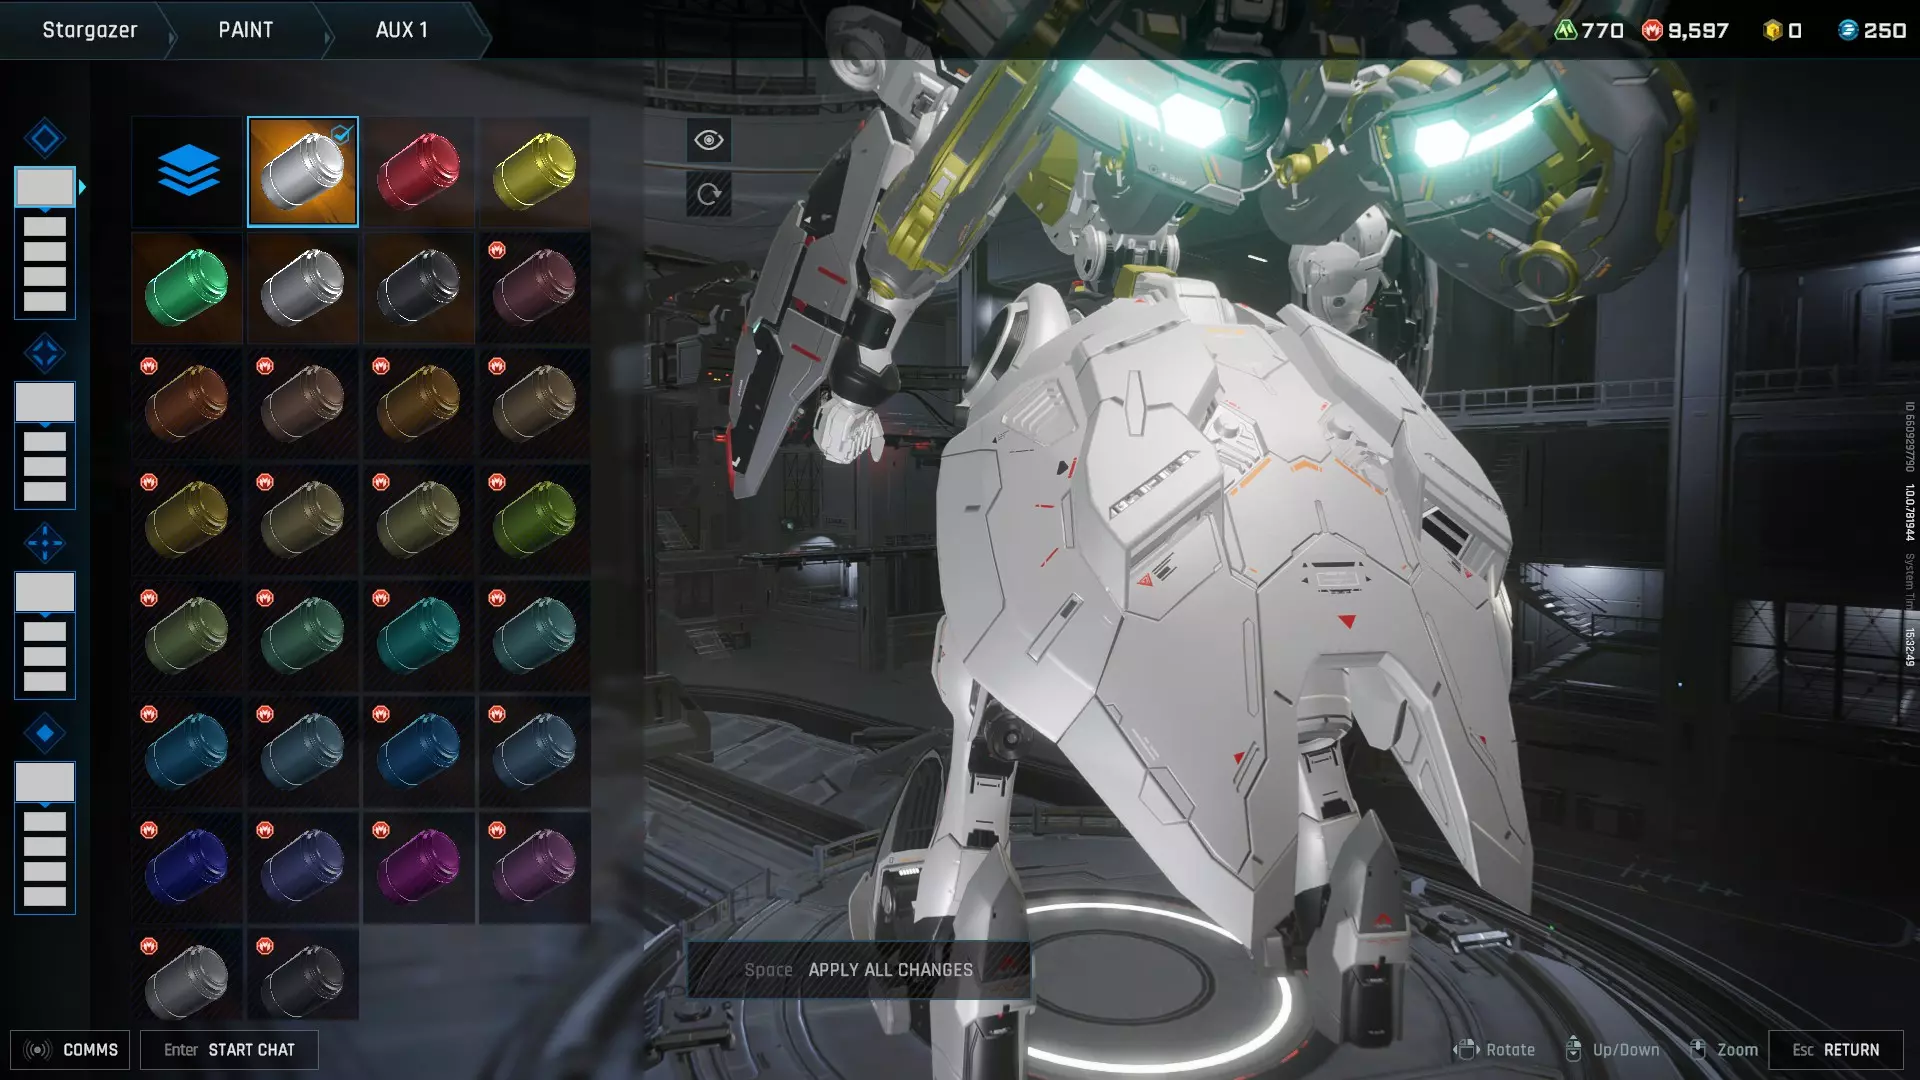
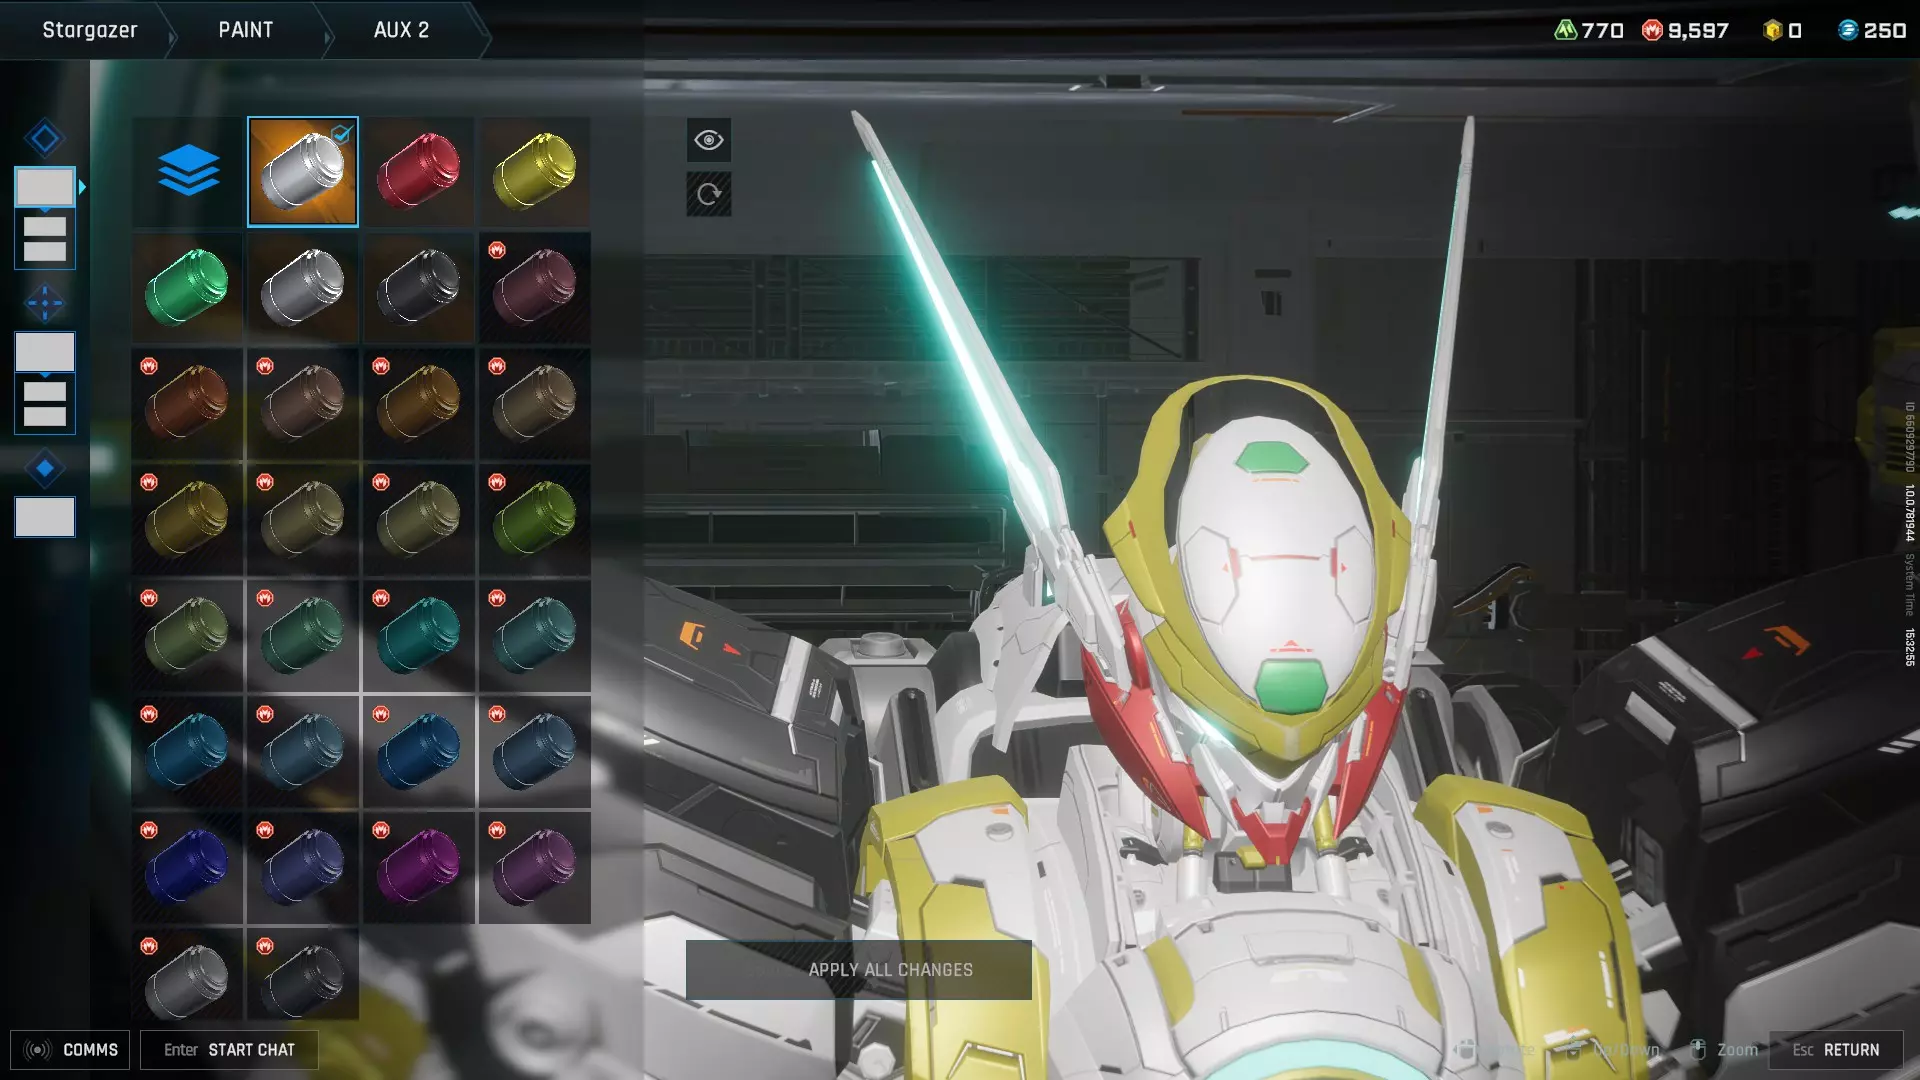
我的Pinaka配色方案基于OVA《机动战士高达SEED C.E.73:观星者》中的GSX-401FW观星者高达。
如果有人对我如何重现这种颜色感兴趣,方法如下! 头部
ćč
躍ä˝
č żé¨
čżĺ
主界面
čž ĺŠ1
čž ĺŠ2
čž ĺŠ3