换一换
换一换 


This guide covers The Arks scenario completed on Extreme difficulty with Survivor mode enabled, using a single, consistent strategy route designed to unlock multiple achievements in one uninterrupted run: • Everybody Lived for Once • Conservationist • Sprinter • Better than London • ’Tis but a Scratch The focus is on decision logic, stability, and risk management, not speedrunning, exploits, or RNG-dependent tactics. Each major choice is explained in terms of why it works under Extreme conditions and how it simultaneously preserves multiple achievement constraints. A full video walkthrough is included, recorded at high visual quality to preserve clarity during late-game conditions with heavy snow, fog, and particle effects. The route prioritizes reproducibility and achievement safety, making it suitable for players seeking a reliable Extreme + Survivor clear without trial-and-error resets. Video Walkthrough Reference Full Extreme Survivor Walkthrough (No Deaths) https://youtu.be/YDStZipIfjQ Scope & Assumptions This guide assumes familiarity with Frostpunk’s core mechanics and is written for players attempting a consistent, achievement-safe clear on Extreme + Survivor. It prioritizes decision logic and recovery judgment over rigid day-by-day scripting or speedrun optimization. Difficulty & Scenario Scope Scenario: The Arks Difficulty: Extreme Mode: Survivor Difficulty is never changed during the run Achievement Scope Everybody Lived for Once Conservationist Sprinter Better than London ’Tis but a Scratch Additional achievements are obtained incidentally and are fully documented in the Achievement Logic section. Run Assumptions No citizen deaths. No save-scumming, exploits, or unintended mechanics. All listed achievements are obtained in a single uninterrupted run. Minor timing variance is acceptable as long as phase objectives are met. Game Phase Definitions Early Game ends when the event to search for additional Steam Cores becomes available. Mid Game ends when the city the Survivor originates from is discovered. Late Game covers the remaining period until the scenario concludes. What This Guide Is A logic-driven, achievement-safe strategy route. Designed for reproducibility rather than minimum completion time. Focused on stability, automation, and controlled scaling under Extreme conditions. What This Guide Is Not A speedrun or optimization challenge. A beginner tutorial. A rigid script that cannot tolerate deviation. If a run deviates significantly from these assumptions, restarting is often more time-efficient than attempting recovery on Extreme + Survivor. Author’s Note & Version Guide This guide is part of a scenario-wide Extreme + Survivor series built around consistent logic, reproducibility, and achievement safety. It is written to explain why decisions work under pressure, not just what buttons to press. Author’s Intent This route prioritizes stability, recovery judgment, and automation scaling. Decisions are explained in terms of risk management rather than raw efficiency. The guide is designed for players who want a reliable clear without exploiting mechanics or resetting for RNG. Current version: 1.0.0 Initial release (text-complete, visuals pending) Core Strategy Philosophy This strategy is built around controlled stability and automation rather than aggressive optimization. On Extreme + Survivor, most failures are caused by cascading errors rather than a single bad decision. Stability Over Speed Early stabilization of Hope, Discontent, and healthcare prevents irreversible failure states. Delaying risky optimizations is preferable to recovering from preventable deaths or automaton losses. Completion time is managed indirectly by maintaining a stable production curve. Automation as Risk Management Automatons are treated as the primary late-game workforce, not a luxury. Early and continuous investment into automation reduces exposure to sickness, accidents, and discontent spikes. Workforce transitions are planned to minimize manual reshuffling under pressure. Event-Driven Decision Making Game phases are defined by scenario events rather than day counts. Decisions are made around guaranteed triggers instead of idealized timelines. This approach remains valid across minor balance and temperature changes. Failure Recognition & Recovery Not every run is worth saving on Extreme + Survivor. The guide highlights early indicators of unrecoverable states. Restarting early is often more time-efficient than attempting late-stage recovery. Achievement Compatibility First All decisions are evaluated against achievement constraints before efficiency. Short-term gains that risk invalidating achievements are avoided. The route is designed to unlock all listed achievements in a single uninterrupted run. Following this philosophy consistently is more important than executing any single step perfectly. Achievement Logic Achievements in this run are earned as a consequence of the strategy, not pursued individually. This section lists each achievement, its actual unlock condition, and the constraints that must remain valid from start to finish. Global constraints (active throughout the run) Extreme difficulty with Survivor mode enabled for the entire scenario. Better than London: no Tents are constructed at any point. Satellites: Generator Range is never expanded (no research or activation). ’Tis but a Scratch: no Infirmary or House of Healing is ever built. Everybody Lived for Once + Conservationist: no Seedling Ark losses, and New Manchester must be successfully supplied. Steam Hubs do not count as Generator Range expansion and are fully compatible with Satellites. Early Game Achievements (Start → Steam Core Search Event) Better than London — Complete the scenario without ever constructing a Tent. Practical implication: rush Bunkhouses and stabilize heating and medical capacity without Tent placeholders. The Scientific Method, vol. 1 — Complete the Automaton Project event chain. Practical implication: once an Automaton exists, accept and complete all Engineer Automaton Project requests as they appear. Once More unto the Breach — Fit a Prosthesis to an amputee. Practical implication: sign Radical Treatment and Prosthetics, allow an amputation to occur, then provide the Prosthesis. This route maintains sufficient heat coverage and Medical Post capacity so amputations never result in fatal infections. Mid Game Achievements (Steam Core Search → New Manchester Discovered) Sprinter — Reach New Manchester before Day 15. Practical implication: scouting and research pacing are structured so New Manchester is reached before Day 15. This achievement marks the pivot point between Mid and Late Game priorities. Conservationist (setup) — Establish Steam Hub coverage for all Seedling Arks as temperatures drop. Practical implication: all Arks must remain continuously heated for the remainder of the scenario. Late Game Achievements (After New Manchester → Scenario End) City of Steam — Have 15 Automatons operating simultaneously. Practical implication: Factory uptime and resource storage are scaled to support mass Automaton production. Satellites — Validated at scenario completion if Generator Range was never expanded. Conservationist — Validated at scenario completion if all Seedling Arks survive. Everybody Lived for Once — Validated at scenario completion if New Manchester is saved and no Ark is lost. Technocrat — Finish The Arks scenario (scenario completion achievement). The Arks Survivor — Finish The Arks on Extreme difficulty with Survivor mode enabled. ’Tis but a Scratch — Validated at scenario completion if no Infirmary or House of Healing was constructed. Restart Conditions (Non-Negotiable) A Tent is constructed (Better than London permanently invalidated). Generator Range is expanded (Satellites permanently invalidated). An Infirmary or House of Healing is built (’Tis but a Scratch permanently invalidated). Any Seedling Ark is lost (Conservationist permanently invalidated). New Manchester is not reached before Day 15 (Sprinter permanently invalidated). Common Misconceptions on Extreme + Survivor Extreme + Survivor difficulty punishes assumptions more than mistakes. Many failed runs come from following advice that is technically correct on lower difficulties, but actively harmful under Survivor constraints. “Speed is the most important factor.” On Extreme + Survivor, uncontrolled speed leads to cascading failures. Early stability and recovery margin are more important than raw optimization. Completion-time achievements are satisfied through consistent pacing, not reckless rushing. “Deaths are inevitable on Survivor.” Deaths are not required to progress this scenario. Most deaths occur due to avoidable timing errors or overextension. A death-free run is not only possible, but expected for achievement compatibility. “Tent placeholders are safe early.” Even temporary Tent construction permanently invalidates Better than London. Housing must transition directly into Bunkhouses without intermediate solutions. Early discomfort is preferable to invalidating the run. “Generator Range upgrades are mandatory.” Steam Hubs fully replace the need for Generator Range upgrades. Expanding Generator Range permanently invalidates Satellites. Hub placement and uptime planning are safer and more flexible. “Infirmaries are required for Extreme healthcare.” Medical Posts, Overcrowding, and heat management are sufficient when used correctly. Infirmaries and Houses of Healing permanently invalidate ’Tis but a Scratch. Survivor rewards prevention, not emergency correction. “Automatons are a late-game luxury.” Automatons are the backbone of late-game stability. Early planning enables safe scaling to City of Steam. Automation reduces sickness, accidents, and workforce volatility. “A bad mid-game can always be recovered.” Some failure states are mathematically unrecoverable on Extreme. Recognizing restart conditions early saves time and frustration. Controlled restarts are part of efficient Survivor play. Understanding and avoiding these misconceptions is often more important than executing any individual step perfectly. Signs Your Survivor Run Is Already Lost Extreme + Survivor does not always fail loudly. Most irrecoverable runs collapse slowly, after a series of decisions that cannot be undone. Permanent Achievement Violations A Tent has been constructed (Better than London invalidated). Generator Range has been expanded (Satellites invalidated). An Infirmary or House of Healing has been built (’Tis but a Scratch invalidated). A Seedling Ark has been lost (Conservationist invalidated). Unrecoverable Timeline Failures New Manchester cannot be reached before Day 15 (Sprinter invalidated). Automaton production is too slow to reach City of Steam. Steam Hub coverage for Seedling Arks is delayed past the first major temperature drop. Healthcare Collapse Indicators Medical Posts are permanently over capacity despite full staffing. Gravely ill citizens accumulate without recovery progress. Heat or workplace exposure cannot be corrected without building Infirmaries. Resource Death Spirals Coal income cannot sustain Generator and Steam Hub uptime. Food production fails to stabilize before extended cold periods. Storage shortages force waste or emergency dismantling under pressure. Automation Breakdown Steam Core shortages prevent scaling beyond mid-game automation. Factories sit idle due to chronic material deficits. Workforce remains exposed to cold-critical jobs late into the run. When to Restart If any permanent achievement violation occurs, restart immediately. If two or more unrecoverable indicators appear simultaneously, restarting is usually faster. Survivor rewards early recognition of failure more than stubborn recovery attempts. On Extreme + Survivor, recognizing a lost run early is a skill, not a failure. When It’s Worth Pushing a Damaged Run Not every imperfect run on Extreme + Survivor is doomed. This section outlines situations where recovery is still realistic and pushing forward is often the correct decision. Achievement Integrity Is Intact No permanent achievement constraints have been violated. No Tents were built, no Generator Range was expanded, and no Infirmaries or Houses of Healing exist. All Seedling Arks remain operational. Timeline Is Still Recoverable New Manchester can still be reached before Day 15. Scout delays are measured in hours, not days. Research pacing can be corrected without skipping critical unlocks. Healthcare Is Strained but Functional Medical Posts are temporarily over capacity but recovering patients steadily. Illness spikes are driven by short-term cold exposure rather than systemic failure. Heat coverage can be restored without violating achievement constraints. Resource Shortages Are Temporary Coal or food deficits are caused by transitional bottlenecks, not structural collapse. Automation or infrastructure upgrades are pending and will resolve shortages once completed. Emergency dismantling is not required to stay alive. Automation Scaling Is Still Viable Steam Cores are secured or incoming. Factory uptime can be restored with minor workforce reallocation. City of Steam remains achievable within the remaining timeframe. Decision Errors Are Correctable A suboptimal law or building placement can be offset later. Discontent spikes are manageable without force or executions. The run’s core strategy philosophy is still intact. When to Push Forward If the run remains achievement-valid and timelines are still reachable, continuing is usually correct. Survivor difficulty rewards adaptation more than perfection. Many successful runs appear unstable shortly before stabilizing. On Extreme + Survivor, resilience and judgment matter more than a flawless opening. Early Game Priorities (Start → Steam Core Search) As with A New Home, the early game is defined by stability rather than speed. Because this run targets the Better than London achievement, the primary objective is an early transition to Bunkhouses to control Hope and Discontent before they spiral on Extreme + Survivor. Laws — Early Game Order Emergency Shift Extended Shift Fighting Arena / Cemetery (forced by Discontent) Radical Treatment (required for ’Tis but a Scratch) Overcrowding Care House Prosthetics Research — Early Game Path Beacon Drawing Boards Bunkhouses Hothouse Heaters Steam Hub More Scouts Steelworks Wall Drill Coal Mining Generator Power Upgrade Drafting Machines General Rules (Early Game) Turn the Generator ON at 17:15 on Day 1 and never turn it off. Enable Generator Overdrive nightly at 20:30. Disable Generator Overdrive daily at 04:00. Once Extended Shift is signed, all applicable workplaces remain on it permanently. Engineers must not remain in Workshops during the 19:00–22:00 Emergency Shift death window. Day 1 — Foundation Sign Emergency Shift. Assign all Engineers to Wood Piles to rush a Workshop. Assign the Automaton to the isolated Coal Pile. As soon as wood allows, shift 15 Engineers to a Steel Pile on the right. When the Workshop is nearly complete, assign 5 Engineers to begin Beacon research. At ~17:30, activate Emergency Shift on all active piles and the Workshop. Place one Medical Post in the corner (standard layout). Remove Engineers from the Workshop at 19:00 and return them at 22:00. Day 2 — Pre-Bunkhouse Stabilization Disable Overdrive at 04:00. Sign Extended Shift. Continue Beacon and Drawing Boards research. Micro resource piles to consolidate Engineers onto the Wood Pile next to the Workshop. Begin construction of Gathering Posts, Beacon, Cookhouse, and a second Medical Post. Due to Discontent, you will be forced to take Fighting Arena or Cemetery. Before nightfall, reassign Engineers from raw piles into buildings and reserve 5 for Scouts. Day 3 — Bunkhouse Transition Scouts come online; immediately scout the mission objective POI. Prioritize staffing the Gathering Post near the Workshop and the Cookhouse. Once meals are prepared, move Engineers into Steel production. Around 18:00, Bunkhouses complete: Select the next research immediately. Build as many Bunkhouses as resources allow. Reassign the Automaton once its initial Coal Pile is depleted. Dismantle the Gathering Post near the Workshop once emptied. Day 4 — Research Acceleration Reassign Engineers freely from completed Gathering Posts. Temporarily reduce Medical staffing if required. Sign the next Law. Build and fully staff a second Workshop. Dismantle the completed Steel Gathering Post and construct a third Workshop. Complete remaining Bunkhouses. Build the Fighting Arena by dismantling one Medical Post if needed. Days 5–6 — Transition Out of Early Game Replace sick Engineers with healthy ones where possible. Assign the second Automaton to Coal production. Construct a Hothouse and enable Heaters (excluding Ark coverage). Recruit a second Scout Team once mission-path POIs are exhausted. Build the Factory, an additional Medical Post, and a Steam Hub to cover the Workshop cluster. Days 7–8 — Industrial Setup Begin construction of the Steelworks and Wall Drill. Dismantle the final Gathering Post once empty and reassign workers to Food. Begin construction of the third Automaton. Begin Coal Mine construction, but keep Automatons on Steel and Wood for now. Build the Care House. Day 9 — Early Game End Marker All Frostland POIs are explored and Scouts recalled. The event "The Search of Steam Cores" triggers. This event marks the end of the Early Game phase, consistent with the phase definitions used in A New Home. Mid Game Stabilization As with A New Home, the mid game is defined by time pressure rather than survival. The primary objective is completing the Autonomous City quest before Day 13 in order to keep the Sprinter achievement viable. Laws — Mid Game Stabilization Cemetery / Fighting Arena (whichever was not taken earlier) Ceremonial Funerals Public House Moonshine Soup Research — Mid Game Stabilization Lighter Scouts Sleds Steam Steelworks Automaton Scouts Coal Mining Optimization Mechanical Calculators Steam Coal Mine Difference Engine Days 9–10 — Conservationist Setup Following the Steam Core search event, temperatures drop permanently. From this point onward, you are on a timer to: Build Steam Hubs covering all Seed Arks. Power and maintain them continuously for Conservationist. Day 11 — Autonomous City Completion With accumulated Steel, Wood, and newly acquired Steam Cores, begin constructing additional Automatons. If prior steps were executed correctly, Autonomous City should complete today. Upgrade the Steelworks to the Steam variant. Activate all Steam Hubs. Day 12 — Survivor Event The Survivor appears on the Frostland map. Create a new Scout Team immediately and dispatch it to the Survivor. The Medical Post positioned near the Workshop edge allows the gravely ill Survivor to reach treatment safely. Although the Storm timer begins here, the mid game continues until contact is made with New Manchester. Day 13 — Medical Expansion Build an additional Medical Post adjacent to the existing one to handle incoming patients. Day 14 — Mid Game End Marker Upgrade Coal Mines to their Steam variants. Construct the Public House if not already built. Scout Teams reach New Manchester, ending the Mid Game phase. Completion of contact with New Manchester marks the transition into the Late Game, consistent with phase boundaries used in A New Home. Late Game Survival Phase As with A New Home, the late game is defined by production scaling and resource logistics rather than stability. The objective is sustaining New Manchester while surviving the final temperature drops without breaking earlier achievement constraints. Research — Late Game Survival Phase Automatic Prototyping Advanced Coal Mines Generator Power Upgrade II Houses Steam Wall Drills Advanced Steelworks Industrial Hothouses Generator Power Upgrade III Automaton Integration Advanced Wall Drills Improved Heaters Automaton Integration II Automaton Integration III Coal Mining Rationalization Coal Thumper Day 15 — Automation Scaling If Medical capacity allows, dismantle Scout Teams. Begin mass-producing Automatons and deploy them broadly, including Medical Posts. Construct additional Workshops to absorb freed Engineers. Expand Resource Depots to prepare for New Manchester supply demands. Build additional Hothouses for Automaton operation. Day 16 — Coal Infrastructure Upgrade Coal Mines to their Advanced variants. Days 18–22 — Housing & Industry Upgrades Day 18: Upgrade remaining Bunkhouses to Houses. Day 19: Upgrade Wall Drills to Steam variants. Day 22: Upgrade Wall Drills to Advanced variants. Days 24–25 — New Manchester Supply Push Day 24: Dispatch the first Relief Expedition. Dispatch the second Relief Expedition. Day 25: Convert all Storage Depots to Coal. Build the final required Automaton. Dismantle the Factory. Dispatch the final Relief Expedition. Dismantle adjacent Hothouses. Upgrade the Hothouse nearest the Workshops to an Industrial Hothouse. Build Coal Thumpers and Gathering Posts in the freed space. Day 26 — Final Coal Push Assign: 1 Automaton to the Hothouse. 1 Automaton to the Cookhouse. 2 Automatons to Advanced Coal Mines. All remaining workforce to Coal Thumpers and Gathering Posts. Disable unnecessary Steam Hubs. Reactivate Ark Steam Hubs only when heat falls below one-quarter. Construct an additional Industrial Hothouse if food production becomes unstable. Day 27 — Scenario Completion If all steps were executed correctly, the scenario is completed on Extreme + Survivor. This concludes the scenario and validates all remaining late-game achievements. Common Failure Points & Recovery Most Extreme + Survivor failures are not caused by a single mistake, but by small issues left uncorrected. This section highlights common breakdowns and the specific recovery actions that keep the run achievement-valid. Early Healthcare Overload Cause: Cold exposure during early expansion or delayed Medical Post staffing. Risk: Sickness cascades into workforce loss and death. Recovery: Temporarily reduce non-critical production. Prioritize heat coverage over efficiency. Use Overcrowding instead of expanding healthcare infrastructure. Discontent Spikes During Law Transitions Cause: Emergency Shift usage, housing delays, or forced law choices. Risk: Forced decisions that break achievement constraints. Recovery: Time laws around Hope recovery events. Use short-term discomfort rather than permanent law violations. Allow Discontent to peak briefly if it will self-correct. Coal Shortfalls After Temperature Drops Cause: Late Steam Hub activation or insufficient automation. Risk: Generator downtime and Ark damage. Recovery: Reassign Automatons to Coal immediately. Disable non-essential Steam Hubs temporarily. Delay secondary upgrades in favor of raw coal income. Food Production Desynchronization Cause: Workforce reassignment during automation scaling. Risk: Starvation loops and medical overload. Recovery: Stabilize food income before further automation expansion. Use Hothouses for predictable output. Avoid emergency rationing that forces additional laws. Automation Bottlenecks Cause: Steam Core shortages or Factory downtime. Risk: Failure to reach City of Steam. Recovery: Prioritize Steam Core acquisition over secondary tech. Stockpile Steel and Wood before automaton scaling. Keep Factories staffed even during temporary shortages. Scout Timing Errors Cause: Late Scout recruitment or inefficient routing. Risk: Missing Sprinter or delayed New Manchester contact. Recovery: Recruit Scouts as soon as staffing allows. Accept short-term labor strain to preserve the timeline. Redirect Scouts immediately if weather threatens delay. Storage Mismanagement Cause: Ignoring depot expansion during surplus periods. Risk: Resource waste when supply spikes are required. Recovery: Build depots proactively during stable phases. Convert storage to Coal before late-game pushes. Treat storage as a survival tool, not a luxury. When Recovery Is Still Valid No permanent achievement constraints have been violated. Timelines remain achievable with focused correction. Stabilization actions do not require exploitative play. Effective Survivor play is defined less by avoiding mistakes and more by correcting them before they compound. Optional Variations
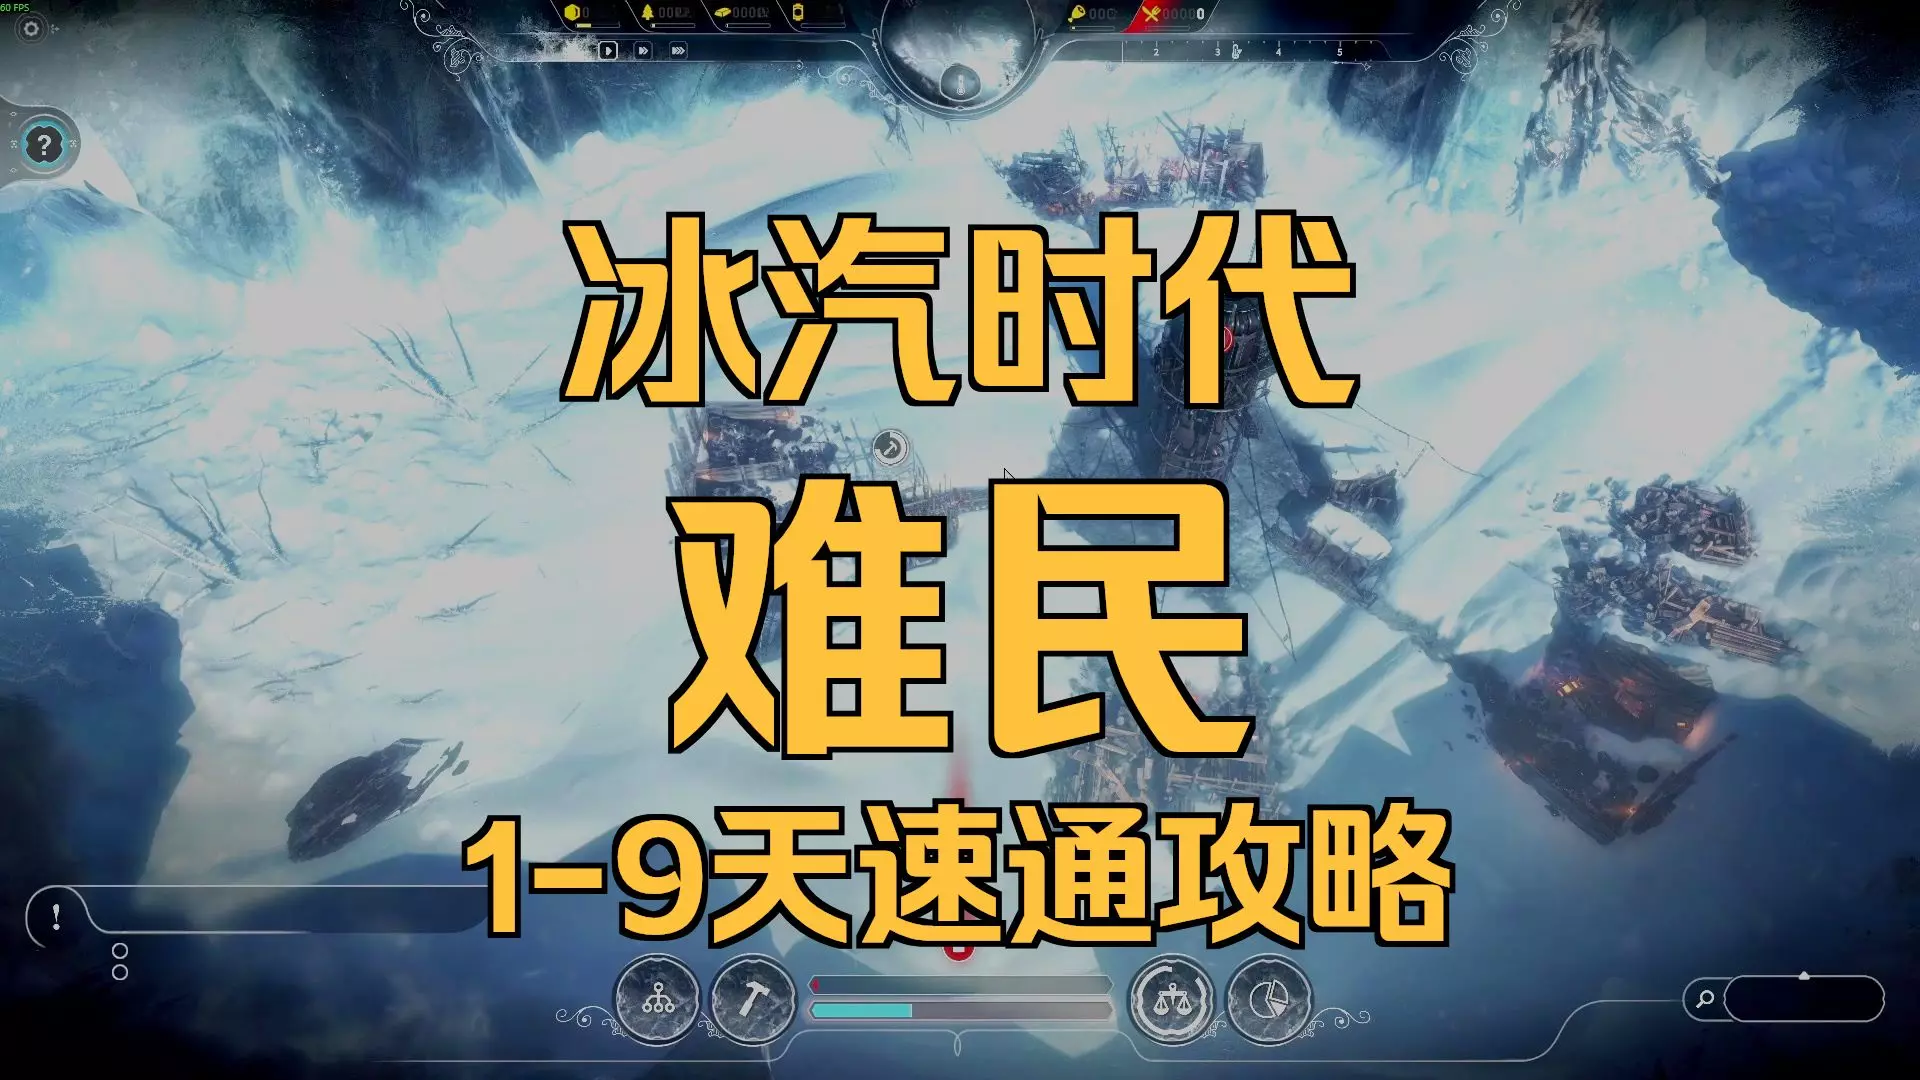
方舟极限+生存者——多成就攻略指南

导读
这是《冰汽时代》“方舟”极端+幸存者难度的多成就攻略指南,含高清视频通关链接。指南基于稳定决策逻辑,无需速通、漏洞或RNG玩法,可单次解锁“全员存活一次”“环保主义者”等5项核心成就,适合熟悉核心机制、追求可靠通关的玩家。

评论
共0条评论

生存游戏 敌人变聪明能上屋顶?? 地图改造+下雨环境【恐怖奶奶3】极端难度 更智能敌人 完整攻略
下载地址:https://www.mediafire.com/file/8ggje5v50kht5c6/G3_RainySeason.rar/file 模组介绍…
2025-12-22 10:500赞 · 0评论

恐怖奶奶1熊大熊二怎么打?潜入熊窝偷宝物生存攻略,极端难度一命速通技巧,游戏突然不恐怖了
你的支持是我最大的动力! 欢迎来到熊大熊二的家,但这次情况不妙!熊大熊二偷走了三件重要宝物,作为光头强,你的任务就是潜入熊窝,把宝物偷回来。然而,熊大熊二已经彻…
2026-05-22 23:110赞 · 0评论

恐怖奶奶1光头强怎么打?光头强加熊二极端难度速通攻略,恐怖奶奶1门路线通关技巧
2026-05-21 10:070赞 · 0评论

恐怖 granny2 极端难度 无伤 船路线 攻略
2026-05-09 18:330赞 · 0评论

游戏实况 【GRANNY】在梦魇模式下再次登门拜访奶奶的家!玄关篇(极端难度&梦魇模式&一命通关&详细攻略)
-
2026-05-08 22:380赞 · 0评论

《全面战争模拟器》玩腻了?2026年5款越玩越上头的策略单机游戏推荐,包括《纪元117》《文明6》《冰汽时代》,让你玩到天亮!
最近总感觉没游戏玩?那你可能只是还没碰到真正能让你忘记时间的策略游戏。 本期推荐5款越玩越上头的策略单机游戏,每一款都堪称“时间杀手”,一不小心就玩到天亮! 《…
2026-06-08 20:200赞 · 0评论

沙盒游戏 冰汽时代-幸存者难民-4种版本的前9天破局分享对比
总结来说还是童工开局最舒服,童工速灯塔最优,次之无童工速灯塔,再次童工速温室,最后无童工速温室,难民的难点主要就是1-6天的为负50准备工作,6-9天的负50度…
2026-05-17 19:350赞 · 0评论
硬核游戏指南,通用建议。
В своем руководстве я хочу описать изученную мной механику игры, способы легко д…
2026-02-20 16:000赞 · 0评论

《冰汽时代》及两个DLC的全成就
在本指南中,我将介绍游戏本体以及DLC《最后的秋天》和《在边缘》的所有成就。在各个成就的描述中,我会尽量加入自己达成它们的技巧。 森林站 - 通用建议 你需要准…
2026-02-20 04:000赞 · 0评论

《冰汽时代》新手指南
在这片冰封废土中求生,我们都需要一些帮助和知识。作为一名初学时曾历经重重困难、也曾渴望指引的玩家,我现在将提供一份简短却实用的指南,助你入门并了解这个世界~ 简…
2026-02-19 22:000赞 · 0评论

暂无更多
最新更新
- 《冰汽时代》八周年:八个事实! — 各位市民们,大家好! 今天,我们在冰原上迎来了又一个周年纪念日。整整8年,我们将孩子们送进矿井,这真是难以想象,对吧? 为了庆祝《冰汽时代》这个特别的生日,我们…
- 重返新伦敦 #1:帕维尔·希什卡带来的新适应法案 — 市民们,大家好: 今天我们要向大家传达一个关于新伦敦未来的重要消息。 今天标志着我们名为“重访新伦敦”的特别系列更新正式开启。为什么要推出这个系列呢?因为我们希…
- 《冰汽时代》系列庆典展示会 — 各位市民们! 1100万玩家,近十年来,我们一同将孩子们送入矿井,围绕着发电机建立了一个了不起的社区。《冰汽时代》一直是我们作品组合中的明珠,正是因为有你们,我…
- 冰汽时代-视频介绍
- 冰汽时代-视频介绍
- 木屑汤(食谱) — 这本质上是一个生存食谱。假设你半夜12点身处零下30度的森林空地。没有食物,只有雪。但你又想吃点东西!因此我进行了分析,得以声称自己找到了用木屑熬汤的确切配方。…
- 什么是木屑粥以及如何正确制作它 — 在本指南中,你将学习如何制作末日世界的烹饪杰作——木屑粥。不要把木屑汤混为一谈,这只是个流行的误解。我的创作经历:我作为一名经验丰富的船长,在我年轻时,同龄人都…
- 硬核游戏指南,通用建议。 — В своем руководстве я хочу описать изученную мной механику игры, способы легко д…
- 按场景整理的成就指南 — 本指南整合了我从《冰汽时代》维基、Reddit社区、Steam社区论坛收集的知识以及个人经验。其旨在: 1. 按场景分类记录所有可用成就。 2. 为较难理解和晦…
- 10句船长的伟大名言 — 1.聪明点,别犯傻,不然你的城市就没了。 2.日子过得不好,就别开始了。 3.胜利!我们的胜利换来了什么?换来了一顿饭。 4.我很会和孩子们打交道,我这儿孩子多…