换一换
换一换 


Intended to be a beginner to intermediate tier source of informally documented observations and insights about the game. The Basics As this is a farming/life sim style game, you'll essentially be doing a lot of the types of things you'd see in games like Stardew Valley, Coral Island, Dinkum, Roots of Pacha, and the "My Time At" series. Here are a handful of things worth considering at the start: Don't have to clear high tier obstacles from the land. Don't pass out when your stamina hits zero. Don't have to worry about an NPC shop being closed on Day X. Don't have to worry about fall damage. Don't have to worry about traveling by foot for very long. Game somewhat floods the player with various options within the first hour of gameplay. Don't have to worry about being required to sleep in order for the game to save. Can save at any time from the Main Menu. Do have to buy plot expansions that cost coins as well as the star currency used to purchase profession related upgrades. https://steamcommunity.com/sharedfiles/filedetails/?id=3665440354 Do have to buy backpack expansions, which require raw/refined materials at each stage. https://steamcommunity.com/sharedfiles/filedetails/?id=3666157412 Do have to regularly purchase blueprints from various profession shops to "tech up". Do have to advance the Crafting profession a few ranks before you unlock the shipping box that you can place on your homestead. Until then you sell directly to vendors and/or the Merchant Ship (once you build the port). There are a lot of screens and menus in the UI, most of them located on your in-game cellphone. While most of them will let you know when there are updates, there are a few that are very important but will rarely generate new "red dots": Island Life - Milestone style quests that you complete in sequence to get rewards and progress certain unlocks. Credit is given for retroactively if you complete objectives before you "unlock" the quest. For example, finishing quests here is how you unlock the ability to purchase plot expansions for your homestead. Workpedia - This is where you spend star currency to purchase upgrades within each tier of the professions. Album - Here is where you can claim star currency once you've taken photos in-game at specific sites. https://steamcommunity.com/sharedfiles/filedetails/?id=3667083997 StarNote - This is where you collect rewards by level that you've gained from getting experience each time you complete an objective. They are grouped by category: https://steamcommunity.com/sharedfiles/filedetails/?id=3666939534 https://steamcommunity.com/sharedfiles/filedetails/?id=3666940092 https://steamcommunity.com/sharedfiles/filedetails/?id=3666940543 https://steamcommunity.com/sharedfiles/filedetails/?id=3666940921 https://steamcommunity.com/sharedfiles/filedetails/?id=3666941584 Make sure not to sleep on using the in-game map. They did a good job with it and you can even click into the icons on the left border to expand out lists of either buildings, shops, points of interest, and people/pets. From there you have the option to "track" them for easy navigation. https://steamcommunity.com/sharedfiles/filedetails/?id=3665653007 Stamina Usage Generally speaking, with the exception of foraging certain things in the environment or picking up loose stone/ore/wood, gathering resources via profession costs stamina: Tilling Soil = 15 stamina (can be reduced with profession upgrades) Axe/Machete on tree = 3 stamina per hit Axe/Machete on shrub = 2 stamina Axe/Machete on farming crop = 2 stamina Catching a bug = 4 stamina Pickaxe/Hammer on small rock = 2 stamina per hit Pickaxe/Hammer on large rock = 3 stamina per hit Pickaxe/Hammer on tilled soil (for removing it) = 2 stamina Fishing = 10 stamina per catch Refilling watering can = 10 stamina In addition to eating consumables, you can regenerate stamina by sitting. You can also boost the amount you regenerate from sitting through profession upgrades. As you progress higher in professions you'll eventually unlock tools that have an area of effect to their swing. The nice thing about this is that the stamina cost for swinging the tool doesn't increase. https://steamcommunity.com/sharedfiles/filedetails/?id=3666095136 As a side note, when tilling soil there's a chance you can uncover treasure chests: https://steamcommunity.com/sharedfiles/filedetails/?id=3665816946 So far I've found about 4-5 across tilling maybe 50 or so nodes. The loot you get appears to just be coins (300-400 per chest). NOTE #1 - Dumped a full stamina bar tilling some more and got a lot more chests this time (around 10-15). Lowest reward was simply 200 coins, but the best was 600 coins and Immortal Tomato Seed. Ended up actually getting three different Immortal Seeds from this.NOTE #2 - After doing much more chest hunting via tilling soil I was able to get 800 coins from one of the chests. The only secondary loot still appears to be a random immortal seed. There appears to be three different types of chests: a small one with vines on it, a normal one that looks pretty clean, and a light blue one that appears to be made of a material other than wood. Food and Buffs CookingFor now, it doesn't appear that it matters what type of cooking station you use in terms of what types of food you can make. In any event, cooking is quite useful for a variety of reasons: It can allow you to get more stamina out of the ingredients when compared to eating them raw. It can create dishes that restore health nodes when you take damage in combat. It can create dishes that enhance the amount of resources you obtain during gathering actions (mining/lumbering/etc). It improves the currency value of the ingredients for the purposes of selling (as high as nearly 50%). Can be a decent way to make money early on in the game, especially if you aren't regularly eating your own produce for stamina. Buffs and EffectsI'm still pretty early on when it comes to cooking all the various dishes available in the game, but so far I have noticed a few recipes that are particularly useful: Mirthshroom Soup - Increases chance to get regular or immortal seeds when harvesting crops. https://steamcommunity.com/sharedfiles/filedetails/?id=3665441203 Red Grape Juice - Increases yield from logging. https://steamcommunity.com/sharedfiles/filedetails/?id=3667846107 Green Grape Juice - Increases yield from mining. https://steamcommunity.com/sharedfiles/filedetails/?id=3667846300 NOTE - There is a profession upgrade you can purchase to gain bonus stamina each time you eat food. I haven't bought this one yet so I'm not sure how much it gives. If it turns out it's a significant fixed amount, it may make it viable and less costly to eat raw ingredients that you forage in the wild that cost zero stamina to obtain. For example, a cooked dish that is 39 stamina becomes: 47 stamina (20% more) with 1 point in "Nutrient Absorption" 53 stamina (35% more) with 2 points in "Nutrient Absorption" 58 stamina (48% more) with 3 points in "Nutrient Absorption" The base value of the cooked dish does not change in the tooltips when you buy points in "Nutrient Absorption". In addition, this does not appear to affect uncooked food that gives stamina (i.e. Celeste Berries). Profession Upgrades As you progress through each Profession you'll have the opportunity to spend star currency towards upgrades that affect a wide variety of aspects of the game. Ultimately you can max out all of them over time, however these are the ones that I've acquired and found to be particularly useful so far: Insects don't flee when you run up to them. Bees boost crop growth speed when returning back to the hive for the day. Chance for stamina to be refunded when mining or logging. Takes less time to fully charge ranged attacks. Chance to do critical damage when hitting an enemy (damage displayed in red). Boost the stamina gain from eating cooked dishes by up to 50%. Does not appear to work on uncooked ingredients that give stamina.NOTE - The great thing about stamina refunding when mining is that it can proc per hit per node. So when you are mining in the Moonlit Forest zones it's very easy to hit at least 3 nodes at a time. As a result, by the time you are done there's a very good chance you'll leave with the same amount of stamina you entered with. There are others that I think will be significant as well but I'm still grinding star currency to purchase: Shop sells raw materials. Shop inventory can be restocked up to 3 times per day. Combat Combat in Starsand Island is relatively straightforward: Player has health nodes shaped like hearts (starts with 5 total). One hit takes away one heart. No melee weapons. No armor or other combat related accessories or trinkets. No blocking. No dodgerolling. Ranged weapons include slingshots, bows and crossbows requiring ammo. There are a variety of ammo types that can trigger effects when hitting the enemy. Enemies are limited to the zones within the Moonlit Forest. Enemy density is extremely low and the player only has to engage one at a time. Enemies have weakpoints that can be exploited, but usually only appear during certain times. Certain ammo types can force an enemy to take "weakpoint" tier damage from attacks. Bosses have a high amount of health as well as a range of special attacks including area of affect and large ranged projectiles. Currently the resource cost of ammo is somewhat high. However, the different nodes you can mine will regularly drop ammo in addition to the ore and other materials you would expect. As a result, depending on how much you mine in areas without an enemy presence you could find yourself fully stocked on ammo without having to craft it. The "Explorer" profession has some upgrades that can be bought with star currency that can affect combat. My favorite is the one that allows the player to do critical damage without hitting a weakpoint. However there are others that reduce ammo usage and regenerate health nodes after defeating enemies. NOTE - Currently the UI does not display any sort of damage related information for weapons or the associated ammo. So you'll have to find this out via trial and error. Remember that charging a shot before releasing it will significantly increase the damage inflicted! Damage Testing (WIP)Not 100% sure I'll itemize out every situational damage condition for each weapon variant and each ammo type. What I'm really trying to figure out is the general multipliers against base damage of a ranged weapon to get a general comparison between quickshot (no charge), charged shot (fully charged), weakpoint hit, and critical hit for each weapon type. Doing it via trial and error will take some time but here goes... SLINGSHOT Quickshot (Normal | Weakpoint): Stone = ~30 | ~60 Simple Pellet = TBD Explosive = TBD Charged Shots (Normal | Weakpoint): Stone = 65 | 130 Simple Pellet = 131 | 262 Explosive = TBD Critical Hit (Normal | Weakpoint): Stone = TBD Simple Pellet = (196 | TBD) Explosive = TBD BOW Charged Shots (Normal | Weakpoint): Arrow = ~600 | ~1300 Fire Arrow = TBD Water Arrow = TBD CROSSBOW (TBD) Making Money Generally in games like this the key to making money is taking raw materials and refining/processing them into some level of finished product and then selling (especially the farming/ranching products). While I haven't necessarily been focusing on it, I do check the items I have when I go to the shops to try and see what sell values are in case I spot something that's disproportionately valuable. This is what I've found so far: Insects = 30-100 coins each so far. Fish = 30-100 coins each so far. Crops = 30-100 coins each so far. Might be worth saving for refinement and processing rather than selling raw at the start. Cooked Dishes = Anywhere from 10%-50% boost to the value of the involved ingredients. Pickled Crops = In excess of 200% boost to the value of the involved ingredients. However each unit takes 15 in-game hours to produce. Furniture (above common rarity) = I found a chair that is 3 softwood planks to craft and sells for 618 coins. While I saw other furniture that technically sells for more, the materials required vastly reduced profit as well as takes a lot longer to collect. Since gathering softwood is so easy, this chair is definitely a great early game money maker. Best part is that furniture is stackable and stored in a separate inventory tab, so you don't even have to litter your bag with it!NOTE #1 - Because of how important ores and other mining related resources are to general game progression I wouldn't recommend using them to generate currency early on in the game.NOTE #2 - It looks like they balanced the value of certain furniture items with one of the fixes they deployed on February 13th 2026. The chair I was making and selling yesterday for 618 coins is now only worth 27. My hope is that once I unlock the stations which allow you to make jams and other refined farm/ranch goods, there will be other great options for racking in the cash. NOTE #1 - Got around to making the juicer, brewing, and jam stations today and the juicer and brewing ones only seem to increase the total value of the product by 10-15%. The jam station can increase it up to 50% though.NOTE #2 - With the pickle jar the increase to the value of ingredients exceeds 200%. If you also take into consideration that the Merchant Ship will regularly buy pickled goods, that's another 200% on top of that. The only real limiting factor is that it takes 15 in-game hours to produce each unit. You'll also need to keep your salt supply topped off. I might just end up having an entire plot of the homestead dedicated to pickling jars for the crops I use the least in other areas. While the bulletin board requests are somewhat soft-capped in that you can only do so many per day, they can still provide a good chunk of change each day provided you get the ones where the request is fairly easy for you to complete. Plus you need to do 30 of these anyway for progression via "Island Life" milestones. Once you have built the Starsand Island Port, you get access to the Merchant Ship that will buy certain goods for 200% more. This includes items like "Golden Poop". So it can pay to hoard valuable items that don't appear to be part of crafting blueprints or processing. NOTE - The Merchant Ship will only buy limited quantities and will remain for a week. When it comes back the next time it will have a different set of purchase requests.https://steamcommunity.com/sharedfiles/filedetails/?id=3667525533 https://steamcommunity.com/sharedfiles/filedetails/?id=3668209862 Moonlit Forest This area is essentially the "Mines" that you get from other farming/life sims. However, instead of a small to large sized room where you need to fight against RNG to locate a ladder to go deeper, you have a relatively open area of several sub-regions or zones that you can travel between to gather resources and/or kill enemies. You may need to kill a boss, craft a specific item or otherwise trigger a special interaction to open up other zones. NOTE - Enemy density throughout the Moonlit Forest is incredibly low (i.e. 1 enemy at a time). Not sure if this changes as you go deeper inside. Enemies and resources do respawn if you leave and come back the next day. Another great thing about how this area is designed is that each zone inside has a camp that you can cook/craft/sleep at. This means you are free to explore and gather resources without feeling rushed because you need X amount of in-game time to run back to the homestead and sleep in your bed. https://steamcommunity.com/sharedfiles/filedetails/?id=3664867915 Another interesting part of exploring the Moonlit Forest is acquiring and completing Treasure Maps. As you gather resources from the various nodes in the Moonlit Forest you have a chance to acquire a treasure map. You can use them to locate treasure chests throughout the zone by putting them on the hotbar and selecting them so that they appear in your hand. Provided you are in the Moonlit Forest you'll see an arrow pointing in the direction where the dig location is. Once you have reached the location you'll see a "Dig" prompt pop up. https://steamcommunity.com/sharedfiles/filedetails/?id=3664884236 Upon completing the dig (which doesn't take stamina) a treasure chest will appear and you can loot it. So far the only thing I've gotten from them is either 400-800 coins or a "Flawed Chest" container that you can place down in your homestead to store items. Typically these chests can hold up to 36 items. NOTE - Unfortunately the treasure map description won't tell you which zone within the Moonlit Forest the treasure is located. Since the Moonlit Forest is such a large series of connected areas, I would recommend starting at the beginning area and moving forward from there. The directional arrow that appears when you are holding the map does not indicate how far you are from the dig site. So it can be tedious slowly moving along the path through each area and then checking the direction of all your maps to identify when you've moved past a dig site. From there you can quickly backtrack and locate the dig site. Once you dig it up, make sure you check all the other maps in your inventory. Often times you will get multiple maps pointing to the same dig site. Tips and Tricks FarmingWhen preparing soil for trellis crops do NOT till the soil first. You can't place a trellis on top of tilled soil. When you place a trellis on the ground it will automatically till the soil for you. Tilled soil nodes don't disappear over time even if they are empty and unwatered. Immortal seeds are great because you never have to replant them. However they are also capable of being grown all year round even if their non-immortal variants can't. If you dig up the node where an immortal seed is planted you get the seed back. Unlike normal tilled nodes, area of affect watering cans can only apply water to a single trellis node at a time. This is probably not working as intended. Be careful when using a tool to harvest crops. It actually uses stamina as opposed to the by hand method that does not. GMAX RNG can be a bit brutal, however, do your best not to blame it on bees and weeds. The crops in the 3x3 grid do not need to mature at the same time in order to trigger a giant crop spawn. When applying GMAX fertilizer, only one crop in the 3x3 grid needs it. That's what the description means by the fertilizer "not stacking". Shops and VendorsTry not to get too trigger happy buying blueprints at the very start. As you progress your profession certifications you will get several of them for free! Some shops will restock "Free" items. For example, you can get two free "random" bags of feed every day from the Rancher shop. Shops don't always have an infinite quantity of consumables. For example, you can only purchase a limited amount of livestock food per day. When you are looking at shops and vendors don't forget to check each tab! Not every UI screen with an "inventory" will also have an "All" tab. NPCsAfter several interactions you might find that every time you talk to a named NPC each day they will immediately gift you something. While this may pad your inventory a bit, free stuff is free stuff amirite?! So it could be worth it for you to make sure and do your rounds each day just for that. Most of the time after you "Chat" with a random Tourist they will gift you something. A lot of the times it's a low tier resource, but every little bit helps especially at the start of the game. While you can only accept X number of bulletin board requests per day, it doesn't appear to affect the total number of requests you can have active at one time. BeesAt some point you'll want to start putting beehives on your homestead. Unlike most "livestock" it's not just a matter of buying the livestock, buying the blueprint for their home and then constructing it. For beehives you need to find a Queen Bee and obtain honeycombs, neither of which you can purchase from the Ranch Shop. To find them you'll need to chop down trees: Banyan Trees - Relatively easy to spot the beehive on one of the lower limbs. https://steamcommunity.com/sharedfiles/filedetails/?id=3667525124 https://steamcommunity.com/sharedfiles/filedetails/?id=3667544140 White Fig Trees - May be harder to spot the beehives without getting close and looking up. https://steamcommunity.com/sharedfiles/filedetails/?id=3668156234 Approximate Spawn Areas - North and East of Explorer's Club all the way towards Cloudrest Lake until you get to the grove of bamboo trees. https://steamcommunity.com/sharedfiles/filedetails/?id=3667544468 https://steamcommunity.com/sharedfiles/filedetails/?id=3667524924 https://steamcommunity.com/sharedfiles/filedetails/?id=3668156568 Beehive - Bees, Honeycombs, Queen Bee (low chance). Large Beehive - Bees, Honeycombs, Queen Bee (higher chance). Also tends to provide more bees and honeycombs than a normal beehive. NOTE - When you chop down a tree containing a beehive, a bunch of bees will fly out from it and appear to disappear in the distance. Don't be deceived, they are still out there and if you locate them you can catch them just like any other insect. This is a great way to get even more bees and save yourself some money having to buy them from the Ranch Shop. MiscellaneousHere I'll include things that may not fit cleanly in any other current section of the guide: Don't be afraid to slow-play profession advancement as it will increase the difficulty of Bulletin Board requests. It can be helpful to allow you a better chance to complete 1-star requests before you start unlocking tons of 3-star ones. You can ride the wavesurfer over the ocean. However you can't mount it from the water if you fall off unless you are standing on a boat (i.e. the raft). This can be a good way to scout the ocean for fishing nodes. The icon that looks like sort in the top right of the storage box actually allows you to navigate and interact with every box on the homestead (one at a time) via drop-down menu. This allows you to quickly stack items into each box individually without having to unpause the game by closing the UI and traveling manually to the next box and interacting with it. Always remember to check the "bottom left" of pretty much any UI screen to avoid missing out on upgrading (refining/processing stations), special options (workbench) and/or the ability to check/claim rewards (bulletin board). Thoughts on Feature Balancing I'm sure it's no surprise that nearing the end of Week 1 of the Early Access release of Starsand Island one can observe several aspects of the game that don't quite feel right from a balance perspective. These are the areas that seem most noticeable to me: Crafting FeedI'm no rancher by trade or all that well versed in how it's done in real life, but if you look at the recipes for what is required to craft the feed for each livestock type it becomes clear that the design philosophy promotes interdependence (i.e. outputs from livestock A/B + certain crops feed into the ingredients for livestock C). At the current values in terms of input vs. output, trying to be self sufficient and craft your own feed early on in the game at the point where you can raise the different livestock would be too taxing. My thought is that it would work more smoothly if the ingredients for basic feed were relaxed and the more complex and interdependent recipes were more for the advanced feed types that apply growth bonuses. Crafting AmmoGiven the amount of time and effort required to collect and refine the materials, I think that the player should get at least 10 units of ammo per craft instead of 3 units. It just seems extremely odd/wasteful for a single iron ingot to only generate 3 basic arrows, especially since you already need multiple units of iron ore to refine a single iron ingot. Plant Growth Bonus from BeesThis is one of the few areas where the feature is probably too strong. There's a profession upgrade that lets bees boost the growth speed of crops when they come back to the hive for the night. I've noticed that ever since I added two hives to my homestead some of my crops get fully grown and harvestable multiple times in a single day. Most recently I had a red and green grape crop (next to each other) grow so fast that I ended up harvesting from it 3-4 times in one day. Value Increase from Refinement and CraftingOne of my favorite parts of playing farming/life sims like this is the strategy and experimentation/discovery that goes into deciding what you want to do with your raw organic and non-organic resources and byproducts for the purpose of funding your homestead activities. However, based on current values, many of the things you can do to your raw resources barely improves the final sale value.
《星砂岛》注意事项

导读
这是一篇农场生活模拟游戏《星砂岛》的新手入门指南,涵盖基础玩法注意事项,如无需清理高阶障碍物、可随时存档等,还包含体力机制、烹饪增益、职业升级、战斗系统、赚钱方法、月光森林探索及各类实用技巧,帮助玩家快速上手游戏。

评论
共1条评论

∧吃猫.海∧
2026-02-26 00:53:57 回复2
回复2
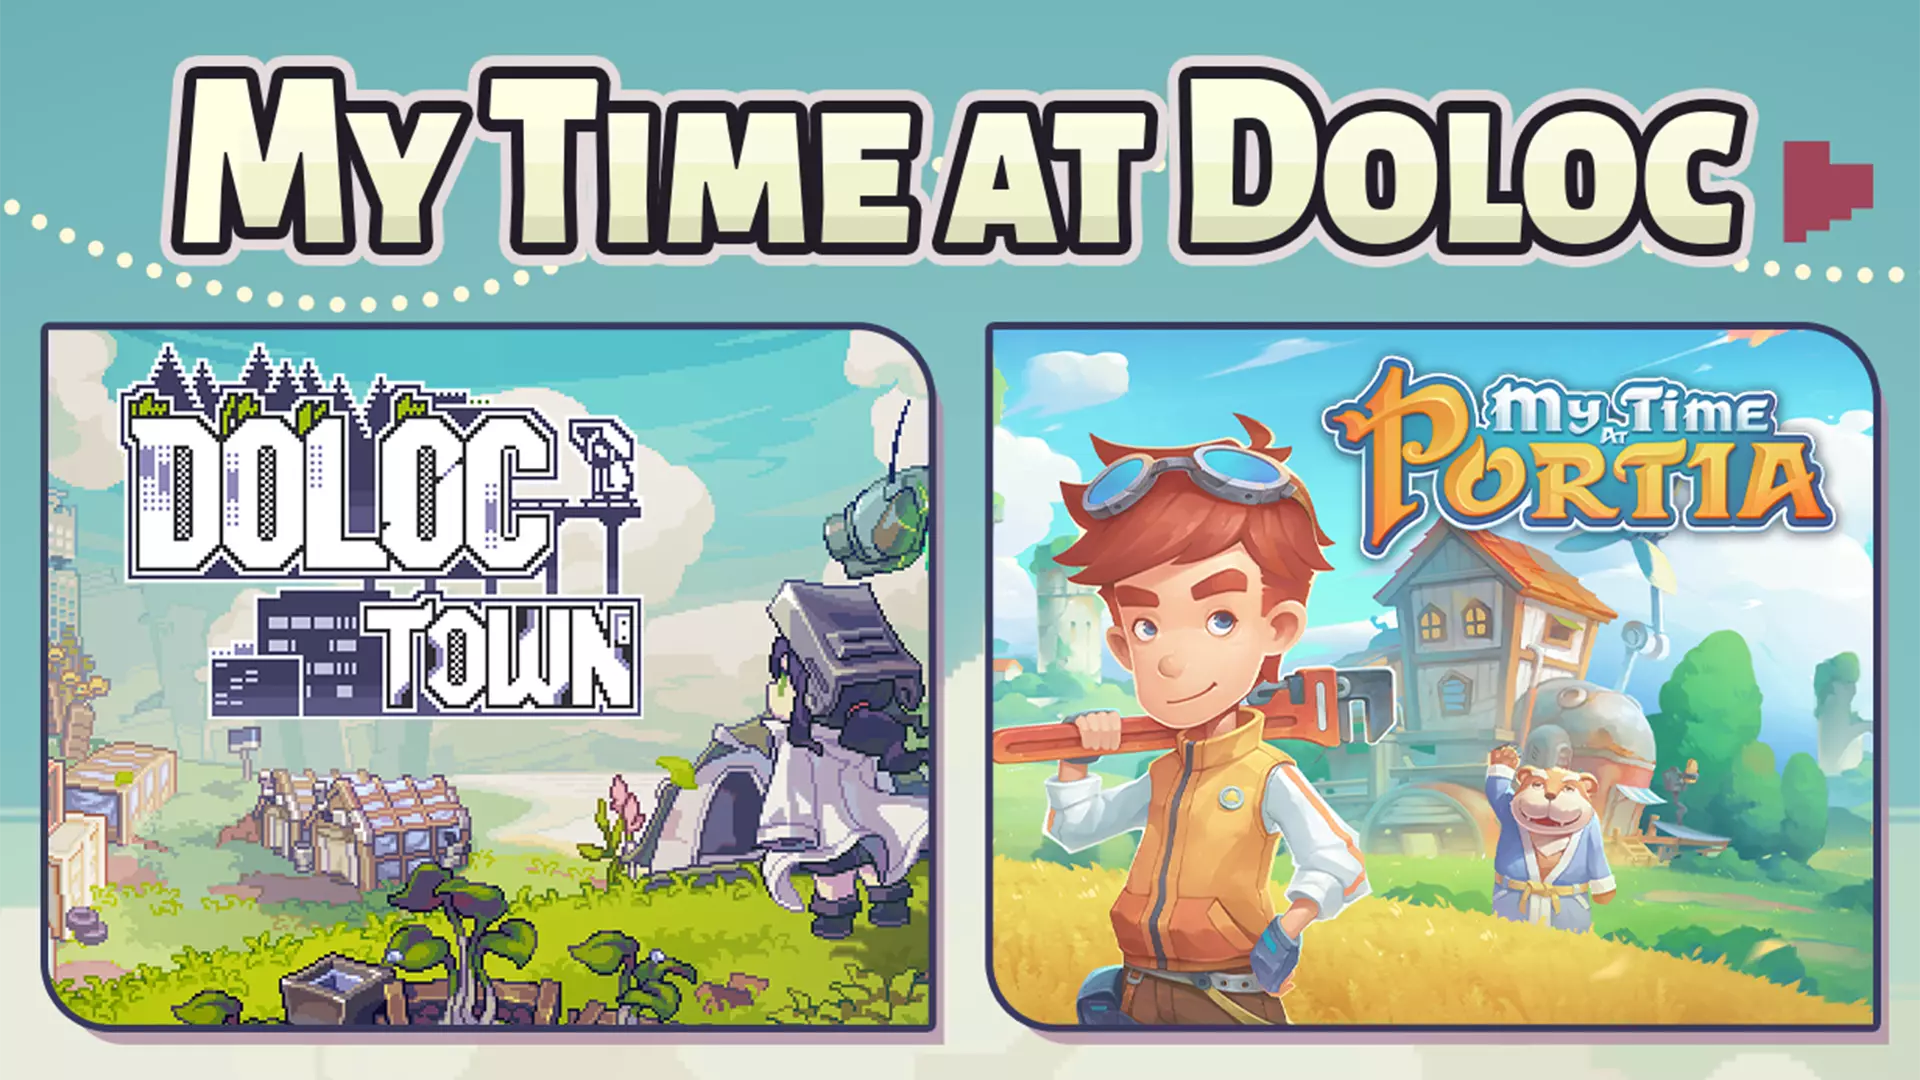
回复《波西亚时光》捆绑包现已推出!享9折优惠!
各位建造者们,大家好! 我们很高兴在Steam上推出《波西亚时光》捆绑包! 该捆绑包包含《波西亚时光》和《多洛可小镇》两款温馨的农场与生活模拟游戏,均设定在后启…
2025-07-18 09:080赞 · 0评论
萤火村-视频介绍
2026-03-04 18:300赞 · 0评论
请为《大市集》提名Steam大奖!
2025年Steam大奖的提名现已开启,我们希望能得到你的支持,让《牧场物语:济世之树》参与今年“轻松惬意”类别的评选。我们相信你也会认同,这款最新作品符合该类…
2026-02-13 09:000赞 · 0评论

【星砂岛】01期03节:夯爆的开放世界生活模拟种田游戏!盖房造车!恋爱养成!
#王牌达人营 #星砂岛 #星砂岛物语 #开放世界游戏 #手机游戏 #麻辣老盘海游戏解说
2026-05-09 10:053赞 · 0评论

《星砂岛》累计销量突破10万份
《星砂岛》官方宣布,截止目前本作累计销量已突破10万份! 开发团队对此表示衷心感谢,后续将持续完善游戏内容和优化体验。
2026-02-16 20:010赞 · 0评论

《星砂岛》Mod & 联机功能 将于5至6月分别上线
2月13日,SEED LAB 公布了 《星砂岛》 抢先体验阶段未来 4 个月的更新计划!
2026-02-15 01:011赞 · 0评论
老朋友,新岛屿!星砂岛 x 波西亚时光系列
收拾好你的行囊,建造者们!
2026-02-12 02:270赞 · 0评论
《Starsand Island》抢先体验版1天后上线:我们已经迫不及待想在明天与你见面了。
岛民们,前往星砂岛的专列将在不到24小时后发车。这座岛屿已准备就绪,正等待着你们踏上它的土地。
2026-02-11 01:350赞 · 0评论

模拟经营 【星砂岛】给水友们解惑之“黑花”怎么杂交出来?早日实现财富自由!
2025-11-30 22:460赞 · 0评论

《星砂岛》抢先体验版更新 - 版本0.5.1822
《星砂岛》更新内容 1.新增功能 -新增教室主题家具套装,其蓝图有机会在星砂商店-每周布局标签中出现 -新增索拉拉帮助加里克、妮娅和亚历克斯登记为岛民的故事内容…
2026-05-15 07:080赞 · 0评论
暂无更多
最新更新
- 《星砂岛》抢先体验版更新 - 版本0.5.1945 — 《星砂岛》修复公告 1. 修复了 livestock 无法生产、繁殖,且不吃饲料导致无法生长的问题。 致所有岛民:
- 《星砂岛》抢先体验版更新 - 版本0.5.1822 — 《星砂岛》更新内容 1.新增功能 -新增教室主题家具套装,其蓝图有机会在星砂商店-每周布局标签中出现 -新增索拉拉帮助加里克、妮娅和亚历克斯登记为岛民的故事内容…
- 《星砂岛》“岛屿生活”家园布局设计大赛日程更新 — 亲爱的岛民们, 自家园布局设计大赛开启以来,我们收到了大家众多的支持与创意!同时,我们也收到了许多希望延长提交期限的请求。 为了给大家更多时间来完成和完善自己梦…
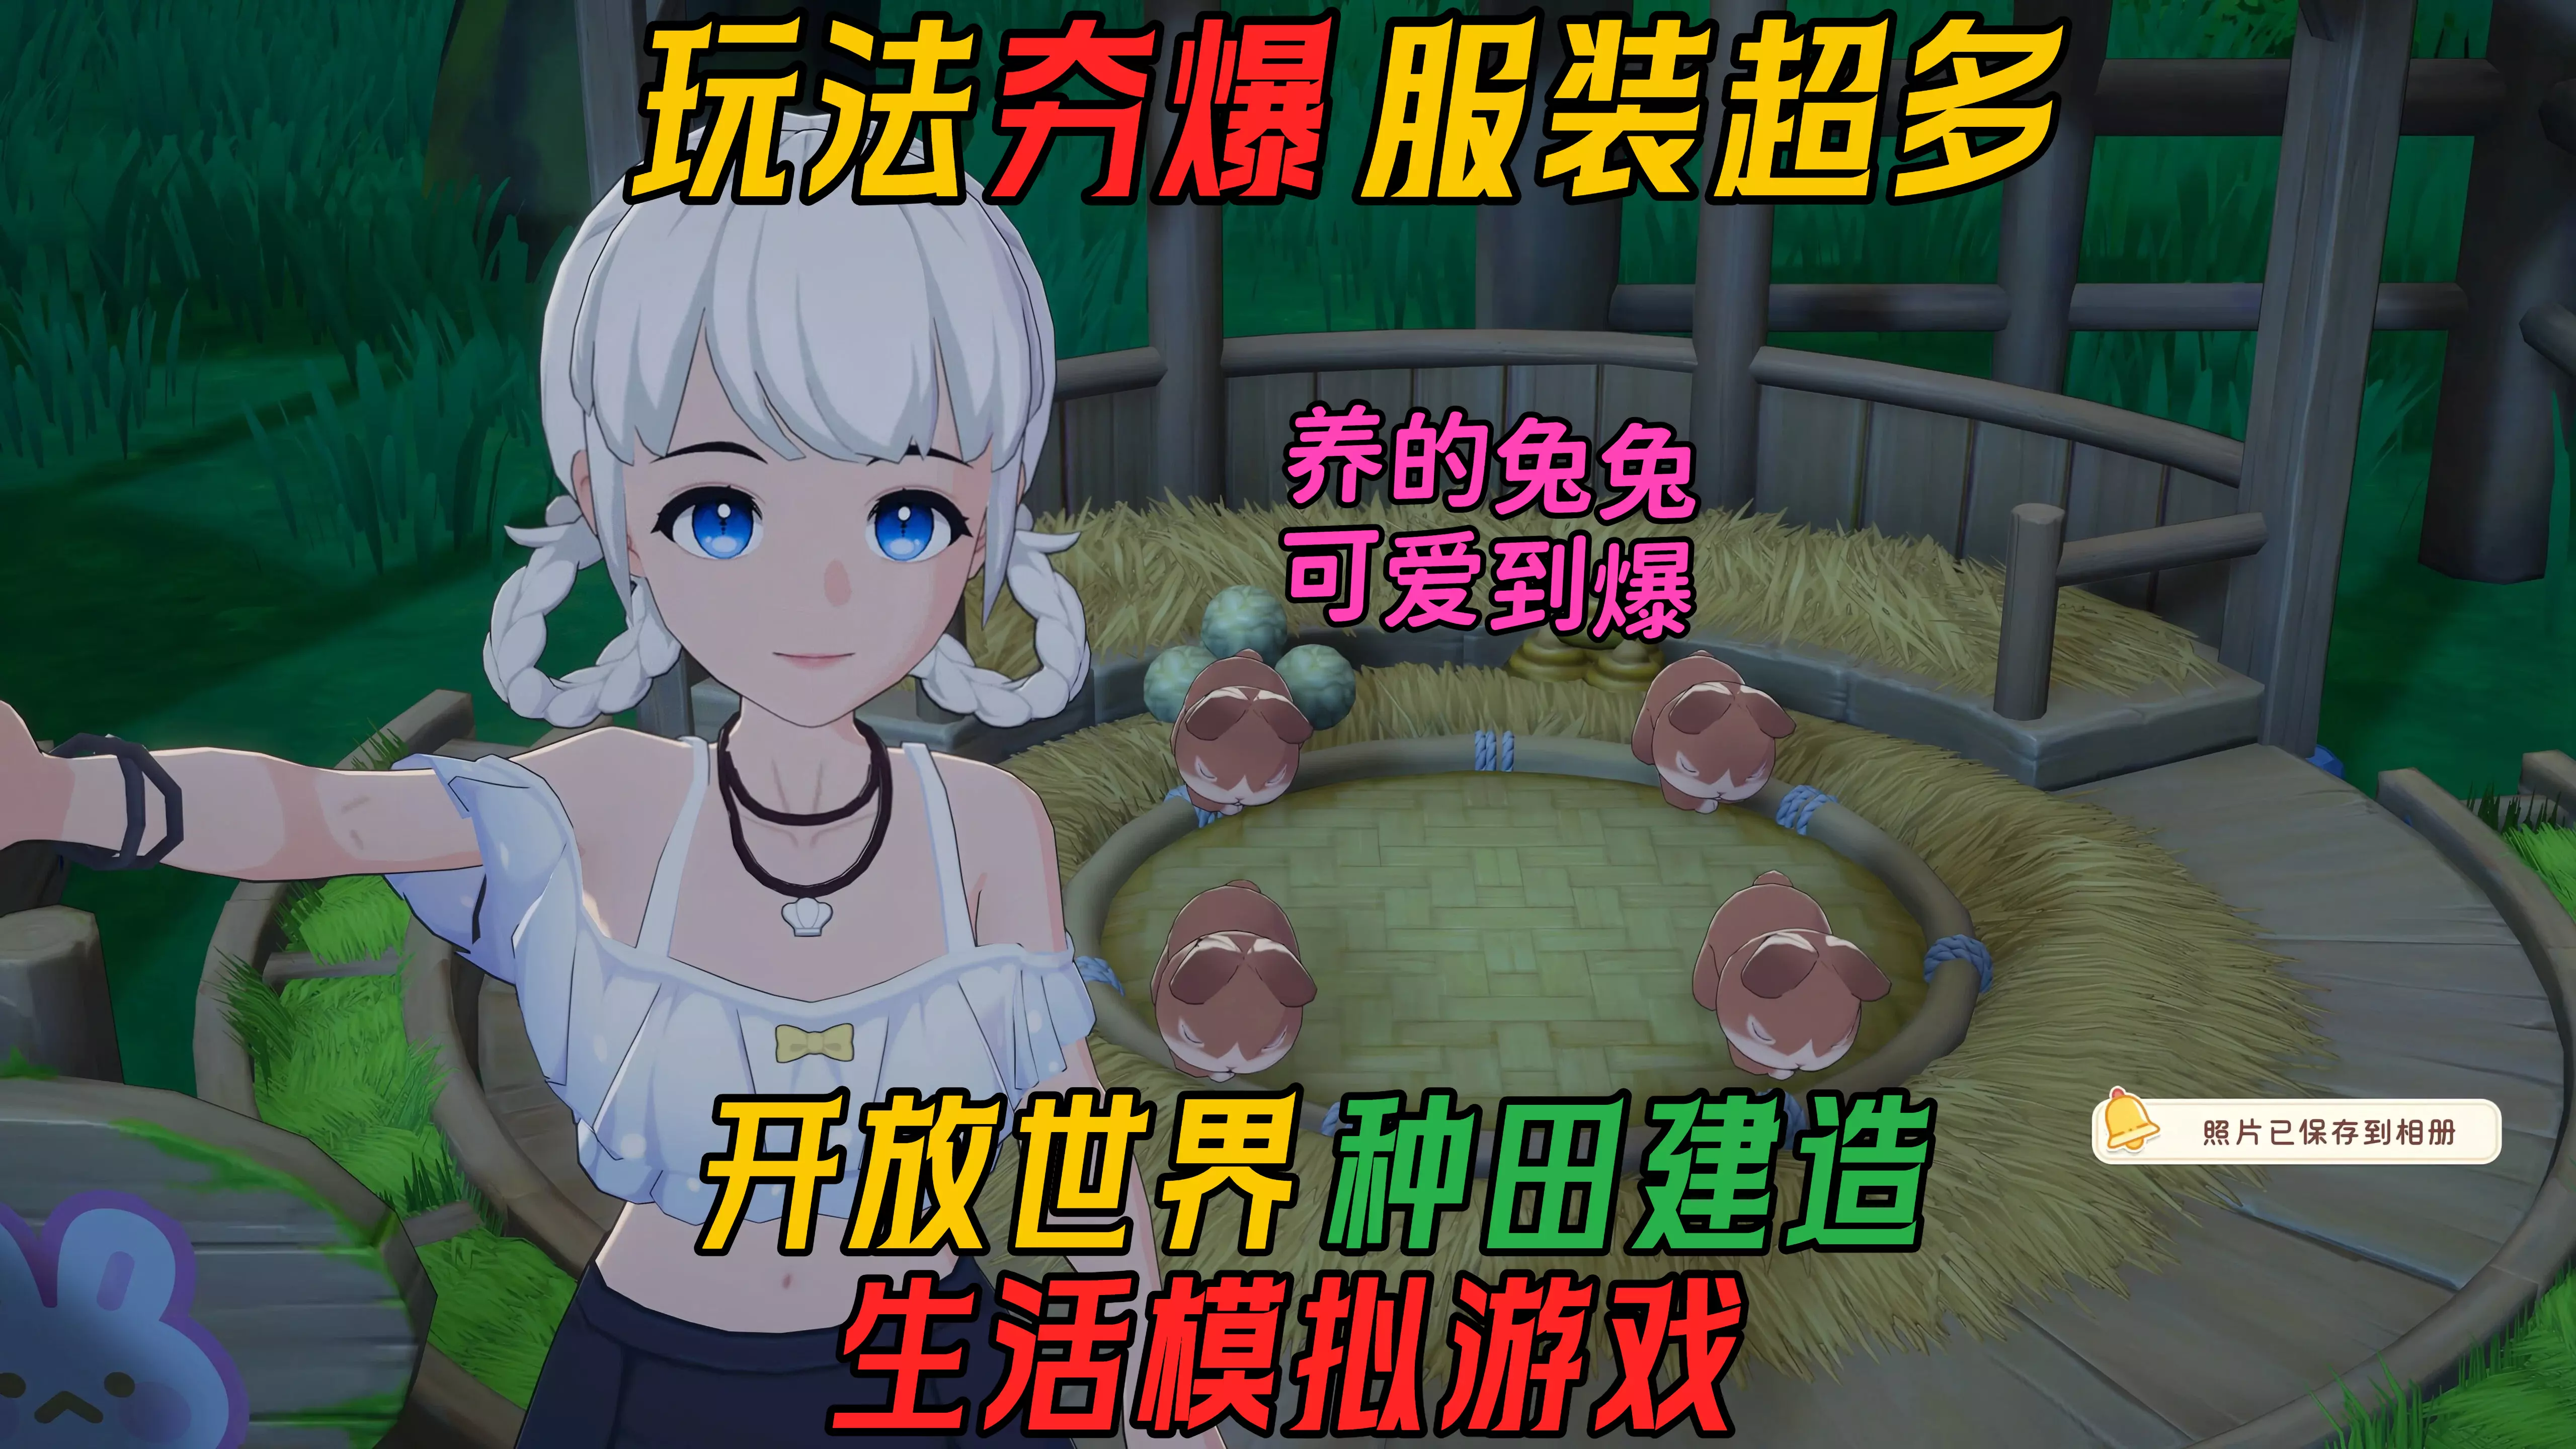
- 【星砂岛】02期03节:玩法夯爆!服装超多!开放世界生活模拟器! — #王牌达人营 #星砂岛 #种田游戏 #开放世界游戏 #手机游戏 #麻辣老盘海游戏解说
- 【星砂岛】02期02节:玩法夯爆!服装超多!开放世界生活模拟器! — #王牌达人营 #星砂岛 #种田游戏 #开放世界游戏 #麻辣老盘海游戏解说
- 【星砂岛】02期01节:玩法夯爆!服装超多!开放世界生活模拟器! — #王牌达人营 #星砂岛物语 #星砂岛 #种田游戏 #麻辣老盘海游戏解说
- 【星砂岛】01期03节:夯爆的开放世界生活模拟种田游戏!盖房造车!恋爱养成! — #王牌达人营 #星砂岛 #星砂岛物语 #开放世界游戏 #手机游戏 #麻辣老盘海游戏解说
- 【星砂岛】01期02节:夯爆的开放世界生活模拟种田游戏!盖房造车!恋爱养成! — #王牌达人营 #星砂岛 #星砂岛物语 #种田游戏 #开放世界游戏 #麻辣老盘海游戏解说
- 【星砂岛】01期01节:夯爆的开放世界生活模拟种田游戏!盖房造车!恋爱养成! — #王牌达人营 #星砂岛物语 #星砂岛 #种田游戏 #开放世界游戏 #麻辣老盘海游戏解说
- 《星砂岛》抢先体验版更新内容 — 《星砂岛》更新内容 新功能 1. 新增好感度折扣系统:当与NPC的好感度达到特定等级时,部分商店的相关物品将以折扣价出售。 2. 新增【蜗牛泵】道具及其对应的图…