换一换
换一换 


这是在《吞噬》中以各种难度获胜的简单方法。 教派等级 《吞噬》根据玩家反馈新增了一个等级系统。每次完成游戏后,你将获得经验值,经验值会逐渐提升教派等级。每次升级时,玩家将获得额外的虚拟代币。 当你达到8级(最高等级为70级)时,你将获得一个新头衔。这个头衔会显示在大厅中玩家名称的旁边。每个头衔都有其专属徽章,能提升你在其他玩家中的声望并提高教派等级。

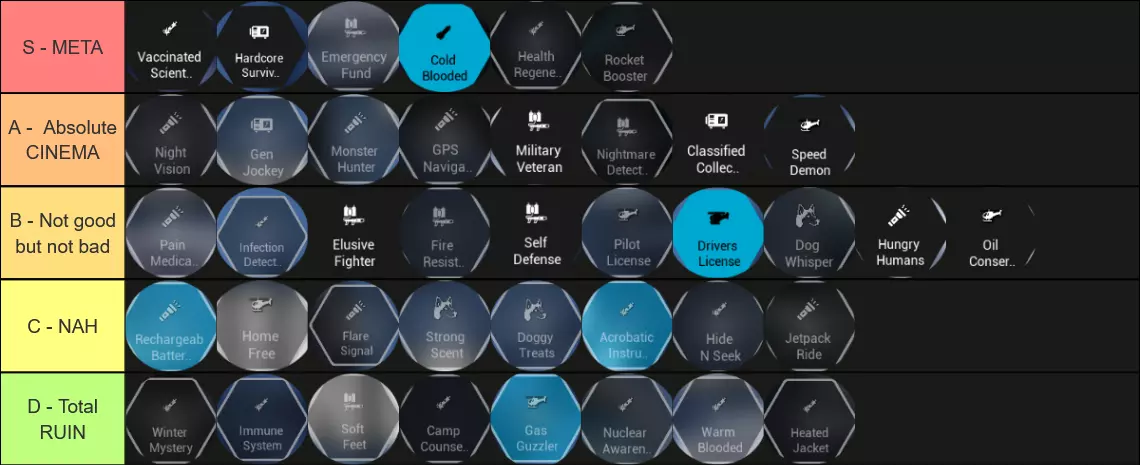
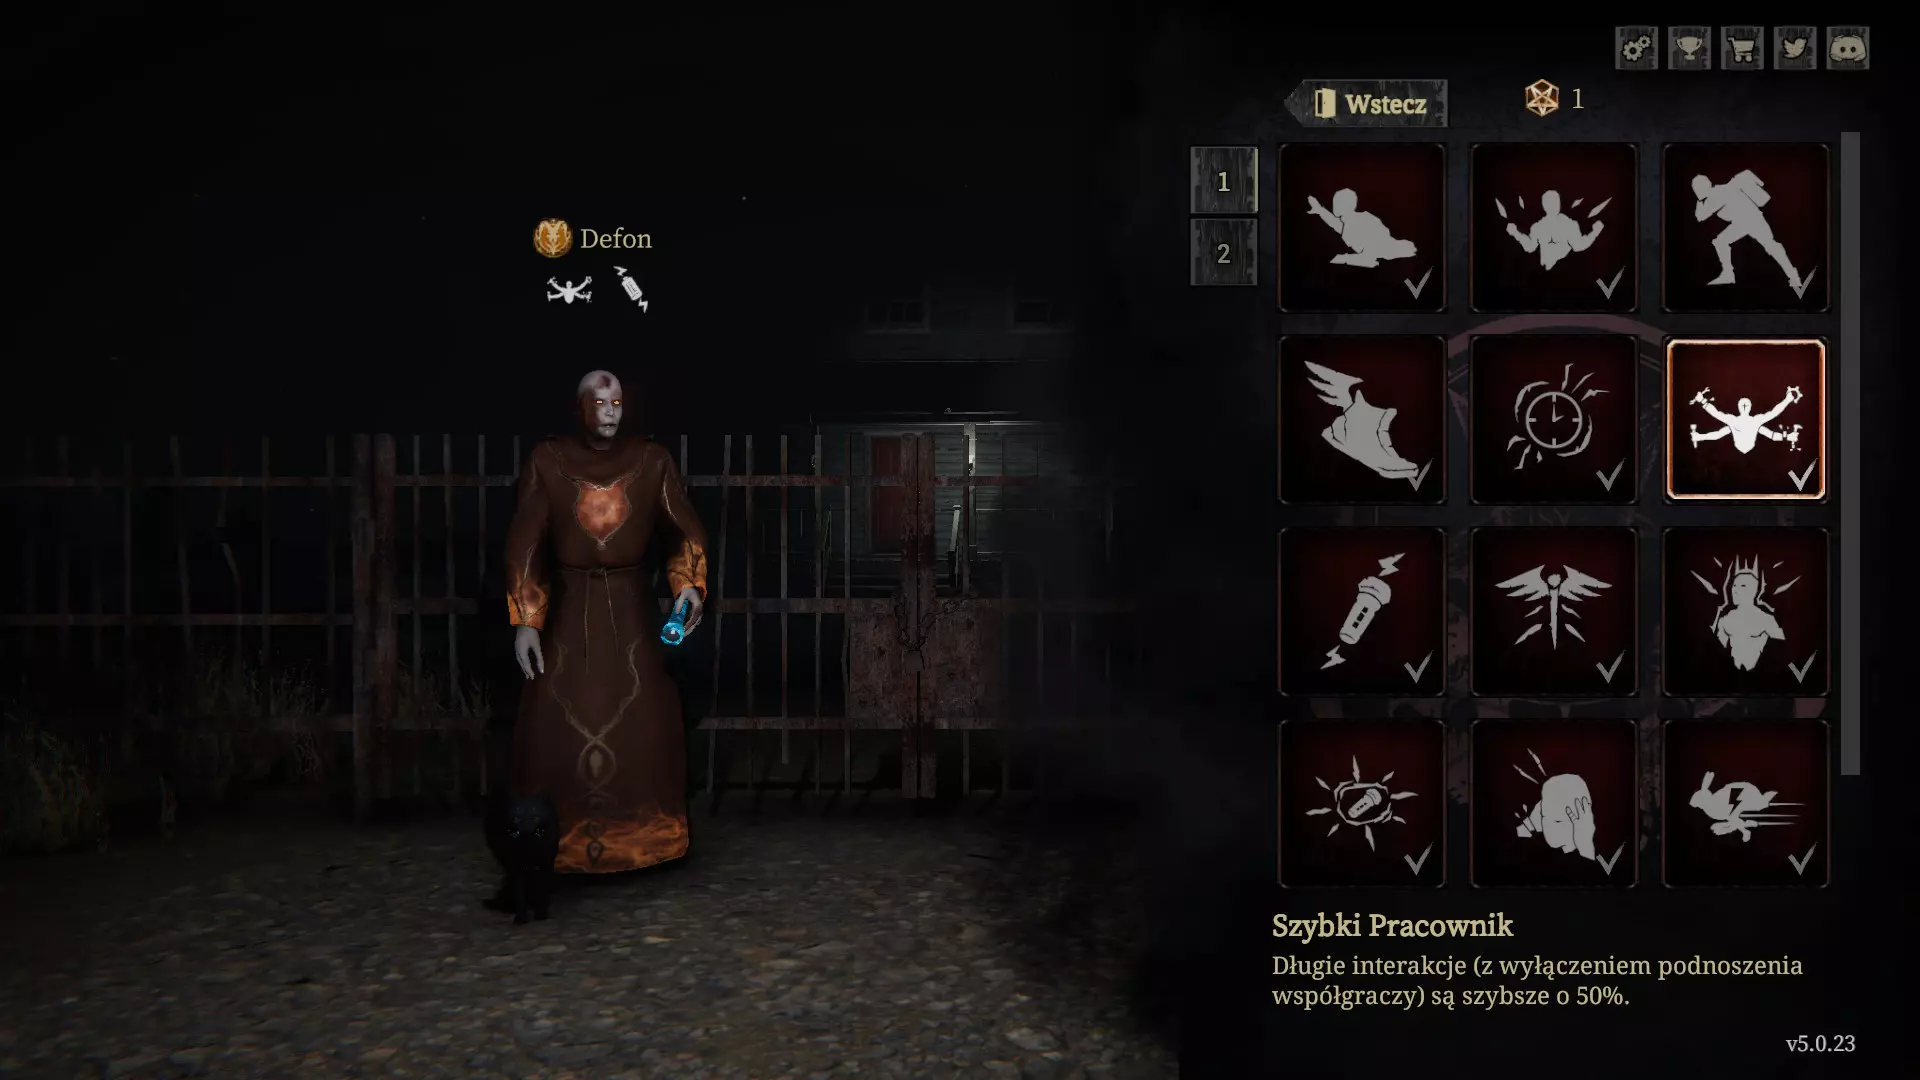
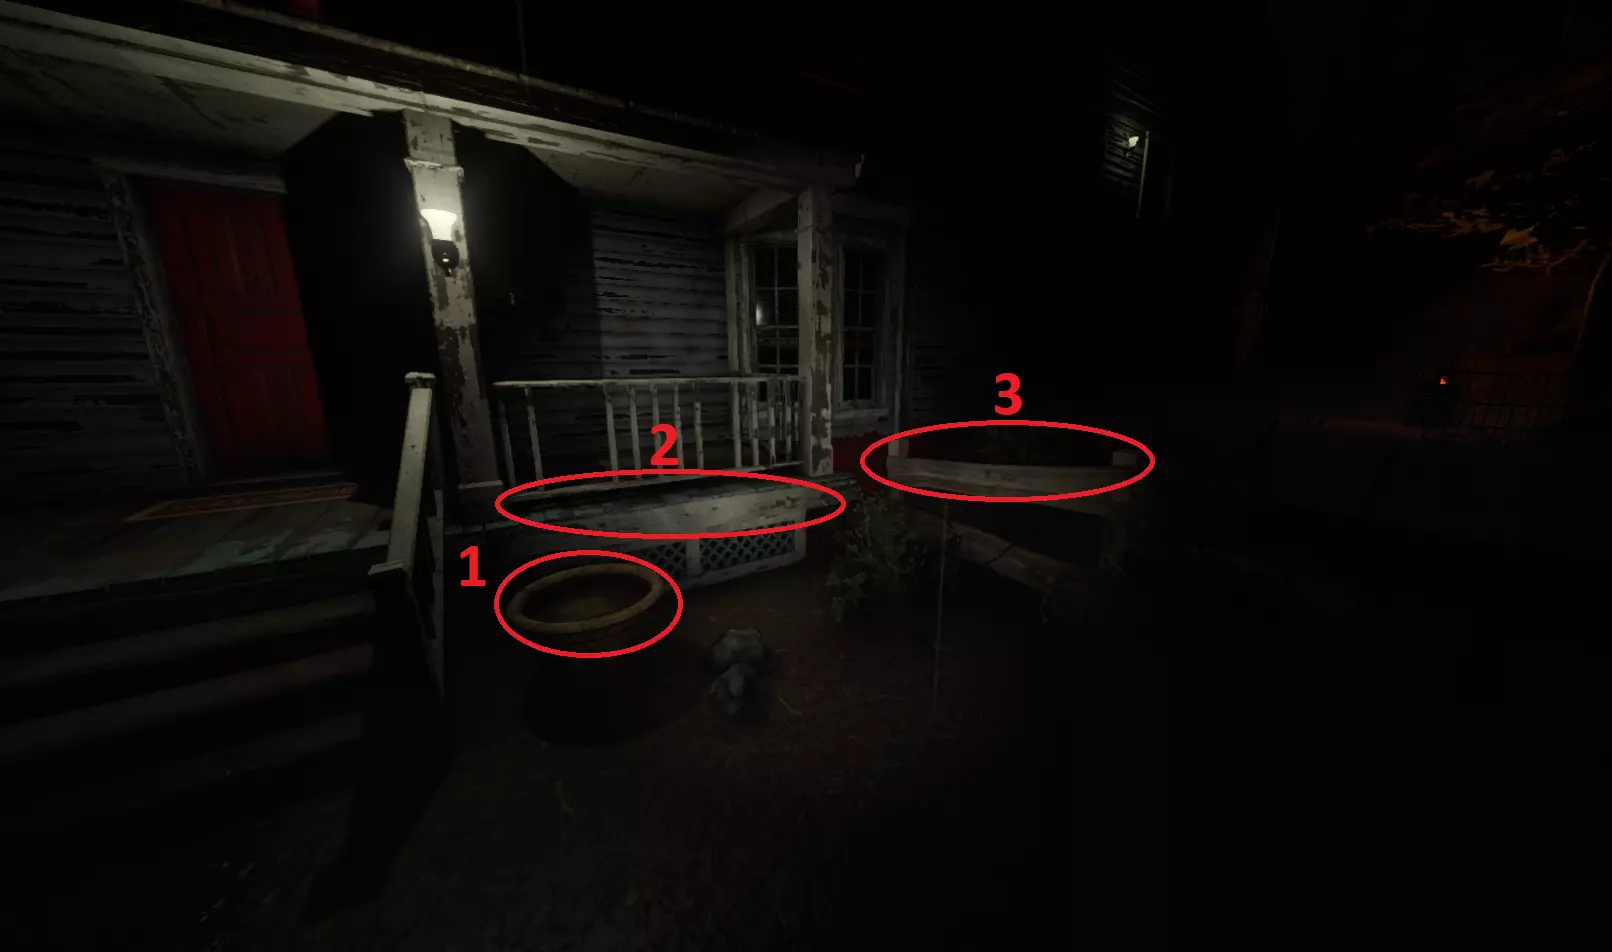
特长 爬行者 - 被击倒时移动速度提升100%。 消耗 - 1个仪式代币 加速 - 被复活后20秒内移动速度提升20%。 消耗 - 1个仪式代币 远视 - 所有物品的高亮距离增加50%。 消耗 - 1个仪式代币 军需官 - 医疗包可穿透墙壁高亮显示。 消耗 - 1个仪式代币 补给跑者 - 携带仪式物品时移动速度提升15%。 消耗 - 1个仪式代币 迅捷 - 移动速度提升7%。 消耗 - 1个仪式代币 快手 - 长时间互动(不包括复活)速度加快50%。 消耗 - 3个仪式代币 驱邪 - 阿撒兹勒的仆从在附近时移动速度降低50%。 消耗 - 3个仪式代币 再生 - UV充能再生速度加快50%(在噩梦模式中无效)。消耗 - 3个仪式代币 战地医护:复活玩家速度提升50%。 消耗 - 3个仪式代币 完全充能:使用电池后,紫外线充能20秒内不会消耗。 消耗 - 3个仪式代币 团队领袖:当与任何存活玩家距离在5米内时,长时间互动(包括复活)速度提升100%。 消耗 - 3个仪式代币 压力之下:当成为最后一名存活玩家时(仅合作模式),长时间互动(包括复活)速度提升150%。 消耗 - 5个仪式代币 超级充能:使用电池后,移动速度提升30%,持续20秒。 消耗 - 5个仪式代币 陷阱师:最后一个仪式物品会被高亮显示。 消耗 - 5个仪式代币 闪避者:被阿撒兹勒追击时,移动速度提升25%。消耗 - 5个仪式代币 农舍 首先你需要触发杀手;有两种方法可以做到:电视房/地下室。 触发杀手后,你需要堆叠物品。 有两个堆叠山羊的地点,一个是“电视房”,另一个是“地下室的小房间”。 电视房
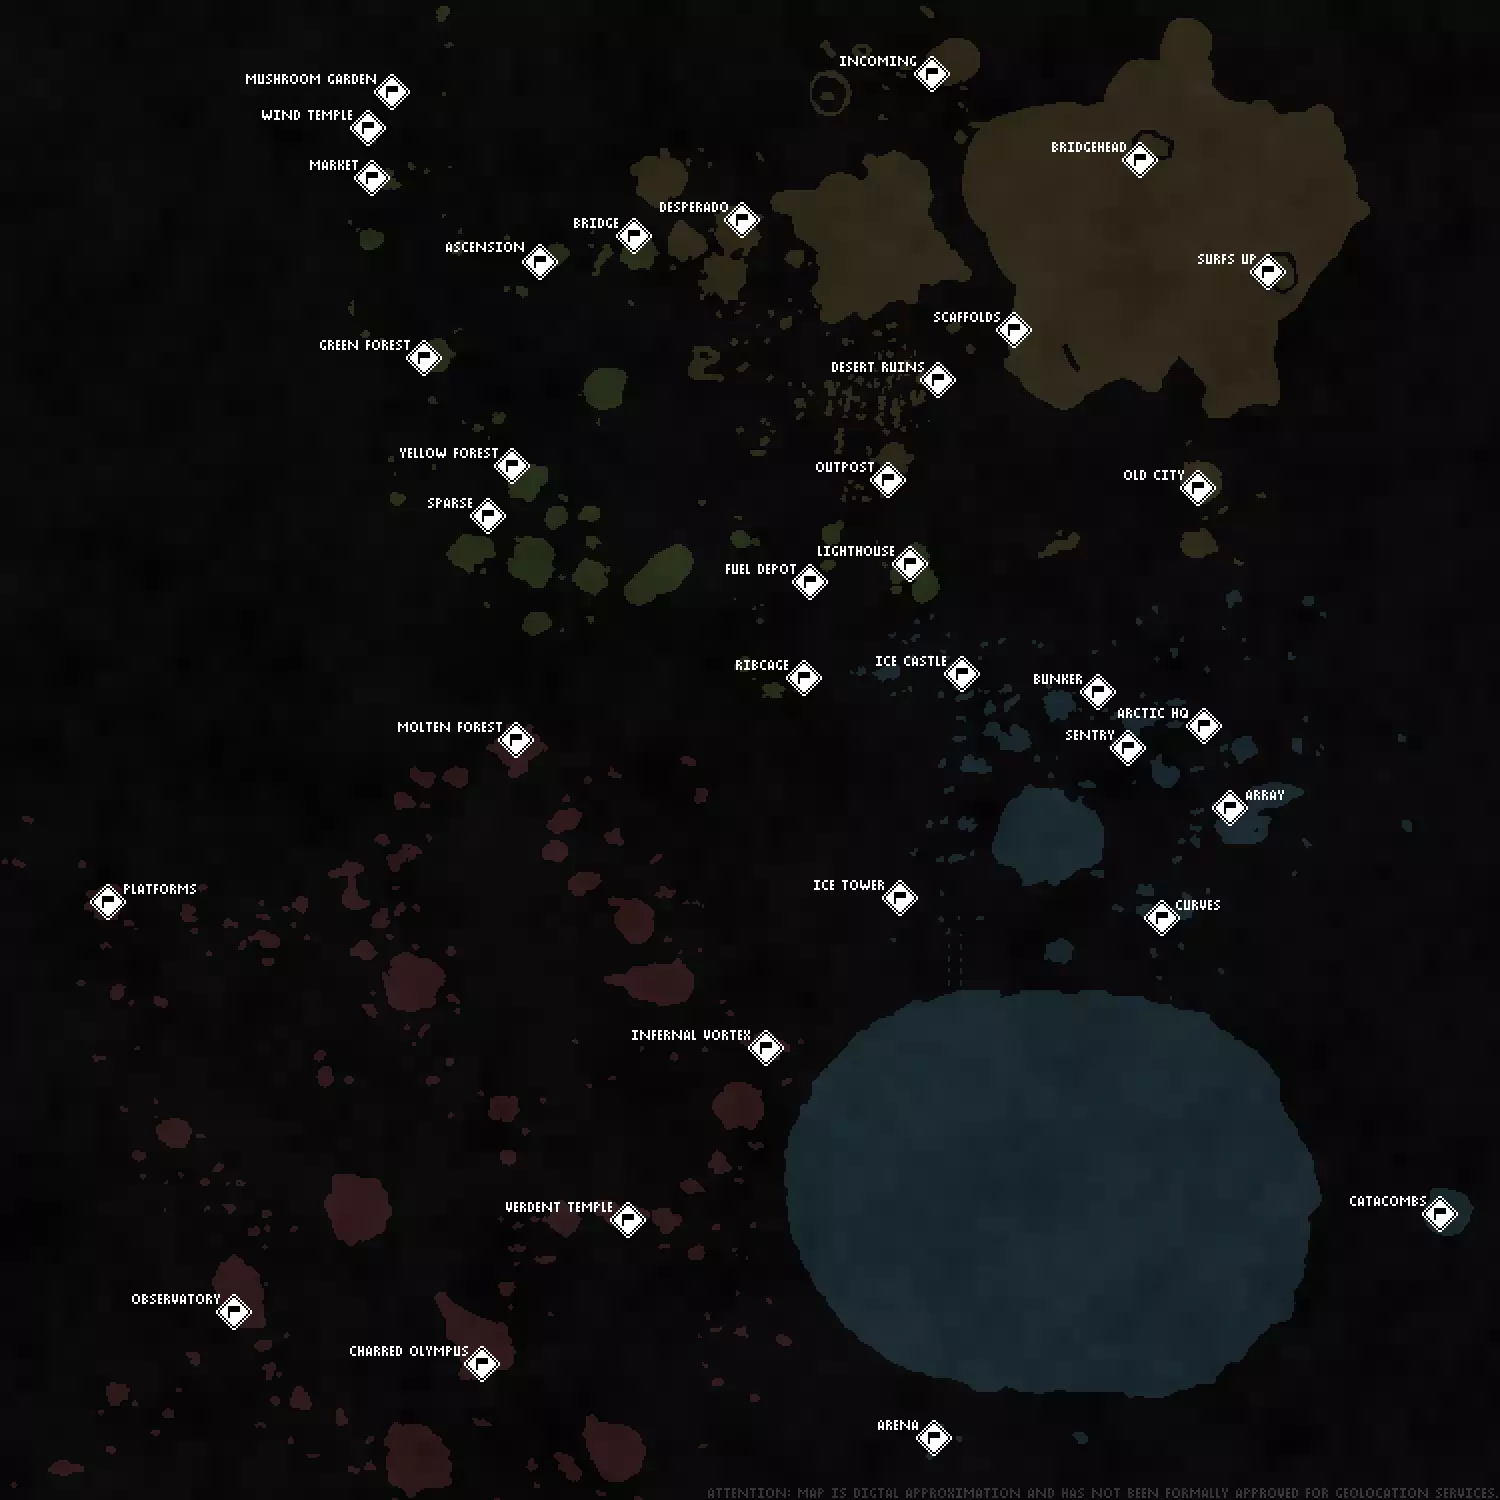
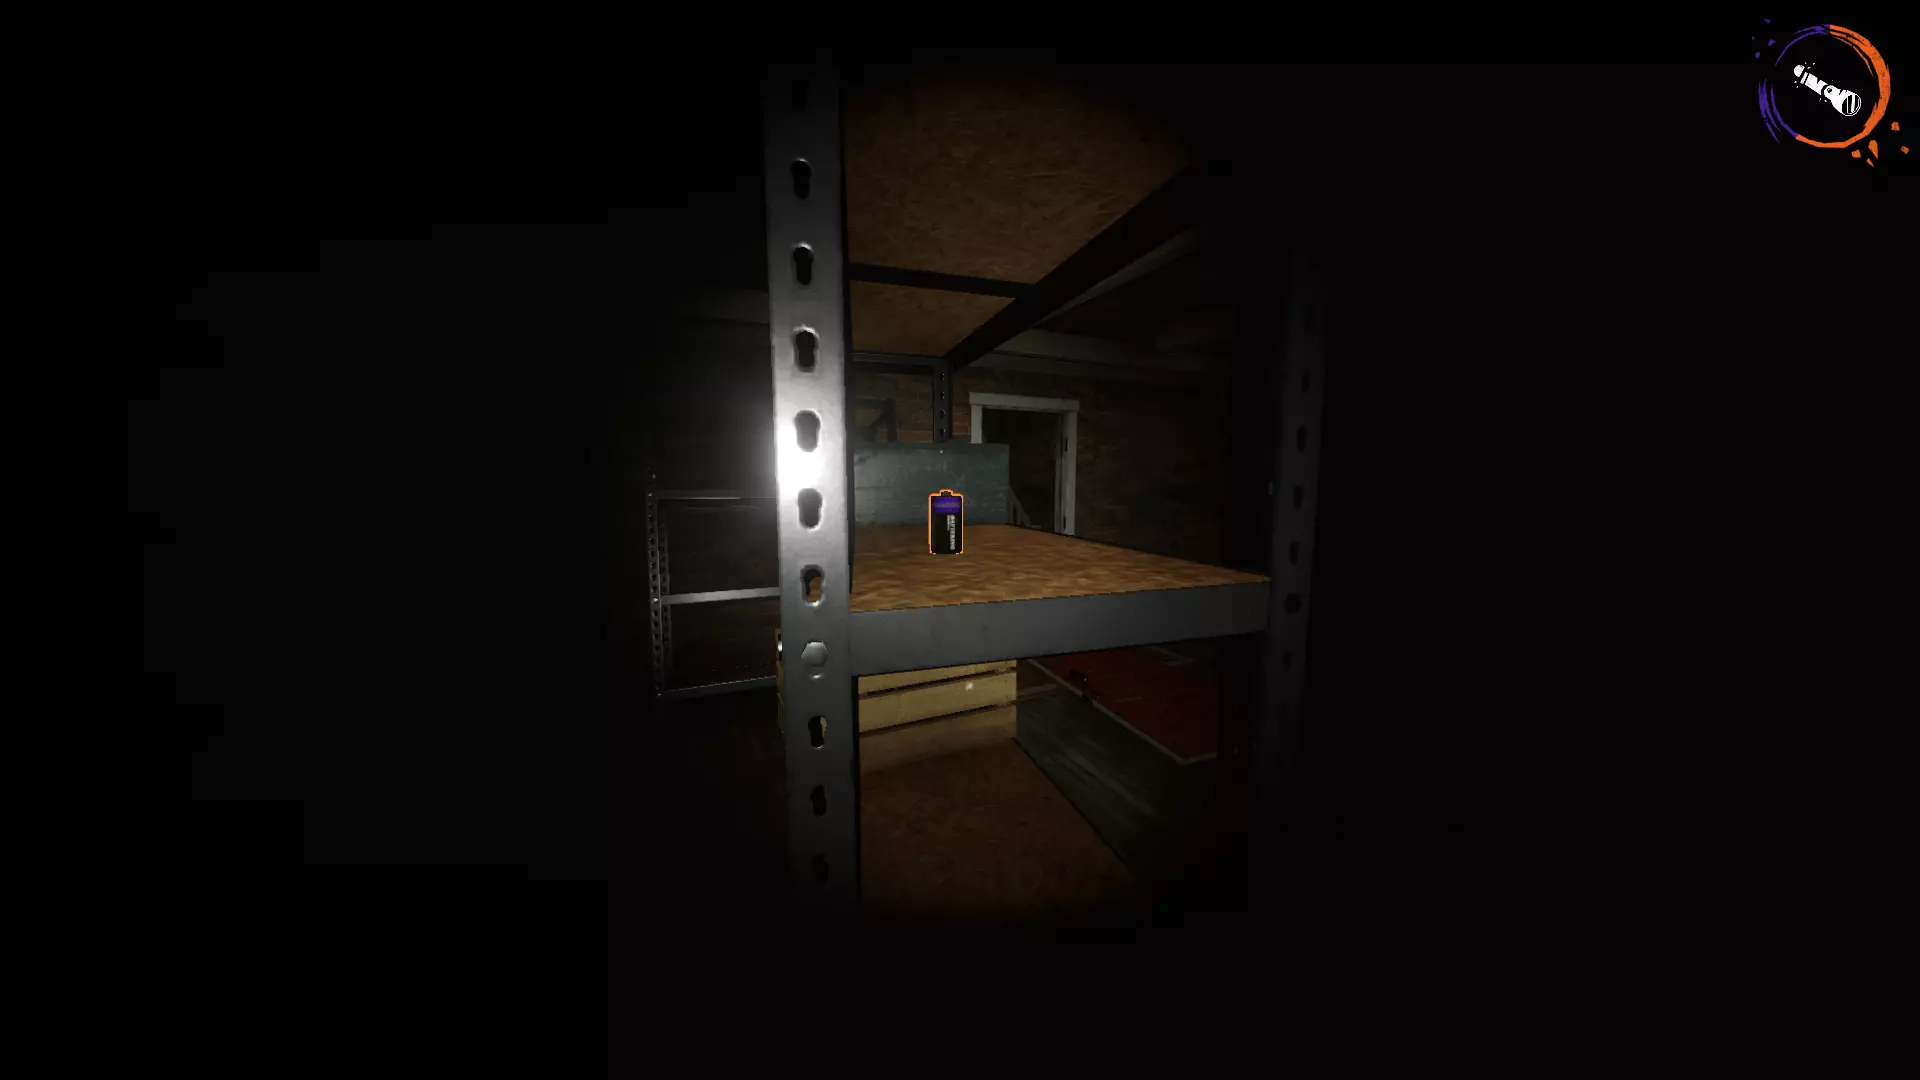
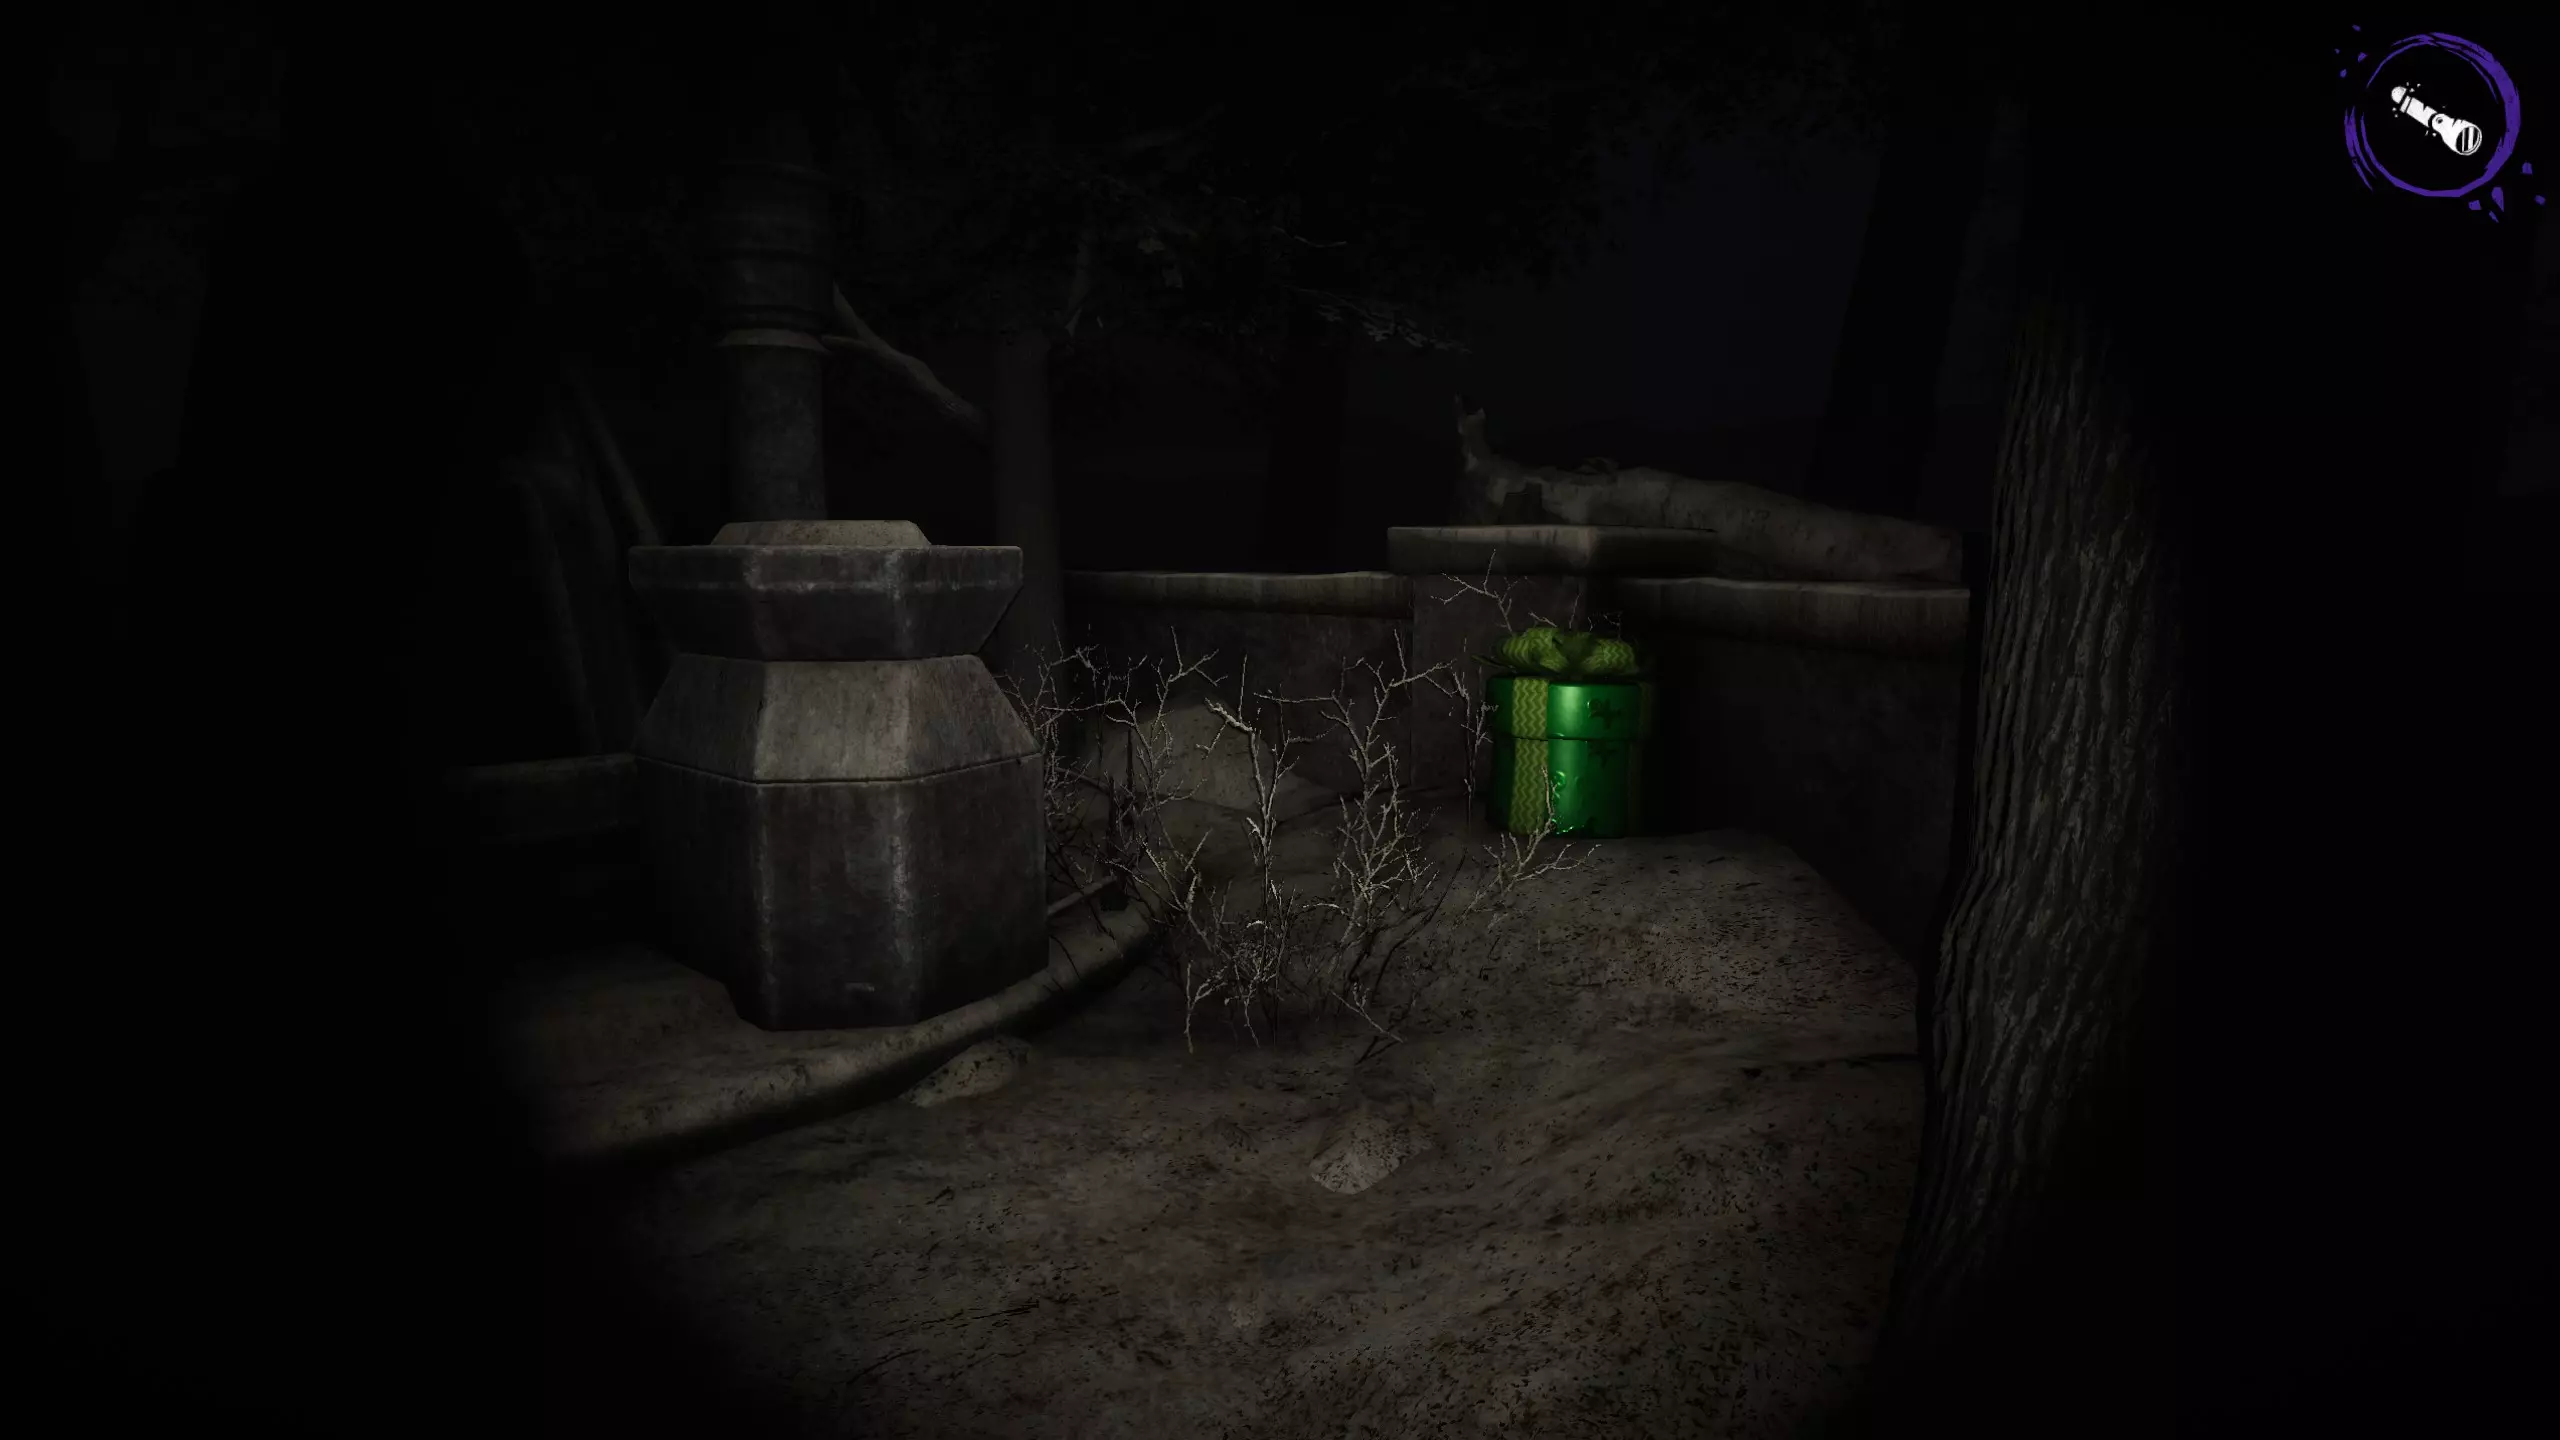
One person should stack medkits another person goats and another person gas, last person should check for keys. Once you stack all the goats in that room make sure they dont escape when you enter in the room. You gotta stack again food infront of the room ( you are gonna take 1 by 1 every goat ) also in case they escape you got the food near the room. DO NOT BURN GOATS UNTIL YOU DO THOSE STEPS If you burn one goat she might start hunting and will be hard to stack the items and people will die and youll lose time reviving. Well, after you do the stacking 2 person will go for goats, one is gonna burn and the last one is gonna take hits or stun the killer. You need comunication in this game so make good decisions and will be easy to win. On Nightmare mode i recomend pop the batteries once you see one and dont waist it with the crawlers ( is better taking other way and saving ur beamer than dying by Anna cuz you depleted your beamer) Inn Map Ritual elements Spider Egg Bottle Fountain Altars Unique mechanics The Inn is different from The Farmhouse, The Asylum or The Town in many aspects. The one is the fact Zara can travel around the map using tunnels; tunnel entrances around the map. While Zara is fast, she isnt as fast as others possessed by Azazel. She, however, does make up for this by being able to "teleport" anywhere using her tunnels, making it very difficult for the player to track her position. Zara is also able to block off areas of the map by throwing webs. While these webs can be burned off using UV light very fast, if they catch you off guard they can stop you for long enough for Zara to catch up. If a player gets knocked down by Zara, she will carry the player into a nearby tunnel. There is not one place where the ritual is performed; instead, there are 10 randomly generated Altars on which Spider Eggs are sacrificed. The Inn is also the only location where ritual items are not all present initially; only 4 Spider Eggs spawn in right after first meeting Zara, and additional ones only spawn after washing existing ones. A similar thing can be said about bottles- only 6 bottles spawn in initially. The Inn is also a notably difficult level. Performing the ritual The ritual on The Inn is different in that it takes place on 10 different altars. Each altar has a symbol inscribed above it. There are 10 symbols: Circle Pentagram Pyramid Goat skull Skull Flame Inverted cross Eye Hourglass Dagger The altars are places to sacrifice Spider Eggs. Each egg has to be washed before it is sacrificed. Strategies The Inn is considered a difficult location - it was designed such that the player cant prepare any ritual items in advance. Despite that, there are things players can make after first meeting Zara, but before activating her by washing the first egg: Write down where all 10 altars are; the last thing you want is to frantically search for an altar when at 8 sacrifices. Find all keys and unlock all rooms Find all 6 initial bottles Find all 4 initial eggs; keep an eye on them, as Spiders (Crawlers) will try to steal them. The easiest room to hold them is in the laundry room. Slinger Map (the town) Ritual Items Ritual books Matches Gas cans Unique mechanics The Town is conceptually similar to The Inn, especially the way the ritual is performed, but a standout feature is Slingers ranged attack. Slinger is armed with a revolver and is not afraid to use it. During early stages of the game if a player stands near Slinger for long enough, he will use his revolver and shortly afterwards fire at the player, downing them instantly. When enraged, Slinger will fire at players, significantly slowing them down and making them vulnerable to his melee attack and nearby minions. The Town is also the only level to feature flying enemies - the Ghosts, which are able to pass through terrain and structures. Performing the ritual To beat the map, players must complete 10 rituals. Each structure, aside from the chuch, will hold a pentagram and a lockbox containing a book. After awakening the killer, the keys to the lockboxes will spawn randomly around the map and 4 of the 10 pentagrams will light up, indicated by the respective structures' lights turning on. In order to perform a ritual, you will need to bring a matchbox to a lit structure and light the 3 candles on the glowing pentagram inside. Once done, you will need to unlock the lockbox with the appropriate key and take the book to the pentagram within the same structure. From there, you will be able to hold the interact button to curse the book, turning the pentagram black and giving the book a bright red glow, allowing you to burn it at the altar inside the church. Note: books can only be cursed inside the same structure they are found in. Make sure the symbol on the book matches the symbol shown at the entrance of the structure. Strategies The Town can be played very safely and is considered the easiest level. After activating him (and hearing the gunshot), the player can prepare all elements of the ritual: Prepare matches and books on pentagrams before they are ready to curse. Prepare all 10 gas cans near the altar inside the church. Prepare first aid kits in the main road. Doing the above will mean that players can do the following: Find an active pentagram Use the prepared matches to light it Curse the book by putting it in the lit pentagram Run to the church and sacrifice the book. The above is relatively easy to do since since all ritual items are ready and lit pentagrams will be marked by the structures' lights being on, making them easy to find. It is recommended to curse buildings such as the storage and mine first, as they are furthest from the church. Asylum Ritual items Food Rat Fuse Performing the ritual To perform the ritual, the player has to fry 10 rats on the Altar of Azazel. The gameplay loop of The Asylum is the same as that of The Farmhouse (food = hay, rat = goat, fuse = gas can). At the start of the game, the player has to first release 10 rats. Five rats are released initially, when a trash can is thrown by the player on the way to the basement. There are numerous other trash cans around the asylum, one of which contains the remaining five rats. It is recommended a player releases all 10 rats before sacrificing any rats (but after activating molly). While food spawns in many rooms, it is most common in cafeteria and kitchen. Food does respawn, but it is unknown how often and where. Molly's behaviour As with all bosses, Molly is more dangerous, faster, and harder to stagger the further the ritual has advanced. Like Anna and Slinger, she has a rage mode, in which she chases any visible player, and passive mode, in which she wanders around and is not dangerous. Entering rage mode has an audio indication - all players will hear Molly scream for a few seconds. Sacrificing a rat will cause Molly to enter rage mode immediately. The further the ritual progresses, Molly will gain the following traits: Generally faster during rage mode. Entering rage mode from passive mode more frequently (at 7+ sacrifices, periods of passive mode are barely existent). Gaining "red eyes" - a period of stagger immunity right after she has been staggered. Getting faster while in the process of being staggered (during the time UV light is shined on her). Strategies Try to get as much done before sacrificing a rat, taking advantage of Molly's passivity early on: Find 10 fuses and bring them to the fuse box. Find all keys and unlock all doors (note some doors, such as in the mortuary, do not have keys, but have to be opened from the inside). Place med kits nead the fireplace. If a rat is found in a side room (stack it in the bedroom above the basement), close the door to that room. There is still a chance Molly will open the door to that room, but there is a good chance the rat will stay there. This makes it easier to stack the rats. It is better to save the trapped rats until later stages of the game, when Molly is more dangerous and you don't want to run around looking for rats. An effective strategy on The Asylum is rat stacking: Put a rat on the sacrificial bed, but don't fry it yet. Put a fuse into the fuse box Grab another rat With a rat in hand, fry the prepared rat by pulling the lever Place the new rat on the bed Put a fuse in and pull the lever. Doing this will cause Molly to enter rage mode twice quickly in a row, which is the same as her entering rage mode once. This strategy is more effective later in the game, as it is more and more dangerous to go into the asylum at more sacrifices. For example, you can finish the game quickly from 8 rats, as you will not have to go into the house when Molly is at 9 rats when she is extremely dangerous. The Slaughterhouse Ritual Items Pigs Oil cans Bone Performing the ritual To beat the map, players must sacrifice 10 pigs. The first 5 pigs will be locked in stalls on west and east sides of the map. After awakening Nathan, the keys to the stalls will spawn randomly around the map. To catch a pig - similarly to the goats in The Farmhouse - you need to drop a bone from the Corpses on the ground and let the pigs eat it. In order to sacrifice a pig, you will need to bring an oil can to the Meat Grinder and fill it up. Once done, you will need to hang a pig from the hook above the grinder. From there, you will move a floor lower to turn the crank that lowers the pig into the grinder. Strategies Prepare Oil cans in front of the grinder. Store pigs in the Storage Room to the left of the Freezer. They are unable to escape, as long as both doors are closed. Also you can jump on the railings that you have above main so the creepers doesnt catch you and you can save battery (it doesnt work agaisnt Nathan) BUT it is a way to drop down in between those railings and the killer starts to bug but at the end youll save 15s before you get killed. Find 10 oils and bring them to the sacrificial room. Find all keys and unlock all doors. After banishing them with UV, they drop a bone.Only 3 bones can exist at any given point in a game) Stack medkits infront of the Freezer