换一换
换一换 


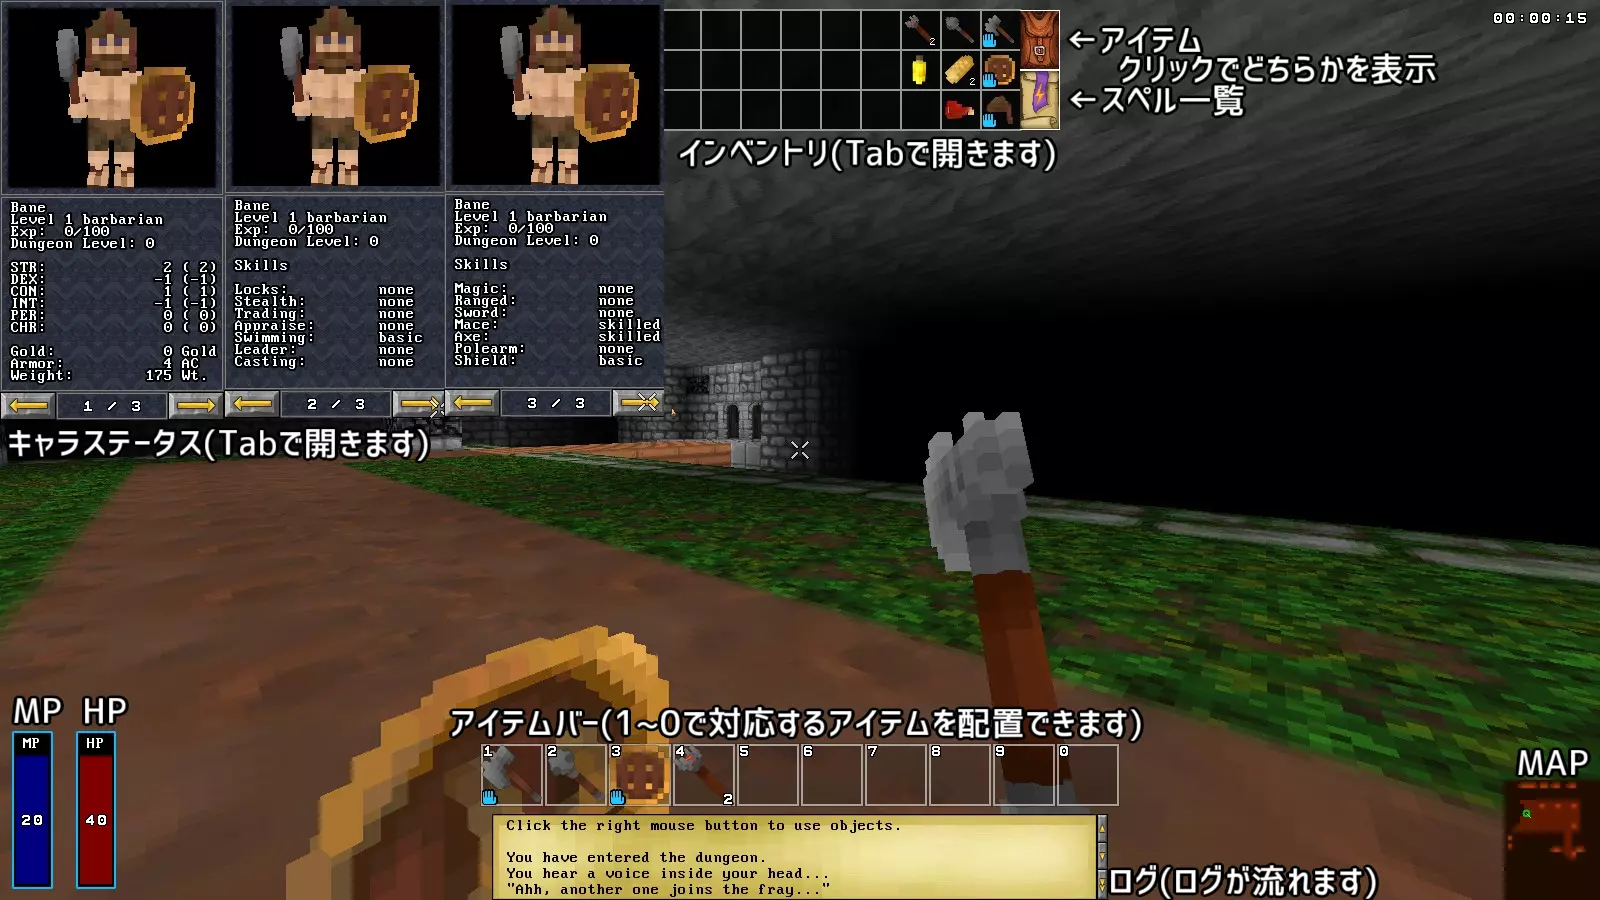
Just a heads up, as of 12/8/2022, I will no longer be keeping up with this guide. It's been a great run and I highly suggest you look into the guides I linked at the end of this one for future reference. The community has grown exponentially since I first wrote this and real life has kept me from keeping this going. Thanks! Hello, welcome to the illustrious game of Barony! Before you begin, here's a few quick things to get you started on what will most likely be your first 10 tries before you make it through the first level. This guide will have a little bit of everything; from the outline of the game itself, to solid strategies on how to get to the end of the game (and beat it). With that being said sit back and read. This guide used to cover the 3.0 Blessed Addition Beta, but now I'm working on covering the full fledged Blessed Addition and new updates from here on out when I have the time to do so. In addition, I don't plan to cover everything so I've linked guides that others have already made regarding things not mentioned here.Hope you learn something! Barony: A Quick Overview Before we start learning about the mechanics of the game along with strategies on how to beat it, let's talk about what this game actually is. It's described as a "first-person roguelike...hard-boiled dungeon-crawler." Now that sounds like a lot of mumbo jumbo to some of you (yes it does, don't fight it) but let's make one thing clear: this game is a masterpiece. What I would describe Barony as is a game of traps, skills, wits, and most of all: death. There's an endless amount of it. Death from hunger, boulders, arrows, spiders, succubi, demons, goblins, gnomes, and of course the infamous minotaur are only a few ways to die. So much dying is involved in fact that I would call it more of a game mechanic rather than a consequence of losing. That being said, it is one of my favorite games of all time and has me coming back to it like a gambler with a bad habit to Las Vegas. In order to help people feel the joy that this game has brought me, I have made this feeble attempt at a guide to give newcomers a heads up before they venture into the land of Hamlet. Before you read, I want to give a quick thanks to Calida Myriad in the comments below. They’ve pointed out several things I missed or didn’t get into great detail on. Character Attributes Just like in any rogue-like dungeon crawler type game, character stengths and weaknesses are evident in their basic attributes. In Barony, these decide how fast you heal, how much natural AC you have, how fast your mana recharges, how much weight you can carry before being encumbered, and so much more. Each level, depending on the character, some these stats increase more than others, usually catering to your class' proficiencies. Here's a basic lowdown of each of the six attributes for any character and what they affect. Strength: How strong your character is. Higher strength leads to a passive and progressive ability to carry gradually heavier and heavier inventories of items. Classes like Warriors, Monks, and Barbarians are what I like to call "human pack-mules" because of their high strength. This attribute also contributes to your base melee attack damage and at 5 strength, you can shove stationary boulders around one tile at a time. Dexterity: Determines the maximum speed of your character when weight isn't a factor. A high strength can give way to a fuller use of a high Dexterity. Also contributes to range base attack in a 1:1 ratio. For the movement purposes, high STR and DEX work well when equal. Constitution: Determines several traits regarding survivability. A higher natural constitution score means a higher natural AC. In addition, it possibly makes effects such as confusion, paralysis, and poison (to name a few) shorter in duration. May also reduce the amount of food you need to eat as your score gets higher (this last one is pure speculation). Intelligence: Very important for magic users. Helps in determining what kind of spells you can learn (a negative score will prevent players from learning the simplest light spell for example). Also controls your mana recharge rate. Perception: Determines player vision, especially in low light. Succession of appraising items also depends on this skill. A high enough persuasion in the current state of the game allows for sight even when blinded (though the sight granted is dark outlines of items and units). Charisma: Helps with recruiting followers and other kinds of NPC interactions throughout the game. A higher Charisma complements the leader skill and may allow for additional NPC followers. Hovering over any one of these stats in the menu in the upper left will also reveal some more "behind the scenes" type stuff. For example, hovering over the Constitution stat allows you to also see the HP regeneration rate of your character based on their CON score. In addition, male characters have +1 STR and females have +1 DEX. DLC Races With the DLCs "Myths and Outcasts" and "Legends and Pariahs", 8 new races have been added alongside 8 new classes that have dynamically changed the game. Each race comes with their "trademark" class already unlocked. In order to unlock this class for other races, achievements need to be unlocked. These achievements are usually complete game runs as a true non-human race. Here's what the new races are alongside a brief summary. Note, if you have the DLC already, you can see this information from the in-game menu. Skeleton: Friendly/can recruit ghouls and automatons. Weak to maces, polearms, and water. Strong against magic, swords, axes, and ranged. Traits include immune to starvation/unable to eat food, self-revive provided that 75 MP is available, 25% MP and HP regeneration rate, 50% water movement (swimming) speed, and immune to burning. Signature class: Conjurer Vampire: Friendly/can recruit Vampires and automatons. Weak to maces, polearms, water, and solid foods. Resistant to swords, ranged attacks, axes, and magic. Traits include the use of health for mana when trying to cast a spell that costs too much mana, starts with bloodletting and levitation spells learned, can only feast on blood vials to sustain hunger, vials of blood drop on kills (higher chance when target is bleeding or whilst landing sneak attacks). Signature class is Accursed. Succubus: Friendly/can recruit succubi, incubi, and automatons (plus drunk humans). Weak to swords. Resistant to Magic and Polearms. Traits include being able to remove cursed equipment (each curse acts as a blessing for other races), being unable to remove blessed equipment (while still retaining the bonuses of that blessed equipment), and starting with the teleportation spell learned. Signature class is Mesmer. Goatman: Friendly/can recruit Goatmen and Automatons. Weak to magic, axes, polearms, and ranged. Resistant to swords. Traits include fountains giving a chance to drop 1-3 potions on use, increased STR and CHR while drunk (also immune to drunken dizziness), suffers from hangovers that can be cured by intoxication (aka if hungover, drink more), can eat tins without an opener, and can recruit humans and goblins by throwing booze while drunk. Signature class is the Brewer. Automaton: Friendly/can recruit humans and other automatons. Weak to maces, axes, and magic. Resistant to Ranged and unarmed attacks. Traits include needing Heat (HT) to survive and cast spells, consuming gemstones, scrolls, non-spell books and scrap to increase HT, able to unequip cursed items, neutrality towards succubi and incubi, immunity to burning, bonus +20 to tinkering and repairs, and starts with the salvage spell learned. Signature class is the Mechanist Incubus: Friendly/can recruit incubi, succubi, and automatons. Weak to swords and ranged. Resistant to magic and polearms. Traits include removable cursed items and unremovable blessed items (just like succubus) and starts with the tele and arcane mark spells learned. Signature class is the Punisher. Goblin: Friendly/can recruit automatons and other goblins. Weak to polearms, axes, and ranged attacks. Resistant to Unarmed and Sword attacks. Traits include less degradation of equipment, melee stats all increase with a single melee stat increase (slower weapon skill increases as a result), and being unable to learn magic spells permantly (must use the books in the off hand to use spells). Signature class is the Shaman Insectoid: Friendly/can recruit other insectoids, scarabs, and scorpions. Weak to Axes, polearms, and ranged attacks. Resistant to maces and unarmed. Traits include using energy (EN) for survival and casting spells, regaining EN through eating and consuming sweet liquids, immunity to poison, immunity to sickness when eating spoiled food, and starting with the flutter, dash, and spray acid spells learned. Signature class is the Hunter Find a Class that's Right for You Let's start with a brief Overview of each of the classes: Barbarian: Good fighter/melee class with alot of strength. Proficient in axes, shields, and other various melee weapons. Comes with little/moderate amount of armor at start. Decent starter option but there are better. Recommened for just about anyone; simple to play with melee as main fighting style. Warrior: Armored melee fighter equipped with a spear, sword, and bow. Basically a heavier armored Barbarian with the ability to recruit followers easily. Very easy play in the beginning, but falls off of the late game plan due to low intelligence and lack of magic/casting skills. Recommended for beginners trying to get a feel for the game. Wizard: Squishy hero equipped with various spells at the start. Difficult to level at first, but great late game because of magic and casting proficiency. Recommended to cautious beginners or anyone with a long-term gameplan. Healer: Discount Wizard that starts with "heal" and "cure ailement" spells. Very little armor (like Wizard) but healing gives player and allies decent advantage compared to most other classes. Lower magic/casting skills at start compared to Wizard but has a higher Swimming ability. Also a good beginner class. Joker: The wild card. Has one of the most difficult starts in the game due to lack of gear. Comes with ring of levitation which is a must in the late game. Has an even stat table (equal chance to level any of the 6 attributes at any given level up) making them viable for nearly any style of play. Also has a decent Charisma rating for recruiting and magic/casting ability. Recomended for extremely cautious players. Also good for speed runners. Merchant: Medium class overall. Proficient with an axe and has a very high starting Appraisal rating. Also has a nice starting trading rating, so can be an excellent "middle-man" between the shopkeeper and rest of party. Recommended for anyone in a party online that wants to play a support character. Arcanist: Basically the Warrior version of a Wizard. Comes with crossbow and 2 spells along with decent armor. Solid intelligence at the beginning that doesn't improve an incredible amount compared to Wizard and Healer. Good class for almost any combat strategy. Rogue: Similar to the D&D version of a Rogue. Stealth based class that has good tinkering skill. Squishy class that must avoid direct confrontation in the beginning. Has bow to accomodate lack of HP. Recommended for more experienced players. Ninja: Double-edged Rogue. Higher damage with more reliance on sneaking and playing in stealth. Very quick, comes with throwing daggers and invisibility potion for lack of HP. Recommended for experienced players. Cleric: Most well-rounded of the group. Starts with mace, shield, and healing potions. Decent magic and casting ability. Definition of combat medic with multiple styles of combat proficiency. Recommened for anyone for versatility reasons. Only detrimental downside is lack of mobility in the early game. Wanderer: Nomadic-like adventurer. Very little gear at start. Solid skills to make up for it though. Should be played on the more cautious side until proper gear is picked up. Recommended for cautious/experienced players. Monk: Little in the way of starting gear, but has a high constitution and strength, allowing for easier survivability and adaptability. Starts with a slingshot, ring of slow digestion, and brass knuckles as suprisingly powerful weapons. My personal favorite as it has a high natural AC and great attack with punches (if using knuckle type weapons anyway). Sexton: If you like the ninja and wizard, this is by far the closest thing to the two combined. Well equipped class that relies on stealth and magic. Strong throughout the game and is a very nice starter class to get going with. **********************DLC Classes********************** Conjurer: Slow spell caster that can summon unique companions to aid in their fight. Companions retain level and equipment between deaths and resummons. When I say these guys can fight by your side, I mean they are almost like having player-strength AI at your side at nearly all times. Recommended play style is slow with a lot of fighting done by your companions early on to level them and your leader stat up. Accursed: Double edged monk. Trading the stability of the monk in the early game for more overall power. The curse that you start with causes you to get hungry more often but can be cured inside the Mystic Library. This trade off results in higher attributes, causing a more unstable but potentially more powerful start compared to the monk. Mesmer: Do you like pacifism? Is the idea of having an entire private army at your disposal pleasing to your inner dictator? Then the Mesmer is for you. Coming along with a staff of charm monster, this class is the ultimate charmster. Brewer:Comes equipped with all of the essentials for making potions, including known potion ingredients. Allowing for a wide, flexible approach revolving around the Alchemy skill. Useful with the goatman because as mentioned earlier, goatmen allow for a random chance for a fountain to drop 1-3 potions when interacted with. Mechanist: The ultimate class for Tinkering. Automaton tinkerers are highly skilled at the craft and can build dummies and sentries to make fighting tougher enemies easier. Starts with a tinkering kit, scrap, and a decent skill to get to building traps and sentries early. Punisher: Armed with a whip and a crystal axe for maximum sneak attacks. Whip can be used at longer melee ranges to strip enemies of weapons and cause status effects. With the Incubus, becomes a teleporting assassin with the infamous "Arcane Mark" spell that allows the player to mark and then teleport behind monsters. A stealthy, serial killer play style that uses magic is the way to play him. Shaman: Are you tired of playing Barony as some sort of generic humanoid? Then the Shaman is for you. This class has a combat and tactical style that revolves around their ability to shapeshift. Transforming into a rat for extra speed, a spider for poison and ensnaring attacks, a troll for brute force early on, and much more. No more messing around as a silly humanoid for you. Hunter: The ultimate ranged combat hero. Comes with a boomerang, longbow, and variety of ammo. The Boomerang is an unlimited use throwable that does what a Boomerang does (ie, comes back to you after throwing). Awesome class to use if you prefer to avoid close encounters. Game Definitions and Skills To shorten this section up a bit, everything that will be said below can also be easily checked and made more precise by hovering over the skills in the panel in the top right. To get to this panel, open your inventory and click the arrow in the upper right panel showing “party stats”. If you click the lock so that it turns green, you can keep and cycle between the two panels without needing to open the inventory. If you want to see what I tried to do to describe the skills before the devs made it easy to see what they are and what they do, proceed to keep reading this section :D.
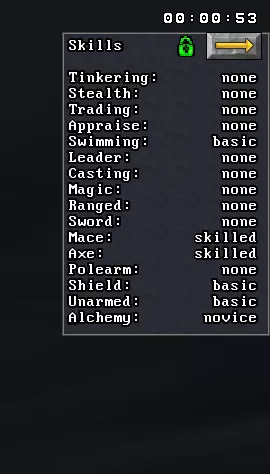

这款游戏虽然画面颇具复古风格,但玩法相当深入且出色。这种“深度”体现在每个职业都拥有一系列初始整体能力/技能,并且随着游戏进程可以进一步强化。以下是这些技能等级的简要说明(个人理解): 从等级开始: 无:尚未取得任何进展 新手:执行涉及该技能的任务时,有极小的成功几率 基础:执行涉及该技能的任务时,有较小的成功几率 熟练:执行这些任务时,有中等的成功率 专家:成功率接近100%,但缺少更高品质的额外效果 大师:完全掌握手头的任务 传奇:完美之上,完全掌握并获得一项独特特性(部分技能)当你在围绕武器的技能中达到传奇等级时,意味着你使用该武器能造成最大伤害。不过,游泳和估价等其他技能的机制有所不同,我们接下来会进行说明。下面快速解释一下每个技能的作用以及达到传奇等级后的效果: 【修补】:曾是开锁能力,现在包含任何与修补相关的内容。对机械人角色来说是很有价值的技能。 【潜行】:潜行能力。等级越高,潜行攻击伤害越高。在当前版本中,拥有传奇潜行等级时,蹲下即可进入隐形状态。 【交易】:购物能力。专家级交易可以让你以全额售价向店主出售物品。传奇级交易则允许任何店主收购你出售的任何物品。交易:影响定价的渐进式技能;交易技能越高,与商人交易时的买卖价格越优惠。 鉴定:物品识别能力。鉴定技能越高,物品识别速度越快。传说级鉴定可实现物品即时识别。 游泳:游泳能力。控制角色在水中的移动速度。传说级游泳允许角色在水面和熔岩上行走,是我认为最实用的技能之一。 领袖:影响力技能。领袖技能越高,招募人类追随者的成功率越高。传说级领袖可以招募哥布林。 施法:法术准备能力。决定施法速度、效率以及施法频率。熟练施法可实现接近完美到完美的施法时间,而传奇级施法能让【魔法飞弹】法术不消耗法力值。虽然它不如【魔法箭】法术那么有用,但在游戏后期的技能库中仍不失为一个不错的选择。 魔法:魔法能力。决定可学习法术的复杂程度以及法术伤害。该能力达到传奇级可获得【支配术】(使敌人服从你的命令。但对牛头人无效,我试过了。 :D) 远程:远程武器能力。决定弓、弹弓、十字弩等武器的伤害。技能等级越高,伤害越高。 剑:剑类武器能力。与远程能力机制相同,但适用于剑类武器。 锤:锤类武器能力。与远程能力机制相同,但适用于锤类武器。 斧:斧类武器能力。与上述武器能力机制相同,但适用于斧类武器。长柄武器:矛和法杖武器能力:与之前相同,但适用于长柄武器。 盾牌:格挡能力(装备盾牌时):盾牌品质越高,可格挡的攻击次数越多。盾牌技能等级越高,无论是否进行格挡,装备盾牌时获得的【AC】(护甲等级)加成也越高。 不过,【镜像盾牌】比较特殊。它虽然能提供无限的魔法反射,但在近战攻击的压力下很容易损坏,无论盾牌技能等级多高。 需要记住的一点是,每提升一个“改进”能力(黄色文本显示),无论你的等级如何,都能获得2点经验值。因此,只要有机会,即使是那些你认为永远不会用到的最普通能力,也要尽量去提升。2点经验值听起来不多,但每个技能的总经验值累积起来足以让角色提升好几级,这可能就是能否逃脱、格挡以及对像那头臭名昭著的牛头怪之类的高等级生物造成伤害的关键。 常见怪物与生物 巴罗尼的楼层中潜藏着许多生物,有些只出现一次,有些则不断现身试图攻击你。 老鼠:分布在1-4层,是容易对付的敌人,会掉落鼠肉和奶酪。奶酪是提升鉴定技能的良好初始物品。老鼠首领阿尔杰农会掉落宝石,生命值比普通老鼠高。据我观察,需要10到12点的护甲等级才能格挡它的攻击。这种生物的标志性特征是发出吱吱的叫声。
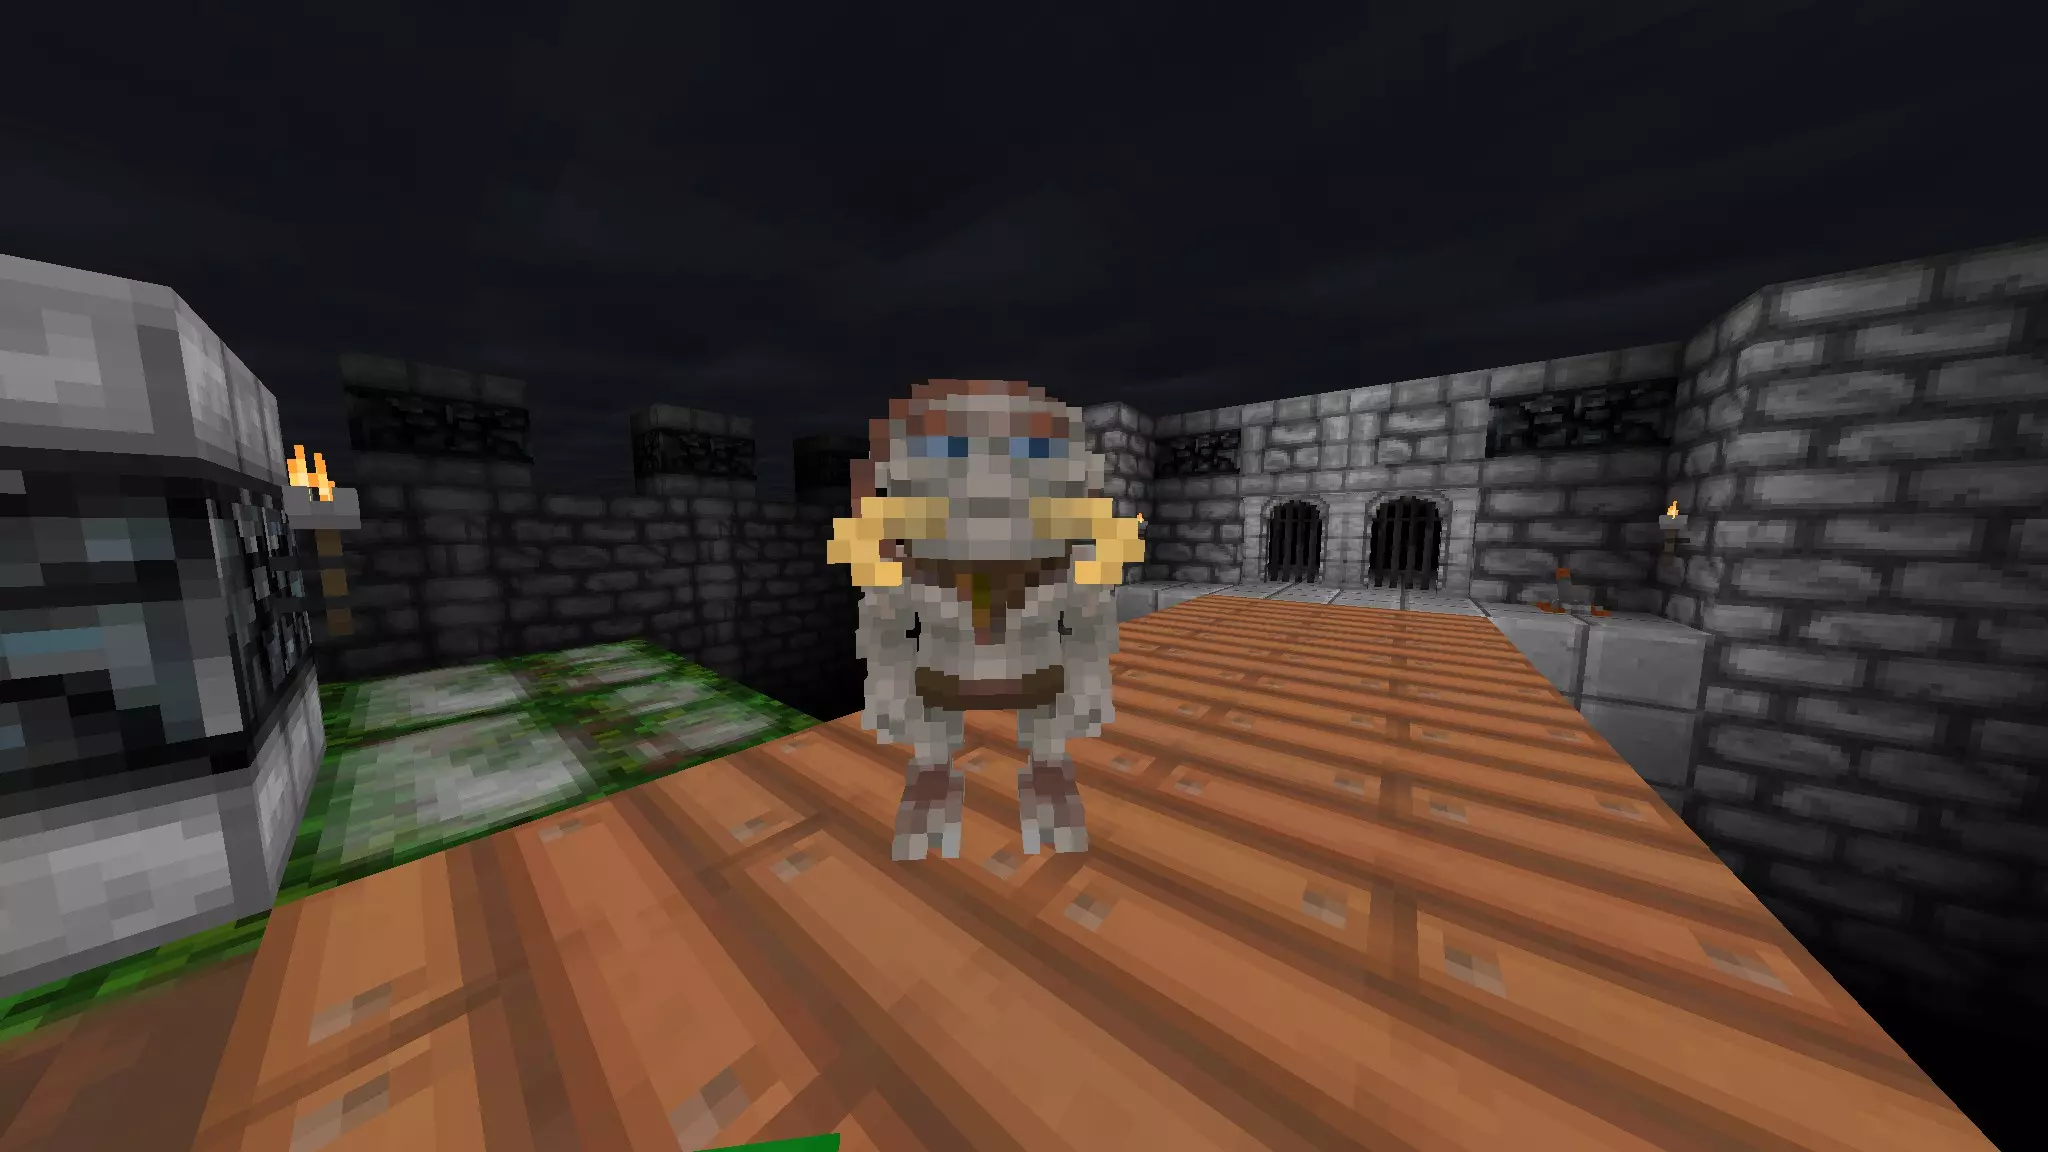
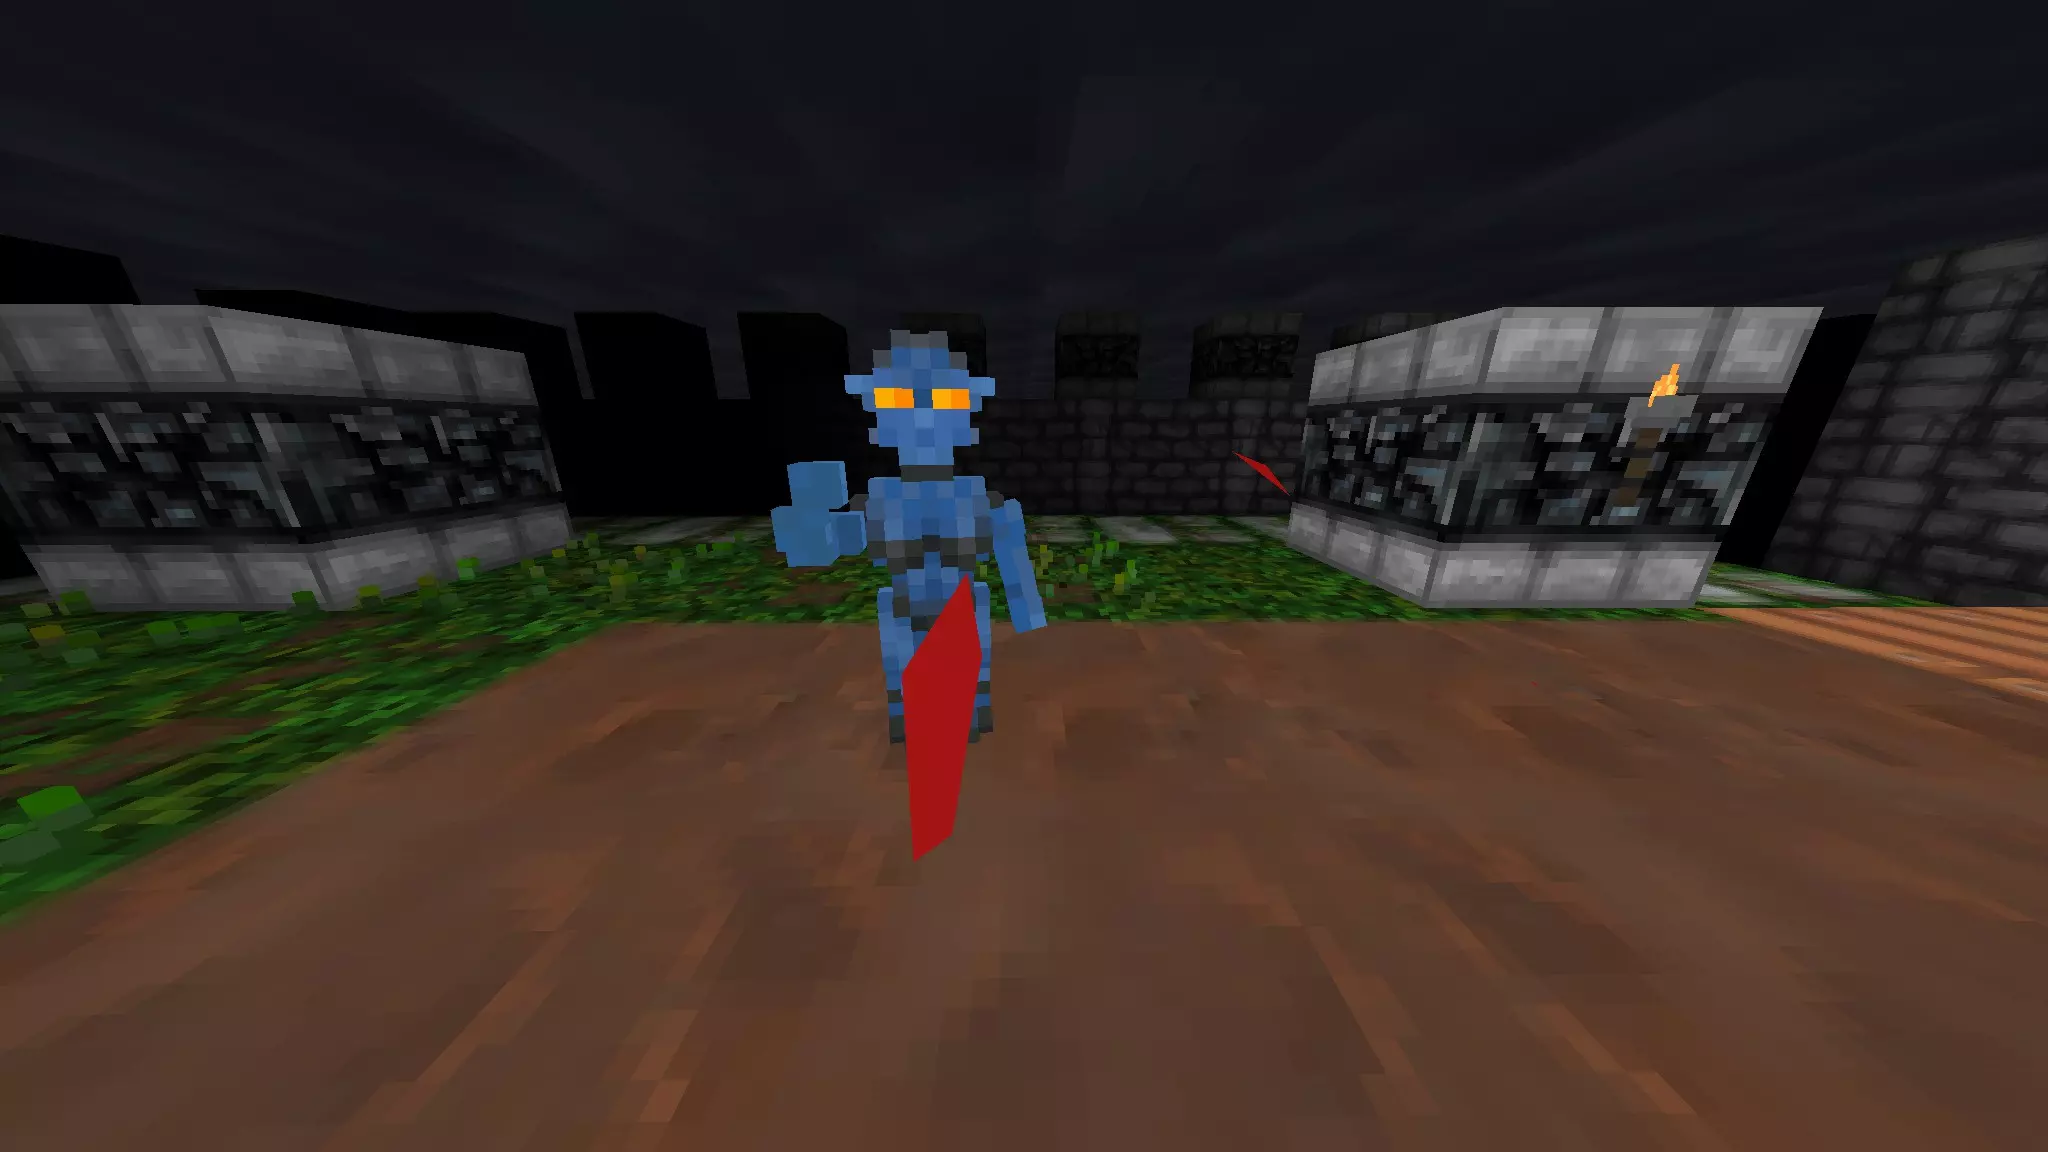
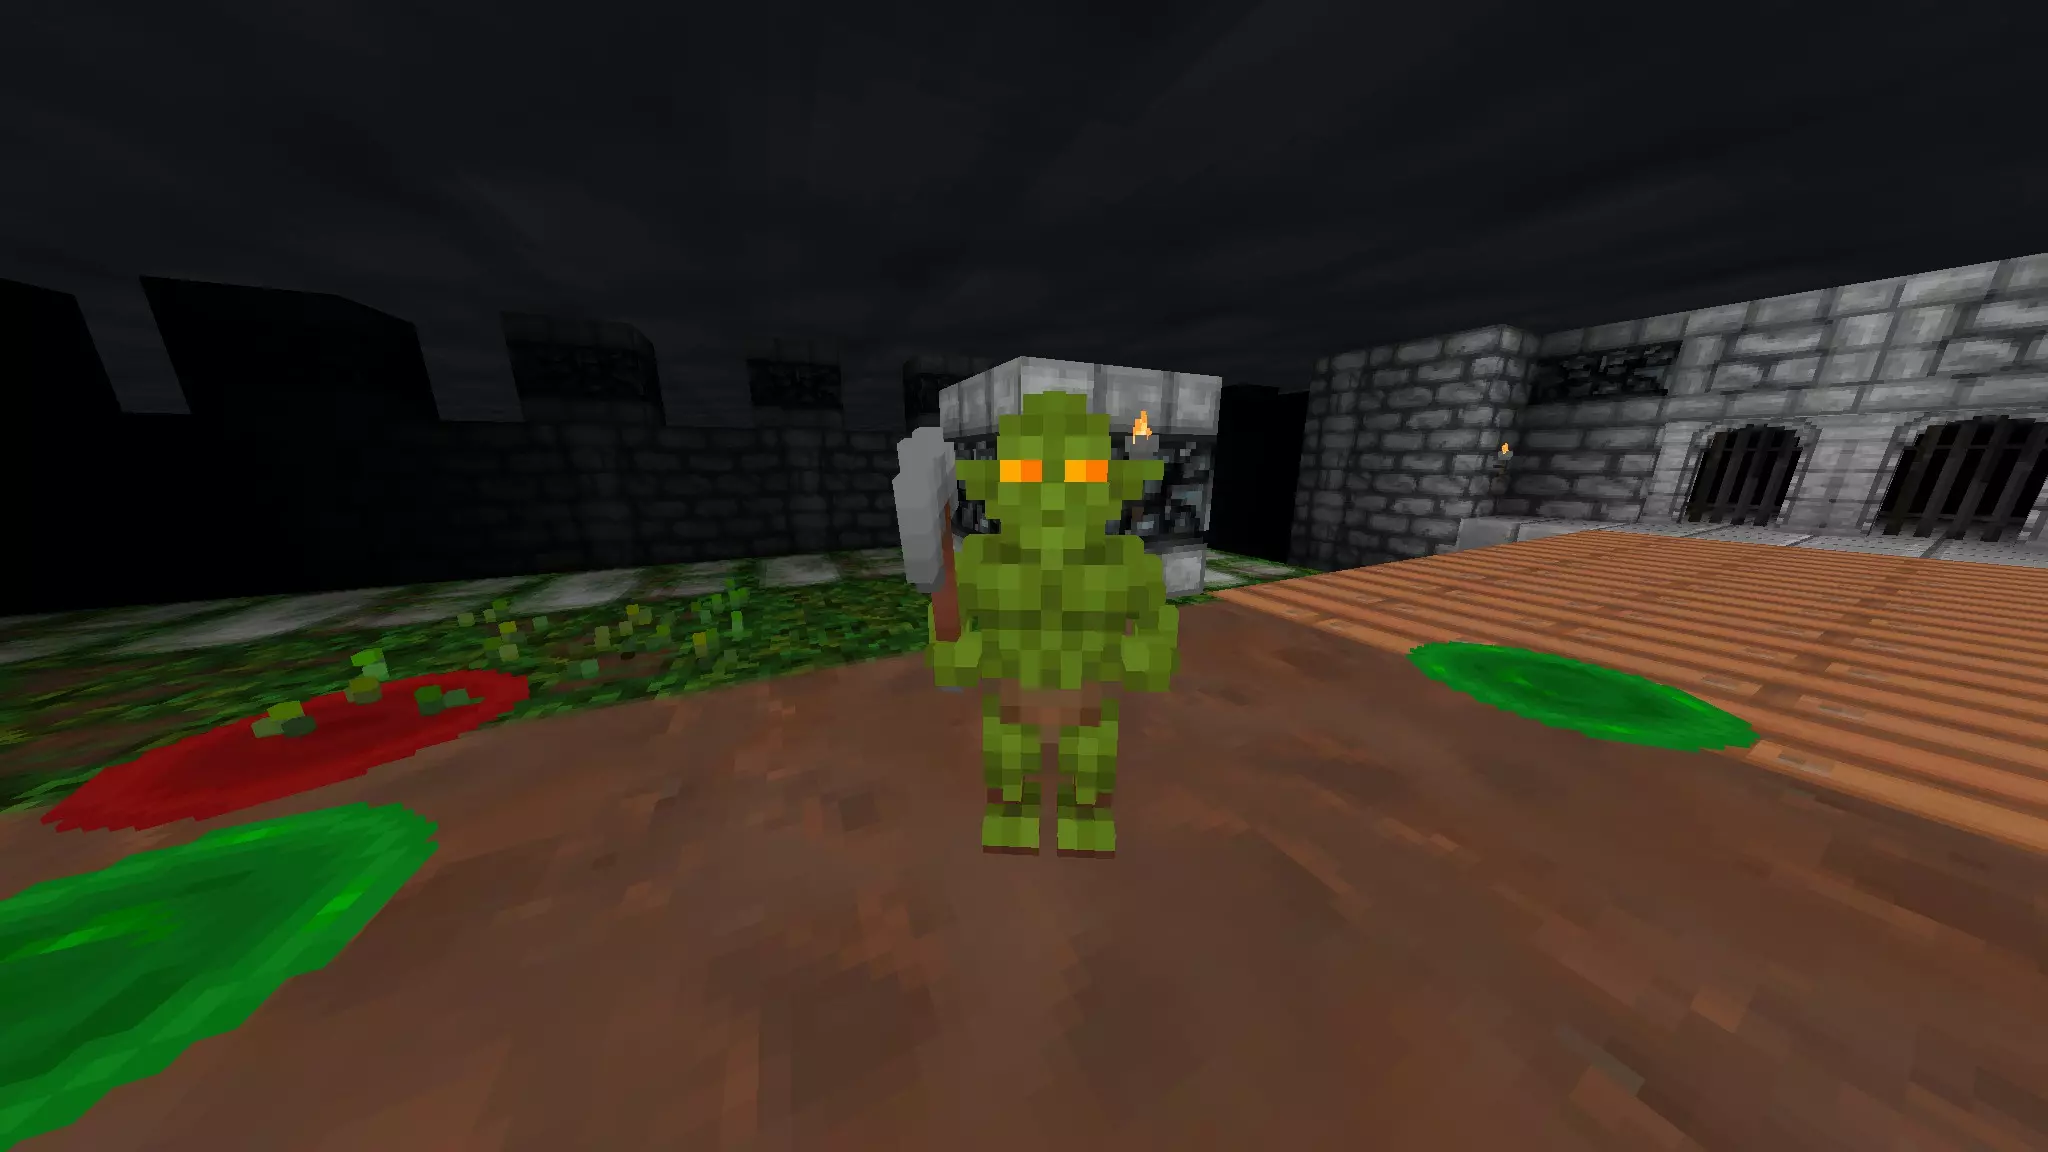
骷髅:主要分布在1-4层,但也会出现在地下世界区域。对于获取初始装备(如武器、头盔和盾牌)很有帮助,是你初期战斗的主要生物之一。骷髅首领【滑稽骨头】会掉落传奇斧头【帕拉舒】。其金属碰撞声会暴露它的位置。

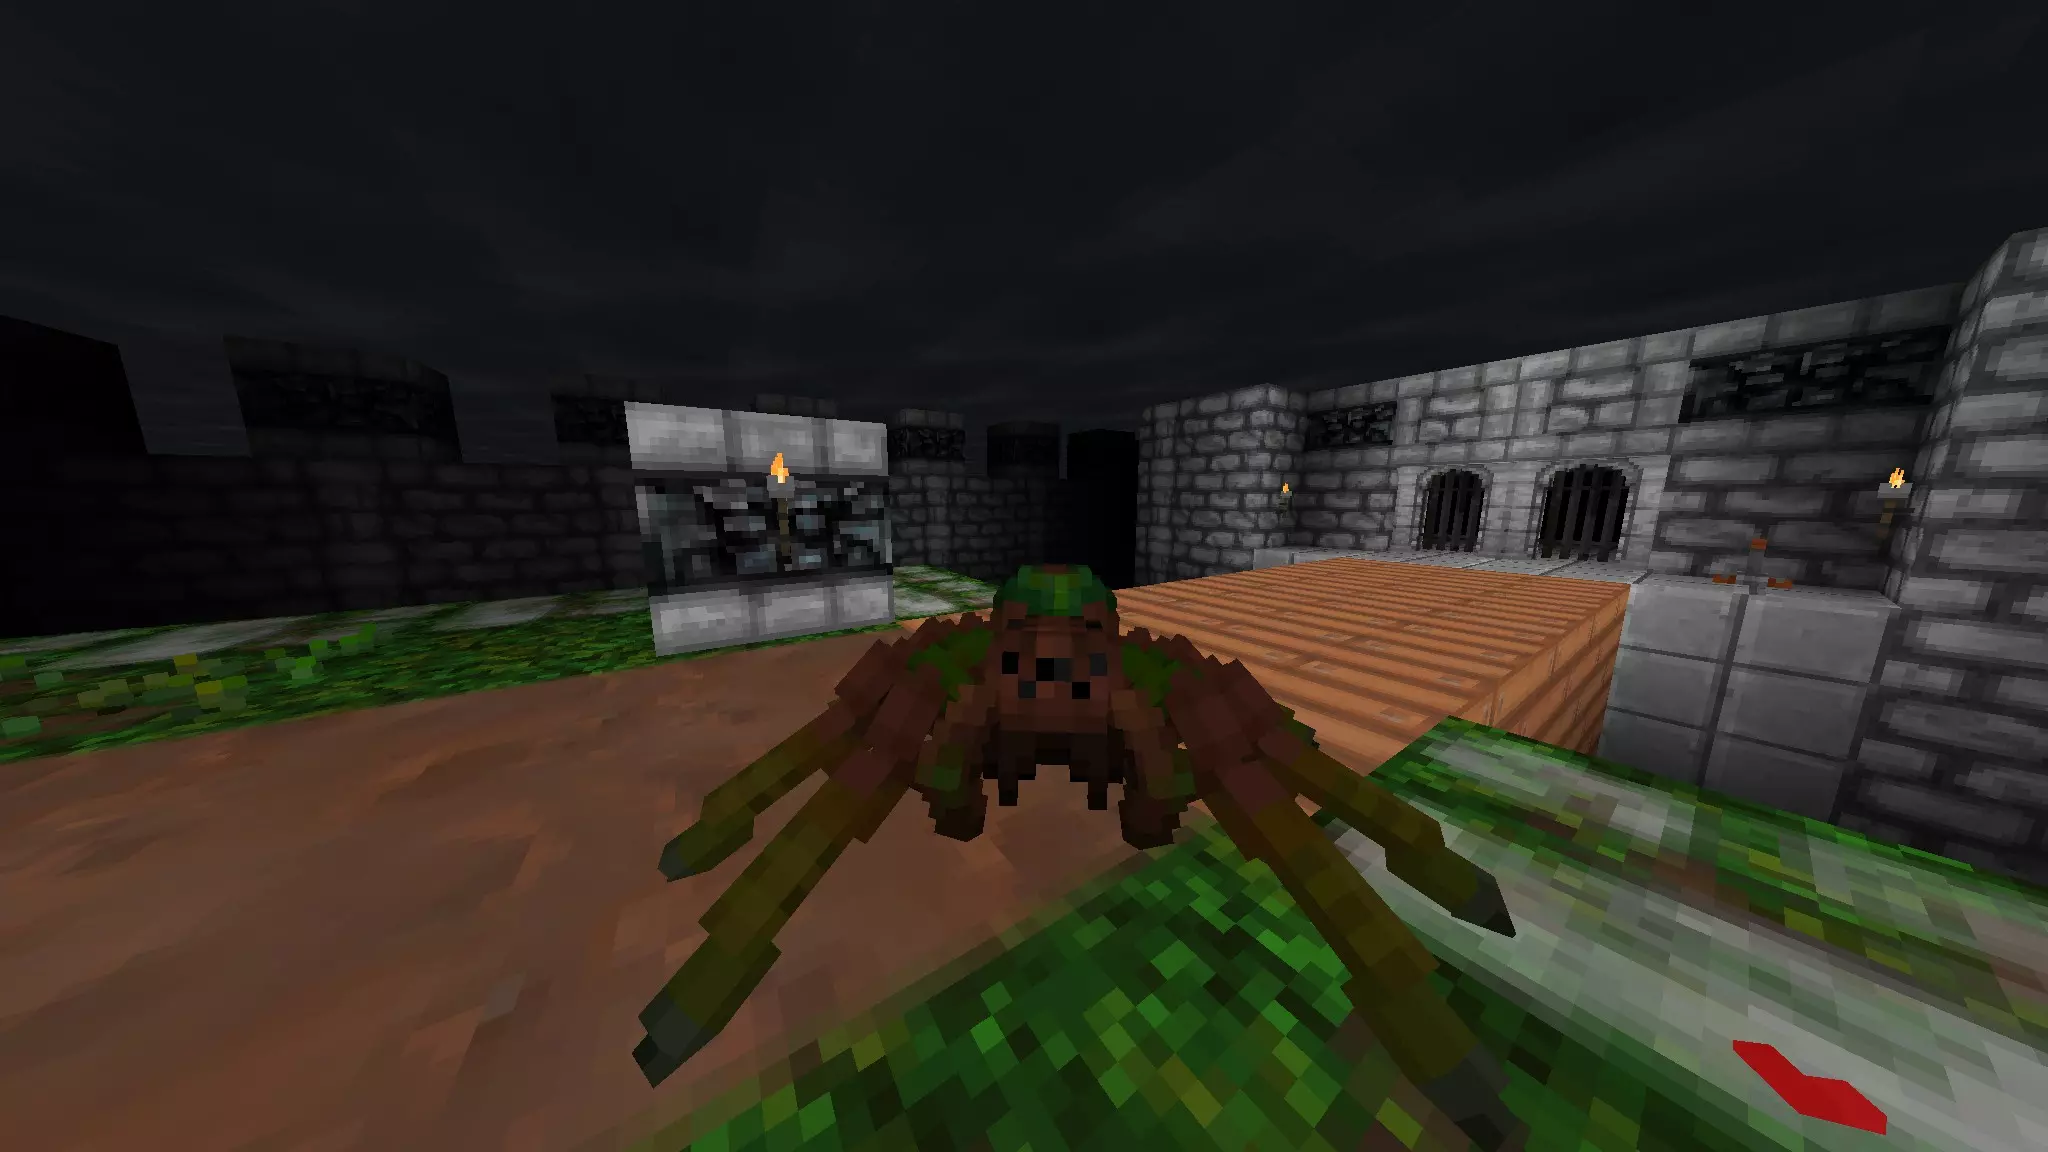
蜘蛛:最常见于1-4层和6-9层,但也可能出现在任何楼层。在1-4层,大部分蜘蛛被关在笼子里。如果你有非魔法远程武器或投掷物,可以穿透这些笼子攻击它们。蜘蛛 boss 希洛布会掉落传奇剑【迪尔温】,该剑带有火焰效果,击中敌人时会使其着火,还会掉落【-5隐形戒指】。
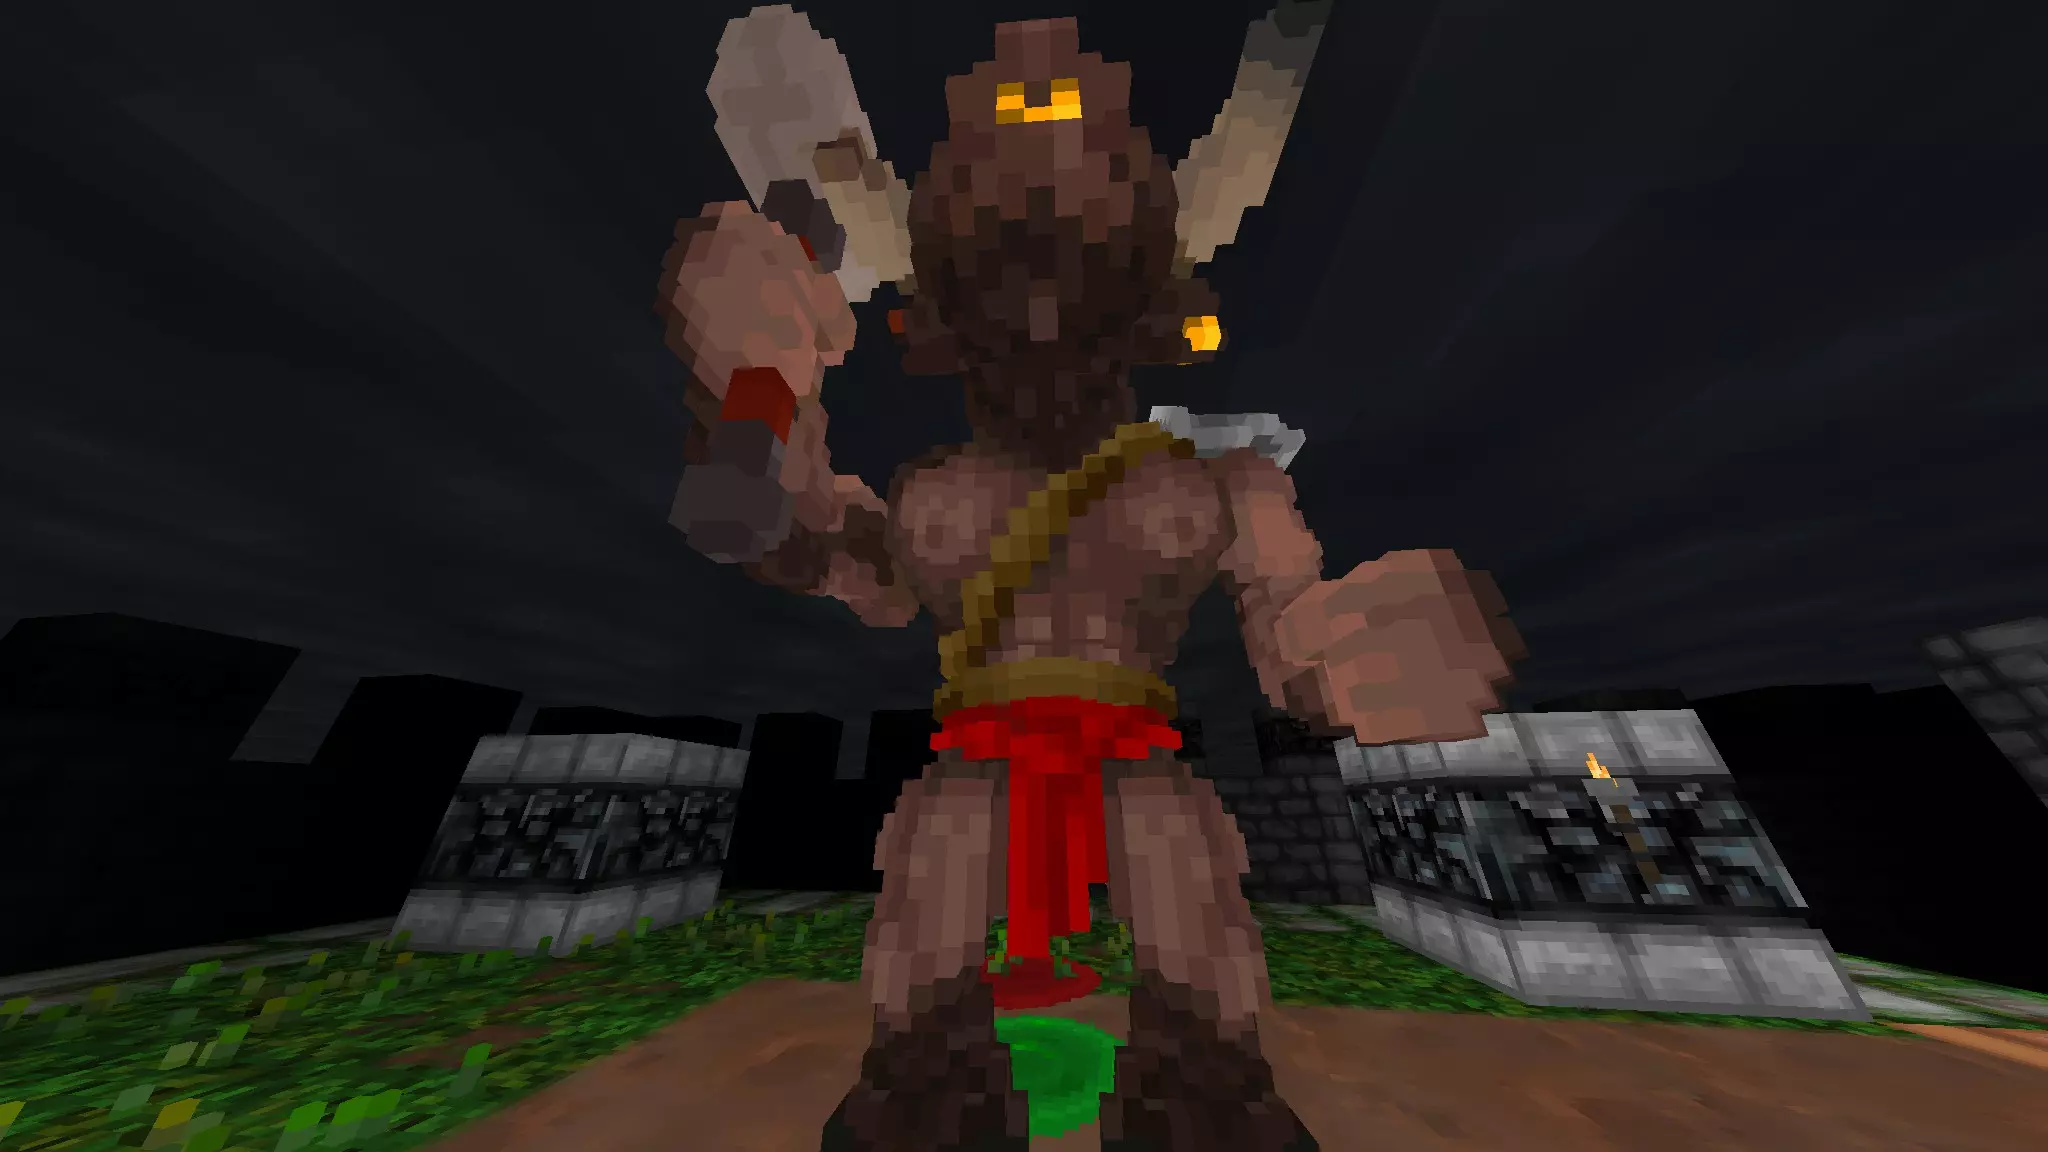
troll:出现在游戏中的任意楼层,但 Boss 楼层除外。相较于初始楼层的敌人,它拥有极高的生命值。对新角色能造成大量伤害。在有物体过于靠近前,它会保持被动状态。 troll 嘭普斯是生命值更高、更强大的 troll,其行为与阿尔杰农类似,被击杀时会掉落宝石。在进入攻击状态前,它通常较为安静。
魅魔:出现在16-20层、布拉汉姆城堡(以单独命名的强化版本形式)以及冥界/地狱关卡中,但如果玩家从喷泉处获得魅魔,它可以在任何时间生成。这是一种中等难度的生物,会随机夺走你身上穿戴的一件物品,然后传送到地牢中的随机位置。玩家必须找到并杀死魅魔才能取回被偷走的物品。
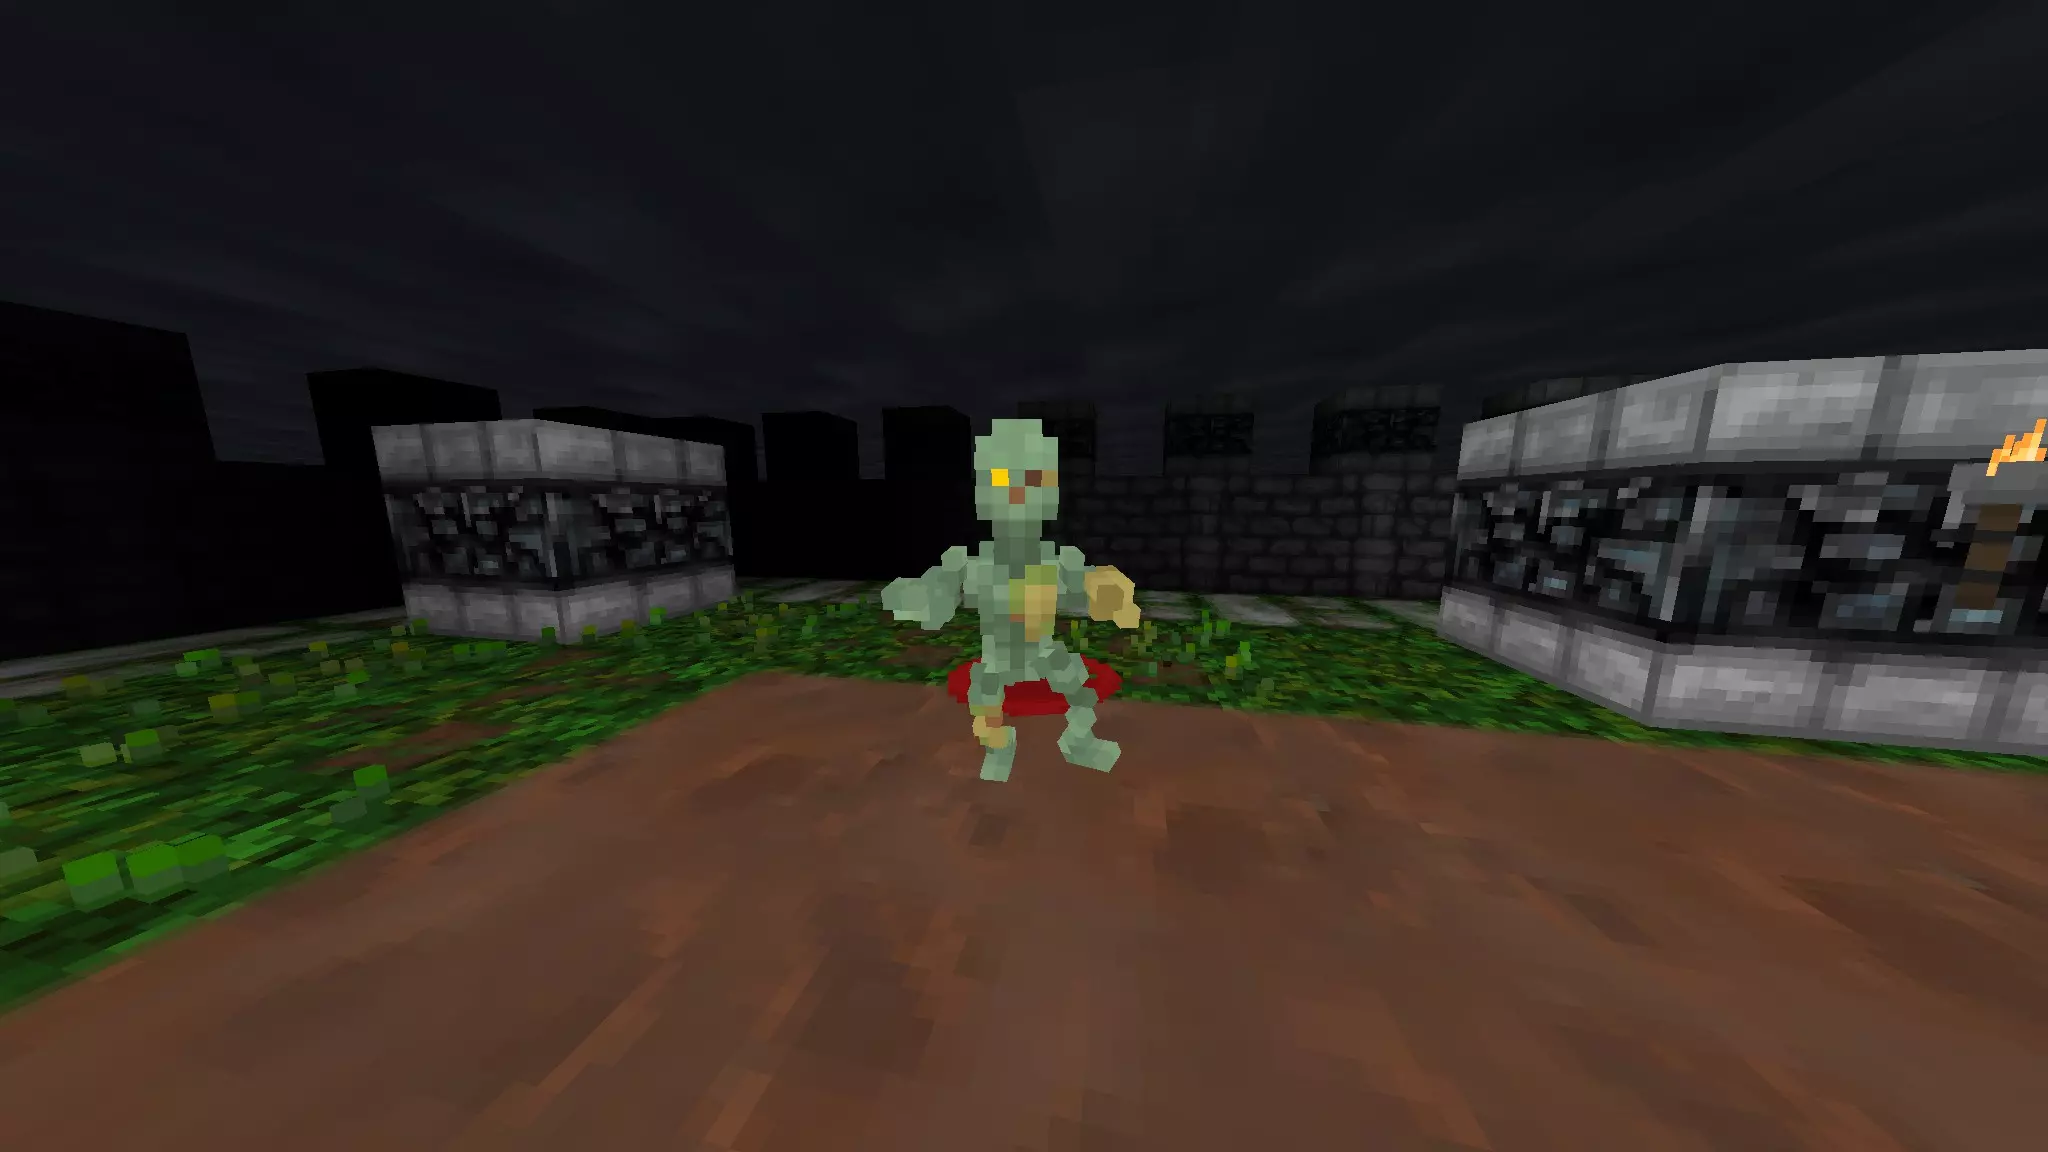
食尸鬼:主要分布在6-9层以及地下世界区域。它们也有自己的专属区域,例如闹鬼城堡和诅咒墓地。在较低楼层,通过“惊扰”墓碑也可能遇到它们。普通食尸鬼行动缓慢但韧性十足,能提供大量经验值。奴役食尸鬼与普通食尸鬼类似,但主要出现在地下世界,且移动速度更快。【珊瑚污秽者】是更强大的食尸鬼种类,通常会掉落无瑕宝石。
牛头怪:有一个专门为他设计的迷宫,你可以在14层找到(里面还藏有传奇长矛冈格尼尔),但在游戏中他也会作为赫克斯男爵的宠物出现在多个楼层。击败巴风特后会出现两只牛头怪。除了赫克斯本人和巴风特外,他是最强大的生物。尽管在早期等级看起来无敌,但在后期可以相当容易地击败他(我会再做一个关于如何击败他的指南)。被杀死时会掉落一颗无暇钻石,并附带一个荣耀奖励。你会听到他的到来。
地精:主要出现在地精矿坑和16-19层地牢。会生成两种类型,一种持有闪电法杖,另一种持有镐子。通常会掉落鱼、披风以及它们所持有的武器。持有闪电法杖的地精威力极强,必须极其小心地接近。和大多数其他生物一样始终具有敌意。会发出某种喋喋不休的声音。
哥布林:首次出现在6-9关卡。其攻击方式与骷髅类似,但还能使用魔法法杖,尤其是火焰法杖。它比骷髅拥有更厚的护甲,当玩家的领袖技能达到【传奇】等级后即可招募。哥布林会用一种陌生的语言低语或吟唱。其首领名为土豆王,击败后会掉落传奇权杖沙鲁尔和+5小丑帽。
史莱姆:会像魅魔从喷泉中出现一样,从所有关卡的水槽/水龙头中出现。绿色史莱姆通常从这些装置中出现。蓝色史莱姆首次出现在6-9关,并会在后续关卡中持续出现。其伤害较低,战斗难度不高,能提供不错的经验值,也可用于训练武器技能。
梦魇:出现方式与魅魔相同,也会在较后期关卡和地下世界关卡中出现。其攻击和生命值都要强得多,但不会像小无赖一样偷取你的物品然后传送离开。可能会携带各种武器。

蝎子:首次出现在11-14关卡。属于中等难度生物,到达该阶段后威胁不大。其首领与其他较强大生物类似,会掉落宝石。
虫型生物:首次出现在11-14层地牢。另一种中等到重型装甲的双足生物。通常使用物理远程或近战攻击,但也能施展具有强大威力的中毒法术。可能掉落钢铁装备,包括魔法抗性钢铁盾牌。听起来像是某种虫子。
圣甲虫:首次与蝎子一同出现在11-14层。它是另一种昆虫类生物,主要以近战伤害进行攻击。有几率掉落名为【塔马利】的食物,除此之外,其行为模式与同楼层的蝎子类似。
恶魔:首次出现在16-19层,进入冥界后会持续出现。这是一种强大的生物,会结合近战攻击和火球进行战斗。其更强大的首领版本被击杀后会掉落宝石。恶魔可被巴风特召唤,并且在试图前往某处时能够破坏墙壁砖块。
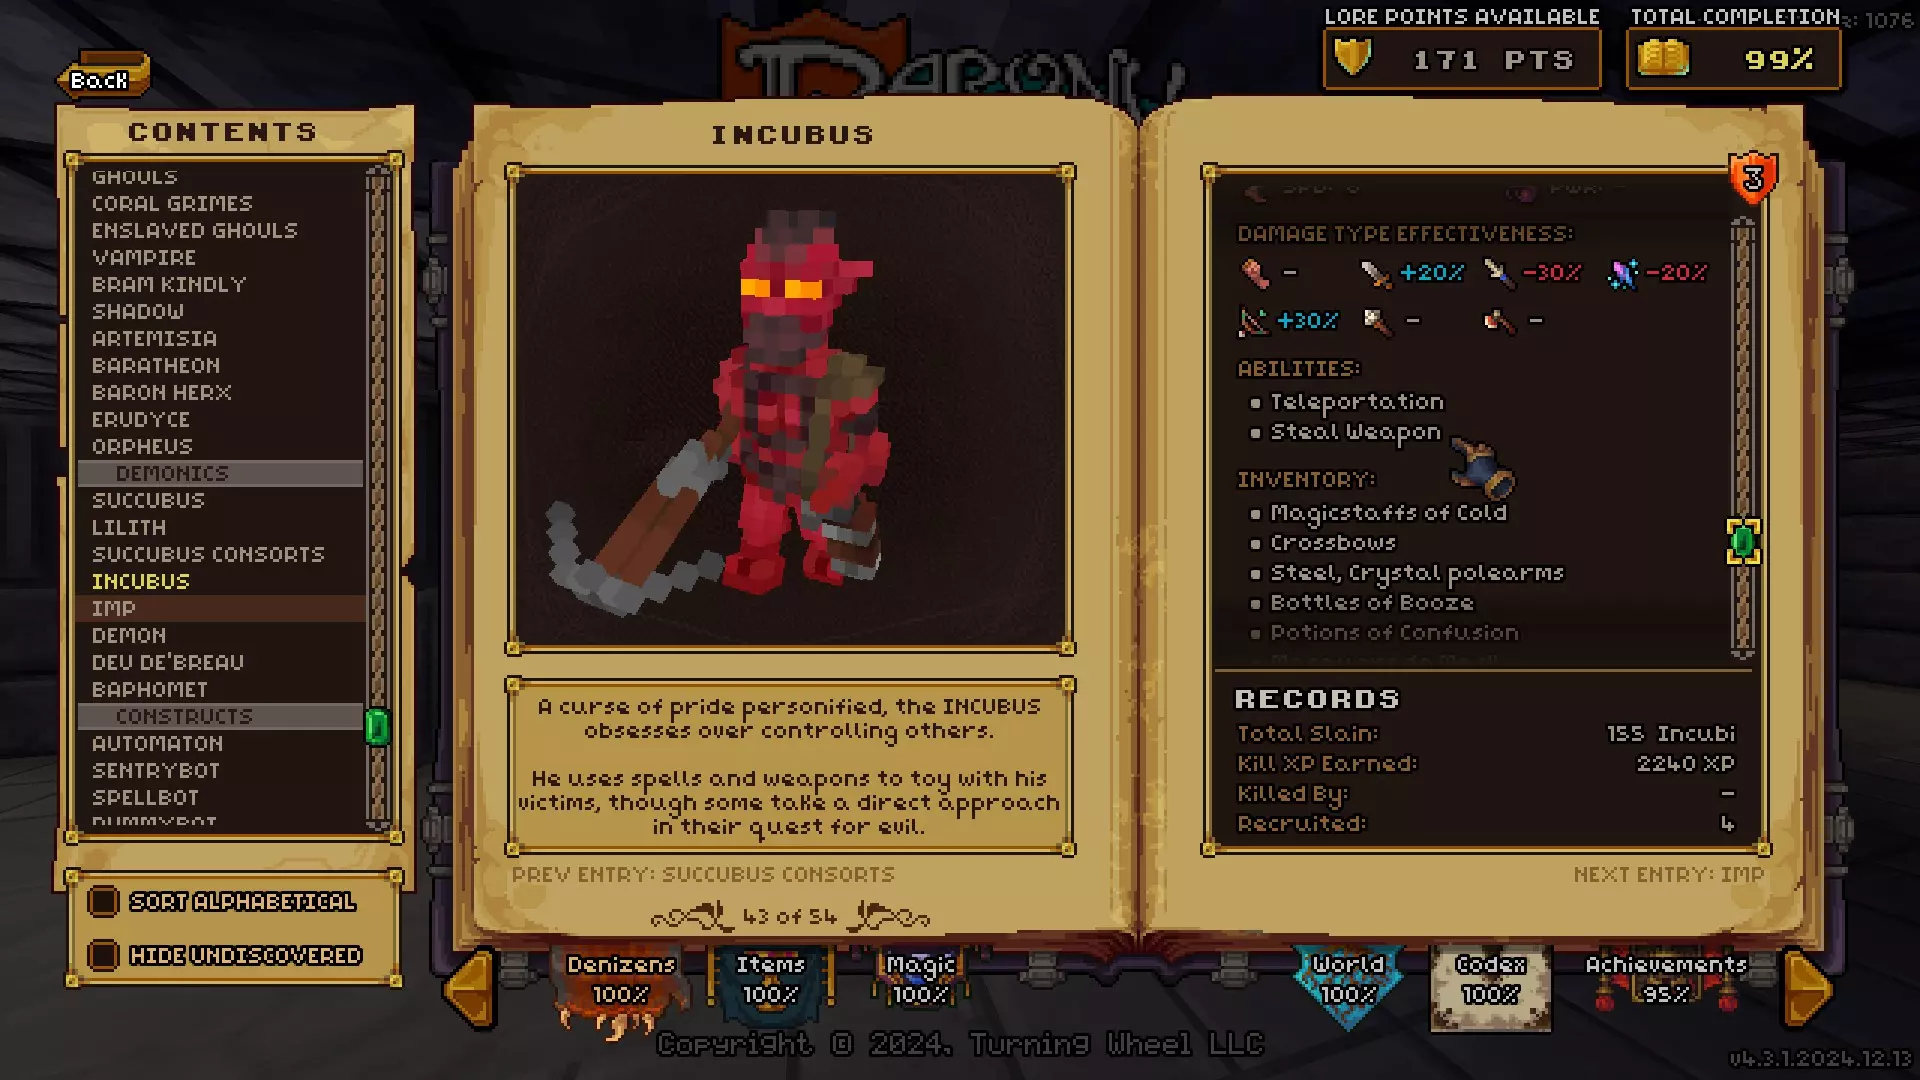
小恶魔:出没于冥界及更深层的地牢区域。这是一种会飞行的生物,喜欢使用魔法攻击造成伤害。它的生命值较低,但凭借悬浮能力和高魔法攻击力,使其成为一个颇具难度的对手。可通过远处传来的尖锐笑声来识别它。
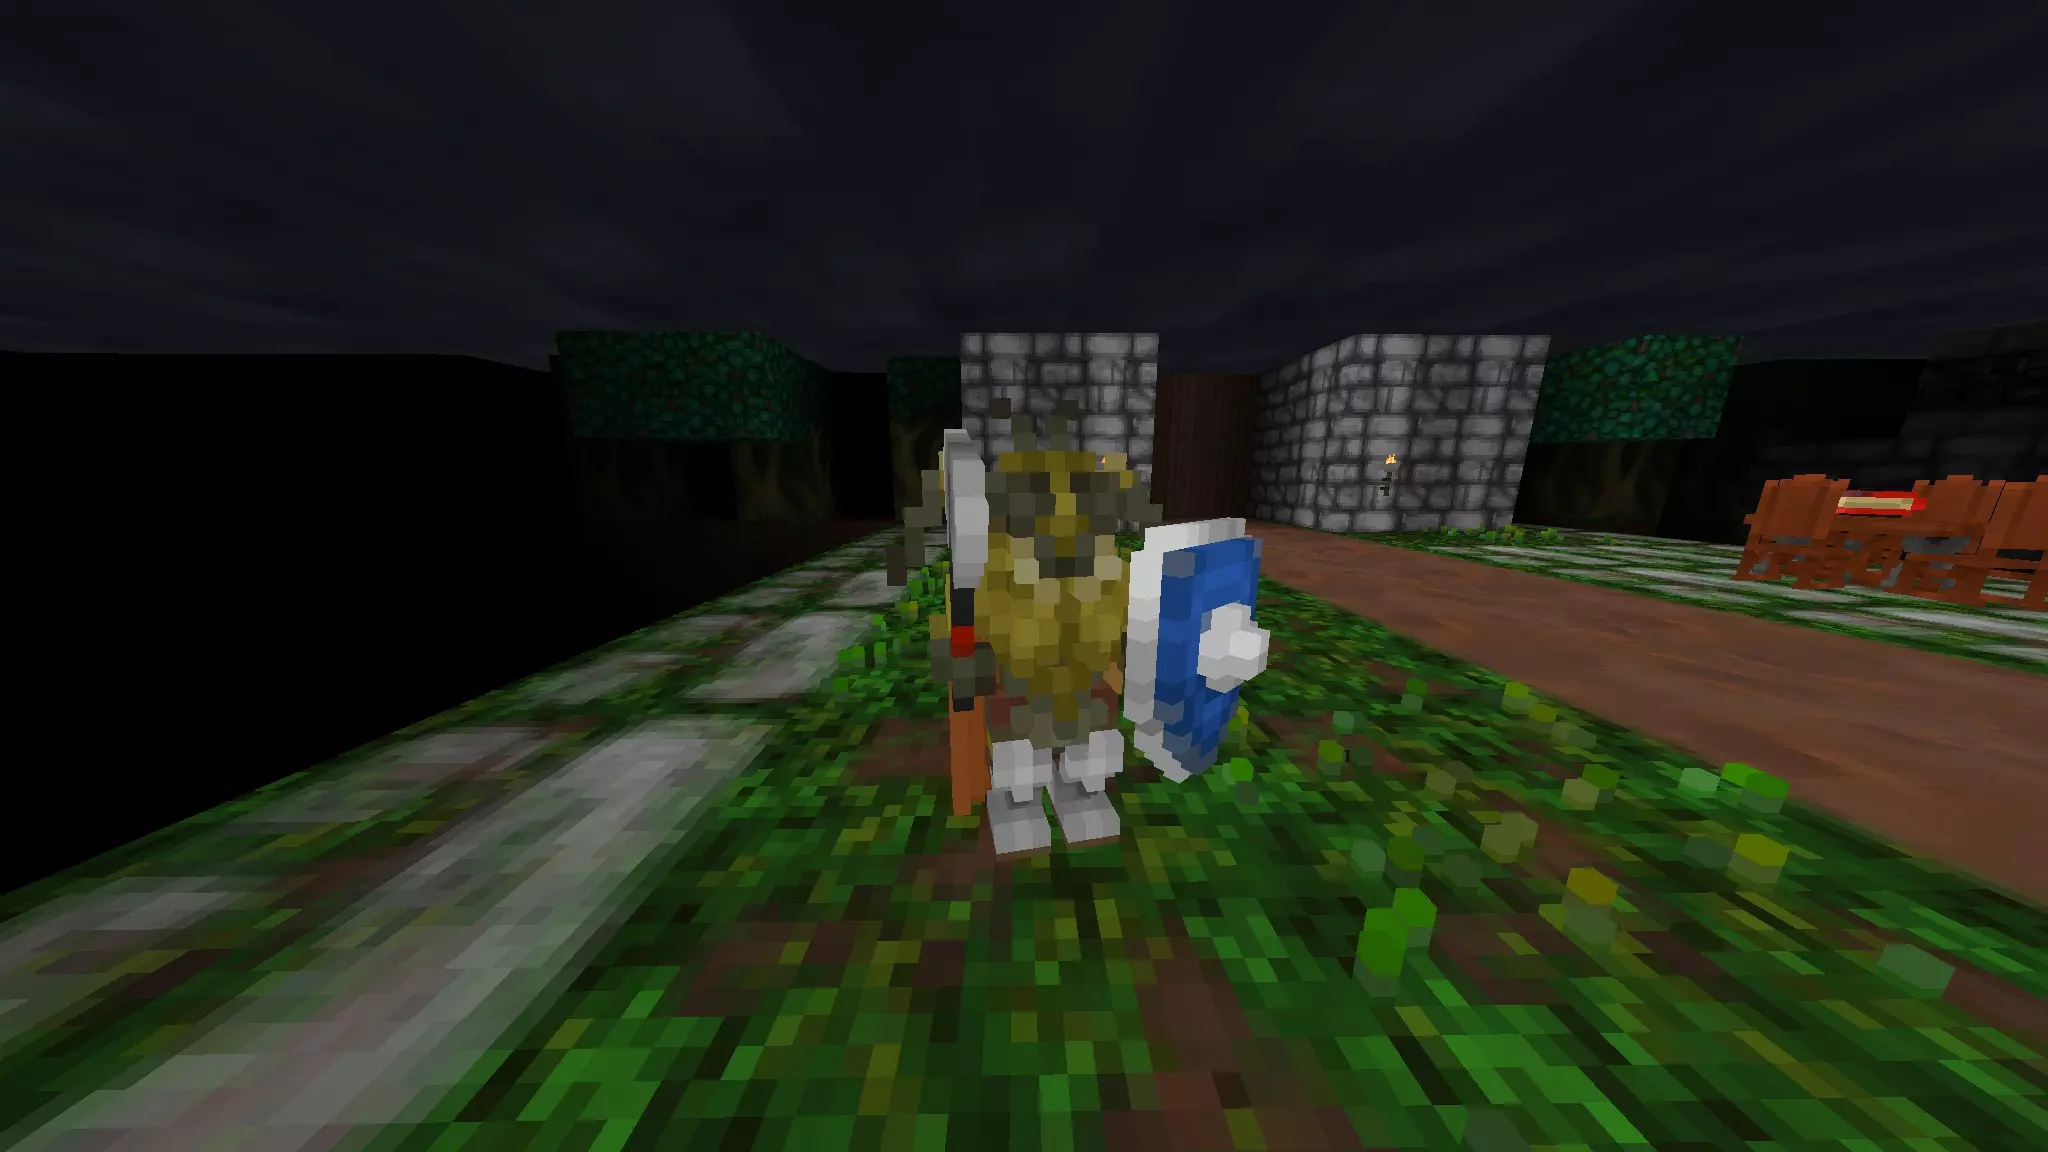
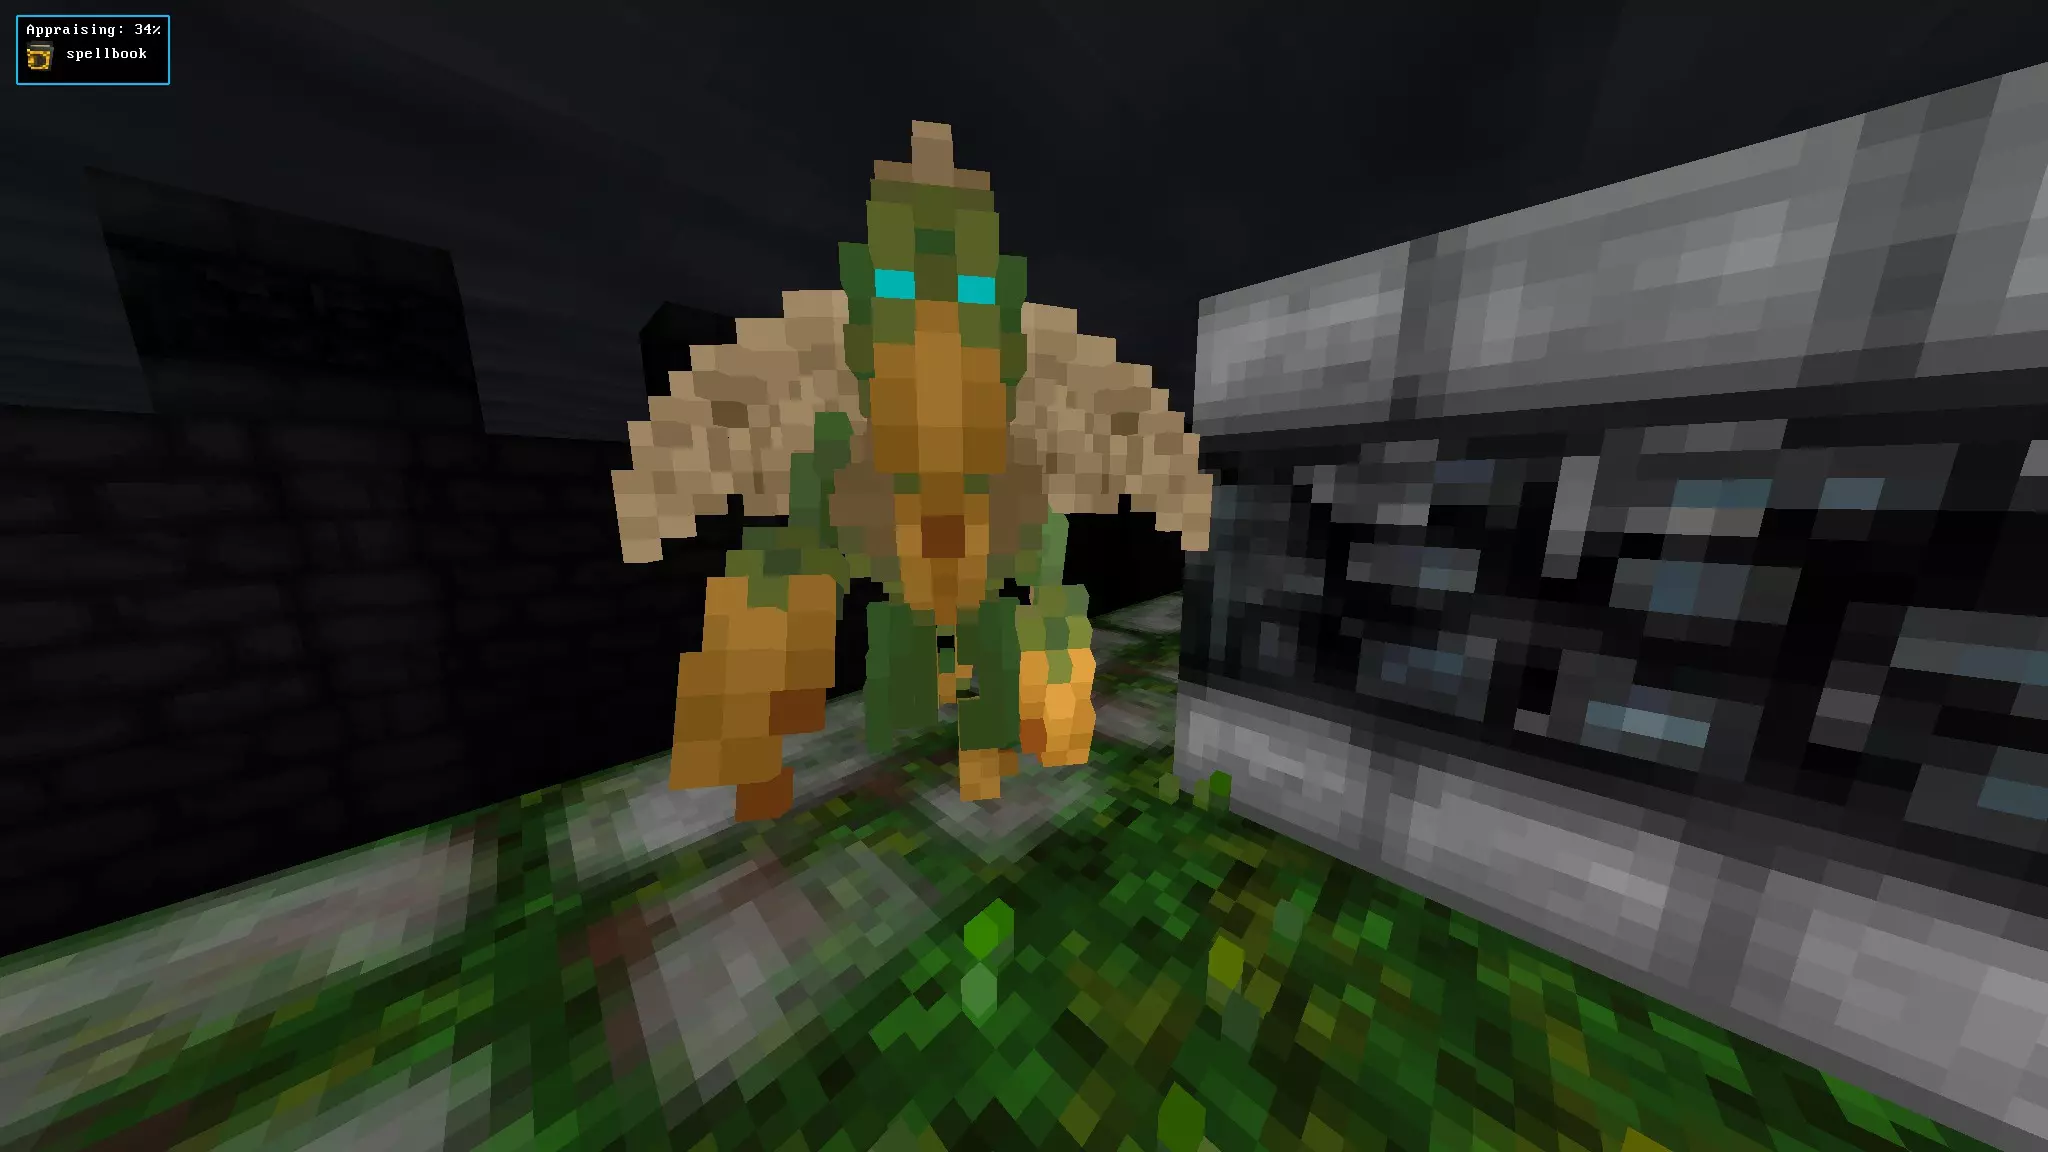
山羊人:首次出现在16-19层,并会出现在冥界。另一种装甲类型生物,其行动方式与其他装甲生物类似。发出山羊般的叫声,通常装备法师装备和水晶盔甲。这些家伙也没有什么特别之处。
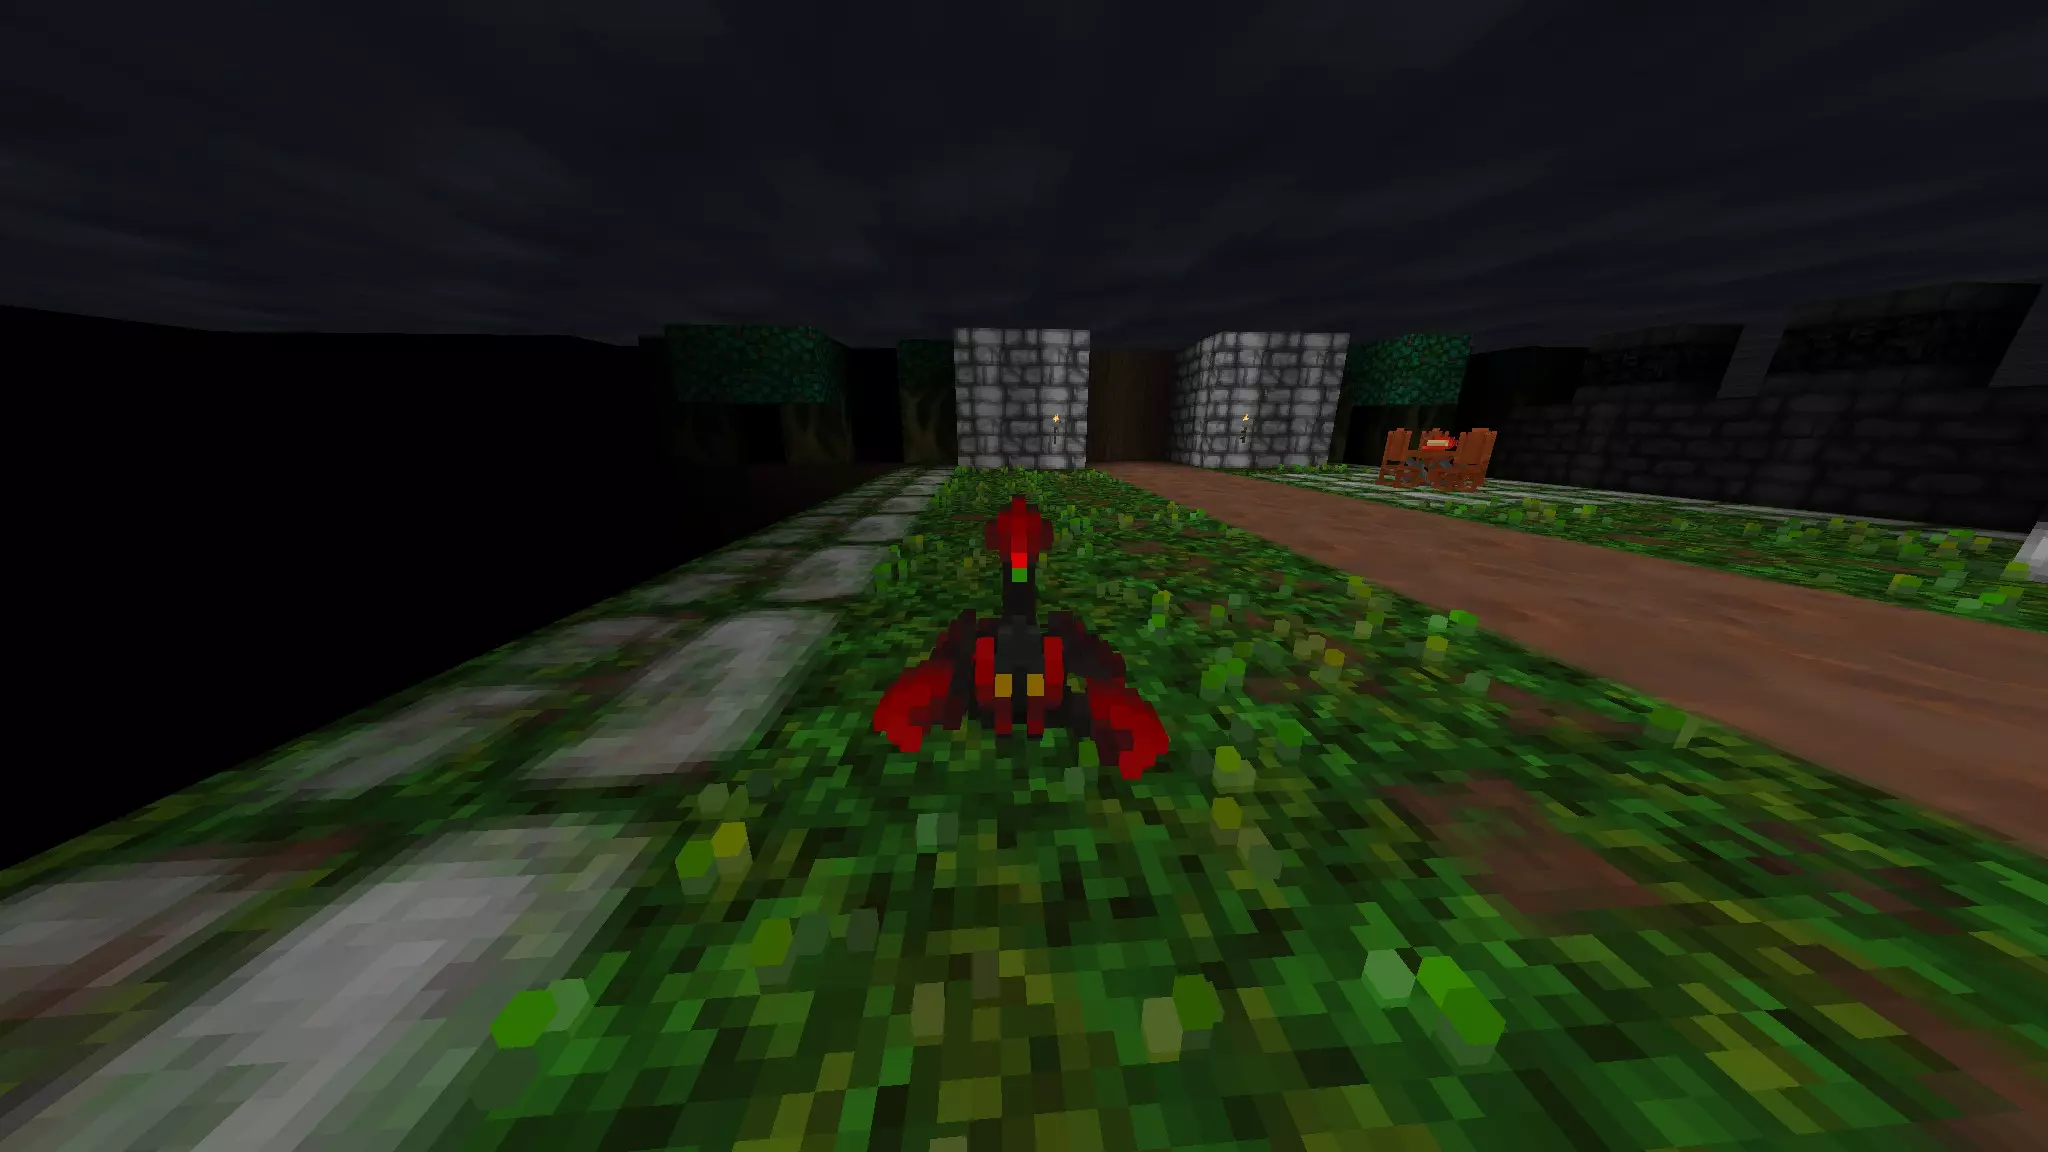
鸡蛇兽:作为常见敌人中最令人头疼的一种,这种有翼生物仅在26-29层出现。它会使用近战、远程攻击以及一种麻痹法术,该法术会使玩家无法移动,也无法执行除了使用镜子或卷轴传送之外的任何操作。这让玩家陷入毫无防备的境地,我在这些楼层损失的几乎所有角色都是拜它所赐。正是因为这些家伙,只要有机会,我就会选择走地狱路线而非主线剧情路线。
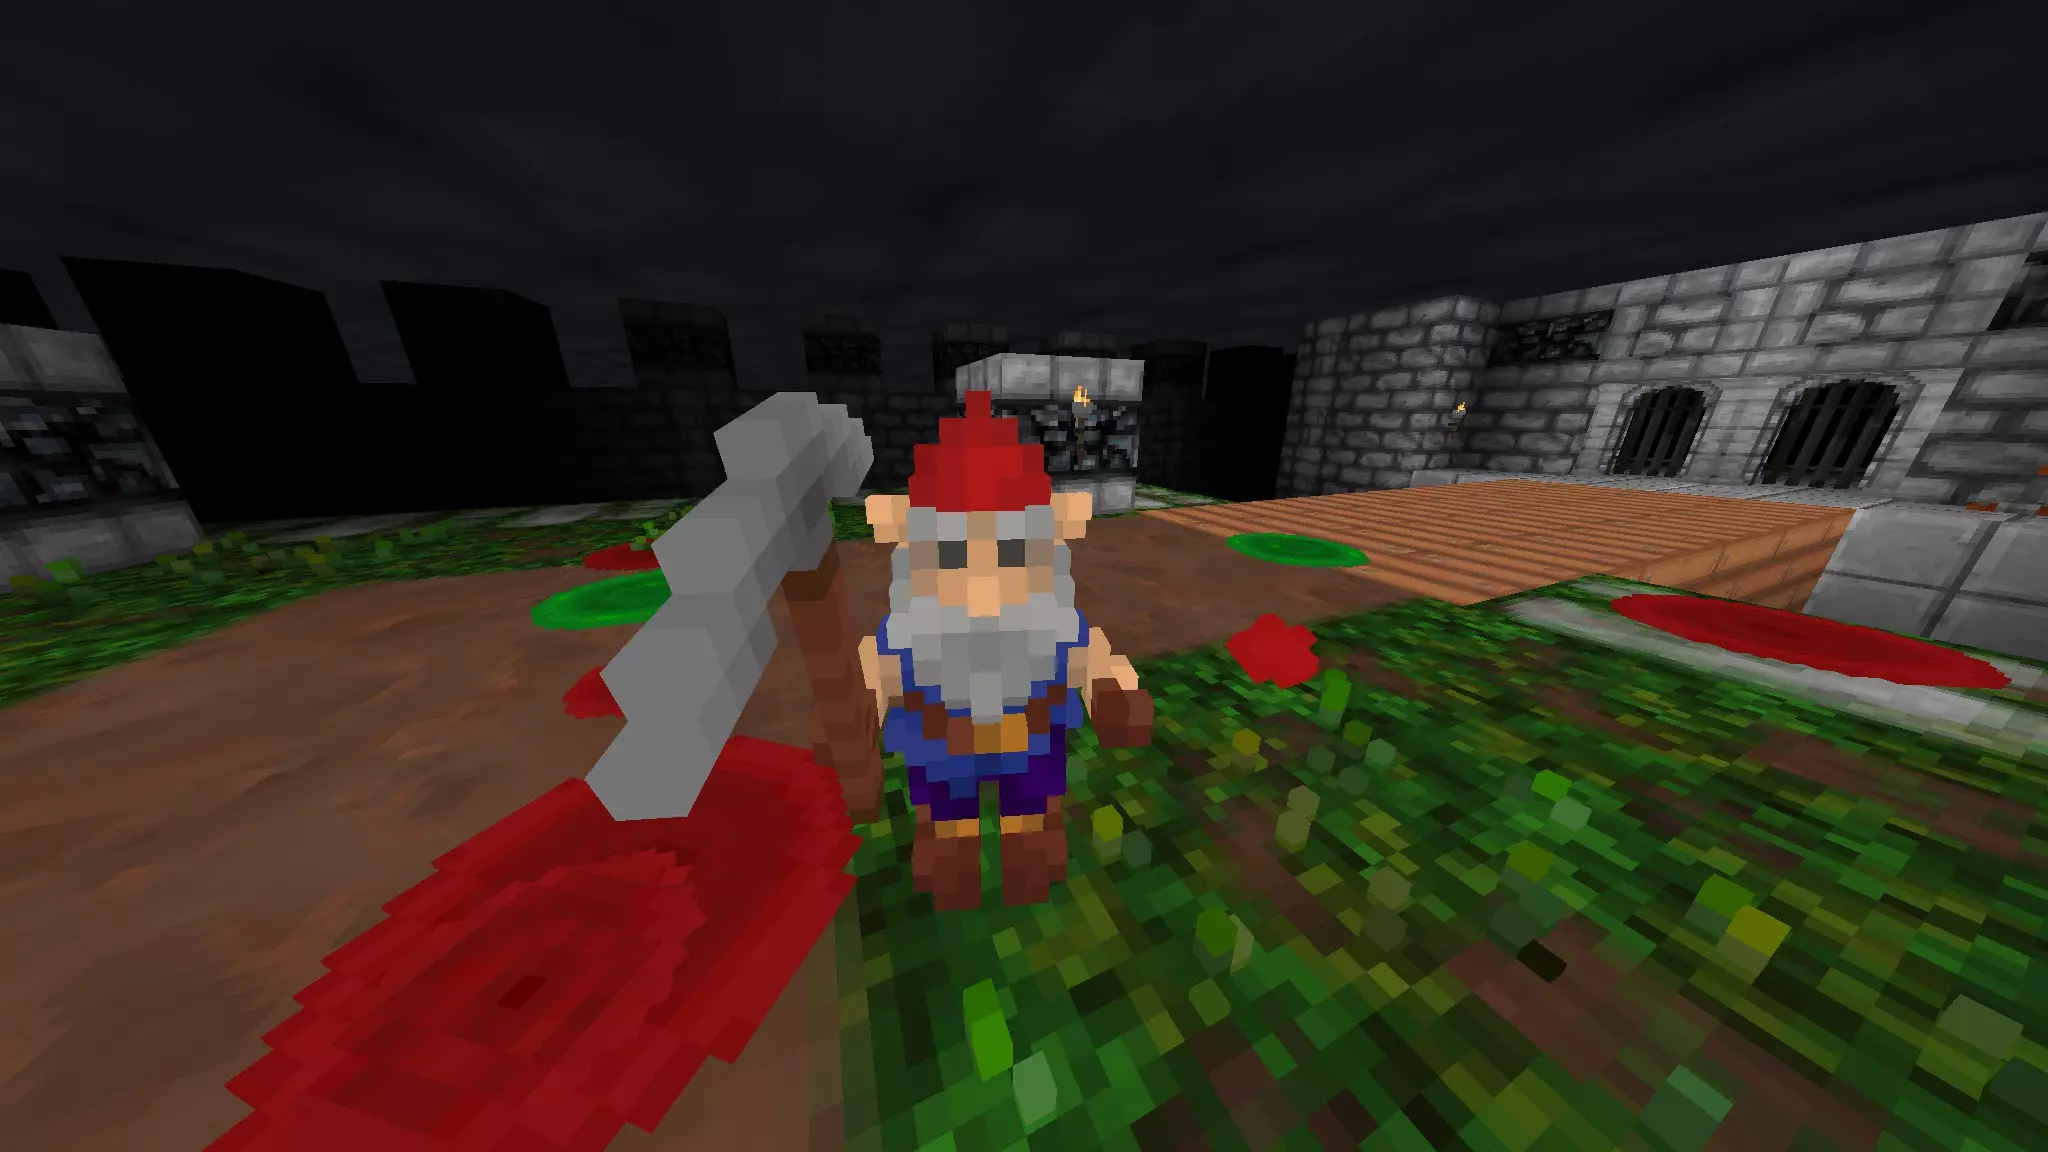
狗头人:喜欢挥舞坚固武器和盾牌的离经叛道的小生物。虽然不是什么可怕的威胁,但它们仍然具有敌意。在26-34层可以找到它们,在32层的鸡蛇巢穴中还有一种邪教徒变种。

水晶魔像:栖息在26-29层的大型生物。类似巨魔,但它会投掷岩石,拥有4倍于巨魔的生命值和攻击力,且完全由水晶构成。如果你能在较低楼层管理好资源,并获得一些带有祝福的强力护甲,应对起来就不会太困难。不过它仍然像是升级版的巨魔。
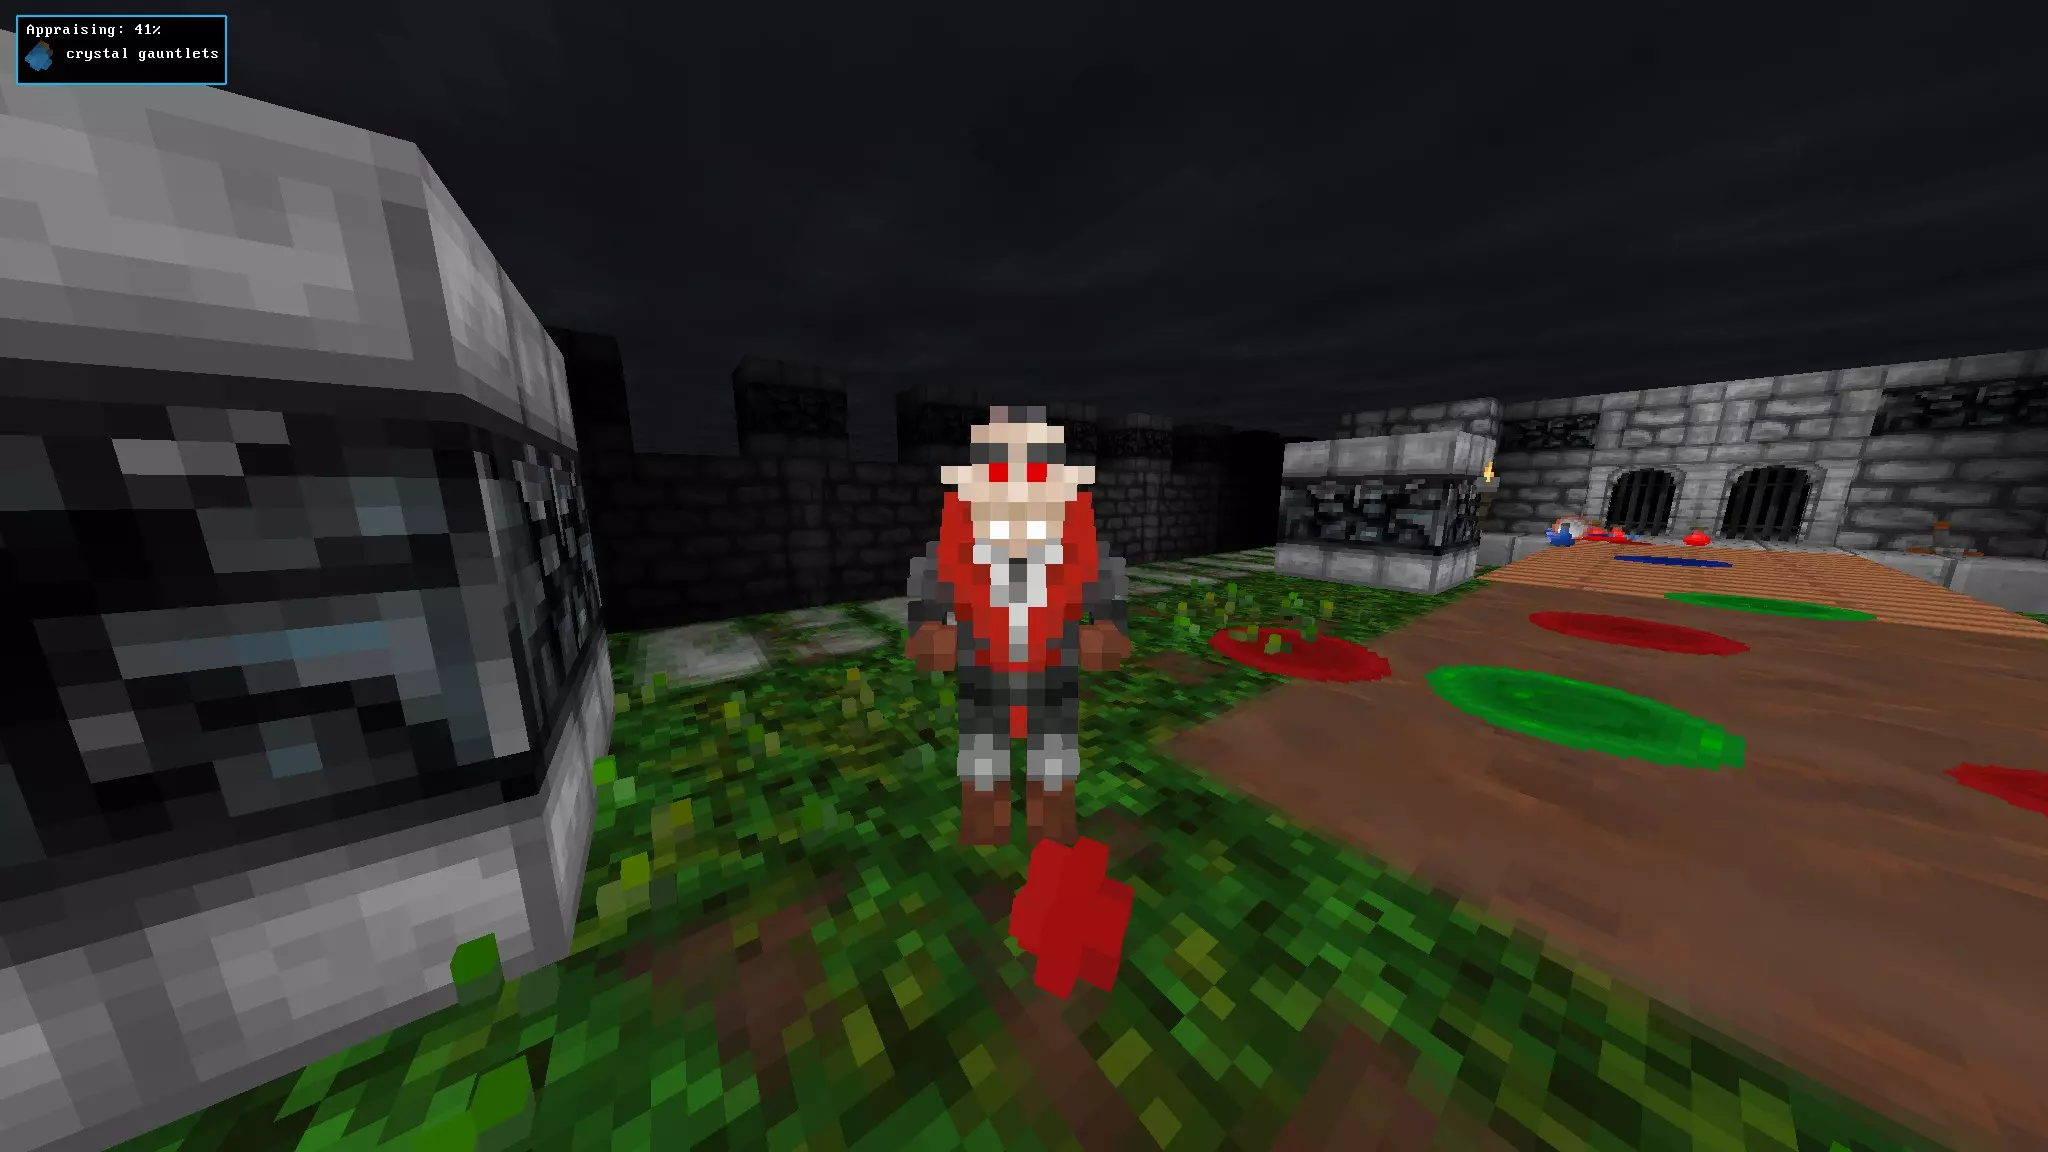
腐化构造体:这些敌人(据我观察)仅在当前剧情的最终战斗中出现。它们是与你可操控的构造体同类型的敌对实体,具备相同的所有特性。 怪物介绍 第二部分 吸血鬼:一种强大的生物,擅长使用生命吸取类法术。从16层开始有几率遇到。其首领可在布拉汉城堡中找到(城堡以他的名字命名,他名为布拉汉),并穿着套装神器中的斗篷。
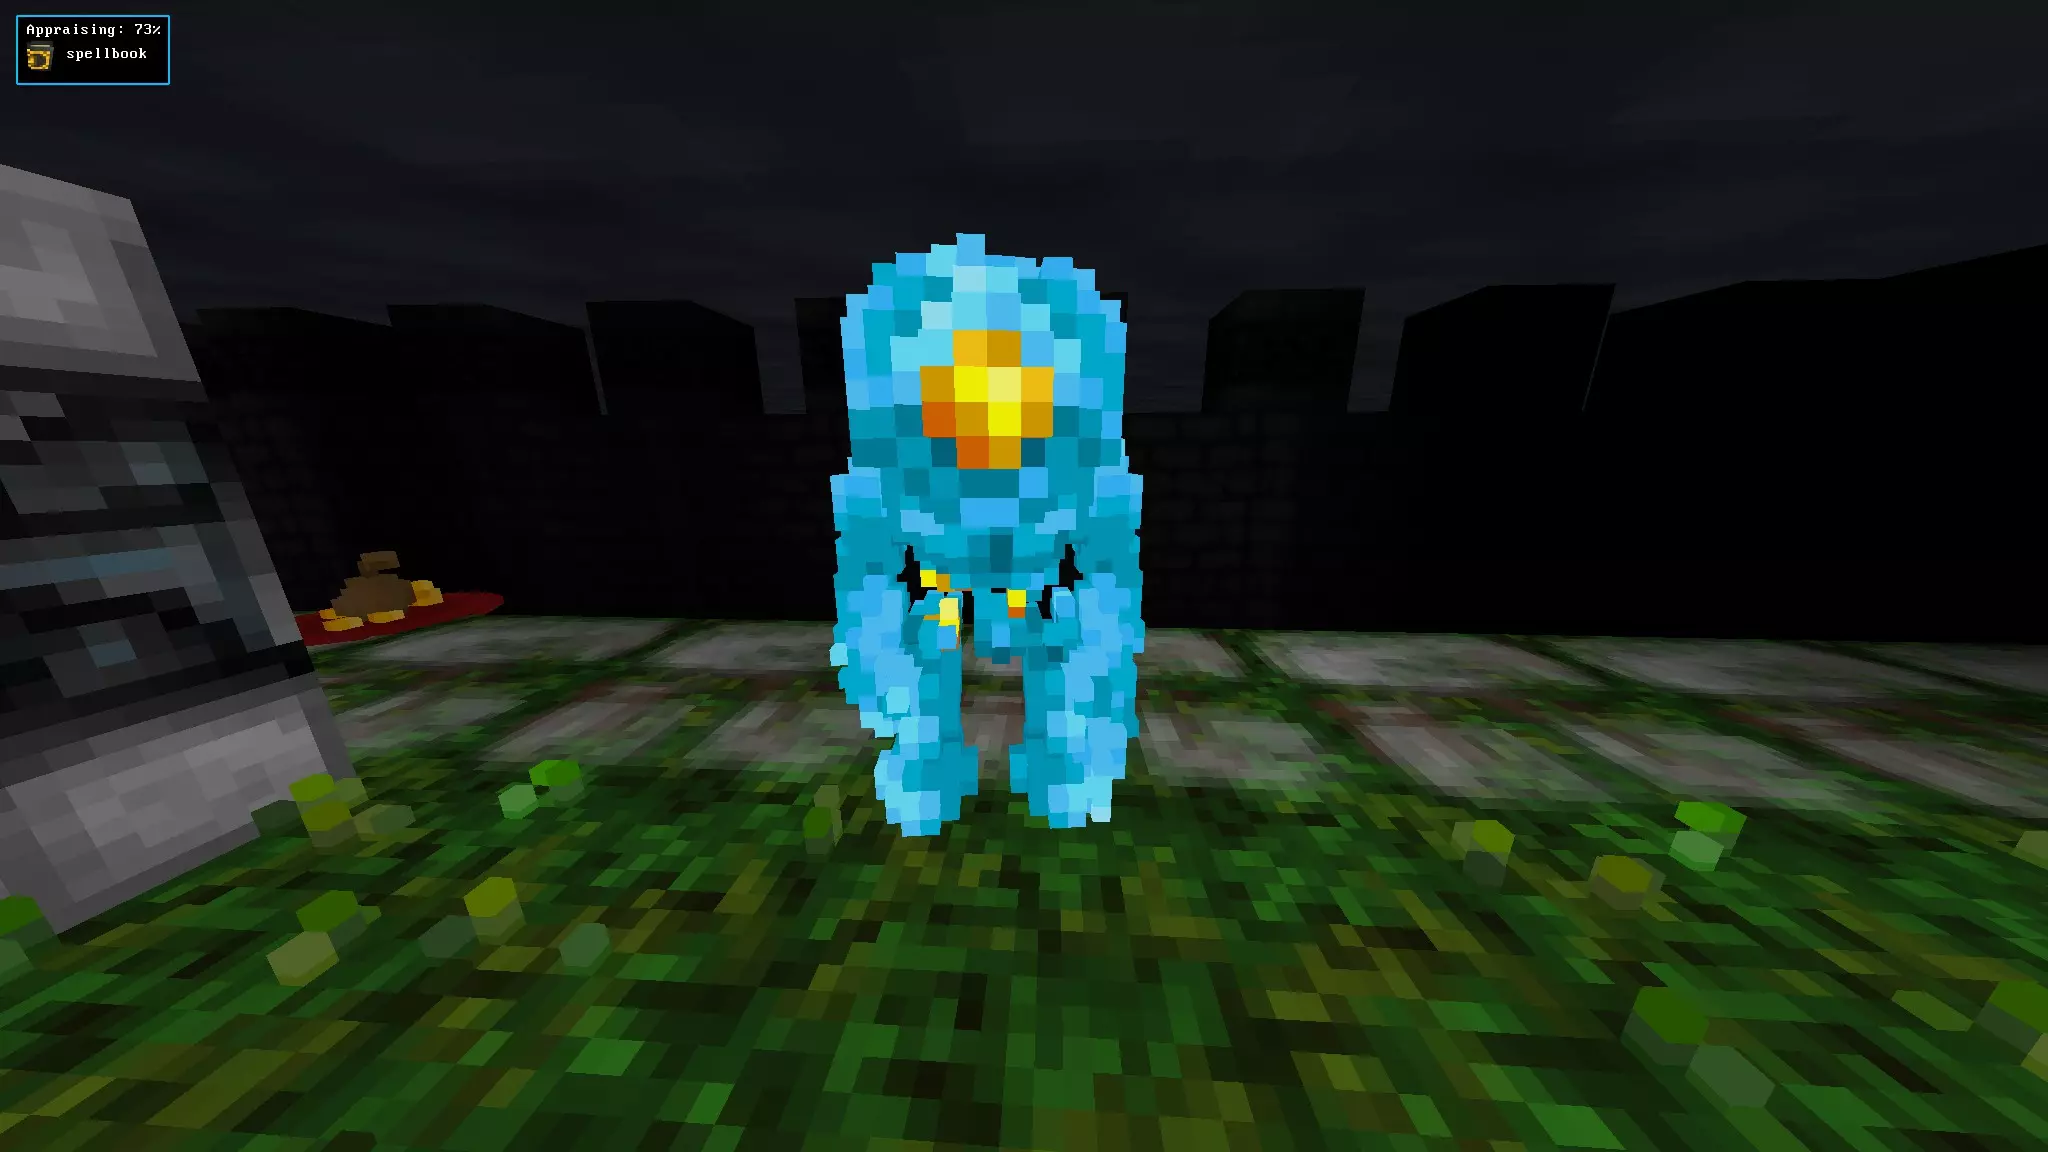
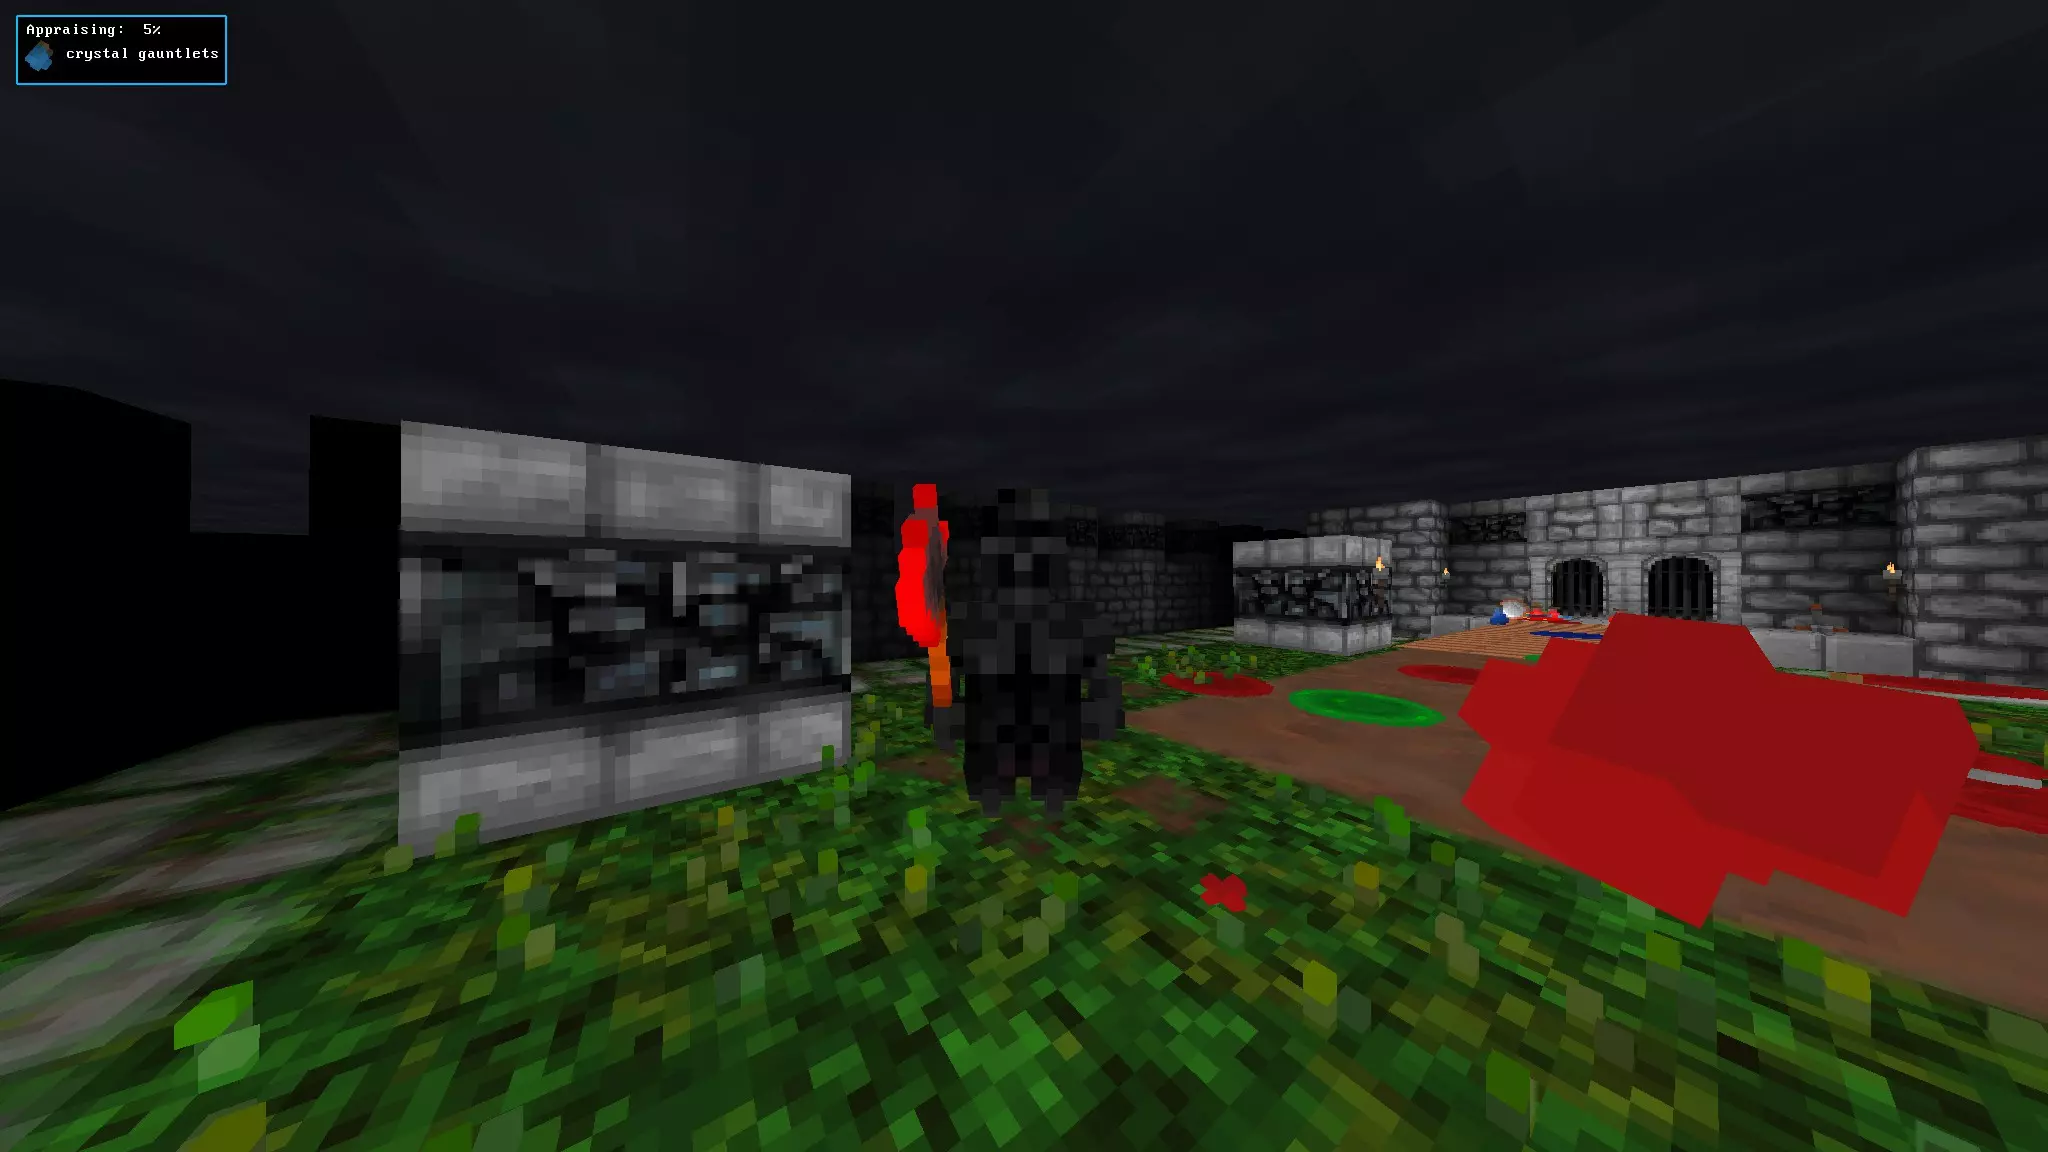
暗影:黑色、暗影状(呆瓜)实体,首次受到攻击时会消失,随后会以其正在战斗的生物的暗影分身形态回归。从16层开始出现。
Boss Entities and the Like Barony takes its name from the various "barons" that inhabit the land of Hamlet. These are the main key components of the storyline and are the backbone of all the legends that the game implements as side stories. Here are the ones that are currently in the game. Baron Herx: The sole reason why your character chose to go on this crazy adventure. He is the one responsible for countless lives lost under his control and you have decided to stop him. His lair is located on floor 20 of the dungeon and he uses levitation and magic to his advantage. Lightning and summoning spells are his two go-to's. Likes to summon imps to his side and enjoys mocking you through every step you take in his dungeon. He is also the one that sends those cursed minotaurs after you and is the designer of most of the dungeon. Baphomet: Basically Satan. Loves to throw boulders and fireballs from the pools of lava that he swims in. Summons demons and imps to his aid. Located on the last floor of the Underworld. Players can win the game right after defeating him. Orpheus: Lich in yellow that is commonly referred to as "brother" by his sister. In the final fight between him and the player (sister accompanied), he floats around similarly to Herx but most of the attacks done by him are with his sword. Will hunt down the player and attempt to do melee damage. Getting him down to half health will make him whip out fireball spells as well as his relentless melee attacks. Erudyce: Lich in light blue commonly referred to as "sister" by her brother. Final fight involves much spell casing for this lich, the two most notable being bloodletting and cold. Killing her brother first results in the typical "you will pay" one liner. Damaging her down to half health results in a tantrum of cold spells and corrupted automatons sent flying your way. Note: These enemies cannot be tamed to serve on your side, no matter the case. Trying to dominate them will be seen as a vain attempt by the source code. Same can be said for the Minotaur. Traps Many traps are also associated with the game and are some of the sole reasons why the game can be frustrating at times. Here's a quick list of them. 1. Boulder Trap This is the first trap that the game exposes you to. It is indicated by nothing more than a black circular hole in the ceiling and can be spawned on any ceiling tile in any environment. The boulders do quite a bit of damage (lowest I've seen is 55 highest is around 75) and can easily one hit you in the early stages. They trigger when an item or creature is placed in their path of direction, or right under their hole. A good thing to remember is that boulders are linearly traversing objects. This means that they can only travel in a straight line. The max number of directions a boulder can travel is 4 (they can take a path of any 4 tiles directly adjacent to them). Often times they are near walls, in hallways, chokepoint, and smaller rooms though again, they can randomly spawn anywhere. 2. Arrow Trap These begin spawning in the swamp (floors 6-9) and are indicated by an ancient looking face carved into a wall with a hole for a mouth. Their triggering mechanism works similarly to a boulder trap and can be triggered using any item thrown into their path, or by the player running by them. Although they are initially annoying with some traps even shooting poison tipped. flaming, and even silver arrows. Can become a status nightmare if you aren't careful and keep stumbling into them. 3. Spike Trap Easily among the most annoying traps right after boudlers. They begin showing up in the jungle (floors 11-14) and are indicated by a series of holes in the ground. Levitation DOES NOT help against them and many times they can be triggered more than once. That being said, their triggering mechanism works the same way and while they are up, the player can traverse them unharmed. The damage comes when they are down and the player walking over them gets impaled like a piece of meat on a kabob. 4. Magic Tower Traps. Showing up at the ruins stage (floors 16-19), these are designed similarly to arrow traps with a few noticeable differences. They can be stacked, with more than one shooter in a single trap, and they shoot magic spells. They also are NOT triggered in the same way as boulder, arrow, and spike traps are and are set in a timer fashion. So far confuse, sleep, fireball, forcebolt, magic missile, slow, lightning, and cold have all been spells I have come across. These can be game breaking, especially with sleep spells as it can cause an endless sleep cycle that will stall you forever unless you can teleport away or get lucky on the rng (this rng is more favorable with a higher CON score). 5. Magic Beam Trap Showing up in the later levels (post 26), these are indicated by yellow points of some sort on the ceiling and floor of certain spots. They work pretty simplistically: walk in, get zapped. In the newest set of levels (30-34) they can be arranged in an array to where they are constantly being set off and before you realize it, your character will be confused, poisoned, and drunk all at the same time, leaving nothing but vulnerability in your wake. The Hall of Trials and Some Short Scrolls The recent update has added what are called the "Hall of Trials". These teach you many of the mechanics of Barony. You can access these tutorial/speed run challenges from the main menu. I encourage both old and new players to use them as I even learned some new things about the game since my year long absence. Combat, brewing, traps, its all there! There are also scrolls that can be found throughout the game. These are usually encrypted with some sort of ancient text. In order to find out what the scrolls do, one must identify them through appraising. Some of the following effects can be gained through these scrolls: Repair: Repair any item of your choosing to a better condition. Also works on broken items. Destroy Armor: Got a cursed piece of armor equipped? Take the rest of your armor off and use this scroll to destroy it. Fire: Use this to combust into flames. Useful for automatons to keep their boiler burning or for any other race role playing as the "human torch". Magic Mapping: Works like the spell. Reveals the layout of an entire level. Enchant Weapon: Adds a +1 blessing to the weapon in your primary hand (spear, sword, bow, etc.). Enchant Armor: Same as previous, but uses a random piece of armor. For desired effect, remove all bits of armor that you DON'T want enchanted before using. Food: Spawns a load of apples, fish, cream pies, meat, tins, and cheese. Remove Curse: Removes the curse from an item of the player's choosing. Summoning: Summons a group of mobs to your side that will fight with you until death. Vary from rats to Demons. Teleportation: Can be used once to teleport to anywhere around the current floor. Results may vary. Light: Works like the spell, but without the orb. Lights up the floor and allows for much better vision for the rest of the current level. Identify: having a hard time appraising a gem but have a shopkeeper nearby? This scroll identifies any item that players choose at will. Mail: Contains a quip that might be a pop culture reference or a funny/useful message. Blank Scroll: Has no effect. Can be used with a Feather to make an actual scroll. Each scroll, like almost any other item, also has cursed and blessed variants that will multiply their power. Another thing, the cryptic names for the scrolls are consistently the same for scrolls on each run. However the names change each run. So for example "READ ME" is what I call a "cryptic name" for a scroll. Say that in my current game, "READ ME" after appraisal is a scroll of identify. With that out of the way, we can now assume that EVERY scroll of "READ ME" for the rest of that current game is a scroll of identify. After a new game is started, the scrolls randomize once more and the cryptic names and actual names are matched differently. My Priorities/Tips While there are probably several ways to tackle the game in the beginning, I have found that the end-game is more or less the same. There are a handful of priorities that you can keep in mind as well as not dying: 1. Find a ring of levitation. While being able to walk on lava is handy, and being invisible is grand, nothing can compare to having a ring of levitation. Invisibility is nice, but fails in practicality once you get to bosses that can see you regardless whereas levitation only gets better as you progress further. As you delve deeper and deeper into the dungeon, you will find that there are more drop-offs, pits, and empty space. Such places are also present in fights with Baphomet and Baron Herx. Being able to levitate not only makes accessing otherwise unreachable areas possible, but it takes away a large advantage held by the main enemies of the game. In terms of Baphomet's lair, it takes away his ability to hit you with boulders and, if you keep far enough away, his fireballs as well. In fact, I don't even think about heading to hell without levitation as the first areas alone make it difficult to traverse without it. This is why it's my number one priority. 2.Grab some Magic Reflection/Resistance Gear. Magic resistance gear is a universal priority that can help as early on the Gnome Mines and can keep being useful as far as any boss entity. Shields w/magic resistance, cloaks, amulets w/ magic reflection, and mirror shields that carry a magic reflection effect acquired in the lower levels of the dungeons all have key usage in the underworld and mines. In these areas, practically everyone and everything is using magic. Acquiring this gear will help in planning ahead for the fights to come. 3.Raise that AC. Making sure you have a high AC is also a key goal that can save you on more than one occasion. While magic enemies are a larger pain imo, enemies that do melee damage don't stop appearing either and cranking that AC to 80 is a sure thing to make sure that physical entitities won't bug you. Attacks that persist throughout the game include the Minotaur's, which got buffed a hefty bit in dungeon levels 20+. So crank that AC up like there's no tomorrow. 4. Drink the fountains. While several things can happen from drinking from these mysterious structures, the one that occurs least frequently is the one that makes it all worth it. Out of everything that can happen, you can have a single piece of equipment blessed or, if you're a bit luckier, all of you're wielded equipment blessed! While this effect was more prominent in the earlier Cursed Edition of the game, its occurrence rate has decreased significantly. That being said, it is still around and is possible to obtain once in a blue moon. This means that everything you are wearing at the time of drinking the blessed fountain will get a +1 bonus to it, drastically raise your AC as well as granting powerful enchantments to whatever weapon you're holding (bonus if it is a legendary weapon because in addition to be extremely powerful, they also never break or wear down). 5. Be patient with appraising items. While you may be wanting to slip into that iron chest plate that you just picked up off of a goblin, you may be surprised at what you find if you don't appraise it first. Cursed items are prevalent in the game and cause stat losses, spell losses, or even death. Items in this condition also force the player to wear them until they break or are otherwise destroyed. So while it may take some time for your appraise skill to go up, in the end it is all worth it. To get a kick-start on your appraising ability, I suggest using various food items such as cheese and apples. Other substitutes include throwables and potions. These are able to be appraised somewhat quickly to get you started. 6. Keep your eyes and ears open. Traps are the enemy of any player of Barony and really like to nail the newcomers. Keeping your head up for boulder holes and other traps will not only cause you less trouble, but will most likely save your life in several instances. Hearing boulders roll around or monsters around a corner can also be a game saver in those closer instances of clinging to life. Playing with the music on is a big help as well, as the soundtrack to the game is dynamic and changes when you encounter an enemy that coming after you. 7. Magic is any classes best friend. While a warrior will have a harder time learning it than an Arcanist, magic is such a good tool to have in the arsenal no matter which class you are. Focusing magic, even just for the little bit of XP, can be worth it all in the end. Aside from the combat aspects, opening, levitating, digging, and remove curse spells all exist and can be very helpful. Training your character in magic can allow you to get to secret areas and enhance the overall experience you'll have on your adventure. Accept Death as a Guarantee. When I first took the ropes of Barony, I was ready to defeat Baron Herx as soon as he started to laugh at me. About 15 seconds later, I earned an achievement... for getting squashed by a boulder. One of the hardest things to do in any task is to accept defeat. This trial comes up in this game more than any other that you will come across. The easiest thing to do with this fact though is to accept it. You are going to die and you're going to die a crap-ton. So don't get disgruntled or disappointed when you inevitably die from the boulder falling from the ceiling or from the Minotaur because you underestimated the all-powerful being that can walk on air and water like Jesus Christ himself. Pickup another character, tilt your head high, and start anew. The game takes time to find the right rythym, but one you find it, the reward is tremendous. For those of you who have tried this strategy many-a-time and aren't really sure how you're failing, check the priorities tab of this guide. I take these guys into account every time I play the game. These has allowed me to have several triumphant characters including these guys:
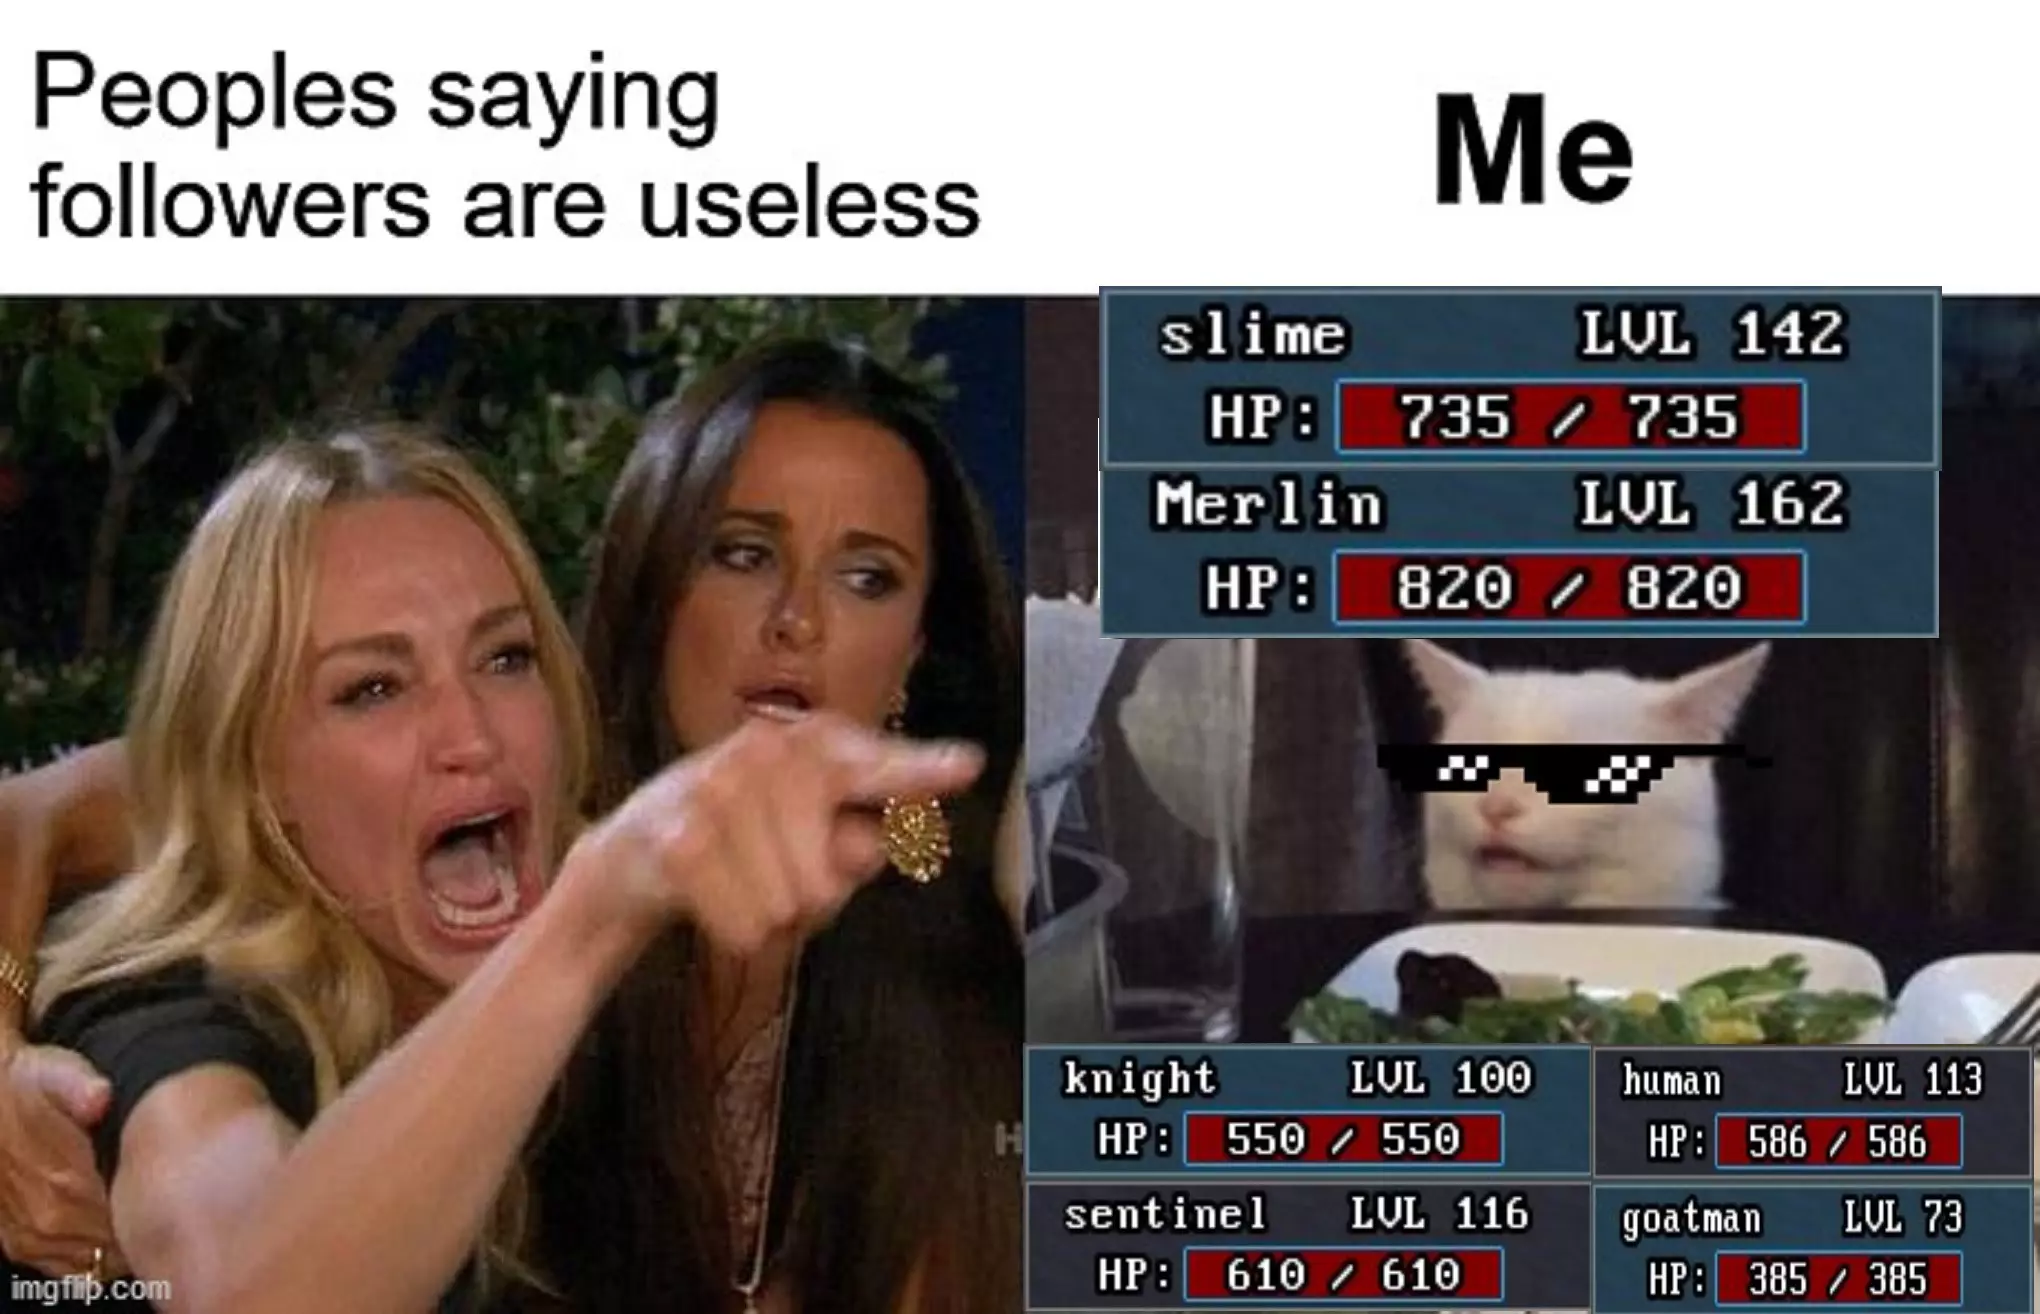
其他实用指南 首先,感谢大家查看本指南。没想到它会这么受欢迎,希望它能帮到很多人。其次,Lyiusa Eterna发布了一份比我更深入的指南,涵盖了更多内容。他们也投入了更多时间,并尝试了许多该游戏的速通,所以我强烈推荐他们的指南。 自从我首次制作本指南以来,【修补】和【炼金术】已成为游戏玩法和冒险中的最新核心技能。我自己仍在学习这些技能的相关内容,因此不会将它们纳入本指南。尽管如此,!Yoodiv已为这两项技能制作了指南。想要一份充分利用追随者的指南吗?Happygiggi 正好制作了一份。在社区 Discord 中,他在追随者培养及让他们变得强力方面可是个传奇人物。最后,如果你想了解这款游戏的模组相关内容,可以查看由 Barony 开发者 Wall of Justice 制作的各类指南。还可以参考以下这份最新的综合指南。