换一换
换一换 


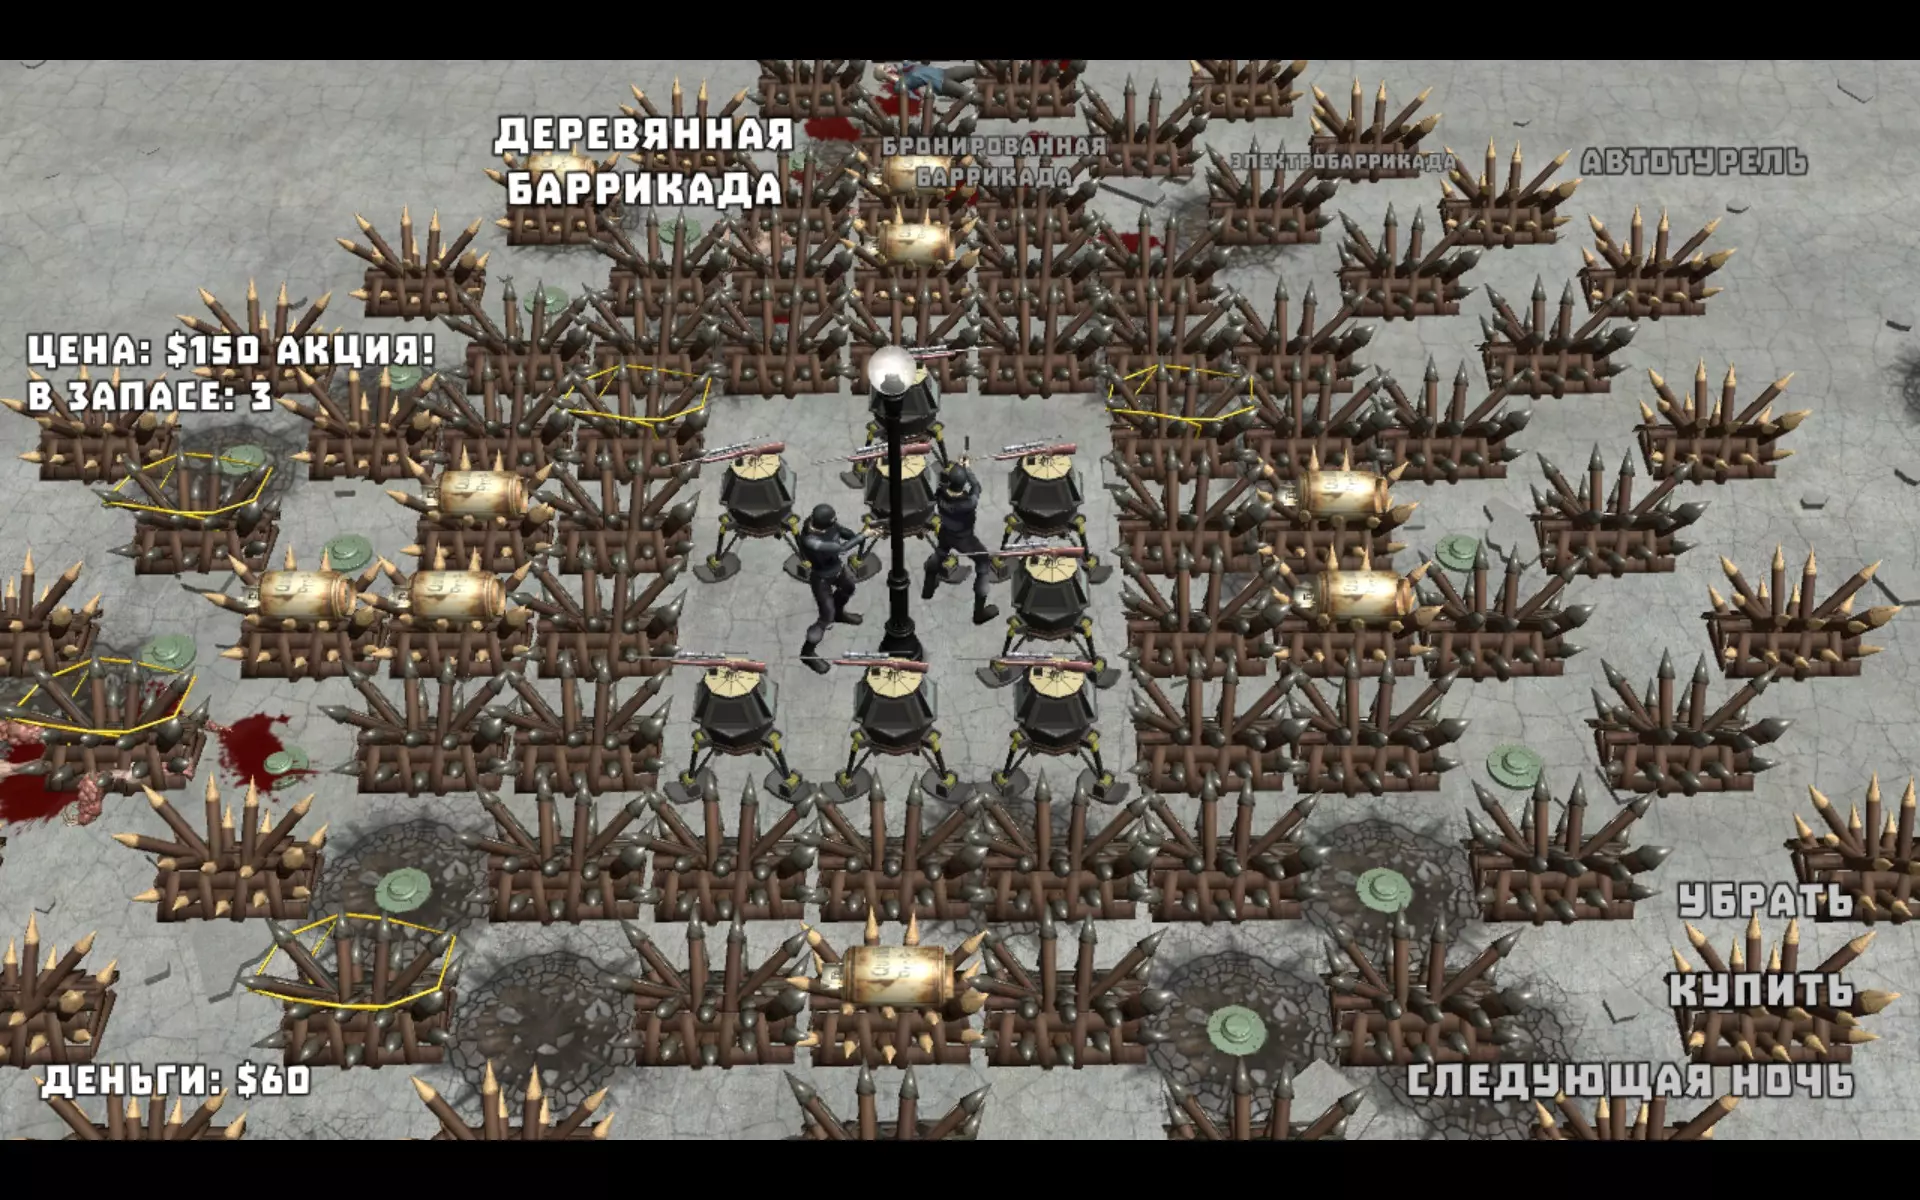
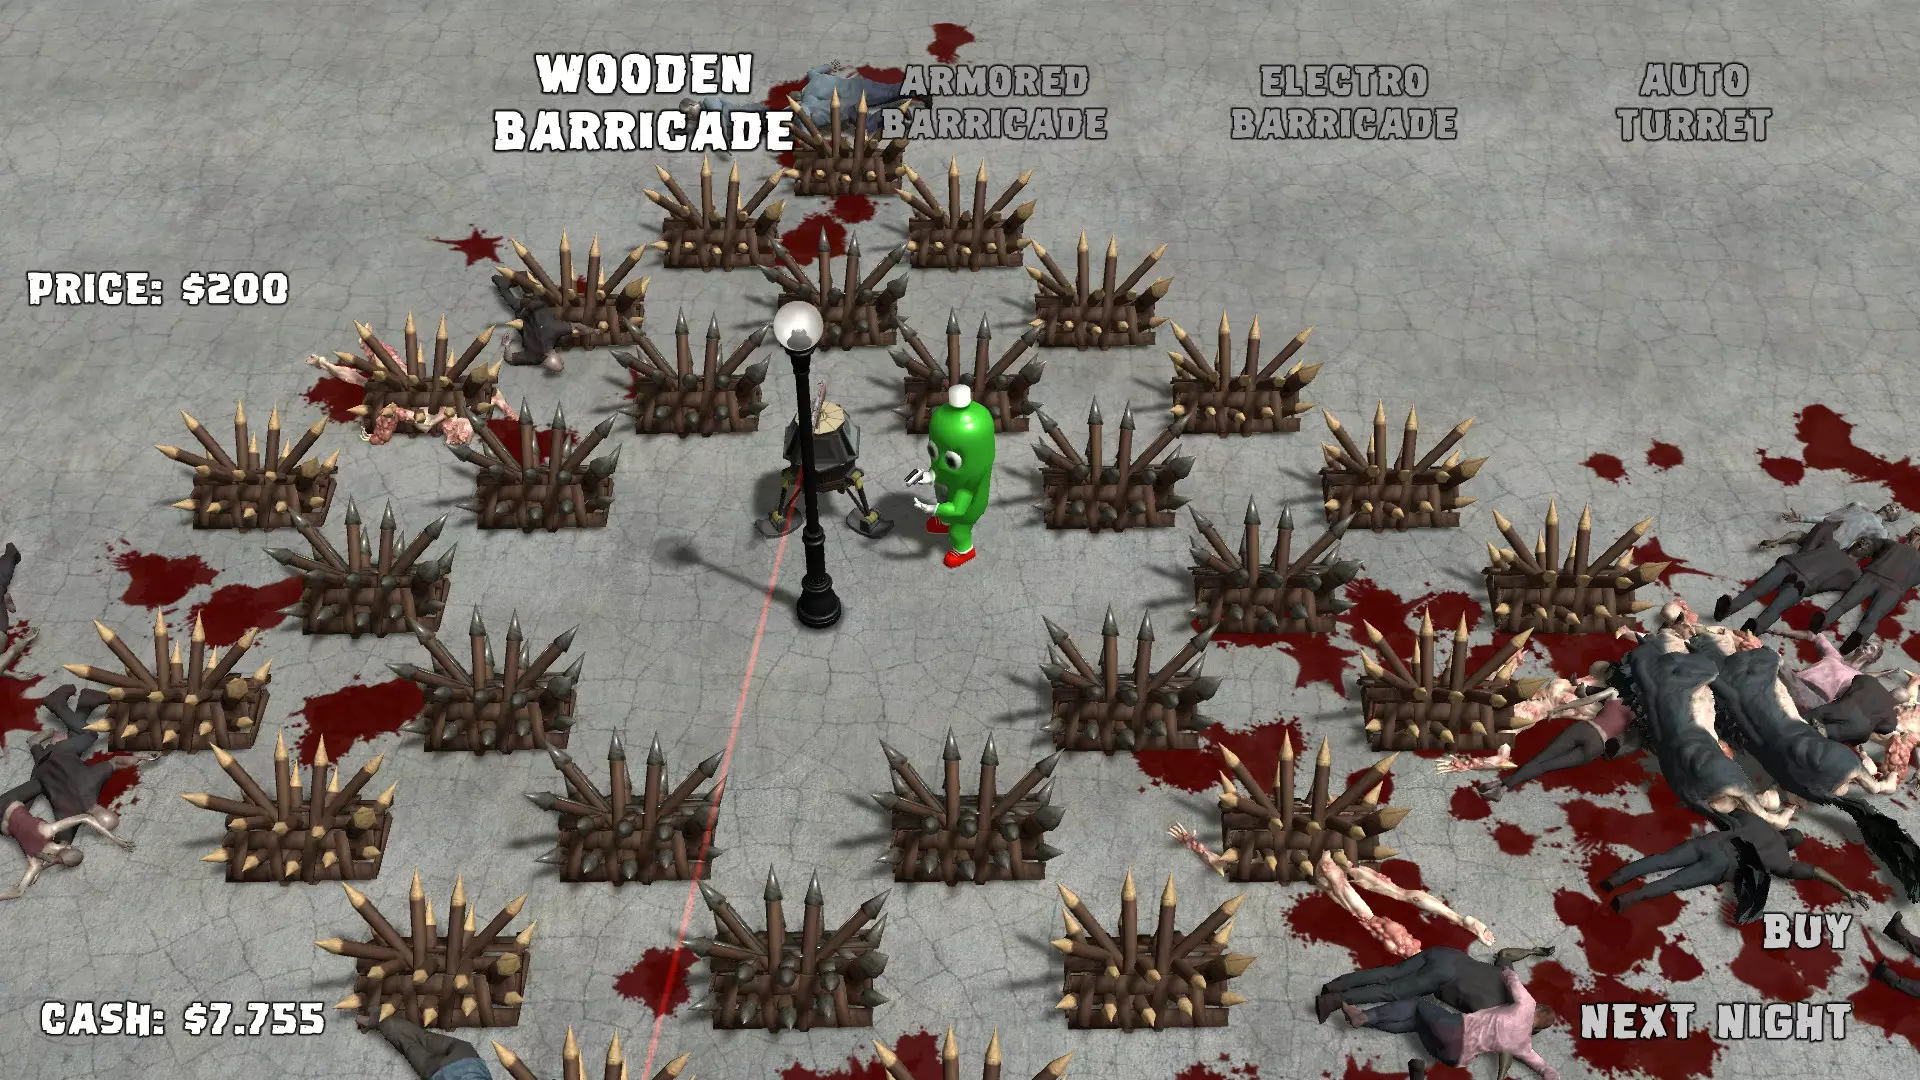
This is the official guide on making your items for Yet Another Zombie Defense HD and uploading them to Steam Workshop. Introduction First of all thank you for your interest in creating new items for Yet Another Zombie Defense HD! This guide will be continually updated as we add support for more types of items you can create for YAZD HD. If you have any suggestions or something isn't clear or doesn't work, please let us know by sending an email to contact[at]awesomegamesstudio.com YAZD HD is build with Unity engine and to build an item that can be loaded by the game you need to download it and install it on your machine. The version that is currently used by the game is Unity 5.6.4f1 2017.3.0f3 and you can download it from this link: https://unity3d.com/get-unity/download?thank-you=update&download_nid=49126&os=Win After you launch the installer choose the 64-bit version of Unity Editor and install it with default components selected. If you need instructions on how to use the Unity Editor there's an extensive guide on Unity's website: https://docs.unity3d.com/560/Documentation/Manual/UnityOverview.html This Guide assumes some familiarity of Unity Editor and does not explain everything step by step. If you don't know how to use Unity Editor, please check Unity documentation or look for another tutorial online. Creating an item The starting point of creating any Steam Workshop item is to download a corresponding Template Project. The Template Project for Character item type can be downloaded here: http://www.awesomegamesstudio.com/_yazdworkshop/WorkshopCharacterTemplate.zip The Template Project for Level item type can be downloaded here: http://www.awesomegamesstudio.com/_yazdworkshop/WorkshopLevelTemplate.zip Then open the project with Unity and follow the instructions in an item-specific section of this Guide. Creating a Character After you have downloaded and opened the Character Template Project you need to copy your character model into the project somewhere in Assets directory. Unity should handle the most popular 3D file formats, for a full list check Unity's documentation. Your model needs to be properly rigged, but animations can be automatically transferred from characters that are built into the game. In order for animations to be retargeted you need to setup a Humanoid Avatar in Unity. Follow the instructions found on this page of Unity's documentation in order to setup Humanoid Avatar: https://docs.unity3d.com/560/Documentation/Manual/class-Avatar.html Make sure there's no errors in Avatar's configuration, otherwise the animation will not transfer properly and your character will be displayed in T-pose. Next you'll need to open the template Scene that is found in Assets directory. Then drag your character model into Scene Hierarchy and attach it under MainObject that is already created on the Scene, right next to existing Dude object. Your character model should appear somewhere in the Scene, it might be very small or very big depending on how was it prepared in 3D modelling software. Try to resize it to match the existing Dude character and rotate it so that the character faces the same direction as the Dude character (positive X axis). After that find Animator component on your model in scene hierarchy and make sure that Apply Root Motion is unchecked. Now you need to create new GameObjects to indicate where the character's weapon should be attached. Those should be attached under your character's hand transforms and called "RightWeaponPositionTransform" for the left hand and "LeftWeaponPositionTransform". Check the existing Dude character object for reference. The next step is to indicate the character's blood particle spawn region. You need to create a BoxCollider component attached to your character's chest bone, or just copy it from Dude character - it can be found under "Spine2" GameObject. You can attach additional Unity's built-in components to the character, like Lights or Particle Systems, however custom Scripts aren't allowed due to safety issues. After you have done the steps above you can delete the old Dude GameObject from the scene. Unity will ask you to confirm breaking prefab instance, select Continue here. Then you'll need to drag MainObject from Scene Hierarchy to MainObject prefab that can be found in Project window in Assets/Workshop/Character directory. If Unity asks you about Prefab replacement, choose Replace anyway. If you have followed all the steps above, you are now ready to build the AssetBundle that can be loaded by YAZD HD. In order to do so, choose Assets -> Build AssetBundles from the menu. This should build the AssetBundle and the resulting file can be found in Assets/AssetBundles directory and be called "characterassetbundle" (with no file extension). Creating a Level After you have downloaded and opened the Level Template Project you can place any objects you want to use on your level in Assets directory. Unity should handle the most popular 3D file formats, for a full list check Unity's documentation. Next you'll need to open the template Scene that is found in Assets directory. Then place any items you want on your custom level into Scene Hierarchy under "MainObject" that is already created on the Scene. You can use textures, models, particle systems, light, even sound emitters that are native Unity components, however custom Scripts aren't allowed due to safety issues. The objects attached under "OtherObjects" are there for you to be able to preview what the level will look like in the game. You can disable "Spotlight" object and enable "Directional light" object to see what the level will look like during the day. There should be an object in the center of the level that will serve as a replacement for the lamp post. It will have collision added by the game and building will be impossible there, it will also be source of light in the night. You can also delete any objects attached under "MainObject". If you do so Unity will ask you to confirm breaking prefab instance, select Continue here. Then you'll need to drag MainObject from Scene Hierarchy to MainObject prefab that can be found in Project window in Assets/Workshop/Level directory. If Unity asks you about Prefab replacement, choose Replace anyway. If you have followed all the steps above, you are now ready to build the AssetBundle that can be loaded by YAZD HD. In order to do so, choose Assets -> Build AssetBundles from the menu. This should build the AssetBundle and the resulting file can be found in Assets/AssetBundles directory and be called "levelassetbundle" (with no file extension). Uploading an item First you need to create a directory for your item in the game's installation files in "WorkshopItems" subfolder. To view the game's installation files right click Yet Another Zombie Defense HD in your Steam Library, choose Properties, switch to Local Files tab and click Browse Local Files - the "WorkshopItems" directory should be there already. After you have created a subdirectory inside "WorkshopItems" you to copy your previously build AssetBundle inside this subdirectory. Then you need to create a text file matching your AssetBundle file with a ".iteminfo" extension, for example "characterassetbundle.iteminfo" with at least the following contents: ItemType=Character NameEN=<Your item name in English> YAZDVersion=6009 The ItemType indicates what type your item is - currently available options are "Character" and "Level". The NameEN is the English name for your item that will be displayed inside the game. And the YAZDVersion indicates the game's version that the item was tested with - this can be checked in the main menu of YAZD HD. If you'd like to localize the item's name you can add additional lines with the following parameters: NameZH-CHS for Chinese (simplified) NameFR for French NameDE for German NameIT for Italian NameJA for Japanese NameKO for Korean NamePL for Polish NamePT for Portuguese NameRU for Russian NameES for Spanish NameTR for Turkish If you're making a female character, you should also add the following line: IsFemale=True After you've done that you just need to add a Preview.png file that represents an image of your item. For reference you can download an example Character item from the link below: http://www.awesomegamesstudio.com/_yazdworkshop/SoldierCharacter.zip Or example Level: http://www.awesomegamesstudio.com/_yazdworkshop/WinterLevel.zip In order to test an item in the game you just need to launch YAZD HD, choose "Steam Workshop" from the main menu and next "View your items". Your newly created item should appear on the list - if it did it means that the AssetBundle loaded successfully. For Level type items you need to Enable them from your Workshop Items list. Now you can start a new game and see it your item works correctly in the game. If everything looks alright you just need to go back to "View your items" section and click "Publish". After it's done uploading it should open up Steam Overlay and show your item. If it's the first time you publish a Workshop item you'll have to accept Steam Workshop agreement before the item is made public - a message box will appear above your Workshop item. If you everything worked and your item was uploaded to Steam Workshop you can update it anytime by pressing "Update" button on "View your items" list.
《亚兹德高清版》官方创意工坊指南

2026-02-20 16:00:18

导读
这是《亚兹德高清版》(Yet Another Zombie Defense HD)的官方Steam创意工坊指南,介绍了使用Unity 5.6.4f1/2017.3.0f3制作角色、关卡类创意工坊物品的步骤,以及物品的测试与上传流程,助力创作者制作可适配游戏的自定义内容。

评论
共0条评论

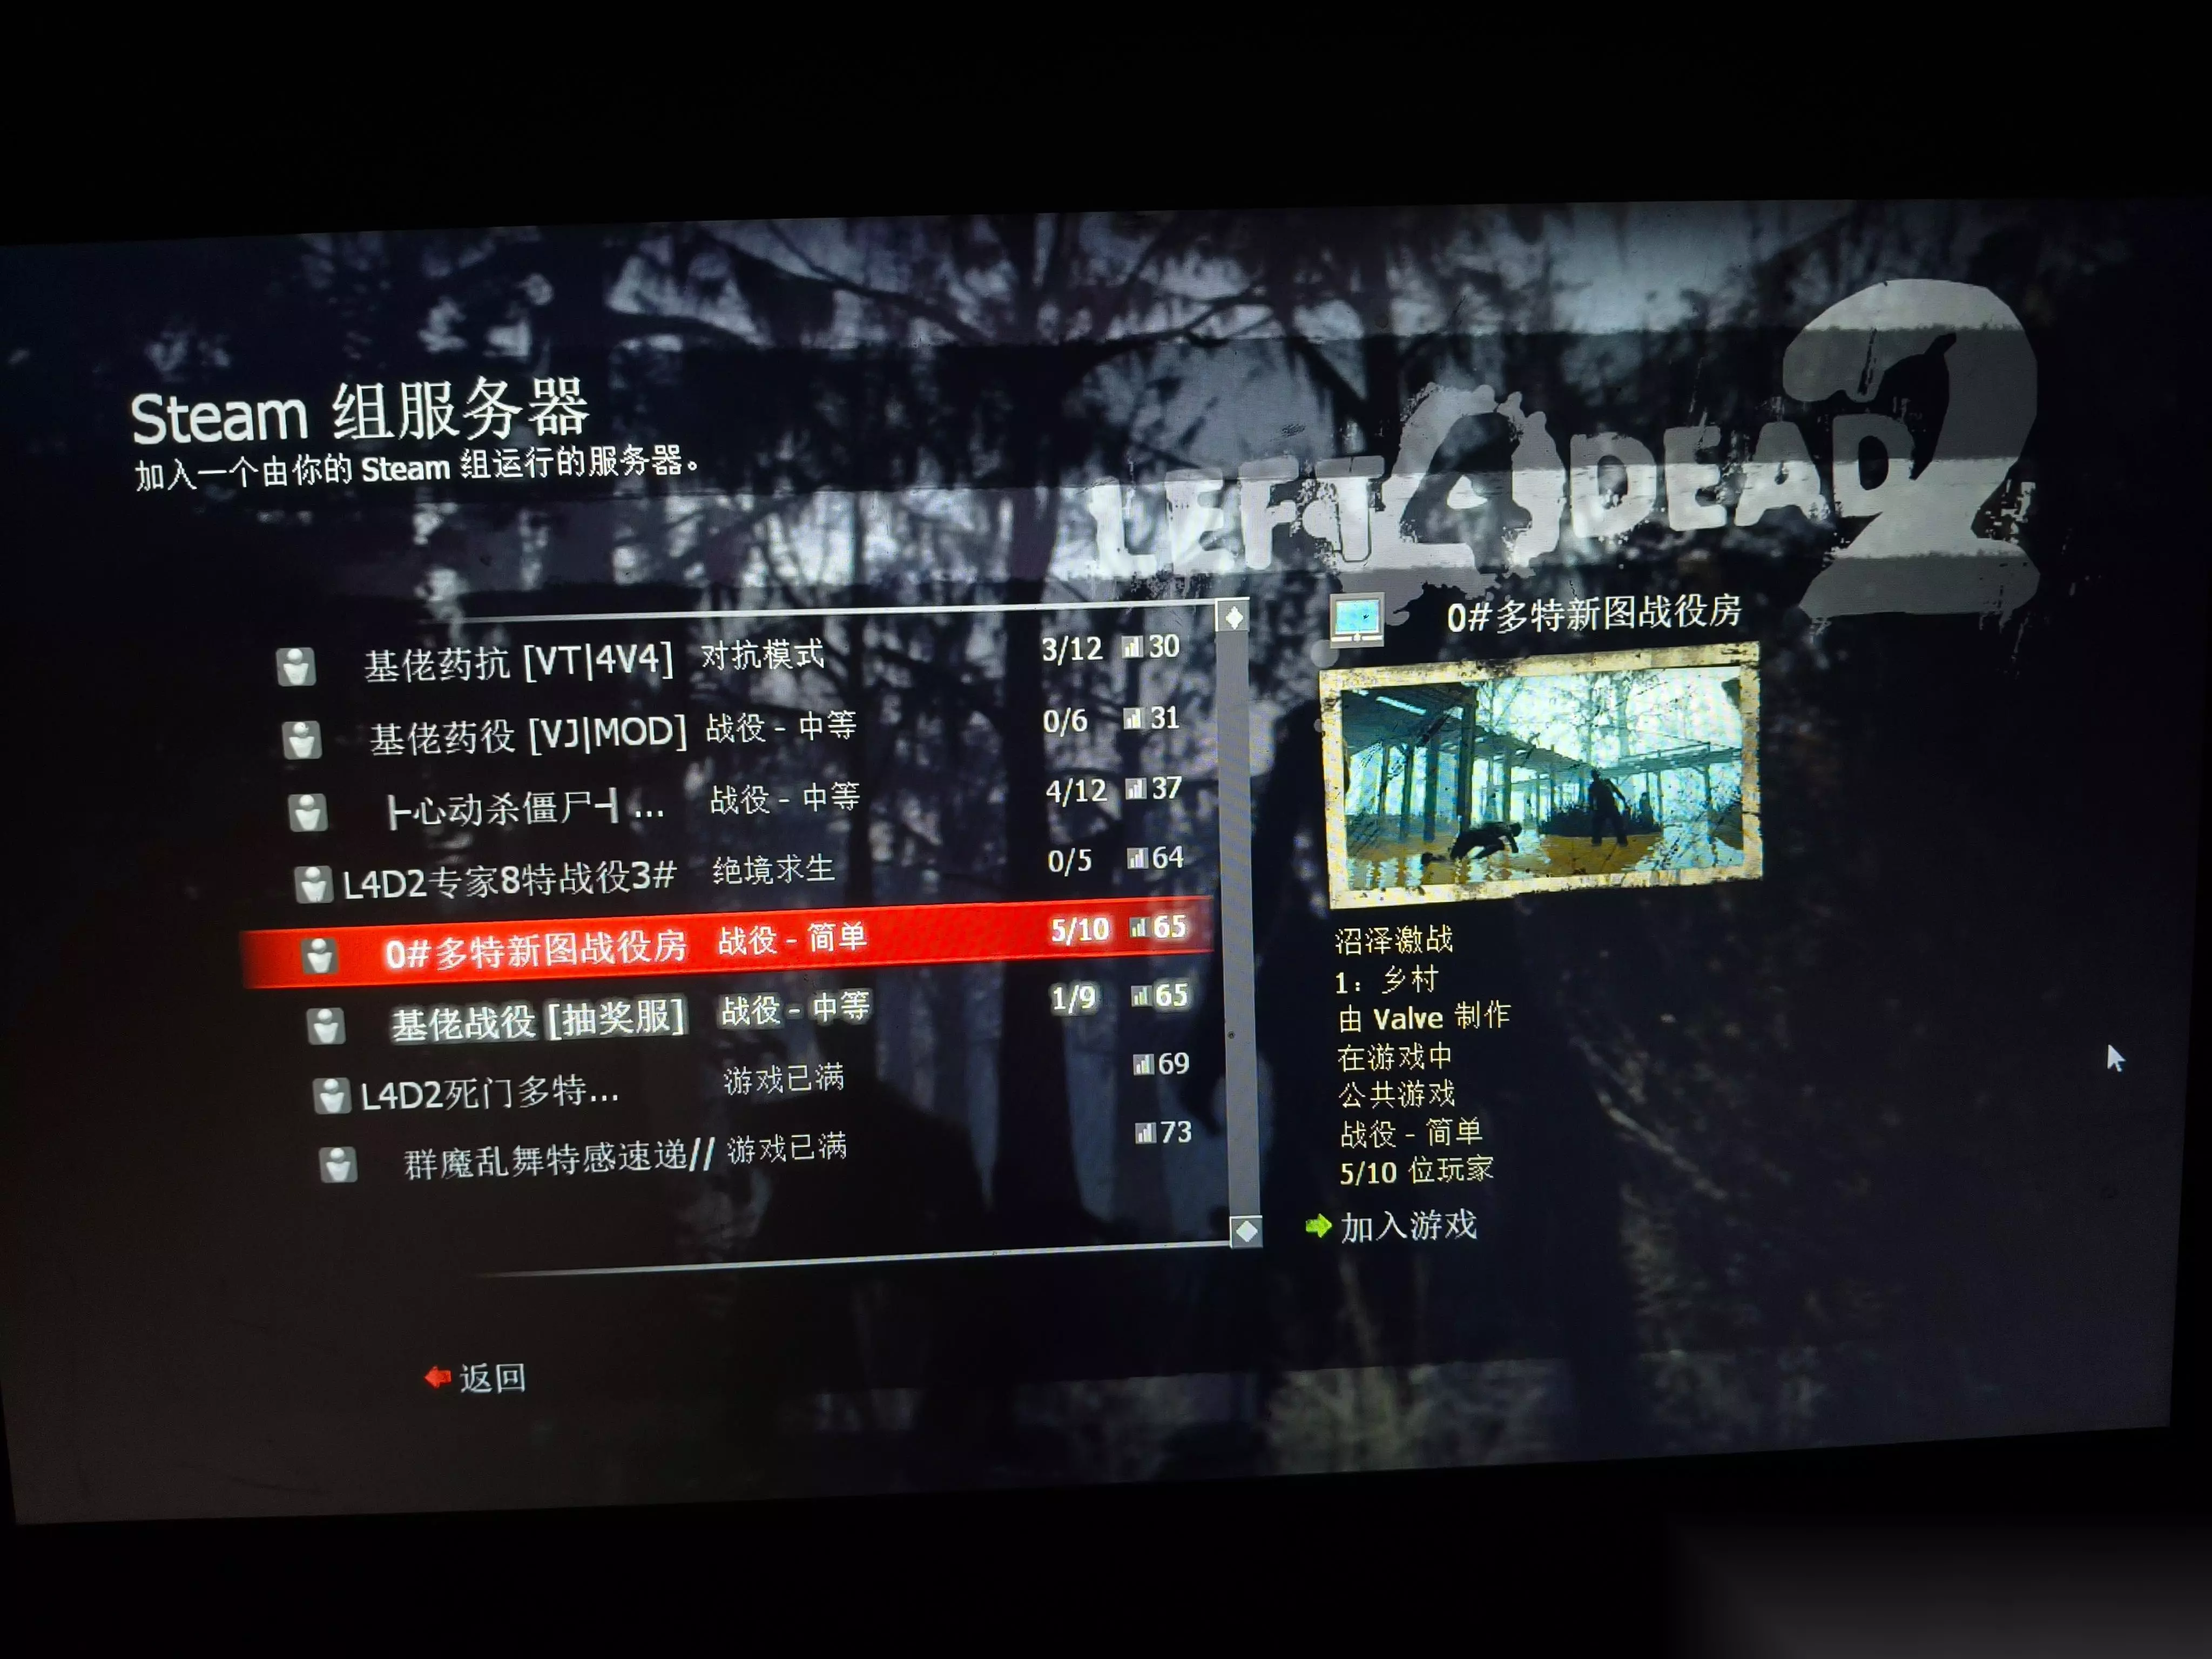
求生之路2模组怎么找 Steam创意工坊搜索教程 正版模组安装方法
求生之路2模组怎么找?各位大神求指导,如何在正版Steam创意工坊中找到这个模组?具体搜索方法和步骤是什么?拜托各位了!🙏🏻🙏🏻🙏🏻
2026-05-22 07:000赞 · 0评论
求生之路2堡垒地图怎么玩?Fort Noesis v5.0精品短图实况攻略与下载地址,三方战役地图推荐
求生之路2自制地图《堡垒》(Fort Noesis)v5.0版本实况攻略!这张三方战役地图虽然只有3个关卡,流程较短,但绝对是精品短图,闲暇时来一局正合适。 地…
2026-05-22 04:380赞 · 0评论
查尔斯小火车壁纸怎么下载?Hell Charles壁纸创意工坊分享,Steam小红车恐怖游戏壁纸获取
查尔斯小火车壁纸已上传至Steam创意工坊(小红车)啦(OvO), 壁纸名称:Hell Charles,喜欢恐怖游戏查尔斯小火车的玩家们可以去下载使用哦!
2026-05-20 15:370赞 · 0评论
使命召唤 你们要的模组来了哦
2026-05-19 16:330赞 · 0评论
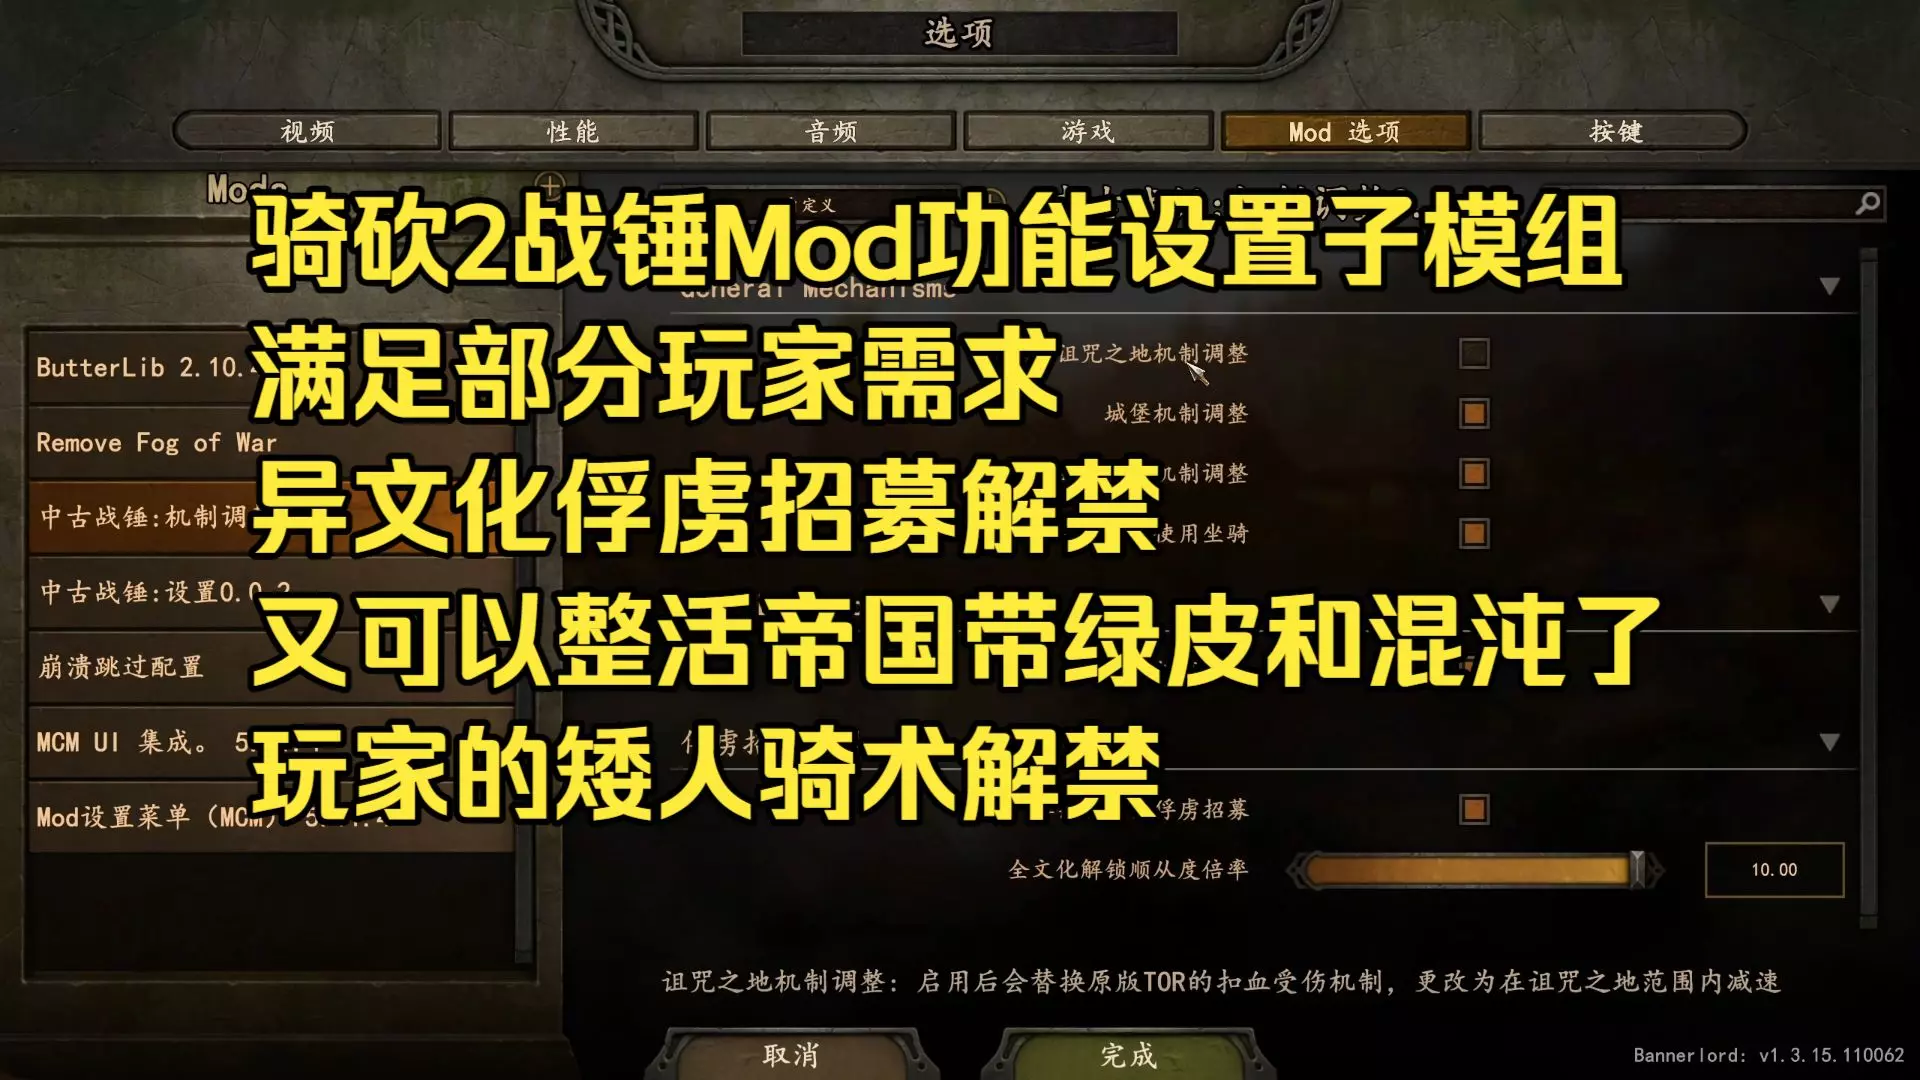
MOD 骑砍2战锤Mod新版本功能设置子模组介绍
ModSteam创意工坊订阅YuefTORSetting-repair修复版 另一个包YuefTORMechanism-repair修复版 Mod本体Steam…
2026-05-10 16:330赞 · 0评论
模组 土豆兄弟好用的模组~
2026-05-08 19:050赞 · 0评论
求生之路 【求生之路2】一二代官图+删减官图 全剧情全流程 4K 极品画质 典藏版
本合集视频所用到的画面效果,UI,开屏加载,字幕放大等;皆来自Steam创意工坊内容。无需额外网站或额外费用就能完全复刻体验。需要强调的是,时至今日求生之路2仍…
2026-05-06 11:090赞 · 0评论
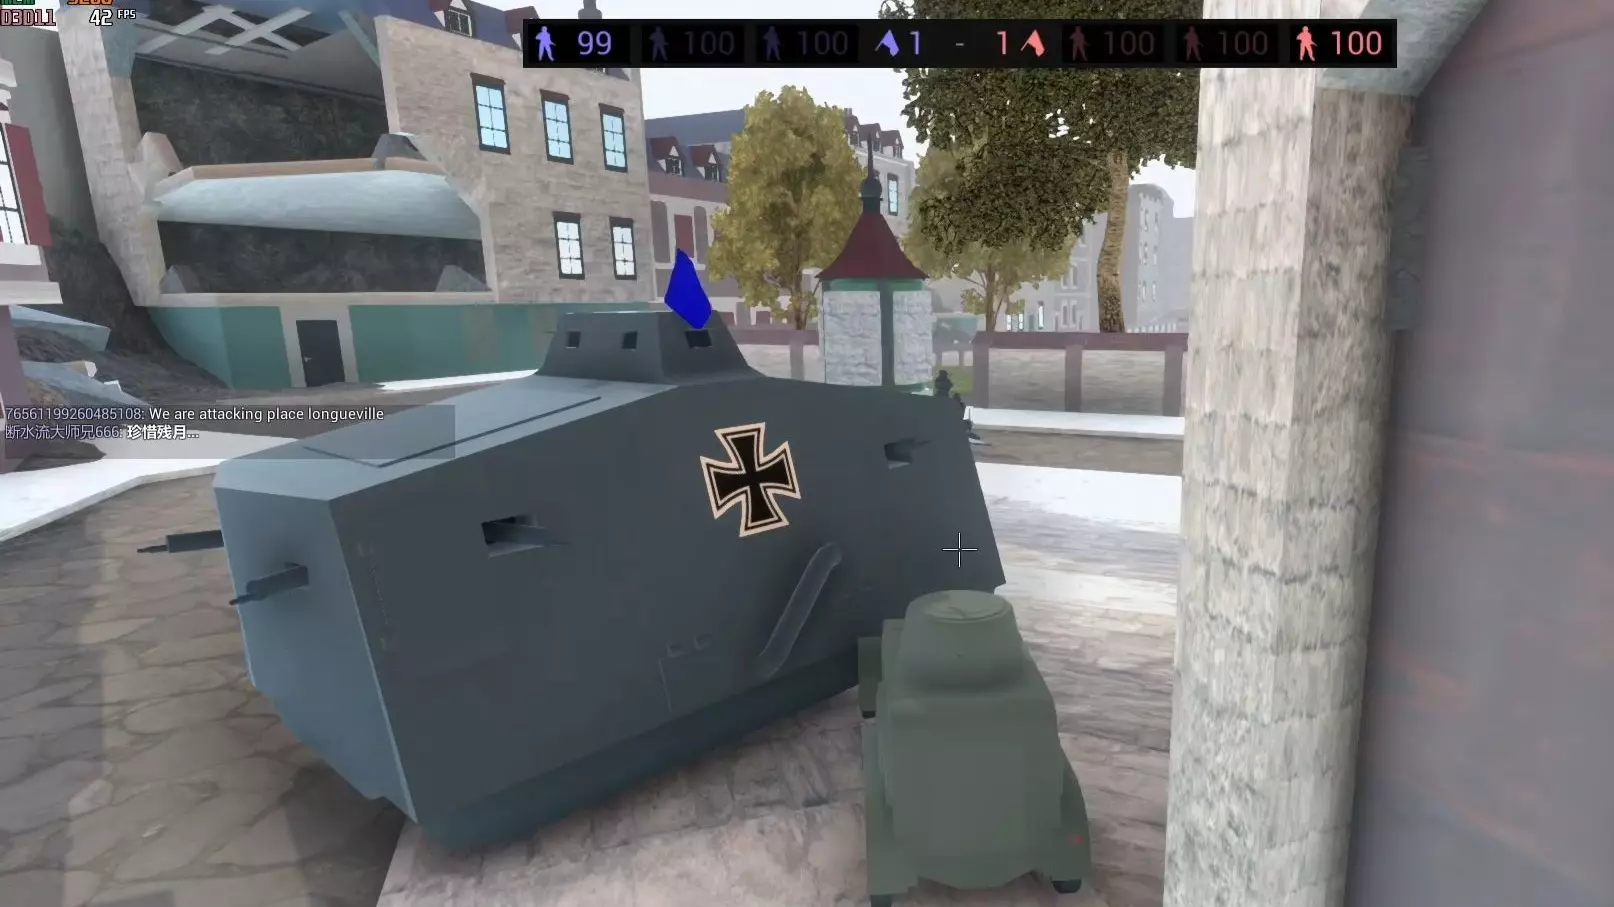
射击游戏 在战地模拟器里玩战地1
战地1武器包:https://steamcommunity.com/sharedfiles/filedetails/?id=1415580629 亚眠地图:ht…
2026-05-04 06:391赞 · 0评论
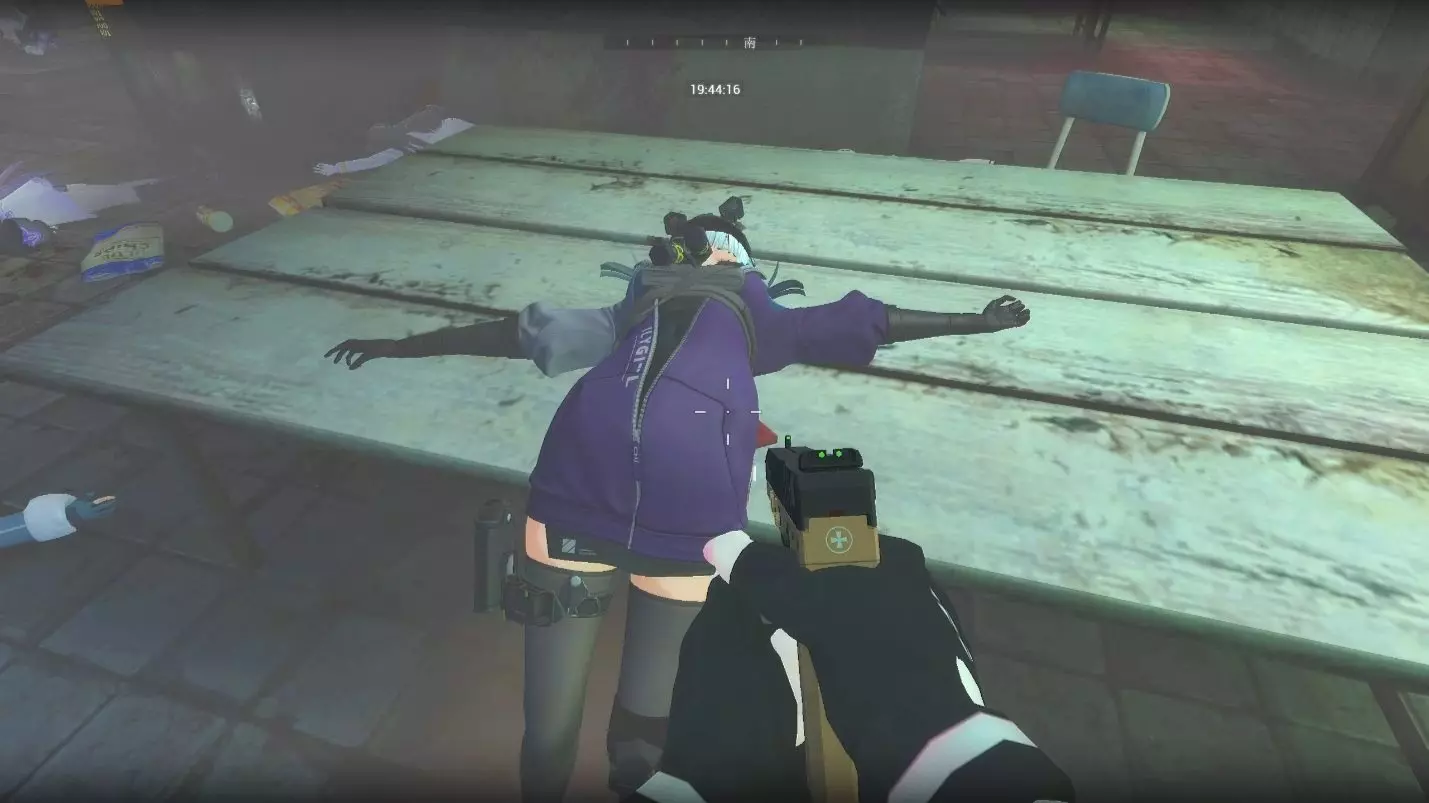
FPS 一个不错的搜刮mod
https://steamcommunity.com/sharedfiles/filedetails/?id=3397371571
2026-05-02 16:380赞 · 0评论
一步步:制作3.6+版本的模组
制作模组既有趣又有意义,还能帮助社区里的其他成员。本指南旨在通过分解各个组成部分,并以尽可能简单易懂的方式进行解释,来指导大家如何制作一个简单的模组。 小更新 …
2026-04-07 16:000赞 · 0评论
暂无更多
最新更新
- 《亚兹德高清版》官方创意工坊指南 — This is the official guide on making your items for Yet Another Zombie Defense H…
- 如何不浪费Steam点数 — 如何不浪费Steam点数 步骤1:不要给本指南奖励 就是不要给本指南奖励,我完全不配获得你辛苦赚来的点数。 谢谢
- 放弃所有希望吧,进入此地的人 ACHIEVEMENT — 汝等进入此地者,皆须舍弃一切希望 ACHIEVEMENT
- 进入此地者,放弃一切希望指南 — 【Abandon all hope ye who enter here】成就指南 如何实际获取该成就: 1. 选择任意角色以防御模式开始游戏 2. 不要射击 3…
- 如何在没有好友的情况下获取Endless成就 — 进入角落,尝试让至少3只僵尸互相阻挡。这样它们就无法攻击你,你只需等待计时器达到5分钟,即可获得最终的无尽成就。这听起来简单,但需要很多运气,意味着要进行多次尝…
- 游戏完整信息 — 游戏成就说明、描述及相关实用信息 前言 “防御”模式成就 进来的人,放弃一切希望吧
- 1人请——2人合作 — 实际上,2420000分 更多炮塔和AWP!!
- 《又一个僵尸塔防 高清版》 — Przeczytaj a się dowiesz:D Yet Another Zombie Defense HD >> Wprowadzenie Y…
- PRECISE CUT — 精准切割 用一道激光束击杀15名敌人 Precise cut
- 其他方法(成就) — 我最近刚达成了游戏的100%完成度(感谢jirijanovotny的成就指南),接下来我会分享一些能更快达成100%完成度的方法。 防御模式 此部分的几乎所有成…