换一换
换一换 


这是一份为那些(没那么)勇敢却想确保生存的旅行者准备的简明指南。凭借超过2000小时的单人及多人游戏经验,本指南将为你提供游戏首个生物群系(草地)的技巧与窍门,以及一些剧透内容(已在指南底部标记)。第四部分(探索沼泽、获取铁矿、获取石头、隐藏基地物品(抑制生成)、寻找芜菁、提升技能、通用策略与提示以及一些可选的深度剧透)内容已省略。 简介 欢迎你,(不那么)勇敢的旅行者! 首先,我强烈建议你先查看本指南的第一部分(内容已省略),在那里我们已经介绍了游戏最重要的基础知识。这样,我们就能在需要注意的事项上达成共识。我可能会重复一些内容,但如果你觉得有遗漏,或许可以再去那里看看,确保没有问题。 在这一部分,我们将介绍关于 Meadows的相关玩法和注意事项。如果你觉得我遗漏了什么,或者对这个生物群系还有疑问,欢迎在评论区告诉我,我会尽量回复你。 我会努力提供最有用的信息,同时避免硬核剧透——部分剧透内容会在底部标记,供你选择是否想稍微“逃课”玩游戏。但请注意,这可能会破坏你的游戏乐趣,或者让游戏变得过于简单,甚至可能不值得这样做。是否使用这些信息完全取决于你。 在评价本指南时,请记住我正在制作一系列指南,并且已经在另一篇指南中涵盖了所有最重要的基础知识,详见上文。 我在哪里?(关于游戏与指南)
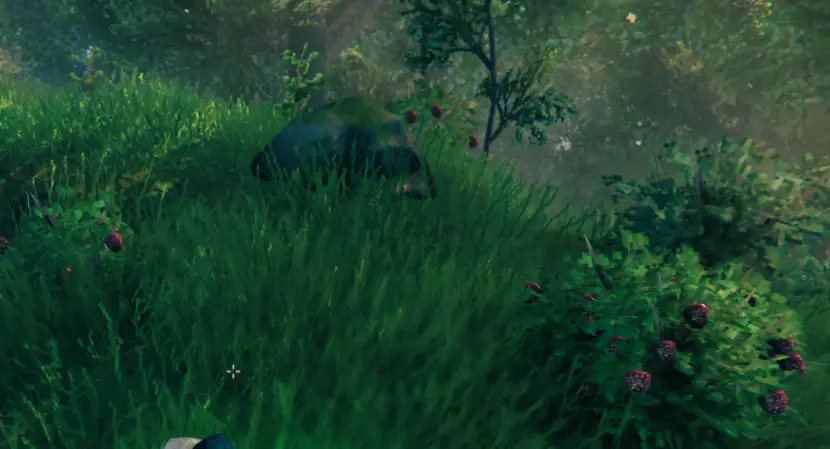
You've been chosen! D'uh. You're within the 10th world, facing a lot of dangers and needing to defeat the forsaken ones (bosses) in order to follow the biddings of Odin and earn your place in Valhalla. The meadows are quite nice and peaceful, however you better don't get used to it too much. The devs actually said that they don't want to have the players feel 100% safe anywhere in the game. This means, that it might be a wise choice to get some tips and tricks - and I guess that's why you're here so let's get to it ... I mean technically you're somewhat dead already, but don't let that fool you. You'll want to stay alive as long as you can so you won't need to do naked corpse runs and lose your precious skill levels. For most information I will use THIS [valheim.fandom.com] website as a source. I'm So Hangry! (Foods) In order to scale up your health and stamina, better grab something to eat as soon as you can: Behind the rune stones of the spawning place, there will always be 2 raspberry bushes and 2 red mushrooms in any world you create. Pick these up, eat them and you're good to go. The foods available within the meadows (in the beginning) are the following: Raspberry: (Health: 7 / Stamina: 20 / Lasts: 600 seconds / HP/Tick: 1) Red Mushroom: (Health: 15 / Stamina: 15 / Lasts: 900 seconds / HP/Tick: 1) Deer Meat: (Cooked - Health: 35 / Stamina: 12 / Lasts: 1200 seconds / HP/Tick: 2) Boar Meat: (Cooked - Health: 30 / Stamina: 10 / Lasts: 1200 seconds / HP/Tick: 2) Neck Tail: (Cooked - Health: 25 / Stamina: 8 / Lasts: 1200 seconds / HP/Tick: 2) Honey: (Health: 8 / Stamina: 35 / Lasts: 900 seconds / HP/Tick: 1) For now it will be best to use the 2 x deer- & boar-meat and 1x raspberry or better honey (as soon as you have enough). Know that some foods will be used for other cooking recipes later on and you might then want to save some, but for the start you'll really want to use the meats in order to get a good amount of health and be on the safe side. You should come across these sources rather easily when exploring, however here are a few hints (if you want to, you can mark the spots for the plants on your map, will regrow within a few ingame-days): Raspberries: Sunny areas & forests, often in clusters Red Mushrooms: Most likely in forests where you will see ferns. You can lower the grass details in your settings, should you have trouble seeing them. They can however grow in sunny areas as well. Deer: Most likely in forests, I feel like it's more rare to see them on sunny terrain. Boars: Everywhere but most likely next to raspberry bushes. However, they can be tamed. We will look at this further down. Necks: Close to water or on low ground level where water might come through (by lowering the ground it might be possible to get them to spawn there). Honey: Bee hives can be found in abandoned structures like houses, towers etc. Adding to this: You will probably want to have 3-4 bee hives in order to fit your needs. In Ya Face! (Weapons) The first (next) thing you'll want to do, in order to defend yourself, is grab some wood and stone. If you want to, you can build a fire to get the rested buff right away, but regarding weapons (without a workbench, from the crafting menu - only talking about weapons I'm familiar with): Club: Blunt-damage: 12 / Durability: 100 (basic version) Stone Axe: Slash-damage: 15 / On trees: 20 / Durability: 100 (basic version)You can either chose to craft both of them, but actually only the club is worth it. You could just gather a few more branches to gather enough wood for the flint-axe (workbench needed for crafting, flint can be found near/in water): Flint Axe: Slash-damage: 20 / On trees: 30 / Durability: 100 (basic version) Flint Knife: Pierce- & Slash-damage (each): 5 / Backstab: 6x dmg-multiplier (basic version) useful for sneak-attacks, has very fast attacks that use less staminaThe flint-axe will probably be your best friend for now as it deals a lot of damage and at the same time can be used to chop down trees. Note tho, that you will need a wooden club as well for later so better have one at hand and upgrade both as far as you can. The bow is quite expensive and not that great to use in the beginning, but the weapon type itself will be very useful. Crude Bow: Pierce-damage: 22 / Durability: 100 / Stam-Usage: 4/second (basic version)It will cost 10x Wood and 8x Leather scraps, which are hard to get by in the beginning. There is a way to get a better bow by doing a bit of risky and tedious stuff but it might save you some leather scraps and get you a bow that is way more accurate. If you would like to get that one, see 'Better Bow' in the spoilers-section at the bottom. The shield will be needed as well, the functions were covered within the introduction-guide. I Used To Be An Adventurer (Arrows) Within the meadows, there are 3 different arrow types available to you: Wood Arrows: Pierce-Damage: 22 (8x Wood > 20 Arrows) Flinthead Arrows: Pierce-Damage: 27 (8x Wood / 2x Flint / 2x Feathers > 20 Arrows) Fire Arrows: Pierce-Damage: 11 / Fire: 22 (8x Wood / 8x Resin / 2x Feathers > 20 Arrows) For me personally the flinthead arrows are in most cases not worth the effort but maybe that's because I'm heavily relying on my bow and thus actually burning my arrows. I'll usually go with the wooden arrows throughout the (so far) whole game except some few occasions like bosses or difficult enemies / with high resistance to pierce. Plus they are the least effort on mats. The fire arrows are really handy especially in the first biomes within the game. The fire-damage works like a DOT (damage over time) and will tick several times. If you quickslot your arrows, you can do 1x fire to get the DOT and quickly switch to the wooden arrows, which have more base damage. Shooting only fire arrows at an enemy only makes sense if you need/want to wait until the DOT has expired - otherwise it will not stack and you will just waste arrows. Feathers are found within chests or gained by hunting birds. If you want to hunt: Do it along a shoreline/near water - even better so if you're doing it at night / during a storm as they will land. That Hurt! (Armors) First thing I would like to let you know: Please do not waste any mats on the Rag Armor! It is simply not worth the effort and you will need the leather scraps soon enough. Instead, hunt some deer and get the basic version of this (maybe you want to try sneaking, got a knife?): Leather Helmet: Armor: 2 / Durability: 400 Leather Tunic: Armor: 2 / Durability: 400 Leather Pants: Armor: 2 / Durability: 400To craft this set, you will need a workbench level 2, we will get to this in the next step. The tunic is optional, you can just keep the rag tunic if you don't have that many deer hide. It's just to get some basic armor rating. For the first boss however, take any armor point you can get. There is also a cape available for crafting, which has an armor rating of 1. However the recipe will only be unlocked if you should be as lucky (or unlucky) as to run into a skeleton and loot the bone fragments. There is another armor available which you can get if you have a bow and are willing to take a bit of a risk. See the spoilers-section for 'Better Armor' at the bottom part. Rain, Rain, Go Away! (Your First Base) You should be fine with using some abandoned shack for the start. It's actually just used to have an upgraded workbench, a bed etc. When looking for a 'final' base, it should preferably be near an ocean - see everything to know for now in the basics-guide HERE See also 'GTFO (Base-Raids)' further down. Note: The rested buff will be longer if you build decorational pieces like the deer hide rug. If you've acquired a new mat, try if building some new furniture will help to improve the buff timer even further. If you have managed to find some bees, you could just place the hives on your roof for now. They should have enough space and it should be pretty much safe. I Need More Bags! (QuickSlot-/Inventory-Management) Here I can only speak for myself, I usually do the QuickSlots/HotBar like this, as soon as I have everything I need: 1. Bow 2. Club 3. Shield 4. Axe 5. Hammer 6. Hoe 7. Wooden Arrows 8. Fire ArrowsRearrange it the way you feel needed, I just came to the conclusion, that for example it is contraproductive for me to place 3 different foods in there, which I only need to reuse every 10-20 minutes. Since you're supposed to always have the foods up at any time, I discarded this habit. Just always have a hammer and better also a hoe with you in case you might need to do some soft-terraforming/build a path or need an even ground. The arrows are a must-have for me since the bow is my main-weapon. If you do it like this, you can easily switch between them during a fight. If you don't need the axe all the time, you can make space for a third kind of arrows or potions etc. (weapons are just an example based on the ones I use all the time). Your Inventory will be pretty cluttered quite fast. Sadly there is not much one can do about it, but for now it might be better to concentrate on getting the crafting mats rather than gold and treasures. Just make sure you can store everything somewhere not too far away. Craft Me A River (Workbench Upgrades) At this stage of the game, you will be able to build workbench-upgrades with the following crafting costs: Workbench lvl 2: (Chopping Block) 10x Wood / 10x Flint Workbench lvl 3: (Tanning Rack) 10x Wood / 15x Flint / 20x Leather Scraps / 5x Deer HideSince it can be pretty hard to find a lot of boars to get enough leather scraps, you might think about breeding them or save on those in other parts like armor/upgrades. Note: You will probably need quite a good amount of wood in the beginning. If you're using a bow or need lots of resin for other purposes: Chop down the small trees, as you will get way more than if chopping regular trees or killing single greylings. Make Pigs, Not War (Taming / Breeding Boars)
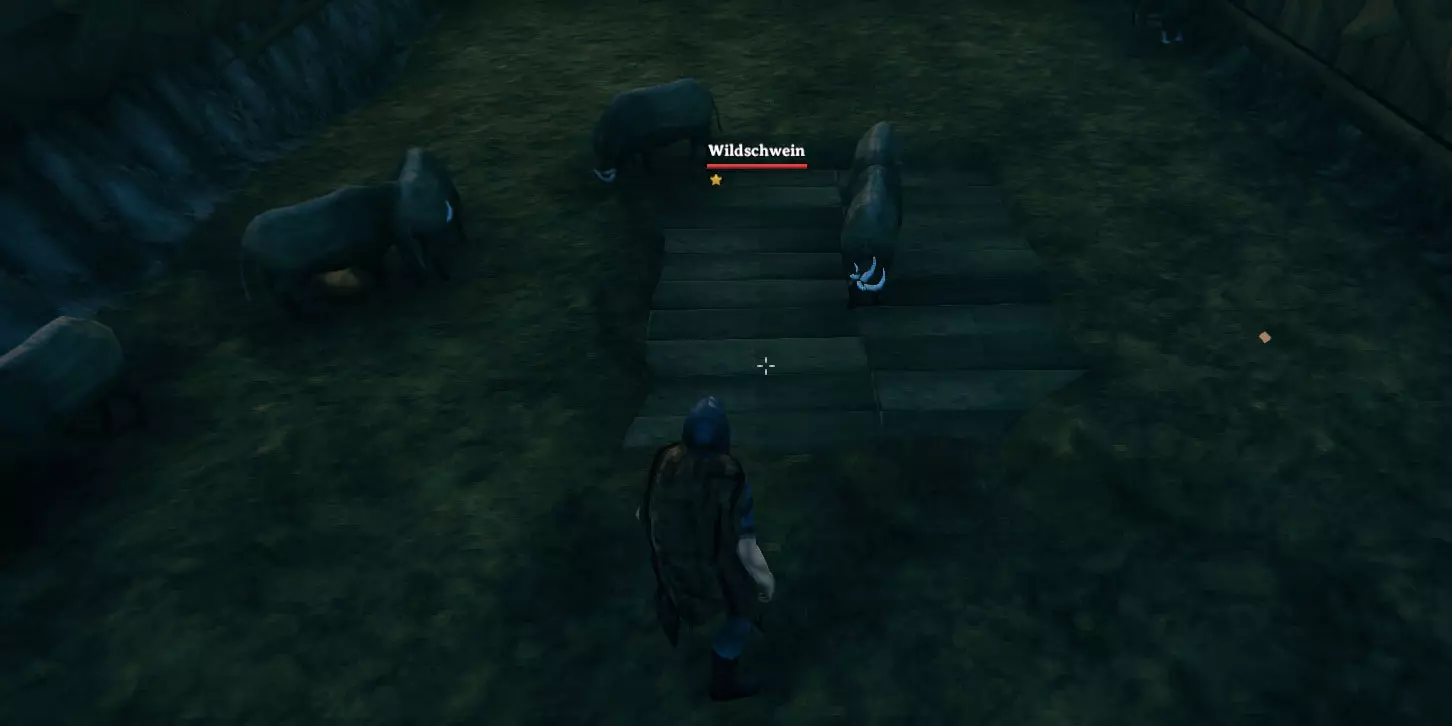
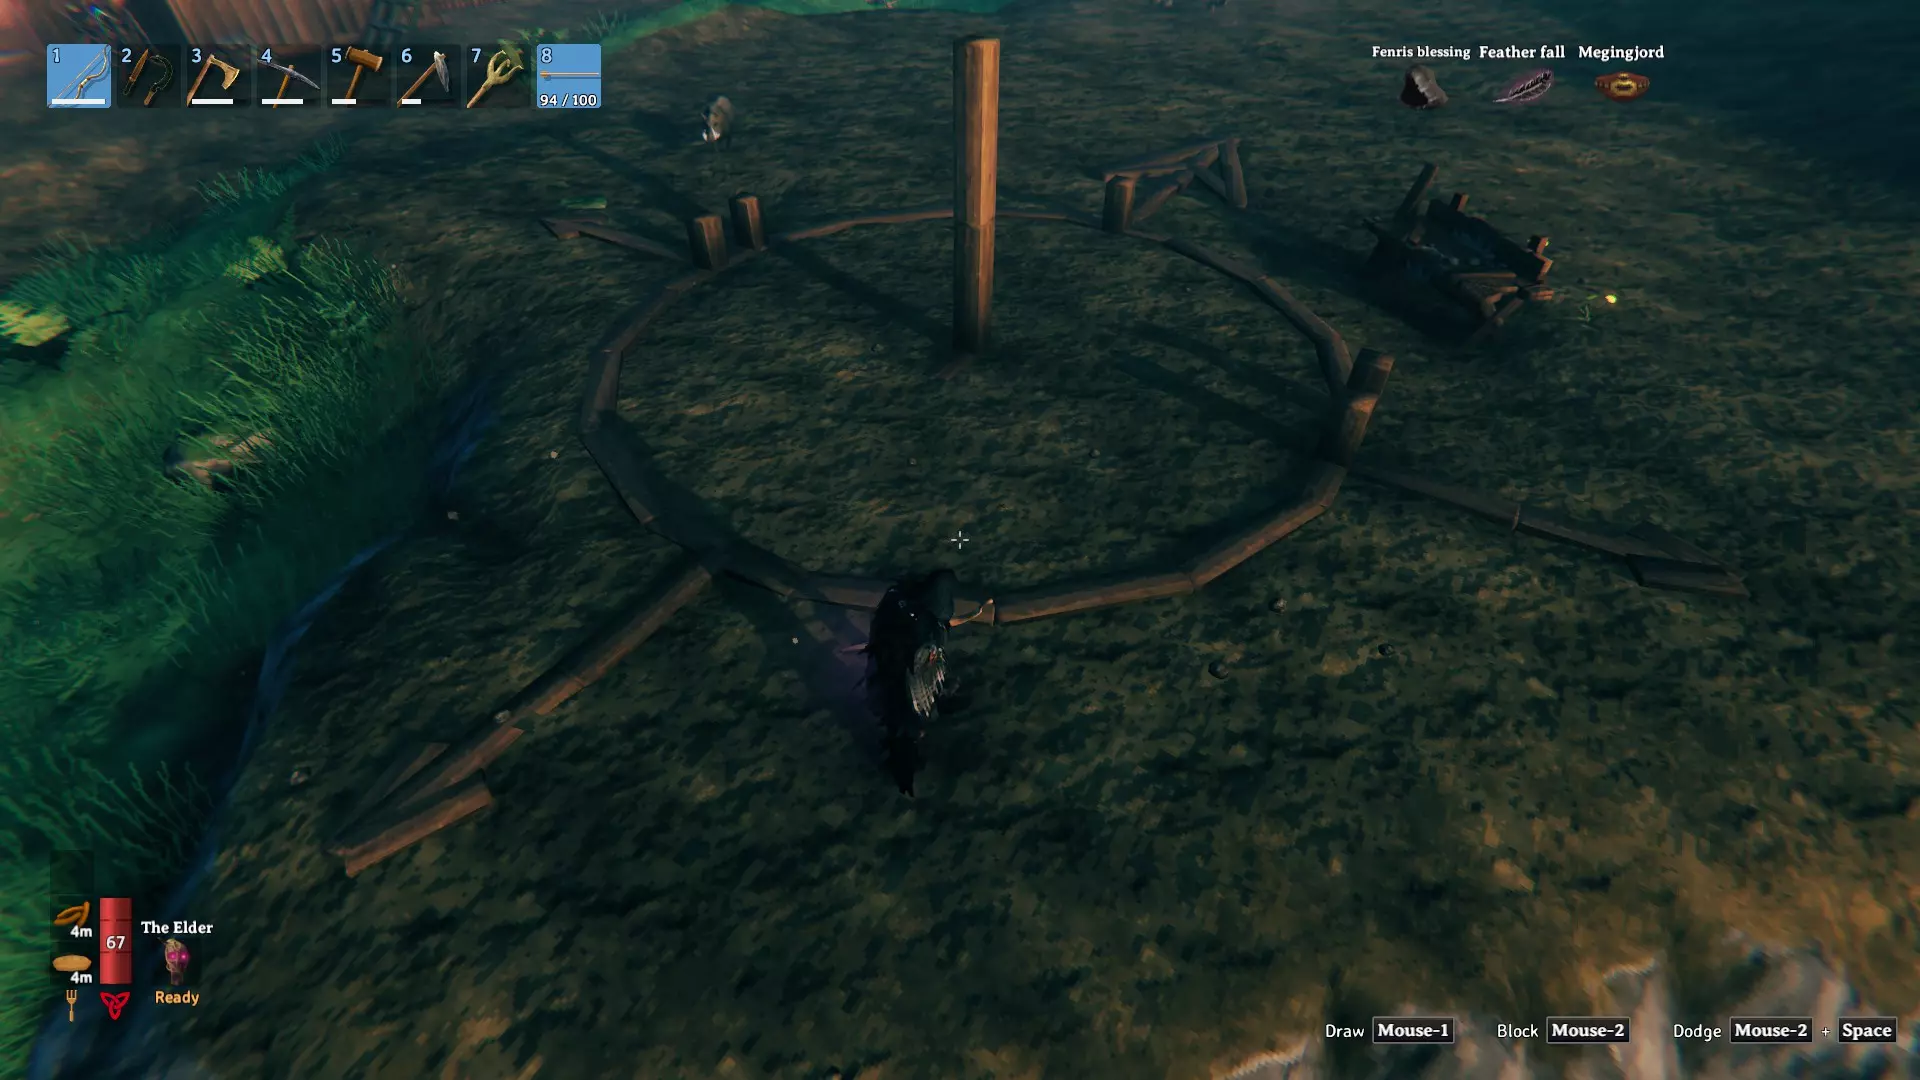
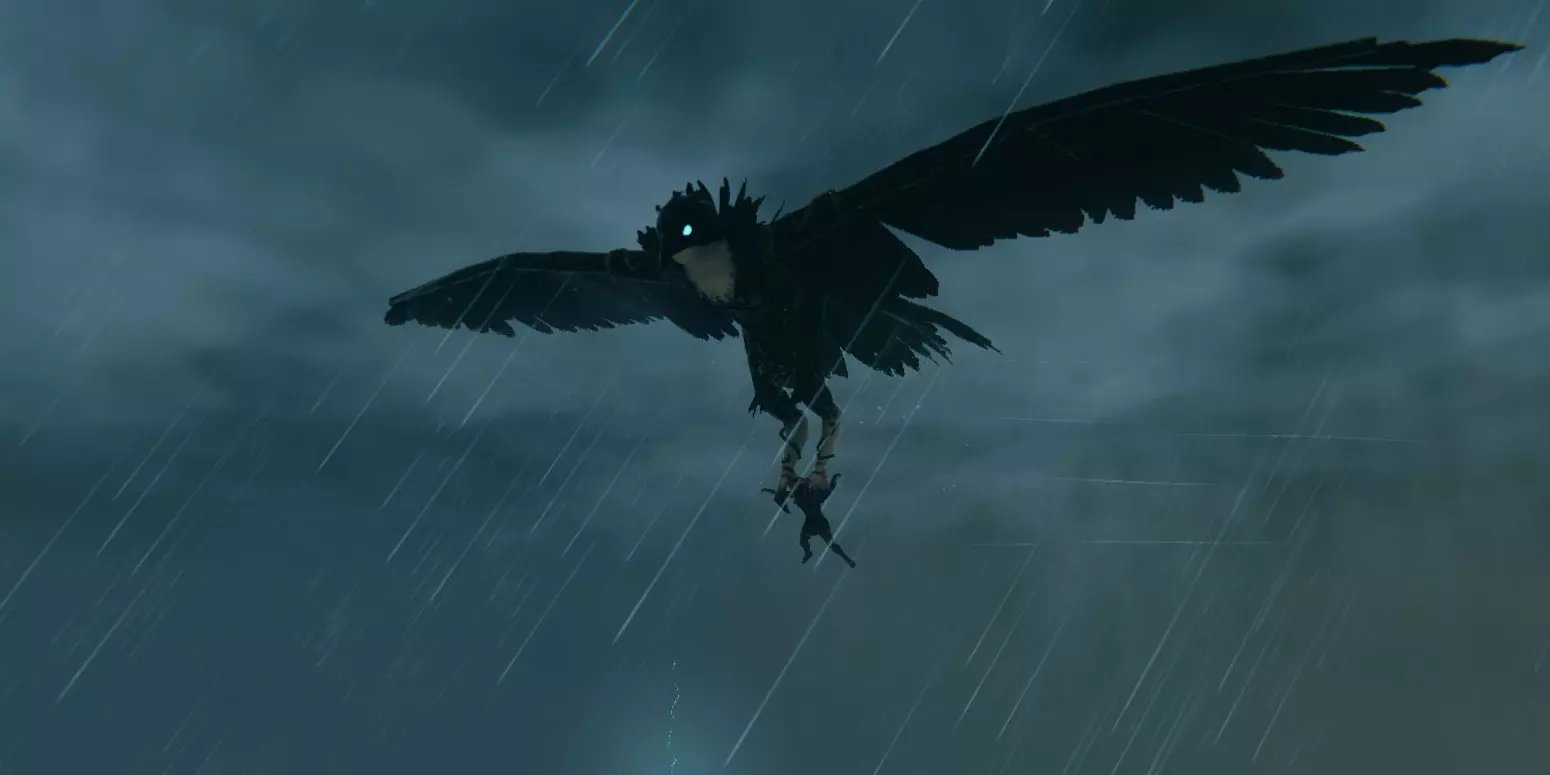
Sometimes you will find boars just roaming through the area or maybe you find a rune stone which tells you that they can be tamed - they're usually surrounded by a few boars (mind you: They do NOT respawn there! So think about it twice before slaughtering all of them). You may even be as lucky as to finding starred boars near to one of those, on farms near abandoned settlements or further away from the spawn (the further out, the higher chance, max is 2-stars). If you would like to tame and breed them, you will need to lure them into some prepared area like some enclosed walls so they won't run away again. To do this: Just lure them by having them chase & attack you and slowly guide them to your farming spot/base (pattern is: 1x attack, 1x run away, will repeat) Guide them in by building a door or the angled roof pieces on the ground as an entrance with a gate/door behind which you can close as soon as they are trapt inside. If you want to get them one by one, you can lure one of them into another area that is enclosed so it will not be able to flee. There should not be any kind of fire within the range of the 'cage' to tame them, as this will keep them alerted and the taming process will not work. If everything is fine, you will need to stay near them (best in sneak, acc. to wiki approximately 64m - ofc you won't need to sneak there if you're that far away) for about 30min real time and throw them something to eat in there (just throw it out of the inventory). Feeding can be done with the following mats found in the meadows: Red Mushrooms Raspberries During the taming process, you will see hearts above them - there will be a message shown after the process is completed. Once this is done, breeding occurs by simply giving them enough space, having at least 2 boars and feeding them. After some time, they should start reproducing. Important notes: You will not yet be able to kill tamed boars, as you will need a tool for this which is not yet available to you at this stage. If you want to evade this, either wait until starting with the second biome or try and see if you can kill them by enabling pvp as they count as players (used to work, not tested yet). If they will not reproduce, try to give them more space and make sure they are fed. Do NOT just use the Roundpole-Fence (Durability: 200), as they will be almost blown away by the wind. You can use those if your piggies are somewhere inside your base/surrounded by actual walls and well-protected, but don't just build a house and use those as you might regret it later on. Starred boars will yield more meat (1 star: 2x meat, 2 star: 4x meat) It is possible to get more starred boars if you only have 1x starred and 1x non-starred as it will be random if the child will be starred or not. Once you have 2x starred ones, you can kill the non-starred ones. As soon as the pigs are tamed, fire nearby will no longer be a problem (neither for those that are born there). Tamed pigs will still use every chance to flee, so be cautious. The only way to get them from point A to B, is to build an eclosed path and trying to push them where they're supposed to go. Tamed pigs will be an easy target for mobs during raids. If you want to protect them 100%, you should consider building a barn with no open spots where enemies might get in (by that I mean no open spots anywhere, does not matter where). GTFO (Base-Raids) Event: Eikthyr rallies the creatures of the forest You might not even have experienced one yet as they can happen pretty randomly, but you will probably want to secure your hearth & home a bit. For this you can once again see the introduction-guide , I will probably do one about just this topic some time in the future (sadly creating a guide like this can take hours). At this stage, only boars and necks will be attacking any player-base (chance of happening every 46 minutes with 20% when within 40m range of at least 3 'base'-items). Stake walls should serve you well for now, as they have quite a good amount of health, will not take damage from rain and are tall (helps with building/structure-integrity and blocking the line of sight). Wooden Wall: Durability: 400 / Size: 2x2m Stake Wall: Durability: 1.000 / Size: 2x3m In addition to this, you might want to do a bit of terraforming in this game to keep enemies from getting inside your base (secure the area from spawning by placing 'base'-items like workbenches or fires, you can see the radius for the workbench in the crafting menu - make sure that no spot is left open). A good way to stop anything from trespassing is by lowering/raising the ground of/around the base. Make sure, that the edges are steep enough (with the pickaxe you will get later). Note: You will need a bit of open space (no roofs above) that is well-protected for farming later in the game. Rudolph The Electric Reindeer (Beating The First Boss) Once you have acquired the needed items to spawn him (if needed see spoilers-section), you are ready. Make sure, that: You have the weapons of your choice upgraded as high as possible You at least have a full set of leather armor (3 parts, lvl 1 is fine) You have the best foods at hand that are available to you at this point (advised is 1x honey, 1x cooked deer meat, 1x cooked boar meat) You are not wet You have a rested buff that will last long enough (if needed, build a fire somewhere near) It is still morning / early when starting the fight (sometimes they can last quite a few minutes, depending on the circumstances and preparations done) Sometimes it might help to chop a few trees around a fighting ground in order to have enough space to maneuver You can do it the other way and have bosses need to navigate around obstacles like trees or boulders, just like normal mobs There are no other enemies nearby that may decide to join the fight, once summoned. Once the boss is summoned (only a few tips as this is more or less a tutorial-boss): The lightning-attacks will hit you through the stones at the altar so try to keep out of range or dodge If using a bow, it is a good idea to switch between fire- and flinthead-arrows. If you prepared as necessary, it should be an easy fight really. Should you still have trouble, I would suggest to check out the spoilers section or watch some guide on YouTube and the like. Once Eikthyr is beaten, you will get antlers as well as a trophy, see spoilers-section. Into The Unknown (Raft / Exploring Further) While it might be very tempting to just craft a raft and sail with highspeed from one corner of the world to another (actually the opposite), I'd like to ask you to refrain from doing so. It's fine for crossing rivers but should not be used anywhere other than shores. See it as a warning. As explained in the introduction-guide: It is neither advised to enter new biomes at this stage (even more so if you're new to the game). For now you should follow the natural progression-order of the game and the crow will tell you how and where to proceed. Explore Further (The Black Forest) Continue your journey? Have a look HERE . SPOILER - Better Bow It is possible to craft yourself the second bow in the game by cheesing a bit Fine Wood Bow: Pierce-Damage: 31 / Stam-Usage: 6/second / Durability: 100 Crafting this one needs 10x Fine wood, 10x Core Wood and 2x Deer Hide (Workbench lvl 1) Core Wood: Can be found in the abandoned camping sites or acquired by chopping down pines in the black forest (leather armor and bow with fire arrows or a shield and possibly a torch advised if you're not that familiar with the game yet) Fine Wood: Usually only acquired later in the game with a different axe. In order to get the wood from oaks or birches, you need to let other trees roll against them and do damage to them this way. It might be pretty time consuming and adding to this: Leather armor and possibly a shield as well as good foods required in case you should take damage from the rolling logs. The fully upgraded bow (lvl 3 for now) at a workbench lvl 3 will have these stats: Fine Wood Bow: Pierce-Damage: 38 / Stam-Usage: 6/second / Durability: 200 Crafting this one needs 25x Fine wood, 25x Core Wood and 8x Deer Hide (altogether, including base version & all upgrades) SPOILER - Better Armor It is possible to get a better armor (for the first boss or better protection in general) by intruding the second biome: The black forest. You will need to kill a few big blue pals in order to get their hide: Troll Leather Helmet: Armor: 6 (basic version) Troll Leather Tunic: Armor: 6 (basic version) Troll Leather Pants: Armor: 6 (basic version) Troll Leather Cape: Armor: 1 (basic version) I would advise you to go about it with a bow and fire-arrows as well as hit-and-run. It should be safe this way - and better have honey for the stam-food, as sometimes running from them can be challenging. Just watch where you're running and try to not run all the time to regain a bit of stamina. For crafting those: Troll Leather Helmet: 5x Troll Hide / 3x Bone Fragments Troll Leather Tunic: 5x Troll Hide Troll Leather Pants: Armor: 5x Troll Hide Troll Leather Cape: Armor: 10x Troll Hide / 10x Bone FragmentsWorkbench lvl 2 needed in order to craft them This armor is actually a set of all 4 pieces - when worn together, it will grant a set-bonus of Sneak + 15 SPOILER - Bone Fragments Can be acquired from skeletons in the dark forest (second biome) or at burial sites in the meadows (stone formations, sometimes some bones will be on the ground If you found a burial site, a skeleton might spawn there as soon as night falls SPOILER - Inventory-Management Later in the game there will be an option to get an equippable item, which will increase your carry-weight drastically. However, it is not possible to get more inventory slots at this time. SPOILER - The First Boss You will need 2x deer trophies to spawn him After the fight, the boss-trophy needs to be placed/used at the spawning point, the crow should tell you. Once used/activated, you will gain a buff that can be activated with a cooldown: 60% less stamina-usage for sprinting and jumping for 5 minutes. The antlers are used to craft pickaxes used for mining and terraforming. SPOILER - Other Crafting Mats Rather for the sake of not having too many people pointing this out in the comments: It is actually even possible to progress further by evading the first boss and getting mats like metals early on by not mining it themselves. If you are now wondering what I mean, you are probably a newer player and should (at least for the first playthrough) do the normal route, that the devs intended. If you know what I'm talking about: I will leave this out, as it IS a way to cheese but I believe it would be way to tedious. And additionally I want to encourage new players to still follow the progress in order and thus to still keep it somewhat challenging.