换一换
换一换 


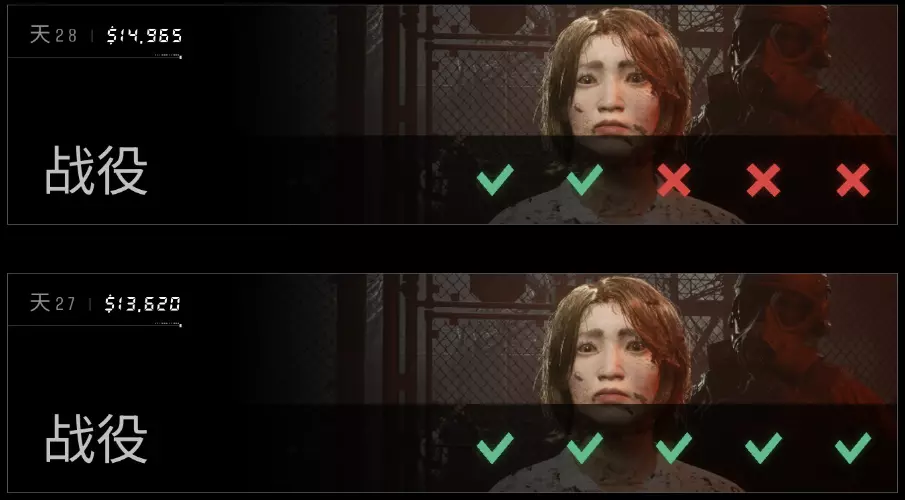
This is some things that I found out that was good to know early. I hope to include mechanics on the tools that the game doesn't tell you, but without ruining the gameplay of using them. I am not going to go over each symptom as there is already a guide for that. I am going to try to minimize symptom naming to avoid spoilers as I am not trying to create a walkthrough and still get a good experience of the game, This is to add tips, strategies, and note some things that are not mentioned in game. Guide Summary These are things that I found and would have been been nice to know earlier. I hope to include mechanics on the tools that the game doesn't tell you. I based this around campaign and most symptoms that I do mention were given my default. I can't say they are there by default in Endless mode, but I am going to assume that most of the mechanics are the same. The first part will be a combination of mix of tips, I tried to group related topic ones together. The second part will be about the tools and some of the things that they don't tell you. So like said, this is not intended to be a walkthrough or tell you how to play the game. I want to let you still have fun, not be a spoiler, and solve the symptoms for yourself or use a separate guide if you want all of the symptoms. Mix of Tips and Mechanics I am going to go down a list of tips and some not told mechanics in the game. These are some Misc tip. Although I tried to group common or related next to each other. Almost always keep your flash light on has it helps in most cases. In the Symptoms tap, there is a small tab bar above the symptom list that will jump you to the symptom tool category rather than needing to scroll. When diagnosing someone, always go and try to mark down all of the symptoms even if you can tell that they are infected right away. Getting a perfect diagnosis of all symptoms gets you 9 Research Points or RP as that game labels them. I originally saw red eyes and sent them straight to Liquidations aka Execution without marking that or any other symptoms. So I missed a lot of RP to start with. The Stethoscope Color Indicator upgrade is good too as tell the good and neutral can be tough, but I would reach max tier first as this only affects one condition rather than multiple like the scanner and you get the scanner early. While on RP, I suggest avoid getting any side upgraded and try to focus on increasing your Zone Level. The only exception is the Clear View upgrade for the Scanner. It is easy to miss or misdiagnose symptoms due to direct or blood. I consider most of the other convenience upgrades. Zone Level also effects what upgrades you can due to your base. Survivors that have the Angry symptom and no other that designate that they are infect. You can automatically tell if they were infected as they will turn around and attack you when sent to Quarantine. If they do not attack, they have been a normal Survivor from my experience. Learn the difference between Red Bruises and Necrosis as Necrosis is when the skin is black. It does not match the picture that they give you. While on your Base menu, only upgrade as needed or what will help you save money, generator excluded though. Each upgrade adds the need for more energy. So more energy used the more fuel needed which cost money. I suggest checking the need base supplies at the end of each day and always try to keep fuel full. As you add more survivors during the day, the food and med pack requirements will have gone up, Survivors in Quarantine don't appear to require food or medicine for the day. In the Lab mini-game, you can zap on Red Organ without failing. Sometimes taking that hit will allow you to Extract the Target Organ. If you are not fully sure on the diagnosis and are not afraid to loose a survivor, you can take them to the lab. If you kill a survivor, you will not get the $1000 penalty, but get the $400 reward if it was an infected. From what I can see; if it is not evacuation day and you don't want to go too far over your limits for max Survivors in the Camp, you can do the above Lab or Quarantine to avoid any loss penalty for dead Survivors. The restart day function can be exploited to help diagnose the infected or not. If you quarantine anyone the previous day, you can recheck in the morning. Some of the Survivors will have gained symptoms while other may have lost some. Although some may not show any change. If you want to use and exploit and ignore this and be sure, just sent all quarantined Survivors to Liquidation or just shoot them yourself once you have a gun. If they were infected you will gain money; if not, you will loose money. Just restart the day and you will know who is and who isn't infected as it does not change. The Survivors waiting in line for Diagnosis will not be the same if you restart. The exploit is there unless they patch it, it is your choice to use or not. If you want a little extra money, you can kill rats for $25. You can crouch and hit them with a hammer if you can get close enough or you can just shoot them when you get a gun. I may not be much but it can be something done on the side. Plus it is an Achievement on Steam to kill 30 if that matter to you. You can also go to the Garage and shoot zombies over the wall for $75 if they are there. On Evacuation day, you can go over the Survivor support limit without worry about the limit penalties as they will be evacuated and the calculation only occurs when you sleep. Just make sure they aren't infected. When evacing, always meet your quota on the right first before sending other for the research points. When doing this you only get points at certain thresholds, which is like every 5. So if you can't meet either threshold, you can tell them to go back to the camp and save them for the next evac. This does come at the cost of needing to feed them, but this will help you possibly reach additional thresholds at the next evac or give yourself some extra to meet your next quota. Try to always have a Caged Infected on Evacuation day. That is an extra $2000. Don't forget to feed them each day though. In the Distribution tab, you can find an image of the current survivor and some of their information. This includes their Name, Sex, Age, Address, and sometimes a bit of background on them. This information will need to be referenced to complete some Directives. In the Distribution, their picture there can also be used to help see if they have some symptoms such as the Pale Skin Symptom. I don't know if the following 2 things are bugs or not. It doesn't seem that all Directives that you receive are possible to complete. One example is that you are assigned the Directive to kill 3 Infected outside the walls. There was not always 3 infected outside available to shoot. Per comments below, some of those zombies get glitched inside the base. Per recent updates, this Paragraph may become out dated. There are some survivors that have these white blotches on their skin. These are apparently not symptoms. I have sent them to the Lab multiple times. Per the comments, this is vitiligo. Tips for the Tools This section will go through tips related to the specific tools that are not obvious or things to think about to start with. I will try not to mention any conditions outside of what is automatically given to you. Thermopulsometer This one is pretty straight forward. The game mentions it, but if there Pulse it between 120-180 and they have hic ups or sneezing, it may just be a cold if there are no other symptoms. Above 180, they are infected. I would not get them upgrade for this until you reach max research tier as it is a convenience. Hammer This is a simple one as the other conditions are obvious. The Absent Reflex is not hard as long has you use the hammer toward the hand, If you hit too high on the arm, it will look like an Absent Reflex condition rather than good. Scanner This will probably be your most used tool as this helps you review their appearance. As this lets you see through their clothes for any hidden conditions. As sometimes they have mud or blood on them, they can hide or confuse you with a condition, the upgrade mentioned as the best will help with that hardship. Survivors will also have Tattoos under their clothes, don't get those mixed up with conditions. A easy mistake is to not scan their shoes, I have found bites there. The key is to learn what each condition looks like. Luggage Search This can be a tough one in some cases as you got to learn what counts as contraband by looks as it does not tell you what something is when you point at it. Weapons are those most obvious, but syringes are also contraband. You will need to learn bullet boxes from candy boxes. As it states any Infected parts means that they go to Liquidation, just remember to do a diagnosis first for the RP points. Stethoscope The Stethoscope has a mixed difficulty. When you pull it out and you see no black spot on front or back, you can easily tell that they are healthy. As mentioned above, the Sick and Neutral are close and can be hard to tell apart, but Infected stands out. Rapid Test Syringe The Syringe is straight forward and answers whether they are Infect or Not right away. Only use when necessary as they are limited. Even if used, I suggest try to get them diagnosed as much as possible. If you get all of the conditions, you will still get RP when you choose what to do with them. Although you probably wouldn't use it unless you were unsure anyways. Gun Well this one is pretty straight forward and I mentioned its uses and exploit above. My main note is to not shoot until after you tell them to got to Quarantine/Liquidation. You will miss out on the RP points for proper diagnosis. Also as mentioned above, you can shoot rats or Infected outside the walls for target practice if you want to shoot something. If you are suicidal, you can also kill guards, but others will kill you. X-Ray Scanner This can be an easy yet hard one. The game symptom screen only shows you the picture of the looks of a single organ. The symptom relates to any organ that has that look to it, even the brain. Funny since they are holding their stomachs. Also to note that multiple organs can have different symptoms. I had one person who had one organ that fell under Sick status, but also had an organ that would be consider Infected. So you need to mark both in the diagnosis screen. Another part of X ray is to determine if they are carrying any contraband on their insides. You will need to mark those and have them extracted and confiscate any contraband. I believe that the contraband that I found in there was a grenade, a bullet, and what looks like a black computer chip. I don't know what some of the things are. You may also find a bone. You treat this person like you would someone who was carrying Infected Parts in their luggage and send them to liquidation. Matiscope This is the tool to look into the persons eyes. The person normally has their eyes partially shut. This test is pretty straight forward, get the layer into Focus and see if there are anything floating around and most are obvious and easy to tell if it a new symptom. The only tough one to find it the Ocular Helminth as it is like a thin see through worm. The only other thing that make this complicated, is that the person normally has their eyes mostly closed. So it is hard to see if they have any of the Eye symptoms such as Yellow or Red eyes. Thankfully when you are looking into they eye, the background will match the normal color. UV Detection Tower The UV coordinates will with the scanner to see if there are hidden symptoms. They make it sound tough when the received it in the story due to the minimum batter and it only last a short time that you can use it. Even if you use the whole time, it recharges fairly quickly. Things to note is if any of their items light up when you activate the UV. They will be going to Liquidation. The thing that the game does not tell you is that if something shows up in the UV other than the UV Vapor, you need to go up to appearance and mark the correct symptom to get a good diagnosis.
以下是一些值得提前了解的提示,包括工具使用技巧。

导读
这是一篇生存类游戏的技巧攻略,涵盖游戏内未提及的通用玩法技巧与工具使用机制,如攒研究点提升区域等级、工具隐藏用法等,以帮助玩家提前掌握实用玩法,避开误区,同时不剧透症状相关内容,适配战役模式为主。

评论
共0条评论

《Nullwake》官方提示与指南
⚙️核心游戏机制 如果角色死亡,会重新生成,但整个物品栏会消失。 不用担心——所有推进游戏所需的重要物品都位于你死亡的同一张地图内。 我们加入此机制是为了增加游…
2026-03-19 10:000赞 · 0评论

游戏玩法提示
我真希望有人早点告诉我这些,尽管这款游戏本身不错,但有时确实会让人感到有些挫败。 血液管理 和大多数奇幻角色扮演游戏一样,这款游戏中也存在魔法。所以,合理运用魔…
2026-04-06 22:000赞 · 0评论

地狱礼仪 - 银河绅士指南
这真的是一种简单的礼仪。这是主机玩家社区在大约半年的游戏体验和互动中形成的。由于很多PC玩家都是刚接触这款游戏,我觉得把这些分享出来让大家了解一下或许是个好主意…
2026-03-18 13:000赞 · 0评论
The Man in the Fields-视频介绍
2026-03-17 10:000赞 · 0评论
泰拉瑞亚 泰拉瑞亚地牢砖微光定位法已经失效
-
2026-01-23 23:330赞 · 0评论
游戏玩法提示
掌握游戏的几点玩法技巧: 1. 外交 1. 其他国家向你宣战的情况: A) 高好战度且关系恶劣 B) 通过触发条件和事件(如西班牙内战等) C) 若某国与你处于…
2026-03-25 13:000赞 · 0评论
阵型?!
游戏中的部分阵型及其解锁方法,以及一些杂项提示 阵型!? 你是否注意过大厅里那个灰色的小按钮,想知道它有什么作用? 它能提供非常强大的增益效果! 我发现解锁阵型…
2026-02-19 10:000赞 · 0评论
生存游戏 奶奶2恐怖多人模式之奶奶回来了,完整的游戏攻略!
https://www.youtube.com/watch?v=ErctrbxWINQ&list=PLwZiDctPXYeiD705XGJSz6Xw18nwWi…
2026-05-12 03:120赞 · 0评论

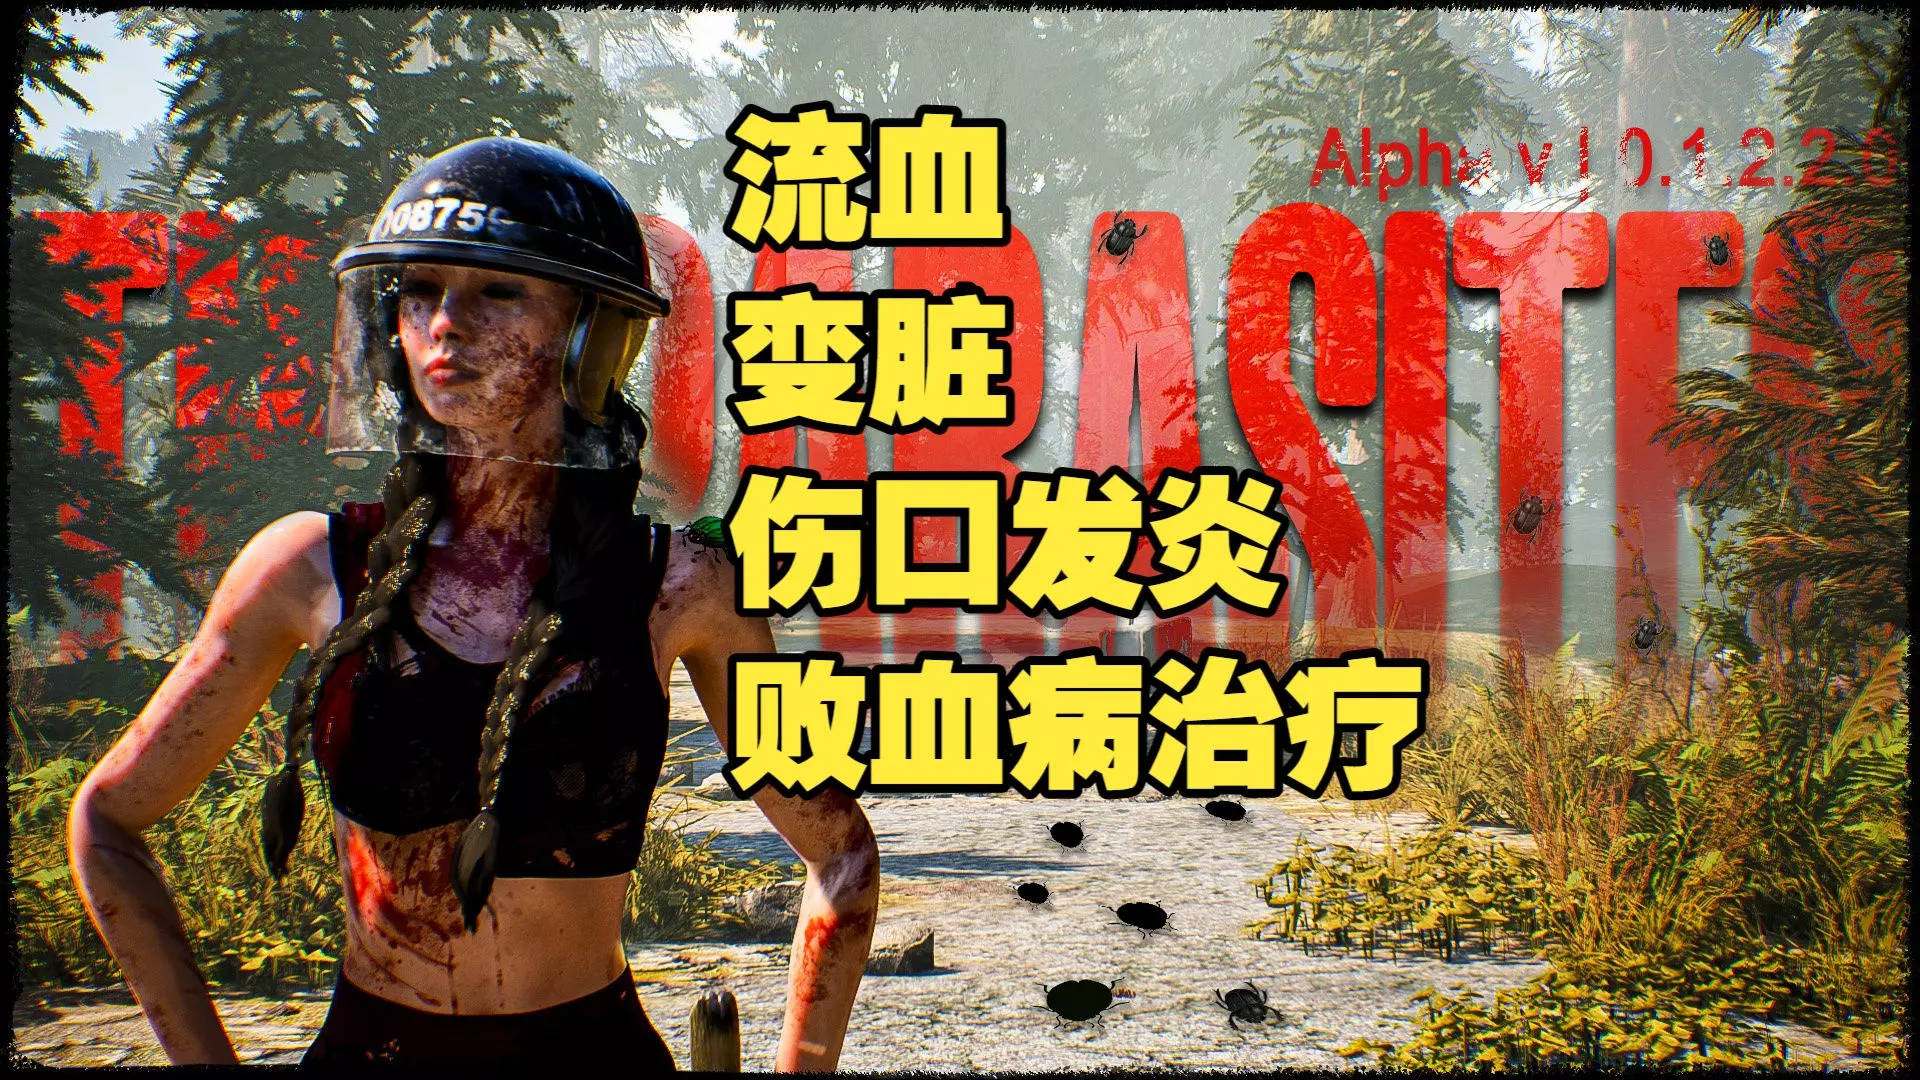
生存 【The parasites 寄生虫】流血、变脏、伤口发炎、败血病治疗
!!!不要下载steam里面的demo。这是游戏内测版本0.1.3. 游戏名:《The parasites》寄生虫
2026-05-11 07:050赞 · 0评论
生存游戏 从充满怪物的地下室搬出食材!全流程攻略&结局 | Deadly Delivery | ROBLOX
从充满怪物的地下室搬出食材!全流程攻略&结局 | Deadly Delivery | ROBLOX 📌 喜欢这个视频吗? 🔔 订阅频道,获取更多游戏内容,别…
2026-05-04 07:040赞 · 0评论

暂无更多
最新更新
- 《检疫区:最后一站》x《死亡岛2》| 1.1.13.1645 — 大家好! 丧尸末日有时会变得相当疯狂,所以我们与Dambuster Studios合作,将《死亡岛2》中的角色加入到《检疫区:最后一站》中。给这场混乱再添点料再…
- 《检疫区:最后一站》| Steam隐藏物体节2026 — 大家好! 今天是2026年Steam隐藏物体节的开始,我们很高兴地宣布《检疫区:最后一站》将以20%的折扣优惠发售。 本次活动时间为:4月9日上午10:00(太…
- 检疫区:乔治的度假计划 — 今天是愚人节。这是一个充满玩笑、恶作剧,有时甚至是彻头彻尾谎言的日子。但在这里,在检疫区,情况并非如此。每一个决定都关乎生死,我们没有时间胡闹。我们是认真的。 …
- 《检疫区:最后一站》感染全症状介绍+图鉴 — 感染全症状介绍+图鉴 感染全症状
- 成就指南 [100%] — 以下是《检疫区:最后一站》的各类成就指南。 重要提示:由于本指南包含大量信息,建议使用Ctrl + F来精确搜索成就。 第一天,怎么回事?
- 《检疫区:最后一站》与《消逝的光芒2》捆绑包公布 — 大家好!在我们准备迎接周末之前,还有一个简短的消息要告诉大家:Steam春季特卖带来了又一个超棒的丧尸游戏优惠。我们很高兴地宣布,我们已与Techland的伙伴…
- 《检疫区:最后一站》春季特卖 — 大家好! 今天是Steam春季特卖的开始,我们很高兴地宣布,《检疫区:最后一站》将从2026年3月19日起至2026年3月26日上午10点(太平洋标准时间)期间…
- 《检疫区》圣帕特里克节活动 1.0.13.1534 — 《检疫区:最后一站》圣帕特里克节活动开启! 从3月17日至3月24日,检查点将装饰上节日主题物品,包括啤酒罐、旗帜、绿色霓虹灯和挂毯。 活动期间可找到啤酒、饼干…
- 《检疫区:最后一站》1.0.13.1505版本热修复公告#11 — 大家好! 这是《检疫区:最后一站》的又一个更新补丁。我们尝试了一种略有不同的更新说明结构,希望能提升可读性。欢迎在评论区告诉我们你的想法。 开发团队已全面投入游…
- 检疫区:最后一站-视频介绍