换一换
换一换 


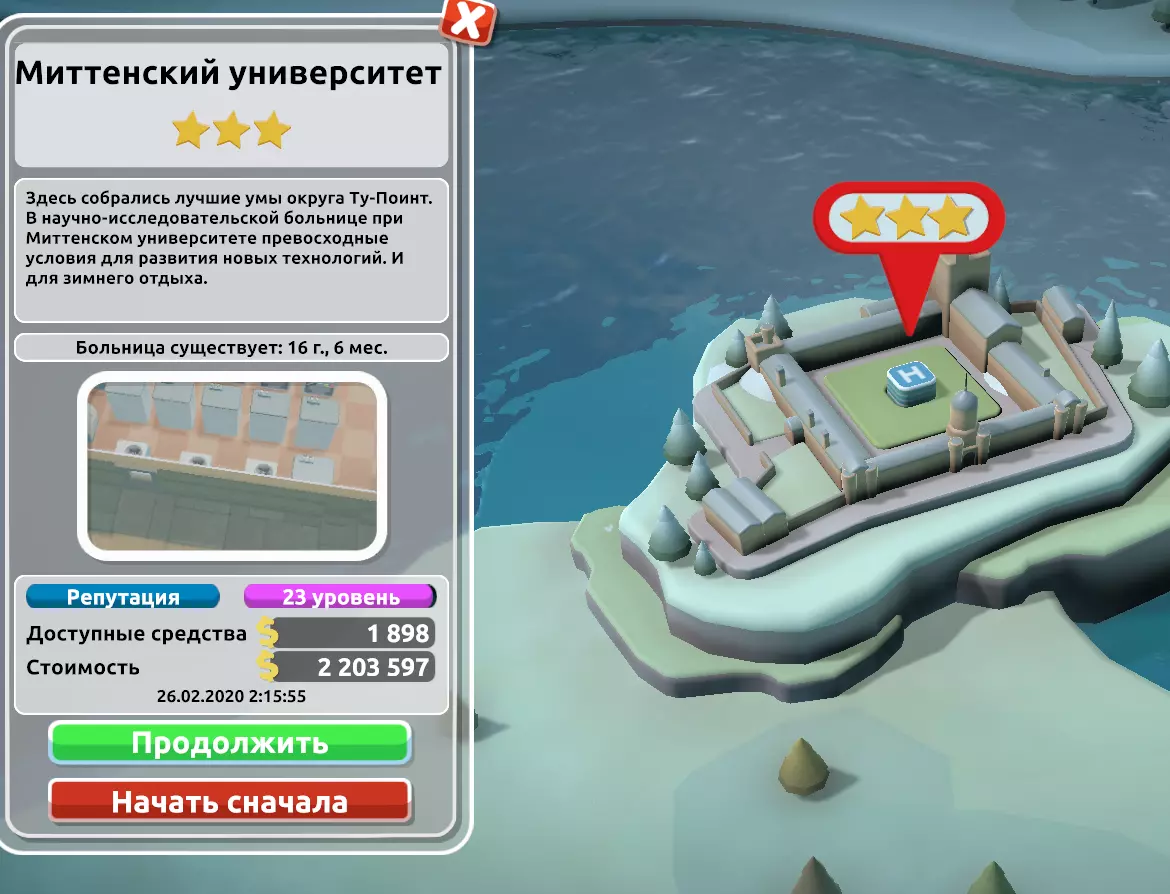
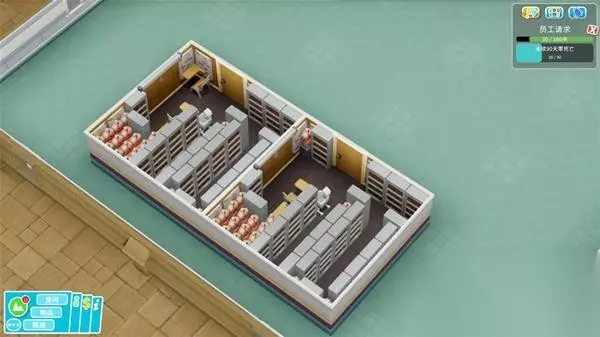
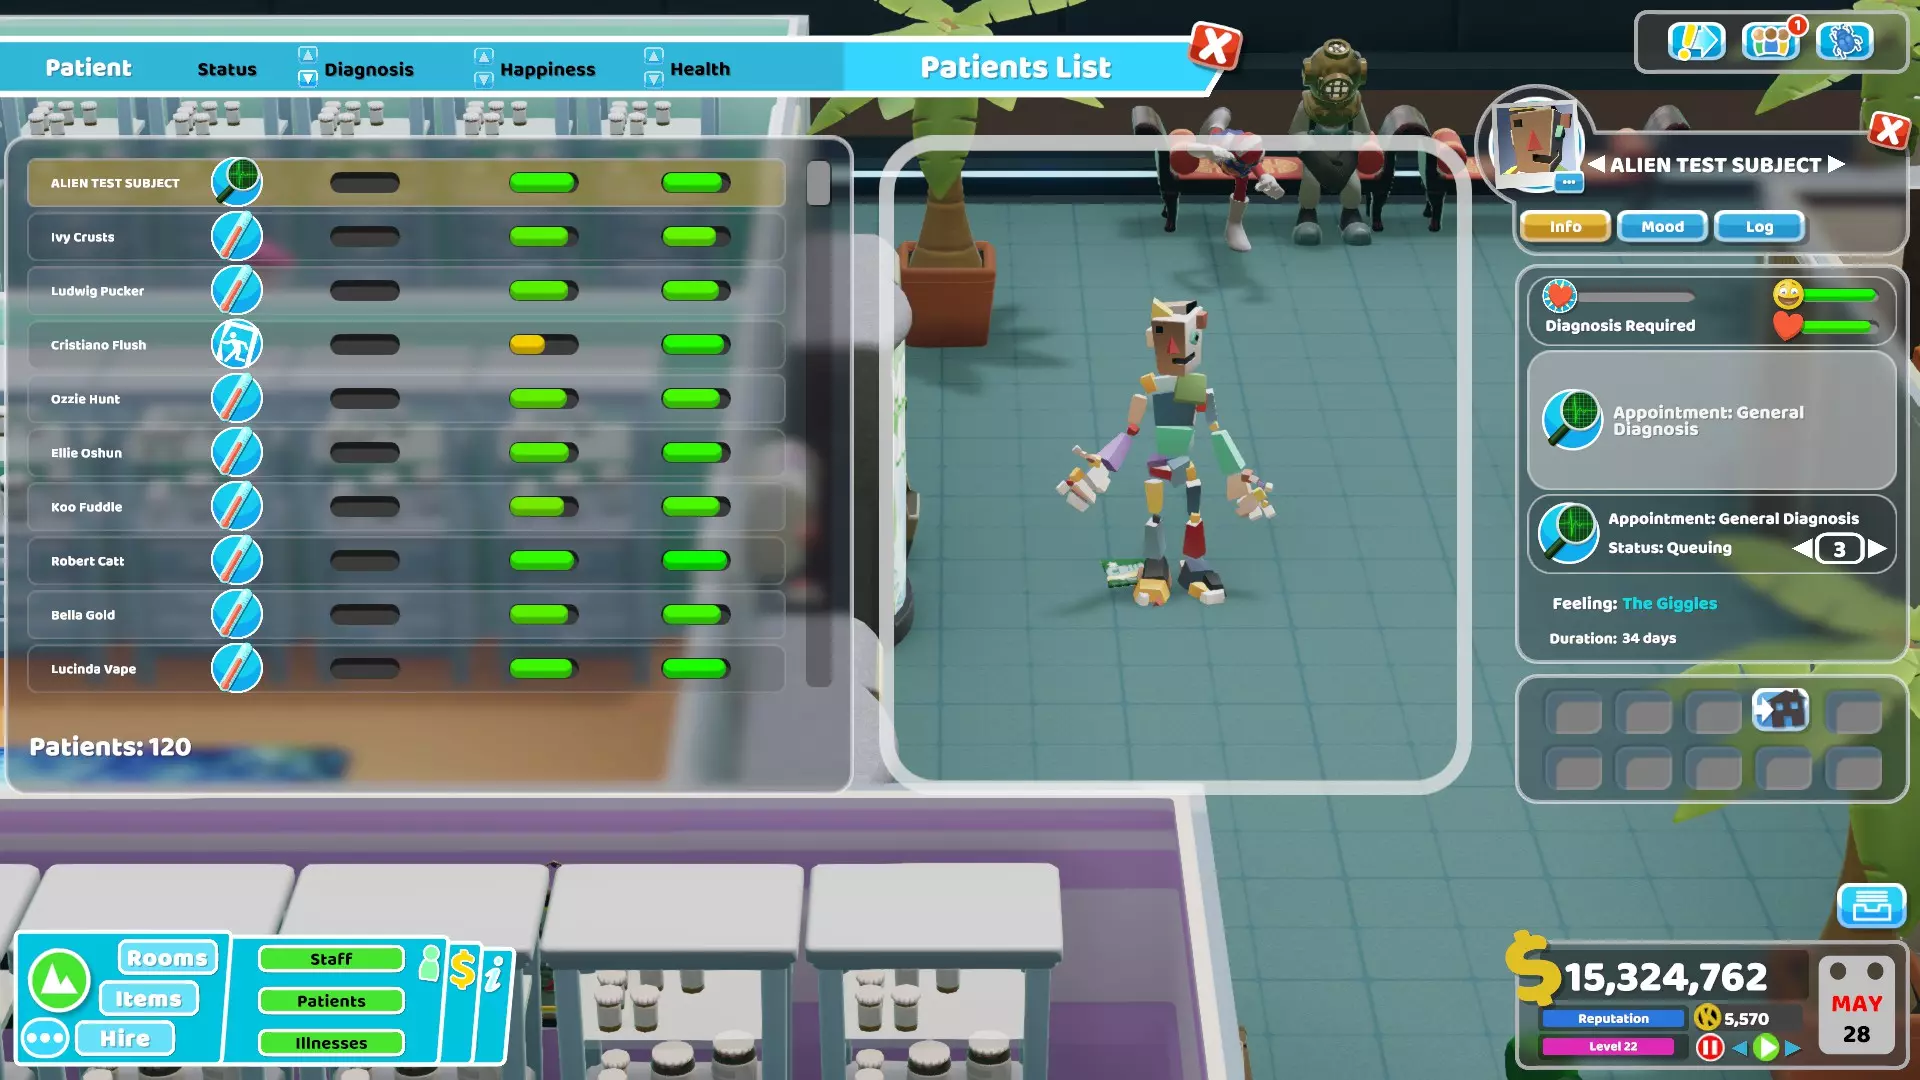
This is a complete guide for new and old players that im hoping will help them to get through the game with ease. Bare with as im putting together this guide i will be adding more and more info to it as the days go past. A bit about myself - Im a massive gamer and if you check my steam account you will see. I've been writing gaming guides for a while now and one of my biggest is sniper elite 5. I will over go everything this game has to offer as i replay the whole game giving you some insight to how i play the game. it may not be the best but then i do make some serious cash flow and dont struggle with money. so i must be doing something right. If you need to get in touch with me feel free to add me on steam and you're welcome to drop me a message Staff Staff are broken down into 4 Sections Doctor's Nurses Assistants Janitors Now lets go over all these and they different roles and what they do.... Doctors GP's - your basic doctor and is the first point of contact for patients doctor wise. Psychiatry - Mental health (must have this qualification) Diagnostics - Allows you to work well in the x-ray room but you dont need the qualification to do so but i would recommend it and max it. Radiology - works in the mega scanner suggestion is to boost them with 40% diagnostics skills (must have this qualification) DNA - works in the DNA treatment centre suggestion 40% treatment rather than splitting it evenly with diagnostics (must have this qualification) Researchers - Research centre is something that grants you new buildings and to upgrade them (must have this qualification) Treatment - Allows you to treat people better while in different treatment centres Surgery - Allows you to work in operating theatres (must have this qualification) Driving - Allow you to drive ambulances (must have this qualification)Nurses - no nurses need qualification to work in any departments but i would recommend the skills to hand. Pharmacy - Grants a boost to Pharmacy skills then use 40% treatment as a bonus Diagnostics - Works well with Diagnosis Rooms Ward - Boost these to work well in Wards and Fracture wards Treatment - Allows you to treatment people better while in different treatment centres and operating theatres Jab - Allows you to use the jab centre boost with treatment for the bonus Driving - Allow you to drive ambulances (must have this qualification)Assistants Customer Services - Reception staff and Cafes as well as any of the shops to serve people Marketing is a great tool to use to aid you in getting more staff quicker or giving you a boost to rep if your low (must have this qualification)Janitors maintenance - fixes toilets, waters plants and machines Mechanic only different between these and maintenance staff is these guys can upgrade machines (must have this qualification) Ghost - if some dies these guys will suck up the ghost with a hoover (must have this qualification) Vehicle Maintenance - Allow you to fix ambulances (must have this qualification) Qualifications Doctors General Practice - Diagnosis Skills in GP's Office (Max it) Diagnostics - Improves Diagnosis Skills (Max it) Radiology - Allows you to work in the Mega Scanner (Link with Diagnosis & Max it) Research - Allows you to work in research & Improves Research skills (Max it) Treatment - Improves Treatment Skills (Max it) Genetics - Allows you to work in Genetics Labs (Link with Treatment & Max it) Psychiatry - Allows you to work in Psychiatry & and Improves Skills (Max it)Nurse Pharmacy Management - Improves Treatment in Pharmacy (only one time use link with Treatments and max it) Injection Administration (Improves Treatment in Injection Administration (only one time use link with Treatments and max it) Treatment (Max it) Ward Management (max it) Some say that Pharmacy & Injection Administration are worthless just use Treatment for both. Or use it & then Max it with Treatment. up to you Assistant Customer Services - Improves Customer Service Skills (Max it) Marketing - Allows you to work in marketing & Improves Skills (Max it) Again some say Customer services is pointless you dont need it to work in reception or cafesJanitors Ghost - Allows you to detect and Capture Ghost (only one time use i link this with Mechanic & Max it) Maintenance - Improves Maintenance Skills (Max it) Mechanic - Allows you to Upgrade Machines & Improves Skills (link with Ghost & and Max Mechanic) i normally tend to have 2 Ghosts/Mechanic Janitors and the rest pure maintenanceMixed Stamina Training - Energy drains at a slower rate Emotional Intelligence - Increased Happiness Bedside Manner - Increase Happiness of patients when dealing with them Motivation - Increase Speed & Efficiency Training Master Class - Increases Teaching & Learning speed All these are skill that can only be obtained once that could be linked with other skill sets DLC Qualifications more to come soon Buildings in this section we will cover building types Some rooms you can click on them and add up to 5 workers too ill add a / to these rooms next to them. Also some rooms can be changed to do just treatment or Diagnosis Building Tip - Rather than Copy and pasting building you can make rooms into templates and save them for later. use the room selection window and then at the top of the menu room templates and a list of all your rooms saved will appear. use that instead of remaking rooms on every map Basic Game Rooms Basic Rooms Cafe Marketing Reception Research Staff Room Toilets TrainingDiagnosis Rooms Cardiology Fluid Analysis General Diagnosis GP's Office M.E.G.A Scan X-RayTreatment Rooms Chromatherapy Clown Clinic Cryptology De-Lux Clinic Fracture Ward Head Office Injection Room Pans Lab Pest Control Pharmacy Recurvery Resolution Shock Clinic SurgeryThese rooms can be changed to do just treatment or Diagnosis but i would recommend to leave them as standard. Diagnosis & Treatment Rooms DNA-Lab Psychiatry Ward DLC Rooms Bigfoot DLC Doghouse Urban Mythology ReanimationPebberley Island DLC Indentification Escape Room Correcting PoolClose Encounters DLC Self Assembly Toad Hall PersonificationOff The Grid DLC Woodwork Herb Garden Farmacology Tech SupportCulture Shock DLC Danger Zone Wash Pit War RoomA Stitch In Time DLC Speed DatingSpeedy Recovery DLC Cloud Computing Wax Works Powder Room Research Base Game Research Research tends to be 2 to 3 Researches per one 1 which unlocks the building and an upgrade to the building and an advanced upgrade for the building. Some buildings dont need to be Researched and require either a map unlock or a specific quest in order to unlock them. See below for details. Chromatherapy Research Points 250 Mitton UniversityCryptology Research-Points 1,000 Sweaty PalmsDNA-Lab Research-Points 1,000 Melt DownsFluid Analysis Research-Points 1,000 Mitton UniversityHead Office Research-Points 1,000 SmogleyInjection Room Research-Points 1,000 Mitton UniversityM.E.G.A Scan Research-Points 1,000 Mitton UniversityPest Control Research-Points 1,000 FlemingtonRecurvery Room Research-Points 1,000 Grockle BayResolution Lab Research-Points 1,000 Duckworth upon BilgeShock Clinic Research-Points 1,000 Melt DownsX-Ray Research-Points 2,000 Mitton UniversityBigfoot DLC Doghouse This one unlocks without research you must first complete the first task of a hospital called underlook hotelUrban Mythology Swelbard Currency1,000Reanimation Roquefort Castle Hospital Pebberley Island DLC Indentification Pebberley Reef will unlock the room itselfEscape Room Develop a treatment for patients with Wanderust OvergrowthCorrecting Pool Reaching Wave 4 of Camouflage Falls will unlock the room itselfClose Encounters DLC Self-Assembly Task Figure out how to 'unpack' cardboard people.Toad Hall Task We think it's possible to improve our Frogborne equipment.Personification Task Develop a method for making aliens look like humans. Tip's Tip 1 - A big building tip i can give is that rather than building each room one by one just copy it. it will save you more time with decorating it. Also pause time when building rooms so you can take time doing so it can be annoying to start building a room for certain end of year rewards cancelling off what you done already. Tip 2 - Research when you get to a new hospital if they are buildings that are needed on that map rather than doing anything build your first doctors room and then leave the hospital go back to your last one and study the research needed it will save the hassle of losing patience and rep in your new map and hep build some more value to your other hospital. Tip 3 - Not every hospital will need the same treatment rooms so be sure to check for details on each hospital. however every hospital will use all diagnosis rooms no matter what so those dont change. Tip 4 - When it come to REMIX stars be sure to check what is needed for them all some of them arent worth starting until you have gotten far into the game. some need special rooms that you wont get from just the first few hospitals and like with the tip above be sure to check the status of the treatments required to earn said remix star. Tip 5 - Rather than ending the hospital once you completed 3 stars carry on for a little while longer and check the value of your hospital. its based on what you earn in a year plus the value of the rooms in the hospital itself. as a rule of thumb i have 2 of each room apart from wards, and fracture ward. the higher level the room the higher the value of your hospital so decorate to your hearts content. Tip 6 - Dont bother wasting time on Pharmacy or jab admin just have guys with treatment and share them with all your rooms. Tip 7 - For staff turn off the rooms that not Qualified to use, they is no point having a member of staff that is treatment based working in a room for diagnosis. Like with Dna Lab you want higher treatment that having any diagnosis skills. Tip 8 - Building Tip - Rather than Copy and pasting building you can make rooms into templates and save them for later. use the room selection window and then at the top of the menu room templates and a list of all your rooms saved will appear. use that instead of remaking rooms on every map Disasters There are alot of Disasters in this game and some of which you want to get ready. but the easiest way to handle these annoying events taking place is freezing the game selling off anything that is on fire before it blows up and then rebuy it. this is so you dont lose any funds at all problem solved Secret Weapon They are 2 rooms you want to unlock as soon as possible, both rooms you can add up to 5 members of staff to them by clicking on the room and heading to the side and adding more staff. Marketing Research these two rooms are really helpful to you Marketing Allows you to add staff so that one you can help build reputation but not only that it can also be very handy for building staff levels. If your struggling to get staff it can help you gain one type of staff member very quickly. It can shorten the days needed to gain staff. You can also select it to have a illness come in to build staff levels for that room but be aware this can over load a room by a massive amount if you have a high level hospital. so use with care. Research Once you get to Mitton university you want to unlock the research room and not leave the map until you have completed all research. Once you have make sure to unlock the following items with your kudosh tokens. some may need stars in order to unlock them and some need you to complete a super bug (names of maps will be along side them). Each of these items will gain a percent of research power to them again that number will be next to them. be aware that these items also increase heat. So on hot locations will you will need to cool the room on cold ones you dont. Server - Mitton University (Hospital) - 1 Research Power Super Computer - Melt Down (Hospital) - 2 Research Power Deep thing 1 - Learning Machine learning (Super Bug) - 2 Research & 3 Treatment Power Deep thing 2 - Learning Machine learning (Super Bug)- 3 Research & 3 Treatment Power Science station - Chasm 24 (Hospital) - 1 Research Power Research Monitors - Mitton University (Hospital) - 1 Research PowerRepeatable Research Missons some of these can give you kudosh or money once completed and might need to be unlocked Generate Kudosh - 20 kudosh - Research Points 1,000 - Five complete research projects General Research - 20,000 Money - Research Points 1,000 - Complete five research projects Roderick's Plot Hole - 35,000 Money - Research-Points 1,500 - Swelbard (after Urban Mythology) Cheesier Gubbins -45,000 Money- Research-Points 2,000 - Swelbard (after Roachburger Scandal) Time Portal - 50,000 - Research-Points 5,000 - Clockwise before ThymeWhat i tend to do at the start of the map is build 1 marketing building and 2 research rooms as well as a small training room right next to them. The training room only has to have about 5 seats in total. get 5 researchers in each room and rinse and repeat for extra money use the marketing building to help you gain them quickly. Use the training room to build they levels use 1 to go up a level then use him to train the others to save money. Remember to add those items to the room as and when you can afford them its a big hit in one so only add one or 2 to start with and copy the room. "time portal" as you can see doesnt offer much of a reward for the power it takes to complete it so i would recommend sticking to "Roderick's Plot Hole" & Cheesier Gubbins". Time portal you're only losing money on doing so i just wouldnt bother with Stars & Blue Stars In this game you have Star ratings for each of the hospitals 3 stars each and some have blue stars challenges to go with them. I have a section for each hospital that explains more about what needs to be done to complete these stars and remix stars. Hospitals Names & Locations Countryside Region Hogsport Lower Bullocks FlotteringCold Region Mitton University Tumble FlemingtonIndustrial Region Smogley Melt Downs Duckworth upon BilgeBeach Region Grockle Bay Sweaty Palms BlightonUrban Region Pelican Wharf Rotting Hill CroquemboucheSnow Region (Big Foot DLC) Underlook Hotel Swelbard Roquefort CastleTropical Region (Pebbly Island DLC) Pebberley Reef Overgrowth Topless MountainDesert Region (Close Encounters DLC) Goldpan Camouflage Falls Chasm 24Eco Region (Off The Grid DLC) Wanderoff Old Newpoint WindsockCultural Region (Culture Shock DLC) Plywood Studios Mudbury Festival Fitzpocket AcademyTime Travelling Region (A Stitch In Time DLC) Clockwise upon Thyme Clockwise before Thyme Clockwise above ThymeEmergency Locations (Speedy Recovery DLC) Ailing Betts Shore Pointy Pass Hospitals Explained Most hospital come with 3 Stars and some have Remix Stars to achieve, as well as this some hospitals have different modes of earning money. some of which wont earn you any money at all and they way in which you do is by completing challenges & tasks. Gameplay Modes Normal Challenge Mode This is you normal hospitals mode just do what you have to do to earn your 3 stars Target Challenge Mode These hospitals can be rough in this mode you dont earn currency. you have to complete tasks in order for whom ever is your under to grant part of the hospitals upkeep to you per month. Plot Challenge Mode In this mode you have to complete tasks to unlock part of the hospital. Horde Challenge Mode Horde mode can be fairly hard and gets harder as you get higher horde levels have plenty of training rooms, research for repeatable currency quests to keep money flowing in at the end of the horde. Index Challenge Mode Energy Challenge Mode Marketing Challenge Mode Ambulance Challenge Mode This one you have to send out ambulances in order to gain people to treat in your hospital you will need staff in order to drive said ambulance. (as far as i am aware these hospitals are buggy which is annoying coz some of them unlock hospitals) Reputation Is a measurement of how well your hospital is doing and the higher your reputation is the more people flood to your hospital. Hospital Level The higher your level of the hospital is the more your going to need to treat people coming in notice the numbers over the room when that gets to high build another one. you want people flowing through to earn money so having them stuck waiting is a bad idea. Hospital Environment Attractiveness is very important to keep your hospital attractive not just to patients but to staff. make sure you have plenty of janitors to keep up with maintenance of certain items around the hospital. flowers, vending machines, bins, toilets & machines etc etc. Temperature areas can become to hot or too cold and be aware of this when a staff member or patient becomes too col or too hot it can have negative effects on them both. some items can have an area effect that controls this like Radiators & air cons. while building a room it wont show you the effect but if you go to the item menu instead it does so only place them from they. start the game pause it and add one or 2 to see the environment you working with if its hot you'll need air cons in rooms and if its cold add a radiator. Hygiene This can be controlled again by placing certain items in a room like hand sanitisers and placing toilets around your hospital. Hospital Objectives Objectives that sometimes need to be completed before you can earn stars for your hospital. some of them can give you a boost in currency too which can be handy when playing hospitals that sadly dont earn money like normal ones do. Star Rating This is the 3 star rating system for each hospital as standard you want to earn all 3 Awards This can be currency, an items or kudosh which you can spend on unlocking items to decorate your hospital with making it much better. only unlock items that are worth it like ones that increase room attractiveness and ones that help with research and treatment in rooms. flowers to be blunt are pointless and drains time from janitors to water them. Kudosh Kudosh is a currency that is earned to unlock items Gameplay Modes Target Challenge Mode Duckworth-upon-Bilge Underlook Hotel REMIX FlotteringPlot Challenge Mode Overgrowth Goldpan REMIX Lower Bullocks REMIX Mitton UniversityHorde Challenge Mode Topless Mountain Camouflage Falls Mudbury Festival REMIX Hogsport REMIX TumbleIndex Challenge Mode Underlook Hotel Wanderoff Fitzpocket AcademyEnergy Challenge Mode Windsock Marketing Challenge Mode REMIX FlemingtonAmbulance Challenge Mode Ailing Betts Shore Pointy Pass Room & Hospital Prestige Each room comes with prestige & and comes with a buff to both staff and patients. So by adding decorations to both rooms and your hospitals hallways will increase the happiness of staff and patients walking through them. Taking a look at the needs of both staff and patients is a good way to find out what they need in order to keep them happy. some may need drinks or food and others may need some form of entertainment. while at first it is hard to keep a hospitals room at a high level you can always go back to it at a later date and max them out and increase revenue as well as the value of your hospitals. Take note when building a room that some new items are available to buy with kudosh tokens and some are free to buy straight away. they are many upgrades to rooms that can be done too like beds in wards, toilets and even bins that save time and energy for janitors. They is also items that can be placed in rooms that can increase diagnose, treatment, research and even time it takes while training. my video guides will help you more understand what i unlock at each new hospital so use the knowledge i share with you to your advantage. you will see what each one of these do by taking note of both environmental needs Room Prestige levels and buffs. Staff Level 1 - No Benefits Level 2 - Nice Room - 5% Happiness Level 3 - Good Room - 10% Happiness Level 4 - Amazing Room - 20% Happiness Level 5 - Outstanding Room - 30% Happiness Patients This is granted while taking care of them Level 1 - 5% Happiness Level 2 - 9% Happiness Level 3 - 14% Happiness Level 4 - 17% Happiness Level 5 - 20% Happiness These buffs will only last if they outweigh negatives debuffs along the way. These include underpaid, toilet needs, thirsty or hungry and even boredom. So checking both staff and patient needs traits etc etc is important for micro management of your hospital. pause the game while doing so to take your time to over go things. Countryside - 1 - Hogsport 1 Star Hospital Requirements Cure 3 Patients with LightheadednessRewards Currency 10,000 Kudosh 100Unlocked Lower Bullocks Lightheaded Poster2 Star Hospital Requirements Cure 25 Patients Earn $200,000 Get Hospital Level to 6Rewards Currency 20,000 Kudosh 150Unlocked Salty Snacks Machine3 Star Hospital Requirements Cure 30 Patients Earn $400,000 Hospital Value of $750,000Rewards Currency 30,000 Kudosh 200Unlocked NewsagentIllness Encounter's De-Lux Clinic Headcrabedness LightheadednessPharmacy Bogwarts Clamp Grout Misery GutsWard Bed Face Video Guide
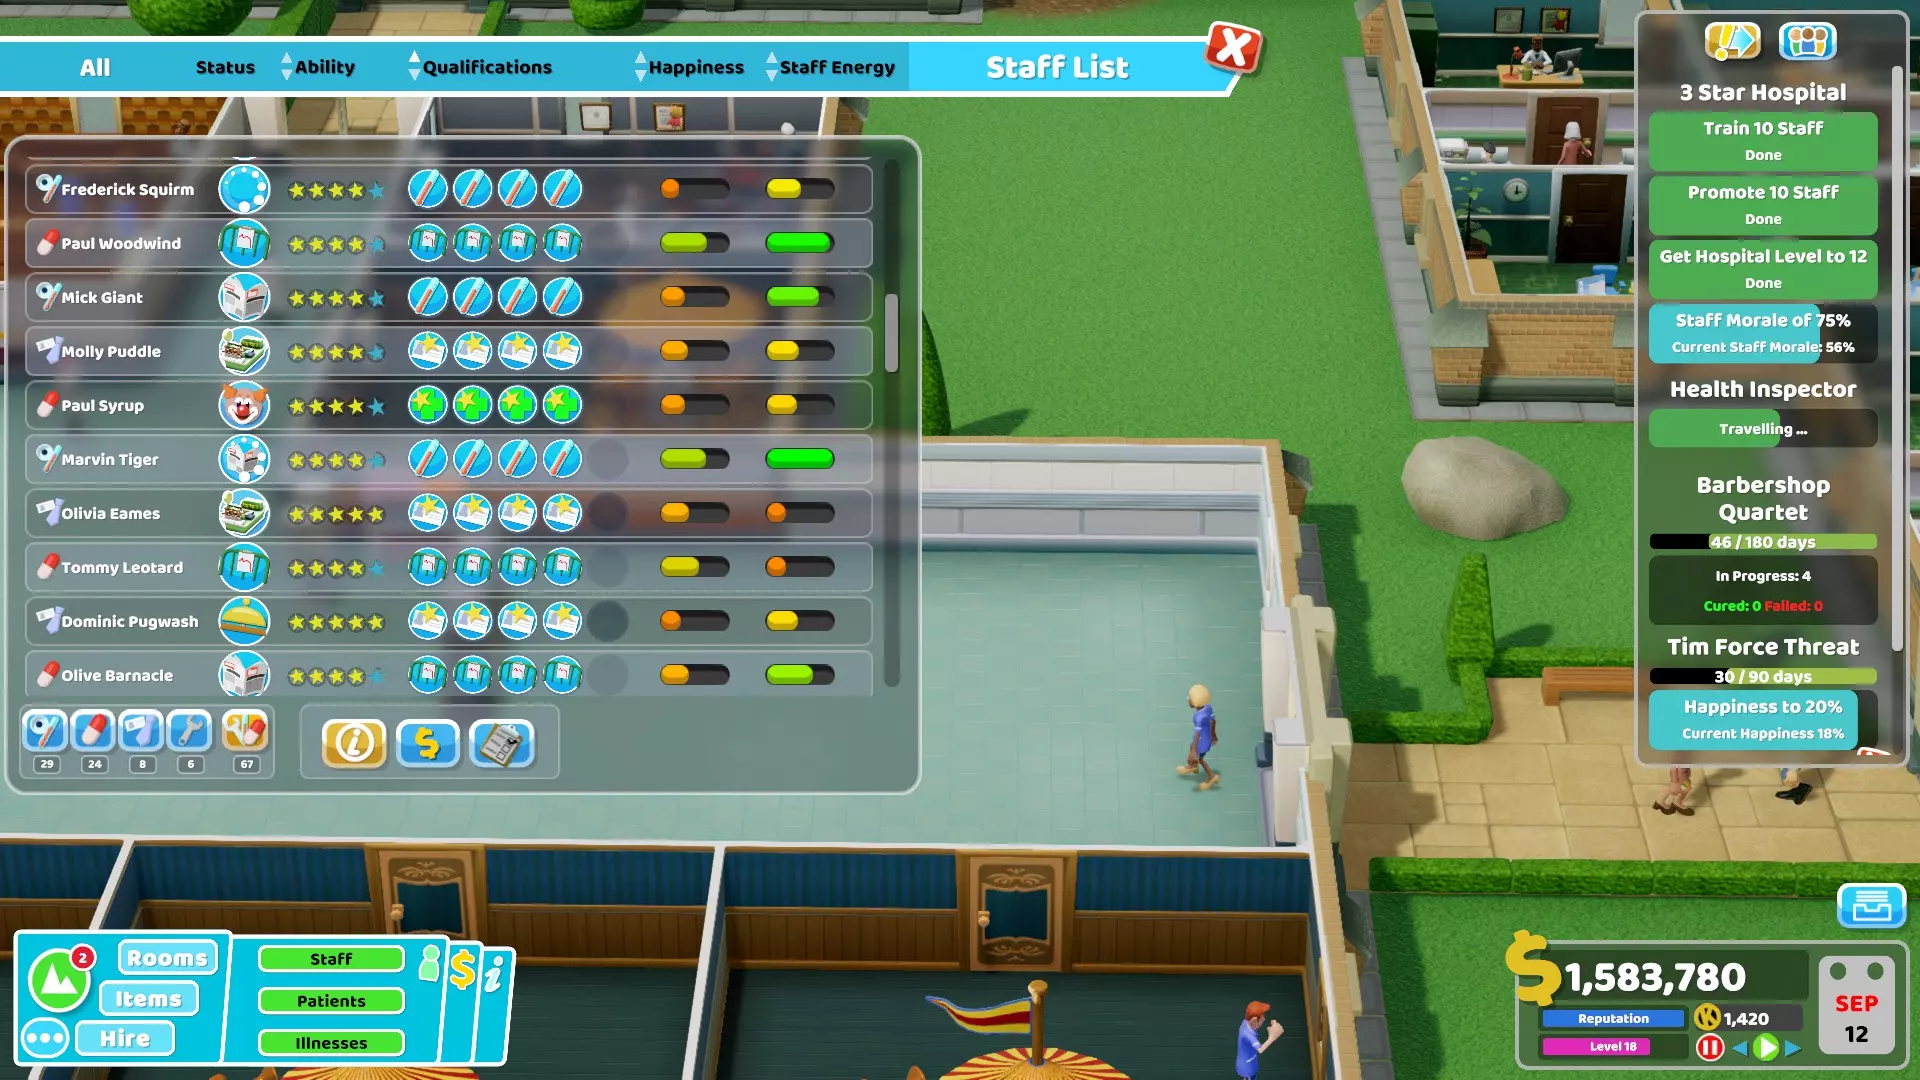
Countryside - 2 - Lower Bullocks Initial Objectives Psychiatry Build a PsychiatryNew Technology Part 1 Get Hospital Level to 3 Cure a Patient in PsychiatryRewards Drug Mixer II EZ-Scan IINew Technology Part 2 Upgrade a MachineReward Pans Lab1 Star Hospital Requirements Get Hospital Level to 6 Own 2 Buildings Cure 3 Patients in Pans LabRewards Currency 10,000 Kudosh 100Unlocked Flottering Cardiology2 Star Hospital Requirements Get Hospital Level to 8 Own 3 Buildings Upgrade 2 MachinesRewards Currency 20,000 Kudosh 150Unlocked Extract a Pan II3 Star Hospital Requirements Get Hospital Level to 10 Cure 20 Patients Cure Rate of 70%Hospital Attractiveness of 65% Rewards Currency 30,000 Kudosh 200Unlocked Extract-a-Pan IIIIllnesses Encounter's De-Lux Clinic Headcrabedness LightheadednessPans Lab PandemicPharmacy Bogwarts Lycanthropy Potty Mouth Verbal DiarrhoeaPsychiatry Freudian Lips Inflated Ego Mock StarWard Jazz Hand Lazy Bones Monobrow Portishead Video Guides Countryside - 3 - Flottering Initial Objectives Training Licence Get Hospital Level to 4 Hire 7 Staff Get Staff Morale to 55%Reward TrainingUnlock a Clown Clinic Train a Staff memberReward Clown Clinic1 Star Hospital Requirements Train 3 Staff Promote 3 StaffRewards Currency 10,000 Kudosh 100Unlocked REMIX Hogsport REMIX Lower Bullocks REMIX Flottering Mitton University Tumble Reception (Room) Clown Poster2 Star Hospital Requirements Train 6 Staff Promote 6 Staff Get Hospital Level to 9Rewards Currency 20,000 Kudosh 150Unlocked Dehumorfier II Heart Racer II3 Star Hospital Requirements Train 10 Staff Promote 10 Staff Get Hospital Level to 12 Staff Morale of 75%Rewards Currency 30,000 Kudosh 200Unlocked Dehumorfier III Heart Racer IIIIllnesses Encountered Clown Clinic Jest InfectionPans Lab PandemicPharmacy Lycanthropy Misery Guts Verbal DiarrhoeaPsychiatry Boggled Mind Freudian Lips Mime Crisis Mock StarWard Bed Face Monobrow Mucky Feet Video Guides Cold Region - 4 - Mitton University Initial Objectives Research Licence Get Hospital Level to 3 Upgrade a MachineRewards Chromatherapy Injection Room Fluid Analysis X-Ray M.E.G.A ScanMust be researched in order to unlock them, suggestion here is to unlock all rooms and upgrade them. do not leave this hospital until all research is done & completed. Training The good thing for this hospital is all doctors and nurses come standard as a level 1 staff member and will need to be trained. notice the 4 corners of the hospital the square rooms this is where i add 1 training room and a toilet to each of them. Other staff will come with the stand levels and qualifications. 1 Star Hospital Requirements Train a Doctor in Research Complete Chromatherapy Research Project Cure a Patient in ChromatherapyRewards Currency 10,000 Kudosh 100Unlocked Flemington (also requires Tumble Star) Clockwise-upon-Thyme Encyclopedia Bookcase I De-Lux O-Luxe III2 Star Hospital Requirements Train 10 Staff Generate 2000 Research Points Cure 50 PatientsRewards Currency 20,000 Kudosh 150Unlocked Encyclopedia Bookcase II EZ-Scan III3 Star Hospital Requirements Train 20 Staff Generate 4000 Research Points Cure 100 Patients Cure Rate of 60%Rewards Currency 30,000 Kudosh 200Unlocked Server Drug Mixer IIIIllnesses Encountered Chromatherapy Grey AnatomyClown Clinic Jest InfectionDe-Lux Clinic Headcrabedness LightheadednessInjection Room Decision Rash Mood Poisoning Rock BottomPharmacy Bogwarts Lycanthropy Misery Guts Potty MouthPsychiatry Boggled Mind Freudian Lips Inflated Ego Mock Star Night FeverWard Lazy Bones Mucky Feet Cold Region - 5 - Tumble 1 Star Hospital Requirements Cure 50 Patients Cure Rate of 50% Thermal Comfort of 60%Rewards Currency 10,000 Kudosh 100Unlocked Flemington (also requires Mitton University Star) Small Radiator2 Star Hospital Requirements Cure 100 Patients Cure Rate of 70% Hospital Value of $1,000,000Rewards Currency 20,000 Kudosh 150Unlocked Large Radiator3 Star Hospital Requirements Cure 200 Patients Cure Rate of 80% Hospital Value of 2,000,000 Thermal Comfort of 90%Rewards Currency 30,000 Kudosh 200Unlocked Luxury Drinks MachineIllnesses Encountered Clown Clinic Jest InfectionDe-Lux Clinic Headcrabedness LightheadednessFracture Ward Broken Face Cross Bones Humerus Injury Hurty Leg ShatteredPans Lab PandemicPharmacy Bogwarts Lycanthropy Potty MouthWard Jazz Hand Monobrow Portishead Cold Region - 6 - Flemington Initial Objectives Marketing Licence Complete Pest Control Research Project Diagnose a Patient with Animal MagnetismReward Marketing1 Star Hospital Requirements Hospital Value of $1,000,000 Reputation of 70% Cure 10 Patients with Animal Magnetism Launch a Marketing CampaignRewards Currency 10,000 Kudosh 100Unlocked REMIX-Icon Mitton University REMIX-Icon Tumble REMIX-Icon Flemington Smogley Melt Downs Underlook Hotel Café2 Star Hospital Requirements Hospital Value of $2,000,000 Reputation of 80% Cure 20 Patients in Fracture Ward Launch two Marketing CampaignsRewards Currency 20,000 Kudosh 1503 Star Hospital Requirements Hospital Value of $5,000,000 Reputation of 90% Cure 30 Patients in Injection Room Launch 3 Marketing CampaignsRewards Currency 30,000 Kudosh 200Illnesses Encountered Chromatherapy Grey AnatomyDe-Lux Clinic Headcrabedness LightheadednessFracture Ward Broken Face Cross Bones ShatteredInjection Room Decision Rash Litter Bug Mood Poisoning Pudding Blood Rock BottomPans Lab PandemicPest Control Animal MagnetismPharmacy Lycanthropy Potty MouthPsychiatry Boggled Mind Mime Crisis Mock Star Night FeverWard Jazz Hand Mucky FeetRemix Mode Initial Objectives Lure & Cure Complete an Illness Marketing Campaign Cure 4 Patients in Pharmacy Industrial Region - 7 - Smogley 1 Star Hospital Requirements Train 10 Staff Cure 15 Patients in Surgery Cure 5 Patients with Turtle HeadRewards Currency 10,000 Kudosh 100Unlocked Duckworth upon Bilge (also requires Melt Downs Star)2 Star Hospital Requirements Train 20 Staff Cure 30 Patients in Surgery Cure Rate of 75% Get Hospital Level to 12Rewards Currency 20,000 Kudosh 1503 Star Hospital Requirements Train 30 Staff Cure 50 Patients in Surgery Cure Rate of 90% Get Hospital Level to 16Rewards Currency 30,000Kudosh 200 Illnesses Encountered Chromatherapy Grey AnatomyFracture Ward Cross Bones Humerus Injury Hurty LegHead Office Turtle HeadInjection Room Decision Rash Mood Poisoning Spontaneous CombustionPans Lab PandemicPest Control Animal MagnetismPsychiatry Mock Star Night FeverSurgery Floppy Discs Gurning Loins Heart Throb Pipe Organs Spinal BapWard Bed Face Jazz Hand Portishead Industrial Region - 8 - Melt Downs 1 Star Hospital Requirements Generate 1,000 Research Points Upgrade 5 Machines Cure 5 Patients in the Shock Clinic Cure 10 Patients in DNA LabRewards Currency 10,000 Kudosh 100 Research Points 100Unlocked Duckworth upon Bilge (also requires Smogley Star) Clockwise before Thyme (also requires Clockwise upon Thyme Star) Toxic Waste Bin2 Star Hospital Requirements Cure 20 Patients in DNA Lab Upgrade 10 Machines Get Hospital to Level 10 Cure Rate of 75%Rewards Currency 20,000 Kudosh 150 Research Points 2503 Star Hospital Requirements Cure 40 Patients in DNA Lab Upgrade 15 Machines Get Hospital to Level 15 Cure Rate of 90%Rewards Currency 30,000 Kudosh 200 Research Points 500Unlocked Super ComputerIllnesses Encountered Clown Clinic Jest InfectionDe-Lux Clinic Headcrabedness LightheadednessDNA Lab Denim Genes Flumps Jumbo DNAFracture Ward Broken Face Humerus Injury Shattered Star Injection Room Decision Rash Litter BugPest Control Animal MagnetismPharmacy Lycanthropy Misery Guts Verbal DiarrhoeaPsychiatry Emperor Complex Inflated Ego Shock Clinic Shock HorrorWard Bed Face Monobrow Industrial Region - 9 - Duckworth Upon Bilge New Targets From Lord Foxbridge (A reward for each complete) Train a staff member Upgrade a machineReward 50 000 currencyPublic Targets Please note that these targets will come up periodically at random from the list below this is how you will keep yourself financed. as well as using 1 research room to build extra currency. This hospital you dont earn money but get a coverage of how much it cost to fund it from lord Foxbridge. 50,000 Reward (A reward for each complete) Shoot 3 Monobeasts - Reputation 2 Water 10 Plants - Reputation 1 Unblock 8 Toilets - Reputation 1 Restock 8 Vending Machines - Reputation 1 Promote a Staff Member - Reputation 260,000 Reward (A reward for each complete) Train a Staff Member - Reputation 1 Train an Assistant - Reputation 1 Train a Doctor - Reputation 1 Train a Nurse - Reputation 1 Train a Janitor - Reputation 1 Upgrade a Machine - Reputation 1 Generate 200 Research Points - Reputation 275,000 Reward (A reward for each complete) Hospital Attractiveness of 70% - Reputation 2 Thermal Comfort of 80% - Reputation 2 Get a Level 4 GP's Office - Reputation 2 Get a Level 4 Fluid Analysis - Reputation 2 Get a Level 4 M.E.G.A Scan - Reputation 2 Get a Level 4 X-Ray - Reputation-Icon 2 Get a Level 4 Ward - Reputation-Icon 2 Get a Level 4 Pharmacy - Reputation-Icon 2 Get a Level 4 DNA Lab - Reputation-Icon 2 Get a Level 4 Surgery - Reputation-Icon 2 Get a Level 4 Head Office - Reputation 2 Get a Level 4 Resolution Lab - Reputation 2 Get a Level 4 Shock Clinic - Reputation 2 Diagnose 5 Patients - Reputation 2 Cure 5 Patients - Reputation 2100,000 Reward (A reward for each complete) Cure 3 Patients in Pharmacy - Reputation 2 Cure 3 Patients in Ward - Reputation 2 Cure 2 Patients in DNA Lab - Reputation 2 Cure 3 Patients in Surgery - Reputation 2 Cure 2 Patients with Shock Horror - Reputationn 2 Cure 2 Patients with Turtle Head - Reputation 21 Star Hospital Requirements Get Hospital Level to 8 Staff Morale of 60% Reputation of 60% Cure 5 Patients with 8-bittenRewards Currency 50,000 Kudosh 100Unlocked Grockle Bay Sweaty Palms Pebberley Reef Goldpan Wanderoff Plywood Studios2 Star Hospital Requirements Get Hospital to Level 12 Staff Morale of 75% Reputation of 75% Cure 100 PatientsRewards Currency 50,000 Kudosh 1503 Star Hospital Requirements Get Hospital to Level 16 Staff Morale of 90% Reputation of 90% Cure 200 PatientsRewards Currency 50,000 Kudosh 200Illnesses Encountered Chromatherapy Grey AnatomyClown Clinic Jest InfectionDe-Lux Clinic Headcrabedness LightheadednessDNA Lab Denim Genes Flumps Star Jumbo DNA Leopard Skin Touch of MidasFracture Ward ShatteredHead Office Turtle HeadInjection Room Mood PoisoningPans Lab PandemicPest Control Animal MagnetismPharmacy Bogwarts Misery GutsPsychiatry Mock Star Night FeverResolution Lab 8-bittenShock Clinic Shock HorrorSurgery Floppy Discs Heart Throb Gurning Loins Pipe Organs Spinal BapWard Jazz Hand Lazy Bones Monobrow Mucky Feet Beach Region - 10 - Grockle Bay Beach Region - 11 - Sweaty Palms Beach Region - 12 - Blighton Urban Region - 13 - Pelican Wharf Urban Region - 14 - Rotting Hill Urban Region - 15 - Croquembouche Snow Region - 16 - Underlook Hotel Snow Region - 17 - Swelbard Snow Region - 18 - Roquefort Castle DLC - Tropical Region - 19 - Pebberley Reef DLC - Tropical Region - 20 - Overgrowth DLC - Tropical Region - 21 - Topless Mountain DLC - Dessert Region - 22 - Gold Pan DLC - Dessert Region - 23 - Camouflage Falls DLC - Dessert Region - 24 - Chasm 24 DLC - Eco Region - 25 - Wanderoff DLC - Eco Region - 26 - Old Newpoint DLC - Eco Region - 27 - Windstock DLC - Cultural Region - 28 - Plywood Studio DLC - Cultural Region - 29 - Mudbury Festival DLC - Cultural Region - 30 - Fitzpocket Academy DLC - Time Travel Region - 31 - Clockwise Upon Thyme DLC - Time Travel Region - 32 - Clockwise Before Thyme DLC - Time Travel Region - 33 - Clockwise Above Thyme DLC - Emergency Locations - 34 - Ailing DLC - Emergency Locations - 35 - Betts Shore DLC - Emergency Locations - 36 - Pointy Pass REMIX Stars Before starting any of these i would strongly recommend that you complete the first 6 hospitals just to make life a little easier on yourself these rooms will make them alot easier to comeplete Research Training Marketing R.E.M.I.X Star - 1 - Hogsport Remix Mode Get passed 10 horde levels.Wave - 1 Wave - 2 Wave - 3 Wave - 4 Wave - 5 Wave - 6 Wave - 7 Wave - 8 Wave - 9 Wave - 10 more to come after I've replayed this level to add in rewards and info on each horde R.E.M.I.X Star - 2 - Lower Bullocks Remix Mode Plot 2 Objectives Cure 30 Patients in Psychiatry Cure 10 Patients in Pans LabPlot 3 Objectives Upgrade 3 MachinesPlot 4 Objectives Shoot 20 MonobeastsIllnesses Encountered Clown Clinic Jest InfectionDe-Lux Clinic Headcrabedness LightheadednessPans Lab PandemicPharmacy Bogwarts Lycanthropy Misery Guts Potty Mouth Verbal DiarrhoeaPsychiatry Boggled Mind Freudian Lips Inflated Ego Mime Crisis Mock StarWard Bed Face Jazz Hand Lazy Bones Monobrow Mucky Feet Portishead R.E.M.I.X Star - 3 - Flottering REMIX Mode Target Challenge Mode Train a Staff Member Currency 25,000 Reputation 1Train 2 Staff Currency 40,000 Reputation 1Train a Doctor Currency 30,000 Reputation 1Train a Nurse Currency 30,000 Reputation 1Train an Assistant Currency 30,000 Reputation 1Train a Janitor Currency 30,000 Reputation 1Get a Level 5 Training Currency 15,000 Reputation 2Promote a Staff member Currency 40,000 Reputation 2Upgrade a Machine Currency 25,000 Reputation 1Cure 3 Patients Currency 20,000 Reputation 1Requirements Train 20 Staff Train 3 Staff in Treatment III Cure Rate of 70%Rewards Currency 10,000 Kudosh 500Illnesses Encountered Clown Clinic Jest InfectionDe-Lux Clinic Headcrabedness LightheadednessPans Lab PandemicPharmacy Bogwarts Lycanthropy Misery Guts Potty Mouth Verbal DiarrhoeaPsychiatry Boggled Mind Freudian Lips Inflated Ego Mime Crisis Mock StarWard Bed Face Jazz Hand Lazy Bones Monobrow Mucky Feet Portishead R.E.M.I.X Star - 4 - Mitton University Remix Mode (i wouldnt bother with this until you unlock pest control complete the hospital Flemington first) Requirements Own 8 PlotsRewards Currency 10,000 Kudosh 100Plot 2 Objective Requires Plot 5 Place 7 Server and Super Computer Get a Level 5 ResearchPlot 3 Objective Requires Plot 8 Train 2 Staff in Psychiatry Train 2 Staff in Injection Administration Train 2 Staff in Ward ManagementPlot 4 Objective Requires Plot 6 or Plot 7 Train 20 Staff Generate 2500 Research Points Cure Rate of 70%Plot 5 Objective Generate 450 Research PointsPlot 6 Objective Requires Plot 2 Generate 800 Research Points Time Limit: 180 daysPlot 7 Objective Requires Plot 3 Train 2 Staff in Treatment IIPlot 8 Objective Train 5 StaffIllnesses Encountered Chromatherapy Grey AnatomyClown Clinic Jest InfectionDe-Lux Clinic Headcrabedness LightheadednessInjection Room Litter Bug Pudding Blood Spontaneous CombustionPans Lab PandemicPest Control Animal MagnetismPharmacy Bogwarts Lycanthropy Misery Guts Potty Mouth Verbal DiarrhoeaPsychiatry Boggled Mind Inflated Ego Mime Crisis Night FeverWard Jazz Hand Lazy Bones Monobrow Mucky Feet R.E.M.I.X Star - 5 - Tumble REMIX Star you have to complete ten horde waves Illness Waves De-Lux Clinic Headcrabedness LightheadednessFracture Ward Broken Face Cross Bones Humerus Injury Hurty Leg ShatteredPans Lab PandemicPharmacy BogwartsWard Portishead R.E.M.I.X Star - 6 - Flemington Remix Mode Initial Objectives Lure & Cure Complete an Illness Marketing Campaign Cure 4 Patients in PharmacyREMIX Star Requirements Get Balance to $350,000 Conduct 25 Months of Marketing Cure Rate of 70%Rewards Currency10,000 Kudosh 100Side Quests (up to 3 rewards for each ranging from 30'000 to 70'000 currency) Timed Side Quests (150 Days) Cure 3 - 5 Patients in Pharmacy Cure 3 - 5 Patients in Injection Room Cure 3 - 5 Patients in Psychiatry Cure 3 - 5 Patients in Ward Cure 5 Patients in Fracture Ward Cure 3 - 5 Patients in De-Lux Clinic Cure 3 - 5 Patients in Clown Clinic Cure 3 - 5 Patients in Pans Lab Cure 3 - 5 Patients in Chromatherapy Cure 3 - 5 Patients in Pest ControlSide Quests (No Time Limit) Launch a Marketing Campaign Launch 3 Marketing Campaigns Complete a Marketing Campaign Complete an Illness Marketing Campaign Complete a General Marketing Campaign Train a Staff Member in Marketing Train a Staff Member in Marketing II Train an AssistantIllnesses Encountered Chromatherapy Grey AnatomyClown Clinic Jest InfectionDe-Lux Clinic Headcrabedness LightheadednessFracture Ward Broken Face Cross Bones Humerus InjuryInjection Room Decision Rash Mood Poisoning Rock BottomPans Lab PandemicPest Control Animal MagnetismPharmacy Clamp Lycanthropy Potty Mouth Verbal DiarrhoeaPsychiatry Mime Crisis Mock Star Night FeverWard Bed Face Lazy Bones Monobrow Mucky Feet