I explain how to S-rank every mission. A Hideo Kojima Guide Throughout this guide I will often refer to higher-grade weapons and gear. I highly recommend doing each mission first at your own pace and coming back to S-rank it once you understand the objectives. This guide will be explaining things in terms you should understand if you have already completed the mission before, not a step-by-step for a first time playthrough. You need 130,000 points to get an S rank! Please note: There are many ways to play this game so I cannot cover every possibility. I will however accept any easier tips if someone found a way to complete a mission much easier than I did. These explanations and tips are from my experience as these are the directions to how I completed them. A good general tip is to do each mission as quickly as possible. To continue on the topic of the time bonus, skip cutscenes whenever possible. Time during cutscenes still counts toward the end of the mission, so watching any cutscenes fully will lower your time score at the end. A note on retries: Don't worry about retrying a lot. I found it better to play risky while stealthing and just retry from checkpoint if I messed up. If I was successful in keeping stealth, I saved a ton of time and now have a new checkpoint. You don't need to restart the mission if you get spotted since the "No Retries" bonus is usually 10k, and being quick can net you way more points. Tip 1: Fultons are noticed at 30m. Walking is noticed at 8m. Crawling is completely silent. Tip 2: CQC choke-holds are completely silent. (Just be careful of your footsteps). Tip 3: You can fulton out of a hot-zone on a resource container with at least Cargo+2, just make sure it's in the center and quickly hold the action key. One way to S-rank most missions is to get the No Traces bonus, which, along with Perfect Stealth/No Kills will automatically give you an S-rank regardless of time. No Traces requires that: No CQC (hold-ups are allowed) No direct physical contact with enemies (aka bumping into them) No weapons or bionic arm attacks No support weapons, including empty magazines No attacks from buddies No supply or vehicle drops (Credit to Prenatual) In short, do not press the trigger button and do not get seen. Equipment / Sortie / Buddy For a majority of this guide I use the same sortie. Camo: I only use the Sneaking Suit. For everything. In boss battles, the health regen is really helpful compared to the Battle Dress, which takes ages to fully recover. Buddy: I either used D-Dog, or no buddy at all (i.e. for the Sahelanthropus fight). I never used D-Horse after unlocking D-Dog, but defecate is still useful against vehicles. I never used Quiet if I wanted to S-rank a mission because: Even though her shots can be silent, they can put enemies on alert if their comrade sees another fall asleep. Also helmets ruin everything. She does not mark enemies if they are inside buildings/being hid behind a hill or wall. Sometimes I think she marked everything when suddenly there's an unmarked guy behind me. She becomes unusable eventually.I only used D-Walker once, and I find it to be a necessity to max his Gatling-Gun/Armor even if it's just for that single mission. Primary 1: AM MRS-4 is the standard/starting assault rifle in the game. I don't actually use it too often, but I'd rather have a silenced weapon equipped than a loud non-lethal one. If anything, I use it to shoot the soldier's leg and tell him to drop his weapon. RASP TB-SG SB is a short-barrel sawed-off shotgun. I prefer this shotgun because of the massive damage it deals at close range. I mainly use this for Skull fights. Primary 2: M2000-NL is the silenced tranq-sniper rifle. A necessity if you are doing a mission with the intent of being stealthy. A simple shot in the leg will down a soldier in 2 seconds. CGM 25 is a homing rocket launcher. I would recommend getting it to 6* as quickly as possible as it's the best for dealing with anything requiring a launcher. SERVAL AMR-7 is the highest DPS sniper rifle because it is automatic and not bolt-action. I mainly use this on Skull fights. Secondary 1: WU S. Pistol (AP). I have the silenced Riot SMG which stuns, but I personally don't see the point when 2 shots in the leg is an instant-down with the WU. Personal preference I guess. Secondary 2: Bionic Arm with any upgrades you have attached. No need for an explanation, more sprint speed, higher fulton speed, etc. Knocking is useful for luring enemies outside of a building. Optional Support Items: C4 for certain missions. EMN Mines to stop vehicles in their tracks for easy fultoning. Noctocyanin if you don't want to use D-Dog. NVG if you want. Decoys to get the attention off of you in Skull battles. Cardboard boxes of your choosing if you are used to stealthing that way. Magazines always for luring or DING. Prologue: Awakening The key to this mission is to do it as fast as possible. Skip every cutscene when you can and just follow through with the scripted events. Once you reach the ending lobby with several soldiers, fall to the right to avoid the soldiers and make your way to quickly trigger the next event at the doorway. Skip the cutscene and quickly trigger the last event at the crumbling rocks. For extra points, you can disable Reflex mode to ensure an extra 5,000. Episode 1: Phantom Limbs It starts you off with D-Horse, so bring Noctocyanin. If you switch out D-Horse for D-Dog, D-Dog's vision on all of the enemies make it easy to avoid almost every single one of them on your way to rescue Miller. Entering through the east side is the easiest as there are hardly any guards there. Once you free him, change the helicopter LZ to the right-most location, avoiding the encounter with the Skulls which saves time. The basic trick is to move quickly without being spotted. Pre-preparation helps if you disable the lights of Ghwandai Town during free roam. Episode 2: Diamond Dogs Unranked. Episode 3: A Hero's Way Get to the village quickly. You can either sneak in and extract him to get the stealth bonus, OR you can quickly snipe him with a suppressed lethal sniper rifle from at least 100m and leave the hot zone immediately. Episode 4: C2W IMPORTANT: Do NOT start this mission if you recently destroyed the comms equipment at the Eastern Communications Post. It will give you a - rank and (as of making this guide) you will never be able to S-rank this mission, even if you eventually S-rank it in the future. Also, do not immediately retry this mission if you do not S-rank it on your first try. Let a few in-game days pass for them to repair the equipment. 1) An easy trick is to just squirt each satellite with a Water Pistol. It seems like they do not notice the equipment being destroyed unless if they are 15m or closer. 2) You can also plant C4 on each satellite (3 of them) and walk 200m~ away, explode them all and leave the hot zone ASAP. You still get the "Perfect Stealth/No Kills" bonus. Episode 5: Over the Fence A simple rescue mission. D-Dog for stealth, D-Walker for a loud rush. It's possible to just rush this by just sprinting in and sprinting out. Just don't kill anyone (tranq if they're bothering you) and disable Reflex mode for additional points. You can also save the random prisoner above the main gate for 5k more points. Alternatively, if you have the wormhole fulton, fulton the prisoner as soon as you find him and head back to the resource containers. If you didn't grab them yet, climb on top of one and fulton it. Press the action key while on top and you'll exit the area. If you would like a guide on stealthing this, see my tips for Episode 39. Episode 6: Where Do The Bees Sleep? Start off by bringing a shotgun as your primary. Bring the M2000-NL as your second primary and try to maximize its usage before you swap it out for the Honey Bee. Rush toward Da Smasei Laman/Da Smasei Fort and get there before the 3 soldiers escorting the prisoner get there. You can also stop them and save the prisoner for an extra 5,000 points so you don't have to race them to the Fort. Once at the Fort, you don't need to neutralize any soldiers on your way to the cave. If you are quick enough, you can get inside the cave before any of the guards which makes everything a cake-walk. Once you grab the Honey Bee, follow the water and leave the cave through that exit. Switch to your shotgun and wreck the Skulls with it. The RASP TB-SG only requires 2 shots. Time + the 50k Skull bonus + the Honey Bee ammo bonus should give you way more than you need for an S rank. Episode 7: Red Brass Rush toward Wialo Village, the meeting place of the 3 commanders. They all arrive at different times, so it is entirely possible to tranq each of them + their guards before the next one arrives. D-Dog helps in locating the guards that originally spawned inside Wialo Village to get rid of them before the first commander. You can either fulton them quickly or leave them as bait to tranq the other commanders as they arrive as well. Either way, you're going to have to tranq a lot of people in this one. I personally recommend fultoning the first ones as they arrive to avoid them waking up before/as the 3rd commander arrives. Episode 8: Occupation Forces Start by grabbing EMN Mines. They can be used to stop and fulton the vehicles with a lower chance of being caught. 1) Head toward Sakhra Ee Village immediately and get to the intel file located on the highest building near the center. Avoid contact while getting to the intel file, D-Dog should help a lot. Once you grab the intel file, the vehicles will start moving from the north. If you make it out of Sakhra Ee Village quickly, head north to meet them half-way. There is always 1 guard at the outpost north of the village, so be wary of that. If you want to play it safer, wait for them to pass the village and leave an EMN Minefield waiting for them. Start with the back-most vehicle and make your way forward. You can also shoot the back-most vehicle with a silenced piercing weapon (no tranq weapons) and it will (most of the time) only attract that 1 vehicle and cause it to stop, giving you time to fulton it. Repeat until you fulton all 3. 2) If you want to skip the intel file entirely, simply start the mission on the west-most LZ. Head north up the road and follow it west. Half-way between the two outposts there will be an empty house. This area can also be pin-pointed by a Black Carrot on your iDroid. You're in the right area if Miller asks "Where are you going?".
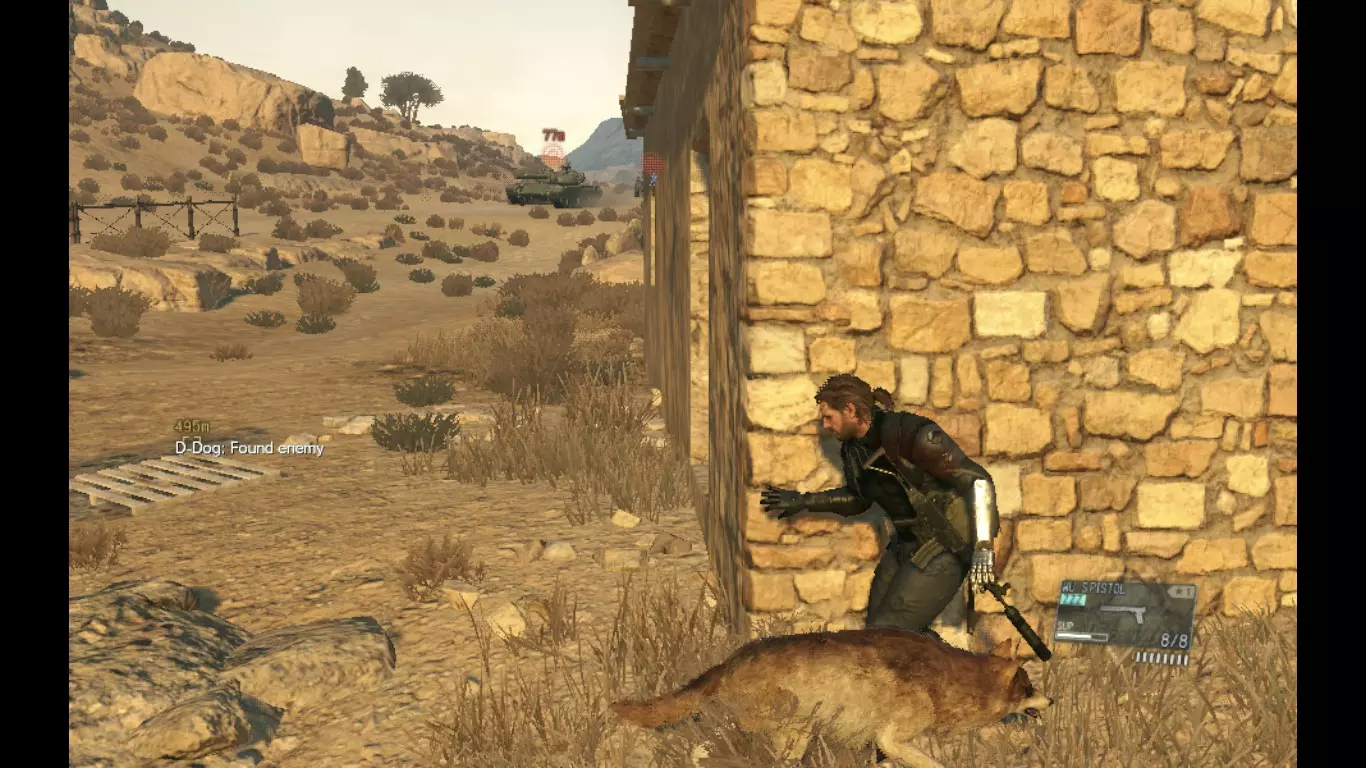
通过该区域后,坦克将开始沿常规路线移动。使用D-马(D-Horse) blocking道路将有助于至少确保1个。 第九关:支援撤退 这是少数无法仅靠时间达成S级评价的任务之一。要获得S级评价,你需要处理掉每一辆载具或达成无痕迹(No Traces)。总共有11辆载具。我建议以配备直升机可用的火箭发射器(如CGM 25)开始任务,或者只携带幻影雪茄(Phantom Cigars)的极简装备。 1. 简单方法:采用极简装备。强烈推荐潜行服以掩盖脚步声。只携带幻影雪茄。从补给前哨站上方的着陆区(LZ)开始。向南跑向前哨站,设法进入前门。忽略前面的守卫;他从不向后看。向驻扎在前哨站内的红色坦克爬行,对其进行 Fulton回收后离开。返回你的初始着陆区并趴下,抽雪茄直到15分钟结束。通过陆路(向北)或直升机撤离热区,【无痕迹】奖励将给予20万。 记住,不要按下扳机/开火按钮,否则【无痕迹】奖励将不被计入。 2. 如果你想按任务预期进行,从补给前哨站北侧开始任务,Fulton回收前哨站内的红色坦克。获得红色坦克后向南前往另一个着陆点,那里有一座小桥和越野路径起点。
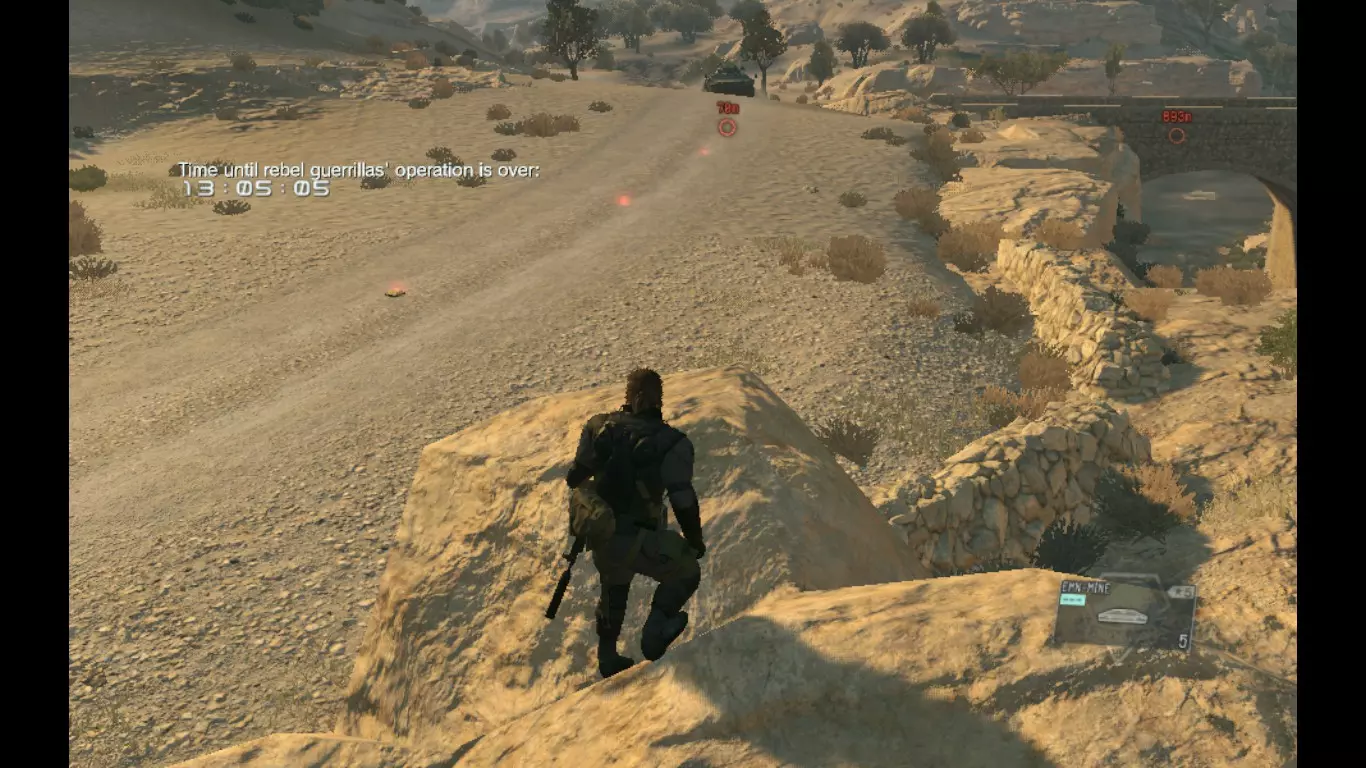
现在你可以在小桥附近的这条路上设伏。放置你拥有的任何地雷(无论你想进行 Fulton回收还是单纯摧毁,两种方式都可行),并守卫这片区域以及第二辆载具将要经过的小路。 注意,使用消音的穿透性武器(非麻醉武器)向载具射击,可使其停下且不会立即触发警报,这能让你在载具察觉前有机会进行Fulton回收。即便载具发现了你,也不会惊动其他单位。 摧毁或Fulton回收前三个目标后,再次前往补给前哨站的北部(靠近你起始的位置),在那里也布设一些地雷,以应对运送囚犯的车辆。在囚犯的车辆上使用EMN地雷,确保其安全,同时也能拦截后续到达的车辆。
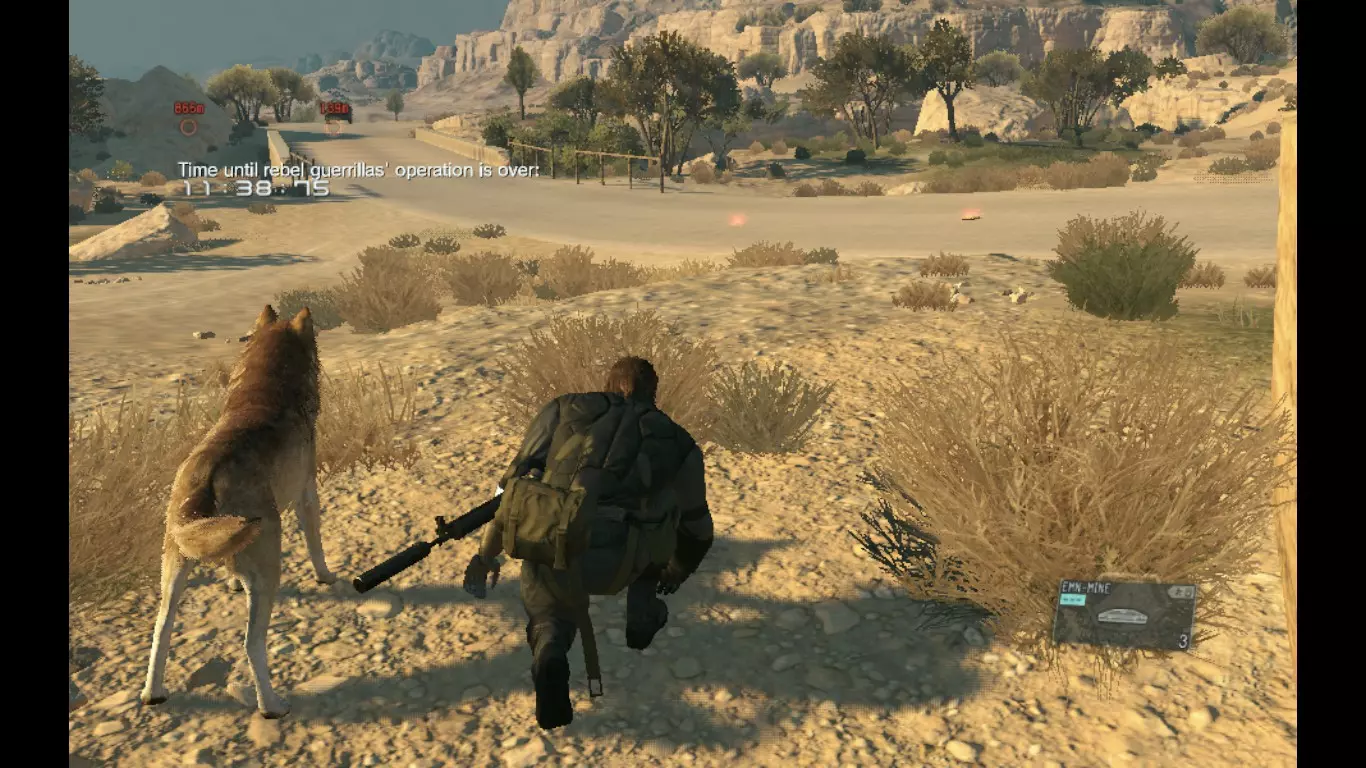
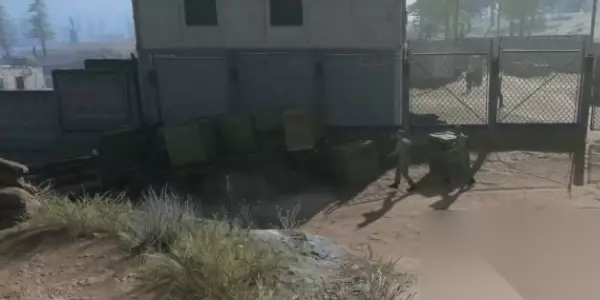
如果车距差距较大(700-1000米以上),就回到小桥那里,在那里再观察一会儿。 最后两辆车应该走第二条路线(如图所示),你可以一个接一个地解决它们,让它们互不知情。 完成后,等待最后四辆车到达(3辆坦克和1架直升机)。CGM 25能轻松击落直升机,而且不会让你的位置暴露太多(它们大概2分钟后就会放弃)。现在你可以从容地追踪最后3辆坦克了。它们都有各自(且奇怪)的行驶路线,但会一直绕圈,每隔一分钟左右就停下来观察四周。无论如何都要避免被它们发现。这不仅会让捕获变得困难(不知为何它们速度很快),而且它们很可能会杀死你,导致你需要从检查点重试。 第十关:折翼天使 一个简单的救援任务。 1) 迅速前往拉马尔·卡哈特宫,并小心任何地雷。如果你追求【完美潜行/无击杀】,其他囚犯并非必需。你只需在那4-5名士兵上车前用麻醉枪放倒他们。 在引发一连串怀疑之前,尽量先解决那些戴头盔的士兵。记住,消音麻醉狙击枪射中腿部时,能在2秒内放倒敌人。如果他们都穿着防弹衣/头盔,最好瞄准腿部以确保不会打偏任何一枪。 之后你就可以带上马拉克跑到沙漠中,等待直升机安全接走你们。2) 或者,你可以使用D-Horse在 Lamar Khaate宫前方的道路上排便,这会击倒车辆内的所有人,从而轻松带走Malak。确保你不在其他士兵的视野范围内。 不要在Malak还在车后座时对车辆使用 Fulton 回收。他会掉到地上,可能会惊动更多士兵。 第十一章:寂静伪装 希望你第一次完成这个任务时没有杀死她,因为这会导致第四十五章永远无法出现。 一把普通的狙击步枪就能快速杀死她以获得S级评价。你也可以呼叫两次补给投送来击晕她以获得额外分数。她总是从同一个位置开始。 第十二章:地狱归来 开始时使用你的麻醉狙击枪。无视所有直升机,只需蹲下,它们就永远不会成为问题。确保不要在中央基地营触发任何战斗警报,因为这会自动导致无法获得S级评价,警报结束前埃默里希的门会一直锁着。 提前准备对这个任务帮助很大。如果在自由漫游期间关闭发电厂和中央基地营的所有灯光,任务就会变得非常轻松。 尽快从左侧离开发电厂。当直升机在带有卫星的建筑上空盘旋时,从下方潜行通过,因为它看不到下方的任何东西。 一旦离开,就快速奔跑或骑D-Horse前往中央基地营(不过骑D-Horse时要小心路上的前哨站和随机出现的守卫)。我建议从右侧桥下进入,解决掉那1名守卫后进入破损的机库。如果灯已经熄灭,大部分路程你都可以蹲下潜行。悄悄前往埃默里希的机库,解决掉2名守卫后进入。 我建议直接 Fulton回收埃默里希的机甲(或无视它),因为在需要逃离沙赫兰普斯的过场动画结束后,动画会自动将你和埃默里希带离机甲。 sprint到沙赫兰普斯下方并向左,在岩石之间穿行。跑一会儿后,你可以将着陆区切换到正确位置。如果沙赫兰普斯在着陆区附近发现你,只需从最近的检查点重新开始,因为它需要几分钟才会离开该区域。如果你装备纸箱,就可以使用纸箱投递系统从发电厂前往中央基地营。(感谢评论区用户GenericName提供的信息。) 第十三章:漆黑 这个任务非常容易速通。直接无视第一个村庄里的孩子,径直前往姆芬达油田。 如果你从右侧抵达,先关闭油田;如果从左侧抵达,先放置C4。你可以从油罐下方悄悄靠近,轻松放置C4而不被发现。 如果你拥有【货物+2】或【虫洞】,待在基地内,前往其中一个资源集装箱。站在集装箱顶部引爆C4,跳过过场动画后,你就能通过集装箱离开。
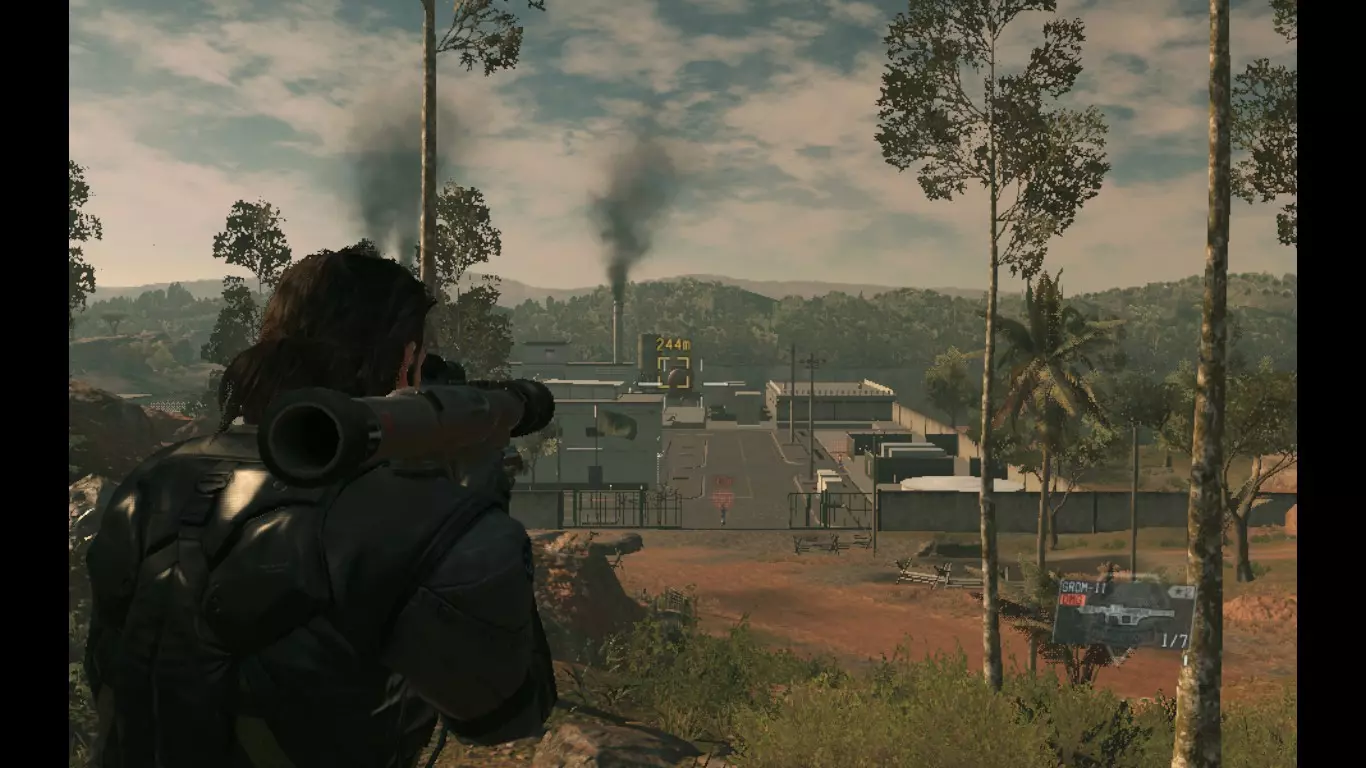
You can also shoot a rocket at the red oil tank from the eastern exit instead of planting C4. Exit through the right side (east) and hug the hill to your right as you exit. You can detonate your C4 or shoot your rocket now. After the cutscene, you can sprint for about 10 seconds toward your east (still hugging the wall) and stop once you see the walker-gears and soldiers approaching. Simply sneak behind them and exit by land for the extra time boost. Episode 14: Lingua Franca Simple rescue mission. Just tail it to Kiziba Camp and rescue the prisoner located underneath the wooden boards near the cages. Pre-preparation helps if you take out the lights of Kiziba. Episode 15: Footprints of Phantoms This can be done quickly by crawling to each of the 4 walker-gears and placing a C4 on each of them. Once far enough, detonate them all and leave the hot zone. Otherwise, simply tranqing the 5-6 guards near the walkers works. CQC the riot gear soldiers after the ones near them are downed. Episode 16: Traitor's Caravan Start off with a shotgun/rocket launcher/sniper rifle, as you will need to eliminate the Skulls. Simply head toward the Nova Braga Airport and either set up an ambush for the truck as it leaves the airport or head inside to find the truck yourself. Try not to get seen by anyone before you activate the cutscene revealing the Skulls to keep your stealth bonuses. Kill the Skulls for 50k and your bonuses should get you an S. Episode 17: Rescue The Intel Agents I highly recommend D-Dog or Noctocyanin. Head for the forest prisoner first. You should be able to get him without much hassle if you are quick enough to the forest. Don't worry if your fulton makes noise when extracting him, just crouch out of there and you'll be gone before they can check it out. Head to Kiziba now to rescue the second agent. This one is just a simple rescue so just get him and get out. Getting any combat alerts will most likely result in a failure to get an S-rank. Episode 18: Blood Runs Deep There are 3 ways to do this one: 1) Stealth it with little worry on time. You can take out the lights in free roam to give you an easier time at the beginning. If you are stealthing, make sure to fulton everyone or let anyone you do not fulton drown in the river (just have them face first in the water while stunned). If you are doing this method, you do not want any combat alerts. Checkpoint retries are acceptable. 2) Loud with pre-preparation. Take out all of the communication dishes (to avoid reinforcements) in free roam and kill everyone during the mission. Make sure you have a rocket launcher to get rid of the helicopter if you are doing this method. Be as fast as possible. You should barely make an S-rank because of the kid's prisoner bonus. 3) Cheese it with child+ or (preferably) wormhole fulton. Once you eliminate or extract the first commander, head to the mine. You will only need to take out 3-4 guards at most, the others you can ignore. Once you find the kids, tranq the 5 healthy ones with headshots and wormhole fulton all 6 from the cave. Remember to tell them to Wait before you get close to them or they will start running outside. After you fultoned all of them, you can just leave the hotzone by fultoning any of the containers inside the base. If you do not have the wormhole fulton, you're going to have to bring the injured kid to a helicopter and exit by heli as well. Episode 19: On the Trail Stealth is highly recommended. Just watch the subordinate from afar until he reaches the hill of the meetup. (He changes cars once, then meets with the Major). Go on the hill overlooking the meetup. You can easily takeout the major before the subordinate walks up to him. Lethal is not recommended as the timer would already be near 10 minutes before the meetup. It's possible, but you need to leave before you get the combat alert. With a suppressed tranq-sniper, you can easily knockout everyone at the meetup to avoid getting caught fultoning/alerts. Remember to shoot the legs if they have armor. Episode 20: Voices Start off with a grenade launcher or rocket launcher. Rush to Ngumba Industrial Zone without much confrontation. There are a few solo soldiers on the way that can easily be put to sleep/fultoned without any trouble. Go straight inside and skip the cutscenes. Once the Man on Fire blocks the tunnel, go toward either of the 2 water towers and wait for him to spawn next to you. Shoot a grenade/rocket at it when he's near it and call your helicopter. You can fulton him to ensure he doesn't get back up, otherwise take him to the other water tower and repeat. If you stealthed it correctly, you will still get the "Perfect Stealth/No Kills" bonus. Episode 21: The War Economy This can be done lethaly if you are quick enough. Simply snipe him before the Arms Dealer's helicopter lands and the time bonus should be enough for an S-rank. The same can be done in stealth if you have the wormhole fulton. Just sneak inside, fulton the CFA official and get out. You can take care of the walker-gears if they're troublesome. You should only need to get rid of 2 at most. If you have the cargo+2/wormhole fulton, you can exit through any nearby resource containers for a quicker get away. Just climb on top, fulton, and hold the action button. Careful of the sniper located on the helipad. The best way to deal with him is to just tranq/kill him with a sniper rifle, rush in for the CFA official and leave. Episode 22: Retake the Platform Unranked. Episode 23: The White Mamba Going stealthy ensures an S-rank. You can tranq all of the kids that stand in your way and not worry about fultoning/combat alerts because they don't have a radio. It's also easy to move quickly because you can just down everyone and move forward. Just head straight for Eli and go next to one of the doors that expose him, crawl on the floor to avoid detection, and shoot him once in the head. Not only do you also get the bonus objective, but it saves you a couple of minutes and your stealth bonus. If your headshot doesn't count, simply restart the checkpoint. Episode 24: Close Contact Simple rescue mission. Just focus on getting the 2 prisoners and the time bonus should help you a ton. Episode 25: Aim True, Ye Vengeful Pretty straight forward and easy to stealth. Similarly to The White Mamba, tranq all of the kids because they don't have radios. The child-fulton makes this much easier as well. At that point it's just target practice. Episode 26: Hunting Down It's very possible to accomplish every side-objective and get an S-rank. The 4 prisoners in Ditadi are an easy 20k if you are not caught saving them. You can also get the intel file to see the path the trafficker is taking and just wait in the middle of the swamp for him to appear. Just snipe him and his team to keep the stealth bonus and mission accomplished. Night vision goggles also help spot your target early. Episode 27: Root Cause This one all depends on time. If you can catch the intel agent before he gets in the truck, then it's a guaranteed S-rank. Just don't be too reckless. Keeping your stealth bonus even after he gets into the car accident is also S-rank potential. Episode 28: Code Talker Make sure you bring a shotgun or a suppressed sniper rifle. Lethal or non-lethal works. Head straight toward Lufwa Valley. Run on the river before the Skulls appear and they won't see you until they move positions. Climb up quickly and fight them off at the top of the mountain for a quick and easy battle if you have the shotgun. If you prefer a sniper battle, it'll take 12 shots to take all 4 Skulls down. Once they're eliminated (+50k points automatically), stay on the left side. Sneak your way into the basement by tranqing the 2-3 guards at the door (they don't need to be fultoned because they'll disappear during the Code Talker cutscene). When you regain full control, lay Code Talker down somewhere and take care of the few guards standing outside by throwing magazines or making noise with your bionic arm. You can call your chopper when you get on the hill to see where the LZ is. The soldiers don't care about your helicopter for some reason so just stealthily make your way to the LZ. Episode 29: Metallic Archaea Start off with a shotgun and the Serval sniper rifle. D-Walker is also a good alternative, just avoid the gas. Focus down 1 at a time. Remember not to use Quiet. Episode 30: Skull Face Incredibly easy if you destroy all of OKB Zero's lights in free roam beforehand. 1) If you are more comfortable stealthing, just stick to the right side and crawl. It's possible to crawl the entire way for "No Traces", but it's just easier to tranq-on-the-go and not look back. Each gate is a checkpoint also so it's very easy to just breeze through. While it's possible to just run like a mad-man to the end, the walker-gear, tank, and sniper at the final gate have a high chance of killing you. 2)* The alternative to stealthing is to use D-Walker and make a break for the staircase at the end. His armor/protection should be enough to cover you until the end. (Credit to joxertm22 in the comments.) Make sure to skip the cutscene of Skull Face's beautiful "Snake Eater ladder speech" for extra time points. Episode 31: Sahelanthropus With a 6* CGM 25, it's possible to kill this bad boy in less than 30 seconds. Just send a flare supply as soon as you start and let 'em rip. If you don't have a 6* CGM 25, a 4* GROM 11 or any 4-5* launcher for that matter should do the trick in about 2 minutes. Just pick the one with the highest damage output. Tanks and D-Walker are also viable until he rusts everything out. If he jumps far away, just hide behind the hill/mountain. Sometimes he will shoot his laser completely away from you, meaning he doesn't know where you are. If you need tips on specifics, Ep. 50 of this guide has some more information. Episode 32: To Know Too Much Probably the easiest mission in the entire game to S-rank. Just run straight for the objective location, fulton him, and leave. Ignore everything and stay at least 40m away from the walker gears if they are facing you. Episode 33: [Subsistence] C2W This one's a bit tricky. IMPORTANT: Don't destroy the satellites before you start the mission. Similarly to Ep. 4, it will finish the mission instantly and ruin your chances at S-ranking it. 1) On your way to the Eastern Communications Post, there are a couple guards near an abandoned house. If they are separated, crawl behind them and get them in a choke-hold. I recommend knocking them out and fultoning them so you keep the "No Kills" bonus (also a potential "Perfect Stealth/No Kills"). Take their guns and head to the Eastern Comm Post. This is where the tricky part comes in. Hover over all 3 satellites with your binoculars so you know exactly where to aim because once you start shooting, there's no going back. Start on the top-most satellite and work your way down the hill. Be sure to stay crouched/prone to avoid detection for as long as possible. If you're lucky, you can have/wait for a sandstorm to approach, drastically increasing your stealth potential. Otherwise, just be quick and get the hell out. 2)* Another tactic would be to select the starting LZ directly over the Eastern Comms Post and when the heli gets close, quickly shoot out all the antennas with the minigun. After that, switch sides on the chopper to avoid being seen or hit by the infantry gunfire, and the chopper automatically loops and exfiltrates. It can be done in pretty much less than a minute, and S ranks even if you are spotted. There's no need to kill anyone so it grants full stealth, no kills very easily. Just remember to shoot out the antennas as soon as possible. (Credit to Big Boss (Chow Mein) in the comments.) 3)* You can also interrogate the two guards on the road for the location of the transmitter (blue rectangular box), which is inside a building. You only need to destroy it, rather than all three dishes. There are some grenades in the small wooden shack, so if you crawl across the road and pick them up, you can then throw one through the window to destroy the transmitter equipment and get away pretty stealthily. (Credit to Lion in the comments.) Episode 34: [Extreme] Backup, Back Down This is very similar to Episode 9. Just apply the same strategies and make sure you get all 11 vehicles or do the cheese correctly. You can look at my Ep. 9 description for the tips. Because it is Extreme mode, note the view distance on each soldier is a little farther and tanks will 1-shot you. Episode 35: Cursed Legacy This is a pretty easy mission. When you start off, find the soldiers on the small balcony. If you tranq one, it will distract the other, giving you time to put him in a choke hold and interrogate him. Once you have the location of the containers, make your way into the forest. D-Dog/Noctocyanin/NVG helps avoid running into any soldiers in the forest, allowing you to sprint. Each container is guarded by riot-gear soldiers. They'll generally be on opposite sides but they can sometimes go to the other and have a chat. You can avoid this by throwing a magazine, getting the attention of 1 and putting him in a good place to choke-hold/knockout. Once one is down, just crawl behind the other and do the same. Secure the first container. On the second container, you can easily cheese it. Just sneak up to it, climb on top of it, and fulton it from the top. It'll prompt you to hold the action key again and poof, you'll be warped/fultoned out of there. Episode 36: [Total Stealth] Footprints of Phantoms This is similar to Episode 15, except 50% of the guys will be wearing riot gear/body armor. Start with C4 and make sure it is past 18:00. Make your way quickly to the Abandoned Village. You want to enter from the right side (not the area where the prisoner/broken down houses are). I found it easy to go up in between the 2 tents for the first pair of walker gears. There should be 3 soldiers on your right; 1 on the hill behind the walker gears, 1 riot gear in front of the walker gear, and another soldier on the opposite side of the tent. Use magazines to make all 3 soldiers look away from the walker gears and place your C4 quickly while prone. Alternatively, If you take out the farthest soldier with a tranq, it will draw the attention of the other 2. If you take him out when he's far away (maybe 25m away from the tent), you can sneak around the front of the tent and choke-hold the other 2 (starting from the back-most first). Remember, choke-holds do not make any sound at all, so use this to your advantage. Crawl up the hill and approach the next 2 walker gears from behind. Stay prone and stay in grass as much as possible. If any of the guards get suspicious, press the action key to put your head down or quickly throw a magazine behind them. Place the next 2 C4 and exit toward the broken down houses/further up the hill. Once you're 250-300m away, you can blow all 4 up and exit the hot zone by land. Episode 37: [Extreme] Traitor's Caravan You don't need to do any searching or stealth. Just head straight for the Nova Braga Airport. 1) Start off with active decoys. Weapons don't matter because you will be avoiding the Skulls. If you are ambushing, just wait a couple minutes for the truck to leave. The caravan will always exit the airport from the west-exit. You can set up an EMN Mine on the road a little outside of the airport. If you are afraid of getting caught by the Skulls (I had to retry like 5 times), run about 500m north and it should trigger a checkpoint to lessen the wait-time for each retry since the cutscene where the Skulls are discovered does not activate a checkpoint. Once the caravan starts leaving the airport, stay about 30m away from the road to avoid getting caught by their headlights. After the first tank hits your EMN Mine, crouch/crawl toward the truck holding the Skulls. When the cutscene is over, stay prone and call your chopper to one of the locations in the middle of the fields. Now throw your decoys toward the airport/opposite the direction from your LZ. Once the Skulls are occupied, crawl toward the truck and fulton it. 1 or 2 may be notified by the sound of the fulton, so crawl backwards immediately. If they catch you, you can try to just make a break for your helicopter (which should be almost ready for pick-up). 2) Alternatively, you can fight the Skulls. Simply run inside the airport and search for the vehicle. It will be parked in the back corner. Look at the tips listed under Episode 42: Metallic Archaea for fighting the Skulls on Extreme. (Credit to Snorkofob). Episode 38: Extraordinary Just do this quickly while avoiding contact. Tranq anyone if you enter Reflex mode. You should be able to find the canister before reinforcements arrive. Bring D-Dog or Noctocyanin to easily spot every guard in the area looking for the film. It's much easier to avoid them when they're all highlighted. The film canister spawns in 3 potential locations; 1) Next to a pot on the floor on the north side. 2) In a crack in the wall near the center of the ruins. 3) In a shelf-like spot on a square column on the south side. Bring NVG. The canister glows yellow similarly to a mortar. Episode 39: [Total Stealth] Over the Fence The wormhole fulton will help very much in this mission. Similarly to Episode 5, quickly make your way to Wakh Sind Barracks.
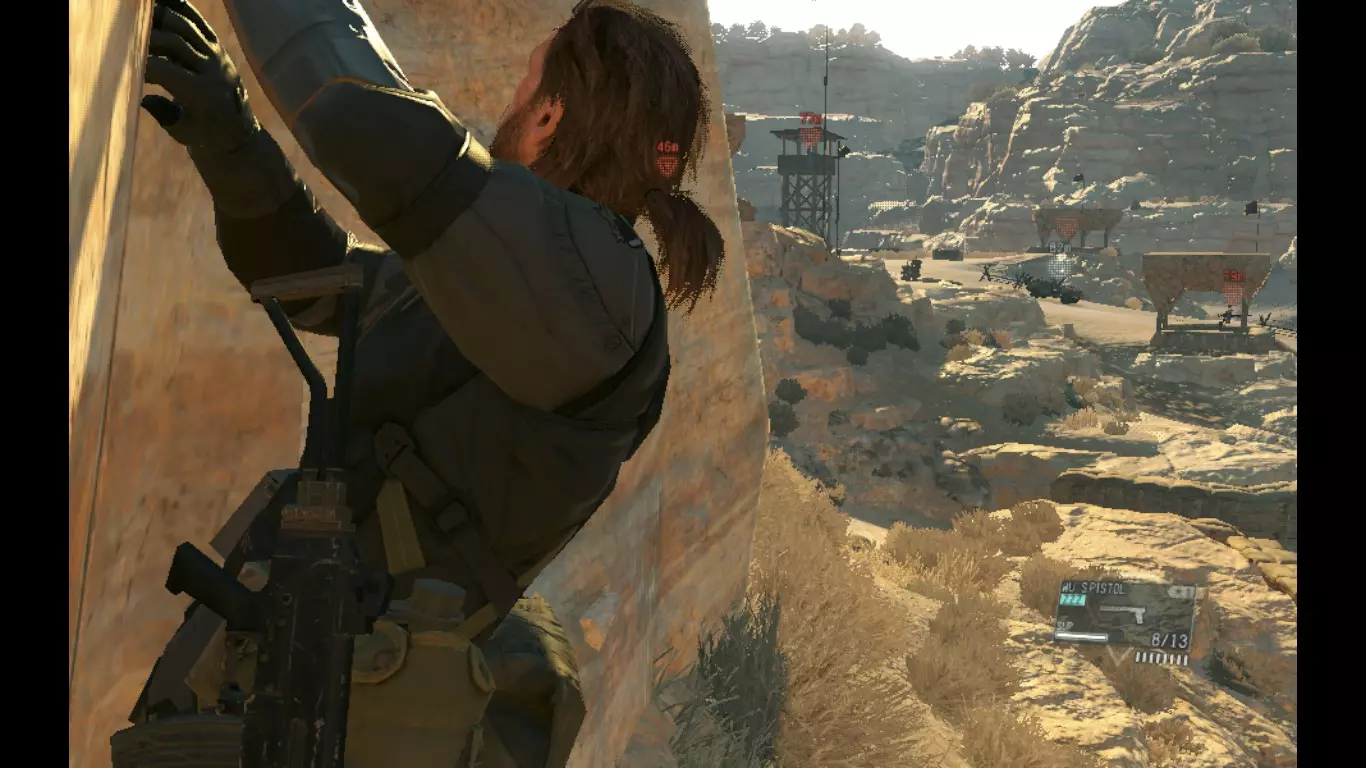
If you enter on the left side, there should be a crack in the wall near 2 Black Carrots. Climb up that to skip a majority of the guards. There is usually a guard in the small hut as you are coming up the hill, so be wary of him. Once up the hill, you can head toward the prisoner. If there are no guards 30m away, you can fulton him safely without them noticing. Head back to the resource containers. Crawl toward the building containing the prisoner and choke-hold/tranq anyone in your way. Remember, crawling is completely silent. Be wary of the lookouts at the very top of the building when taking anyone out. I highly recommend taking out the guard stationed in the basement with Malak. If you have the wormhole, you can simply fulton the prisoner without moving him. Then (if the resource containers are still there), you can climb on top of a resource container and exit by fulton. If not, you can try to fulton the prisoner out of the hole in the building for some easy extra points. Even if the fulton alerts some guards, you should be able to leave the building before they go investigate. I recommend leaving from the same area you entered from. Just go down the hill (slowly) and watch for sharp drops. Episode 40: [Extreme] Cloaked in Silence Many people apparently have trouble with this mission. For this you will be using a tank. Plain and simple. You can either use D-Dog or Noctocyanin to help locate Quiet. Bringing decoys helps too. The TT77 NOSROG or M84A MAGLOADER works for this technique. You can either spawn them in from the sortie or call them via support helicopter as soon as it starts. The tanks will occassionally spawn in dumb places, so just hope it spawns near the entrance (behind where you start). You can use decoys to lure Quiet's attention away from you while you run toward the tank. From there, just stay out in the open and wait for her to show herself. It takes 9-13 shots, but the tank should hold up long enough for you to kill her. Episode 41: Proxy War Without End Pretty much an easier version of Ep. 9: Backup, Back Down. Make sure you bring a rocket launcher for the helicopter (CGM 25 is the best option). 1) You can clear the outpost near your starting LZ easily before the first tank arrives. This will make everything less risky. There are 6 guards. The first tank arrives from the north side. You can just wait for it to stop inside of the outpost and then fulton it from behind. The same can be done for tanks 2 and 3. Let them drive into the outpost and they will stop in the center of it. Just go from behind and fulton each one out. Be aware that the 4th (final) tank will not stop at the guard post, so you will have to EMN mine, block its path, OR get its attention to make it stop (if you want to fulton it). Finally just shoot the helicopter with your launcher and exit. 2) Alternatively, you can just avoid the outpost. Head north immediately after landing. You can easily shoot the lonely tank on the road with an assault rifle once to make it stop, then fulton it. Head toward the other 2 tanks' path and set up an EMN mine on the road (not near the outpost). Fulton the one from behind, then the one that got EMN'd. The 4th will come from the north again and you will have to make it stop by shooting or trapping it on the road (again, away from the outpost). Then just take out the helicopter away from the outpost. Episode 42: [Extreme] Metallic Archaea 1) This is another one of those infuriating missions, so I hope you maxed out D-Walker. I haven't tried his other weapons, but the Gatling Gun with 1500 ammo is just enough to finish 3 of them. The last one can be taken care of by a Serval sniper rifle or shotgun. The trick to this is to strafe. Constantly. At the very beginning you want to shoot about 200 rounds into one of them, then look around for the 2 that are about to throw the giant rocks at you. Hide behind a building or generator. (I would have listed the resource containers but they seem to bug out half the time because the game doesn't think they're there sometimes.) Focus on 1 or 2 at a time and strafe to the left or right, always. Strafing ensures safety from any sword attacks that the Skulls will be doing as you shoot the one oozing gas and sometimes those giant rocks. Try not to sprint with D-Walker, as the slippery effect from his wheels may be disorienting and cause you to slow down, resulting in getting hit or death. 2)* Alternatively, you can climb ontop of the hangar in front of you when you start the mission and use ranged weapons to kill them off. Stay up there and just avoid the rocks that appear from the ground as that will be your main threat. Stay clear from those rocks as their explosion radius is pretty decent and is a 1-hit kill. The Skulls will occassionally appear ontop of the hangar with you, so just be aware of that. You can counter their jump-slashes by pressing the CQC button at the right time to deal massive damage and stun them for a couple seconds. (Credit to Snorkofob in the comments)
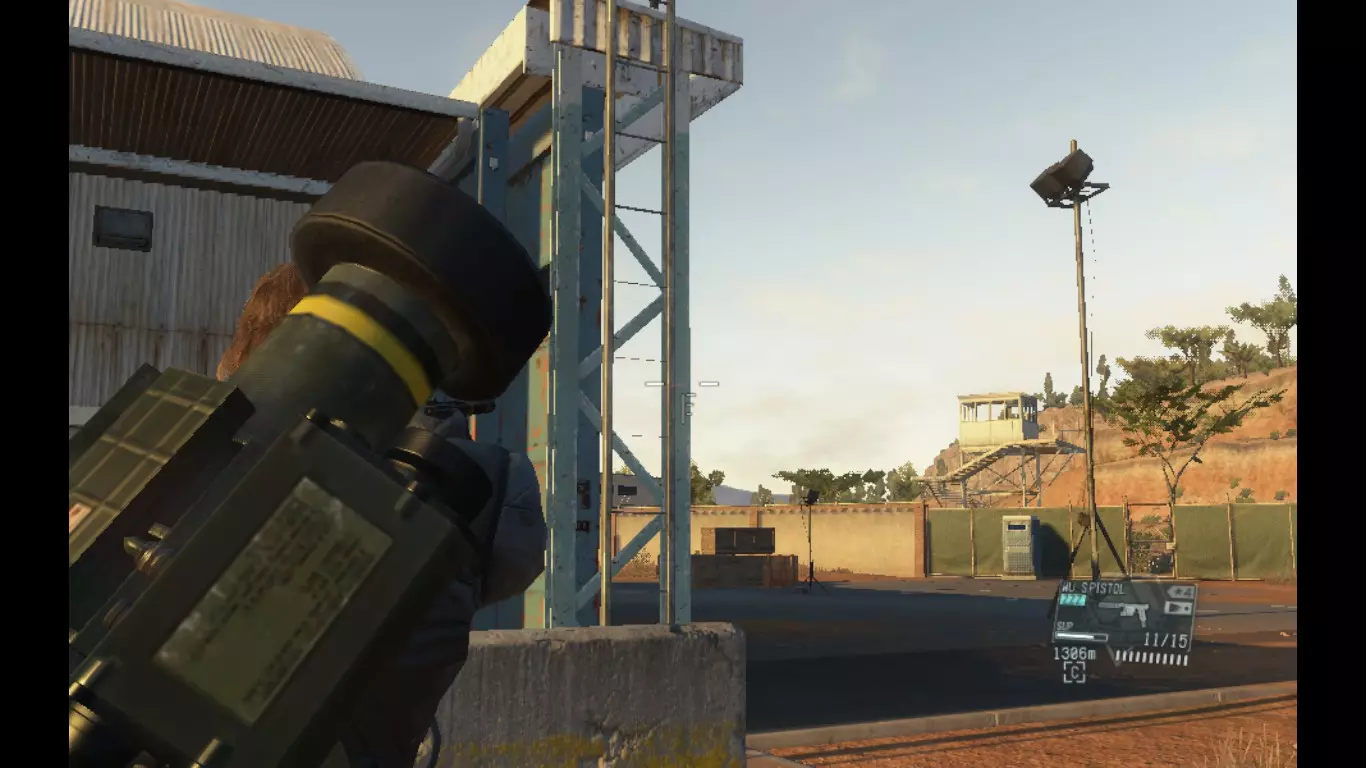
梯子在机库右侧的后方。 第43集:即使在死亡中也闪耀的光芒 未排名。 第44集:【完全潜行】漆黑一片 应再次使用第13集中使用的技巧。在这个任务中,你大部分时间都需要匍匐或蹲下,因为不引发大规模怀疑连锁反应就摆脱许多士兵是非常困难的。
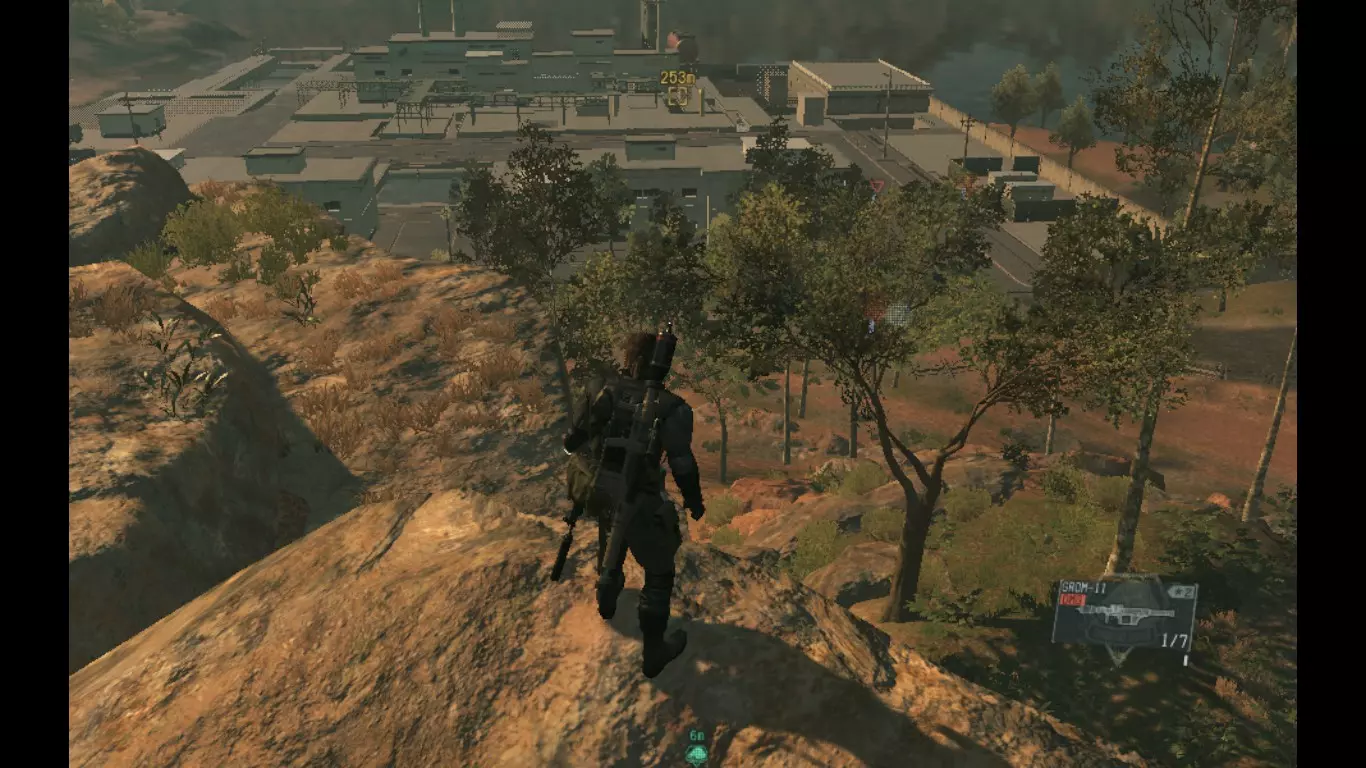
I recommend entering from the eastern side (picture) of Mfinda Oilfield to turn off the transfer pump first, jump off the nearest railing and 1) head under the oil tank to place the C4 or 2) to the same place you entered from if you are using rockets. If you have cargo+2 or wormhole, place the C4 and stay inside the base. Go to one of the resource containers. Explode the C4 while on top of it, then after you skip the cutscene, exit by container. You can rocket the red oil tank from the eastern exit after turning off the pump. If there are any guards in your way while exiting, just tranq them and move quickly out of the base. Remember to hug the mountain to your right as you leave and exit by land. Episode 45: A Quiet Exit Make sure you have Flare supply in your sortie. It's much easier to call for ammo when you have that. Decoys are also good to bring, as they have about a 10-15% chance to take tank aggro. Do not depend on decoys though, they are very inconsistent and should only be thrown when you have the short breaks in between reinforcements. When you arrive to help Quiet, skip the cutscene and immediately order a supply drop for a CGM 25. 6* is highly recommended but 5* also works just fine. From then on, just take out each tank as quickly as possible. If you are having trouble near the end, the tanks take about 7 seconds to reload. After they shoot, you have that small window of 7 seconds to show yourself and shoot a rocket before they reload and shoot again. Repeat until the tank is done-zo. After skipping all of the cutscenes, just sprint up the hill and head to your left where the wilted tree is. Episode 46: Truth: The Man Who Sold the World Similarly to Episode 0, just skip every cutscene and move to the next scripted event as quickly as possible. You can disable reflex mode and shoot the Man on Fire 20 times (near the end, after he blocked the exit with boulders) to get some extra points. Episode 47: [Total Stealth] The War Economy Similarly to Episode 21, you just need to watch out for the sniper located on the helipad. You only need to take out 2 of the walker gears at most, so try to avoid contact. You can wait near the hangar next to the helipad and just tranq the target and arms dealer before they walk up the stairs. You can also sneak inside the building while the helicopter is still searching the area to take down the CFA official instead, but wormhole is recommended for that. If you have the wormhole/cargo+2 fulton, you can exit the hotzone by leaving with any nearby resource containers, giving you a pretty decent time boost. As before, pre-preparation helps if you take out the lights in free roam beforehand. Episode 48: [Extreme] Code Talker 1) I highly recommend avoiding contact with the Skulls. To do this, run in the water toward the cliff until the cutscene triggers. Once you regain control, continue sprinting forward until you're near the wall. You can climb up several ledges from there, but a major help is the crack found on the same wall. If you have trouble finding it, you can locate it on your iDroid map. After climbing up, stay on your right side and just crouch-walk or crawl until you are 300+m away. Once you're far enough away, you can switch sides and start hugging the left wall (where the waterfall is). Upon arriving Lufwa, you can ignore the guy manning the spotlight and continue to your left toward the front door of the mansion. There should be a couple guards at the front door. You can either tranq them if you're confident enough or throw magazines to lure them away from the door. If you're using a keyboard and can't open doors silently, you can just barge right in and rush into the basement where Code Talker is without worrying. After you retrieve Code Talker, all of the soldiers will be turned into puppets, which is a major help for keeping your stealth bonus. You can easily just shoot the wall to lure and walk right by them as they're incredibly slow and have the worst line of sight. Once outside you can call in your chopper to the usual spot. You will have to do some maneuvering behind rocks to avoid getting seen by the Skulls or you can hug the right-side of the path; just don't fall into the water to your right. 2)* It's possible to defeat the Skulls, but very difficult. If you intend on fighting them, use a sniper rifle and leave the last Skull alive so it can still turn the guards into puppets after retrieving Code Talker. The last Skull is almost blind when it comes to leaving the hot-zone, so doing this tactic will make exiting much easier. (Credit to Snorkofob in the comments) Episode 49: [Subsistence] Occupation Force 1) The best way to infiltrate the base is during the day from the south entrance of Sakhra Ee Village. Do not be afraid to use CQC as all of the guards are very spread apart. You will need to take at least 1 of the guards out to obtain a gun. The easiest guard to take care of is the one standing outside near the prisoner's location. The prisoner is also an easy 5k extra points. After you obtain a gun, head to the intel room, get it, and get out. You'll want to wait until they reach the southern area of Sakhra Ee Village to ambush them. You don't want to be too close to the village as the entire village will be alarmed if you are caught while fultoning the vehicles. 2) If you wish to skip the intel file entirely, I have tips on Episode 8 for doing this. The easiest method is to sprint along side the vehicles and let the back-most vehicle see you. It will stop and the others will most likely keep on driving. If they stop as well, kite the vehicle's viewpoints by going around them, following the tanks' cannon. Be sure not to get run over by the vehicle while sprinting. You can also shoot the vehicle to make them stop, but is only recommended if there are only 2 left. If you're doing this mission at night, it's possible to get all 3 vehicles' attention by shooting, fultoning the one in the back (before it sees you) and then proning + ducking (pressing the action key while proned) to avoid being seen by the 2 in front. Then you can repeat this method and possibly rushing both even if you are caught while fultoning. 3)* You can grab a guy from the outpost from before the tanks come rolling in and put him on the road where the tanks will be driving. They'll just stop to get him up and you will have more than enough time to fulton them all. (Credit to Sverdar in the comments) Episode 50: [Extreme] Sahelanthropus CGM 25 6* is highly recommended. I have tried several times with a 5* and it is much more difficult. You will want to put Flare supply as your only support weapon in your sortie. It's much more convinient to just press the support weapon once and immediately have the flare in your hand. As soon as you start, throw a flare supply down and start unloading your CGM into Sahelanthropus. If you run out of ammo before the supply drop comes, you can also bring a grenade launcher to reduce idle time. Make sure to throw another flare when you grab the ammo to keep a constant supply of ammo. *Tips (Credit to Snorkofob in the comments): If you get trapped in his "Rock Tomb", simply lie down in the middle, the explosions won't hit you for some reason. Try to stay medium range from him, since his Flamethrower is a BS attack that is hard to dodge. His machinegun will tear you apart if it hits, but an easy way to avoid it is by running. He has two different missile attacks. First are weaker quick missiles, second are his search drones. Both can be shot down, or you can simply outrun them. When he has low health, he can jump to you to activate Reflex mode for a short time. You must shoot the floating boy to stop him, otherwise it'll be instant death. Careful when he is jumping. He has the possibility of jumping ON you, which is instant death. Updates I have decided that I will no longer update this. It seems as though (most) are satisfied with my explanations as they are. I hope this helped! Thank you to everyone that has added any tips to this guide!


 换一换
换一换 


