换一换
换一换 


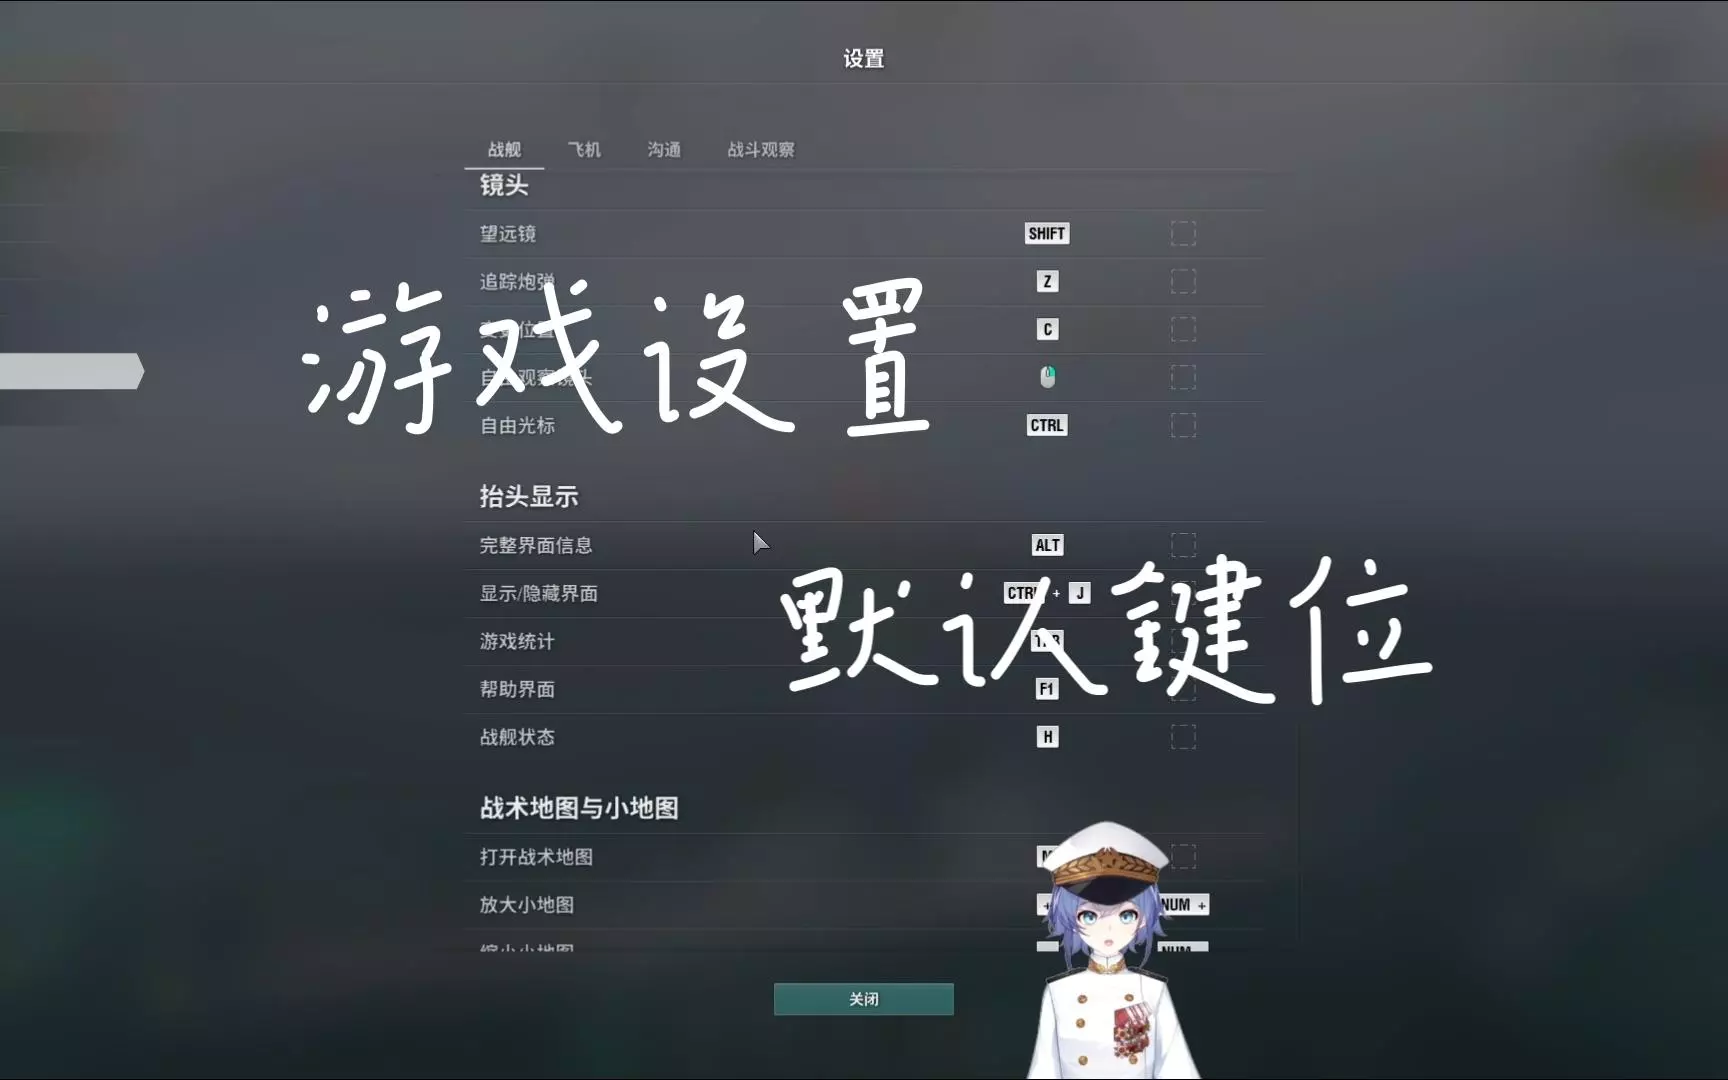
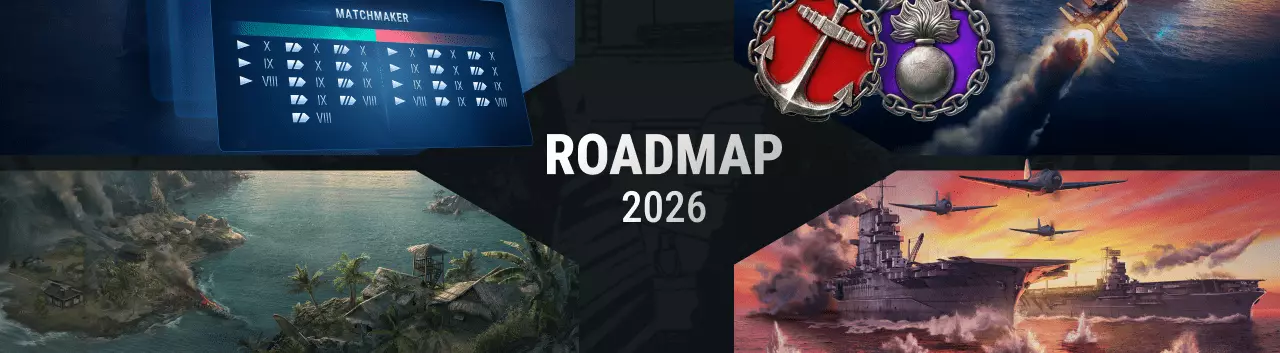
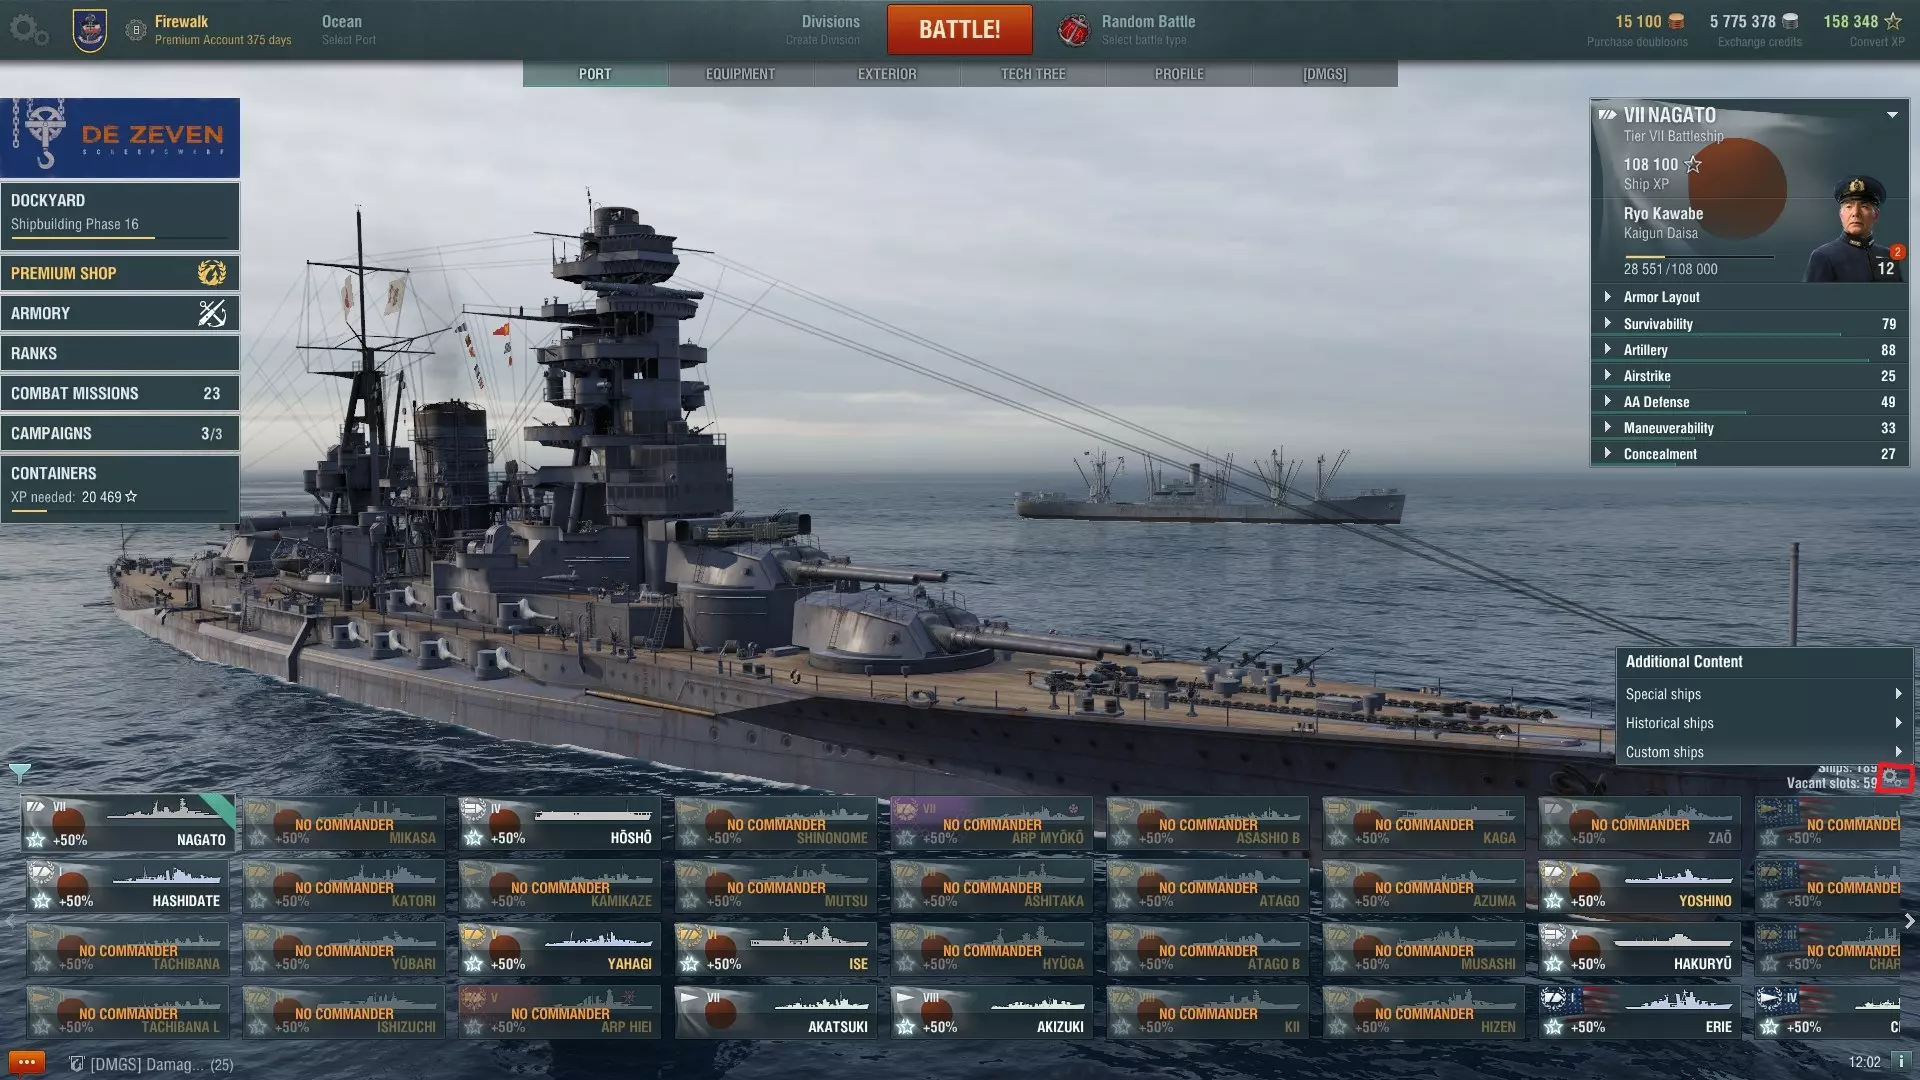
对游戏中一些不太引人注意但较为实用的设置进行(相对)快速的介绍。 简介 欢迎新加入的Steam玩家!我是Yuzral(欧盟社区贡献者之一),今天我们将介绍一些零碎但有用的设置……它们并非隐藏内容,但或许能让你的游戏体验更轻松。 港口设置 我们从设置菜单开始。按Esc键(或点击港口屏幕左上角的齿轮图标)打开主菜单,然后点击——没错——设置。接下来我们要进入控制页面。
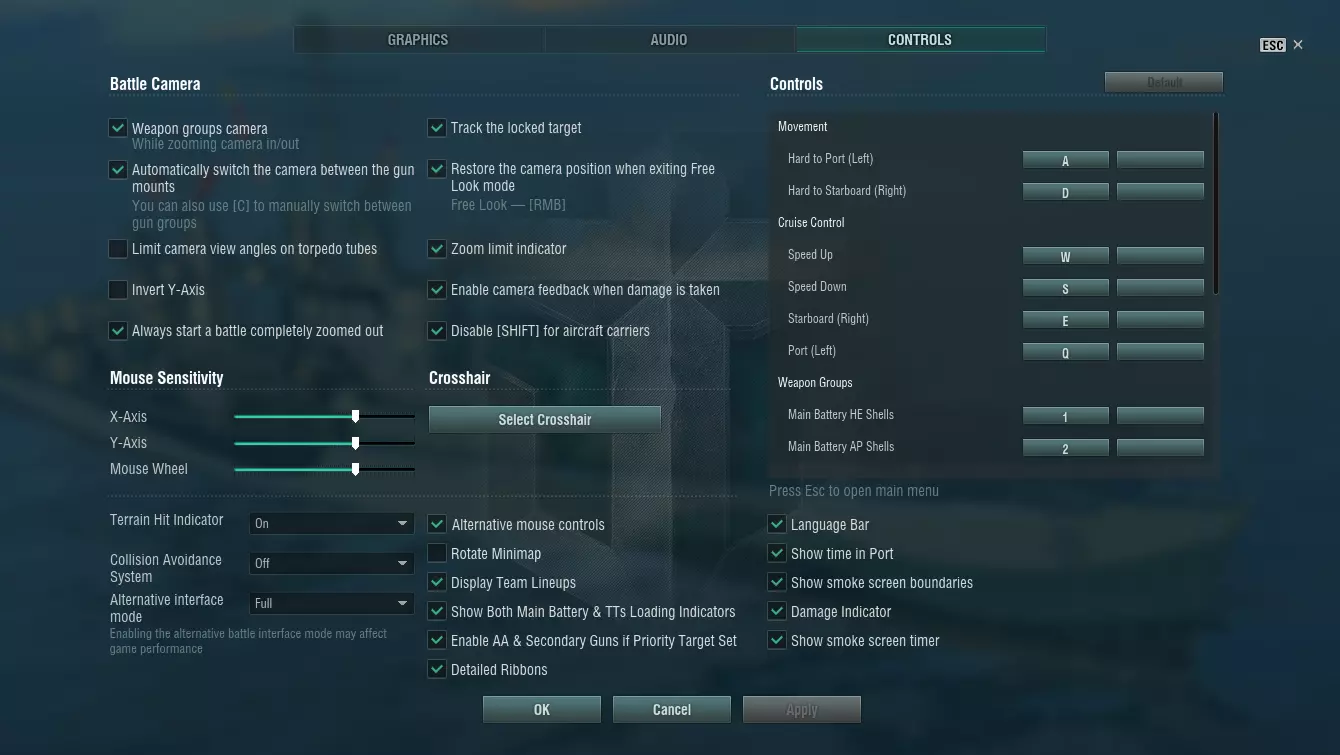
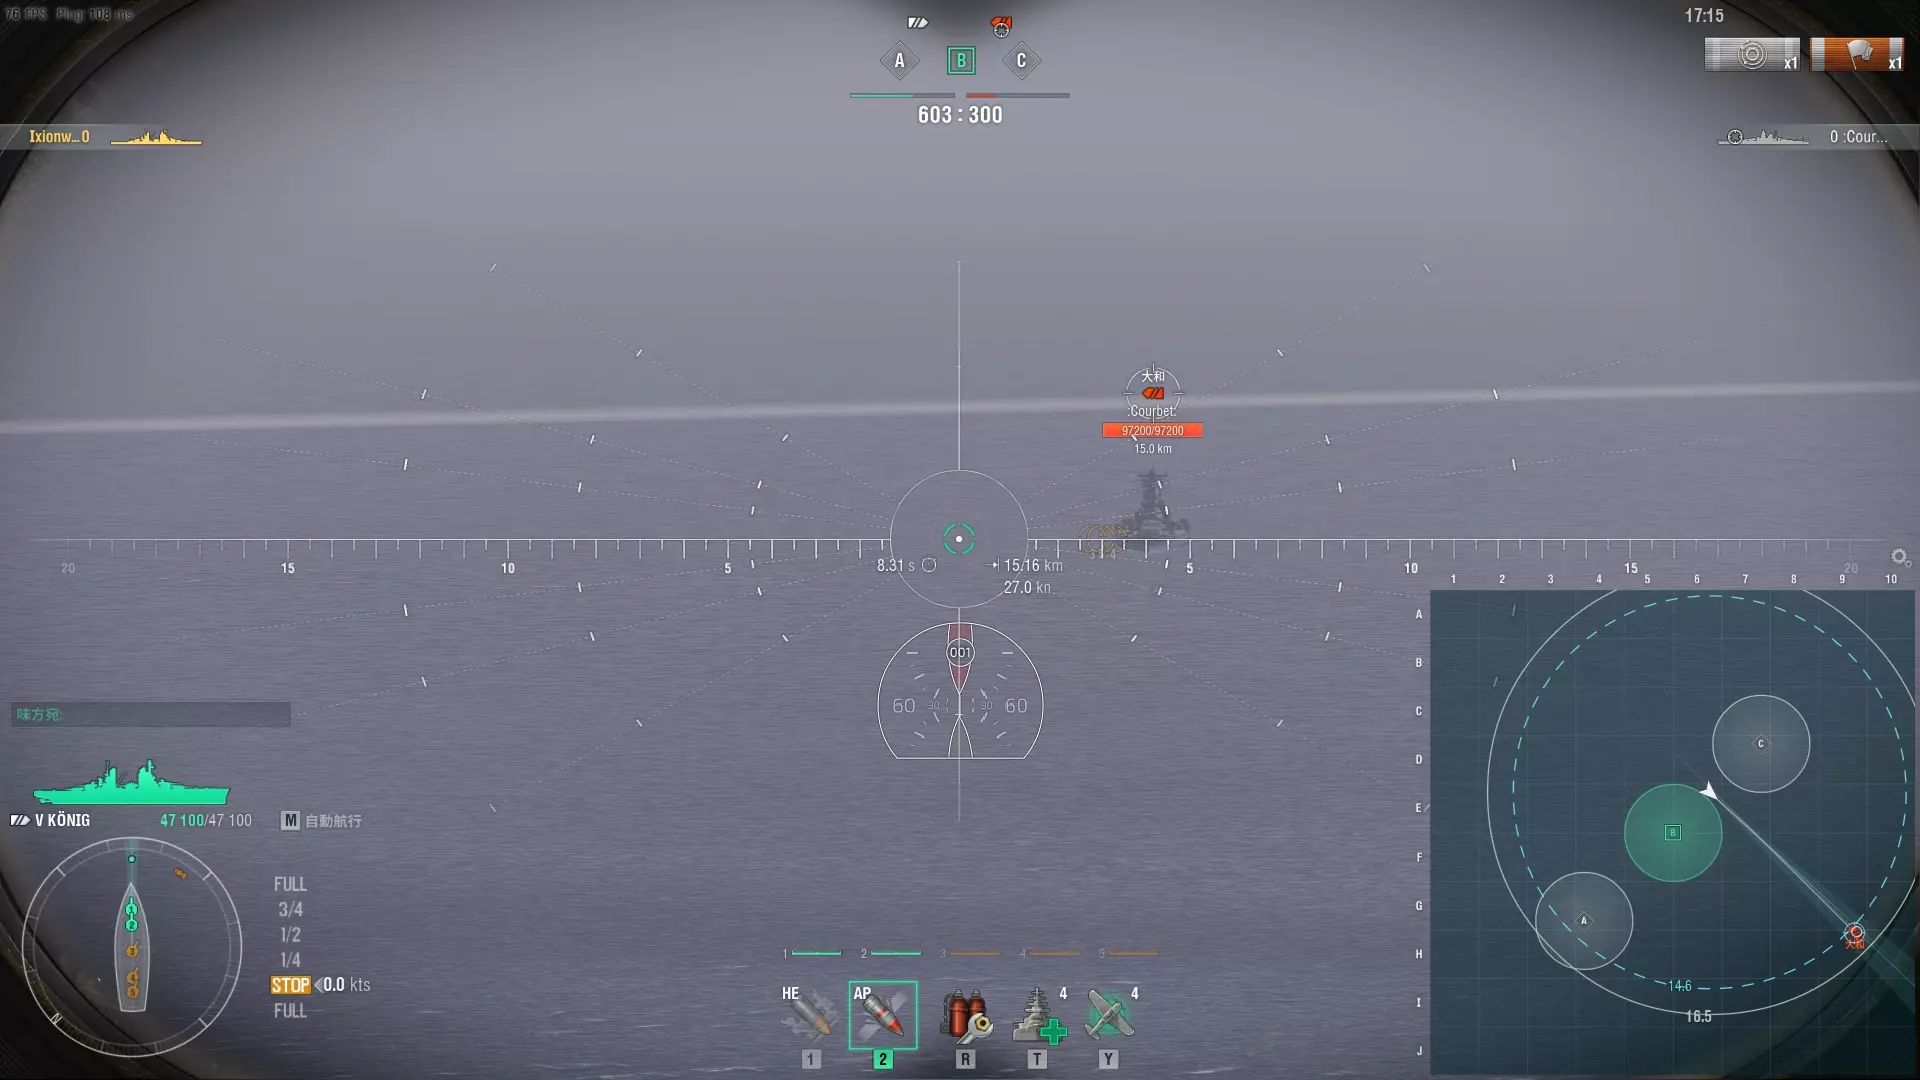
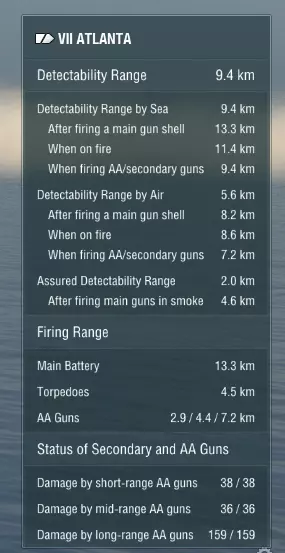
There are a couple of things here that we want to tweak. Firstly, we’re going to switch the Alternative interface mode to Full. This is the equivalent of putting a brick on the Alt key and the game will always display the extra information – player names, health pools and what ship they’re driving as well as range and shell time of flight to your current aiming point – as a result. The collision avoidance system is something is something I normally switch off, but you might want it on for your first few games. It’s exactly what it sounds like, automatically adjusting the helm if the game thinks you’re about to run into terrain. It's handy when you're learning the game, but eventually I just found it to be a nuisance. Besides, there are times when running aground is the alternative to running into torpedoes or heavy gunfire…and executing a tactical beaching doesn’t damage the ship. Then there are a few other switches worth taking a look at: Alternative mouse controls – this only applies to carriers. When off, it’s in Command and Conquer style – left click gives orders, left click and drag selects plane groups. When on, you have a more Starcraft style with the right mouse button giving orders instead. Personal taste and since carriers don’t start until Tier 4, not an immediate decision. Personally I prefer to have this on, since you can’t accidentally deselect a bomber group while trying to order an attack run. Rotate minimap does exactly what it says on the tin. When off, the map is fixed and your ship icon rotates as you turn. Turn it on and your ship becomes the fixed point with the map (and everything on it) rotating around you. Personal taste, really. I’m used to a fixed map so I leave it off. Display team lineups puts a team list in the top corners – friendlies on the left, enemies on the right - showing who’s sunk, who’s still in the fight, what kind of ship they’re driving (you’ll get good at recognising silhouettes) and how many kills they’ve racked up during the game. Not essential, but a handy quick reference and I tend to have it on most of the time Show Both Main Battery and TT loading indicators is one you definitely want to have ON since it saves you having to switch between guns and torpedoes to check on reload progress. Detailed Ribbons is another one to switch ON. This breaks down the “Hit” ribbon into Penetration, Overpenetration, Bounce and Shatter. This is vitally important information for gunnery because it tells you what your shells are doing when they hit the target. Gunnery needs a guide all of its own but for the moment, let’s just say that if you’re seeing a lot of bounces and shatters then you need to adjust something about your shooting. Show time in Port is another one that does exactly what it says on the tin, displaying a small clock in the lower right hand corner of the port screen when switched on. Handy and doesn’t get in the way. Damage indicator – This puts a running total of how much damage you’ve done to the enemy in the top right hand corner. It actually has a use beyond keeping score since there’s no visual cue for flooding damage. Except this counter, which will be steadily ticking up. I normally have this on. Crosshair Selection The other thing we need to look at in the settings is the Select Crosshair option. World of Warships comes with a lot of crosshair options…and a lot of those are improvements on the default static type 2. In particular the spiderweb sights (static types 7 to 12) have angled lines that are extremely handy for aiming at angled targets and when in the spotter plane view. Possibly the most useful, however, is the dynamic gunsight. This looks similar to the basic sights, but automatically adjusts with zoom level so that a given point on the scale is always aimed at the same spot. Additionally the markers are actually useful for calculating lead – one division roughly corresponds to 1 second of shell flight for a target doing 30 knots perpendicular to the sight. This is only an approximation – it starts breaking down at longer ranges and larger angles - but even then it’s a good starting point. The P key and how it can save your ship. One control that's worth knowing and isn't widely mentioned is the P key. This toggles flak and secondary guns on and off. Why would you want to switch guns off? Because most destroyers – especially at mid to high tiers – have flak that’s relatively ineffective but that reaches beyond their air detection range. Which means that you can be tiptoeing along, all nice and sneaky, and then some plane wanders within flak range – but not close enough to spot you. Until your gunners open fire. At which point the plane will spot you, because firing flak guns carries a stealth penalty. And then the entire enemy team knows where you are. And then pain follows. Oh, and you probably won’t shoot down the offending aircraft either. It’s safer…much safer…just to muzzle the flak guns with P and tiptoe on past. The H key: Because knowing is half the battle! Another handy button is H. Holding this pops up a status readout – detection ranges, flak auras and all kinds of other occasionally-useful stuff about your ship.
小地图 最后是小地图设置。在战斗中按住Ctrl键激活鼠标光标,然后左键点击小地图上方的齿轮图标(注意,即使将光标移到图标上菜单似乎会弹出,你仍需点击齿轮)。启用所有选项,并将水域透明度调回约50-75%,这样屏幕上就不会有大面积的盲区。一开始可能会显得有些杂乱,但在地图上清晰显示探测范围、传感器范围和武器射程非常有用。你还需要按几次数字小键盘上的+键来增大小地图尺寸,使其更容易快速查看。
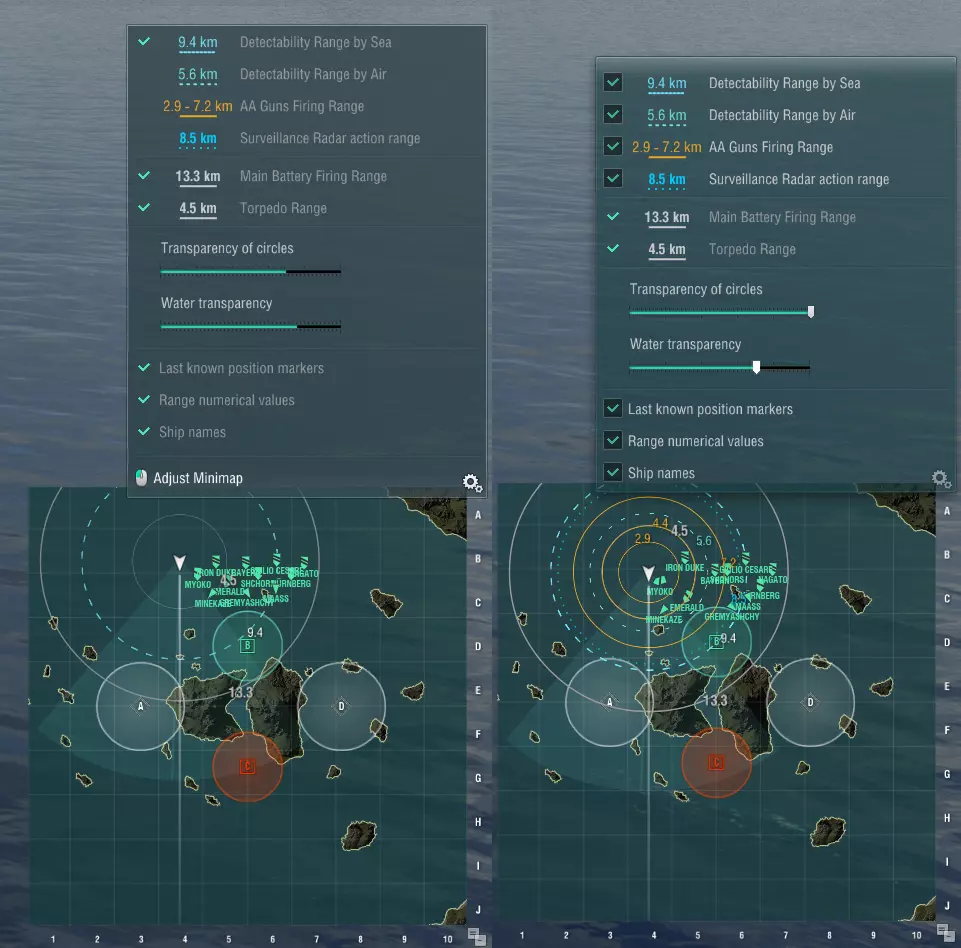
注意区别——启用这些选项后,我可以一眼看出哪些舰船位于何处,亚特兰大号的水面雷达扫描范围有多远,我在海上和空中被发现的距离有多远,以及哪些友军处于我的防空火力掩护范围内。