换一换
换一换 


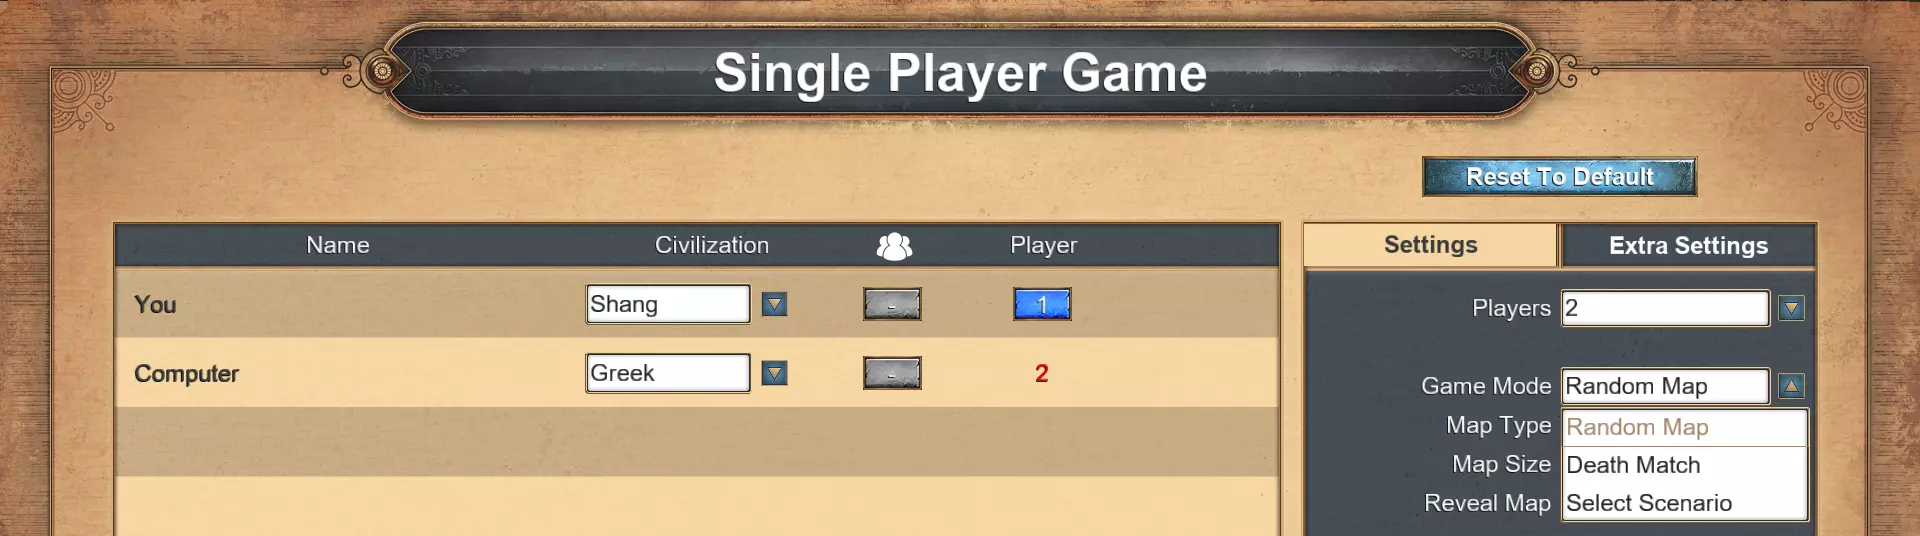
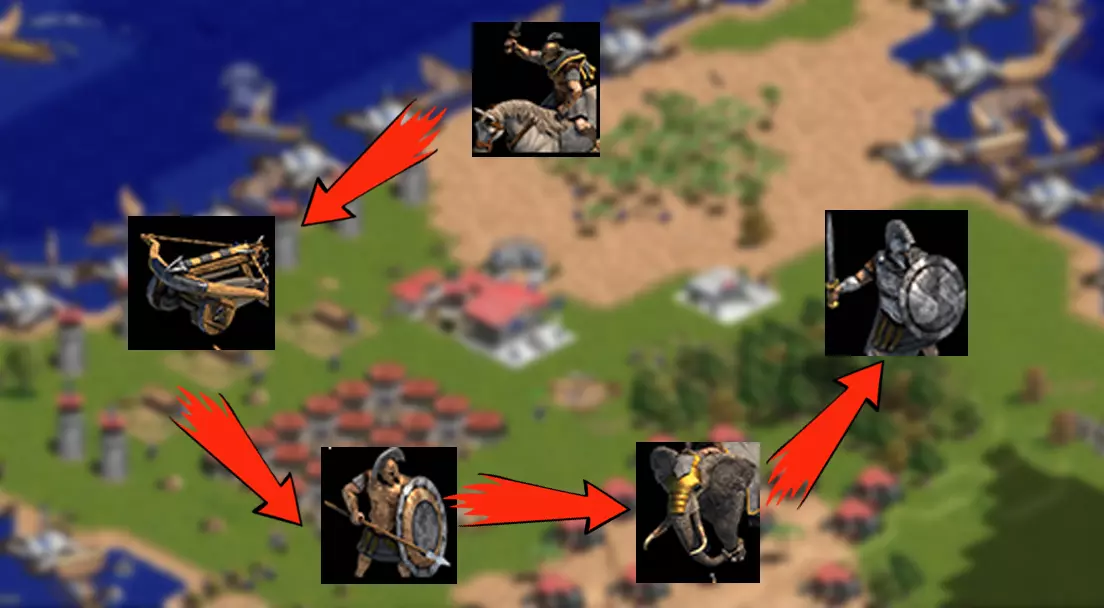
一份简短全面的指南,详细介绍了每个任务的目标以及实现这些目标的可行策略。配有系列视频作为演示。 任务1:神圣之人
The Holy Man starts as expected by the mission title, you start with a priest and nothing else. First, you must go east across the river and convert villagers in the yellow base. You can then use the converted villagers to set up your own base in the general area of the yellow base. I suggest placing the town center close to the berries to the south of the yellow base. After establishing a town center and some basic economy, you can quickly get rid of the yellow opponent as they are very weak and can be taken out with only a small army. You should try to continously convert yellow villagers to support your own economy and weaken them. The next step is to build up defenses for the inevitable red attacks. A good idea is to try and convert the single axemen that will probably scout your area. Using houses and your barracks as building wall can also be useful to limit the directions that red can come from. You should then try to set up your economy to gather enough food to get to the second age and upgrade to axemen yourself. Once you are in the tool age it's also a good idea to gather stone near the old yellow base and build towers as defense as red has a hard time dealing with those. Make sure you also quickly build a market so you can get up farms to keep your economy running. Once your economy is stable and you have a small army you should expand to your starting area in the south and set up with towers and units there. This is also where red will be attacking from so you can stop them quite a bit before they get to you. The other advantage of setting up there is securing a good amount of gold and stone. Once you have this area locked down and a stable gold supply you can save up ressources for the bronze age. In the bronze age it's time to transition into improved bowmen, which are strong against the red units. Be careful as red will have plenty priests. Your Bowmen should be able to make quick work of them however. If you are in trouble, retreat south to your towers. Once that position is secured and you have an army of improved bowmen, it's time to supplement them with a stone thrower and take out the red base in the western corner. Mission 2: The Tigris Valley The goal of "The Tigris Valley" is to return the two stolen artifacts to your side of the river. You start with a few villagers and bowmen aswell as a scout. Use the villagers to build a towncenter close to the nearby berries. This helps you get an efficient food economy up quickly which helps with a constant villager production. Use the scout and the archers to scout out your side of the river. There will be no opponents on that side so you can easily explore the area. Once you have set up a basic economy you should quickly get up a dock to start boat production to secure the river. I suggest making sure you have a good wood income and setting up a second dock to increase the speed of your boat production. Taking the river is important. Once you have secured the river you can save up for the bronze age and advance. This allows you to upgrade your towers. Use your boats to patrol the coast of the island to your left. Transport a few villagers there and build towers on the coast. This will trigger the enemy on the island to attack the towers, enabling you to fire at them with your ships and towers. You should be able to deal with them rather quickly. This island also contains your first artifact, grab it and return it to your base. Note that the island you landed on also has plenty gold for you to collect. Use your ships to sail south and put pressure on the coast of the yellow island. Once the coast is clear, try to land archers and villagers. Build a tower to secure the area and force them to charge into you. With the help of your ships you should be able to slowly defeat the yellow army and gain a foothold in the area. The easiest way to then defeat them is to set up at the coast with several towers and then get up production buildings on their island. That will allow you to outproduce them on their island and destroy their base. Then simply kill yellow and return the artifact. Mission 3: Vengeance In the third mission "Vengeance" your goal is to defeat the Hittite army and retake the city of Babylon. The mission starts by placing you on an island all by yourself. You start with some villagers and archers. Quickly put up your town center right next to the berries to better secure early food income and by that, villager production. Use the archers to scout your island. Once you secured a stable villager production, start gathering wood so you can put up an early dock. Make sure you research the War Galley upgrade and quickly take control of the sea ahead of you. You can also use this secured area for fishing ships to further secure a stable food income. Once your ships secure your island, save up for going to the Iron Age. You can also use your ships to start attacking the coastlines closeby while saving up the ressources. Cluttering up the chokepoints with ships to prevent transports from getting to you is also beneficial. Once in the Iron Age, land on the middle island and build two towers with the support of your ships. Once this foothold is established, place military production on the island and start creating your army from there. I went for Legions, other units work aswell. The army production on the middle island will allow you to overwhelm the Hittite army located there. Now that you grabbed control of the middle land there is only one thing left to do. Grab your army and transport it south to take the ruins in babylon. Done? Good! Congratulations, you have won! Mission 4: I Shall Return In Mission 4, "I Shall Return", our objective is to destroy the Elamites. Which is about as straightforward of a goal as you can get. The mission starts off with the Elamites attacking you with an army you CAN NOT defeat. So run. As fast as you can. Save your villagers and bring them to the transport to the south. Once you have your villagers on the transport, sail east until you reach the coastline. Land and build your towncenter. The area you landed on will be without opposition so you can freely set up an economy. Focus on establishing a consistant villager production, then get into wood production to build up a navy. As always on water maps it is advisable to get up at least two docks to be able to build up and replenish your navy quickly. You might also look into building some Fire Galleys as the Babylonians don't have good late game ships. Be careful to have ships securing the area between you and the enemy as they will attempt to transport units over. Having a few units or towers on your side can also help defend. Having water surperiority should however keep you relatively safe. Once you grabbed the water, start attacking the enemy coastline to secure an area to land. A good spot to land on, ironically, is the place of your old dock where you escaped from. You can place Fire Galleys on the shallows connecting it to the main body of land and to secure your landing spot to put down military production. Both a Barracks or an Academy are good solutions as both provide you with strong late game units. I recommend Barracks in combination with the Tech to make your Infantry units only take up half a population spot. Then quickly produce an army of Legions on the enemy side of the map. Support your effort with towers to secure the area that you gain. From there on, push forward and eliminate the opponent. You should be able to constantly replenish your units and overwhelm them if you set up your economy properly. Mission 5: The Great Hunt In Mission 5 "The Great Hunt", the mission is simply to capture the Artifact. This does however sound a lot easier than it is. It is one of the many unit micro missions and as such, you start the game with a small army of Composite Bowmen. In order to save units, try engage enemies and then back off, fire, back off again. This way, you keep some distance to your attackers while using your range and the time between shots. The first enemy you encounter are the red Elamites and taking out their base is the easiest part of the mission and very straightforward. As your next step, you move further south, scouting out the Priest next to the path to grab it and receive healing and possible conversions. Keep in mind that the red towers you encounter have lower range than your Bowmen and use this to your advantage. Now make your way further south and take out units and buildings along the way. Use your superior range to stay out of trouble and the Priest to keep your units on full health. Once in the southern base of the red Elamites, feel free to convert a villager and get up a town center in order to start up an economy. While this is not required, I find this to make the mission much easier, especially on the hardest difficulty. Next up, you run into the yellow Elamites and they are a much more dangerous opponent than red. Their units are mainly Elephant Archers which are much more formidable and can take on your Bowmen and Priest. Luckily you will pick up some supporting Cavalry and maybe you can also convert some of the Elephant Archers. They also have upgraded towers so those now also pose much more of a threat. Now use your Cavalry to ride past the towers in the south further along the path. You will find Stone Throwers and a Priest that can heal your units. The Stone Throwers can deal with the towers you encounter. Your army composition is now reaching a good balance that allows you to deal with most units effectively. Next up you come across a wide open terrain with ressources which you can use to establish your position with towers. Try however not to provoke the yellow Elamite base next to you too early. Towers and a selection of units of your choice will help secure that area. The yellow Elamite army in that base will mostly consist of Horse Archers and Catapults and at that point in the game, you stand no chance against it. Instead, make your way further up along the path, defending your Stone Thrower with a mix of ships that you can use to accompany you, towers to defend and then heal with the Priest. Unfortunately their upgraded towers will start to outrange your Stone Throwers so healing with the Priest is vital. Follow the path north and you'll discover several gold spots which you can use both to produce gold units and get to the Iron Age. Make sure you don't waste the gold however. In the middle you can find a crossing to the West. This is the entrance to the yellow Elamites' part of the map and is heavily defended. Make sure you preparely properly before attacking. My unit composition of choice was Catapults and Legions. When using Legions, make sure you grab the upgrade to make them cost only half a population spot. Once you manage to break through, there is more gold to the north and you are now free to move on as the resistance is now very little on your land. What's left now is a water fight with Susa so upgrade to Triremes, take down their ships, siege the landing spot and land your army. This is now very straightforward and mostly about throwing units at them. Once you manage to land and take over the northern island the mission is basically won as the Artifact is placed up there. Mission 6: The Caravan In Mission 6 "The Caravan", your goal is to bring the Artifact to the Temple. The mission starts off in the south of the map with a few Bowmen, Scythe Chariots and a Priest. Make sure you keep the Priest alive as it greatly helps keep your army in shape. The first step now is to move north-west a bit towards the red base which frees two Catapults. These can be used to clear the base and greatly enhance your army. Keep in mind that the Priest can also heal the Catapults. Now move on towards the west and you'll encounter the yellow base. Slowly advance on their position by carefully positioning your army and taking out small pockets of enemy units at once. Make sure you use your Catapults to scout ahead and take out the towers. Just be careful they don't fire into your own army as your Bowmen are quite vulnerable to Catapult hits. It is also useful to convert extra units to further enhance your army. In the yellow base you also receive a temple. You can use that to upgrade your Priest. Especially enhancing its conversion and healing is useful for this mission. Now move further up and you'll encounter orange. Be careful as they field Elephants and make good use of your Priest. Getting Elephants into your army will be of great use. Scouting ahead with your Catapults again is useful so you don't run into any surprises. Slowly progress and let your Priest recharge. Be aware of the Ballistas coming towards your position, you can use ground fire with your Catapults to one shot kill them on their way towards you. Once you cleared the way to the Temple, you can simply rush your Artifact there and complete the mission. Mission 7: Lord of the Euphrates In Mission 7 "Lord of the Euphrates", your mission is to destroy the Aramaeans. This mission will start like a regular random map game. Unlike in a regular random map game however, you start on the backfoot in a 2v1 scenario. Since your opponents will attack early, set up an economy quickly and then get out an Academy to train Hoplites. Hoplites are the most durable and cost-effective defense units you can get out at this point. Another thing to keep in mind is that your enemies are coming from all sides so building walls to limit their entry points is advised in this mission. Leaving your base wide open makes you incredibly vulnerable to raids and keeping your economy relatively safe is a high priority. Towers can also help defend key locations aswell as function as targets for enemy units. Place them near your key ressources and entry points to the base. Now that you somewhat set up, spread Hoplites around your base as they are slow and it's hard to react to enemy attacks so having some of them at all sides allows you to quickly react and hold off the enemy units. Your biggest issue will be enemy Cavalry and Chariots. They are quick and can easily outmaneuver your units. Luckily, their army composition mostly consists of Axemen, Cavalry, Chariots and Chariot Archers. This means your Hoplites are strong against all but one unit, the Chariot Archers, which will be cut down by your towers. As the game progresses, taking out the red towers towards the east will be very useful as gold and stone are in the mountain area there. Once your position is stable you should work on setting up a counter attack. Get an extra army of Hoplites and march it north to eliminate the red base. Their defenses will be weak but bringing along a Stone Thrower is certainly useful. The strength of your opponents is to keep you pinned down. But once you manage to push them back into their base you should be able to make quick work of them as your units will be much superior. I would advise to invest into this as soon as possible instead of staying defensive into the Iron Age as taking down one opponent somewhat quickly makes the game a lot easier. Once red is taken care of, you can check their base for extra ressources and prepare your attack on yellow. Make sure you scout the rest of your land area to find the gold in the south as you will need a lot of gold to progress. Build up and advance to the Iron Age to gain a bigger advantage. You will now need to get up docks as yellow is not connected by land. Towers can help secure an area for your docks. It is useful to get several docks as this helps getting out a Navy quickly. Now take control of the water and secure an access point to the yellow base. Do not underestimate the enemy base and make sure you attack with upgraded units as your technological advantage will be key. You can also transport over Villagers to use Towers to secure your landing spot. From that point on it's a straightforward fight to eliminate their base and win the mission. Mission 8: The Conquest of Nineveh In Mission 8 "The Conquest of Nineveh", your mission is to destroy the Wonder in Nineveh. The mission again starts like a random map game but your land area is very limited. This means you must quickly go into ships to gain water control. Unfortunately the Babylonians are horrible in the water so you have to fight an uphill battle right from the start. Be aware aswell of the enemy Catapult Triremes that will bombard your shoreline. This severly threatens your economy so it's very important to focus heavily on water. Once you secured the water scout to the west where you can find the yellow island. Try to secure the beach with your ships to be able to eventually land there. Luckily, yellow is technologically behind and easy to get rid of. Once yellow is taken care of you can move over some of your economy as their island is larger and has a lot of ressources for you. Getting the Heavy Catapult upgrade will also help shoot at the red island from your island which already helps at securing parts of the beach. A mix of Heavy Catapults and your ships will be required to secure a safe landing spot. As your ships aren't very good and red will have a lot of Catapults, Priests and Horse Archers, securing that area will be tough. A good strategy in my opinion is to clear the initial area with your ships, then land an army of 20 or 30 Legions and rush them towards the enemy wonder. Even if this fails you can simply repeat this and will most likely win that way. Another strategy would be to try to clear the beach area, land your army and supplement it with Villagers which will then quickly get up towers. Once that position is secured you can attack from there and gain the advantage, then win the mission and end the campaign. Outro Thank you for reading my guide on the Babylon campaign. If you enjoyed this guide and/or the corresponding videos, make sure to like and subscribe, it does help a lot. You can also support me via my Patreon found on my profile if you'd like to see more guides in the future. Also, if you have any questions or need clarifications, feel free to let me know.