换一换
换一换 


《英灵神殿》进阶知识指南 简介 这是一份进阶技巧列表,采用简洁的风格以便高效阅读,并为后期/重要内容添加了剧透标签。我还将其中许多技巧添加到了《英灵神殿》维基中。 战斗 要进行格挡反击,装备小型盾牌并在敌人发动物理攻击前的瞬间格挡。这能让你格挡更强大的攻击(远超塔盾),使敌人 stagger(硬直),并在敌人后退时造成双倍伤害。格挡对远程攻击也有奇效。 如果因为盾牌太弱或使用双手武器导致格挡无效,可以改为翻滚(同时按下格挡和跳跃键)。翻滚时有“无敌帧”,期间不会受到伤害,时机窗口与格挡类似。 使用弓箭进行潜行攻击能让战斗更高效,无论是时间还是弹药消耗方面。不过,如果你比敌人强很多,近战武器会更高效。 使用鼠标中键释放特殊攻击,不同武器类别有不同的特殊攻击。 按R键收起武器可消除其移动速度惩罚。 前哨站建造与防御

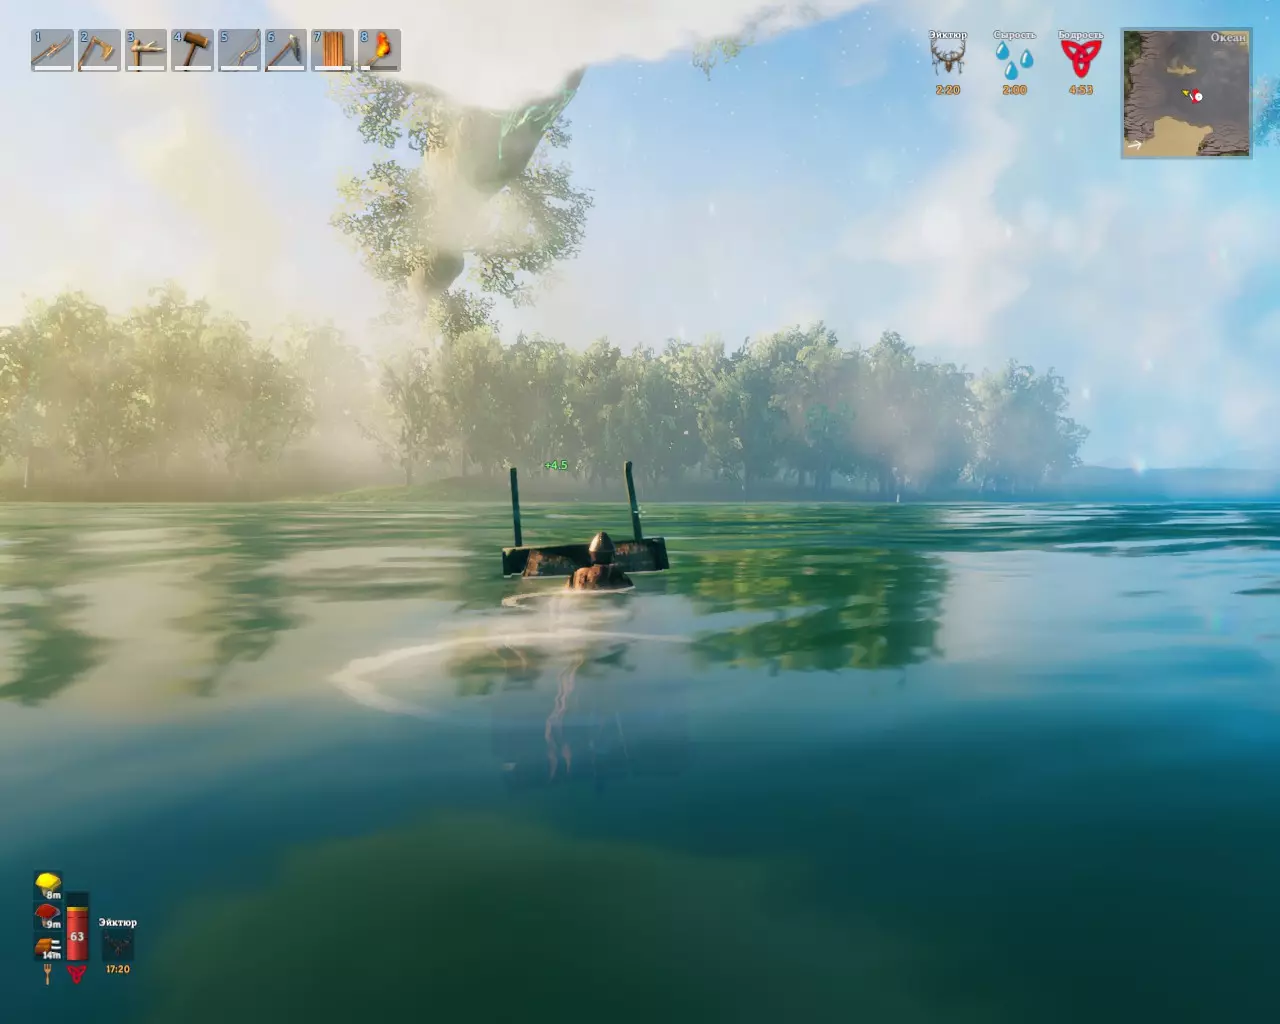
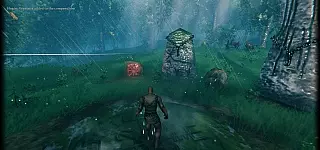
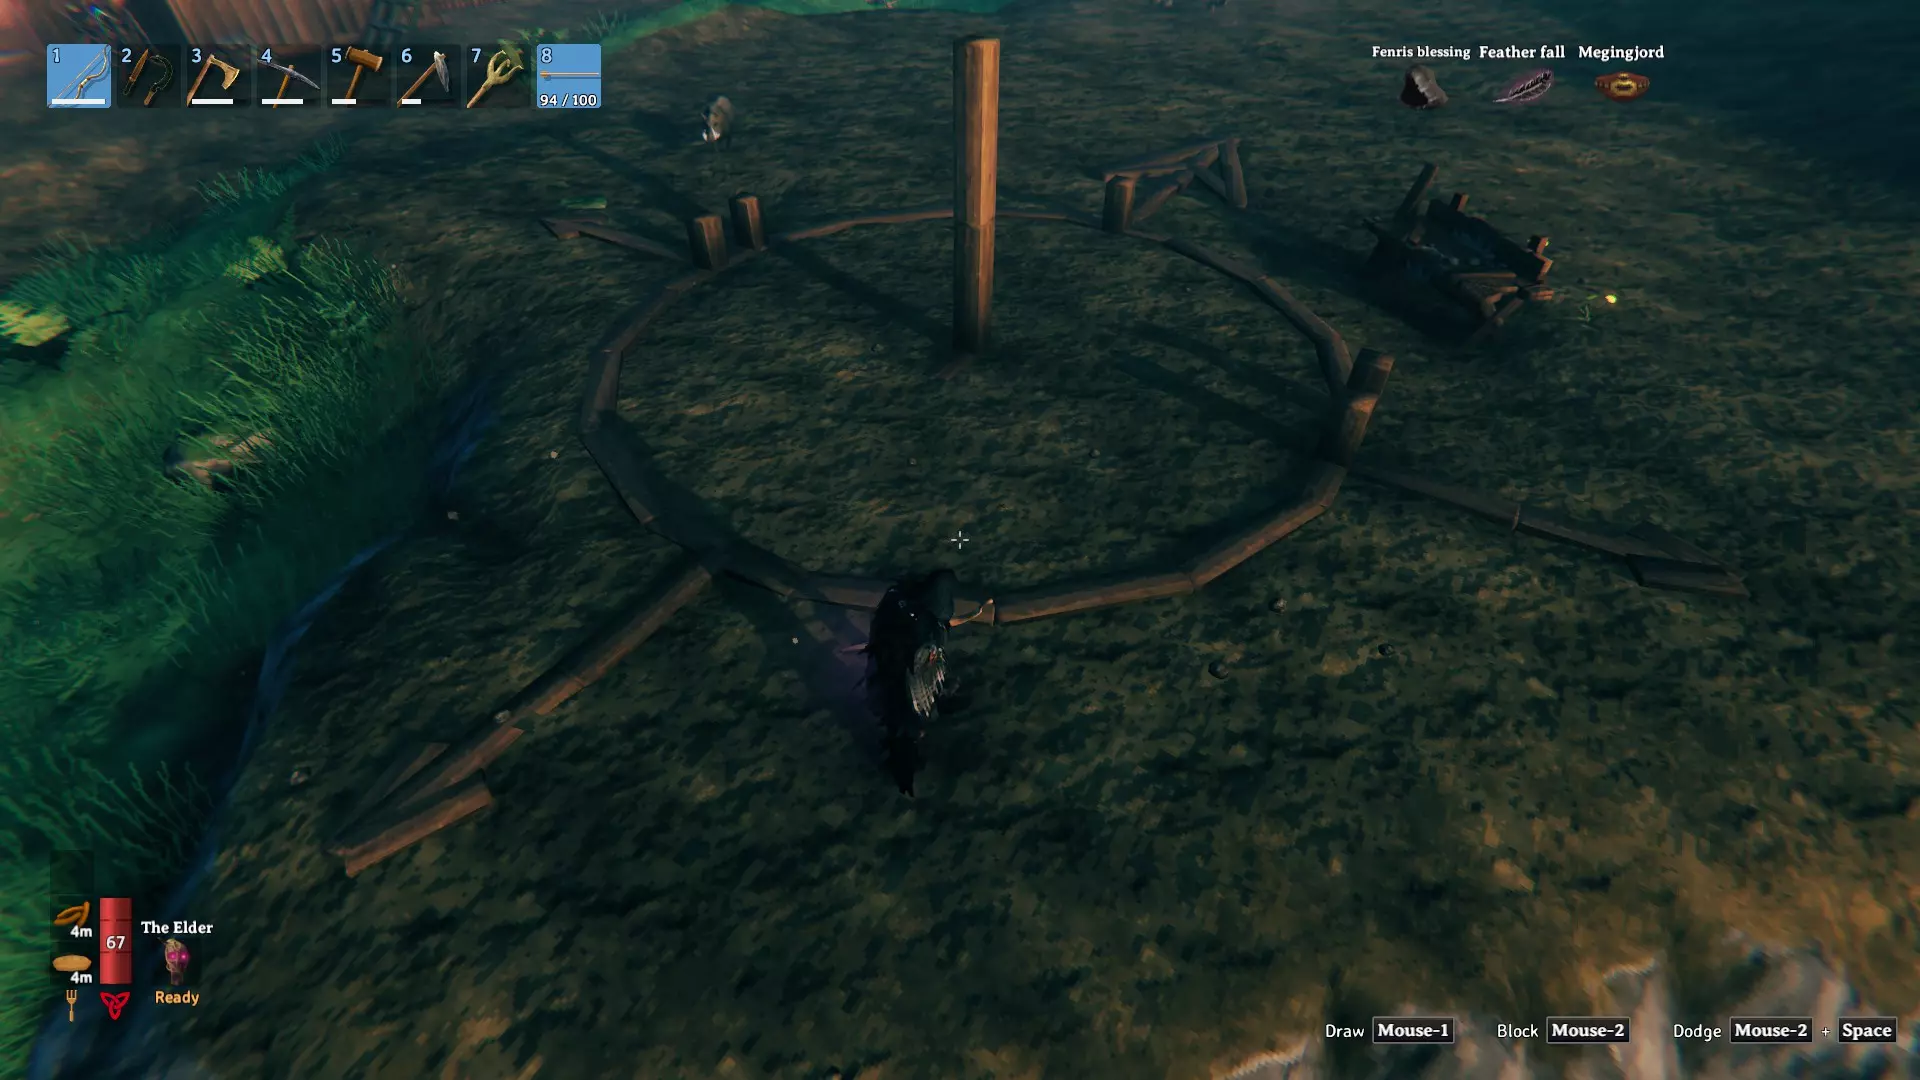
在多个生物群系边界附近建造前哨站,可以获取各种资源,还能观察不同生物之间的领地争斗(地面上会散落着战利品),但这样做也可能很危险。 锄头比剑更有用。生物无法挖穿地形,这使得“地形墙”对它们来说几乎是无法穿透的。完美的防御可以用锄头和一堆石头建造,也可以用任何镐子,理想情况下是两者结合。需要注意的是,地形改造可能会像放置物体一样导致卡顿(按F2可以查看加载的“实例”数量)。 锄头可以用来抬高你站立的地形,让你快速搭建一个柱子,安全地射击下方的近战敌人。请注意,你需要在工作台附近才能进行此操作。通过练习,这在战斗中也是可行的。 大多数生物不会从悬崖上跳下来(芬灵和 blob 是例外)。一个深坑(大约 3 个“方块”深)也相对安全,你可以射击靠近悬崖边缘的敌人。如果你不建造屋顶,飞行生物仍可能从上方发起攻击。 大门可以被摧毁,但玩家进出基地时跳过的缺口则不会。不过,这个技巧可能不太方便。另外需要注意,你可以通过 sprint(冲刺)和连续跳跃来攀爬陡峭的地形墙壁,尤其是朝着褶皱(角落)移动以获得更好的抓地力时。锄头的【平地】功能默认以你脚下的地形高度为目标高度,不过按住Shift键点击时,会改为以你指向的地形高度为目标。了解这一点可以在 landscaping 时节省大量石材和工作量,因为该功能只消耗耐力和锄头耐久度。 工作台会阻止其范围内生成敌人,是非常实用的防御工具。你可以将工作台隐藏在围墙外围,或放在用几块地板覆盖的小坑里,以确保区域安全。此外,工作台还能防止掉落物品随时间消失。如果无敌基地还不够满足你,你还可以在坑状基地上方为敌人搭建一个【跳板】,并在上面放置营火,这样敌人就会自焚,然后你就可以接住掉落的战利品。真是狡猾…… 最能提升帧率的防御方法是在几根地形支柱上建造。这种方式能最大程度减少地形改造的【实例数量】,同时让你可以无视在外部游荡的敌人,尤其是当基地入口需要快速跳跃才能进入时。需要注意的是,将地形恢复到大致原始高度并不能消除帧率问题(除非游戏中添加真正的【撤销地形更改】工具)。 要选择帧率友好的建造位置,请靠近海洋,理想情况下是在岛屿上——这能为你节省数千个【实例数量】。另一方面,黑森林比其他生物群系要重几千个实例。 你能放置的最坚固的支撑柱既不是石头也不是铁,而是一棵种植的树。它能提供100%的支撑力直达顶部,不过(如果需要的话)隐藏树叶和树枝可能会有些麻烦。 使用临时平台和坐下(“X”键)来在难以到达的位置建造。 门和大门可以用来为矿车创建可切换的桥梁。另一种防御桥梁的方法是从上方的支撑物上悬挂一个大门,并将地板部件连接到大门上,两侧留出小缝隙,这样如果大门被摧毁,地板就会消失。你可以在水中放置闸门来阻挡敌人,敌人无法攻击闸门,而闸门打开时允许船只通过。 焰灵在水中行走时会死亡,这样你就可以将它们的生成点(表现为巨大的火喷泉)改造成焰灵核心和煤炭农场。 大多数敌人在水中行动或攻击都会遇到困难。挖一条护城河或者将生物生成区域淹没,就能轻松定期掠夺资源。 结合这些方法,你可以将任何 boss 召唤祭坛改造成对自己有利的竞技场。具体方法我就不剧透了,但大多数 boss 都可以通过某种方式“逃课”击杀。 不仅是 boss 竞技场,任何陆地区域都可以改造以对玩家有利。沼泽可以被夷平以避免陷入池塘,树木可以被移除以提高能见度,还可以建造桥梁和运河等等——但要注意帧率下降。驯服
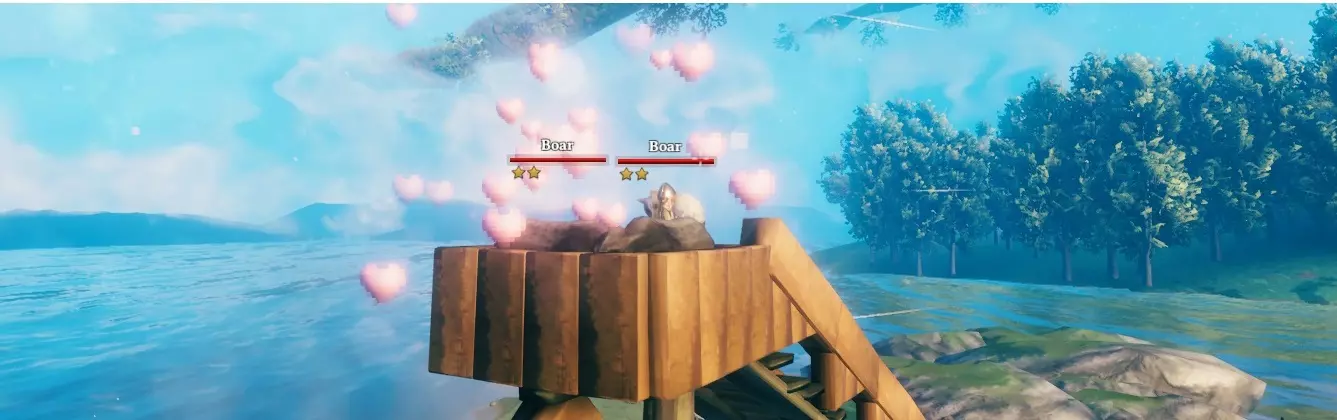
驯服的动物若无法向已发现的敌人移动,就会攻击墙壁和其他建筑。要避免这种情况,需确保它们无法看到附近游荡的生物,或利用地形墙壁进行阻挡。 一星和二星变种生物可以通过繁殖来大幅增加战利品,因为它们的后代会随机继承父母中一方的“星级品质”。一旦你拥有两只【星级】生物,它们所有的后代都将是【星级】生物。 驯服的野猪可用作肉类来源,因为它们可以喂食数量充足的胡萝卜。【高星级】野猪会成捆掉落肉类。 驯服的狼在防御和战利品获取方面都表现出色。普通变种很容易驯服,只需挖个坑或筑起土墙,在附近放置营火——即使你还没有抗寒装备。但要小心,它们的攻击力相当高。*和**版本会掉落更多战利品,造成更多伤害,但驯服起来非常耗时,因为它们(大多)在夜间生成。 夜间生成的生物有个问题:白天它们会逃离玩家,不会进行任何其他活动——无法驯服、繁殖或进食,而且如果你在白天离开它们约20米远,它们就会消失。不过,它们的后代则正常活动。 驯服它们最容易的区域是小型山地生物群系,那里不会生成石魔和龙兽。如果附近有弱小敌人(如野猪和鹿)掉落肉类,它们的数量就能维持。在安全区域,无需玩家干预,它们的数量也会增长。要达到最佳繁殖速度,可采用以下两种方法,因为生物需要空间进行繁殖(半径约10米的范围内最多可容纳6只动物): 1. 创建一个小到无法容纳6只动物的平台。当幼崽生成时,部分动物会从平台上掉落。如果高度足够,“平台上的动物”在喂食后会一直繁殖。 2. 不要将狼关在围栏里,而是让它们跟随你并保持喂食。它们会在有能力时立即交配,并迅速在附近区域产下幼崽,不会有空间问题,不过即使在草地上,它们也会意外地快速死亡。被驯服的洛克斯非常强大,但它们不会繁殖,也不会攻击平原生物。不过,它们的样子确实很特别。 资源
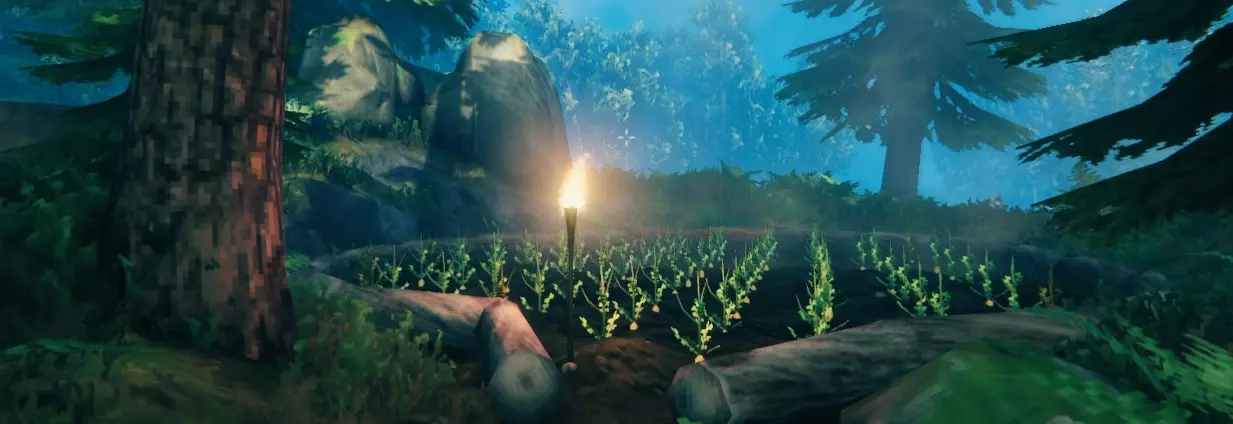
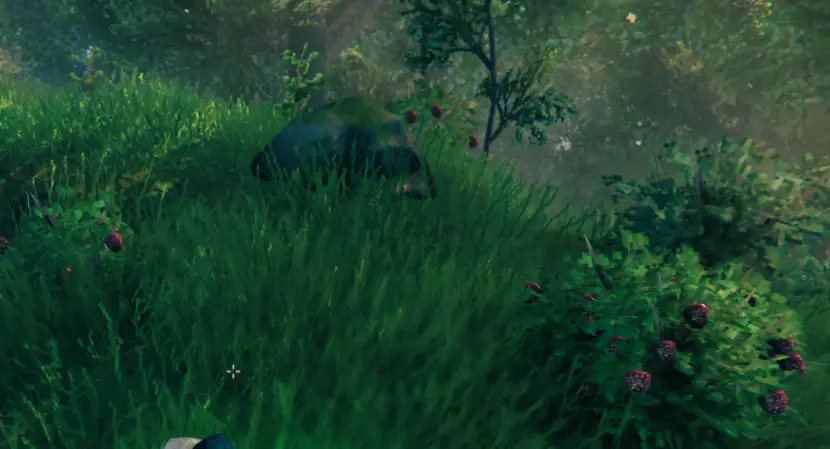
从上方近距离挥动镐子开采矿石时伤害更高,因此站位十分重要。记得在地图上标记矿石 deposit,直至其被开采完毕,并且要注意 deposit 的大部分通常位于地下。 大多数生物和植物会重生,如果你知道它们的位置,就可以进行 farming——记得在地图上标记这些位置。地牢中发现的黄色蘑菇也是如此。蜂王不会重生,但可以用它们建造蜂箱,从而获得源源不断的蜂蜜。 沿直线种植作物的最快方法是:将相机向下倾斜约45度,在向前移动的同时连续点击种植,这样作物之间就有足够的生长空间。其原理如下:地面上的任何植物都会“阻挡”你放置新植物的操作,除非你能越过它的碰撞箱并将准星直接对准地面,我们正是利用了这一点。因此,地面最好保持平整,以确保间距均匀。 收集作物最简单的方法是按住E键并沿直线移动,前提是作物是直线种植的。移动时用鼠标扫过作物可能更快,但需要更多操作。按住E键对熔炉和窑炉也有效! 因此,最佳的农场形状是长矩形,这样你几乎不需要移动鼠标。良好的帧率对于避免意外情况很重要,所以你可能需要建造一个专门的农场。亚麻和大麦有所不同,它们只能在平原上生长,并且可以使用武器“收割”。因此,长柄斧的特殊攻击(鼠标中键)可用于快速清理田地——但不要在你的普通作物上尝试这种操作。装饰
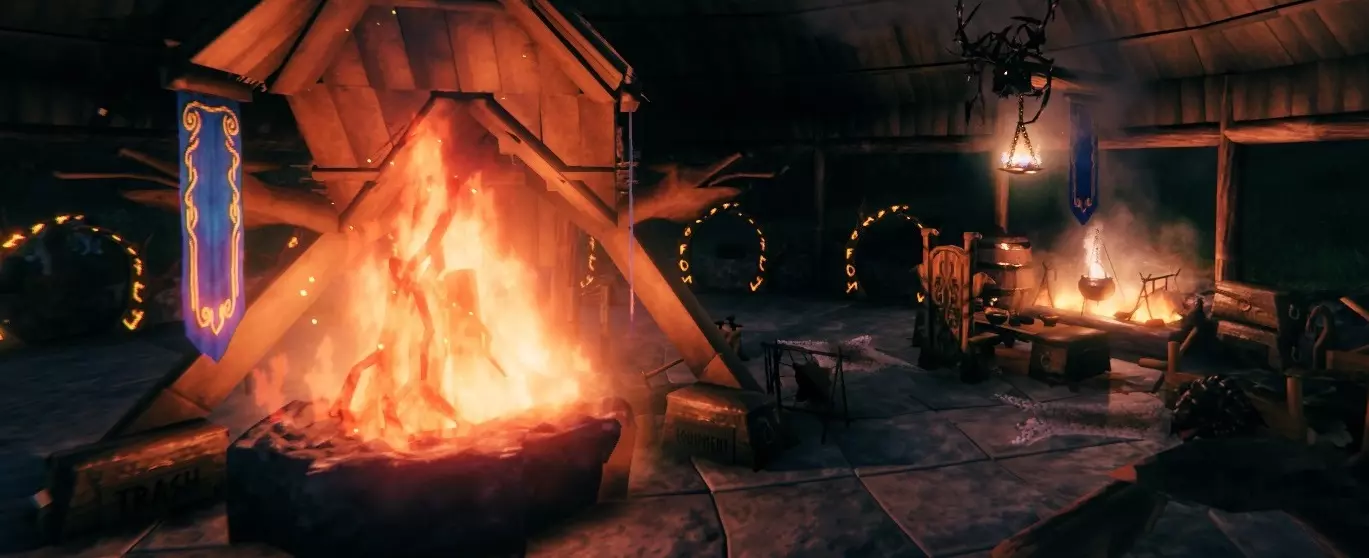
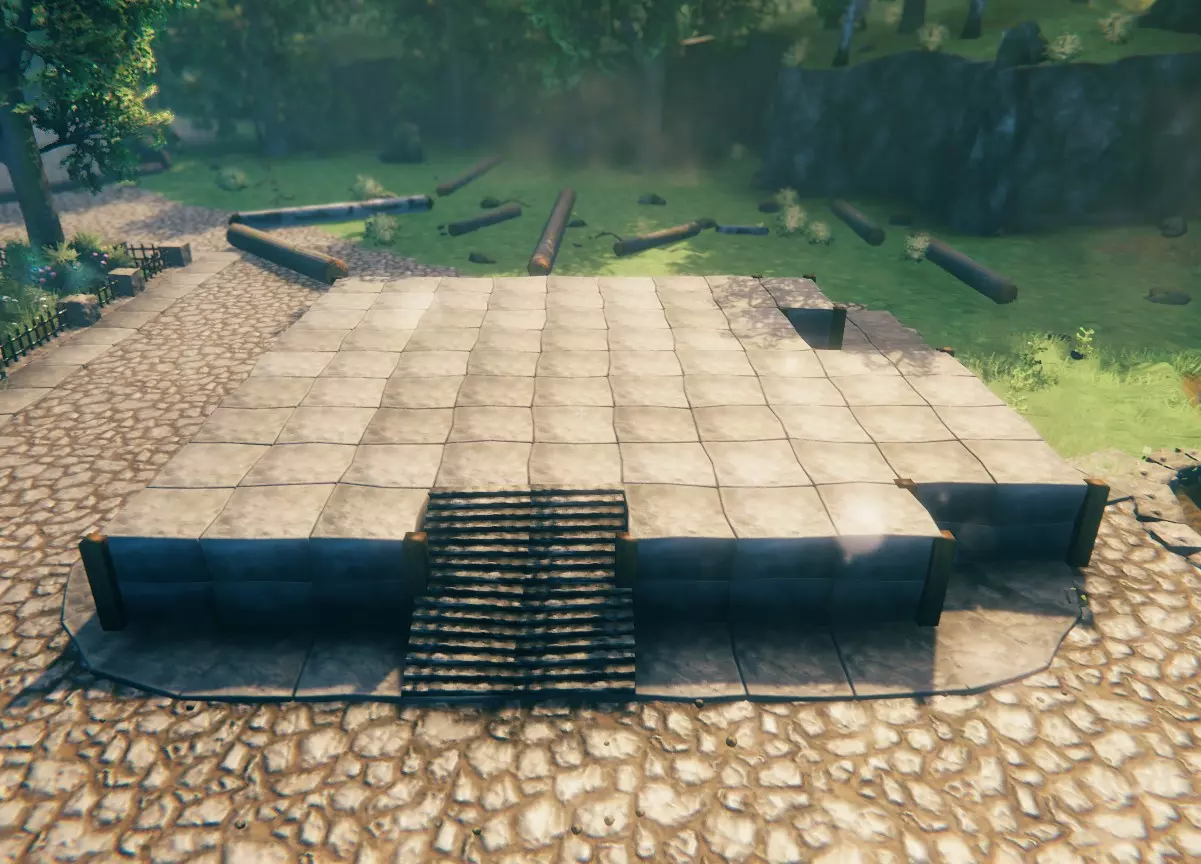
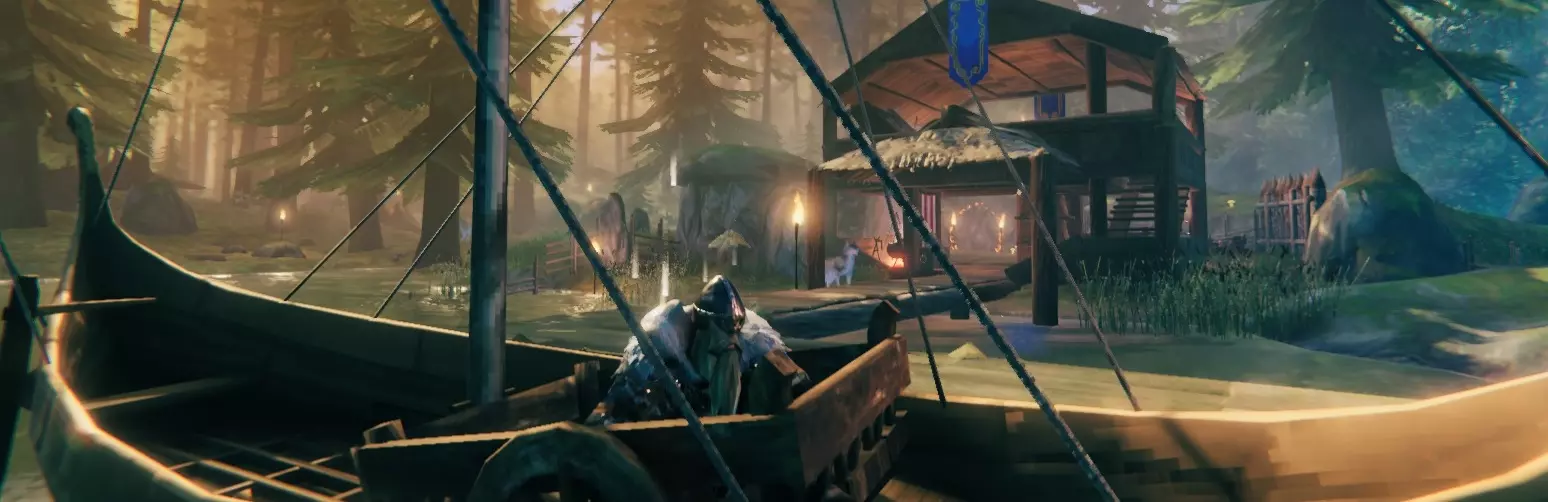
⠀ Item stands are an important decoration tool. Put food on the table, add a shiny Golem trophy to your storage shelves to demonstrate wealth, use yellow mushrooms for that magic forest feel, place a few cooked meat near your campfire and much more. Some items you might not expect can be displayed: Tankards, tools, meads, berries, weapons/shields, swamp keys, dragon eggs, Dverger Circlets and Yule Hats. Personally I hang the Eikthyr trophy above every dining table I build, while Surtling trophies make for an interesting addition to any forge. Regular Greydwarves and Greylings (not Brutes or Shamans) become docile near fire, thus you can "capture" them and keep them in your base as a bartender[i.imgur.com], smith or whatever else you imagine. You can build somewhat round buildings or segments with some effort. Simply place a wall, rotate a single tick, then place another wall next to the first, rotate again and so on. A smaller circle can be made using small floor tiles. Because Irongate was nice enough to let us clip structure objects into each other this works quite well, especially if adding floors and roofs to the inside of a round outline wall (even if the outline is removed later). Roofs look a bit un-immersive when snapped directly on top of walls. A way to mitigate this is to extend the roof past the wall by a full or half block - easily accomplished using the (small) floor tile. If combining this trick with a round building it might look better if you build a temporary outline below the extended roof, not the recessed walls supporting said roof. Here's[i.imgur.com] a visual guide if this seems confusing. Doors can be used to offset snap positions by a fixed amount, allowing you to snap to the exact center of stone walls for example. Holding shift to disable snapping and precisely placing a piece of structure can also be used to great aesthetic effect. If something you want seems impossible, think again - by using clipping, temporary structures and landscaping you can do pretty much anything, limited primarily by weight support. Signs can be partially clipped into chests for clear labeling, chests can be stacked, campfires can be placed on floors, iron gates can be clipped inside walls for increased durability, iron beams may be clipped inside walls for support and much more. You may feel inclined to vent smoke straight out of a chimney as this would be the reasonable thing to do in real life. In Valheim, however, smoke rising against the ceiling is visually impressive and doesn't cause soot buildup. Also, smoke is somewhat rarely used creatively in builds, so if you want to make your build stand out this is a great way to do it. Avoid using ugly straight terrain walls or monotonously repeated wooden/stone walls to prevent bland texture repetition. Instead of stacking stone walls in a grid layout, consider placing each layer shifted to the side for a brick wall-type effect. Valheim will look like a voxel game if you lazily spam the same patterns over and over, but with a bit of effort and a personal touch you can create immersive and beautiful outposts in a variety of themes. Use regular beams or log beams to frame windows, doorways, stairwells and chimneys. This makes a building look far more polished, though keep in mind that too many blocks may cause the game to stutter - there's a balancing act between sheer size and fine detail. An outpost may look gargantuan from far away or intricate from up close, but both at the same time will likely send your framerate to Hel. Existing structures can make for interesting features in an outpost. Dungeon entrances not only look great but may be farmed for yellow mushrooms for example. Those giant stone obelisks in the plains are a great support to build a castle in the clouds, as well. Modern building often prioritizes unobstructed view - "open design". This allows you to enjoy the wilds outside and avoids a cramped look. The problem is that the shelter mechanic is very important to gameplay. The game casts 17 "rays" from the character in all directions to check if there are walls and roofs present within 30 meters, thus some spots in your open home may provide shelter seemingly randomly while others do not, though you can mitigate this issue by placing a chair in the exact spot where shelter is available (keeping in mind that your altitude changes slightly when seated, which may change whether or not you receive the bonus). To build a spiral staircase: Vertically stack small beams in the center, then snap long beams horizontally to the central column, each rotated a single tick further than the last. You character won't be able to run up, however, unless you manually place each step a bit lower than a full beam. Carts are cheap and visually unique storage props with a large capacity, not just cargo haulers. You can also put them in odd positions by sprinting into them, including on their backs ("vertical"), or push their front arms into/above another cart[i.imgur.com]. Small doors can be used as closable windows. Large doors can as well, which may look good in a particularly large room if framed well. Different biomes allow for radically different aesthetics, thus choosing a location is the most important step before you even begin construction. Especially the mountains allow for a look not possible elsewhere due to snow and altitude differences. Miscellaneous Though technically a basic tip, the rested bonus is crucial for combat, resource gathering and landscaping due to massive health and stamina regen bonuses, and a hidden 50% experience bonus on top. I cannot emphasize this enough: Make sure it's always active. Mark everything. Your tombstone marker may disappear from the map if you die again so always mark it manually after you respawn. Dungeons markers are useful to keep track of which ones you've cleared (left-click an icon to cross it out with a red X). Portals should always be marked with the portal icon (the bottom one) and their exact name. Keeping your map in tip-top shape makes the game much easier. Building a small/medium portal hub may prevent the game from stuttering on low-end machines, allowing players with PCs of varying quality to co-exist in the same server. Practical locations are next to the power altar to swap powers easily or on an island for optimal framerate. Due to how portals work, swapping portal names to change their destination is possible but can lead to problems, especially when playing with others. Ideally you'll want to create permanent portal pairs instead. If you lack the resources to do this, make sure to keep a destination list (using signs, map markers or a notepad file) and prevent getting stranded. Signs are especially useful when playing with others. A "temp" portal can be very useful, however, if you carry the resources to quickly construct one and salvage it after returning. You can also bring the resources to build a boat on the go. Portals can be attacked and destroyed. It's generally a good idea to build at least a rudimentary defense around them. Terrain walls and pits are good options. Setting a bed as your spawn point and then destroying it will allow you to respawn at the power altar. Great if you're stranded somewhere. Press Ctrl+F3 to disable the HUD for screenshots. Backup your character once in a while. I've never lost one, but it has been reported to occur during abrupt game exits, whether deliberate (Alt+F4) or accidental (Windows/hardware crashes). To do this open File Explorer, type "%appdata%" into the path bar, press Enter. Click the arrow pointing up to move to the parent directory, then open LocalLow Irongate Valheim characters. You'll see two files with your character's name. Create a new folder named "backup" and copy (not move) the two character files in there. That's it, you can now restore the backup whenever you want. You might've noticed the "worlds" folder below the "characters" folder, which you can use to make and share world backups. You might be inclined to grind out the best gear, build some nice outposts and then sit around waiting for updates, but Valheim is a game of endless possibilities: Start a new character, launch some boats or players across the map, join the Body Recovery Squad, create an arena and host PVP tournaments complete with a selection of gear for the combatants, offer home makeovers to other players, capture enemies in your personal dungeon, fistfight some Loxes or come up with something new entirely! Cheats
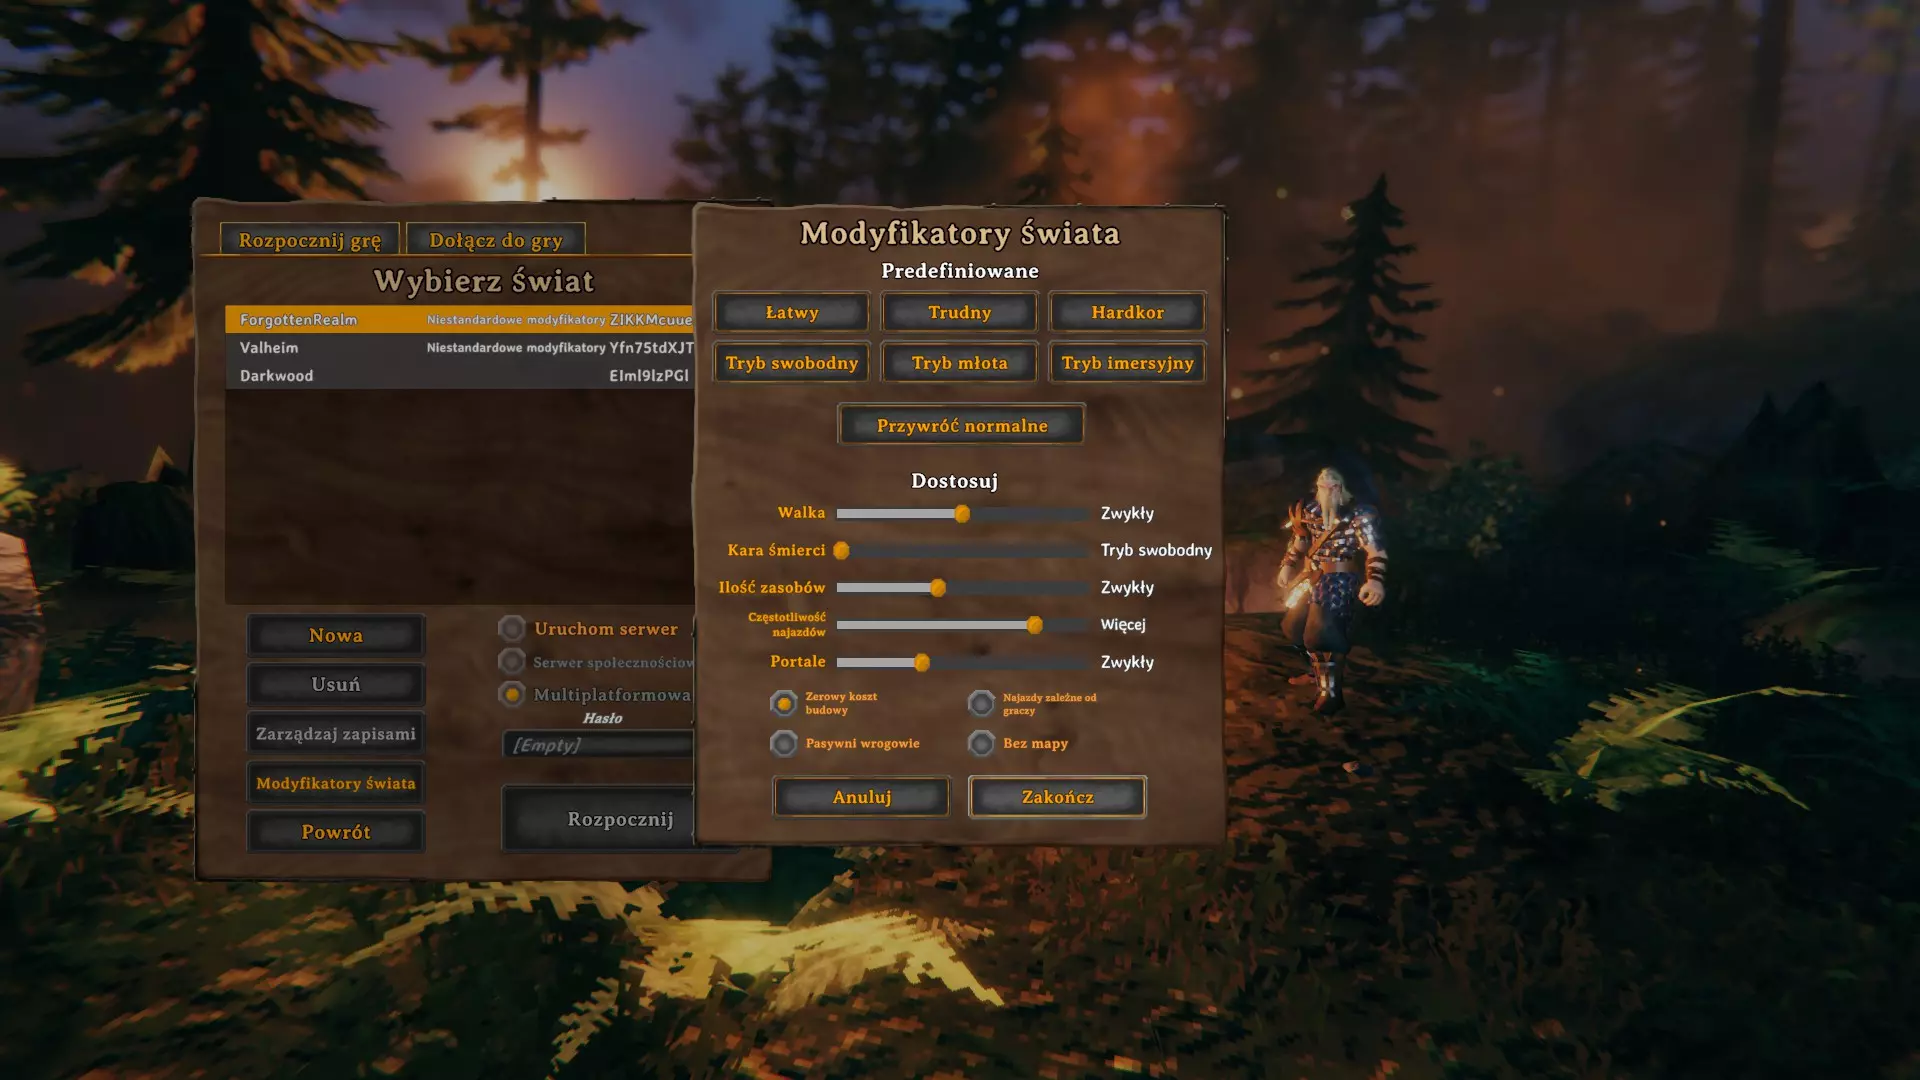
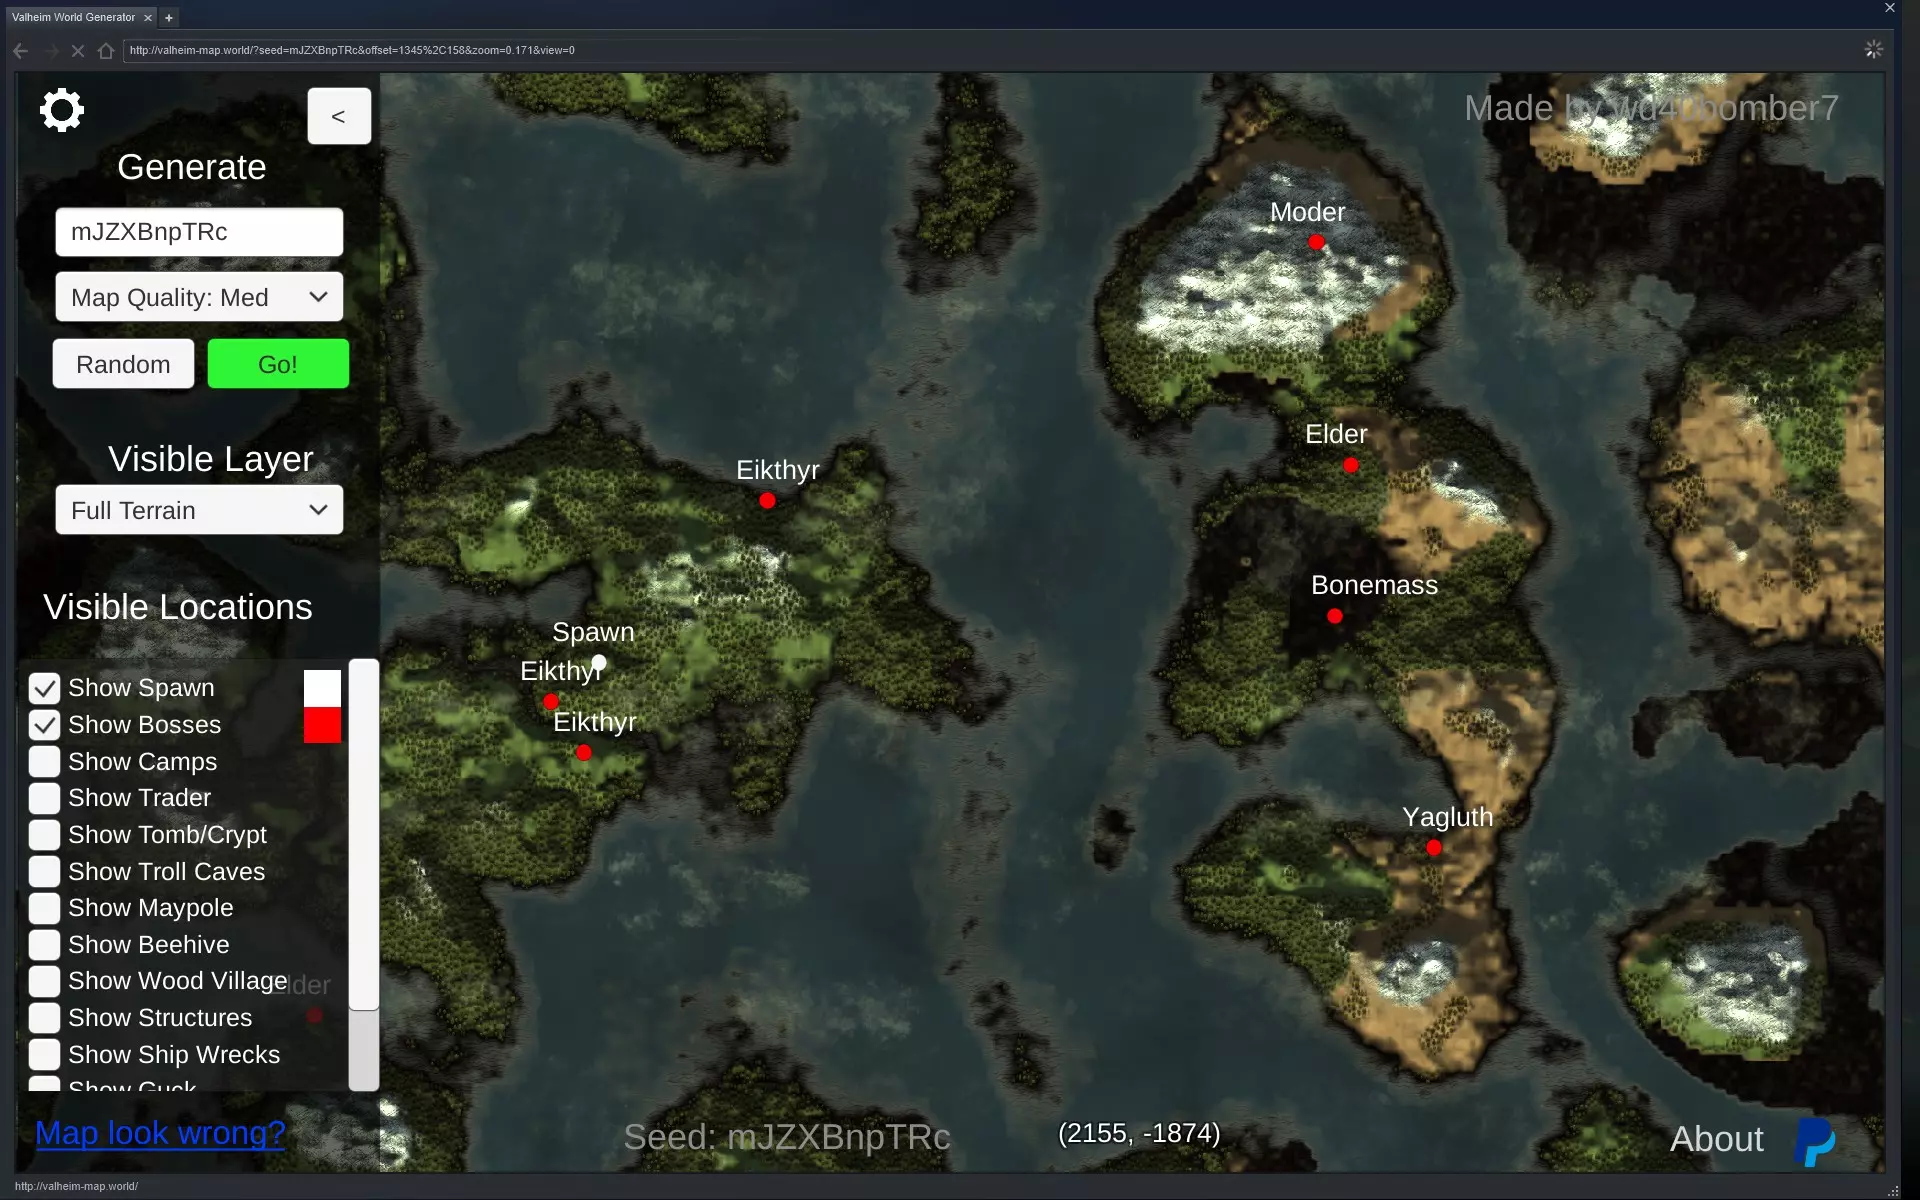
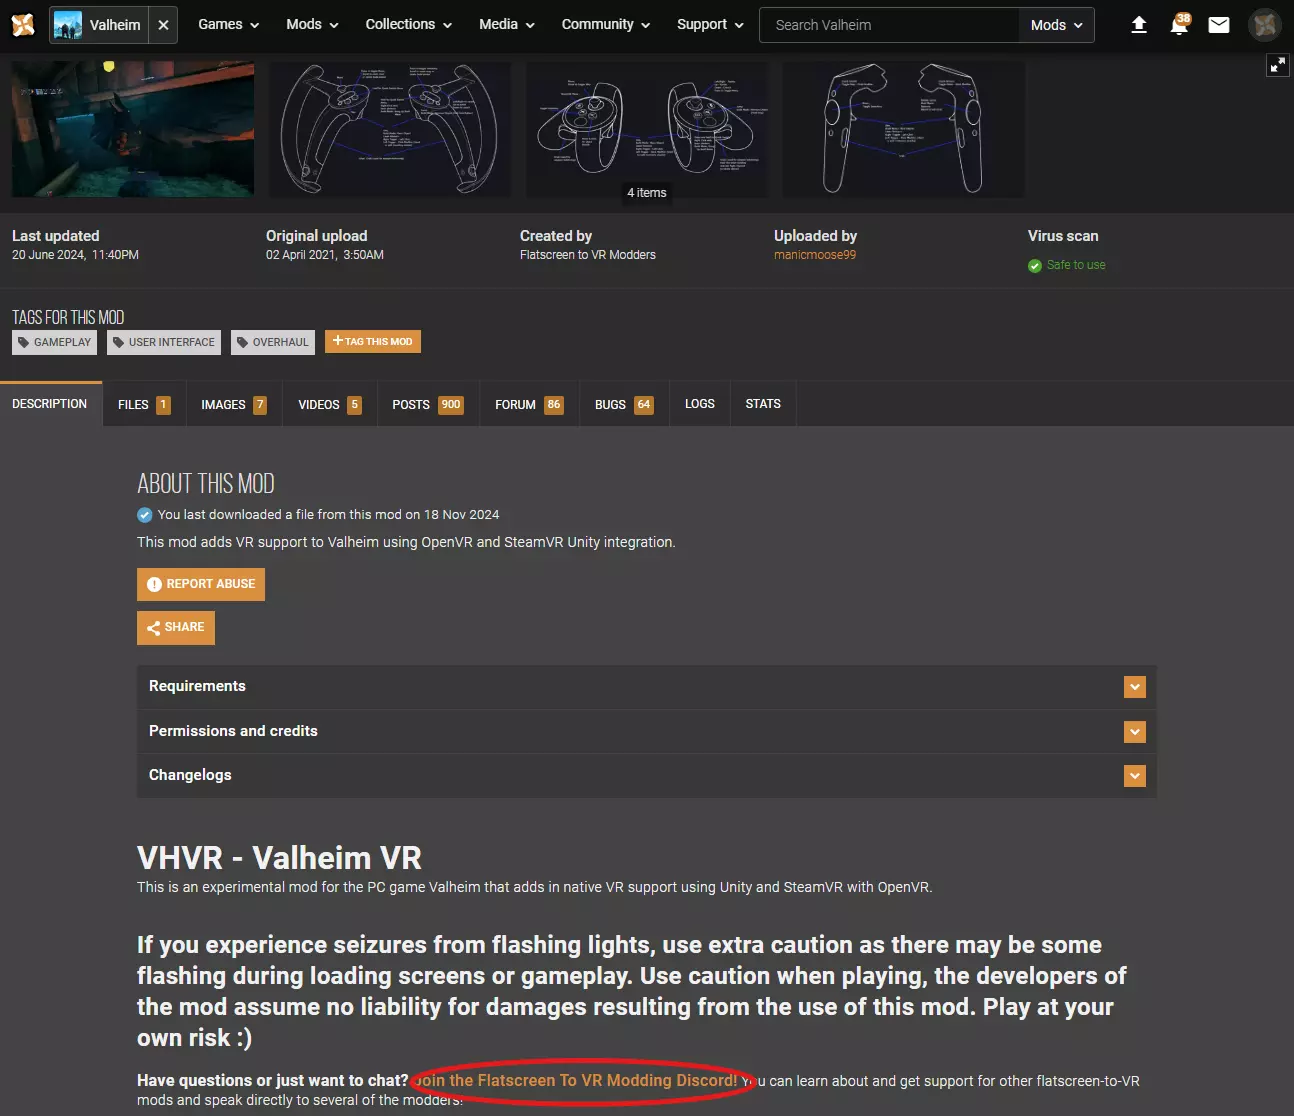
我强烈建议不要使用这些功能,而是“正常地”游玩游戏。不过,了解这些选项还是有用的,比如当你遇到可能破坏游戏进度的漏洞、不喜欢某些限制,或者想建造大型结构却不想费心收集资源时。 《英灵神殿》有一个调试模式。要启用它,按F5,然后输入“imacheater”,接着输入“debugmode”。之后,按Z键可以切换飞行模式,按B键可以切换建造成本(开关),按K键可以杀死所有生物。输入“God”并按回车键可以让你无敌。 你可以在线查看地图,上面会显示各种资源、生物刷新点、商人位置和其他信息。使用这类工具可能会剥夺游戏的探索乐趣。可以在此处找到控制台命令列表。模组能让你以多种方式进行作弊。我曾在早期版本中列出过一些漏洞利用方法,但意识到这违反了《英灵神殿》子版块的规定。如果你感兴趣,或许可以在其他地方找到它们。 致谢 以下Reddit用户为改进此帖提供了帮助: awst10、JustNilt、Fierce_Fury、Drake_Xahu、dajoor、CumBubbleFarts、jhnnynthng、Energy_East、ncghost213、Vaelkyri、Gamers_Handbook、daydreamtune、MeateaW、Candid_Investment、thebedla、morfanis、-alkatranz