换一换
换一换 


欢迎来到海兰角!本指南将为你提供从一个小毒贩战略性且高效地成长为毒枭所需的所有关键信息。无论你是刚入行,还是希望优化生产流程,都能在这里找到所需的知识。简介
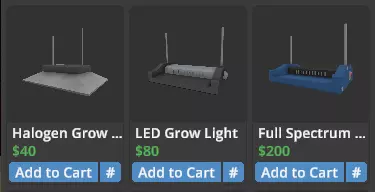
欢迎来到我的《Schedule I》完全指南! 如果你和我一样,刚开始可能会有些艰难。不知道该做什么、从哪里开始,或者如何取得真正的进展。本攻略将帮助你站稳脚跟,以正确的方式建立你的帝国。 请注意,本指南仍在完善中,随着游戏的更新和我发现新策略,它会变得更好。 如果你发现任何错误或过时信息,或者想添加自己的建议,请告诉我。我会对指南进行必要的更新。 种植大麻 在《Schedule I》中,早期种植大麻相对简单。你只需要一个种植帐篷、土壤和种子。只要植物有足够的水分,你的第一批作物就会茁壮成长。土壤类型与使用寿命 你使用的土壤类型会影响其在需要更换前可用于种植的次数: 标准土壤:可用于1个生长周期 长效土壤:可用于2个生长周期 超长效土壤:可用于3个生长周期 肥料选项 肥料会影响作物的品质和生长速度: 肥料:将品质提升1个等级(例如从标准提升至优质) 速生剂:减少50%生长时间,但会降低芽体品质 植物生长调节剂(PGR):增加单株产量,但会降低品质 通过合理搭配土壤和肥料,你可以针对速度、品质或产量优化种植流程。 高效种植设置 随着种植规模的扩大,升级种植设施以最大化产量并减少人工劳动非常重要。以下是提升种植效率的方法: 种植架 使用种植架能让你在更小的空间内放置更多植物。拥有的种植架越多,可同时种植的植物数量就越多,这对于扩大业务规模至关重要。 生长灯 共有三种生长灯可供选择,每种对植物生长的影响各不相同: 类型 生长加成 备注 卤素灯 无 基础款,价格便宜,能源效率低 LED灯 +15%生长速度 在价格和性能之间取得平衡 全光谱灯 +30%生长速度 价格昂贵,但却是快速生长的最佳选择
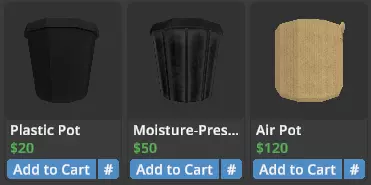
选择合适的花盆也会影响植物生长和水分管理: 花盆类型 效果 适用场景 塑料盆 标准,无特殊效果 新手,预算有限的种植 setup 金属盆 减少40%水分流失 手动种植,注重水分效率 透气盆(Air Pot) 增加15%生长速度,增加30%水分流失 有员工的自动化种植 setup
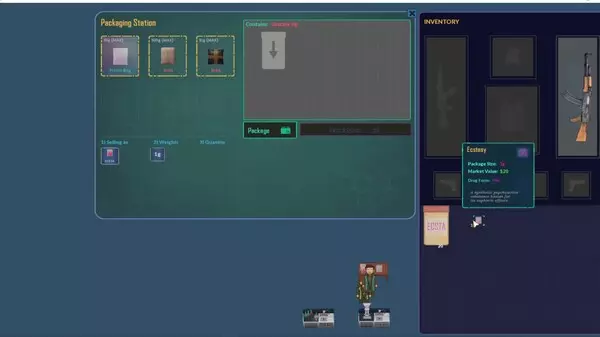
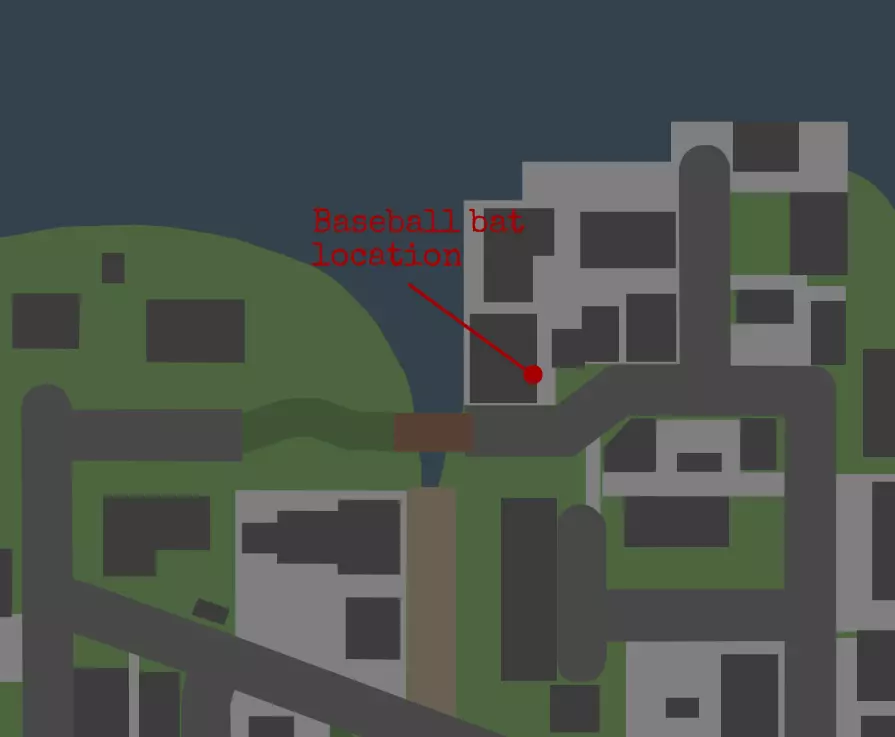
🧰 Useful AccessoriesCertain accessories can drastically reduce the time and effort needed to maintain your plants: 💦 Pot Sprinkler Automatically waters your plants Saves time and effort - no need to manually refill the watering can Highly recommended as one of your first upgrades 🪣 Soil Pourer Allows you to quickly fill pots with soil by clicking in a bag and turning a wheel Saves time but takes up a lot of space and is quite expensive Consider this a luxury upgrade once you have more room and money to spare ✂️ Harvesting and Post-ProcessingIt's time to harvest when your plants are ready: Cut the buds with scissors.Next, decide what to do: For a speedy sale, put buds at the packing station into bags or jars and sell right away. Personalized products: Utilize a Mixing Station to combine components and produce speciality cannabis with distinctive benefits (or adverse effects). Tip: Cocaine and meth are also mixed. Read more about that in the section on mixing. 🌱 “It all starts with a seed - but empire-building begins with optimization.“ 💊 Meth Production Compared to marijuana or cocaine, meth manufacture in Schedule I is a little more sophisticated and calls for specific tools and materials. It's a multi-step process with a tremendous potential for profit. 🔬 Equipment RequiredTo start producing meth, you’ll need to purchase: Chemistry Station – for mixing the base chemicals Lab Oven – for crystallizing liquid meth into the final product 💡 You can buy most of these items from the warehouse once unlocked. 🧪 IngredientsYou'll need the following ingredients to begin meth production: Acid (x1) – Found in the warehouse Phosphorus (x1) – Found in the warehouse Pseudoephedrine (x1) – Purchased from your supplier, Shirley Watts Make sure you always have a supply of pseudo, as it’s not always available in large quantities and its quality directly influences the final meth product. ⚗️ Production ProcessStep 1 – Mix the Base At the Chemistry Station, combine: Acid (x1) Phosphorus (x1) Pseudoephedrine (x1) This creates Liquid Meth (Unprocessed). Step 2 – Heat to Perfection Transfer the liquid meth into a Distillation Flask and heat it to a temperature between 225°C and 275°C. Be careful—going too high or too low can ruin the batch. Step 3 – Crystallization Move the liquid meth into the Lab Oven and place it on a cooling tray. This step solidifies the liquid into a large slab of meth. Step 4 – Break It Down Use a hammer to break the slab into crystals. Congratulations—you’ve just produced your first batch of meth! 📦 Packaging & SellingJust like with weed, you now have two options: Standard Sale: Pack your meth into jars or bags and sell it directly Enhanced Product: Use the Mixing Station to add ingredients and create custom meth with boosted effects (details in the “Mixing” section) 🎯 Quality & ControlMeth quality depends entirely on the quality of the pseudoephedrine used during production. You can select the quality level when ordering from Shirley Watts: Pseudo Quality Resulting Meth Quality Low Poor Medium Moderate High Premium / Heavenly Unlike weed or cocaine, fertilizers or drying don’t influence meth quality—so your main concern is securing high-quality ingredients. 🧪 Advanced Tip Build multiple Chemistry Stations. Automating your heating and mixing process (requires later-game equipment and employees) Keeping your lab well-stocked and organized for smoother batch cycles 💥 “Mess it up, and you’ve got chemicals. Get it right, and you’ve got currency.“ ❄️ Cocaine Production Although growing marijuana and cocaine have certain similarities, the processing of cocaine is more intricate. However, the benefits can be significant, particularly if you strive for premium, high-quality coke that is offered in Hyland Point's wealthy neighborhoods. 🌱 Growing Coca PlantsCoca plants are grown just like weed: Use a grow tent, soil, seeds, and grow lights Keep plants watered and give them time to grow No strain variety—there’s only one type of coca plant Once mature, the plant produces coca leaves instead of buds. 🧺 Drying (Optional but Powerful)After harvesting, you can: Process leaves immediately for speed OR Dry them on a rack to improve quality 🧠 Drying takes longer (up to 24 in-game hours), but it's the only way to reach Premium or Heavenly quality for cocaine. Drying Time Quality Outcome No Drying Standard / Low 12 Hours Premium 24 Hours Heavenly 🔍 Note: Unlike meth, you can’t improve quality during processing. It’s all about the leaves’ condition before the cauldron step. ⚗️ Processing CocaineOnce dried (or not), you’ll need to extract the cocaine base and refine it. Required Equipment: Cauldron – Used for chemical extraction Lab Oven – Heats and solidifies the product Step 1 – Base Extraction At the Cauldron, combine: Coca Leaves (x20) Gasoline (acts as a solvent) This will yield Cocaine Base – an unrefined, semi-finished product. Step 2 – Refinement Place the Cocaine Base into the Lab Oven. The heat will evaporate the solvents and transform it into pure cocaine powder, ready for packaging or enhancement. 📦 Packaging & SellingOnce the powder is ready, you can: Package it into bags/jars for immediate sale Enhance it with additives at the Mixing Station to boost effects or create "designer cocaine" 🧠 Pro Tips: Bulk farming is key: Cocaine needs 20 leaves per batch – scale your grow setup accordingly. Use Air Pots + Full Spectrum Lights for fastest growth, but balance against water loss. Save high-quality cocaine for districts like Uptown or Suburbia – they demand top-tier product and pay better. Always have gasoline stocked – running out mid-process breaks the flow of your operation. ❄️ “Clean cut, pure line — the luxury product for a premium market.“ 🏷️ Product Quality Schedule I narcotics are all categorized according to quality levels, whether they are cocaine, meth, or marijuana. Better products are needed in wealthier areas, sell for more money, and draw in better clients. 🎨 Quality TiersEach product falls into one of five quality categories, color-coded for easy recognition: Quality Tier Color Description Heavenly 🟡 Yellow Top-tier quality, highest market value Premium / High 💗 Pink High quality, great reputation Standard / Moderate 🔵 Blue Average quality, widely acceptable Low / Poor 🟢 Green Inferior product, mostly for low-tier buyers Trash 🔴 Red Worst quality 🧪 How to Improve Product Quality🌿 Weed Weed quality depends on: Fertilizer Use: Fertilizer: +1 quality tier (e.g. Standard → Premium) PGR: Increases yield, but reduces quality Increases weed (buds) harvest by 33,33 % Increases cocain (leafs) harvest by 77,78 %Speed Grow: Speeds growth by 50%, reduces quality Drying: (Optional, for high-end weed) Drying buds on racks boosts quality to Heavenly Drying time: ~24 in-game hours for max effect ✅ Optimal Setup: Fertilizer + Long Drying = Heavenly Buds 💊 Meth Meth quality is entirely dependent on the quality of pseudoephedrine: Pseudo Quality Resulting Meth Quality Low Poor Medium Moderate High Premium You cannot boost meth quality with fertilizer or drying. Order pseudo wisely from Shirley Watts (price vs. purity!) ❄️ Cocaine Cocaine quality depends on how long the coca leaves were dried before processing: No drying → Standard or Low 12 hours → Premium 24 hours → Heavenly 💡 The drying rack is your best friend if you’re targeting high-end cocaine markets. 🗺️ Matching Quality to DistrictsEach district in Hyland Point has different demands in terms of product quality: District Preferred Quality Tier Northtown Low / Standard Westville Low / Standard Downtown Standard / Premium Docks Standard / Premium Suburbia Premium / Heavenly Uptown Premium / Heavenly 🎯 Selling low-tier products in high-end areas = no sales or lower prices 💸 Selling Heavenly products in low-income areas = wasted profit potential 🚀 Pro TipsStore high-quality product until you unlock high-paying districts Consider product mixing for value boosts (explained in next section) Track what each customer type prefers and adjust supply accordingly 🧪 “You don’t just sell drugs. You sell trust, reputation, and repeat business.“ 🧪 Mixing Station – Custom Drug Creation The Mixing Station adds a new level of gameplay once you've mastered basic production: making your own drugs mixes. By adding various ingredients to your base product (cocaine, meth, or marijuana), you can affect: Effect strength Side effects Addictiveness Value Target market preference 🧰 RequirementsTo begin mixing, you’ll need: A Mixing Station (purchase from the warehouse) One of the base drugs: Weed, Meth, or Cocaine Additives (purchased from the warehouse or gas station) 🧪 Ingredient Types & EffectsHere’s a list of example ingredients and what they can do: 💡 "The right mix can elevate your product from standard to exceptional." Knowing your ingredients is the key to success. Each ingredient introduces unique effects to your product, influencing its appeal and potency. Below is a breakdown of common additives and their associated effects: 🥫 Coke Effects Added: Energizing, Tropic Thunder, Refreshing A versatile ingredient that enhances energy and euphoria, making your product more appealing to clients seeking an uplifting experience. 🧼 Mouth Wash Effects Added: Refreshing, Energizing, Tropic Thunder While it boosts freshness and energy, be cautious: excessive use may lead to customers experiencing hair loss, potentially affecting repeat business. ⚡ Energy Drink Effects Added: Athletic, Long Faced, Calorie-Dense Provides a significant energy boost but may result in unwanted side effects like hair loss and disorientation. Use judiciously to maintain customer satisfaction. 💊 Paracetamol Effects Added: Sneaky Ideal for creating subtle, stealthy effects, appealing to clients who prefer a more understated experience. 🐎 Horse Semen Effects Added: Long Faced An unconventional additive that imparts a unique effect, potentially attracting niche markets seeking novel experiences. 🍌 Banana Effects Added: Gingeritis Introduces a quirky effect, adding a playful twist to your product that may appeal to adventurous clients. 🔥 Chili Effects Added: Spicy Adds a fiery sensation, making the user feel as though they're burning. Ideal for clients seeking intense, exhilarating experiences. Use with caution to avoid overwhelming users. 🧪 Iodine Effects Added: Jennerising Imparts a transformative effect, elevating the perceived quality and exclusivity of your product, suitable for premium offerings. 💙 Viagra Effects Added: Tropic Thunder Enhances euphoria and energy, making it a popular choice for clients seeking heightened sensations and prolonged experiences. ⛽ Gasoline Effects Added: Toxic Introduces a hazardous element, appealing to thrill-seekers but potentially deterring more cautious clients. Use sparingly to balance risk and reward. 🛢️ Motor Oil Effects Added: Laxative Causes digestive urgency, which may be undesirable for most clients. Typically avoided unless targeting specific niche markets with a taste for the extreme. 🤧 Flu Medicine Effects Added: Sedating, Smelly Induces relaxation and drowsiness, suitable for products aimed at clients seeking calmness, though the accompanying odor may be off-putting. 🍩 Donut Effects Added: Athletic, Calorie-Dense Boosts energy and performance but adds to the caloric content, which may be a consideration for health-conscious clients. 🎯 Strategy: Why Mix at All?Mixing lets you: Create product variants tailored for different customer groups Increase addictiveness, encouraging repeat customers Add effects that improve perceived value You can also save space by mixing weaker product with additives to simulate higher quality. 🔐 Unlocking More IngredientsAdvanced ingredients are unlocked as you progress in: Reputation District Expansion 🔁 Final AdviceUse Mixing to get rid of leftover mid-quality drugs Track customer feedback and adjust your mixes 🧠 “Think like a dealer, not just a cook — your product’s impact is what makes customers come back.“ 🧪 Mixing Guide & Recipe Book 💡 “A perfect mix doesn’t just get you paid – it gets you remembered.” Effects, value, addictiveness – every batch is a business decision. 🔬 How Mixing WorksMixing allows you to boost your drugs with additives that: 💥 Increase street value 😵 Add cool (or dangerous) effects 🧲 Make your product more addictive 💰 Increase profit per unit To start mixing: Unlock the Mixing Machine (after the Mixing Mania quest) Buy ingredients from the Gas Station Choose a base product (Weed, Meth, Cocaine) Add ingredients and test combos 📘 Sample Recipes – High-Profit Mixes Test freely, but these recipes are known to bring strong profits and effects: 🌿 Premium Weed Mix: 2x Cuke Paracetamol Battery Mega Bean Gasoline 💰 Profit: High 🎯 Effect: Energized + Stealthy 🧠 Tip: Great for party zones or passive stoners 💊 Potent Meth Mix: 2x Cuke Banana Paracetamol Horse Semen Gasoline Battery 💰 Profit: Very High 🎯 Effect: Intense Focus + Energy 🧠 Tip: Best for uptown clients with big wallets ❄️ Designer Cocaine Mix: Mega Bean 2x Cuke Motor Oil Horse Semen Paracetamol Battery Gasoline 💰 Profit: Extreme 🎯 Effect: Powerful + Trippy 🧠 Tip: For high-end deliveries only 🧠 Pro Mixing Tips: 📋 Know your ingredients – they each do something. 💸 Balance cost vs. value – don’t kill your margin. 🧪 Keep track of what sells in each area. 🔁 Refine your mixes as preferences change. 📊 Use the Mixing Calculator: Test before you waste ingredients. 🔗 Schedule I Mixing Calculator[schedule1-calculator.com] 🧪 “You’re not just mixing drugs. You’re mixing strategy, risk, and street power.” ⚗️ Lab Efficiency – Production Ratios & Optimal Setup 🌿 Weed Production ChainWeed is the most straightforward product when it comes to scaling production. All roles scale linearly, so you can easily plan your staff and equipment without worrying about bottlenecks - As long as there is enough input for the employees. 🔁 Base Production Ratio 1 Botanist (Grower) 🌱 = Maintains up to 8 active plants 8 Plants 🌿 = Generates enough output to fully occupy 2 Packers 📦 💡 Want to double your production? Just double the staff and setup: 2 Botanists → 16 Plants → 4 Packers 3 Botanists → 24 Plants → 6 Packers ✅ Weed production is easy to scale — just match your workers to plant count. Note: This ratio refers to setups using full spectrum lamps, air pots and fertilizer. If you're using different grow lights, pots, or fertilizers, plant growth speed may vary slightly — but it won’t significantly affect the workload per employee. The ratios stay stable in the long run. 💡🌿 🔬 Meth Production ChainMeth is the most complex drug in Schedule I. It requires precise device ratios and good timing to avoid idle staff and wasted resources. With its multi-step process and limited employee device control (3 total), planning is key. 🧪 Chemistry Station: 1 batch every 8:00 min 🔥 Lab Oven: 1 batch every 6:00 min (10x Meth) 📦 Packer: Packs 20x Meth in 3:22 min 👨🔬 1 Chemist: Can operate up to 3 total devices (any mix of Stations/Ovens) 🧪 Small-Scale Setup (Beginner Friendly)Recommended: 1 Chemistry Station 1 Lab Oven 1 Chemist 1 Packer✅ Balanced setup for starting out. No waiting, full worker utilization. Alternate: If you're processing stored liquid meth: 1 Chemistry Station 2 Lab Ovens 1 Chemist 1 Packer⚠️ Only use if you already have excess liquid meth, otherwise the second Oven will sit idle. 🏭 Mid-Scale Setup (3x Chemistry Stations) 3 Chemistry Stations (1 batch every 2:40 combined) 3 Lab Ovens (1 batch every 2:00 combined) 2 Chemists (each handling 3 devices) 2 Packers (40x Meth in 6:44 min)✅ Keeps all equipment and staff active. Ovens slightly ahead of mix speed — no queues. 🏢 Large-Scale Setup (6x Chemistry Stations) 6 Chemistry Stations 6 Lab Ovens 4 Chemists 3 Packers (60x Meth packed in 10:06 min)✅ Fully scalable 1:1 ratio. No downtime, no overflow. 📏 Ratio Summary 1 Chemistry Station ➝ 1 Lab Oven 2 Lab Ovens ➝ 1 Packer 1 Chemist ➝ Max. 3 devices (mixed or same type) Tip: Lab Ovens are slightly faster than Chemistry Stations. Stick to a 1:1 ratio to avoid build-up and use excess Ovens only if you have buffered liquid meth. 🔬 Cocaine Production ChainCocaine is grown like weed, but processed more like meth – without the need for mixing. It’s straightforward, but requires space, balanced staffing, and proper timing to scale efficiently. 🌱 Grow Coca Plants (10 min) → Harvest Coca Leaves (≈9 leaves per plant) 🧪 Process 20x Leaves + 1x Gasoline in a Cauldron (6 min) → yields 10x Cocaine Base 🔥 Refine the base in a Lab Oven (6 min) → yields 10x Cocaine 📦 Pack & Sell (20x Cocaine packed in 3:22 min) 🧠 Note: One Botanist can manage up to 8 plants. One Chemist can handle up to 3 devices (Cauldrons and/or Lab Ovens). Plan accordingly. 🌿 Small-Scale Setup (Botanist-Limited) 8 Coca Plants (≈72 Leaves every ~10 min) 2 Cauldrons 1 Lab Oven 1 Botanist 1 Chemist 1 Packer ✅ Provides 3 full batches per cycle with 12 leaves left over. All staff are fully utilized, and machines remain active. Tip: Stick to 8 plants per Botanist. Even though 9 plants would cover 4 batches, a single worker can’t manage that load. 🏭 Mid-Scale Setup (24 Plants) 24 Coca Plants (≈216 Leaves per 10 min) 6 Cauldrons 3 Lab Ovens 3 Botanists 3 Chemists 3 Packers ✅ 216 Leaves allow for 10 full batches every cycle.Cauldrons and Lab Ovens stay in rotation, while packers handle 60x Cocaine in ~10 minutes (20 each). Tip: This setup is ideal once you’ve expanded your space and unlocked more workforce. 🏢 Large-Scale Setup (32+ Plants) 32 Coca Plants (≈288 Leaves every 10 min) 8 Cauldrons 4 Lab Ovens 4 Botanists 4 Chemists 2 Packers (brick production only) 🚫 Due to the in-game 10 employee per location limit, full-scale operations must split roles or use multiple locations. ✅ Use 2 Packers at the main site to produce bricks, then transport and unpack them at a second location for final packaging and distribution. ✅ Highly efficient industrial setup. Processes 14 full batches per cycle (~280 leaves), packs up to 140x Cocaine per cycle. Tip: Bricks are a space-efficient way to move large quantities between safehouses when scaling beyond 10 employees. Note: My plant setup for Weed and Cocain consists of the Air Pots and the Full Spectrum Lamp. I use the Extra-Longlife Soil and Fertilizer for better quality. 🧠📊 “If you scale smart, you never need to wait. Your product moves as fast as your plan.” ⏱️ First 24 Hours – Early Game Setup & Strategy Your first day in Hyland Point lays the foundation for your entire operation. Starting smart will save you time, money, and stress down the road. Here's your step-by-step plan for a successful first day. 📅 Step 1: Loot the RV before you hit the road🌿 Harvest first When you show up at the RV, there will already be some weed growing. Wait for it to mature, then use your ✂️ scissors to harvest it and 📦 package it with the included packing station. Sell it or give away samples to get things rolling. 🛬 Take It All With You Before you leave, disassemble and pack the following: 💡 Grow Light 🪴 Rack & Pots ✂️ Scissors 🚿 Watering Can 📦 Packing Station 🧹 Shelf (optional for storage) ✨ Pro Tip: RV setups have bigger, healthier plants compared to what you can afford to start with. Taking them with you will give you a better yield from day one. 💼 Step 2: Sell Early and Build Your Customer Base 📍 Find Your Potential Customers Look for "Potential Customer" markers on your map. Visit them and drop off free samples to get future orders. 🎁 Why samples are important Samples are always free, but they build trust. Unlock your first buyers. Build up a large customer base. 🔹 No buyers, no empire. Start small, grow fast. 💰 Step 3: Where to Spend Your Money ✅ Invest in production first Use the racks from the RV to grow and buy 2 more grow tents from Dan's Hardware. Have always enough soil and seeds. 💡 Efficient, expandable, and affordable 💳 What if you're broke? 💟 Buy a collection bucket from Dan's Hardware ($20) to collect trash and drop it off at recycling locations. 🏀 Pick up a baseball bat from the sports field near the Chinese restaurant. Use it to smash ATM machines. 🤏 Pickpockets, especially customers directly before or after a completed transaction. Easy, risky money.
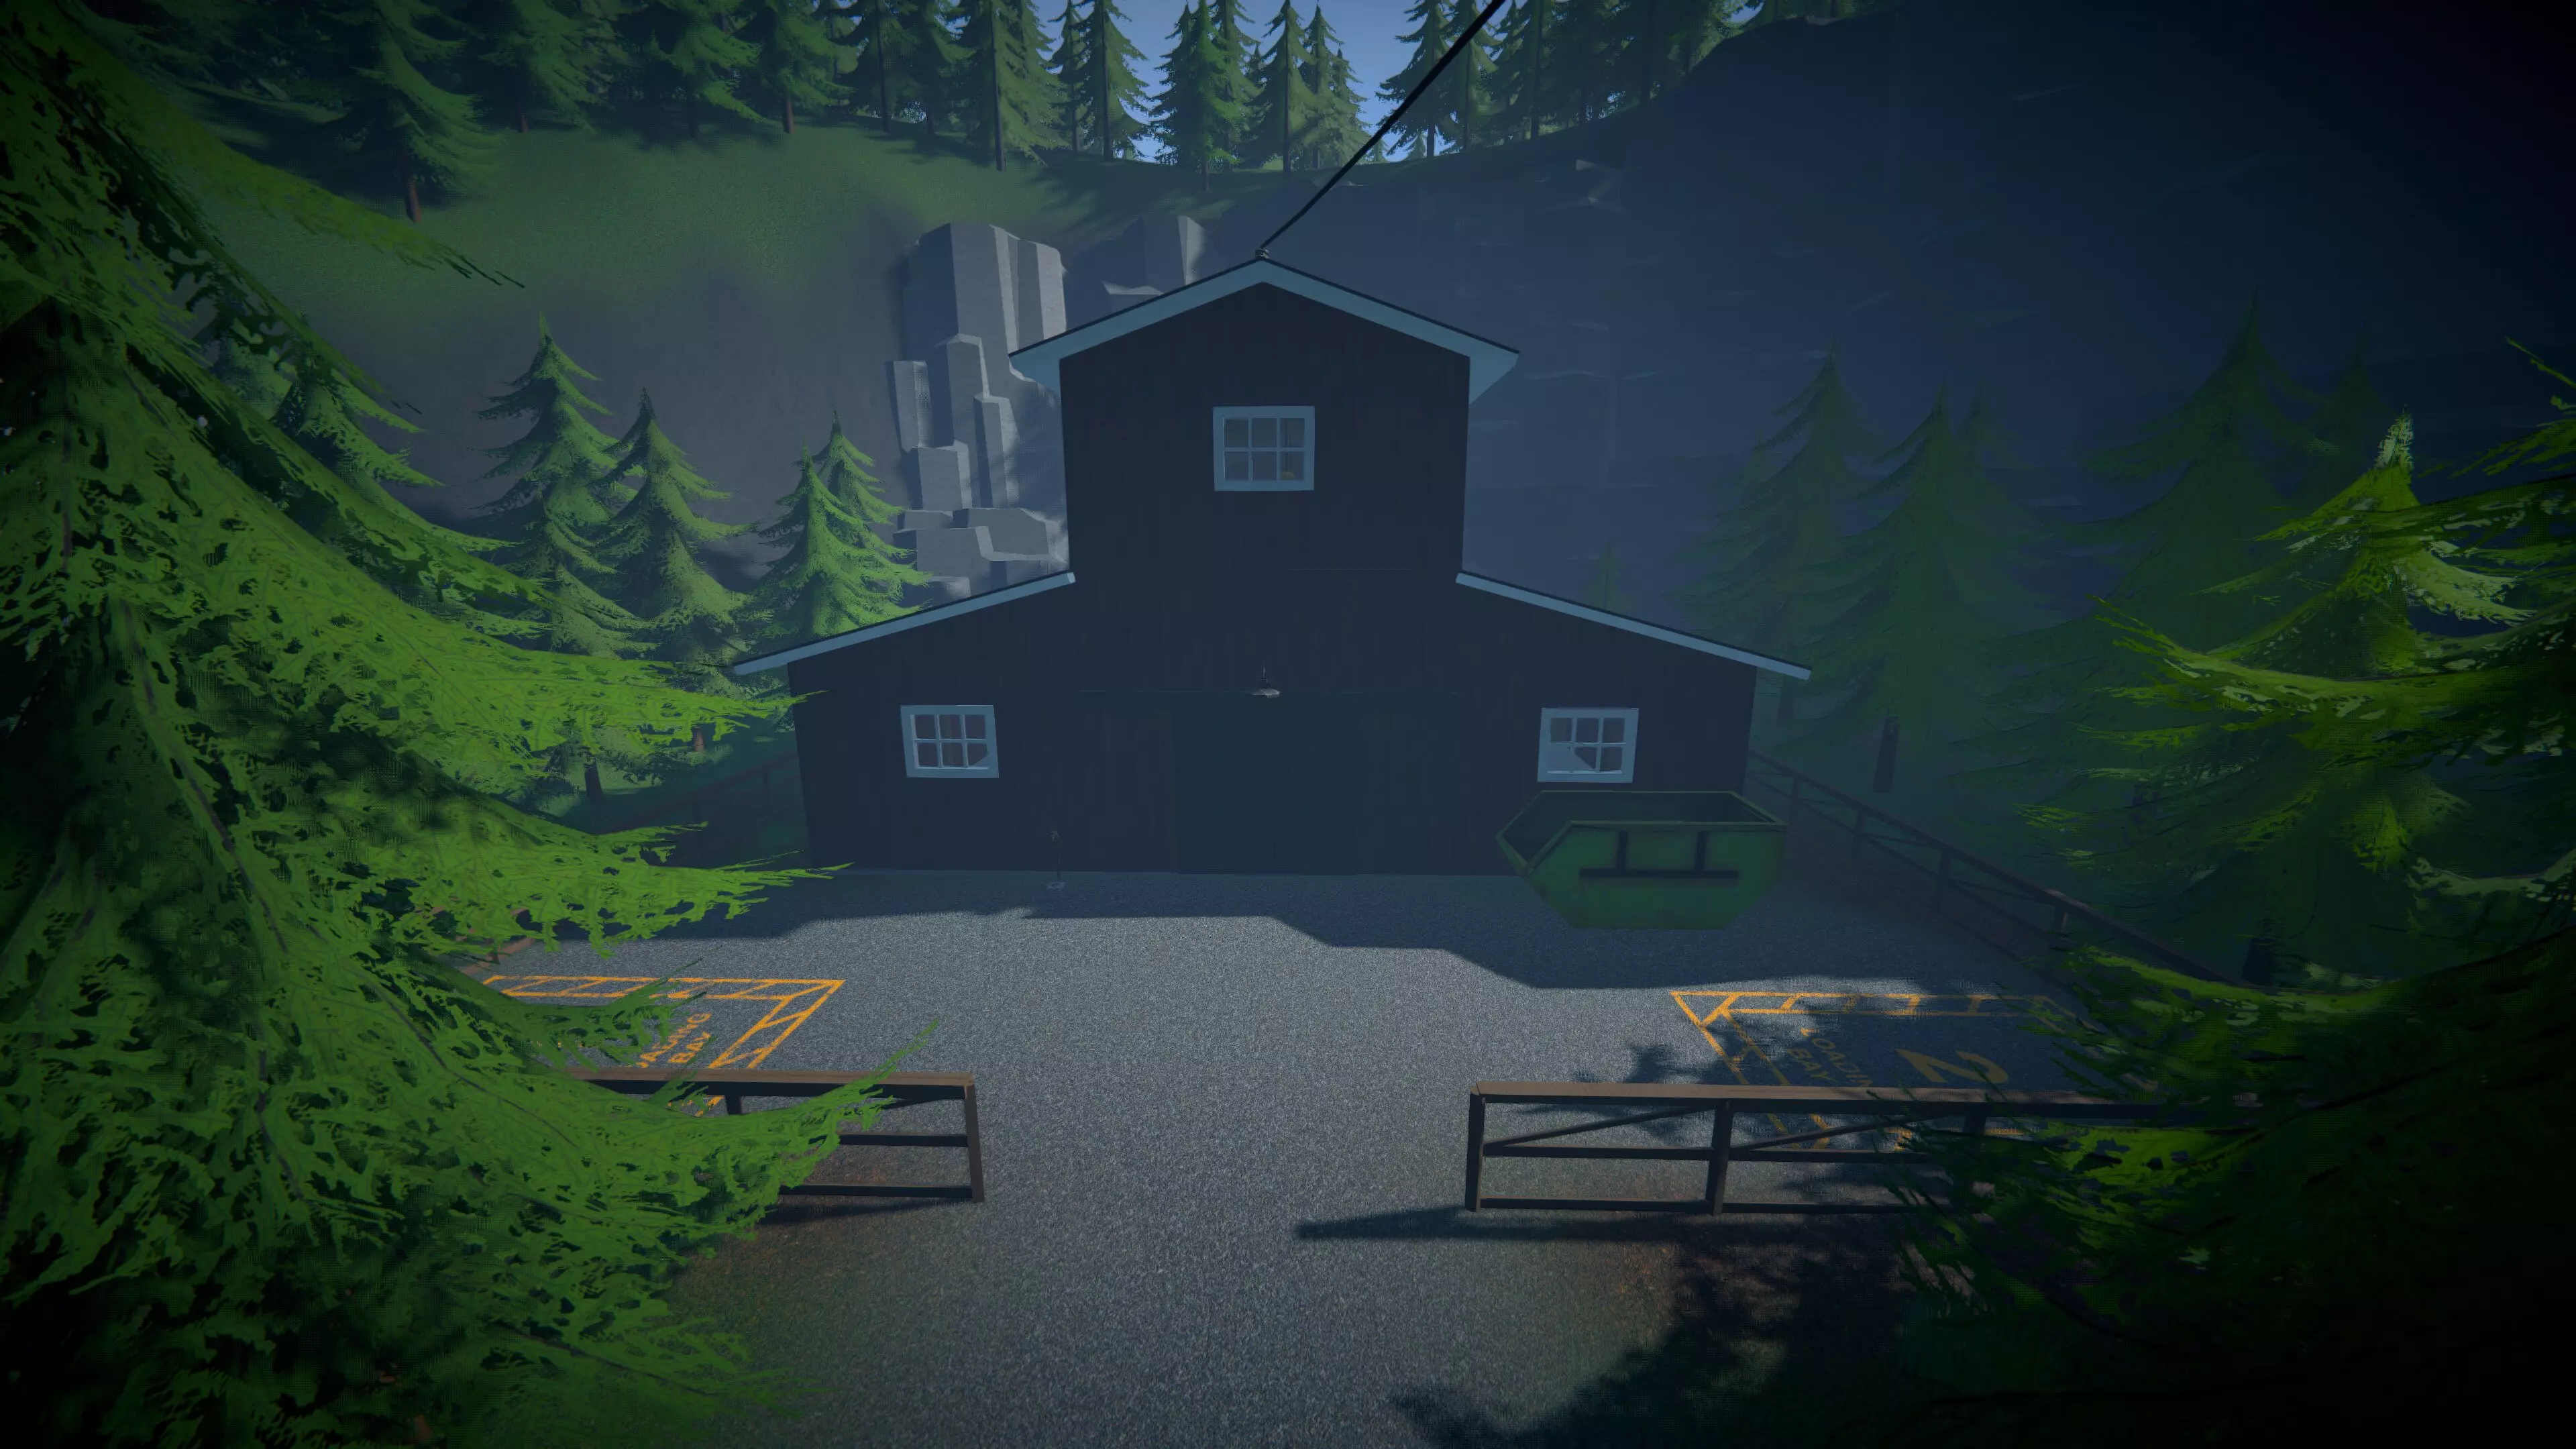
卖不出去?那就偷。 第四步:警察怎么办?初期警察没什么威胁。只要别干蠢事(比如大白天抢ATM),你就能相对自由地活动。保持低调就没事。 第二天及以后的展望——接下来做什么? 获取更多顾客 定期查看地图寻找新的潜在顾客。 随身携带样品。 ⛹️♂️夜间上门推销(进阶技巧) 夜间敲门直接推销。 如果你有多余的大麻,这个方法尤其有用。 后期利润很高(每晚可能超过4万芽)。 尽快添加洒水器 去丹的五金店购买大麻洒水器。(这将减少浇水时间并简化你的工作流程) 自动化功能将在后续推出。现在,只需聪明地工作即可。 “在海兰角,第一天的目标不是致富——而是做好准备。” 海兰角——地图 overview 这是海兰角的完整 overview,标记了你建立自己的帝国、躲避警察和顺利运营所需的所有关键位置。从安全屋到商店,每个红色数字和蓝色字母都有其用途。像熟悉自己的手背一样熟悉这张地图,你就能始终领先两步。
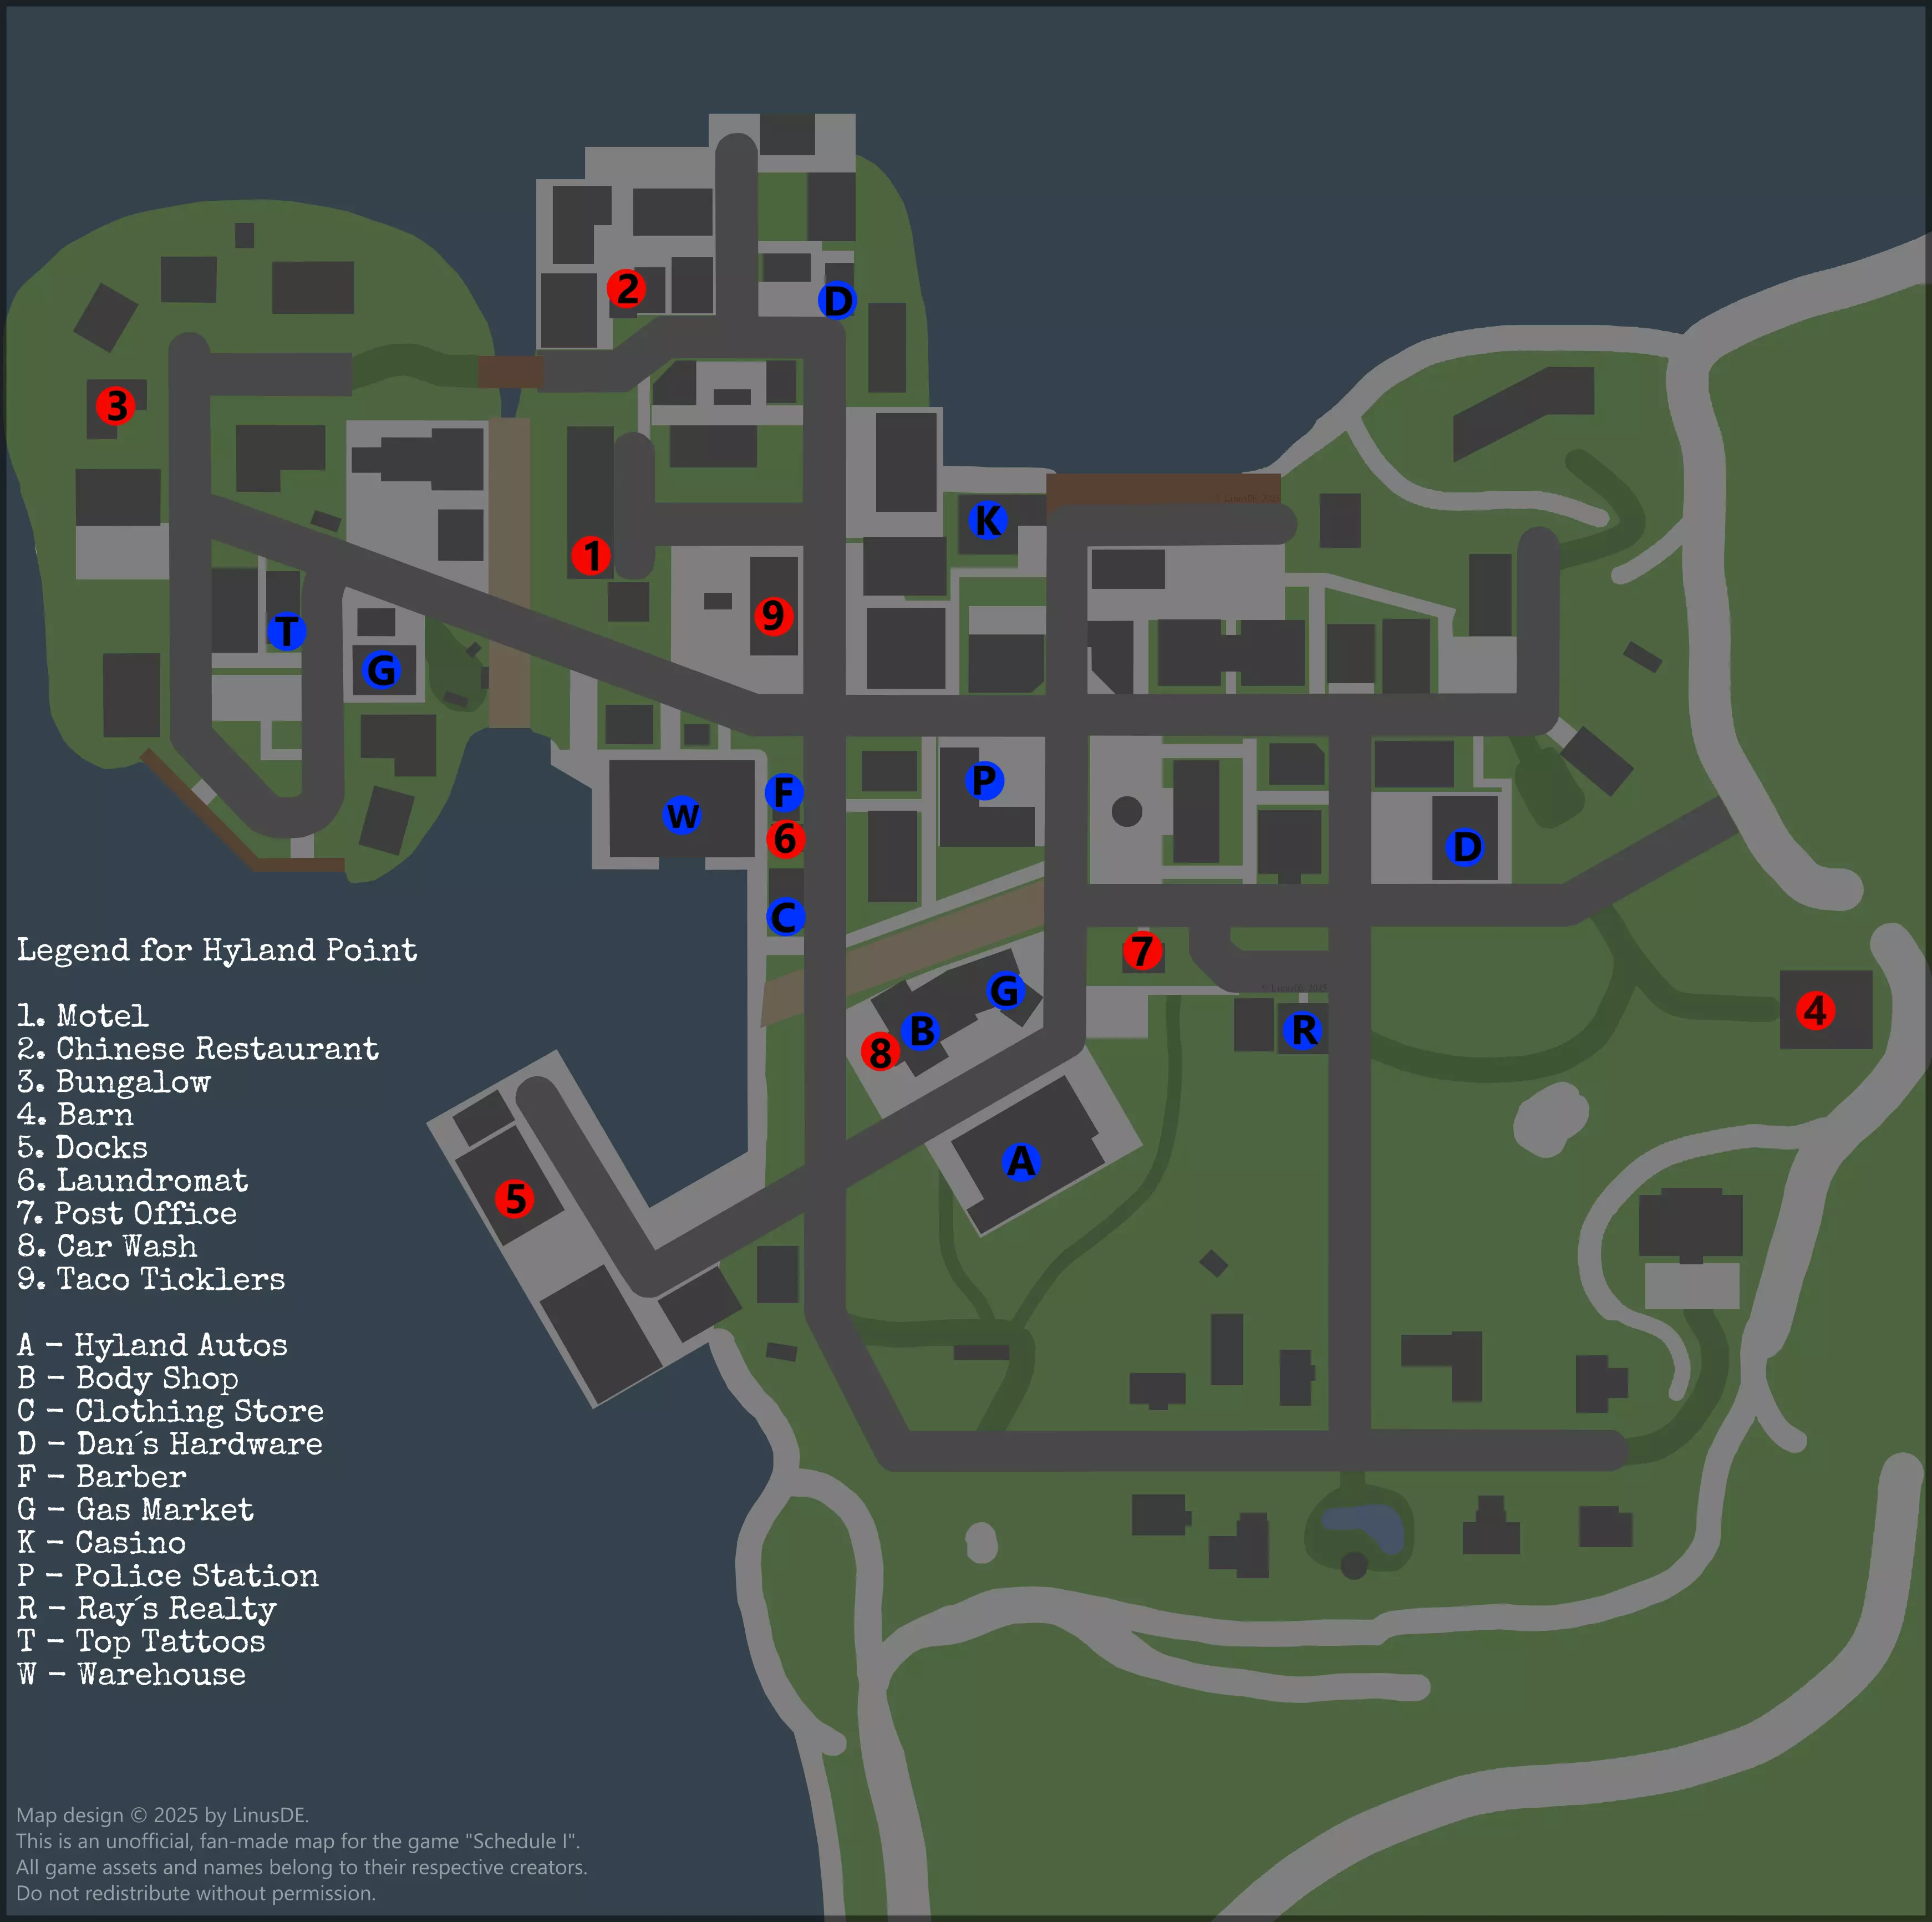
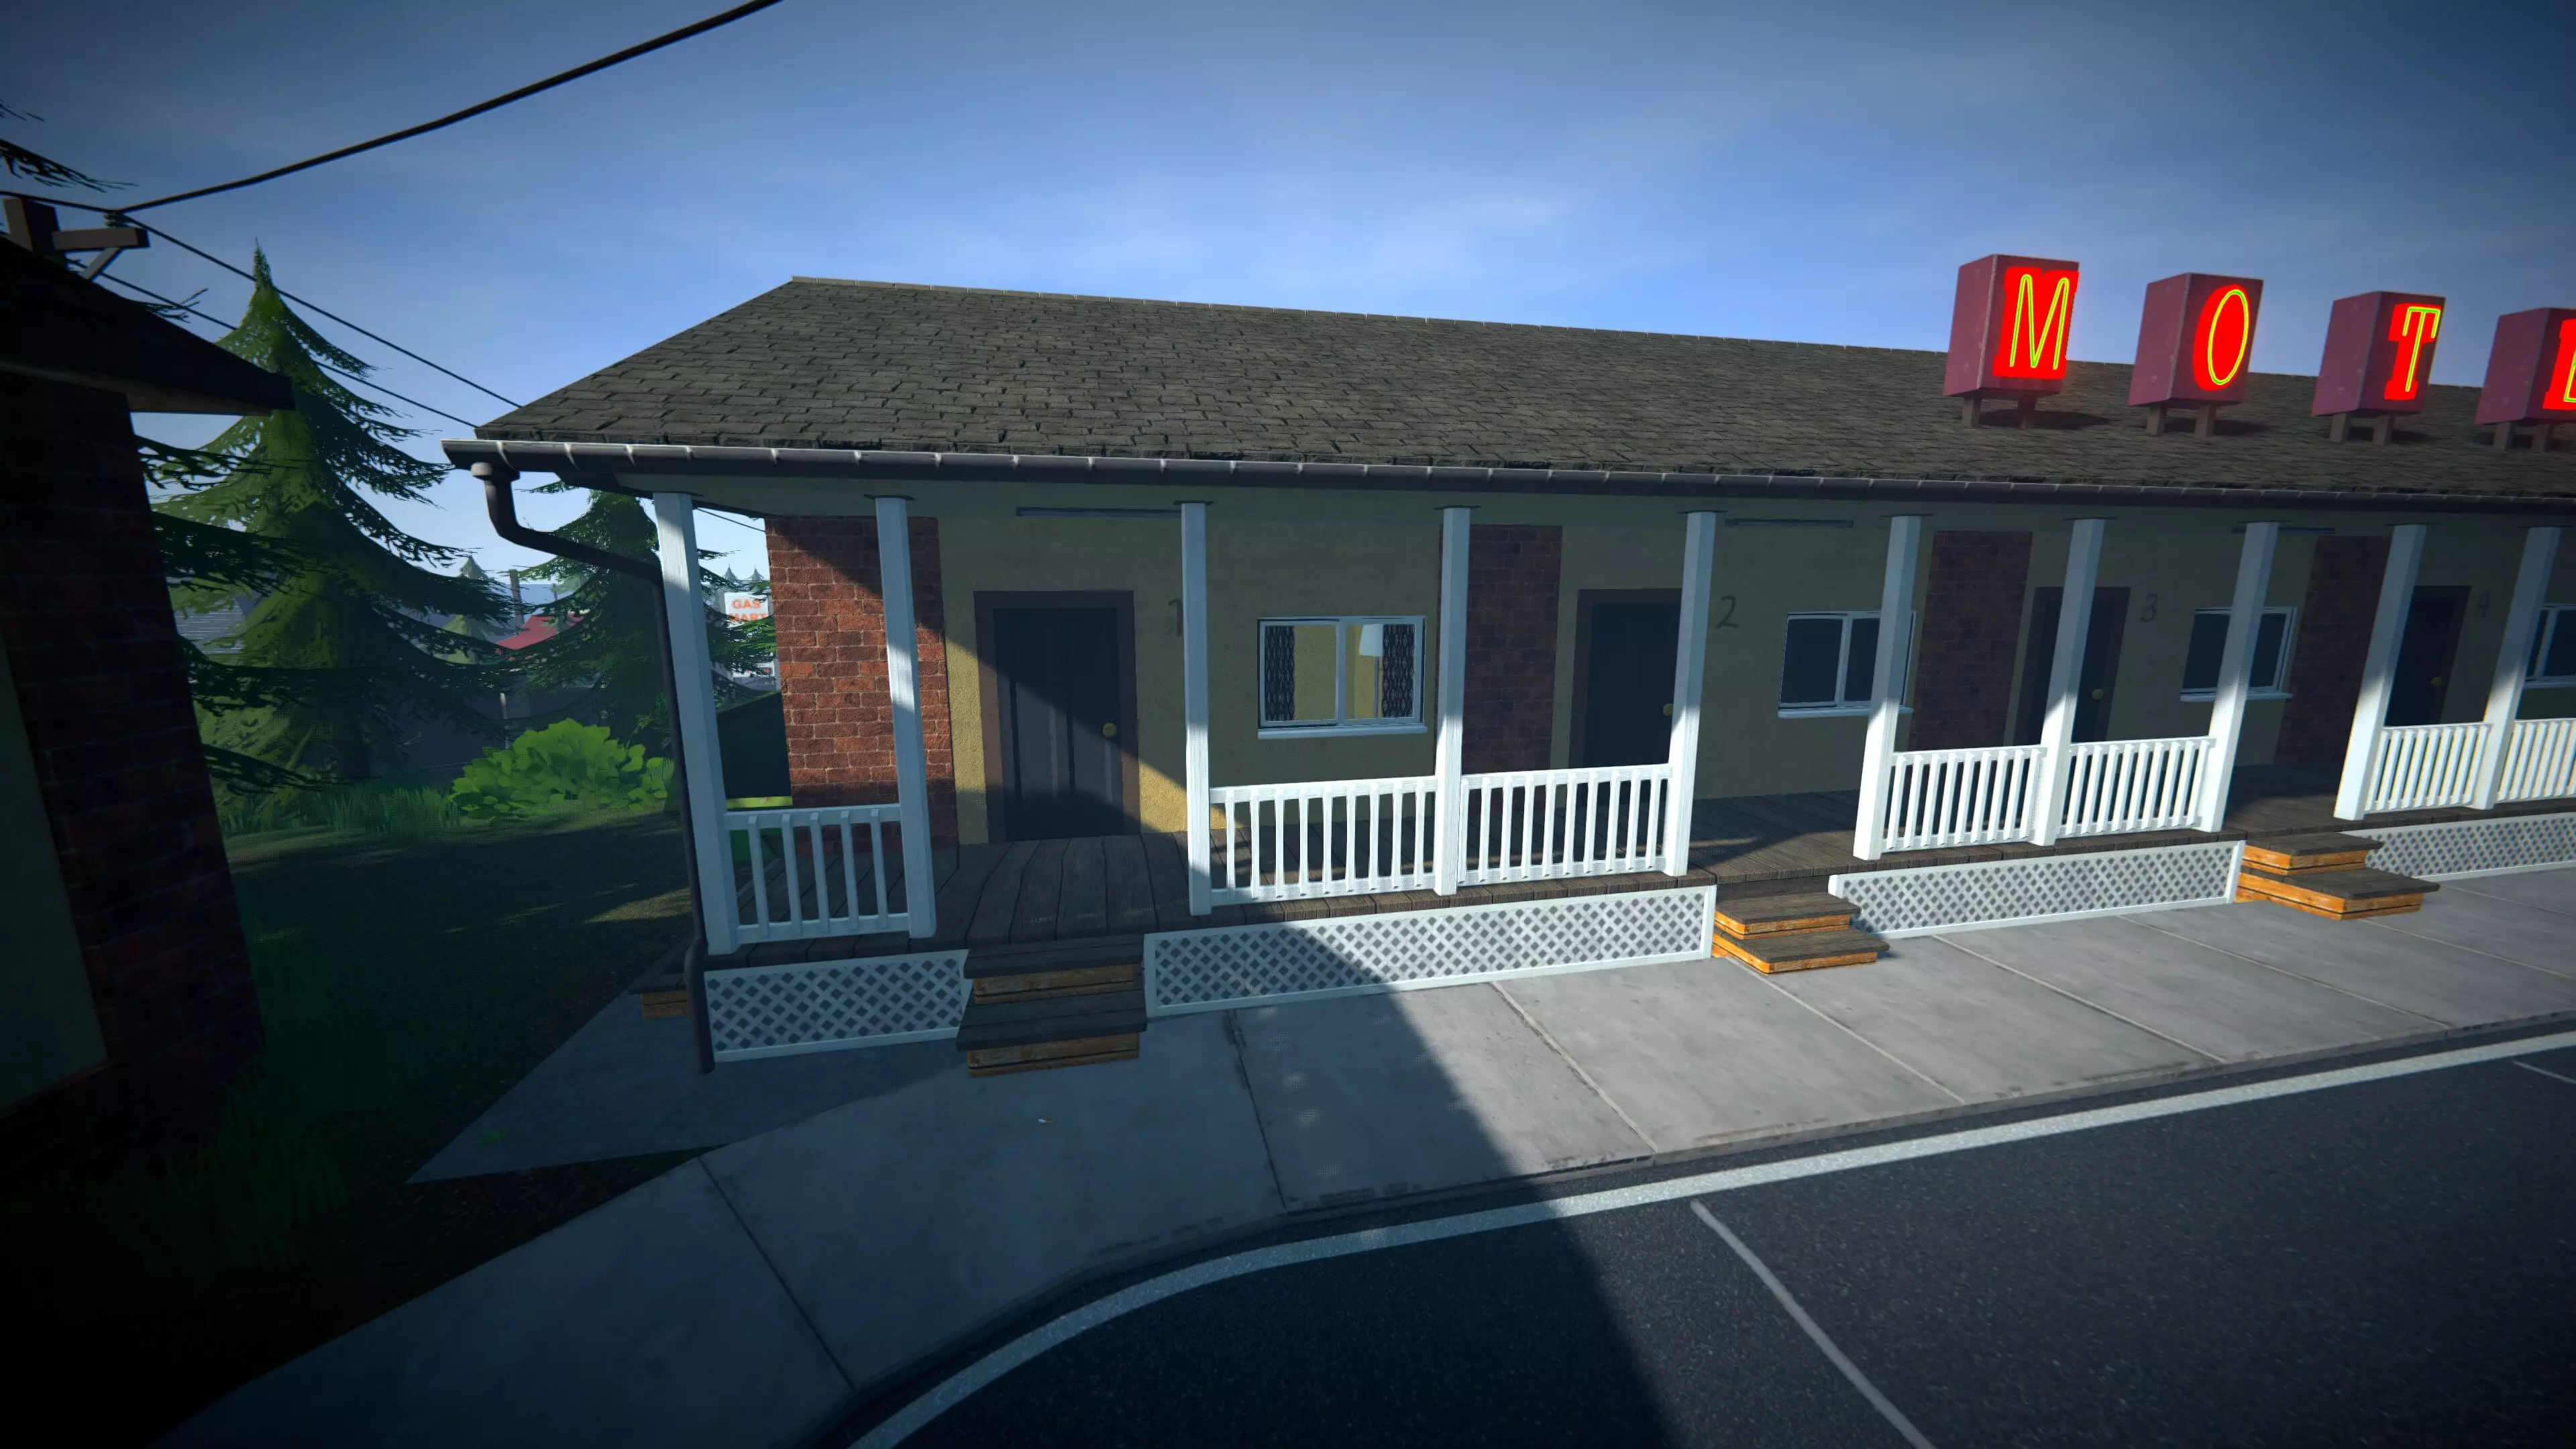
注意:本地图是由LinusDE制作的粉丝创作内容。未经明确许可,不得使用、复制或再分发。 地图图例 红色数字——主要地点 汽车旅馆——你的第一个安全屋 中餐厅(血汗工厂)——楼上还有一处早期廉价房产 平房——宽敞的中期游戏基地 谷仓——用于大规模生产的偏远地点 ⚓码头——后期包装/分销的安静区域 自助洗衣店——与任务相关(可能用于洗钱) 邮局——可能与未来的送货/洗钱机制相关 洗车行——干净得可疑……可能用于洗钱? Taco Ticklers——绝对有问题。可用于交易或洗钱 蓝色字母代表商店与服务 A - 海兰汽车(购买新车) B - 车身修理店(维修车辆) C - 服装店(节俭针线铺) D - 丹氏五金店(工具和种植用品) F - 理发店(打造全新造型) G - 加油站市场(购买可卡因、辣椒等混合原料) K - 赌场(只是摆设……或许并非如此?) P - 警察局(当你热度高时避开) R - 雷氏房地产(购买新房产/安全屋) T - 顶级纹身店(定制纹身和可能的外观物品) W - 仓库(购买帐篷、土壤、实验室设备等) “海兰角是你的棋盘。了解每一个方格——掌控每一条街道。”安全屋选项与获取 随着你在第一阶段的进展,可以获取多个房产作为安全屋。每个安全屋在空间、位置和功能方面都有独特优势。以下是值得注意的安全屋介绍: 1. 汽车旅馆房间 描述:你的初始行动基地。 特点: 有限空间,适合早期生产和存储。 靠近初始经销商和供应点。 获取方式:游戏开始时自动提供。 注意事项:由于空间有限,建议在业务扩张时升级到更大的设施。
2. 小房子 描述:比汽车旅馆更经济实惠的升级选择,位于中国商店楼上。 特点: 紧凑的内部空间适合小规模生产和早期自动化设置。 位于中心区域,靠近供应商和客户区域。 获取方式:在Ray´s Real Estate以800美元的价格购买。 注意事项:虽然空间有限,但在投入高端房产之前,它是扩大业务的可靠投资。是处理第二条产品线或轻度加工工作的绝佳入门选择。
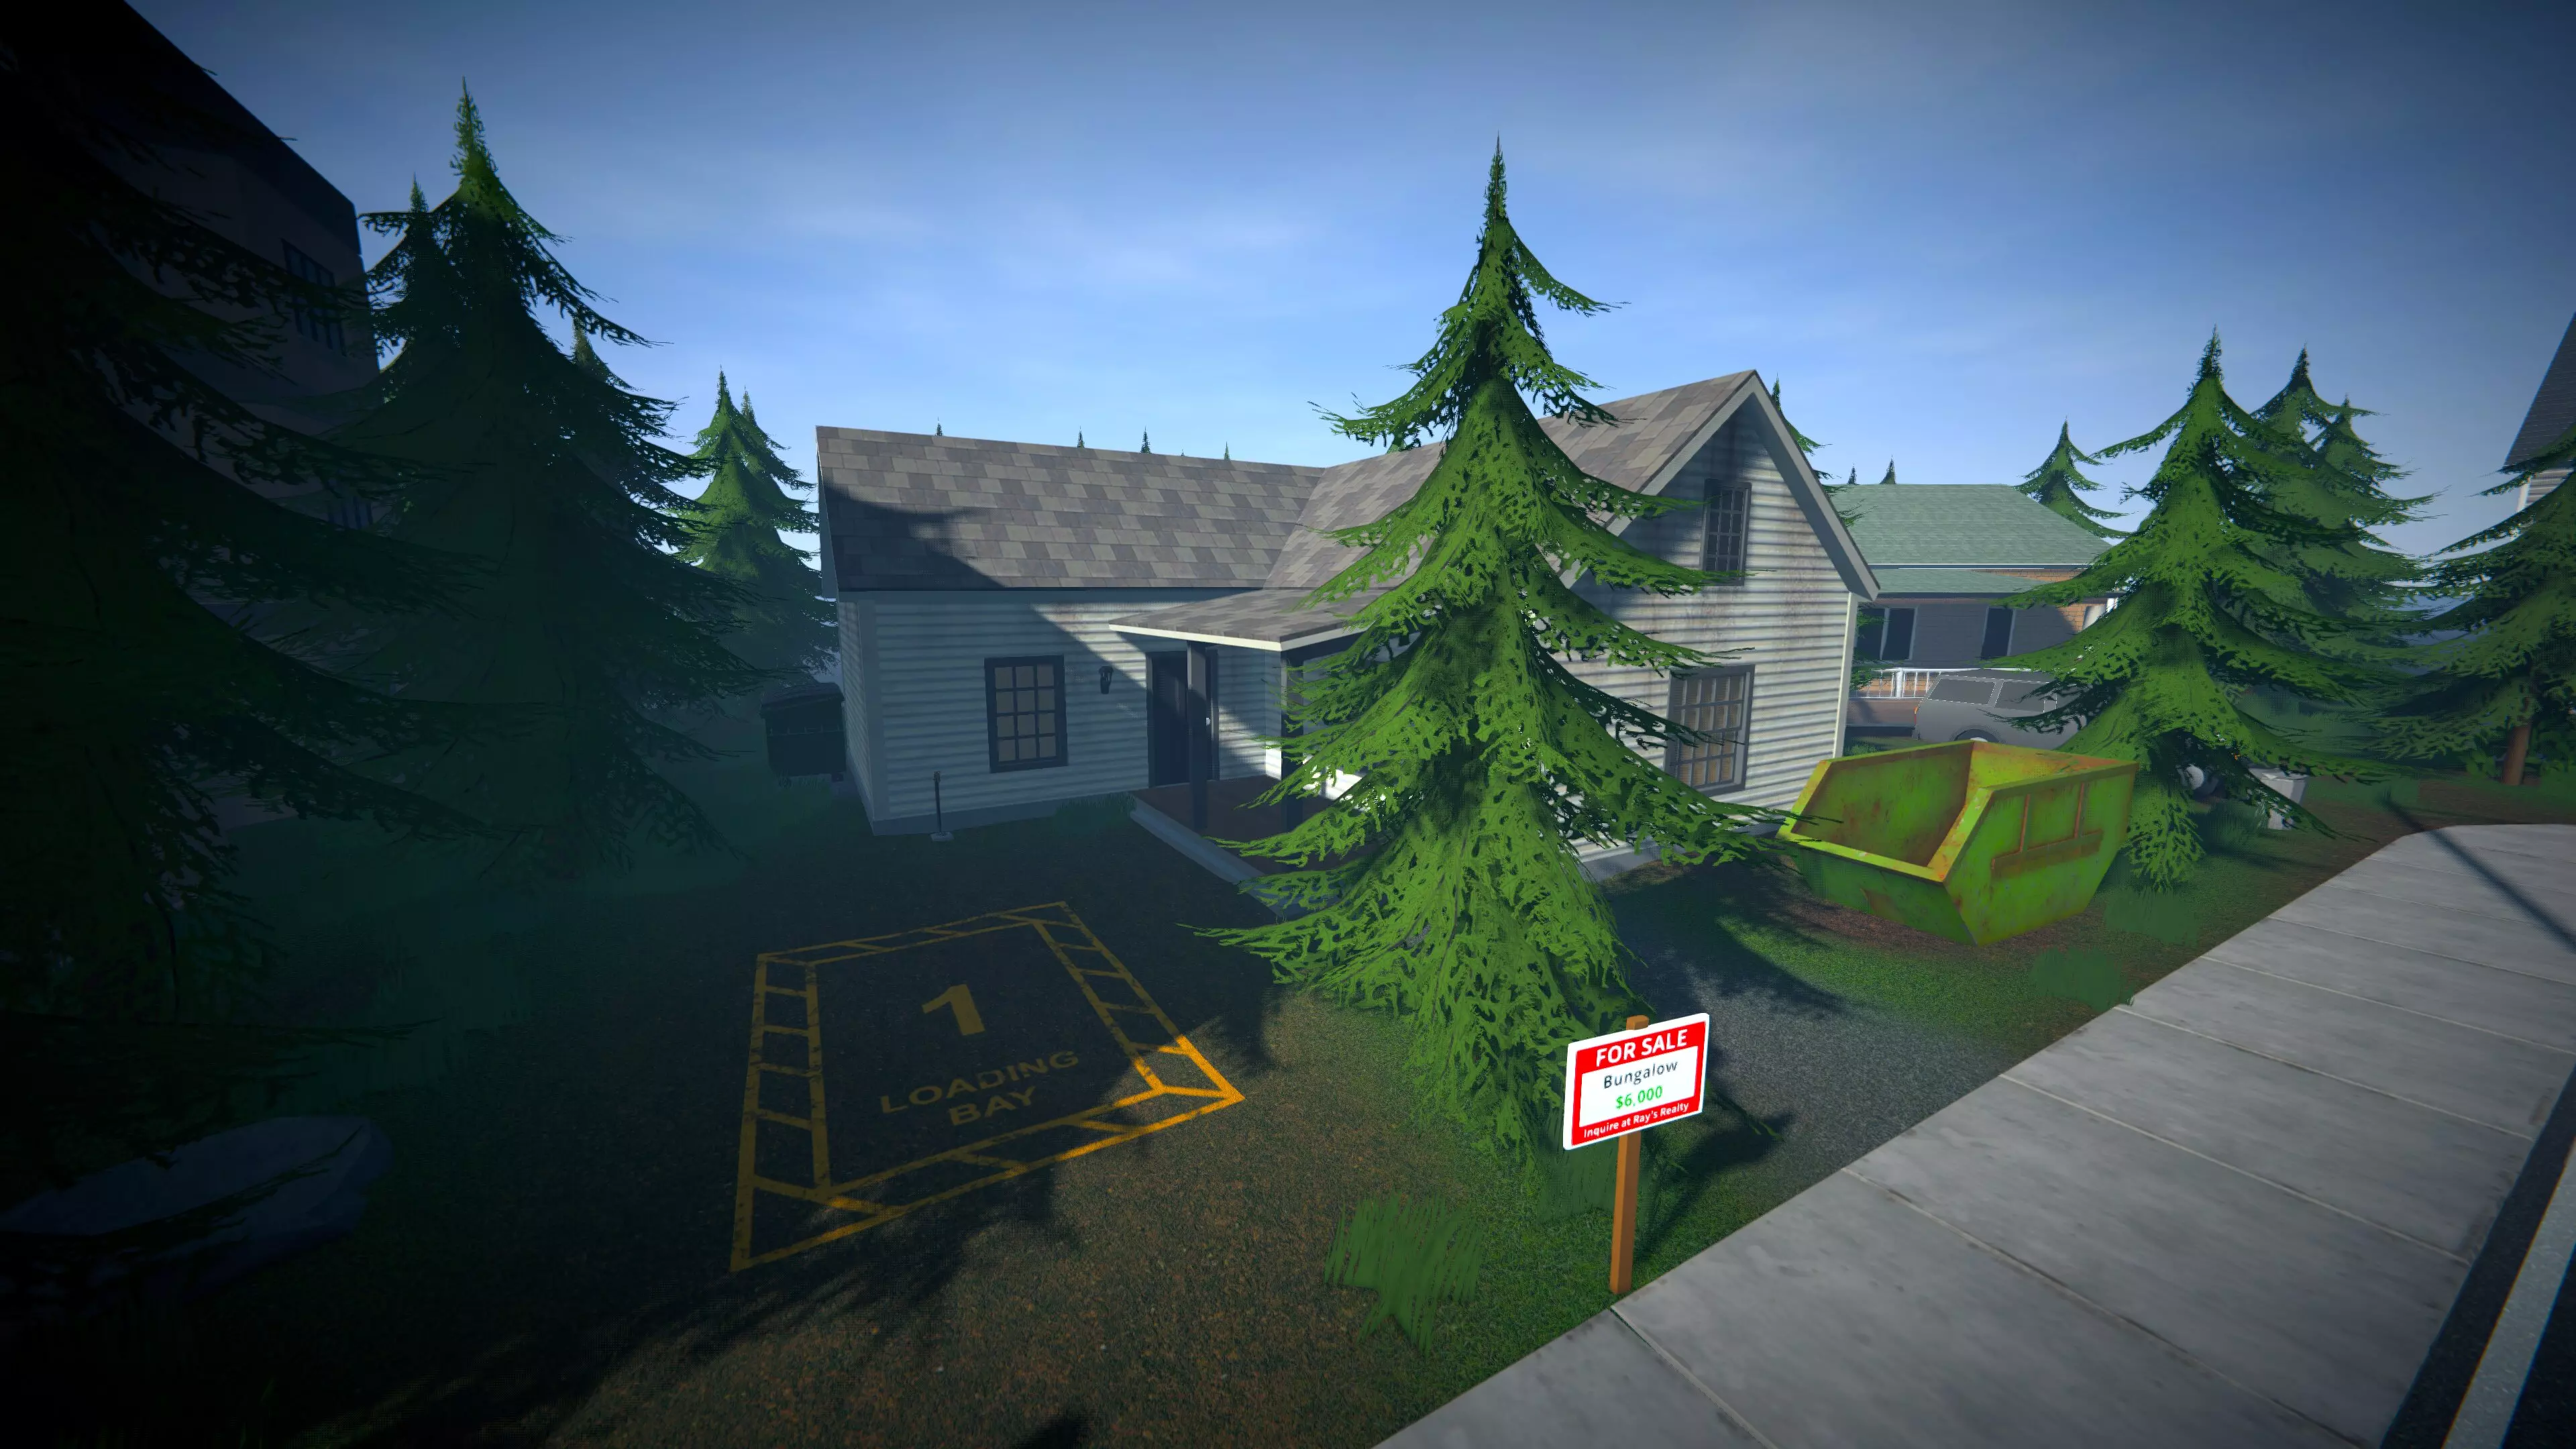
3. 平房 描述:一处宽敞、整洁的房产,非常适合游戏中期扩张。 特点: 拥有多个房间,可将存储区、种植区和混合区进行分离。 与汽车旅馆相比,安全性更高,能见度更低。 获取方式:可在雷氏房地产以6000美元的价格购买。 注意事项:平房是一个平衡的升级选择,提供充足空间的同时不会引起执法部门的过多注意。
4. 仓库描述:一处大型、隐蔽的房产,适合开展大规模业务。 特点: - 广阔区域可容纳大规模生产和存储。 - 偏远位置可最大限度减少警方检查。 获取方式:可在Ray´s Real Estate以25,000美元价格购买。 注意事项:非常适合游戏后期的业务运营,尤其是在管理多条产品线和更多员工时。
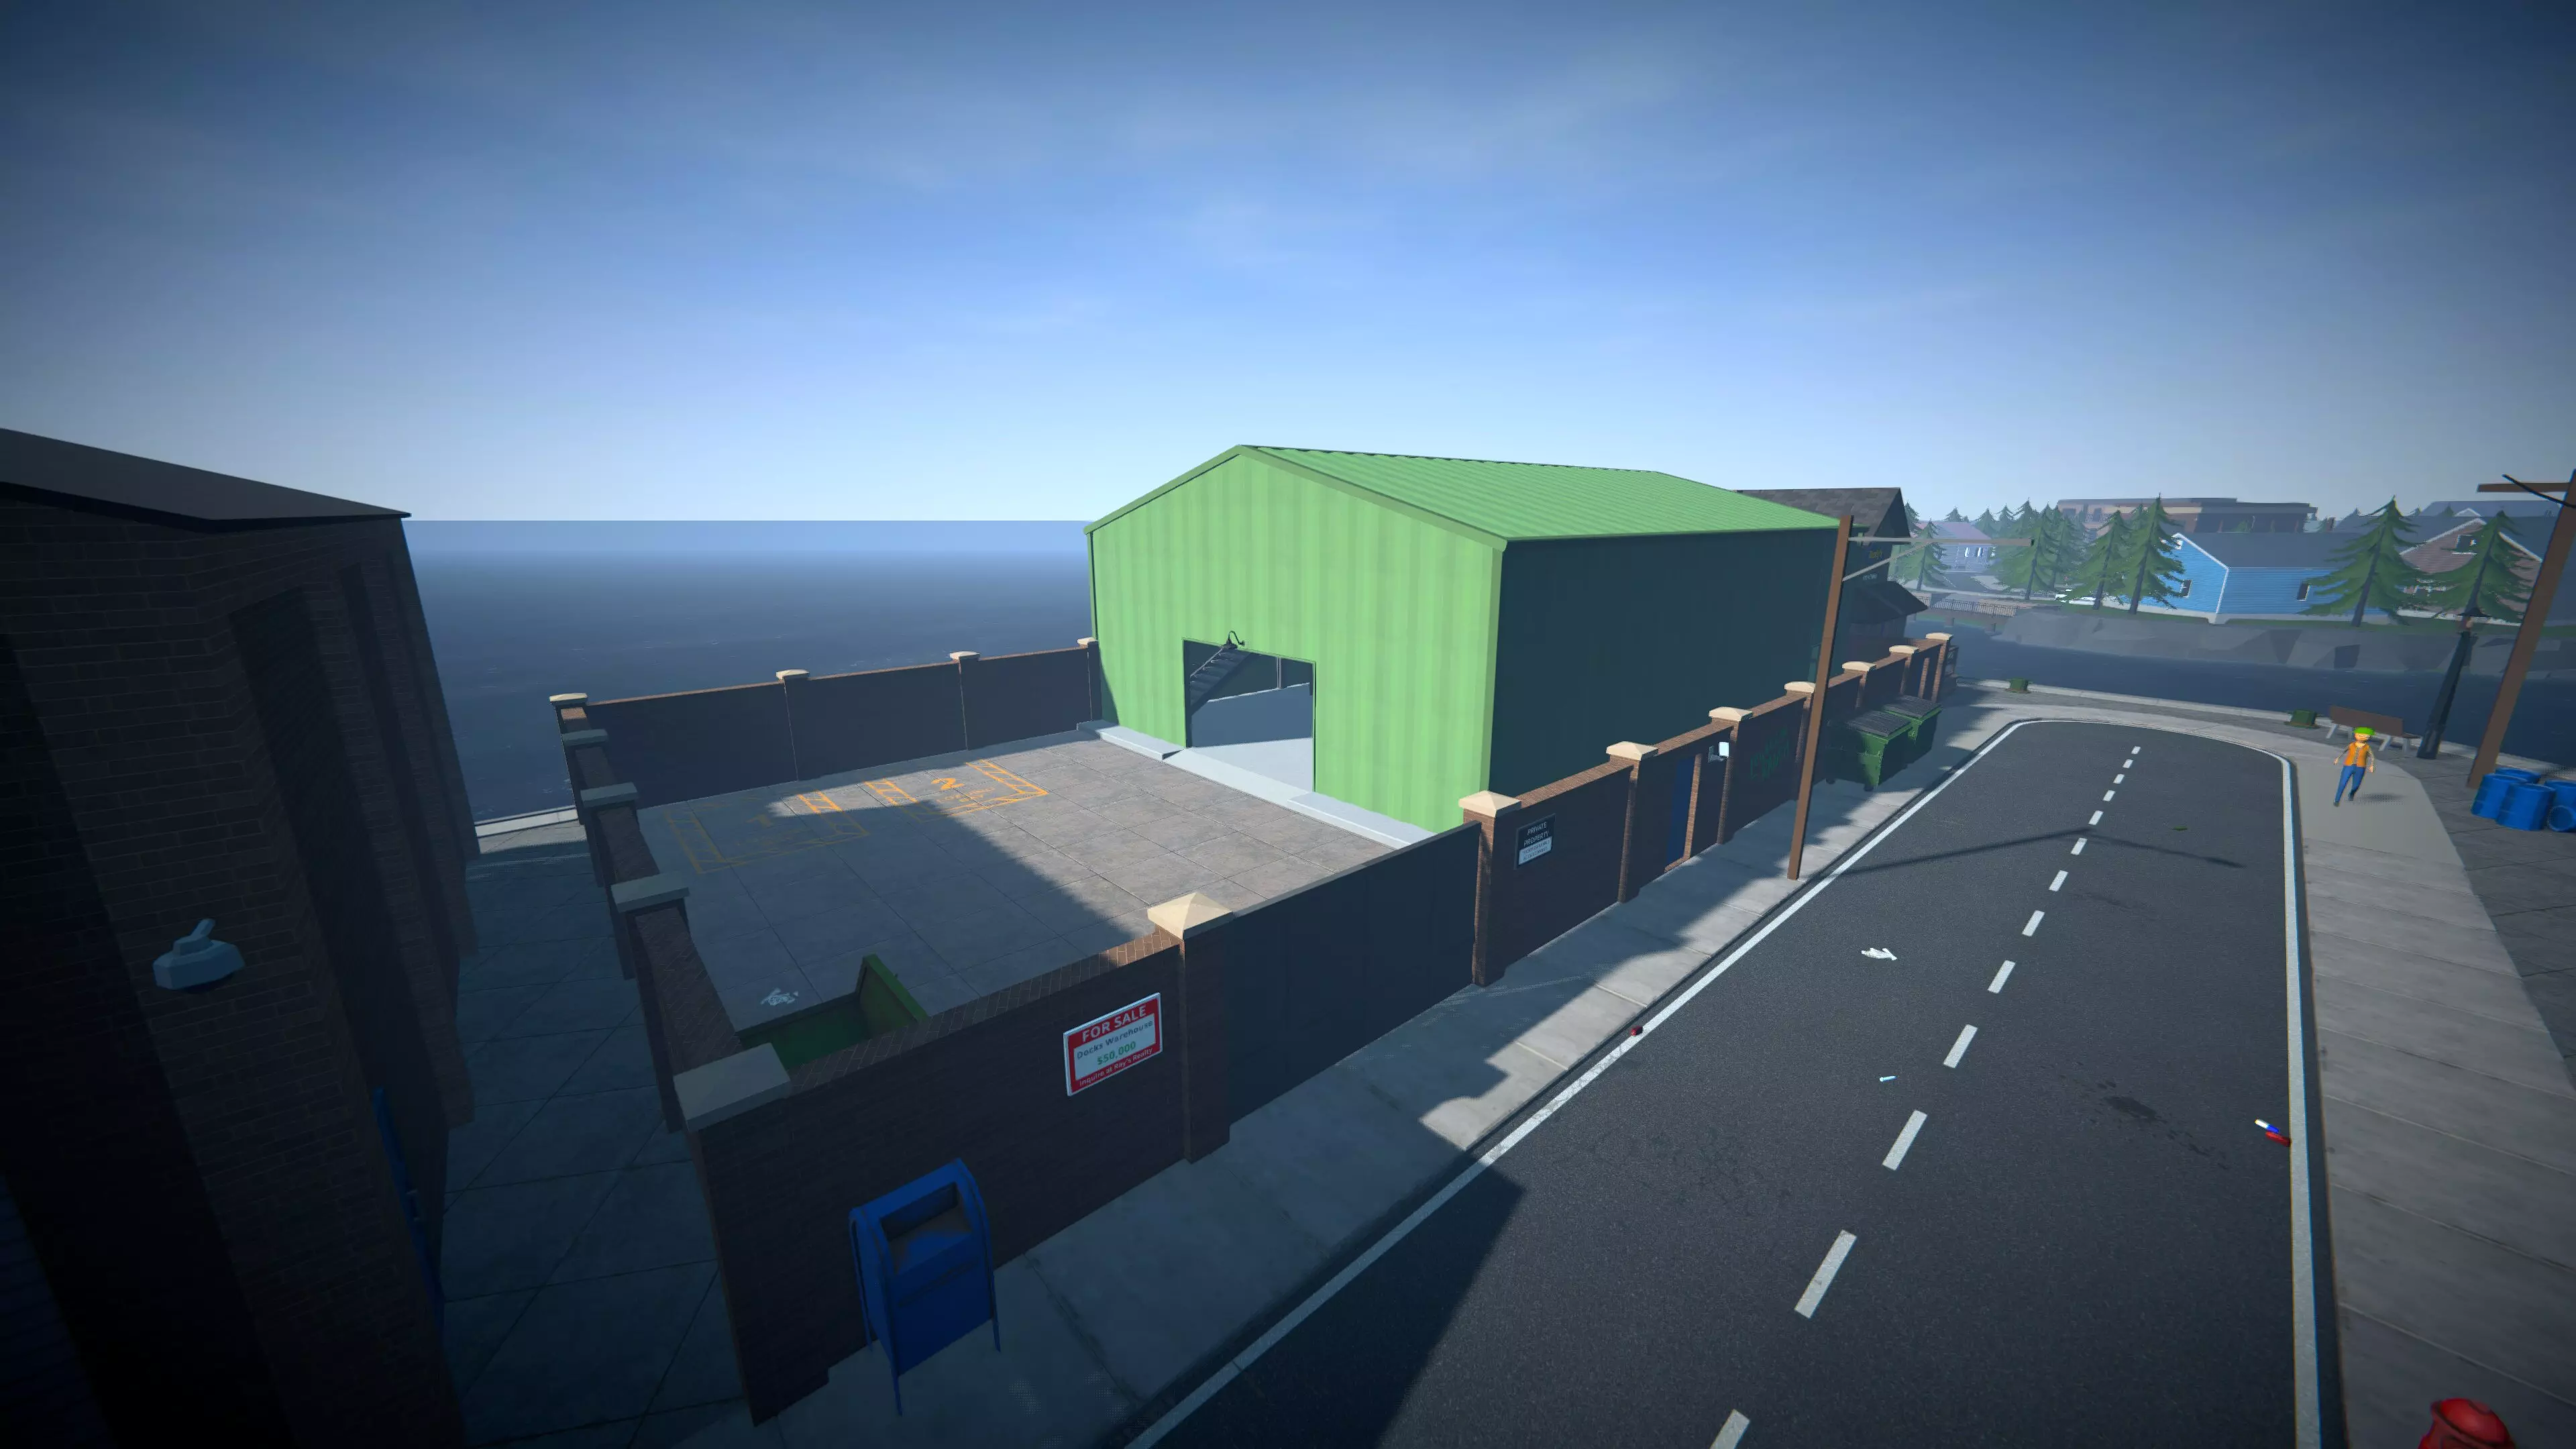
5. 码头 描述:一处海滨地产,可用于货物分销及潜在的走私活动。 特点: 可通过海上航线实现多样化分销渠道(可能后续开放)。 拥有适中空间,适合专业化生产。 获取方式:可在雷氏房地产以50,000美元购得。 注意事项:对于扩大市场覆盖范围和降低陆路运输风险具有战略优势。
优化安全屋利用率 为充分发挥安全屋的效益,请遵循以下建议: 1. 战略布局规划 划分特定区域用于种植、加工、存储和包装,以简化运营流程。 确保通道畅通,以便在必要时快速移动和疏散。 2. 资源管理 保持有条理的库存,防止短缺和过度生产。 定期评估供应水平,并相应调整采购策略。 3. 多样化经营 为不同地点分配特定产品线,以保持专注度和效率。 通过战略性地获取和管理安全屋,你可以建立一个弹性基础设施,为【Schedule I】的当前运营和未来扩张提供支持。“安全屋不只是藏身之处——它是你帝国的支柱。” 员工角色与职责 共有四种主要员工类型,每种都有特定职能: 1. 清洁工(100美元/天) 职责:清理垃圾并维护指定区域的清洁。 配置:为清洁工分配一张床和附近的垃圾桶进行管理。 2. 植物学家(200美元/天) 职责:负责大麻植物的种植、浇水和收获。 配置:为植物学家分配一张床、供应架(含种子和土壤)、最多8个种植舱,并指定收获产品的输出架。 3. 搬运工(200美元/天) 职责:管理产品在仓库、包装站和输出架之间的转运。设置:分配一张床、最多3个包装站,并配置从仓库到包装站再到输出架的物品路线。 4. 化学家(每日300美元) 职责:将原材料加工成精制药物,如甲基苯丙胺。 设置:分配一张床、化学仪器、实验室烤箱,并为每个工作站指定配方和输出目的地。 招聘员工 招聘员工的方法: 时间:下午6点后前往仓库区。 地点:在塔可Tickler附近,进入有商贩的建筑并上楼找到曼尼。 流程:与曼尼交谈以雇佣员工,选择所需角色并将他们分配到特定场所,如你的平房、谷仓或码头。 注意:每位员工需要每日工资和初始签约费。 员工设置 雇佣后: 1.1. 前往指定地点:前往员工将要工作的位置。 2. 装备剪贴板:按9键使用分配工具。 3. 分配任务: - 清洁工:分配床铺并指定垃圾桶。 - 植物学家:分配床铺、补给架、种植舱,并设置植物类型和添加剂。 - 处理员:分配床铺、包装站,并配置物品转运路线。 - 化学家:分配床铺、化学装置、实验室烤箱,并指定配方和输出位置。 4. 支付工资:确保每位员工床铺脚边的公文包内有足够资金支付数日工资,以避免每日微管理。自动化小贴士 优先雇佣员工:先雇佣清洁工来保持工作区域整洁,然后随着生产规模扩大再雇佣植物学家和化学家。 处理员考量:虽然处理员可以自动搬运产品,但有些玩家发现手动操作自动包装机更高效且经济。 监控运营:定期检查员工分配情况,确保所有必要物资都有库存,以维持顺畅的自动化流程。 通过战略性地雇佣和管理员工,你可以实现大部分运营的自动化,从而让你专注于扩张自己的帝国并实现利润最大化。 “你无法独自管理一个帝国——聪明的老板懂得委派任务。”执法部门——如何避免入狱 在海兰角,法律对你的威胁比竞争对手更大。 随着你的业务扩张,警察的存在感也会增强,任何失误都可能引发追捕,甚至全面搜捕。
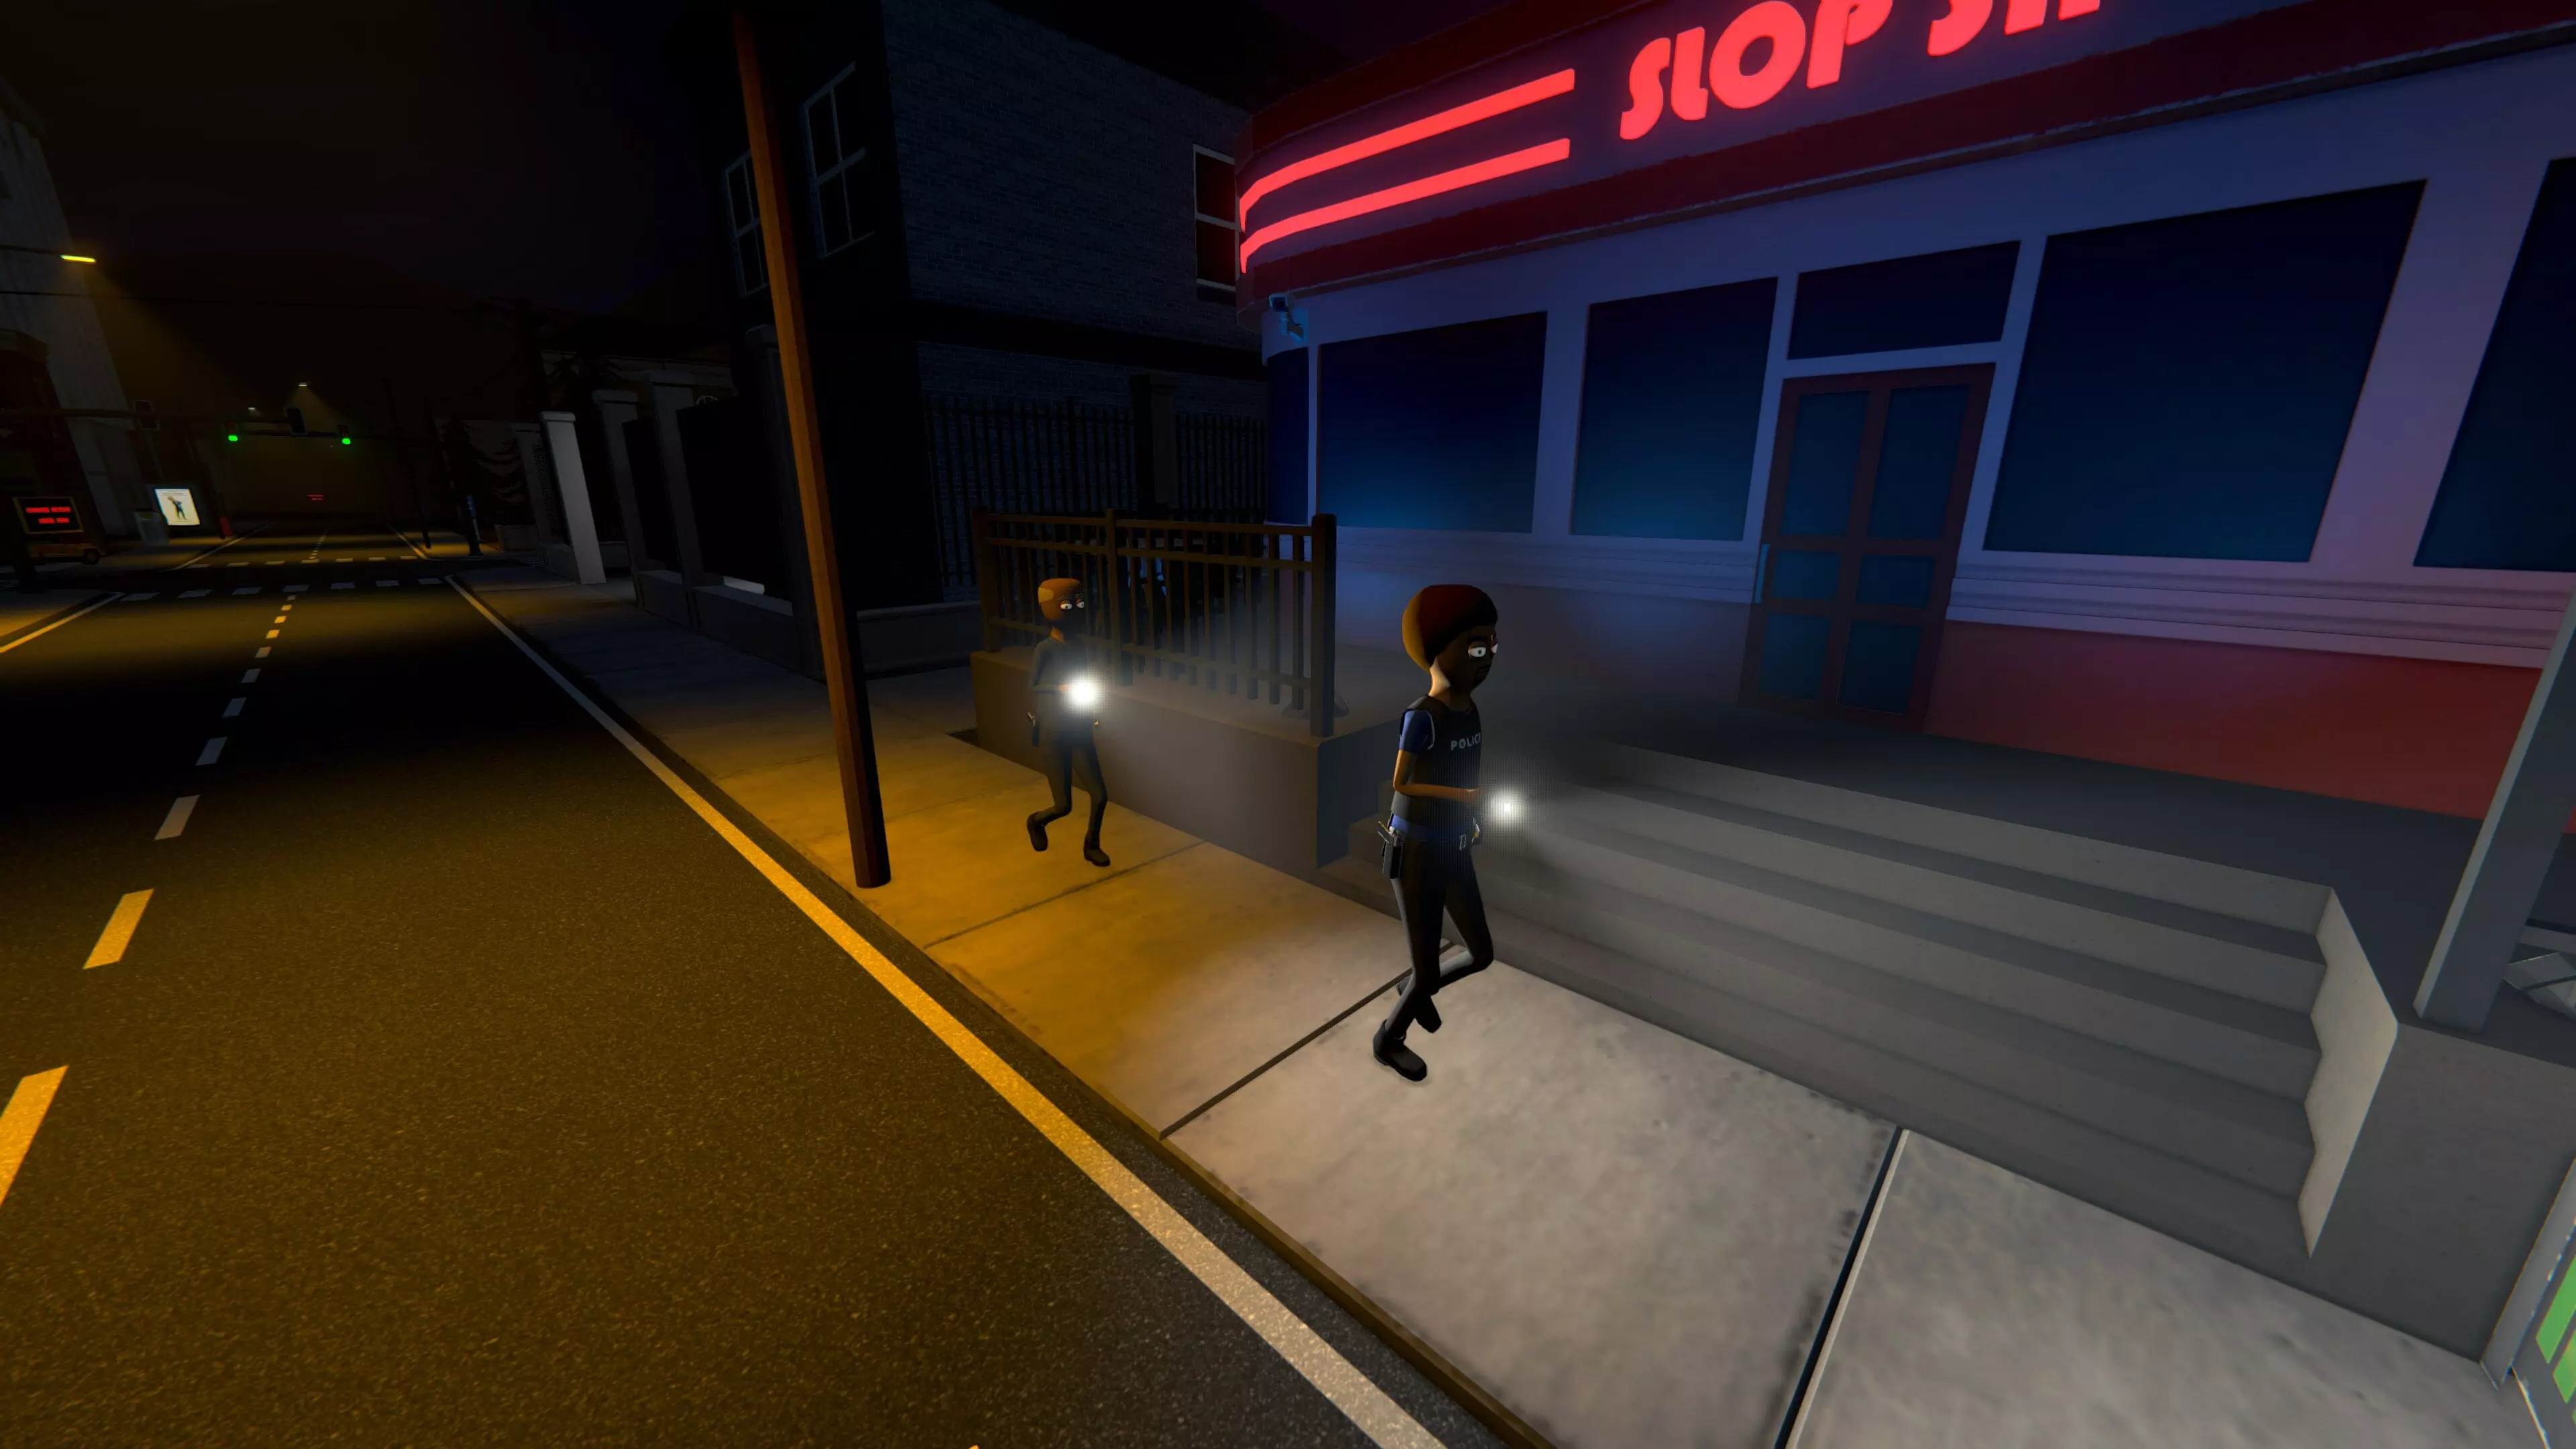
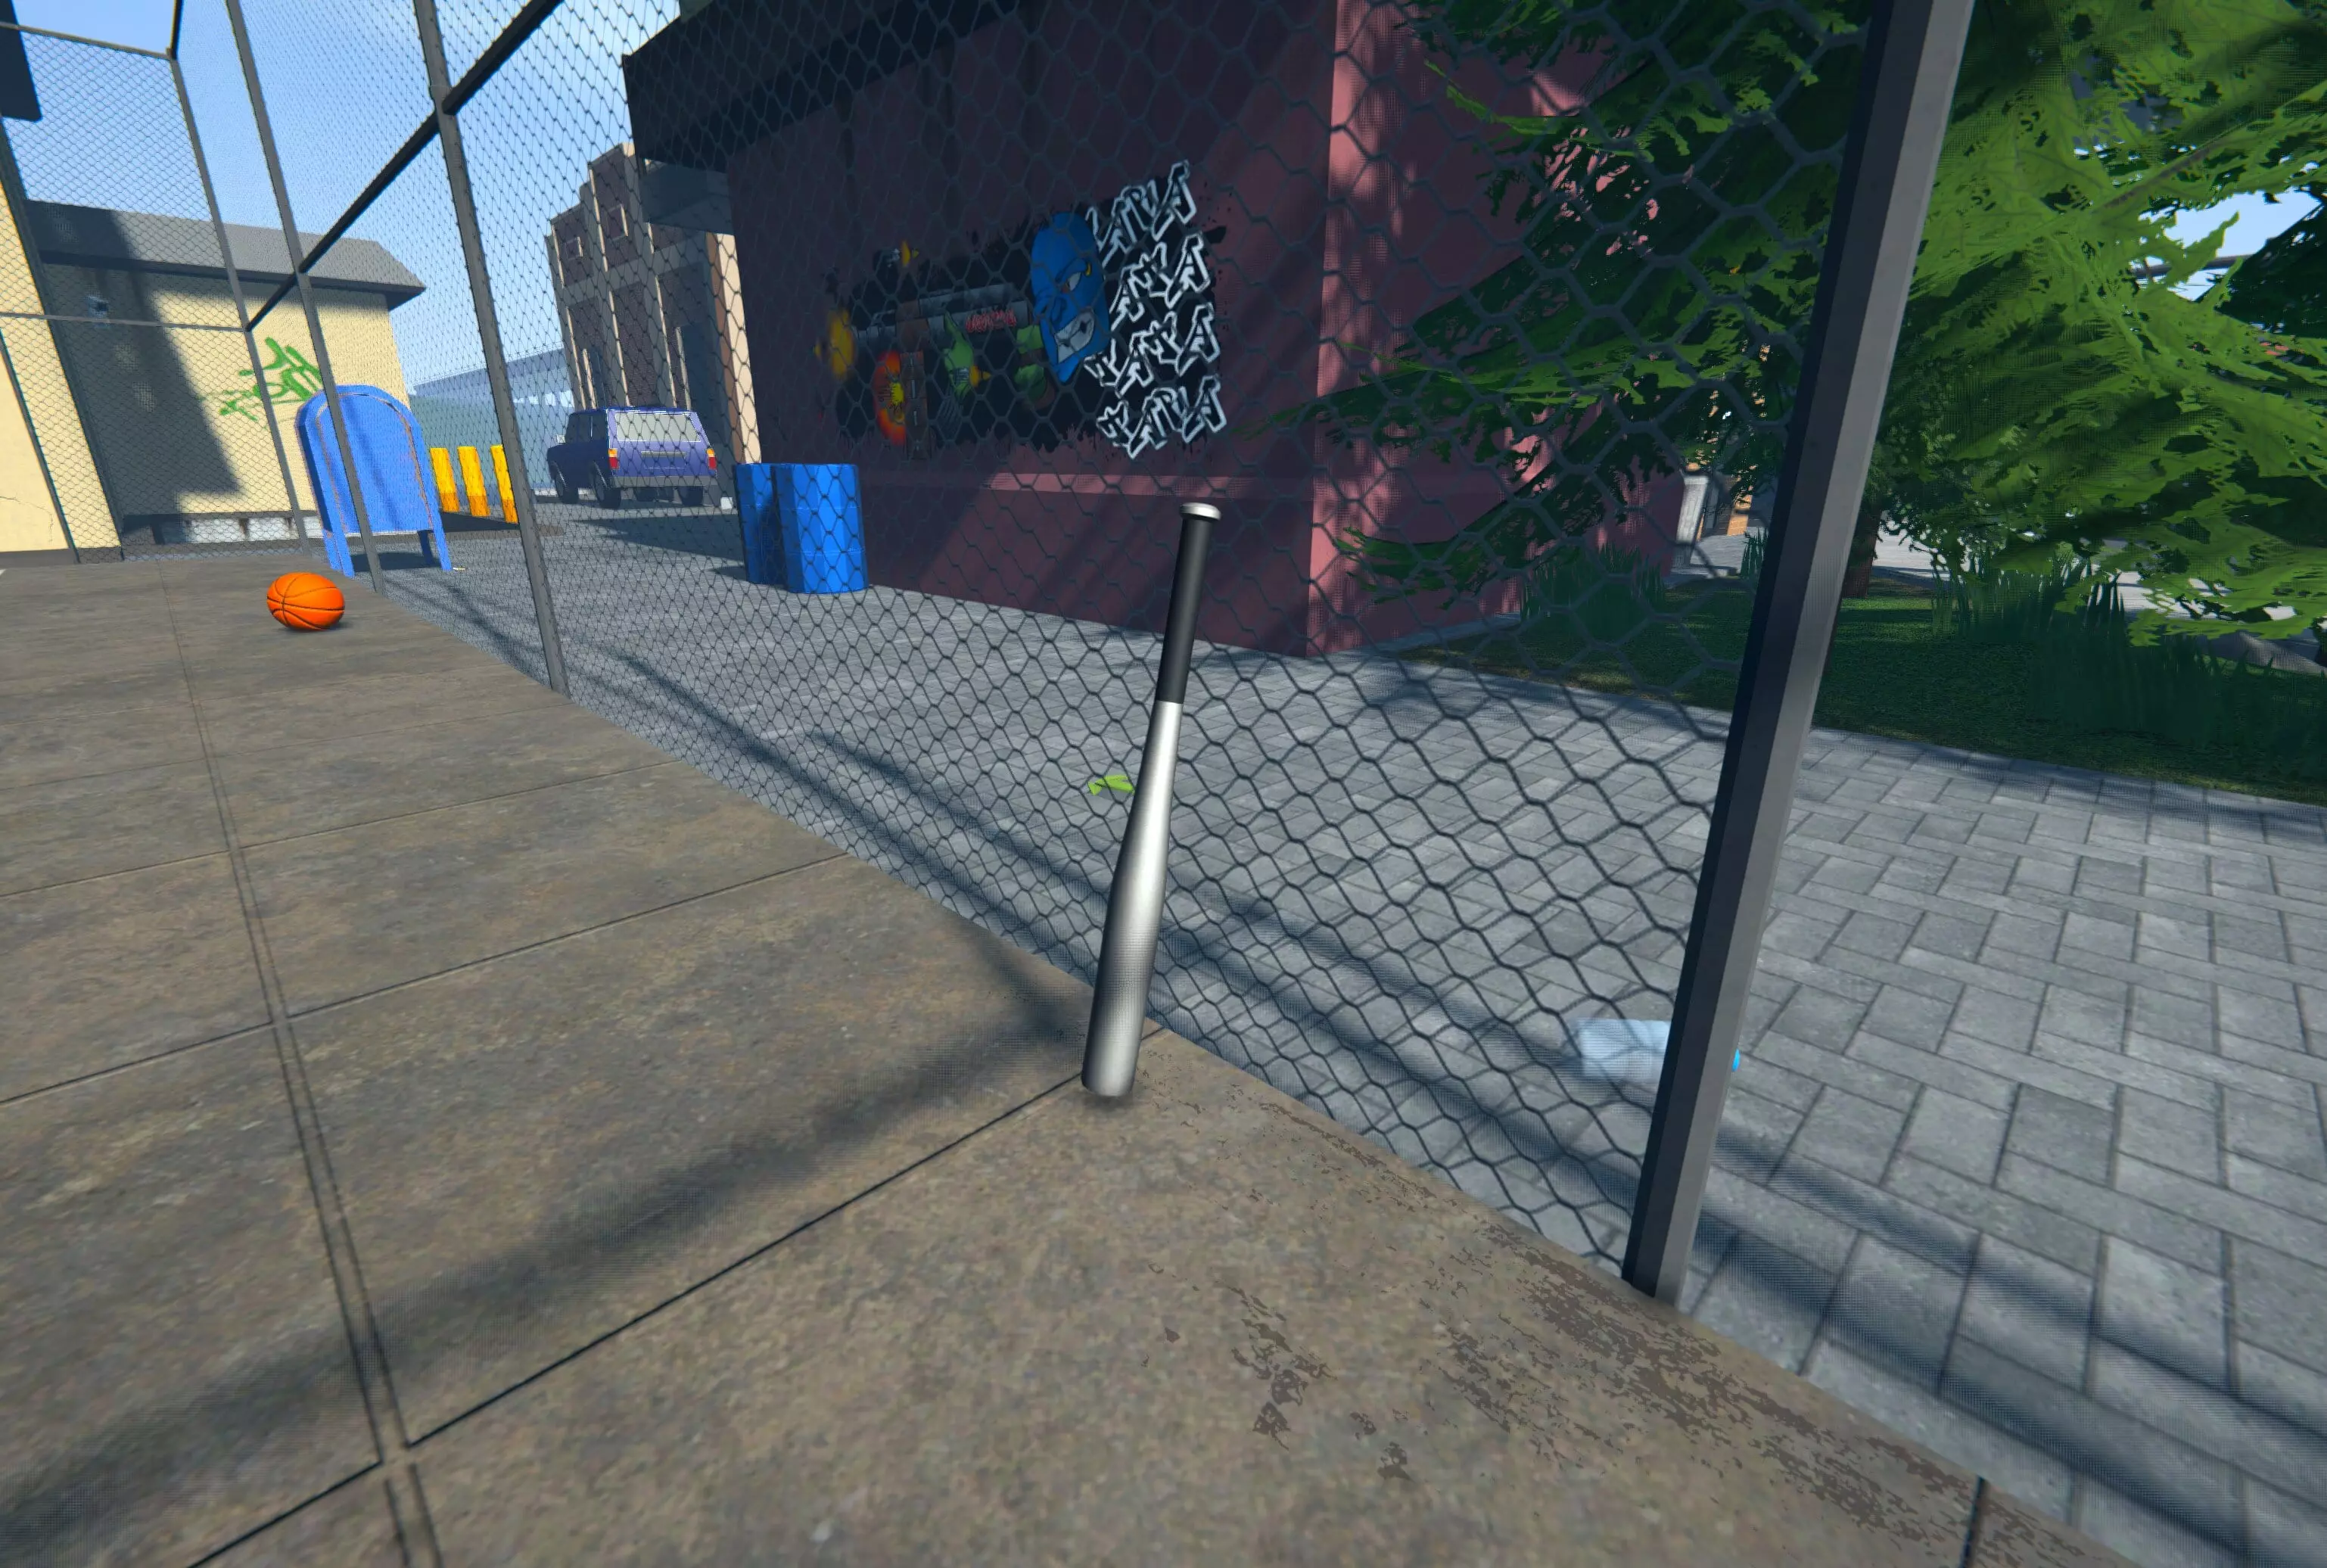
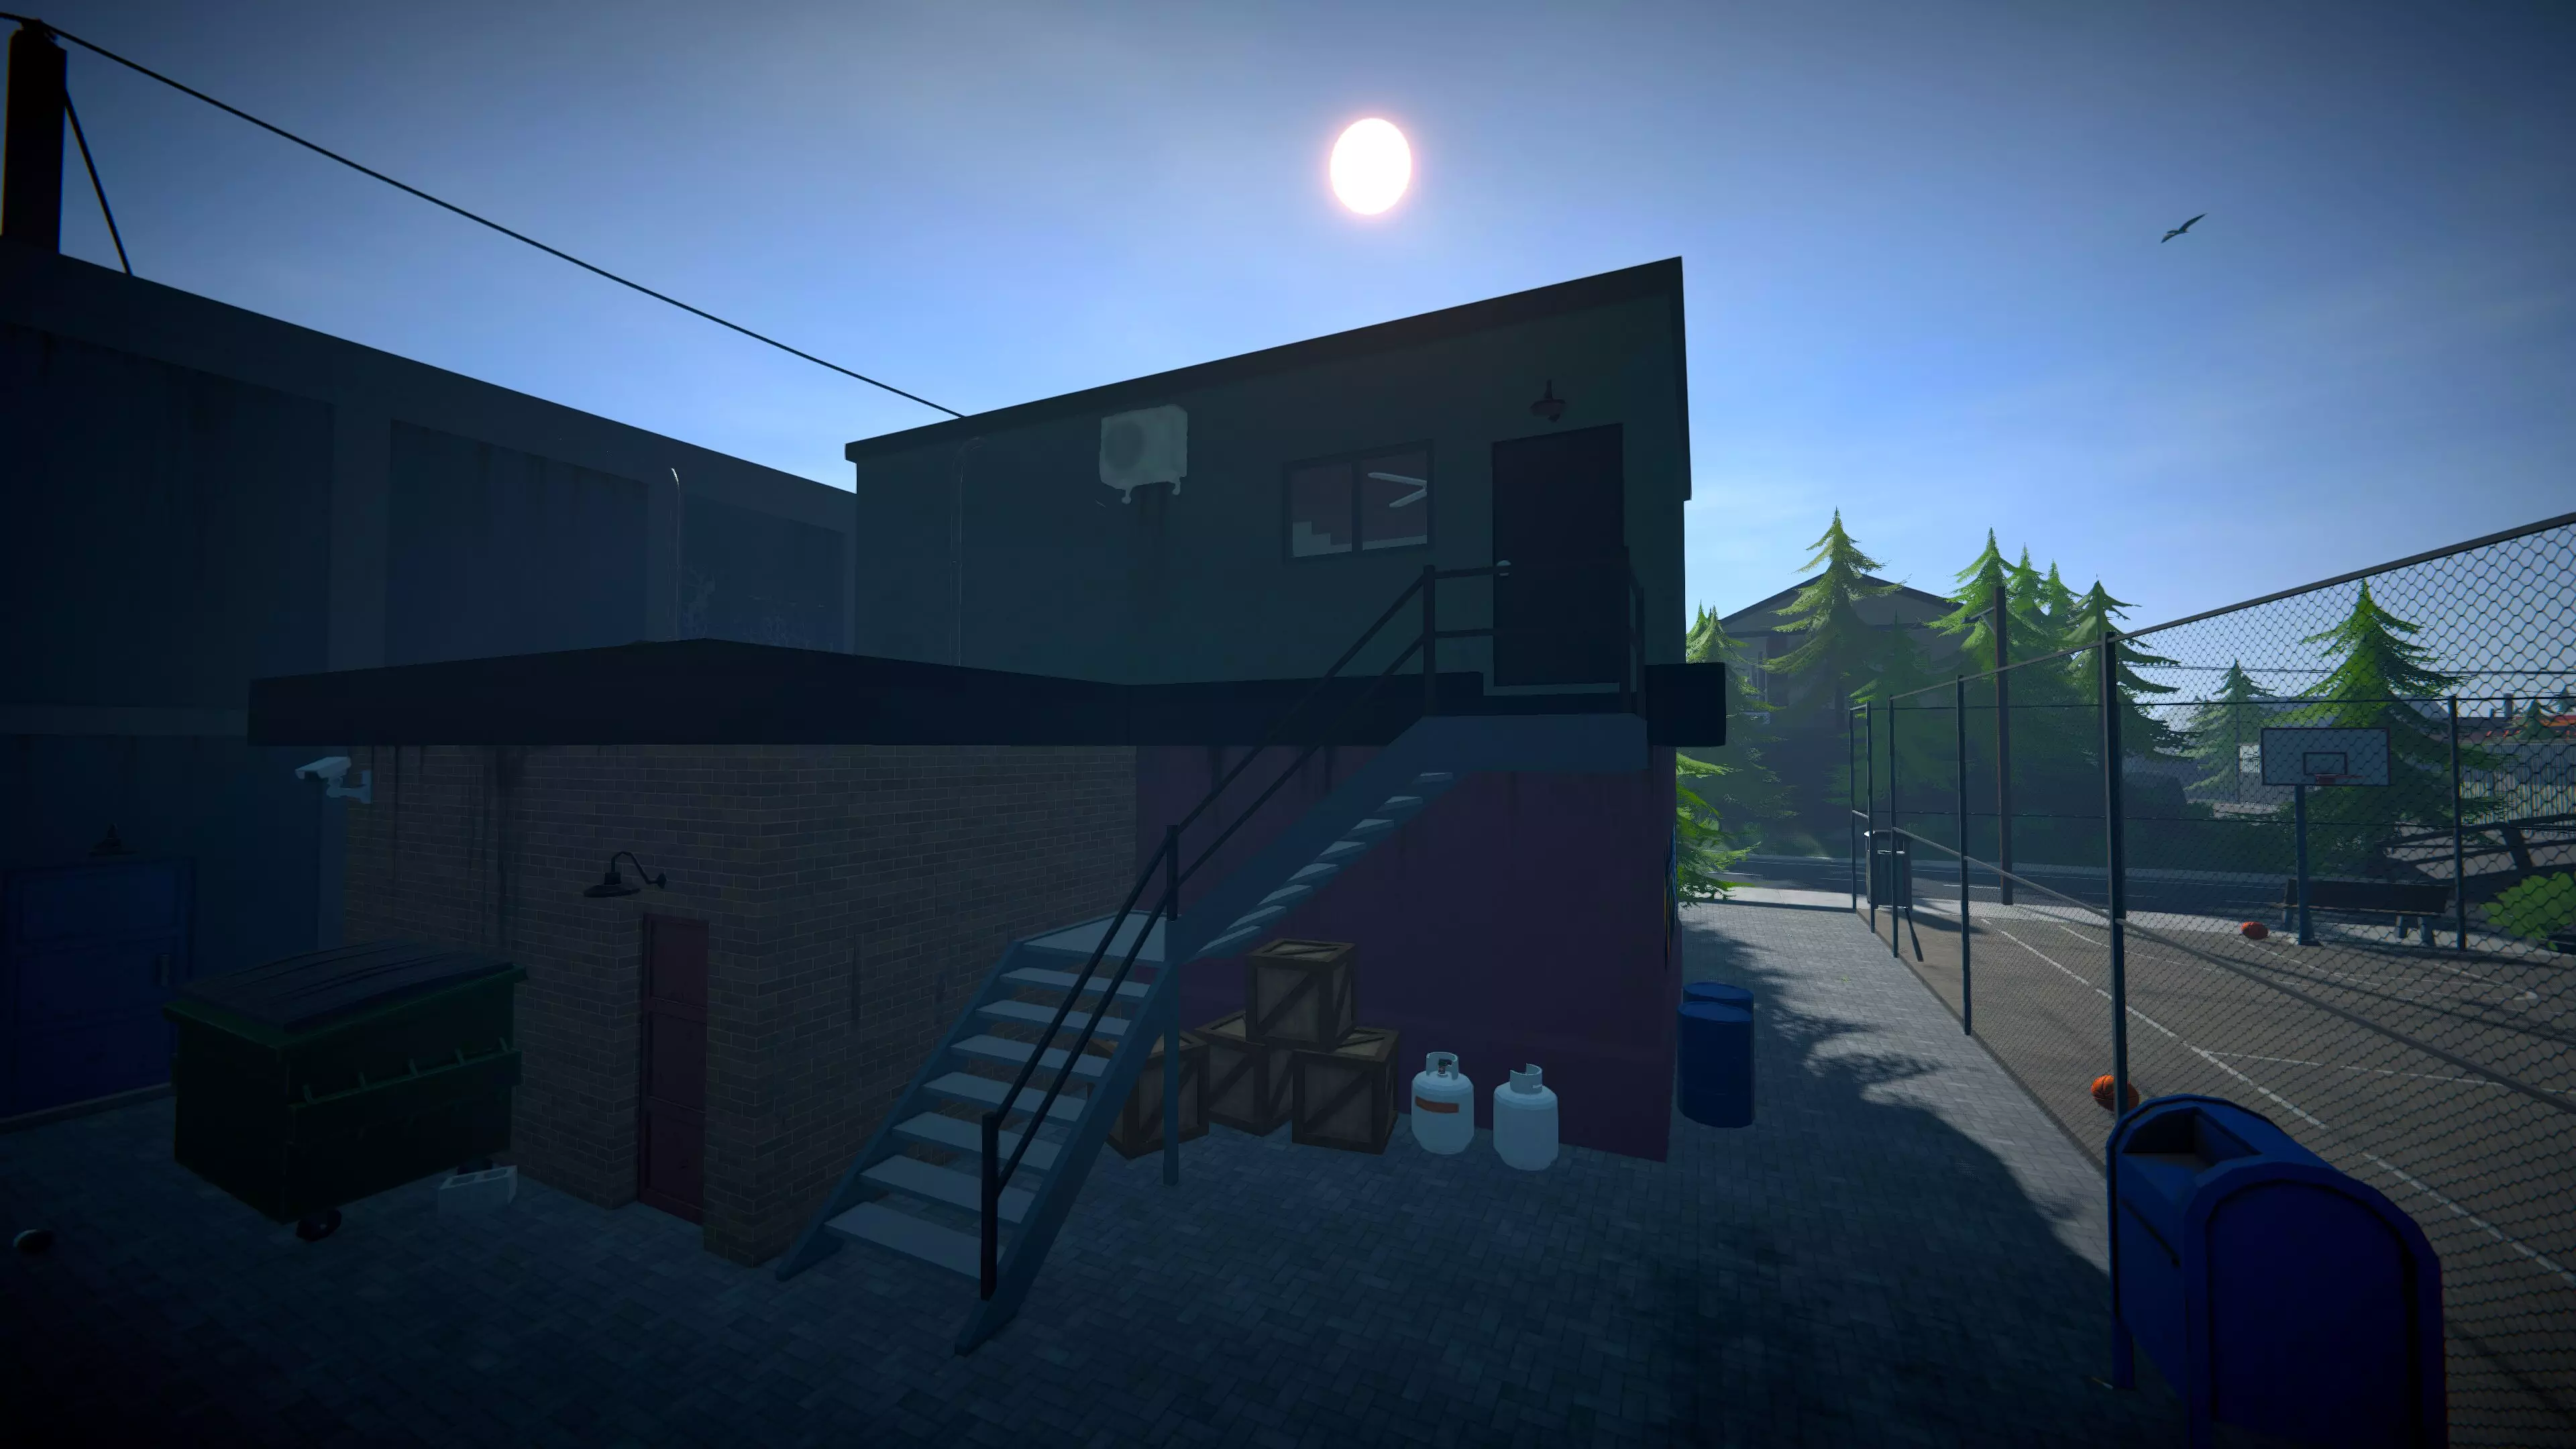
了解法律系统对于生存和经营至关重要。 快速概览:热度系统 你的热度等级受以下因素影响: - 在公共场所贩卖毒品 - 携带毒品时被警察发现 - 实施暴力行为(袭击、车祸、枪击) - 违反宵禁 你产生的热度越高,警察的行动就会越激进。 警察状态等级 状态:被捕 描述:你已被发现。警察会尝试以非暴力方式逮捕你。 状态:通缉 描述:你逃跑或反抗了。警察现在会使用泰瑟枪并激进地追捕你。 状态:格杀勿论 描述:你杀了人或严重拒捕。会遇到路障、支援和致命武力。躲避警察的方法 方法一:逃跑并躲藏 通过冲刺穿过小巷、隧道或城市障碍物来脱离视线 利用运河、树木和急转弯躲避步行巡逻 隐藏后,等待通缉热度下降 此方法在处于“通缉”等级而非“格杀勿论”时效果最佳 方法二:使用汽车 汽车能提供巨大的速度优势 可以碾过围栏或更快地逃离区域 但需注意:撞车或进入死胡同会立即陷入困境 方法三:安全屋 如果成功脱离视线,跑进你的一个无标记安全屋。待在里面直到状态重置 在中等热度时效果很好 如果警察看到你进入则无效 方法四:反击 你可以使用武器进行抵抗但一旦你击杀敌人: 通缉等级会跃升至【通缉:死活不论】 警察将不再尝试逮捕你 ⚠️ 只有在你有明确的逃脱策略或全副武装时,才使用武力。 实用技巧: 避免在警察区域附近交易,尤其是在夜间 除非绝对必要,否则请隐藏武器 在交易地点附近规划多条逃生路线 除非你已经完全变成“老白”,否则不要试图强行突围 “每一次交易都是一次冒险。每一次逃脱都是一次教训。” 隐藏地点:幽灵崖(利用漏洞) 该区域严格来说不属于可玩世界——但它确实存在。而且非常完美。 位置

位置:地图上边缘, waterfront 西北角 地标:带有涂鸦的建筑 入口点:停着的汽车后方,向右跳至建筑墙壁(见下文)
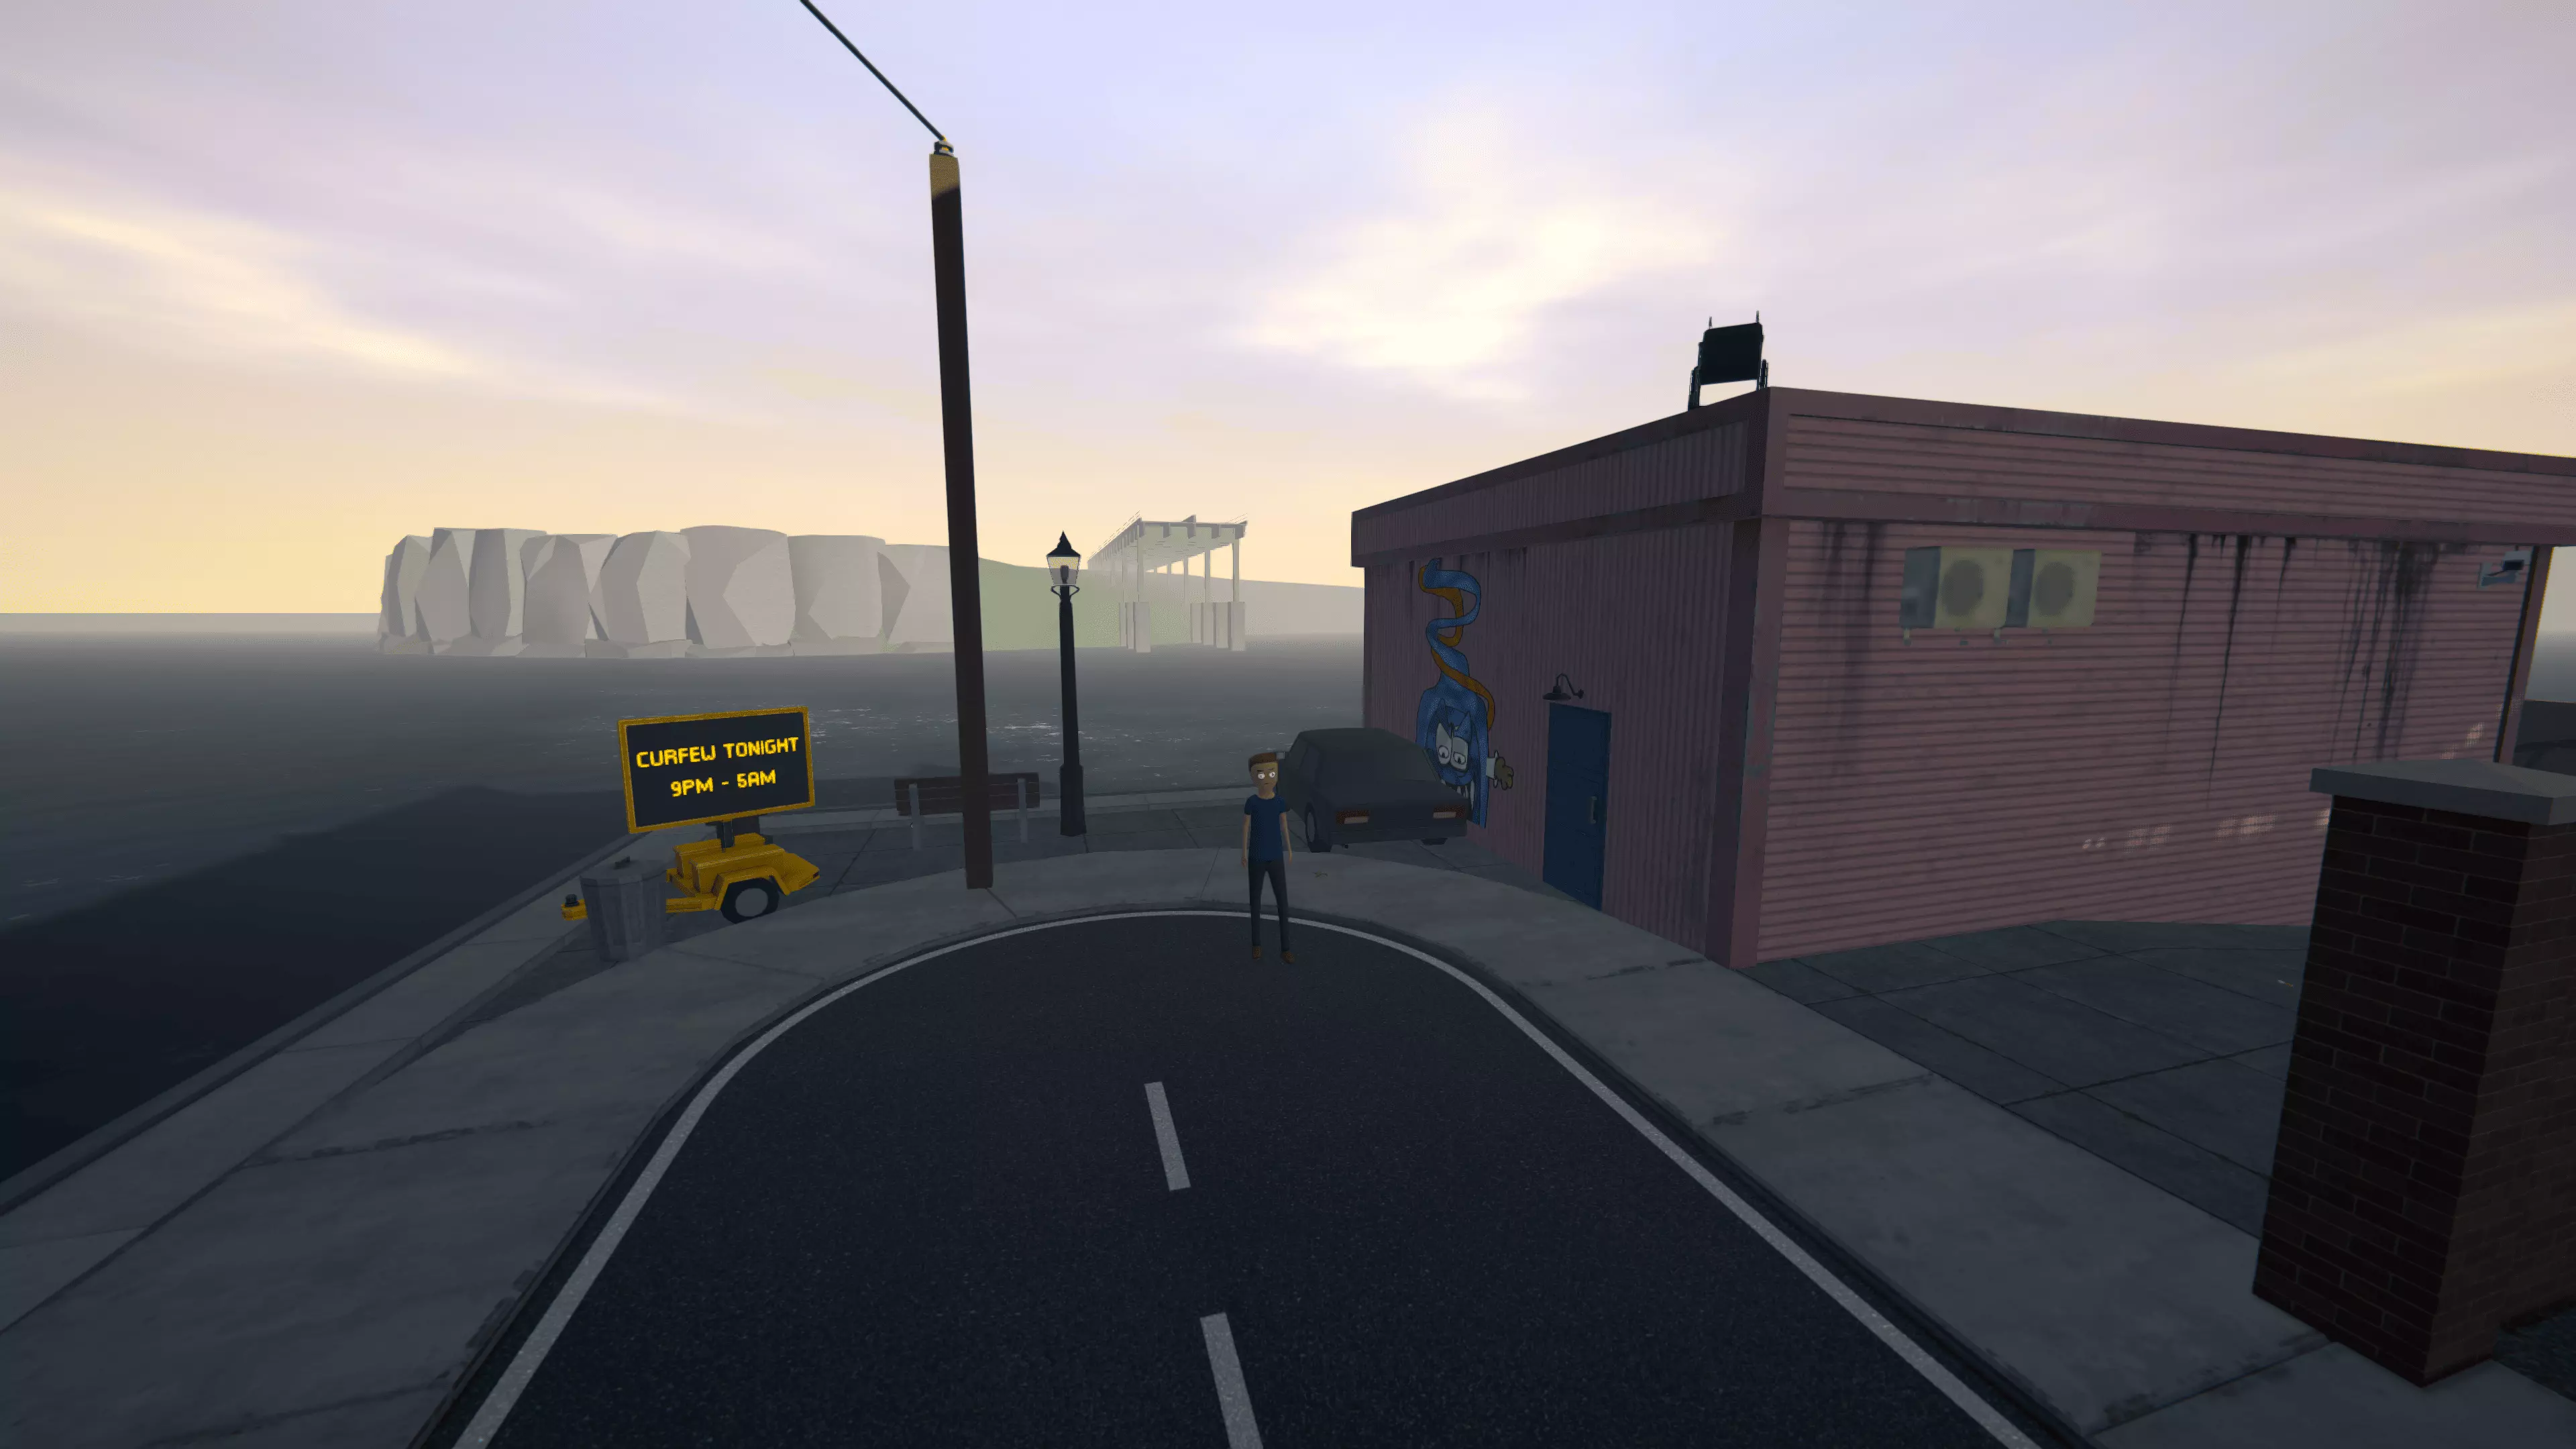
跳跃点在汽车右侧,紧靠着墙壁


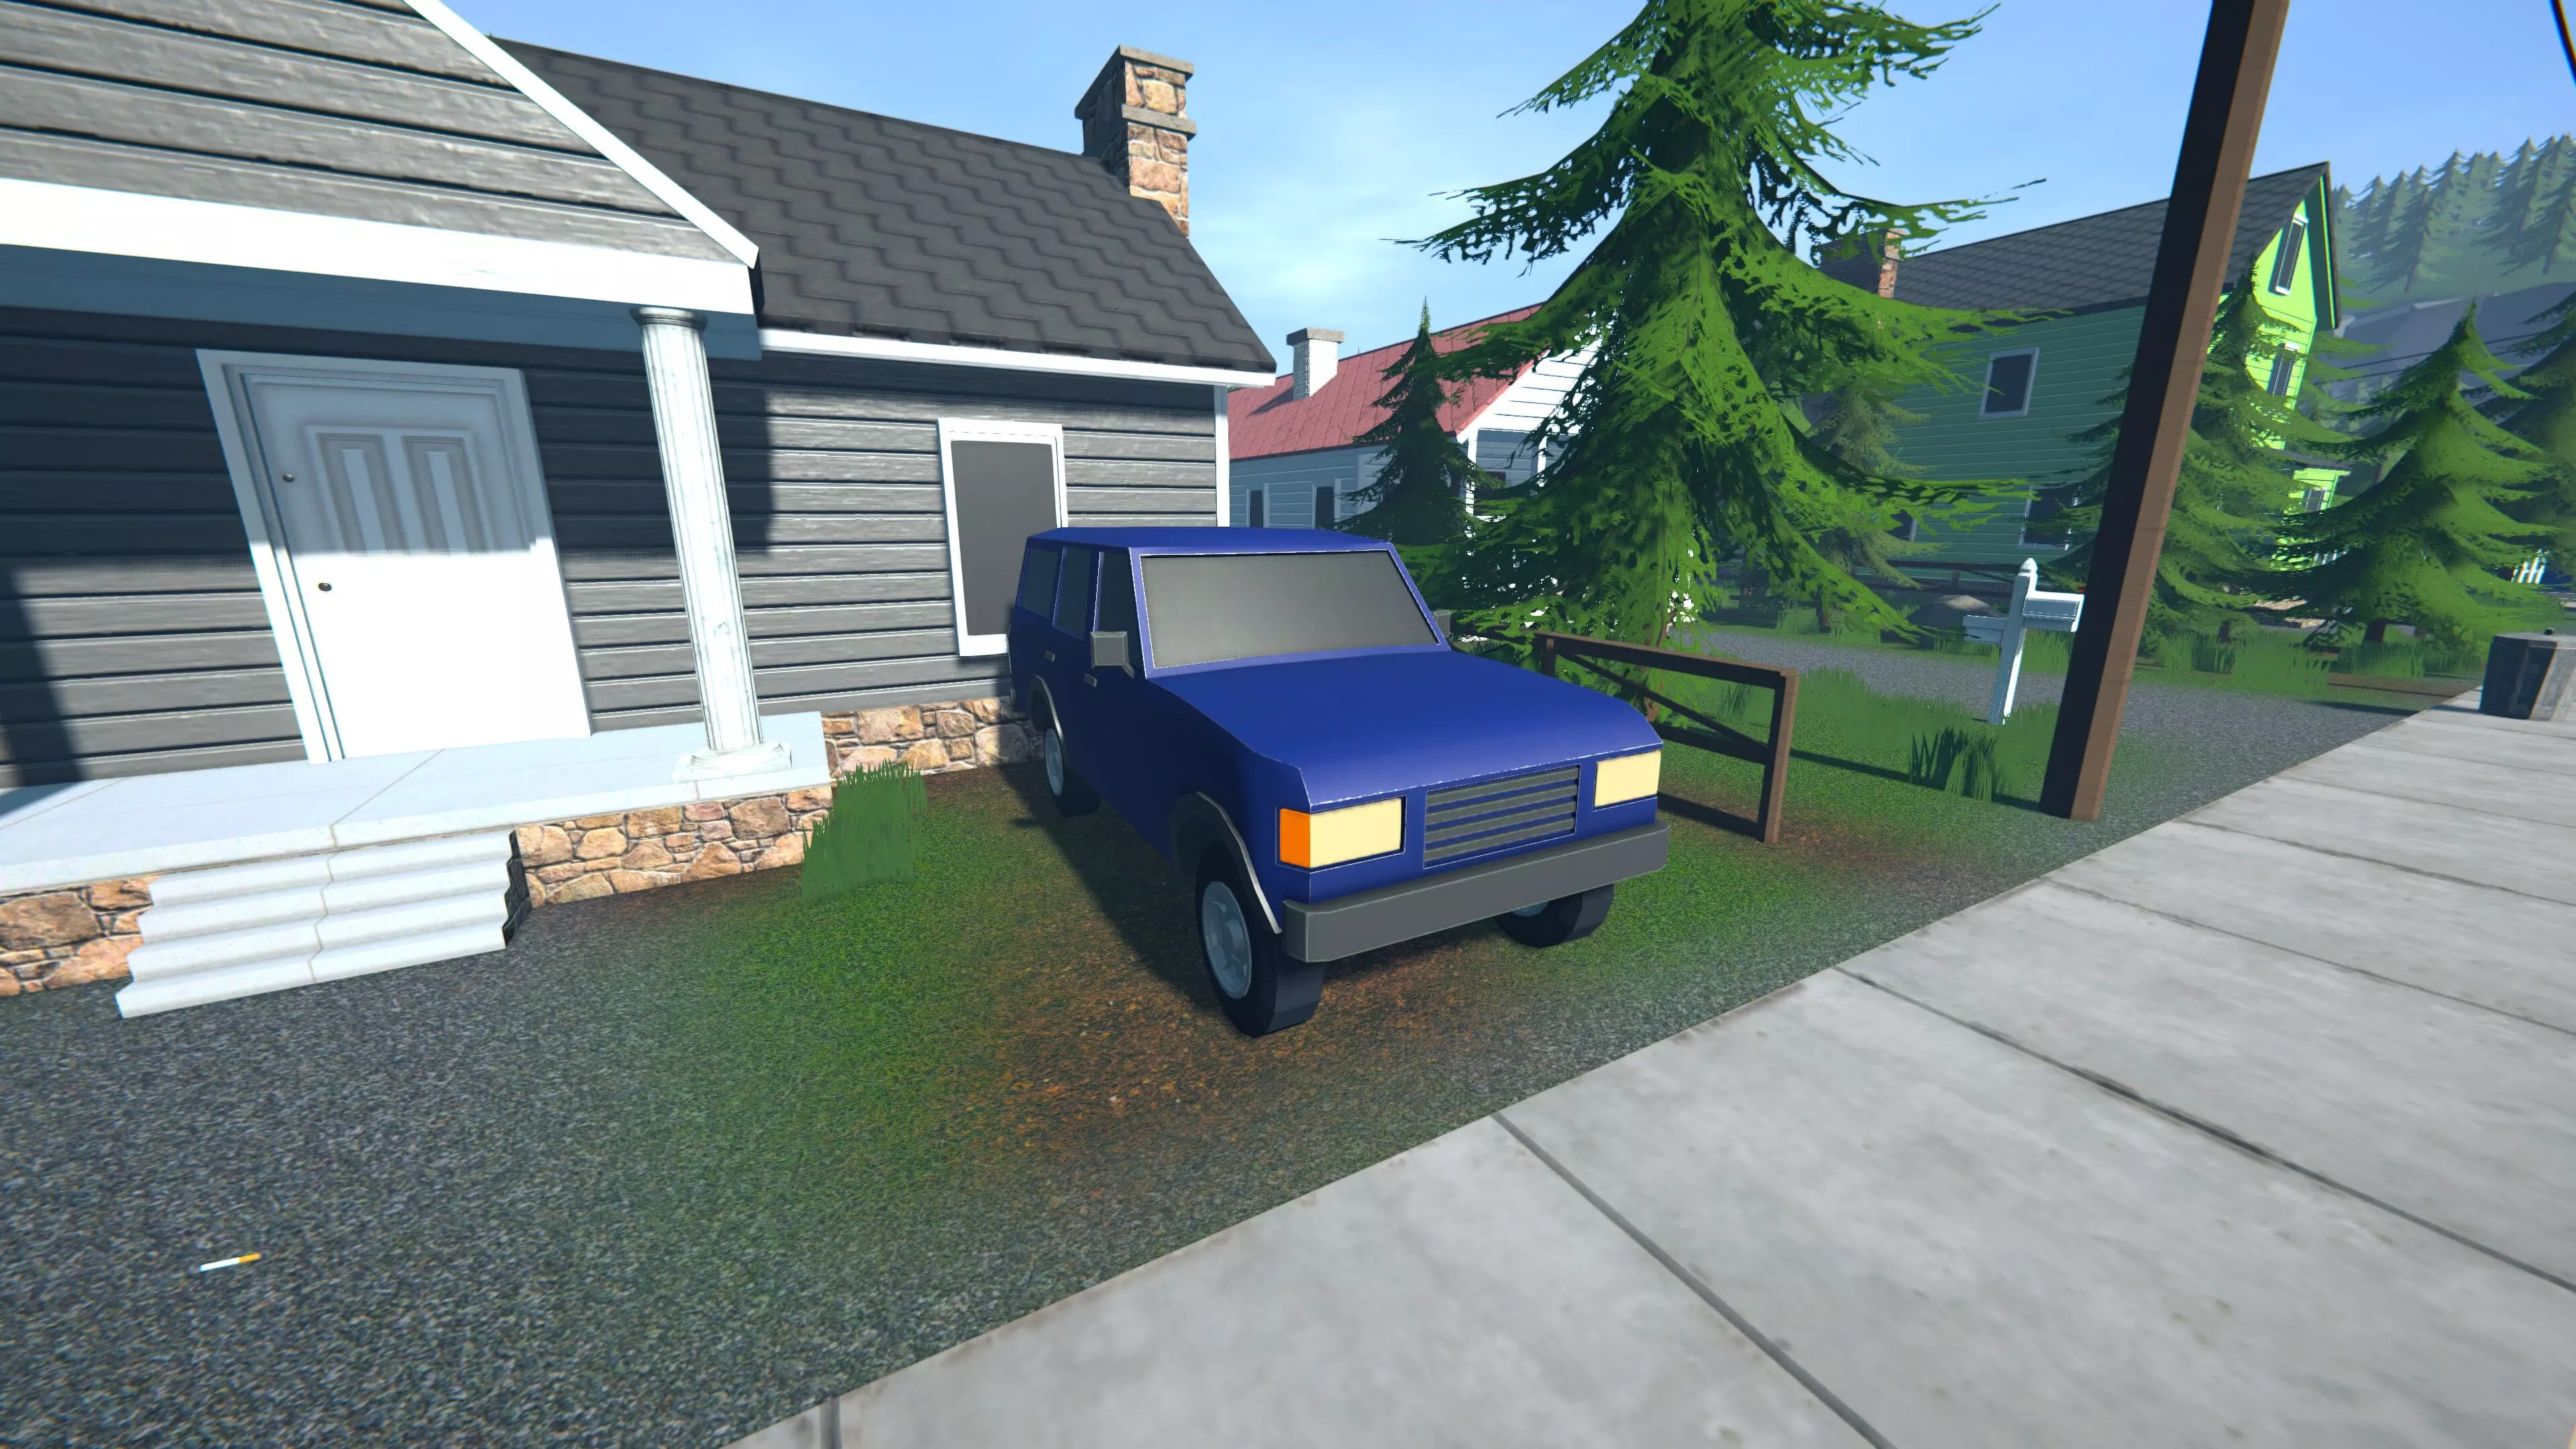
🧭 How to Access It1. Head to the top edge of the city on your map. 2. Find the graffiti building with the car parked beside it. 3. Jump onto the right side of the wall, where there's a hidden ledge. 4. You’ll now be standing in a glitched-out space: Police won’t see you You can’t be shot You’re 100% safe, no matter how high your heat level is 🏊 How to LeaveTo get back into the game world: Simply drop into the water You’ll be teleported back to a valid location 🧠 Why This Spot MattersIt’s your last-resort hideout when everything goes wrong Let your Wanted level reset safely Ideal for hardcore runs, or when you're deep into “Wanted: Dead or Alive” status Use it to wait out heat, or just take a breather 👻 “Sometimes, the safest place… is where you're not supposed to be.“ 🛒 Selling & Market Strategy Your strategy determines the quality of your goods in the drug trade. To control the underworld of Hyland Point, know your market, set sensible prices, and cultivate connections. 📦 1. Build Customer Loyalty🎁 Give Free Samples: Handing out samples builds trust and can hook new clients fast. Repeat business = reliable income. 🧠 Learn Their Preferences: Customers react to quality and effects. Pay attention to what they like — then sell them more of that. 💬 Repeat Buyers = Word of Mouth: A happy customer brings friends. A premium customer expects consistency. 💵 2. Price Smart⚖️ Fair Pricing Wins: Go too high, and you lose buyers. Go too low, and you lose profit. Keep it balanced based on product quality and district demand. 💸 Negotiate When It Makes Sense: Especially in early deals — build relationships first, then raise prices later. 📅 3. Manage Orders Like a Boss📦 Don’t Overcommit: If you can’t deliver an order, don’t take it. Failing to deliver damages your rep. ⏰ Timing Is Everything: Match your production and delivery rhythm to your order list. If you’re packaging heavenly coke, don’t promise same-day shipping 😅 🌍 4. Expand Your Market🧍♂️ Go Out & Find New Customers: Explore other districts and talk to people. New faces = new markets. 🍭 Offer Variety: Some clients want speed. Others want quality. Offering weed, meth and cocaine helps you dominate different tiers. 📈 Build Trust, Then Scale Up: Don’t flood a district. Feed it slowly — and let demand grow. 🛹 5. Delivery Tactics🛴 Get Around Fast: A skateboard or vehicle saves serious time. Don’t walk across the city like a beginner. 🗺️ Plan Your Routes: Drop off orders in clusters. Avoid backtracking. Know where the police patrol. 🚔 6. Minimize Risk🚨 Watch the Cops: Don’t sell near patrols. Avoid corners with high foot traffic, especially at night. 🌙 Curfew = Danger + Reward: Nighttime brings better deals… but the cops are brutal. If you’re gonna sell during curfew, know your escape plan. 🏠 Safehouses Are Your Reset Button: If a deal goes bad — run, hide, wait. 💼 “The real money isn’t in the sale — it’s in the system behind it.“ 💰 Money Management – Optimizing Income 💡 "It's not just about making money; it's about making money work for you." Control your cash flow, invest wisely, and keep your operations both profitable and discreet. 💸 1. Multiple Streams = Steady Flow🌿 Sell More Than Just Weed Meth and cocaine bring better returns. Diversify to tap into richer markets. 🏠 Invest in Real Businesses The Laundromat, Taco Ticklers, Car Wash and Post Office aren’t just for show — they clean your dirty cash and generate passive income. 📉 2. Spend Smart, Not Flashy⚙️ Prioritize what boosts production Better soil, LED lights, grow racks — they pay off. A golden couch doesn’t. 📊 Track your income vs. costs Don’t overspend on aesthetics. If you're going broke while selling meth, you’re doing something wrong 😅 🧽 3. Laundering Money the Right Way💬 “The bank doesn’t like it when your deposits scream ‘felony.’” 🏦 Weekly Deposit Limit: You can only deposit $10,000/week via ATM. The rest must be laundered. 👴 Uncle Nelson Triggers the Laundromat Sidequest Hit your limit and he’ll call you to get things rolling. 🧺 Buy the Laundromat: From Ray’s Realty for just $4,000 – cheapest legal cover in the city. 💻 Use the Backroom PC: Launder $2,000 per day, per location. After 24 in-game hours, the cash turns clean and shows up in your bank. 🍔 More Businesses = More Laundering Unlock the Post Office, Car Wash and Taco Ticklers later on to launder more per cycle. 🔁 4. Pro Money Habits🔂 Launder Regularly Don’t let dirty cash pile up. Spread it out across the week. 🧯 Keep Liquid Cash on Hand Some deals, upgrades, and wages require unlaundered money — don’t clean everything. 📈 Reinvest Profits Every dollar you clean is another chance to scale. More tents = more plants = more cash = more laundering. Cycle it smart. 💸 Money Laundering – Costs & Percentages Location Investment costs Washing quantity Laundromat 4.000 $ 2.000 $ / 24h Post Office 10.000 $ 4.000 $ / 24h Car Wash 20.000 $ 6.000 $ / 24h Taco Ticklers 50.000 $ 8.000 $ / 24h 💵 “Cash is king. Clean cash is empire.“ 🚗 Vehicles – Speed, Storage & Street Survival Your car in Schedule I serves as both a delivery van, an escape route, and a mobile stash in addition to being a means of mobility 📦 Trunk Space 🏎️ Speed & Acceleration 💸 Purchase Cost Each car suits a different playstyle. Here's what you need to know: 📊 Car Comparison Table
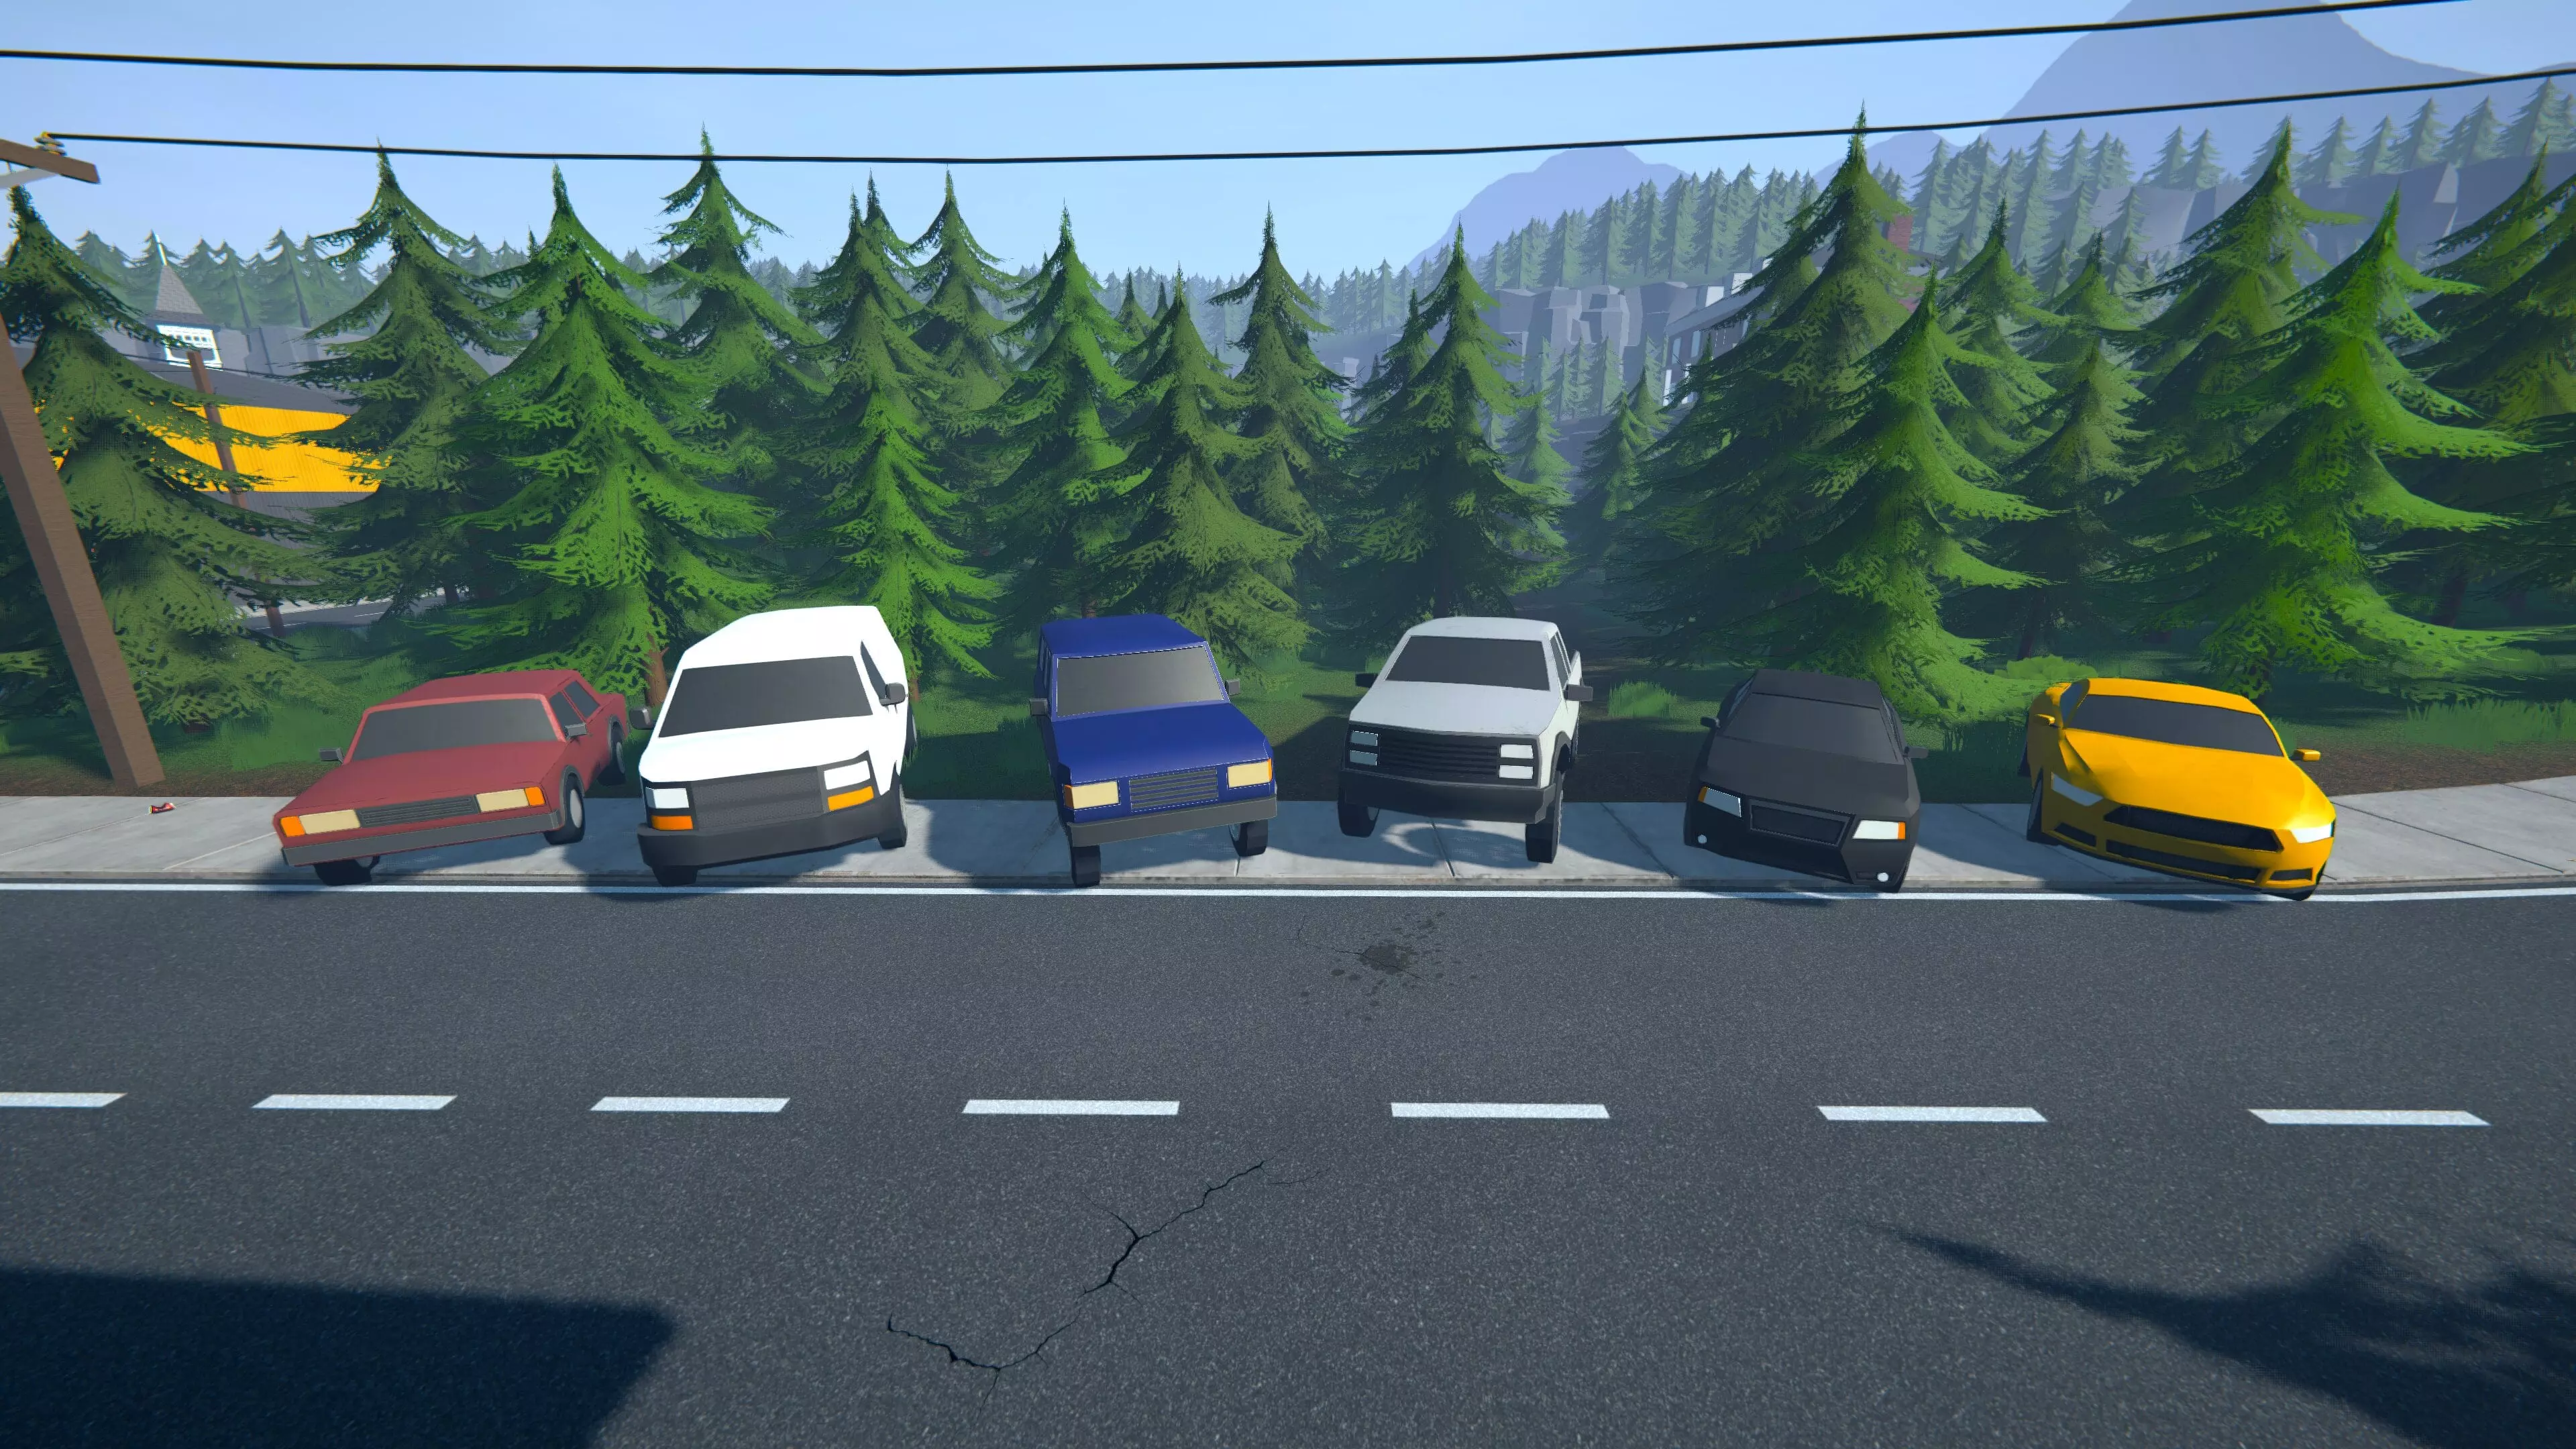
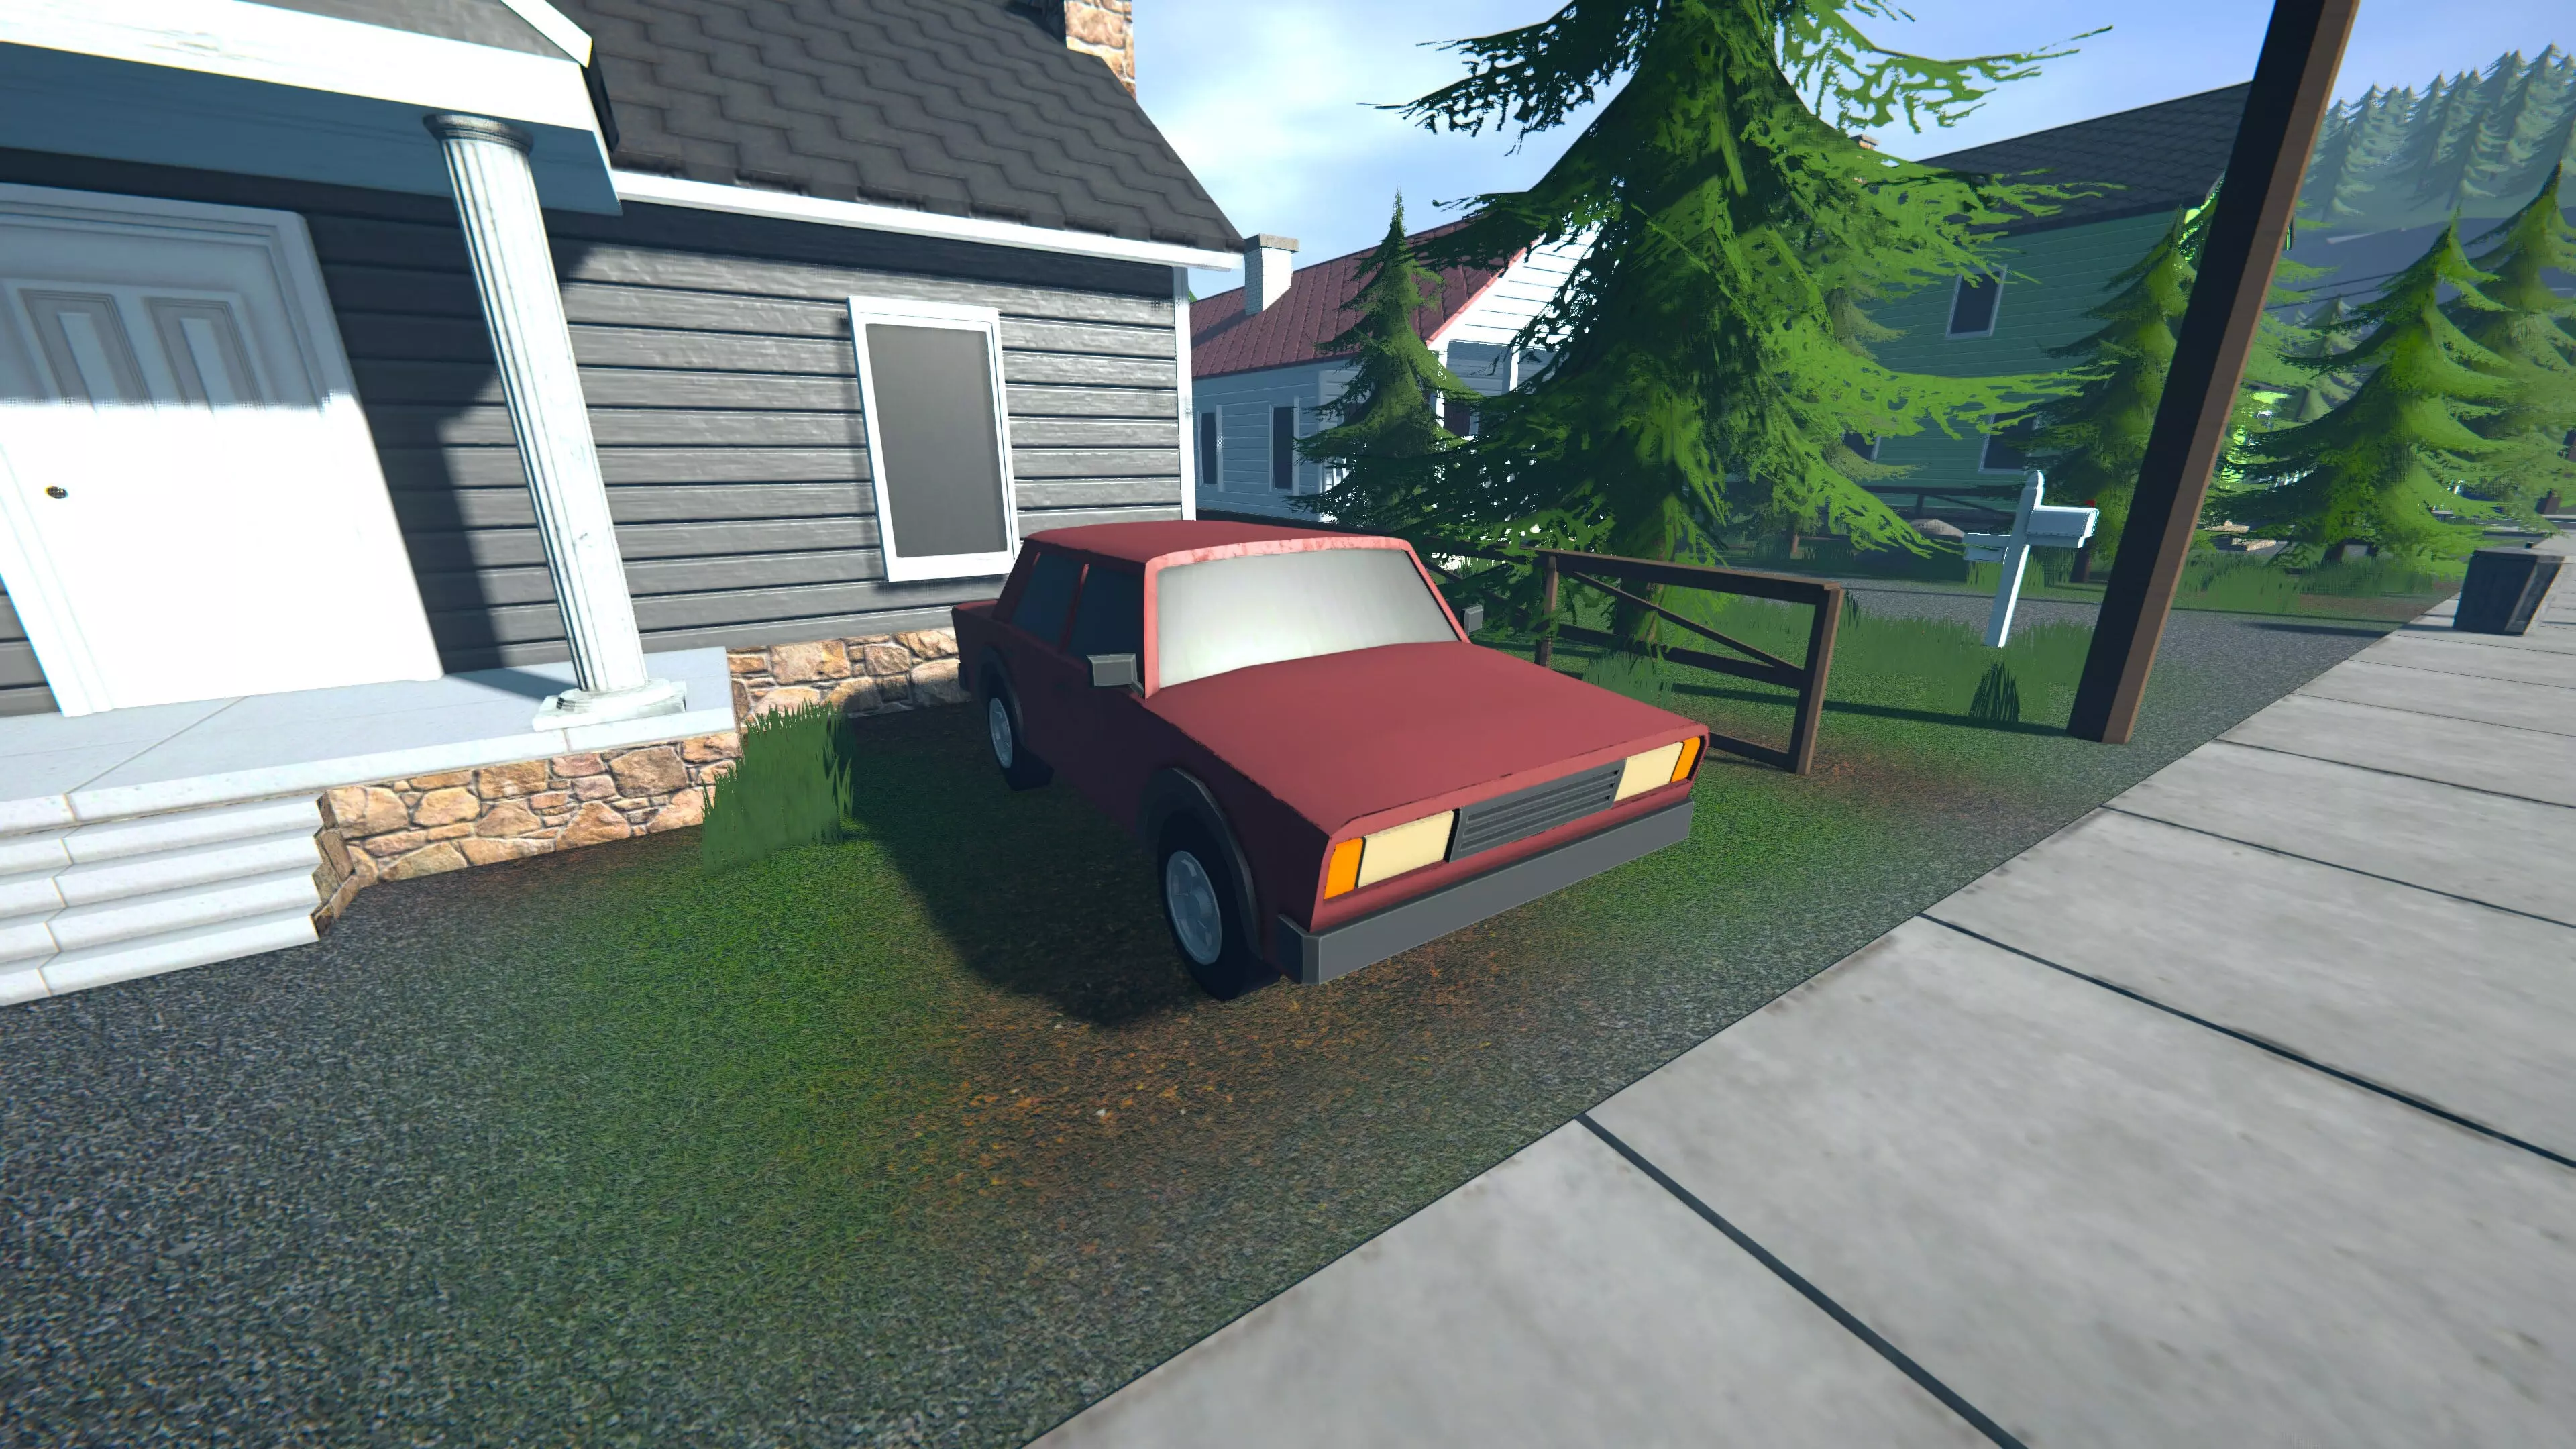
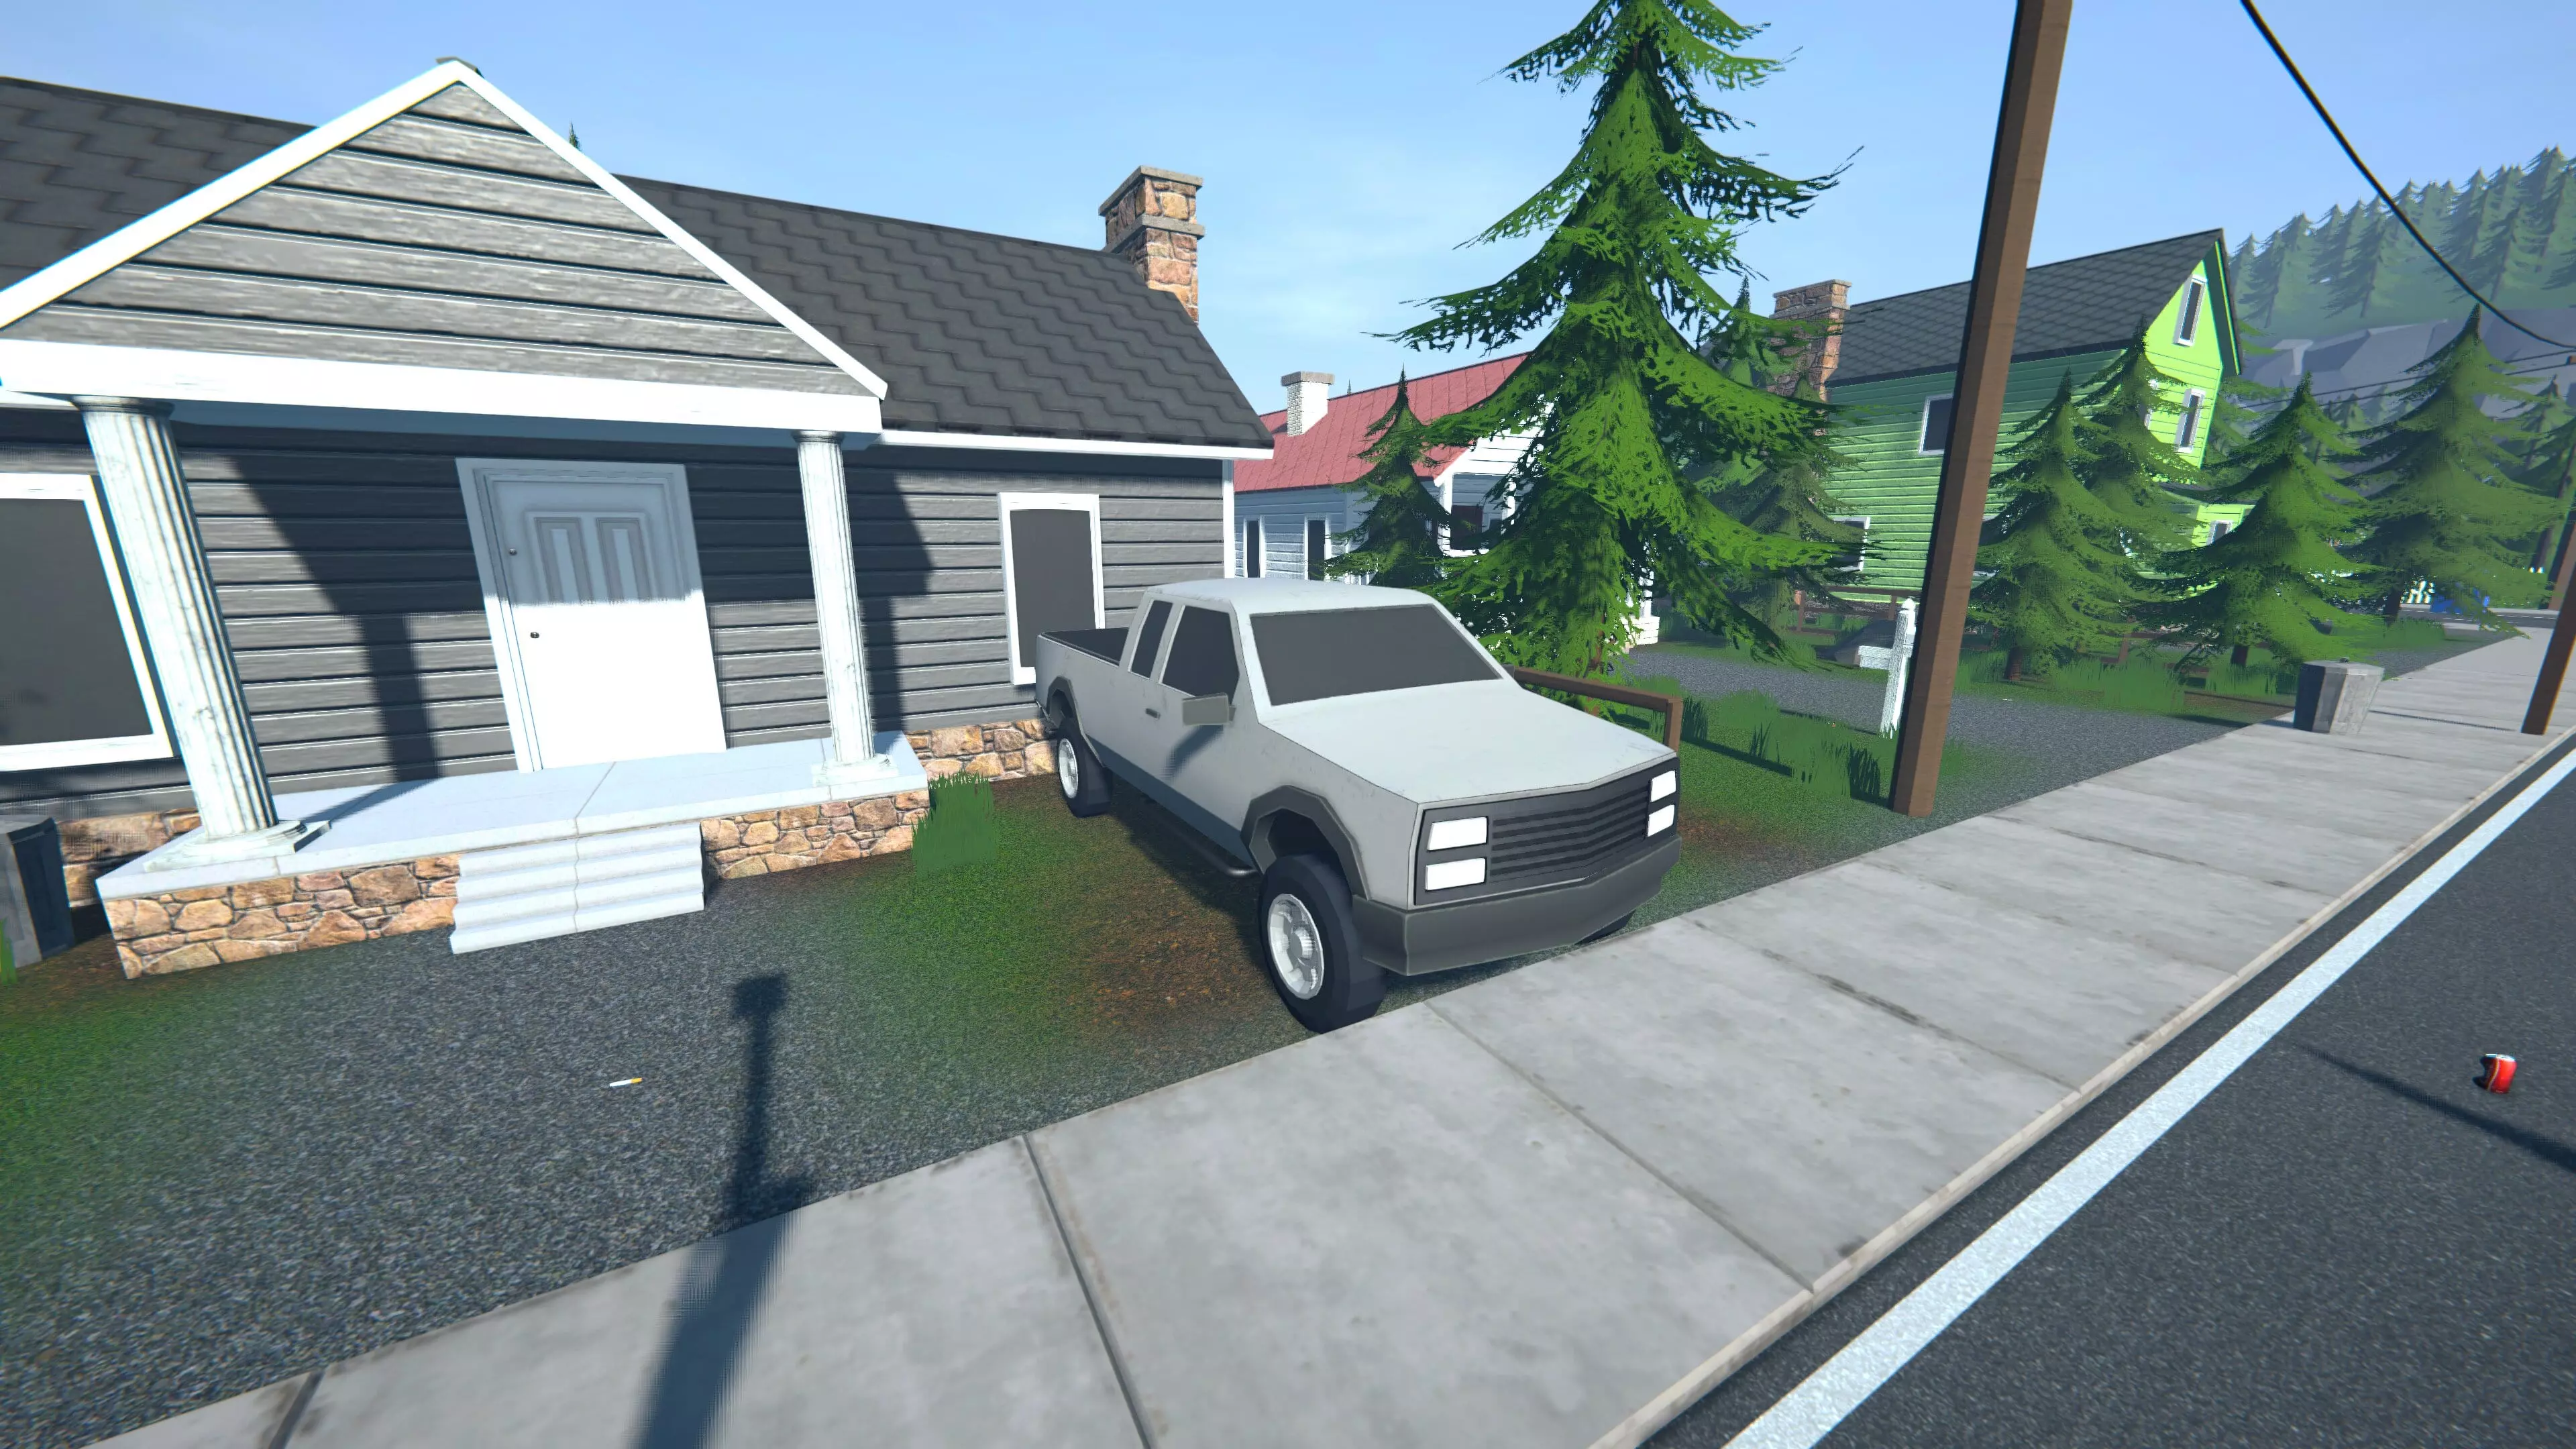
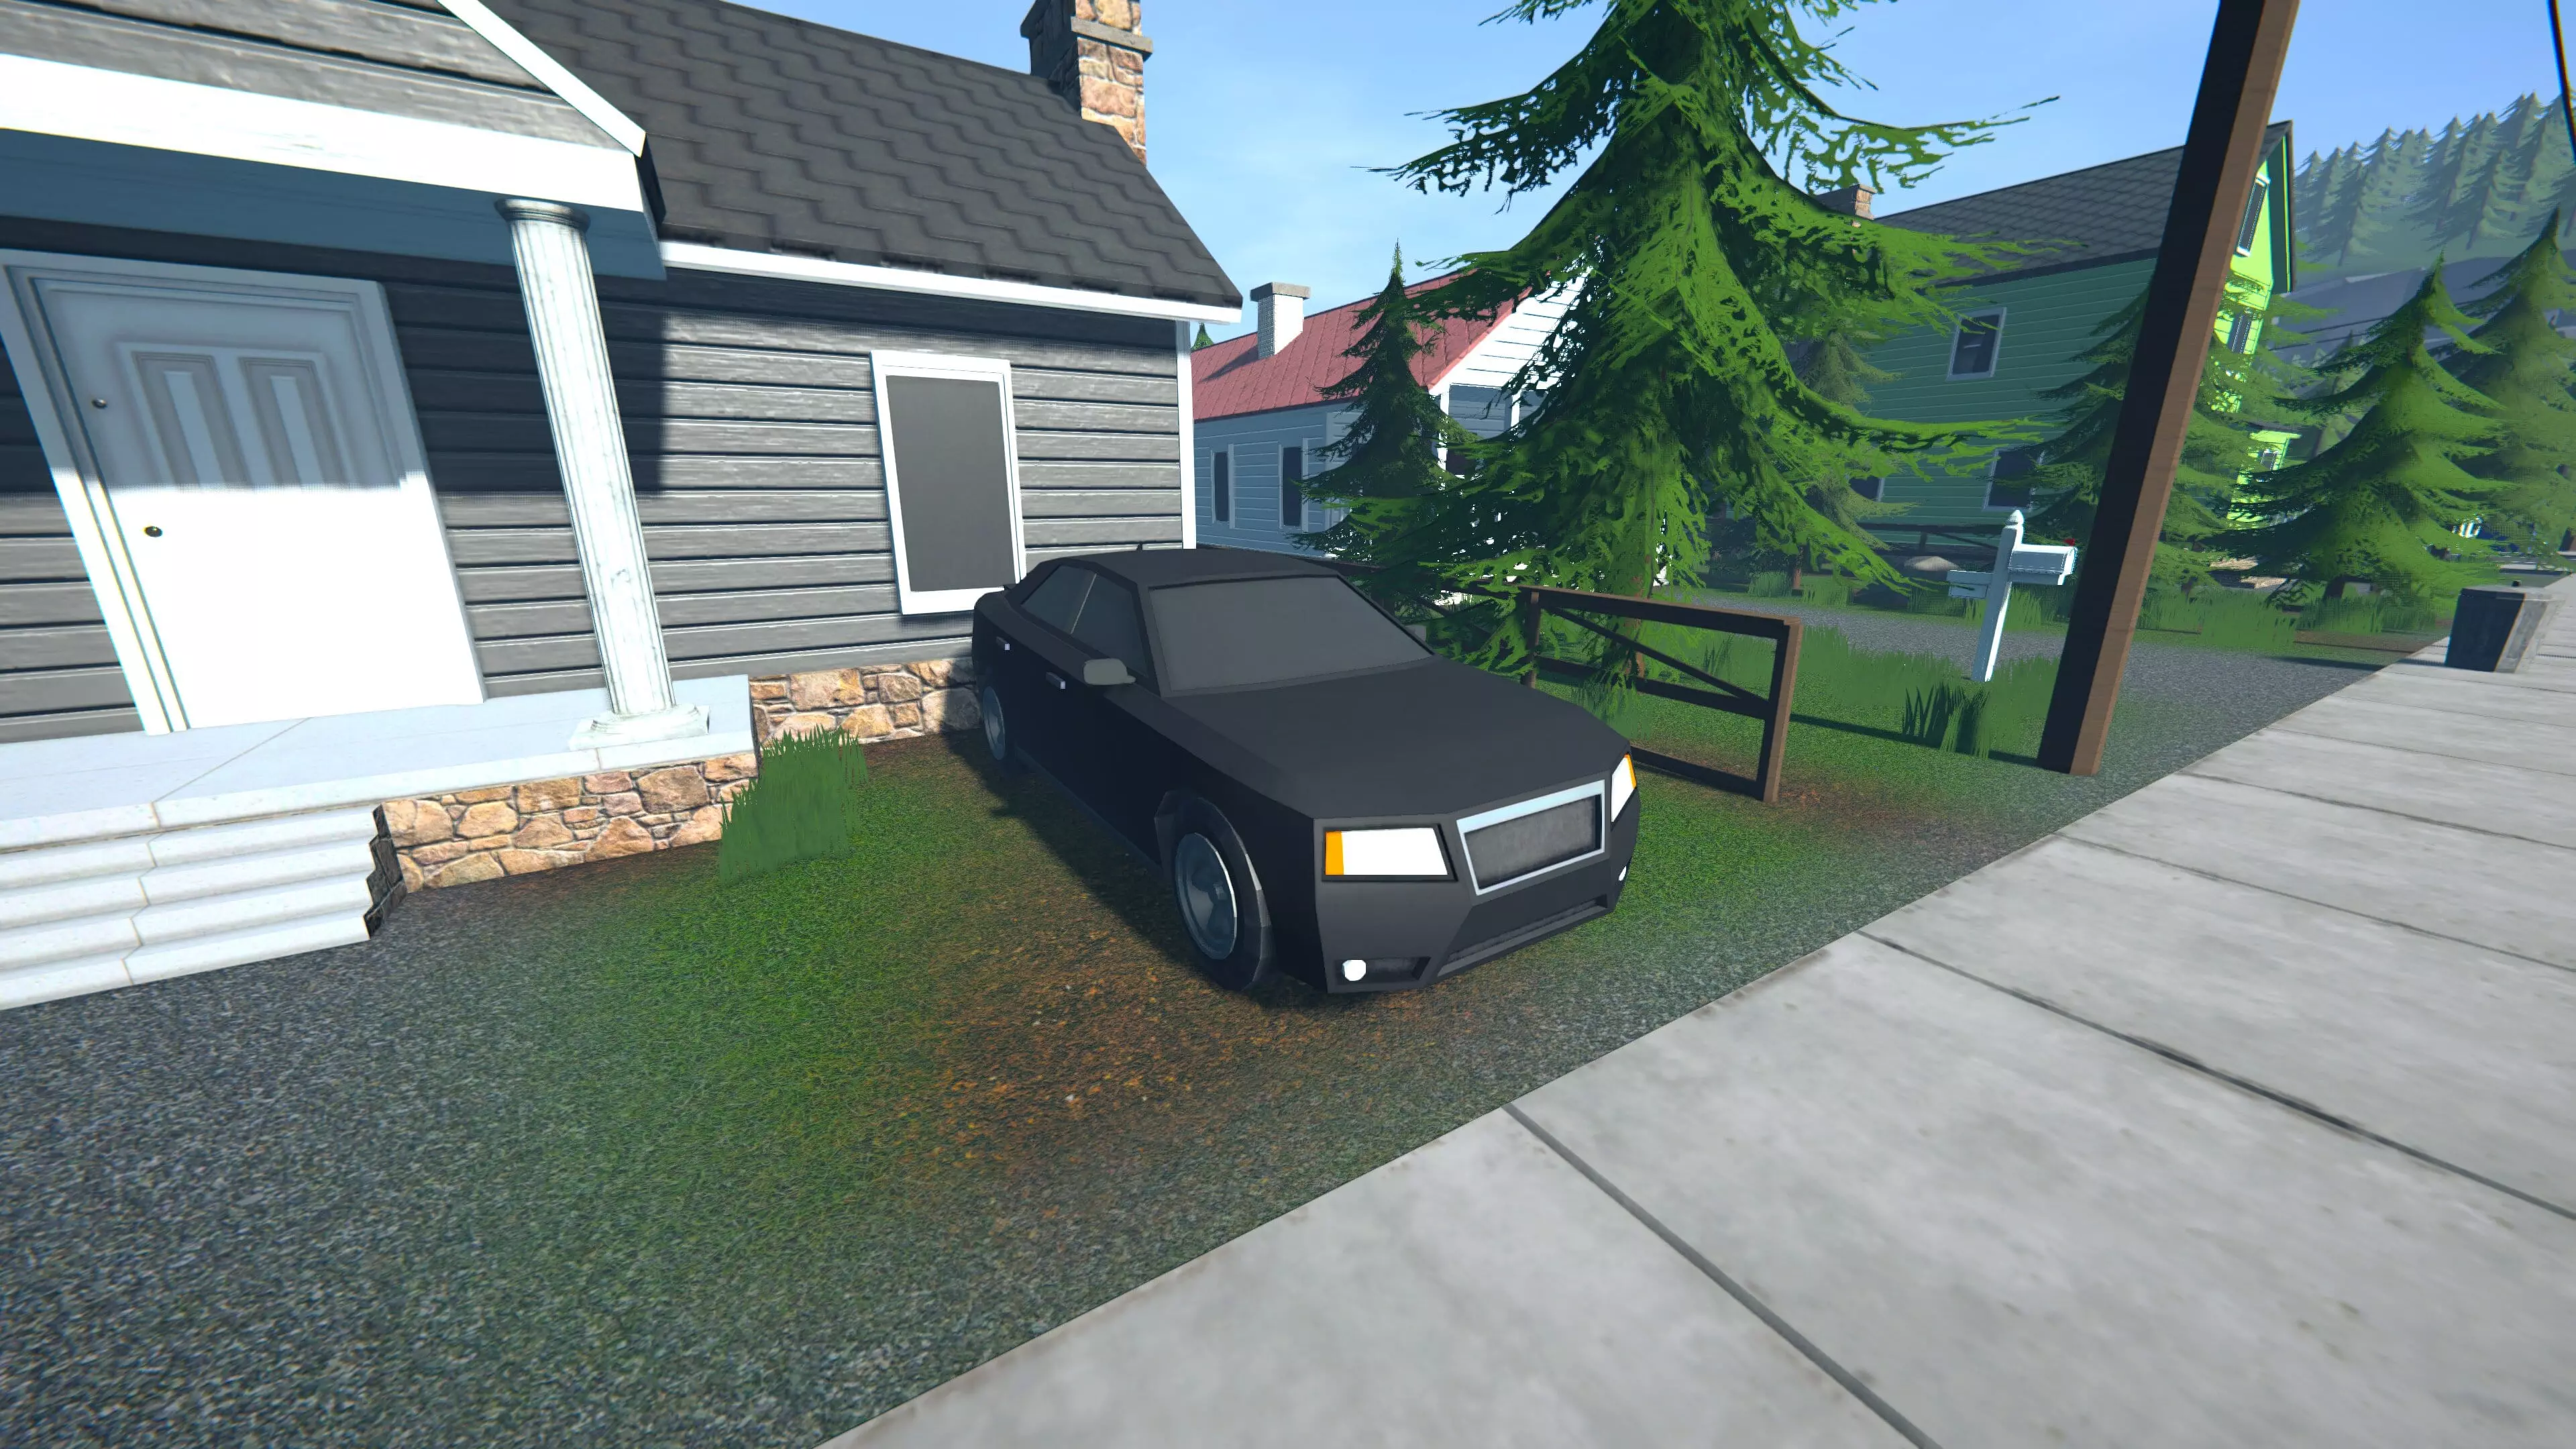
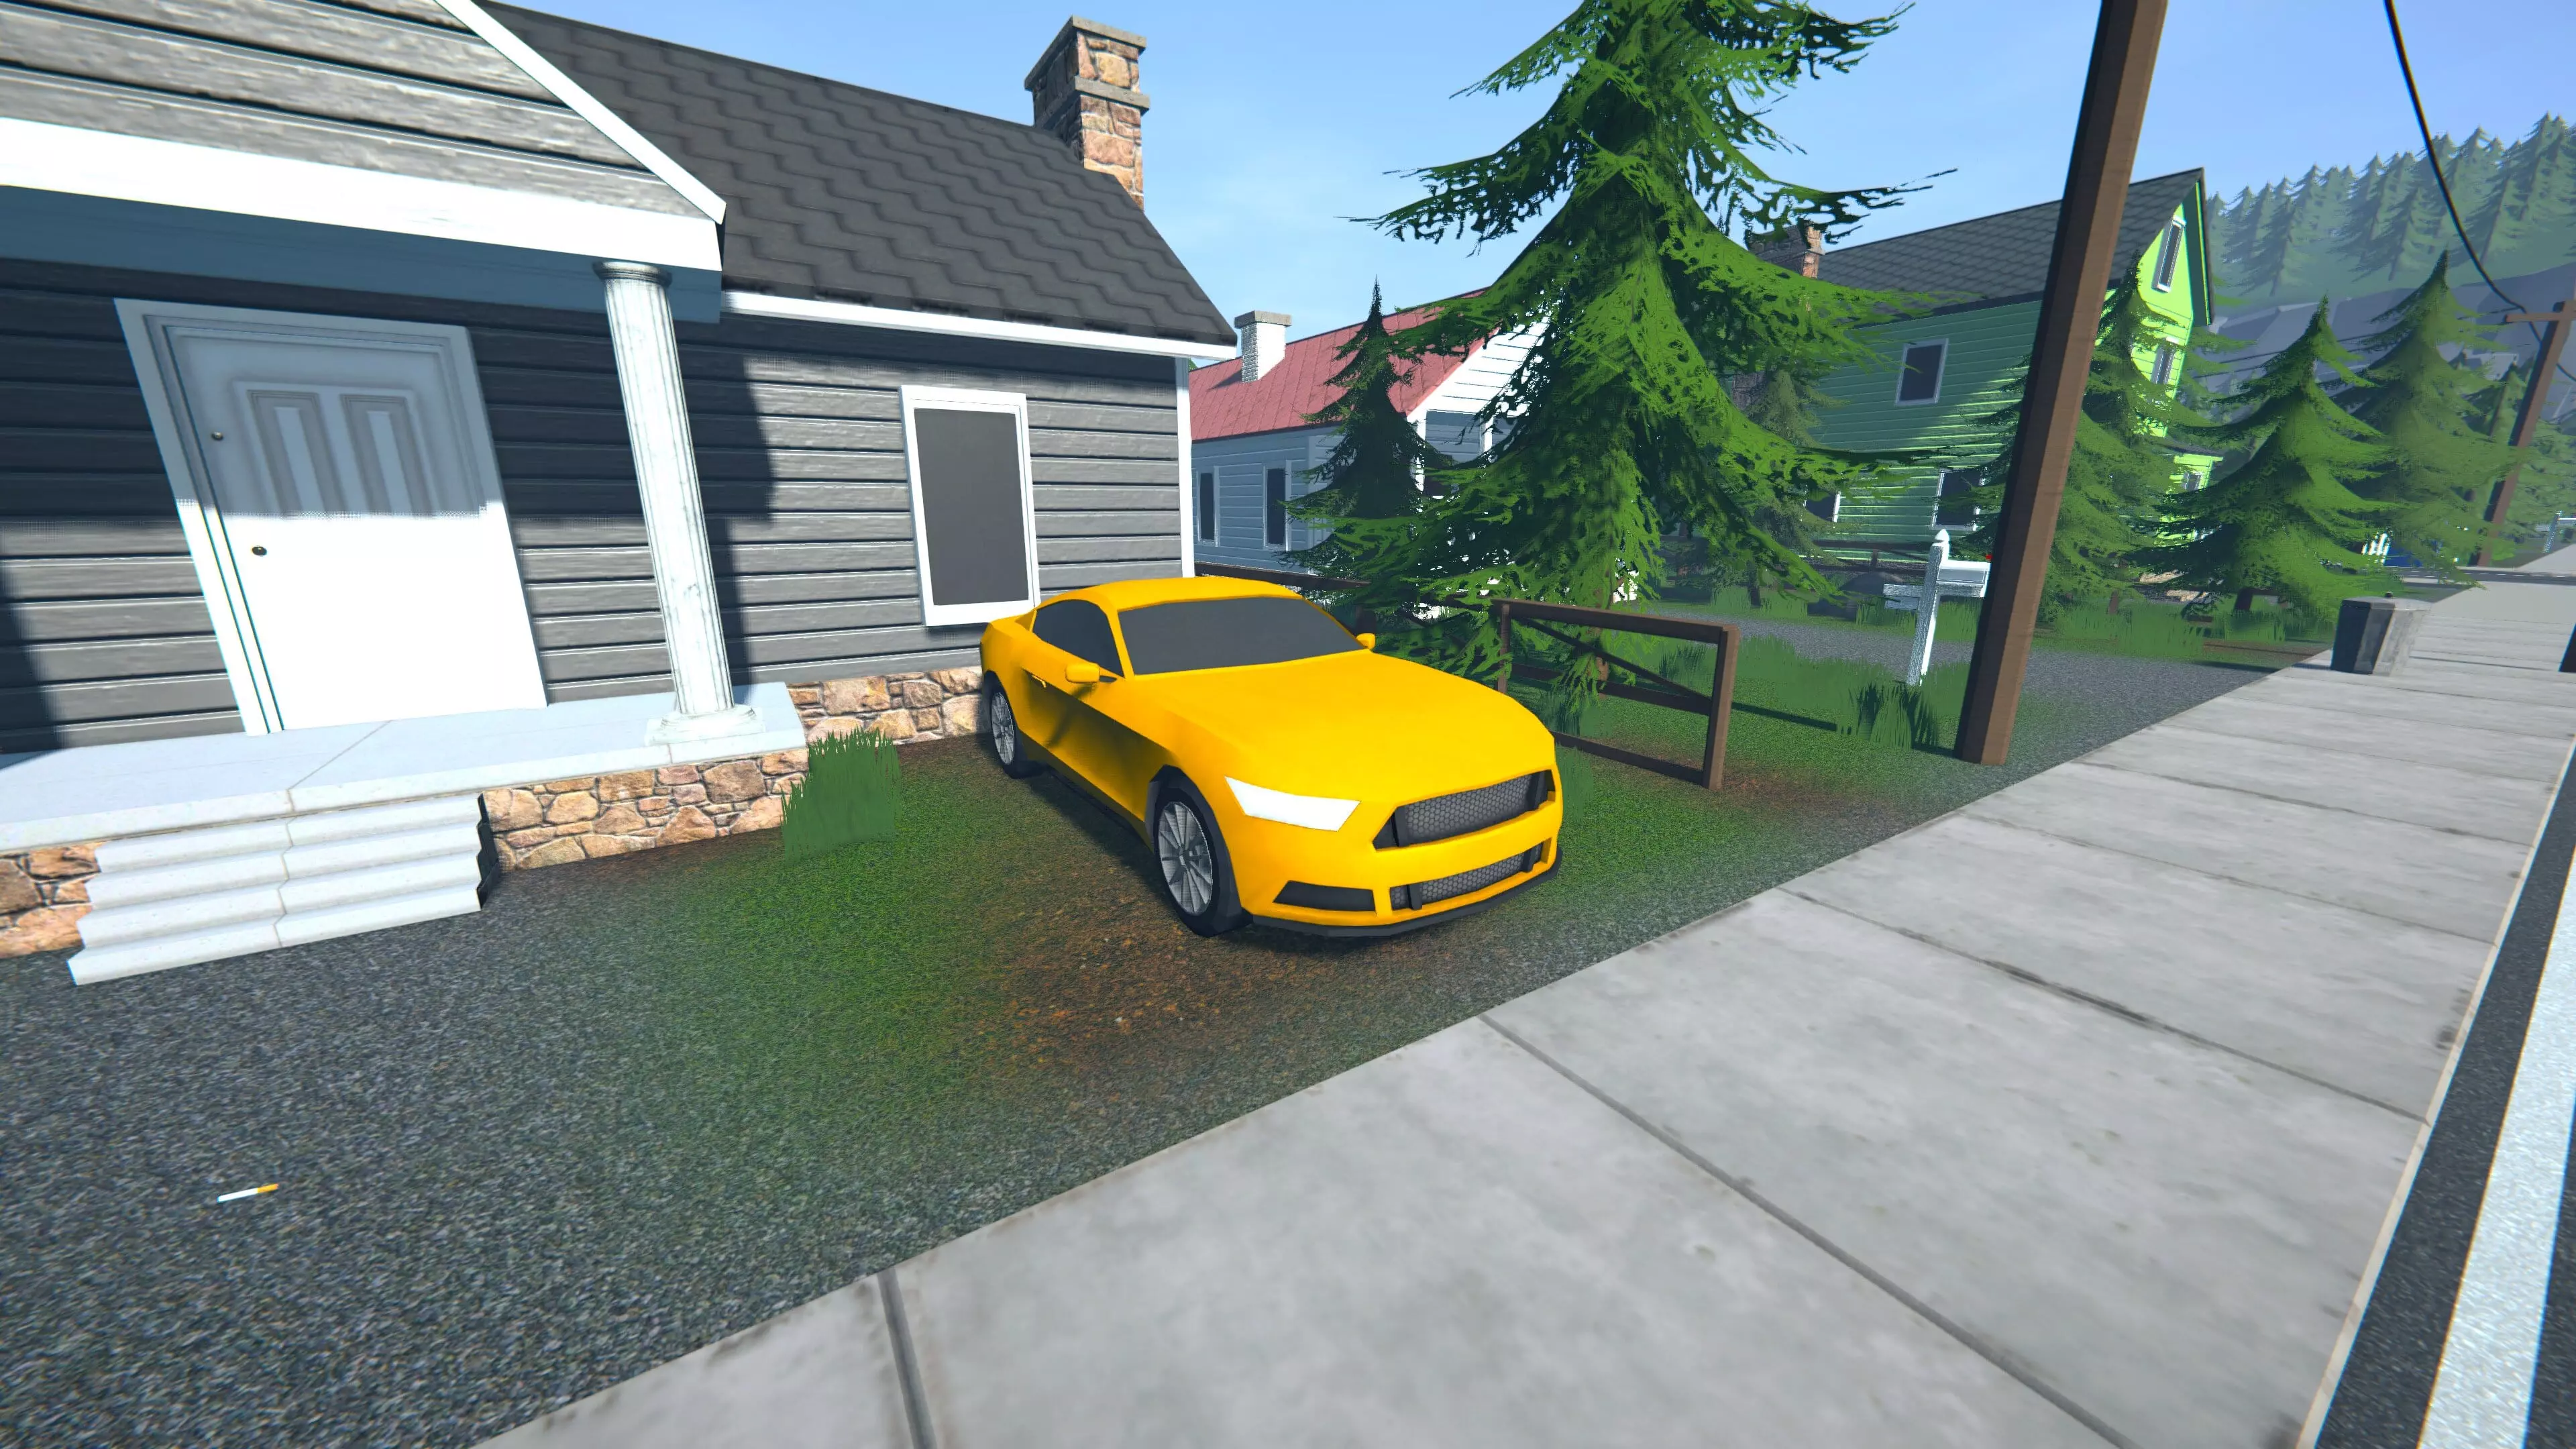
车辆 后备箱容量 0-40公里/小时加速 0-60公里/小时加速 最高速度 价格 破车 5格 3.1秒 5.4秒 53公里/小时 5,000美元 维普 16格 3.1秒 5.7秒 85公里/小时 9,000美元 布鲁瑟 5格 2.7秒 7.6秒 67公里/小时 12,000美元 丁克 8格 3.7秒 7.1秒 76公里/小时 15,000美元 猎犬 5格 2.3秒 4.2秒 83公里/小时 25,000美元 猎豹 4格 1.8秒 2.5秒 92公里/小时 40,000美元 快速分类 预算选择 - 破车 超级便宜,早期能胜任工作 但速度慢、操作笨拙且很快就满了
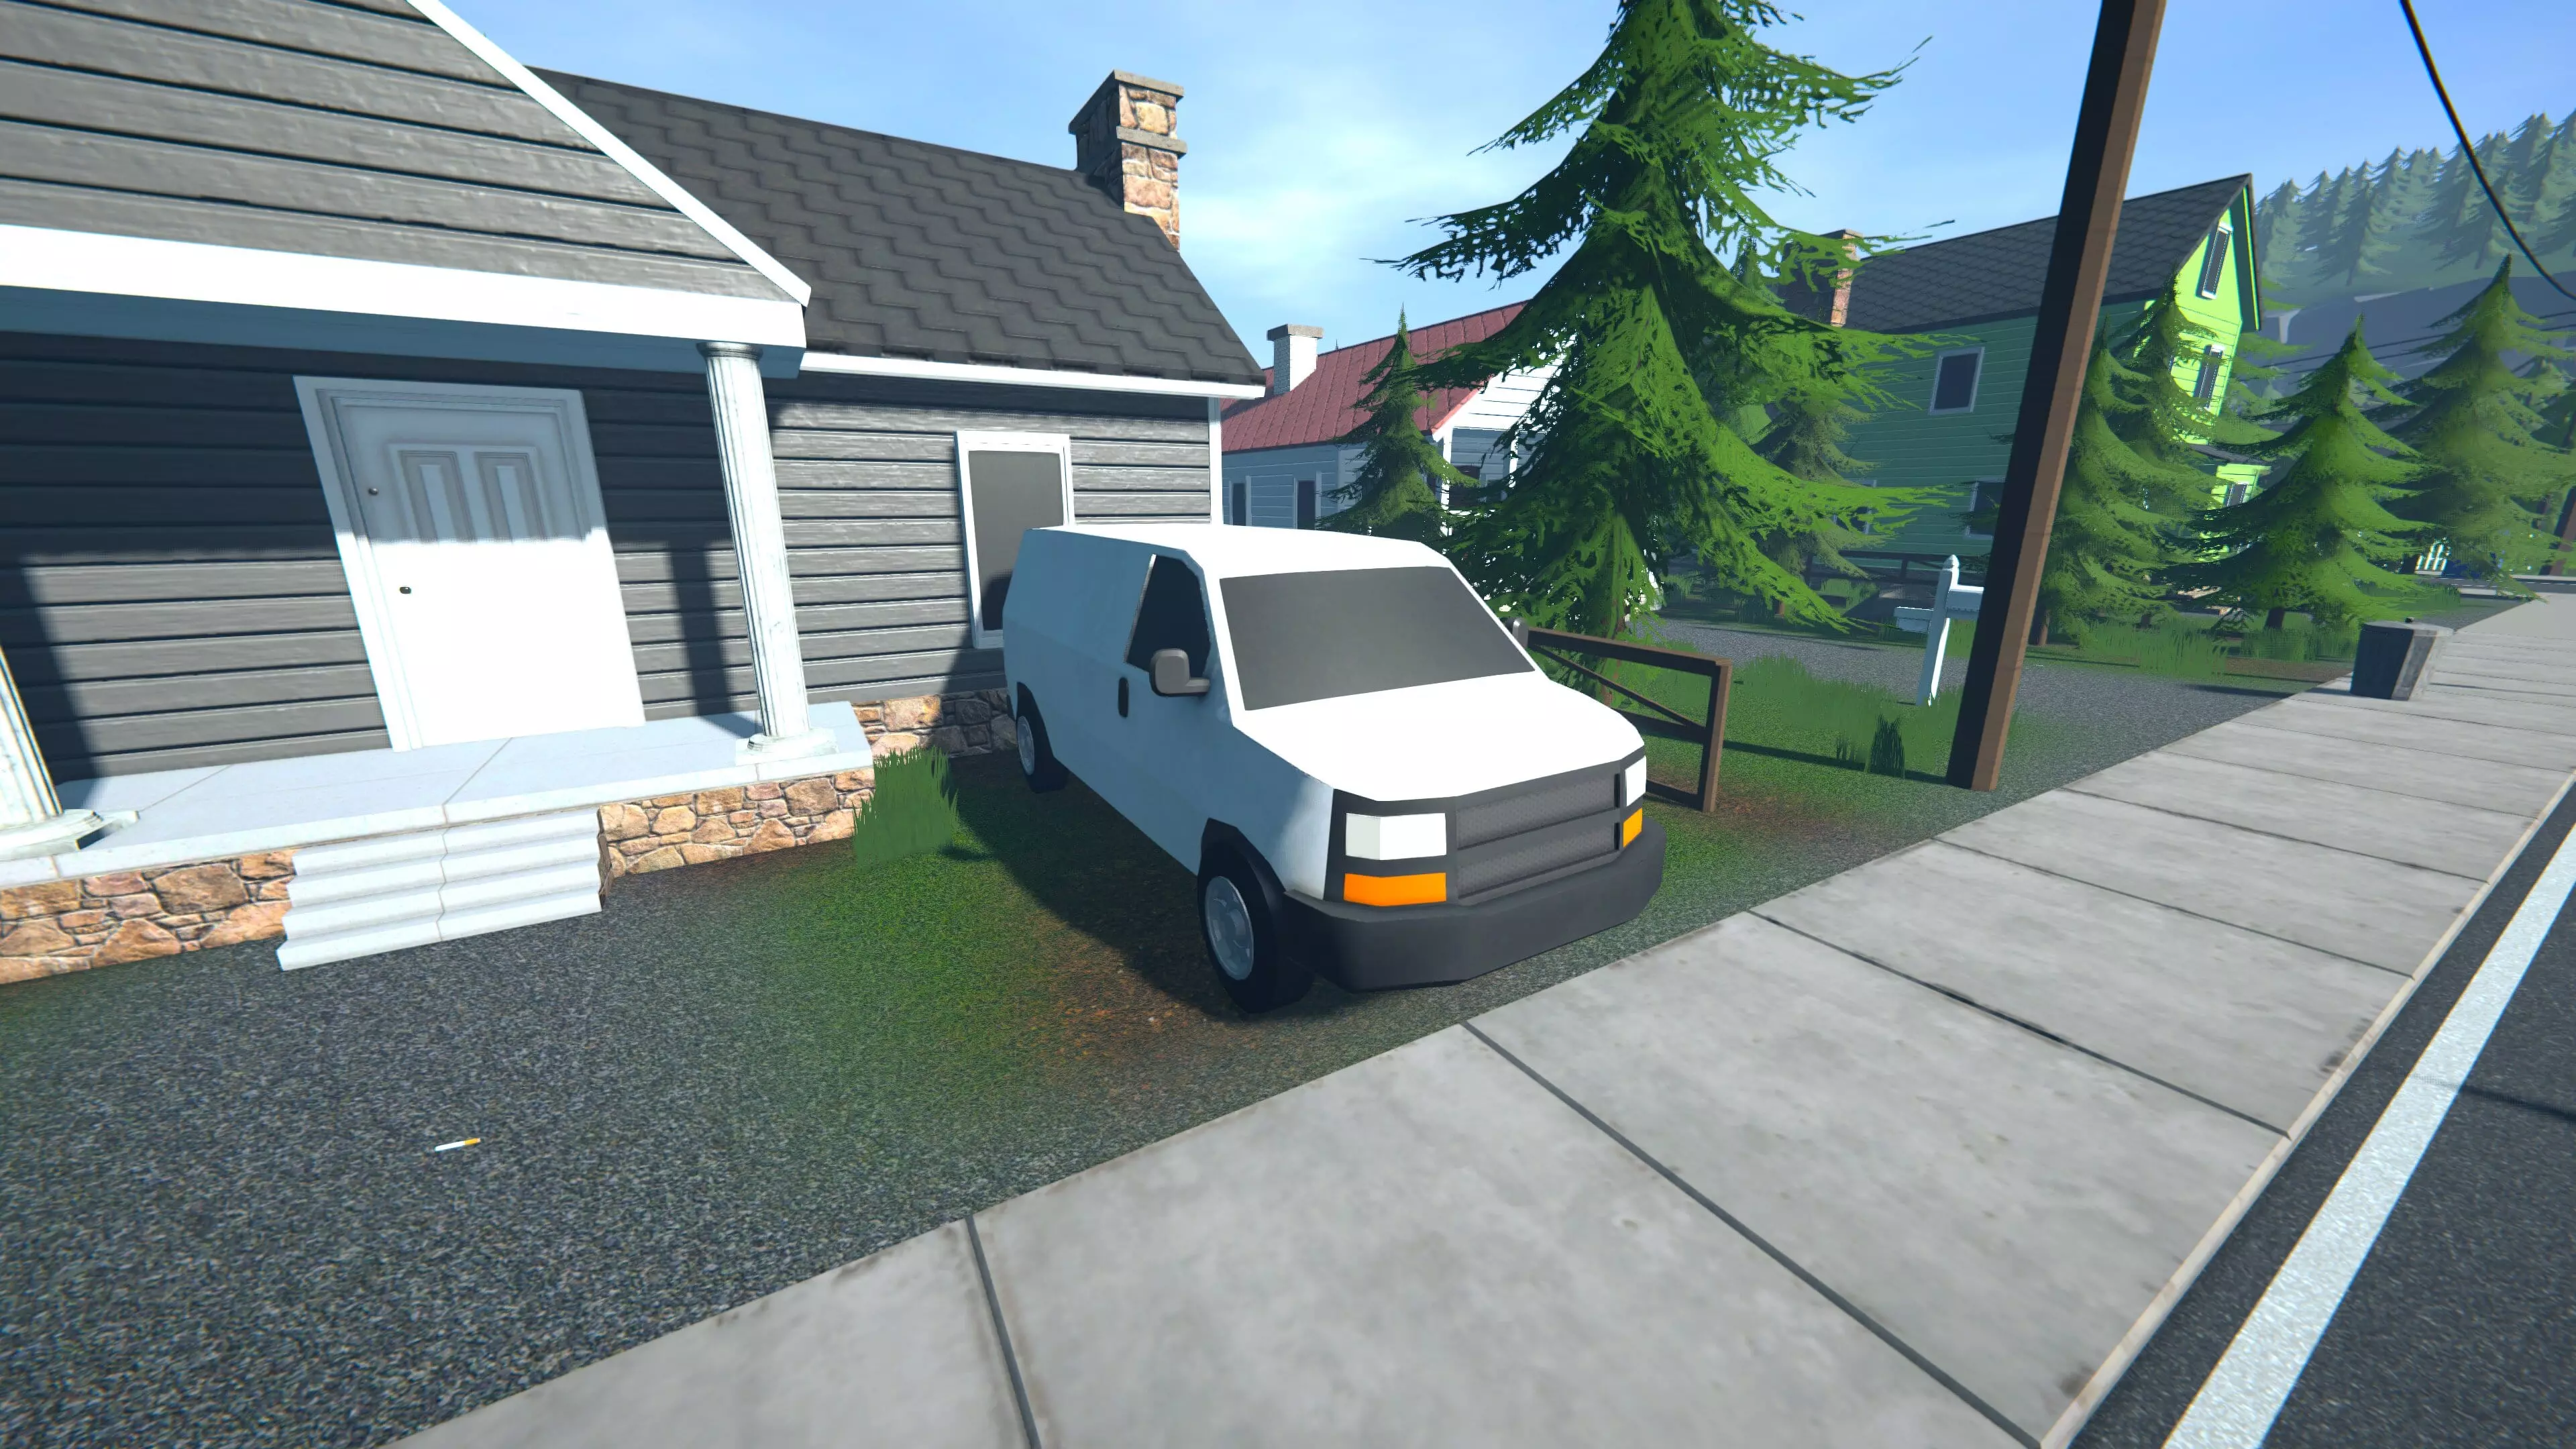
大容量运输载具 - Veeper 超大储物箱:16个槽位! 非常适合大量大麻或冰毒运输 不错的最高速度使其成为可靠的全能载具
【肌肉风格 - 暴徒】 起步更快,但长途行驶反应迟缓 后备箱空间小,需要更多次往返运输
⚖️ 平衡之选 - 丁克 货物与速度的良好平衡 非常适合中型运输任务
敏捷奔跑者 - 猎犬 快速且时尚 不适合大量使用,但非常适合高风险逃脱
速度恶魔 - 猎豹 游戏中速度最快的载具 非常适合快速落地或逃离危险 但后备箱空间很小,最多4个槽位
✅ 该买哪款? 游戏风格 最佳选择 理由 大量运输 Veeper 载货越多=单次运输收益越高 逃脱专家 Cheetah 能甩掉任何巡逻,但载货量有限 专业提示:“尽早购买Veeper,之后再精通Cheetah。” 一辆用于运输,另一辆用于应对追捕。确保两辆车都加满油并随时待命。 “你的座驾很大程度上反映了你的事业。选择一辆能助你事业发展而非导致失败的车。”如果你觉得本指南对你有帮助,欢迎分享你的想法或修正意见。如果你有自己的技巧或窍门,也可以在评论区分享。如果我采纳了你的建议,会注明你的名字。让我们一起完善它。

社区贡献与鸣谢 “当你刚开始使用房车时,先等待植物生长,然后拆卸生长灯、架子和花盆并随身携带。在游戏后期之前你都无法再次获得这些物品,这样做能让你在游戏初期更快种植植物并获得更高产量。” - regs