换一换
换一换 


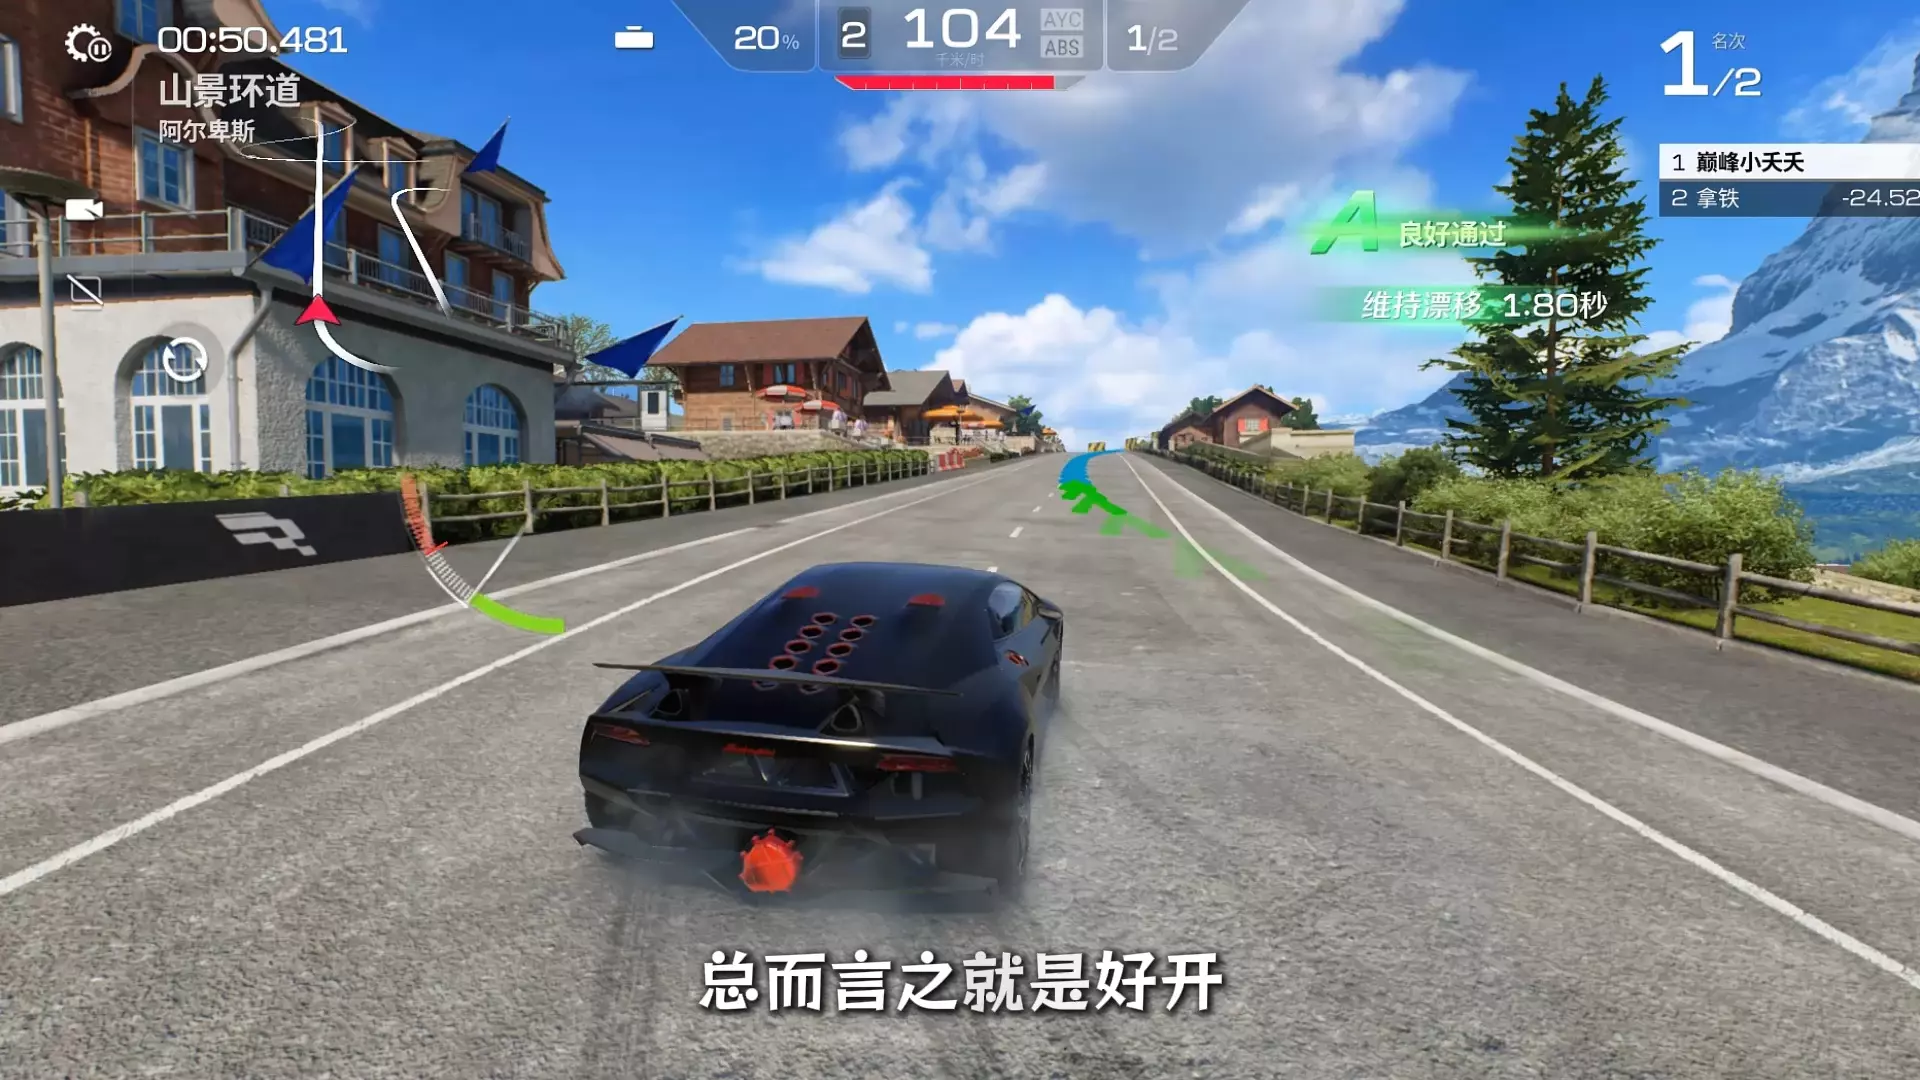
Guide for understanding the fundamentals of tuning and possibly fixing issues with your setup if any are to arise. Goals for our setup Primary Goals: Maximizing corner exit grip (Minimizing under and oversteer at full throttle or the edge of wheelspin) while not impairing your performance on the rest of the circuit (i.e. straights) Secondary Goals:Optimizing corner entry balance while not impairing corner exit grip. (Making sure you make it safely through the corner) Periphery Goals:Tuning the car based on driver preference; you can have the fastest car in the world, but you'll never be able to be the fastest in it unless you're both comfortable and confident within the car. Aero Front Wing The front wing helps the car to gain downforce at the front end. Increasing it's value will eliminate understeer at medium/high speeds. But It will increase drag thus slowing you down on straights. Decreasing it's value will make the car more stable at medium/high speeds and it will decrease drag increasing your speed on straights. You can also gain downforce by lowering the car Rear Wing The rear wing produces downforce at the rear end of the car in the expense of more drag. Increasing the value will make the car more stable at medium/high speeds but you will lose top speed Decreasing the value will make the rear of the car more lively but you will gain top speed. Alignment Longitudinal meaning:running lengthwise rather than across. Lateral meaning:of, at, towards, or from the side or sides. Camber Increasing the value will make the wheel gain negative camber. More negative camber gives more turn in and lateral grip but less longitudinal grip while braking or accelerating. More camber also raises tire temps. Decreasing the value will make the wheel lose negative camber. Less negative camber give less lateral grip but also more longitudinal grip while breaking or accelerating. It also lowers tire temps spreading them more equally. Toe A negative value means the wheel, as seen from above, looks towards the outside of the car. Gives faster turn-in but also instability under braking, higher tire temps and less mid-turn grip A positive value means the wheel, as seen from above looks toward the inside of the car. Gives slower turn-in but more stability under braking and higher tire temps. A zero value gives higher top speed and lower tire temps Dampers The damper stops the spring oscillation(movement back and forth in a regular rhythm.) Damper bump creates a force to slow the speed of the suspension in compression (bump) when slow movements occur, primarily on weight transfers (roll, pitch) Bump Higher values at the front make the car more reactive giving better feeling and precision,stability under braking but also higher tire temps and wear Higher values at the rear make the car more reactive giving better feeling and precision but also gives more oversteer under acceleration or at the moment you release the brakes entering a turn Lower values at the front make the car more predictable but slower in reactions, less precise and less stable under braking but It lowers tire temps and wear Lower values at the rear make the car more predictable but slower in reactions, less precise when drifting but also more traction and stability the moment you release the brakes entering a turn. Rebound Higher values at the front make the car more stable and fast on changing direction (ex. chicanes) Higher values at the rear make the car less stable under braking and initial turn-in, but also much more agile on slow turns that need the whole car to rotate. Lower values at the front eliminate understeer under acceleration but it also makes the car slower to change direction. Lower values at the rear make the car more stable at initial turn in but can provoke inertia movements of the rear end on chicanes and fast direction changing Drivetrain Diff power When a wheel is spinning under power it loses grip. A locked diff will transmit more power on the non spinning wheel thus aiding traction but also changing the handling of the car. Higher values will aid traction until grip is enough but then will provoke both driven wheel spinning. This will give oversteer to RWD cars and understeer on FWD cars under power. Lower value will give less traction letting the spinning wheel to continue spinning. Makes the car more stable under power but also makes you lose time and overheat the spinning tire. Diff Coast When braking or coasting the locked diff will try to keep both wheels at the same speed. This can change the handling of the car. Higher values make for a more stable car under braking but also cause understeer. Lower values will make the car less stable under braking and turn-in but also make it more agile and willing to rotate Diff Preload Keeps the diff locked until torque difference is equal to the value indicated. Then the lock becomes the one in power/coast. Zero or low values make the car agile in the initial turn-in but can also make it nervous or lose traction if driven very abruptly Higher values can make the car more stable and give traction but can also overcome the diff power and coast settings making the car feel very tight and resistant to turning. Gear Ratio(s) Gear ratios are the number of teeth on two meshed gears. For example, 1st gear will be the smallest gear on the layshaft/countershaft and will mesh with the biggest gear on the mainshaft. If 1st gear on the layshaft has 10 teeth and 1st on the mainshaft has 30, their ratio is 10/30. When you change ratio's you change individual gears, so they're either bigger or smaller, hence you get either better acceleration/low top speed in that gear or vice versa. So 9/25 has better acceleration, whereas 16/32 would have a higher top speed (due to the gear reduction effect) as the difference in size between the two gears is smaller, so the torque increase through the gears is lower. So basically the numbers and the top speed/acceleration have an inverse proportion. High number = High top speed, worse acceleration Low number = Low top speed, better acceleration You should do a couple laps on totally different tracks (ex. Monza and Monaco) to get what I am saying. Suspension Spring Rate This is the spring force multiplied by the install ratio of the suspension. Increase the value to stiffen the suspension and get a more direct handling with fast reactions. Decrease the value to soften the suspension and get a more slow and predictable handling. You may think the stiffer the suspension the less grip you get but this is not the case and it depends on suspension geometry and other design choices. As usual try to find a compromise via trial and error. Ride Height Modifies the length of the damper rod and subsequently the ride height of the car. Keep in mind that ride height also varies depending on the wheel rate values, tire pressures, fuel load and the travel/rigidity of the bumpstop packers. Anti-Roll Bars Increase the value to make the front/rear end roll less and gain stability,precision and fast turn-in. You might lose some grip on the front end but it's not always the case depending on the suspension geometry. Decrease the values to make the front/rear end roll more. You will have better mid-turn grip but you will lose precision and agility and a slower turn-in. Keep higher values on tracks with lots of bumps and kerbs to aid stability. Suspension Adv. Travel range This is the suspension travel before it hits the bumpstops. With a higher value the suspension has more travel before it eventually hits the bumpstop. With a lower value you hit the bumpstop earlier thus blocking suspension travel. Check the bumpstop rate to help understand what happens when the suspension hits a bumpstop. Bumpstop rate Packers or bumpstop rate This is usually a rubber spring before the actual end of the suspension range. It's basically an extra spring that starts working when the suspension is compressed enough to hit on it. Increase the value to limit the suspension travel after it hits the bumpstop. Makes the car more reactive. Decrease the value to permit a bit more suspension travel after it hits the bumpstop. Makes the car more predictable. Brakes Brake power Modifies the power of the brakes in order to avoid the locking of the wheels A value of 100 defines the maximum brake power and equals to shorter braking distances with an higher chance of locking the wheels. When the value is less than 100 the chance of locking the wheels is lower but the braking distances get longer Brake bias Changes the amount of braking power towards the front or the rear of the car. More foward bias makes the car more stable but also can lock the front tires. More rearwards bias makes the car more agile and willing to rotate during turn-in but also less stable and easy to spin. It's generally a good idea to set the bias as rearwards as possible without locking the rear tires. I would also recommend setting a bind to adjust the bias on your steering wheel/controller on the go. Tire(s) Cold Pressure Increasing the tire pressure will give more precise steering, higher top speed and maybe lower tire temps if you don't push the car too much but it will make the tires slide earlier if you overdo it. Decreasing the tire pressure will give more traction and grip but also less precision, lower top speed and more heat. Take track conditions (heat,etc.) into consideration while adjusting tire pressure. Tire Types On most cars you will have more than 1 tire option. Choosing tires especially on MP races can mean the difference between winning and losing. Choosing harder compounds will mean you will be able to race longer for slower while softer compounds will mean you can race faster for shorter. Tire options also make a difference on hotlap mode especially on longer tracks (Spa,Silverstone,etc.) You may think that the softer tires would be the best choice since pit stops don't make a difference but especially on Silverstone where load on your tires aren't equal on both sides causing them to overheat if you push too hard. So to keep pushing hard you might find yourself switching to medium tires. Troubleshooting Braking Loss of control 1)Move brake bias forwards 2)Decrease slow damper Front tire lock Move brake bias backward Car pitches too much Stiffen front springs Nose scrapes the floor 1)Increase ride height 2)Adjust bumpstops 3)Stiffen front springs Excessive locking Reduce brake pressure (power) (Be careful) Turn-in Understeer All Speeds: 1)Adjust front tire pressures 2)Soften front ARB 3)Increase front toe out 4)Decrease diff coast 5)Soften front springs Mid-High speeds: Reduce rear wing angle or Increase front wing angle When Braking: Move brake bias rearwards Oversteer All speeds: 1)Adjust rear tire pressures 2)Stiffen front anti-roll bar 3)Decrease front toe out 4)Stiffen front springs Mid-High speeds: Increase rear wing angle or decrease front wing angle Lift-Off Oversteer 1)Increase diff coast 2)Increase pre-load value Corner ExitUndersteer All speeds: 1)Stiffen rear ARB 2)Increase diff power locking 3)Stiffen rear springs Mid-High Speeds: Reduce rear wing angle or Increase front wing angle. Oversteer All speeds: 1)Soften rear ARB 2)Decrease Diff Power locking 3)Soften rear springs Mid-High Speeds: Increase rear wing angle or decrease front wing angle Car bounces during weight transfer (turning) When braking,accelerating and turning: Increase slow damper setting On bumps/curbs: Increase fast damper setting OtherTires overheat All over: 1)Increase pressures 2)Decrease toe value Tires can't heat up All Over: 1)Decrease pressures 2)Increase toe value Low top speed 1)Reduce wing values 2)Increase tire pressure 3)Reduce fuel Thanks for reading Hopefully I have teached you something.
新手设置指南

2026-02-19 04:00:20
转载

导读
这是一份赛车调校新手设置指南,围绕提升弯道出弯抓地力等核心目标,详细讲解了空气动力学、定位、悬挂、刹车、轮胎等多方面的调校方法,还给出了制动、转向、弯道等场景的故障解决办法,帮助车手打造适配赛道与驾驶偏好的赛车。

评论
共0条评论

单机游戏 新手必看!战地1的避坑基础通用设置!
2026-01-24 19:360赞 · 0评论

剧情 零基础入坑流放学搬砖-七天速成篇-《剧情须知》
2026-01-02 08:360赞 · 0评论
设置帮助 [1.10 更新版]
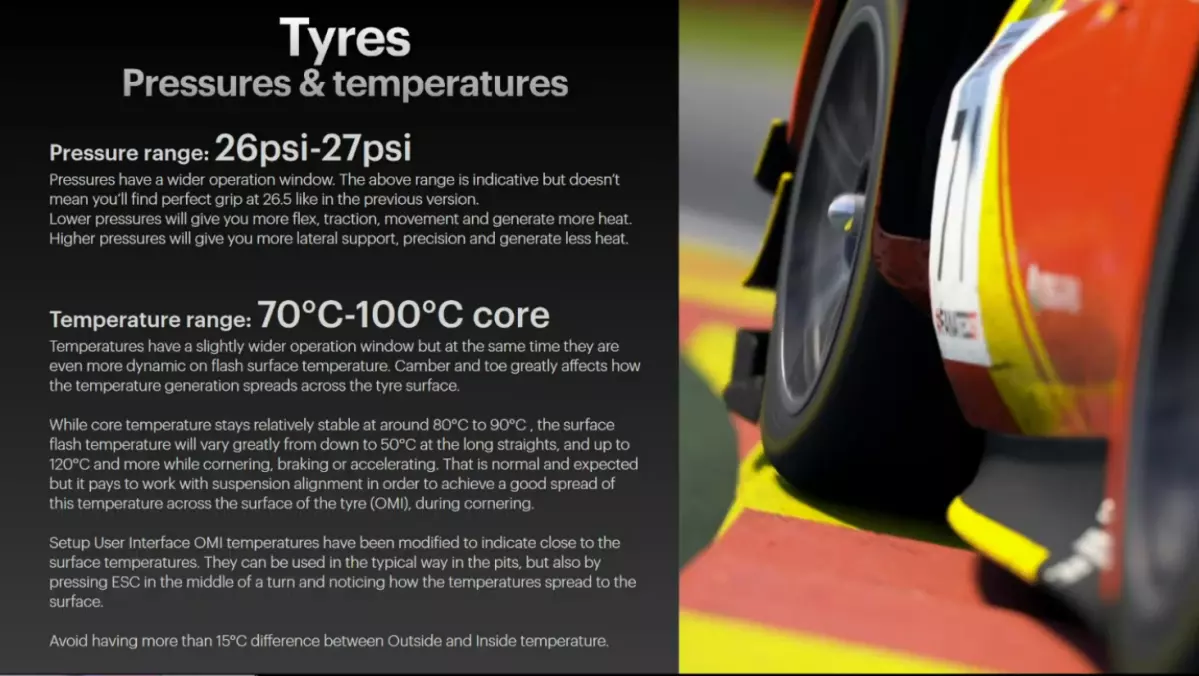
最佳轮胎压力指南及部分场景优化技巧 重要轮胎压力
2026-02-14 07:000赞 · 0评论
经典电影 盘点巅峰极速国产车家族
-
2026-05-12 16:340赞 · 0评论

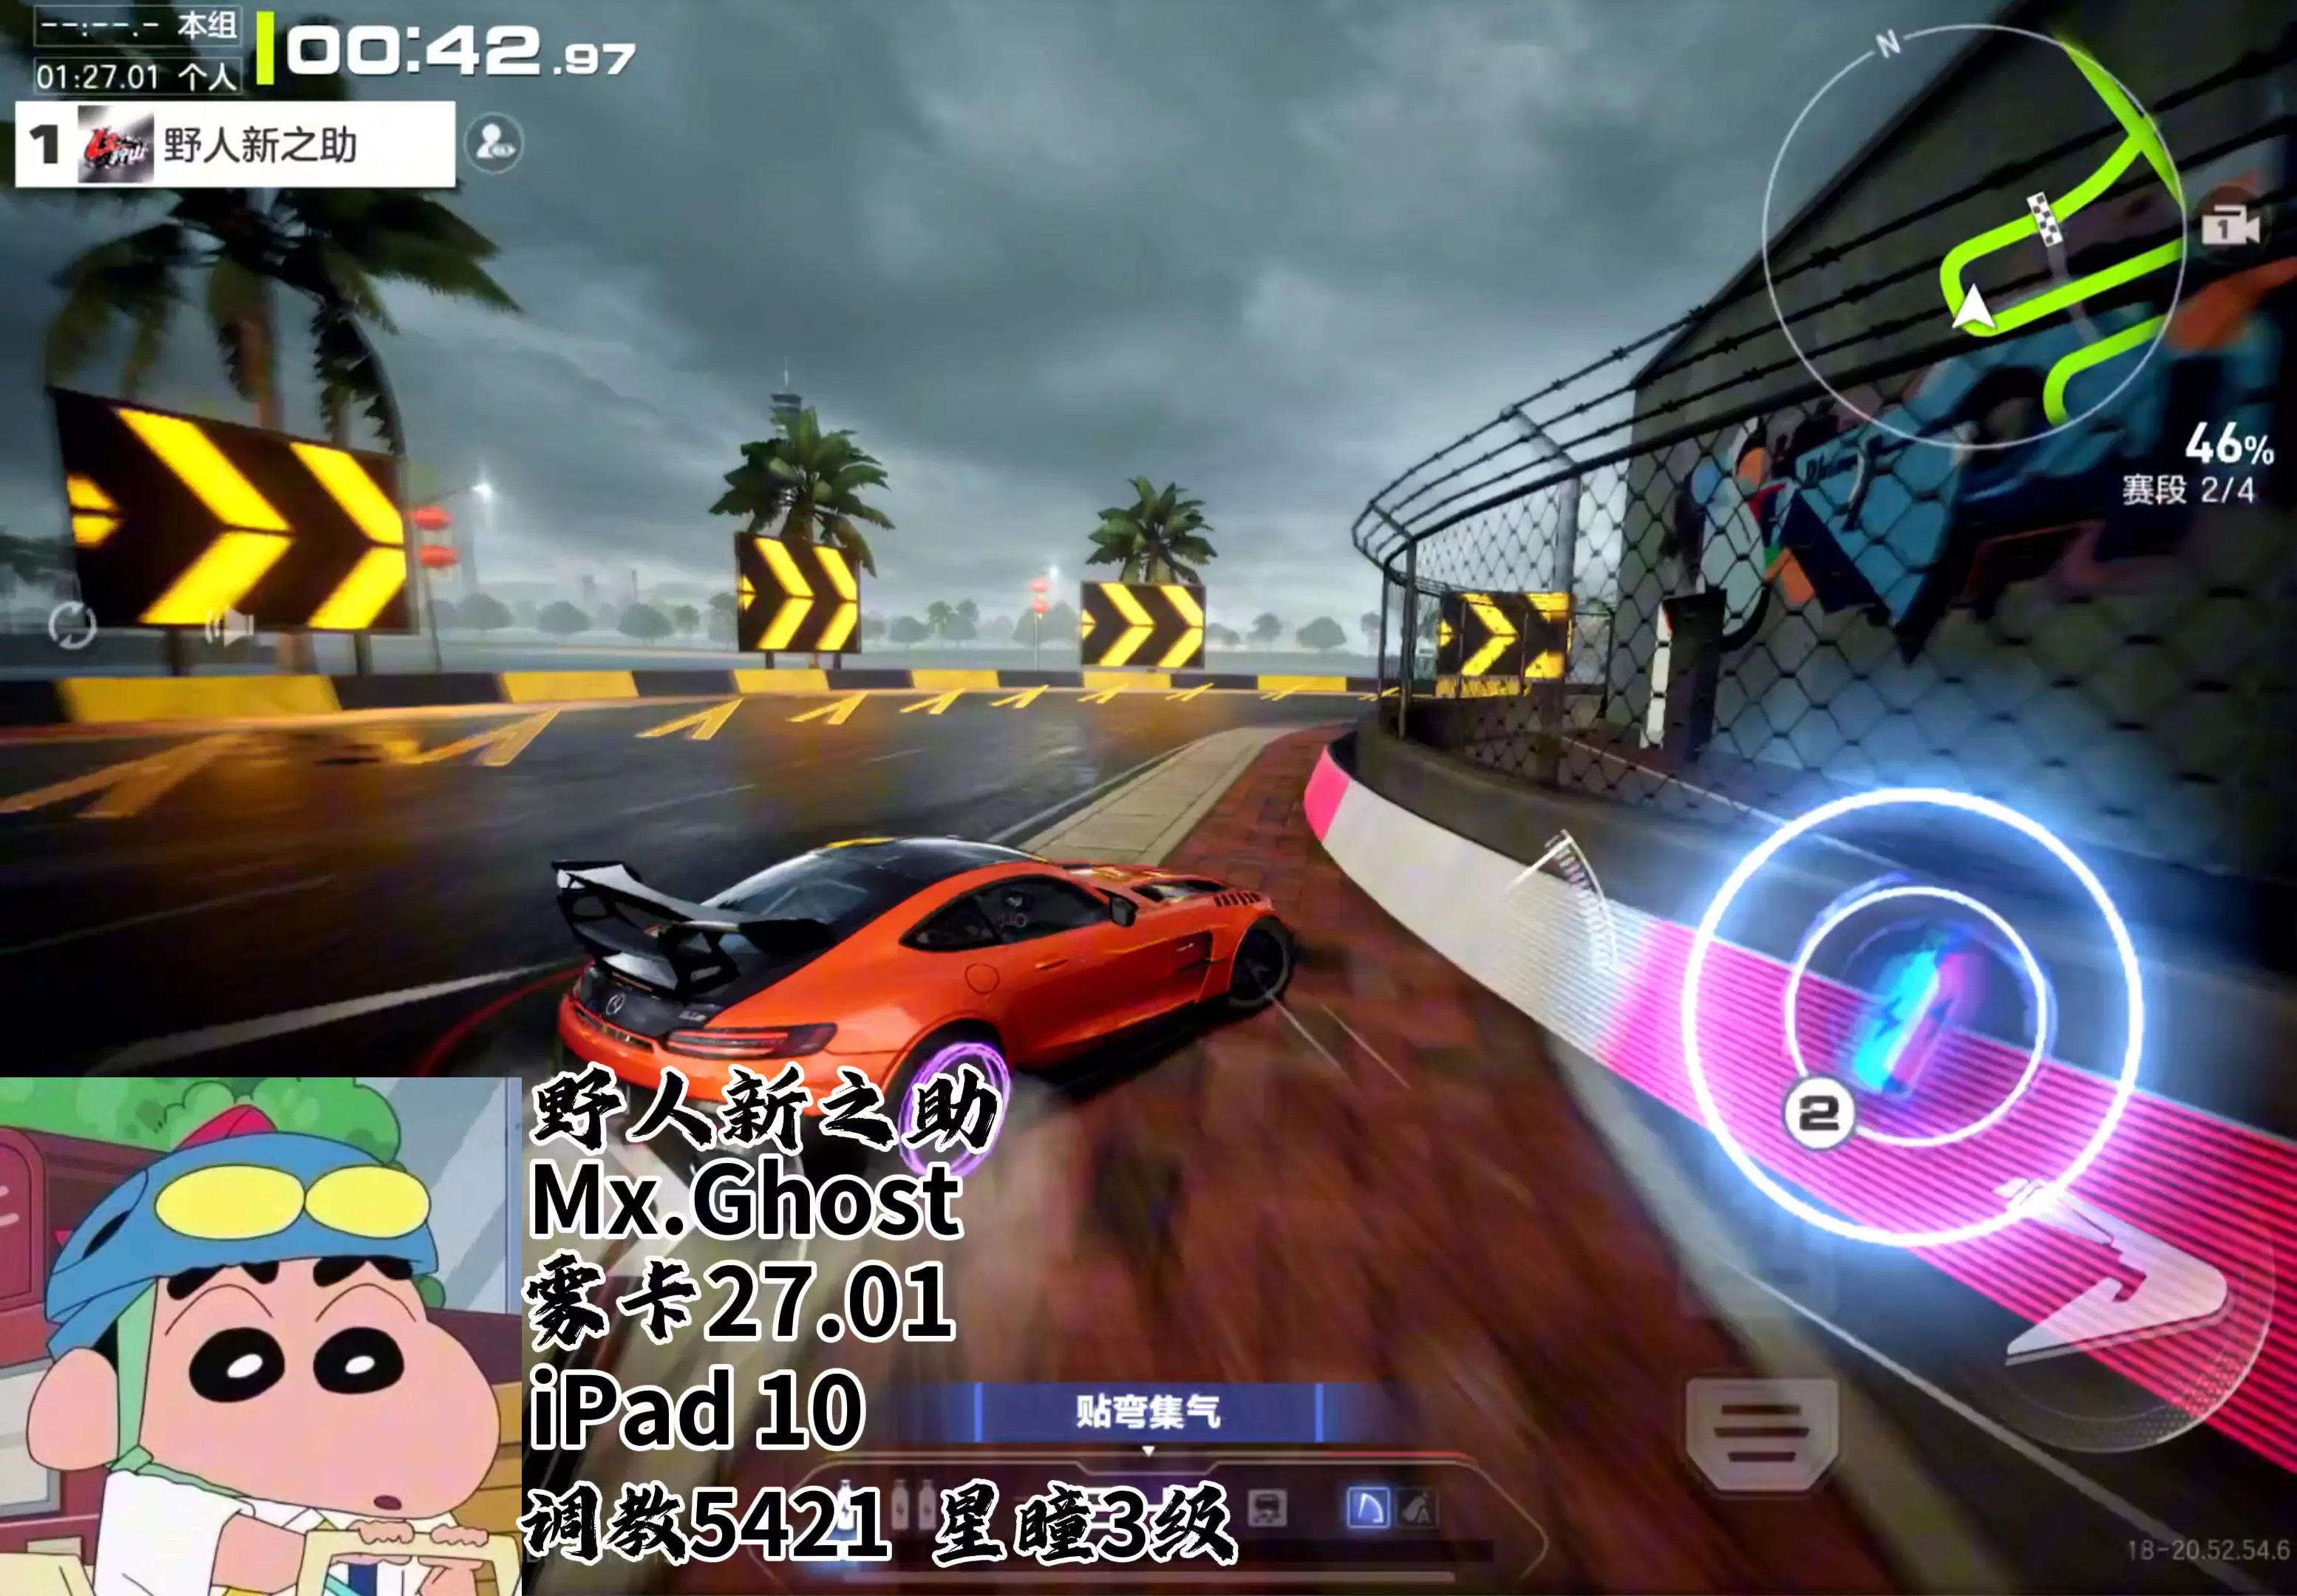
狂野飙车8 雾里卡门27.01(粉丝投稿)
-
2026-05-06 15:030赞 · 0评论
专业调校赛车
Best guide I can put together to explain the physics and effects of the differen…
2026-02-19 01:000赞 · 0评论

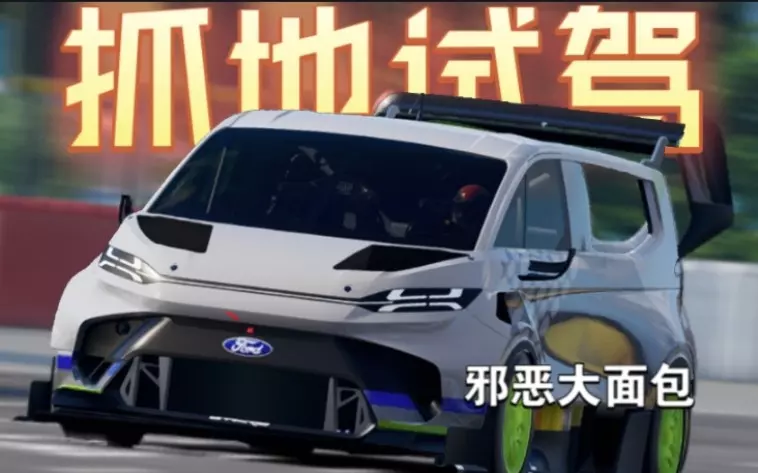
面包 【巅峰极速】这或许是巅峰车单里最逼的车之一?超级面包10分钟抓地试玩!
BGM: In My Head - Famba、Eric Lumiere Nostalgia - Chill Satellite Lost with You -…
2026-01-31 04:320赞 · 0评论
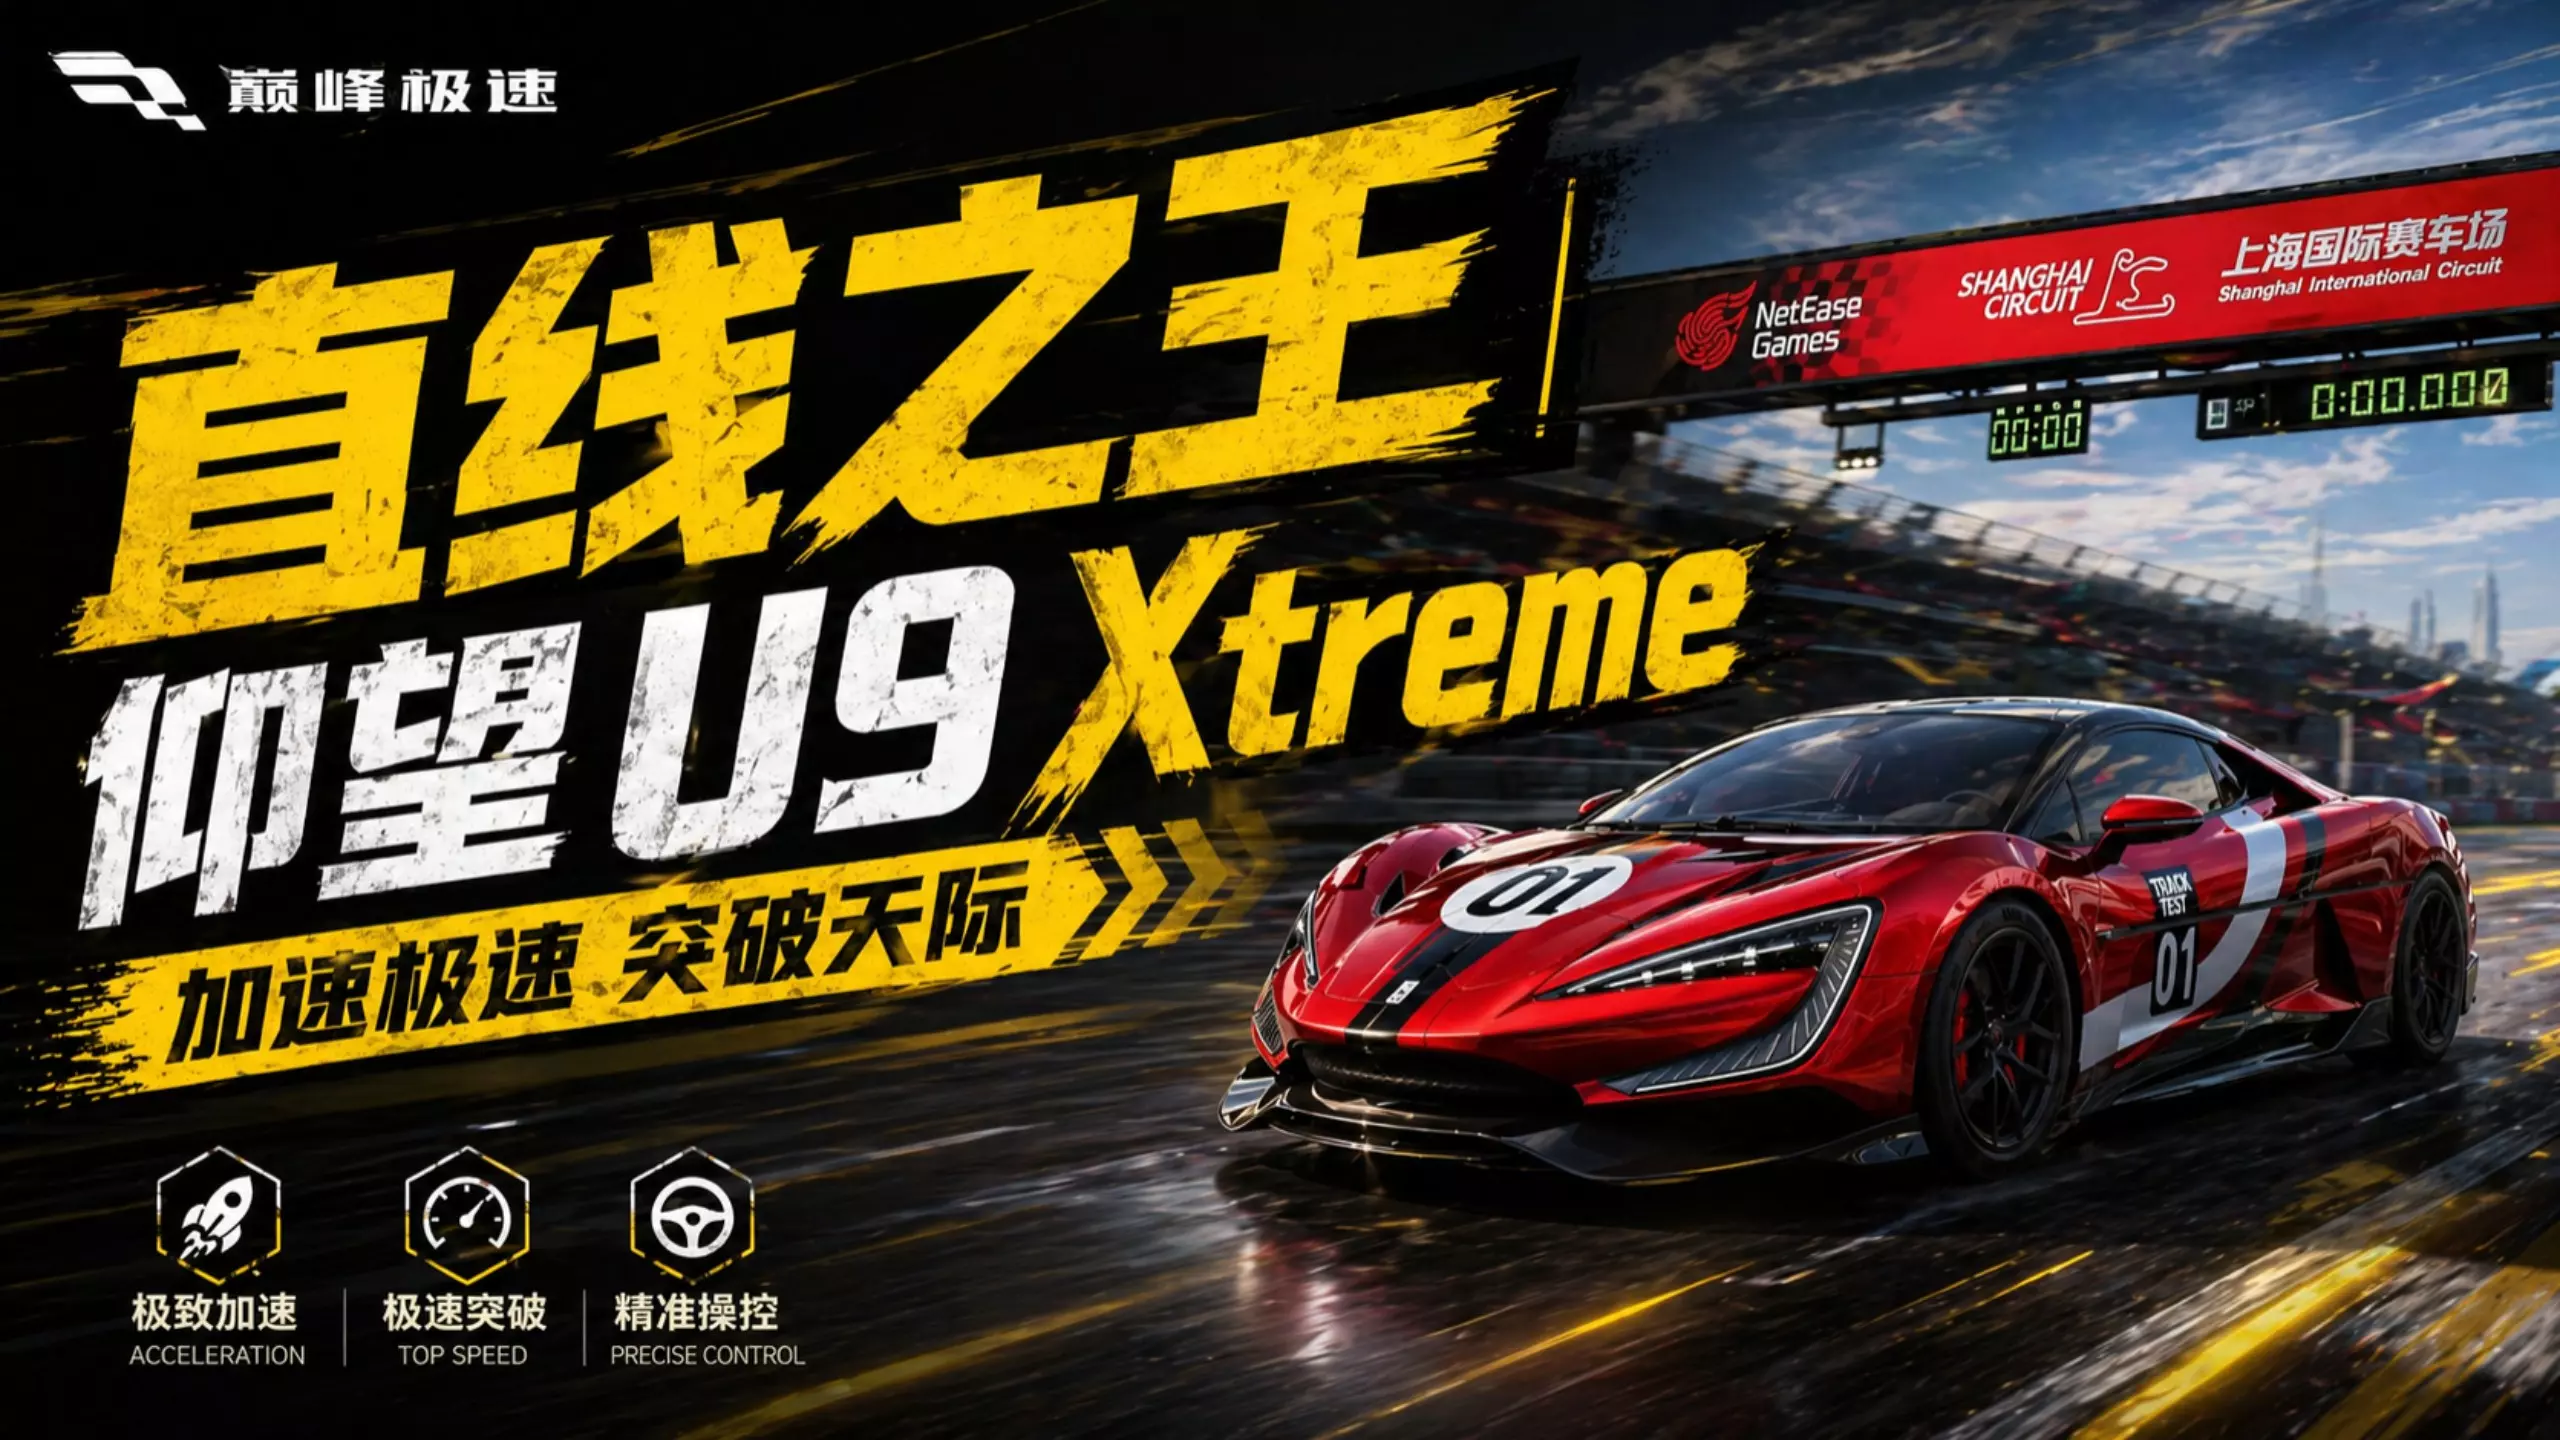
仰望u9 【巅峰极速】直线碾压|仰望U9终极版实测
初步试跑,好像不太适合这个图,不算快 过弯太慢了,感觉要33332凹直线图才能出分 偏科车-
2025-10-30 07:010赞 · 0评论
盘点巅峰极速性能组五虎
-
2025-10-06 19:090赞 · 0评论
极品飞车 全网最细集结养车攻略!3月养车宝典!
-
2025-10-02 20:500赞 · 0评论
暂无更多
最新更新
- 为rFactor 2和《神力科莎》创建赛道 — 我将为大家介绍一系列由我创建的指南,这些指南描述了使用Bob Track Builder和3DSimEd为《神力科莎》及rFactor 2创建赛道的流程。 概述…
- 如何像西格玛男性一样驾驶 — 本指南将教你如何从一名普通车手成长为真正的西格玛车手。 选择你的西格玛座驾 第一步永远是选择能给你带来最强气场的赛车。 这是非常重要的一步,所以请谨慎选择。
- 如何安装《神力科莎》的模组 — 最简单的模组安装方法 可下载模组的网站 可查找模组的位置 → Assetto World 部分模组可能存在问题(例如,模组本身导致的模型或纹理缺失)
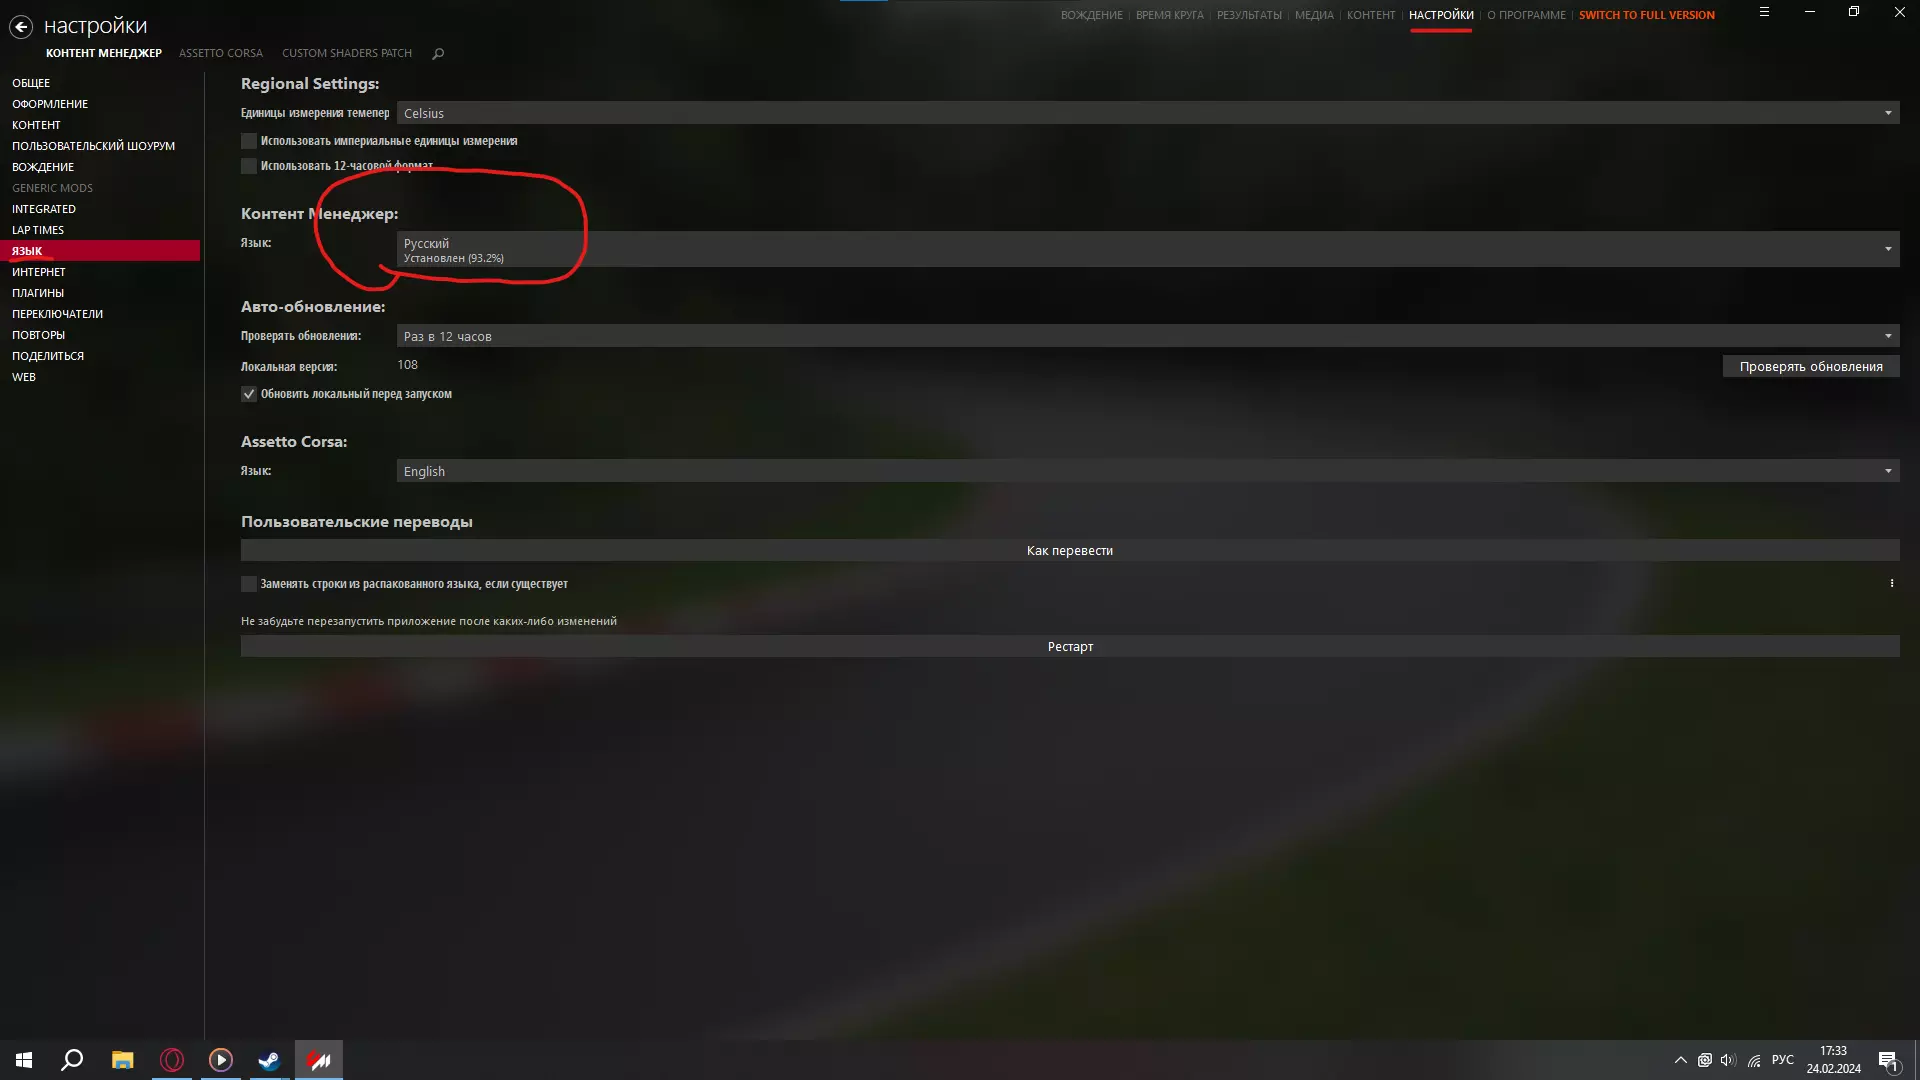
- 《神力科莎》俄文本地化补丁 V 1.0 — 《神力科莎》俄文语言设置详细指南 前言 大家好! 在购买正版之前,我花了很多时间玩盗版,我非常喜欢这款游戏,所以决定购买正版。但和大家可能遇到的情况一样,游戏中…
- 第一期AC指南 - 简单实用的设置参考表 — 转向过度与转向不足调校指南 转向过度
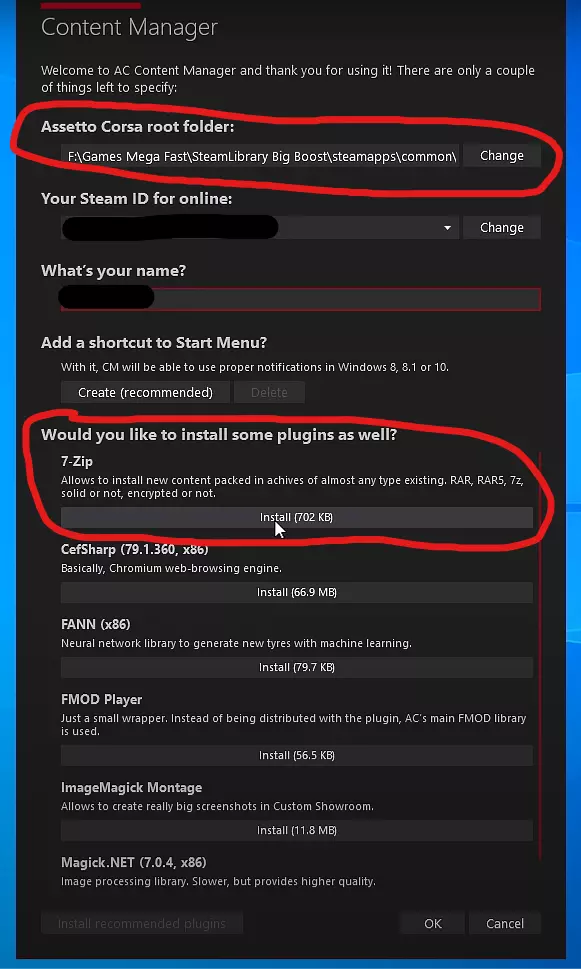
- 如何为《神力科莎》下载模组 — 如何为《神力科莎》下载模组及最佳模组推荐 步骤1 第一步是下载内容管理器。 内容管理器是一款替代启动器,强烈建议使用此启动器而非常规启动器。 安装后会弹出此菜单…
- 如何加速 — 本指南将告诉你如何加速。 步骤1: 踩下油门。 一如既往,我们下期再见。
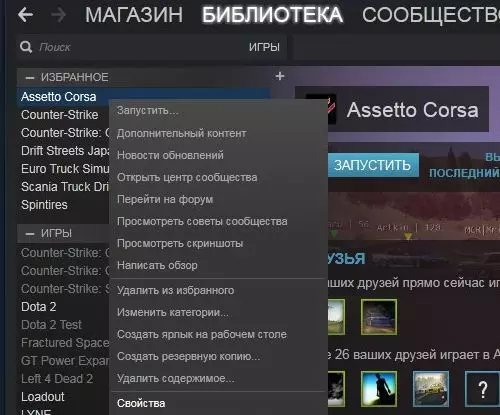
- 《神力科莎》中模组的安装方法 — 《神力科莎》模组安装方法 1. 进入库中找到《神力科莎》 2. 右键点击游戏
- SMP Racing 模组 — 启动你的引擎!SMP Esports的开发者们为模拟赛车爱好者准备了包含不同年代俄罗斯赛道和赛车的数据包。本指南将介绍如何下载、安装以及参与竞赛。 欢迎!(关于…
- 瑞恩·高斯林指南 — 有了这份指南,你将不只是追随瑞恩·高斯林在电影《亡命驾驶》中的脚步,还能亲身感受到那种让这个形象成为传奇的神秘与风格魅力。 如果你已认定自己就是瑞恩·高斯林,那…