换一换
换一换 


《中世纪王朝》初玩时我希望知道的事 - 初期阶段
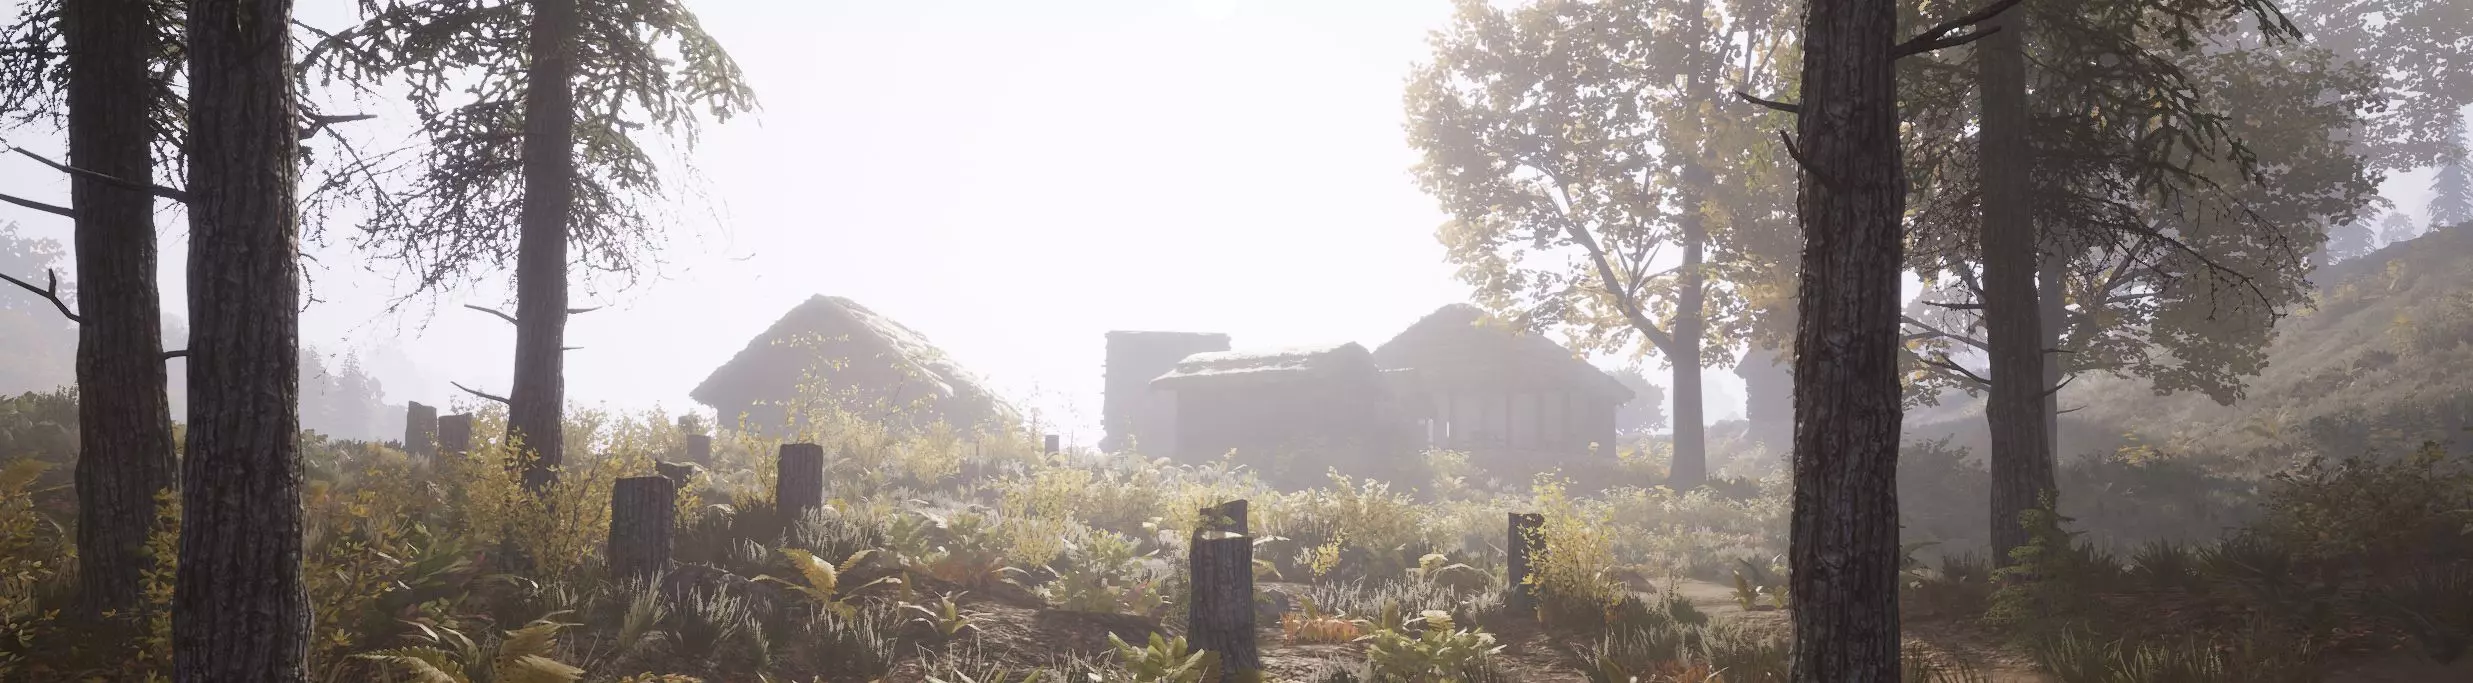
本指南撰写于抢先体验阶段。以下所述部分内容可能会发生变化,甚至可能在我有机会更新前就已改动。尽管如此…… 初期你的收入不会太多,而所有东西都很昂贵。立即跟随第一个任务开始行动,认领你的土地并着手建造房屋,房屋会为你提供储物空间。储物空间是非常必要的,因为你能携带的物品数量有限。 在拥有储物空间之前,不要陷入经典的游戏陷阱——捡起并囤积所有遇到的物品,否则你很快就会寸步难行。 有趣的小知识:在撰写本指南时,如果你处于三个负重阶段中的第二阶段,斜向移动会让你稍微快一点。 指南针图标:感叹号表示任务。袋子代表商人。一份看起来很正式的文件代表乌尼戈斯特,他除了提供主线剧情任务外,也是你每年春天必须向其缴纳税款的人(更多内容见“准备你的村庄”部分)。 任务 你出生点附近的城镇有几个任务。城主乌尼戈斯特会提供主线剧情任务。 除乌尼戈斯特外,一个名叫阿尔温的年轻人也很重要——完成他的任务链最终会让你获得第一把弓,继续做下去,这或许是获得第一把性能更好的长弓的最简单方法。 趣闻:在阿尔温任务链中与他进行友好的射箭比赛时,你与靶标的距离就是你射中靶心所能获得的分数。王朝点数在游戏后期会非常重要,因此建议完成所有遇到的带有【!】标记且奖励王朝点数的支线任务。最近的一次更新提高了任务的王朝点数奖励。 前期资金流 容我再强调一次:所有东西都很贵!这确实让人深切体会到中世纪的贫穷有多令人沮丧,即便以我们现代的金钱观念来看,有些价格显得很荒谬(例如:如果你购买线来制作裤子,制作一条裤子要花费1000金币……)。 在获得【生存感知】技能之前,最简单的收入来源是收集树枝和石头,制作斧头和小刀出售。你也可以出售长矛,但它们实在太有用了! 下面会有关于这些内容的更多信息,但如果你天生眼神敏锐,圣……约翰草和宽叶车前草数量丰富,很容易大量收集,轻松赚取一两百硬币。如果你不打算在夏天用浆果来补充食物或水分,也可以在春天采摘未成熟的浆果换取现金。秋天是花一整天专门采集各种蘑菇出售的好时机。 在主线任务中你会遇到猎人桑博尔,前往他那里的路上,有一辆被推下山的废弃马车(围栏有破损,显示出马车是从哪里冲出道路的)。那里有一个水囊,可能还有箭矢或帽子。 季节性食物 生存技能树中有一项名为【生存感知】的技能,按住Alt键时,它会将地面上可采集的物品以黄色高亮显示。使用它会消耗耐力,请注意这一点。 春季 采摘羊肚菌可以快速充饥,或者成把出售以获取初期资金。 未成熟的浆果也能换钱,但它们有毒,不要食用。除非急需用钱,否则等到夏天再采摘。 夏季 采摘浆果作为便携的速食,可以同时缓解饥饿和口渴。它们的效果虽然不强,但花一分钟采摘附近所有浆果就能让你填饱肚子。 秋季 秋季蘑菇大量生长。在背包中查看蘑菇时要仔细留意详情,上面会标明是否有毒。希望到了秋季你已经进行过一些狩猎并烹饪了肉类,这样就可以把所有蘑菇都当作赚钱的资源。 冬季 冬季确实没有什么可采集的东西。在这段时间里,如果你不想在各个酒馆花钱购买食物,狩猎将是你唯一的食物来源。
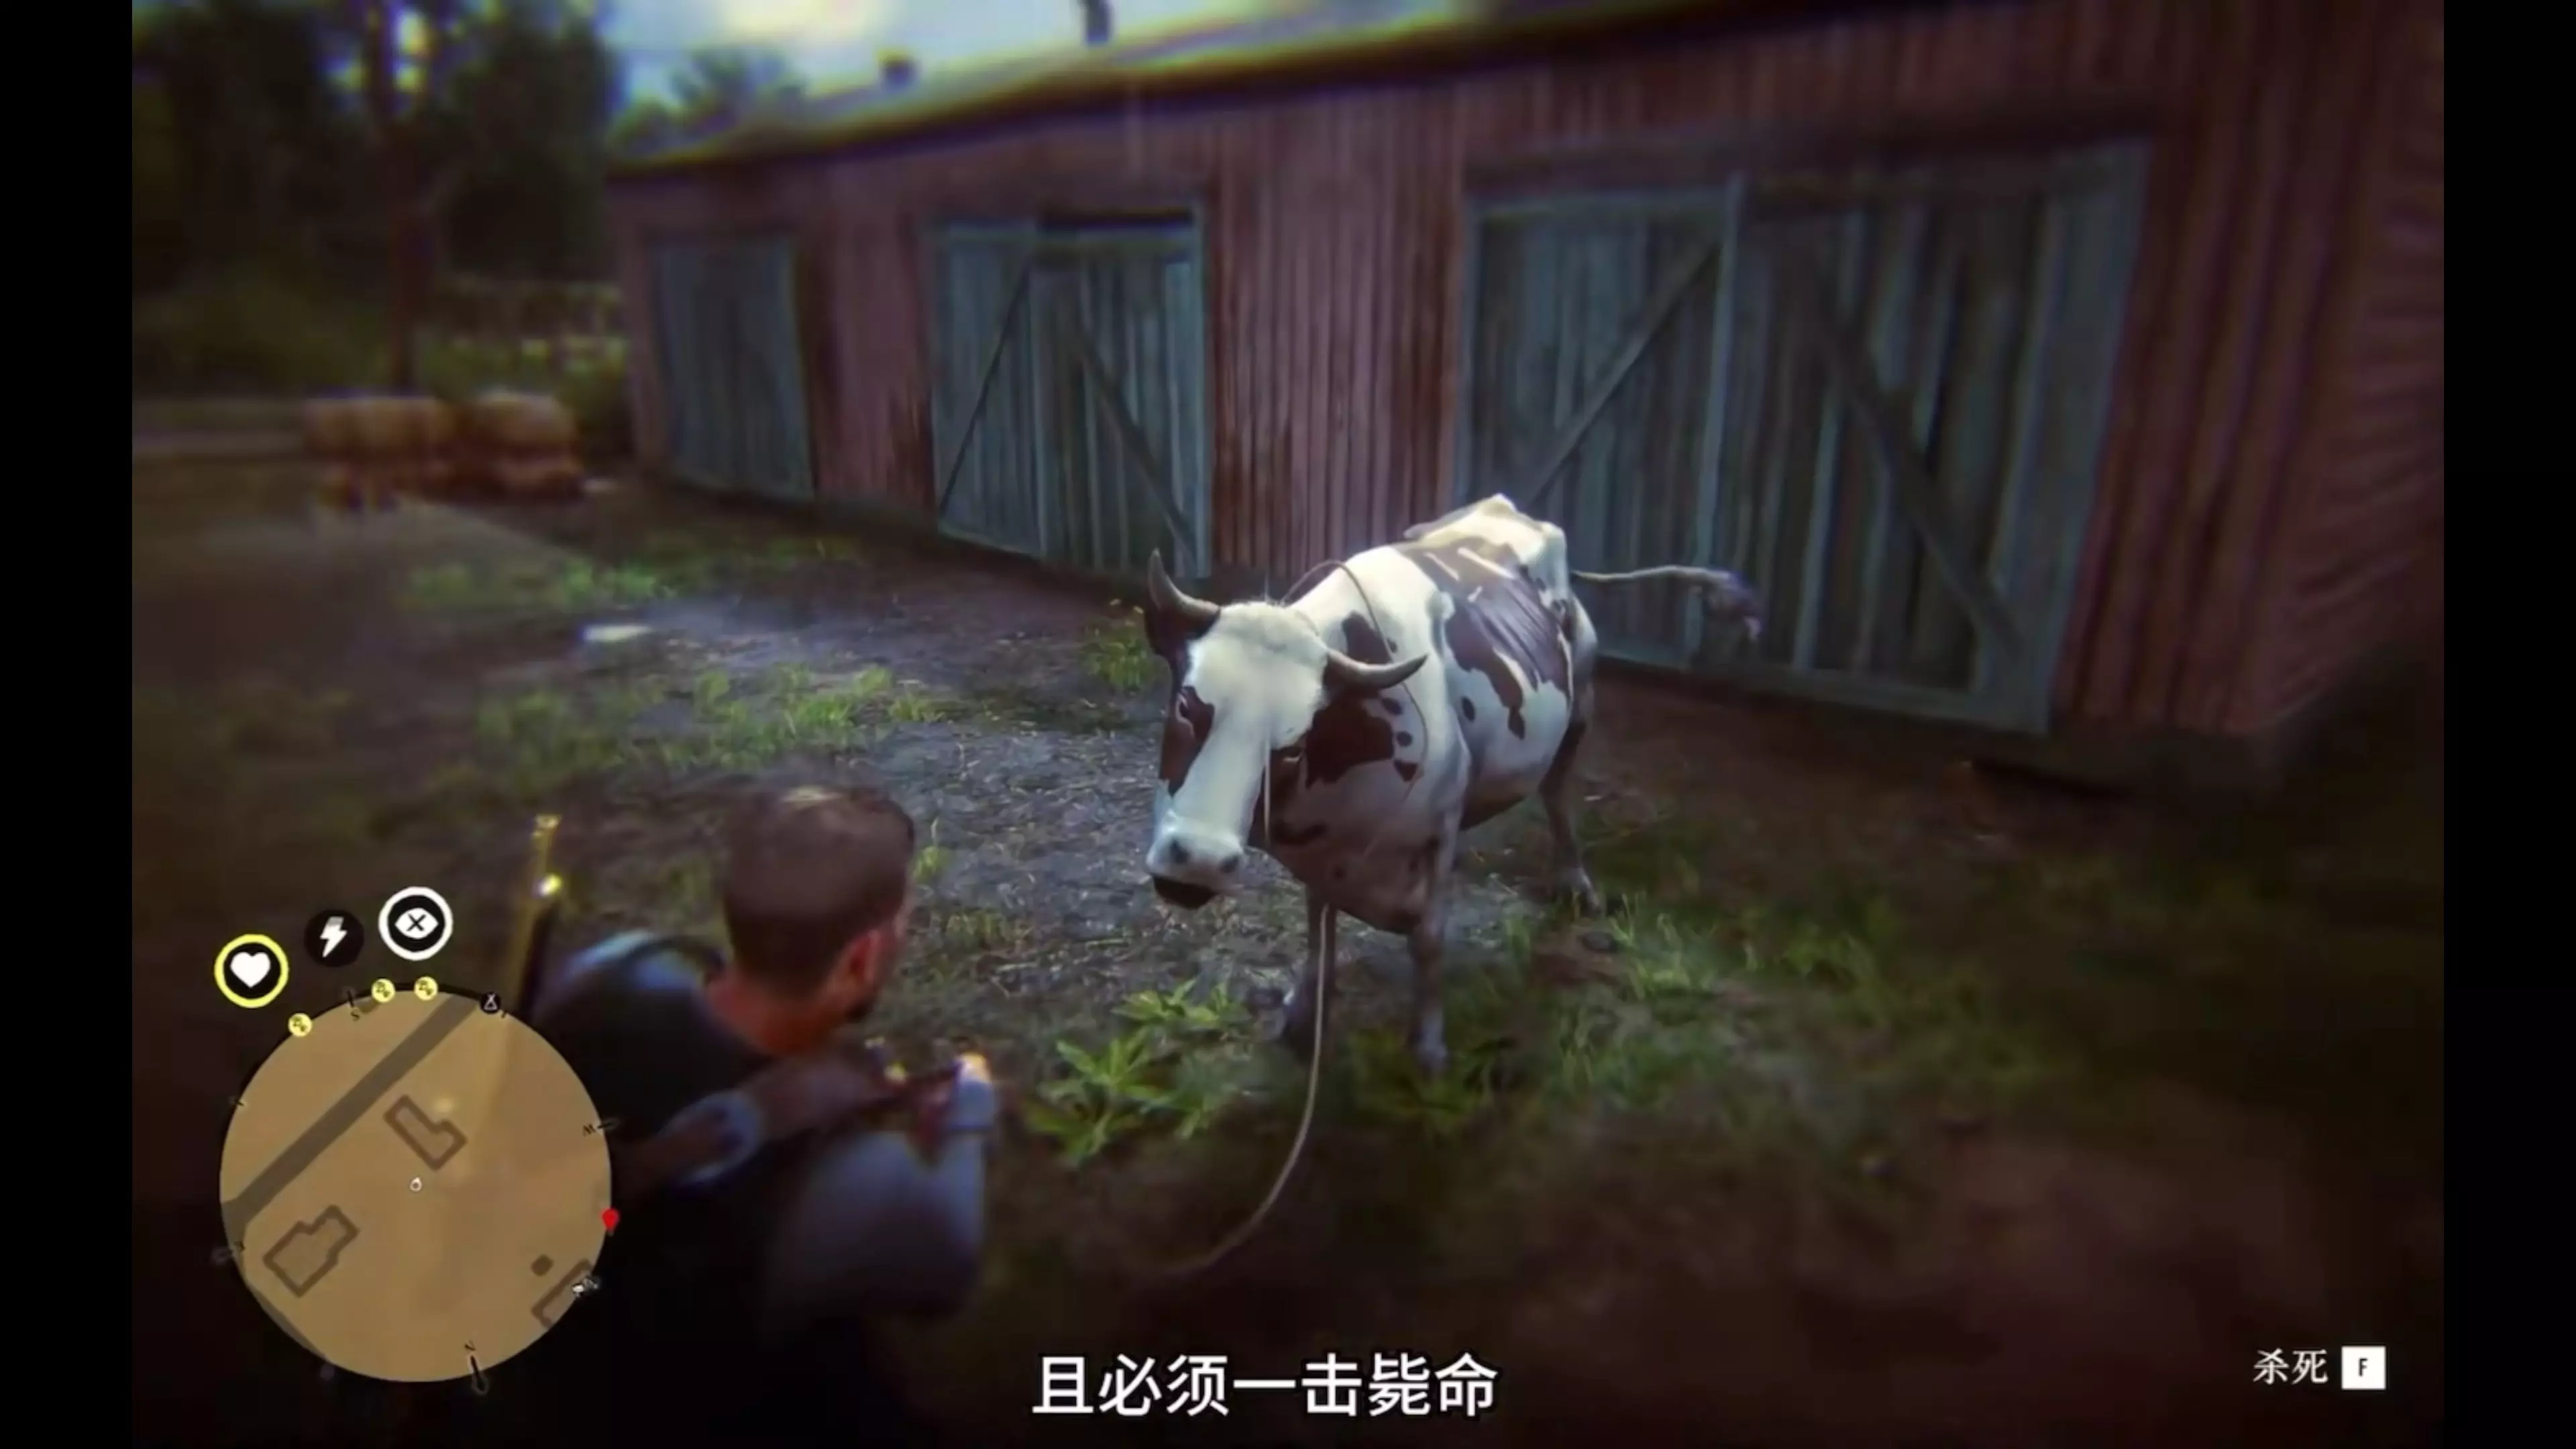
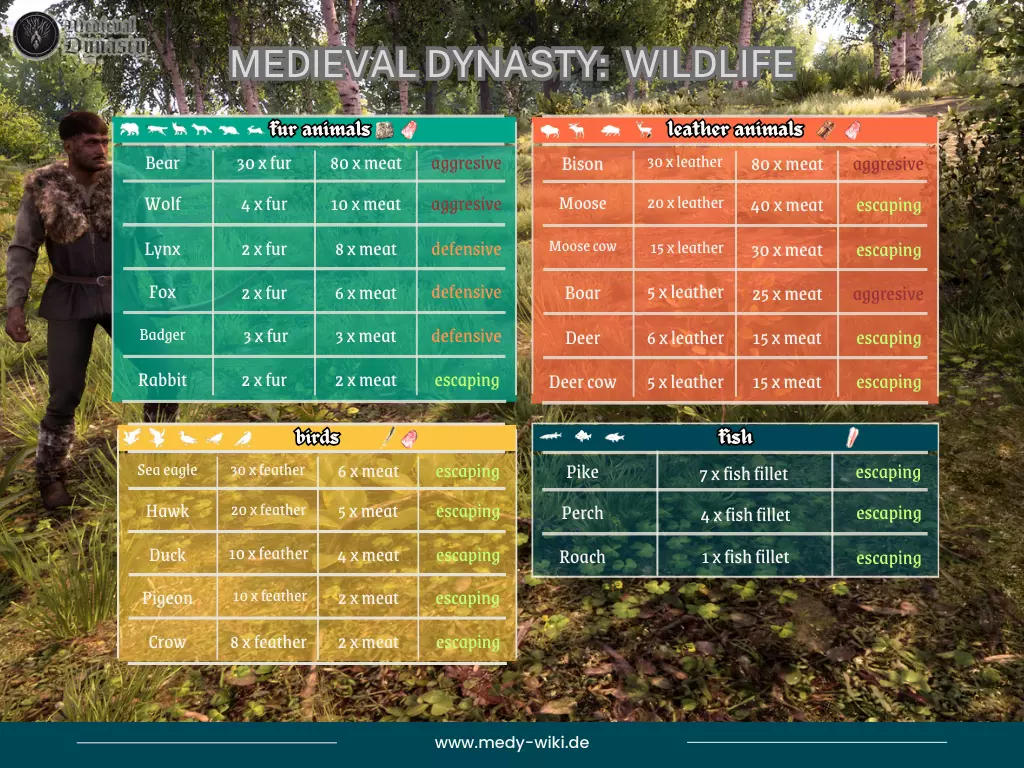
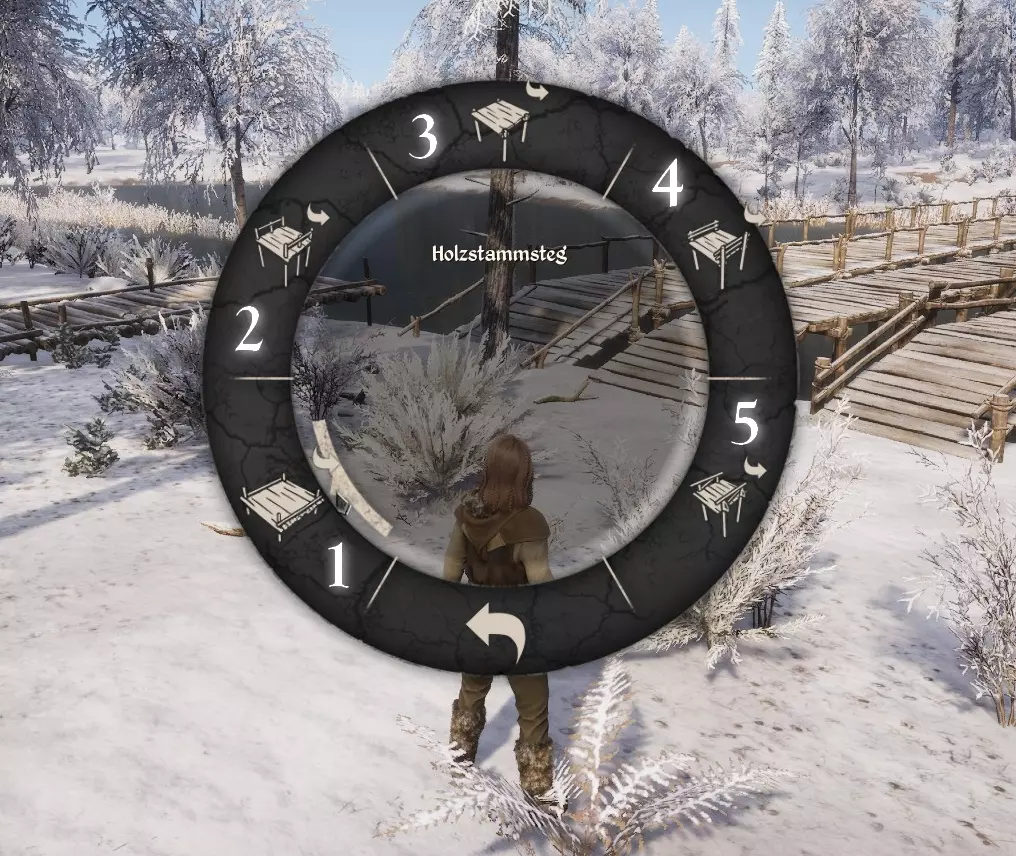
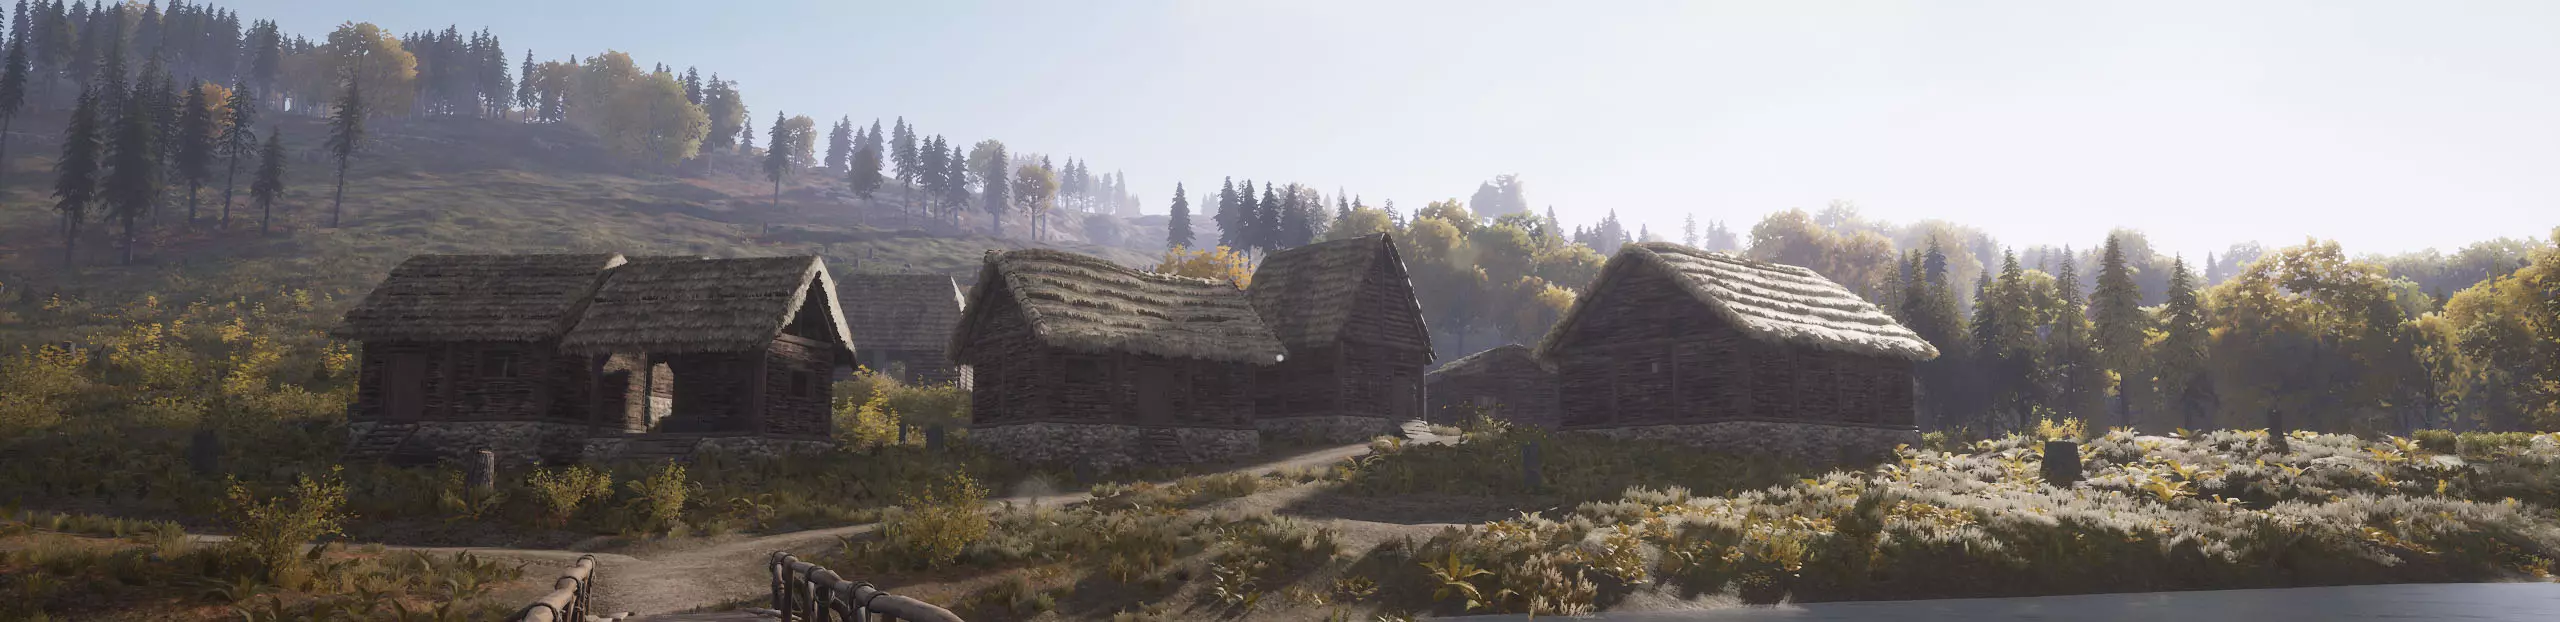
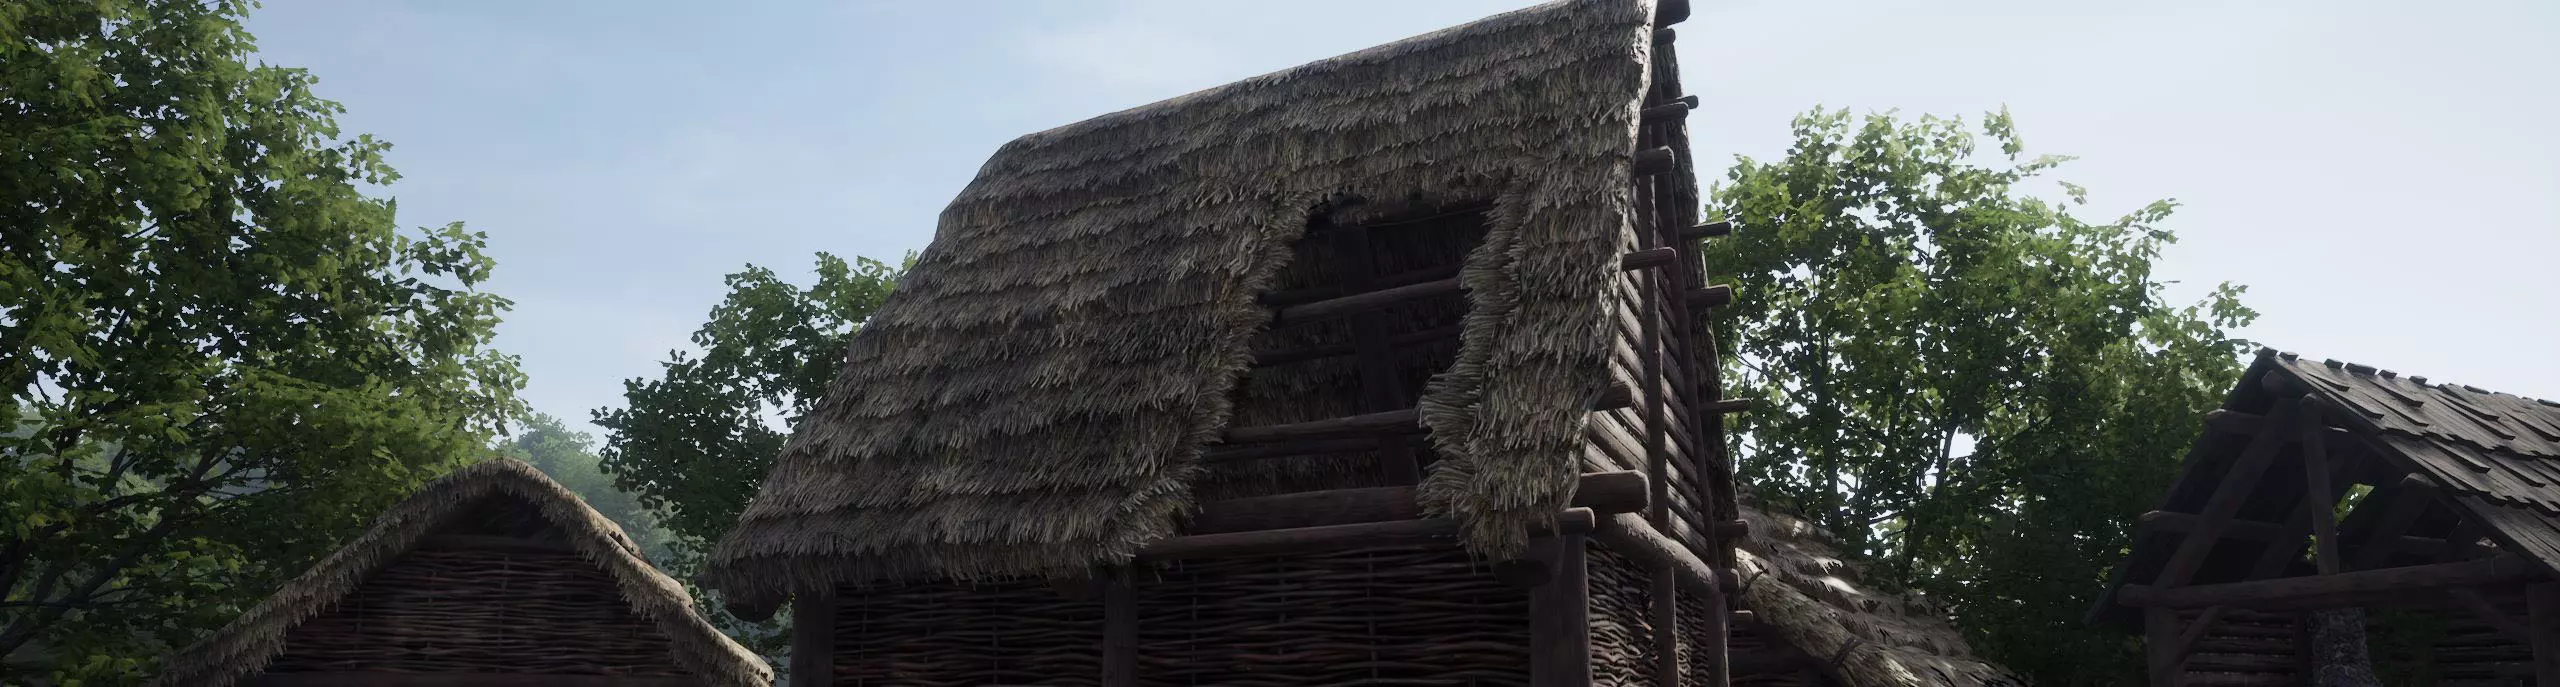
Hunting There is a Hunting skill called 'Tracker' that will highlight animals in Green (passive) or Red (aggressive) within a certain radius of you when you hold Alt (It is similar to the Survival skill called 'Survival Sense' that highlights forage-able plants on the ground in yellow). Note: Holding Alt for either of these skills drains your stamina. It is worth investing in both of these skills. Other than the rabbits which can be one-shot with arrows, other animals can generally survive the first arrow. If you can land a spear (this can work with arrows too, the spear is just visually larger), it makes them easier to track as they flee since you can hold [Alt] and see the spear. Just ensure that you throw a spear that is at least 66% durability, so it doesn't break on contact. Carry a knife with you, so that you can skin the animal afterwards and acquire the meat. if you do not have a knife in your inventory, you will not be able to harvest the carcass. As of this writing, animals do not currently attack NPCs. RabbitsRabbits are most easily hunted with a bow. Because they're low to the ground, they can be hard to notice in spring and summer when the vegetation is lush. Until you land a bow, you can get lots of practice in throwing your spears. Use Ctrl (default) to sneak, but be aware you'll still need to stop some distance away or be noticed, and the rabbit will flee. FoxSimilar to rabbits, but easier to spot due to both their color, and the squeaky sounds they make. They can be very erratic with their movements, making throwing the spear difficult sometimes as they dart to and fro. DeerA headshot with a spear from cover is the easiest way to take the deer down, as they'll flee with erratic movements if you land your throw anywhere else on the body. Boar, Wisent, & BearAggressive. Early game focus on headshots with your spears . Carry plenty of spears. There is another guide as of this writing that highlights areas on the map to find these animals. Crafting Quick-start and on-the-go crafting can be accessed anywhere by pressing 'Q' to bring up your crafting radial menu. Within this menu you can craft basic tools, any buildings you've unlocked, traps, etc. When you hover over a selection it will tell you in the center what materials you must have in your inventory to complete the crafting. Better ToolsBeyond the basic tools available in the 'Q' menu, more advanced ones are only available through their respective buildings, merchants, or by stealing them. A pickaxe, for example, is crafted via a Blacksmith. Waterskins at the Sewer. Arrows can be made in the first crafting hut you build. BuildingsWhen you place your first house, you're establishing the location of your future village. Villagers need easy access to water. You will absolutely want to be close to a densely populated forest as well, as the buildings require a lot of wood. If you want to get into mining/excavation you'll want to also be near rock formations/mountains/mines/clay. I personally went to the fork in the road just West of Gostovia, where the bridge leads across the water, and built there. River, woods, rock formations, clay, close to the town where the Main Questline is, and relatively central to the whole map. I have to hike a bit to hunt, but frankly that's always going to be the case in some way. Once you place your first and all future buildings, you'll only have the basic framework present. You'll need to have crafted a Hammer to see the various parts, their requirements, and to construct them once you've got the inventory required. Before completing a wall/roof, you can use the Hammer and click 'E' to change the type of wall it is - Wattle, Wood, or Stone (or for a Roof, Straw, Wood, or Wood-Tile). It may change the requirements some (for example a Wattle wall may require 1 log and 8 sticks, whereas a stone wall may require 2 logs and 12 stones) Right-click with your Hammer up to change it's mode between Build, Repair, Upgrade, and Destroy. You'll use Build most often. Upgrade will only be used when you've advanced far enough in the Farming Tech tree to purchase the Daub schematic (it's currently available when you reach the building to house geese). Destroy will remove whichever piece of wall or roof you're looking at when you click. Walk your village with your Hammer set to "Repair" periodically, as walls that need repairing will show in Red. Thankfully, they also visually show damage if you're paying attention. Note: As of the 9/20 patch, you can now use the Delete function on the Hammer to delete Fields. Note: As of the 9/30 patch, you can now permanently remove tree trunks with a shovel. Building Layout AestheticsUser iMalachi pointed out some tips for those seeking an aesthetically pleasing layout, where buildings are oriented to align with the invisible grid that farm fields snap to. Farm fields are free to place, and can be deleted with the hammer - so you can place strips of farm land before placing buildings, to create consistent walkways and paths, rather than seemingly random, more organic ones, if that is your desire. The concept of a city-grid system is a bit more modern, and those seeking historic immersion may want to forgo this technique. Fields will also wipe out vegetation and rocks, so you can place one, then remove it, to "mow your lawn", so to speak. You can create strips of fields to form ninety-degree angles if you're seeking parallel and perpendicular layouts as well. Thanks, iMalachi !
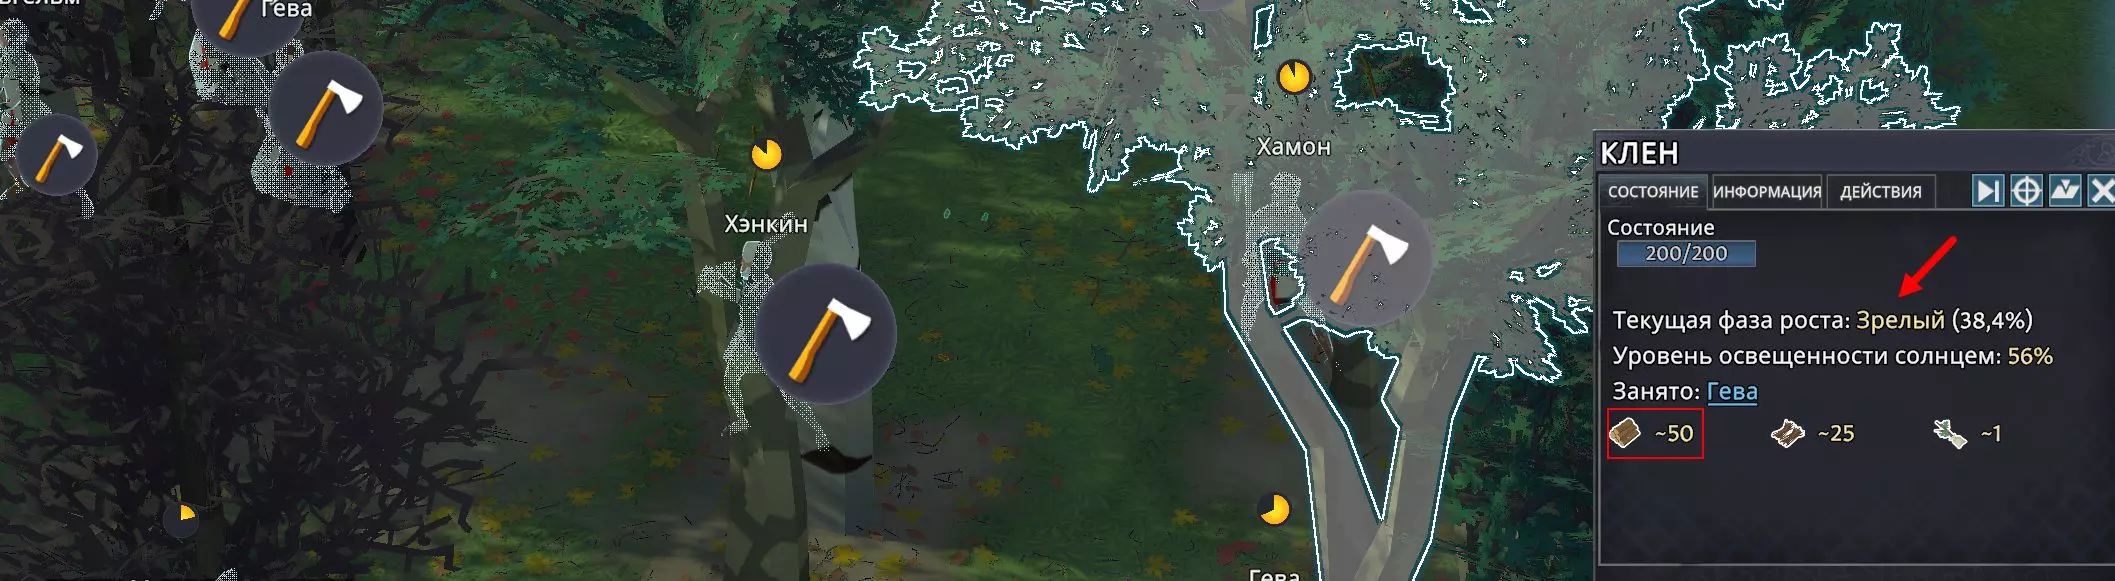
建筑维修 你的建筑会随着时间推移而损坏。每个屋顶和墙壁部分都有各自的损坏速度。在管理标签中查看建筑时,你可以轻松看到受损建筑。你也可以装备锤子,右键点击并选择【维修】模式,然后在村庄周围快速走动。大多数建筑结构会显示为绿色,但需要维修的墙壁或屋顶部分会显示为红色。此外,如果你留意观察,墙壁和屋顶的实际图形会发生变化以反映磨损情况,这能提示你可能需要检查其他建筑。建筑部分需要损坏到特定阈值才会从绿色变为红色,在此之前无法进行维修。陷阱 陷阱大约可以使用三次就会损坏,之后你需要制作新的陷阱。 兔子陷阱在游戏初期获取肉类相当容易。设置好后放置几个小时到一天(确保你确实离开了该区域)。回来时,你就能收集到一只死兔子。 鸟陷阱是在建造鸡舍之前收集羽毛的最简单方法。和兔子陷阱的使用方式一样,设置好后放置一段时间。稍后回来就能获得一些肉和大量羽毛。 你的体质
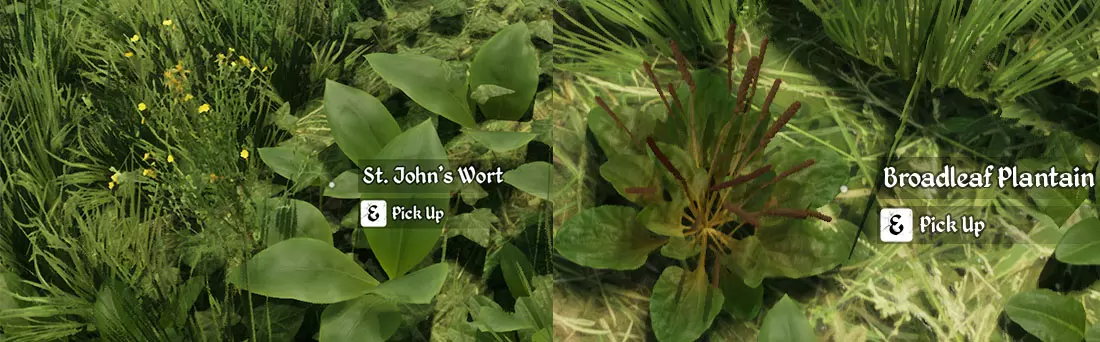
治疗 夜晚睡觉时你会恢复生命值。 你也可以使用车前草来治疗,这是一种贴近地面生长的绿叶棕花植物,可能不太容易被发现。建议储备一些,多余的可以在游戏初期用来换取金钱。 不要食用生肉或毒蘑菇,否则会食物中毒。如果食物中毒,可以食用贯叶连翘来治疗。贯叶连翘是随处可见的小型黄色花朵。建议储备一些,多余的可以在游戏初期用来换取金钱。 【生存感知】技能会让寻找这两种植物(尤其是车前草)变得容易得多。 烹饪 当你狩猎获得生肉后,需要将其烹饪。你可以在营火、家中的烹饪火堆或酒馆里持续燃烧的火上烹饪肉类,前提是你已经发展到能够建造酒馆的阶段。 要点燃营火或烹饪火堆,首先需要制作火把。只有当你的物品栏中有火把时,才能点火。 如果你使用烹饪火堆或在酒馆里烹饪,不要将光标对准大锅,而是对准火焰或余烬。火焰或余烬可以让你烹饪肉类。如果你有其他食材(卷心菜、洋葱等)并想烹饪更丰盛的 meals,就需要用到大锅。只需右键点击大锅,即可调出你可以用多种食材烹饪的食谱列表。酒馆II包含解锁各种面包的方案,因为当你建造它时,其“烹饪火”会变成石炉和 stove。 关于用盐或 drying rack 腌制肉类/鱼类:我尚未开发该技术进行验证,但听说狩猎小屋II和渔业建筑II提供了这些选项。 口渴:除了河流、湖泊和溪流等明显的水源外,你并非总能身处天然解渴水源附近。你可以携带水囊,水囊可购买、偷窃或在缝纫建筑中制作。它在需要重新装满前有4次使用机会。与天然水源不同(假设你会一直喝到解渴,因此无论口渴度多低都能填满口渴条),水囊每次使用只能部分填充口渴条。如果你还没找到可以窃取的水源,尚不具备制作水源的能力,或者觉得获取水源的成本高得离谱,那么浆果就是绝佳的便携水源,每个浆果能提供大约一点水分,而且从一批灌木丛中很容易就能收集到100到200个浆果。一些熟食也能提供少量水分,但与所付出的精力和物品重量相比,它们作为水源的价值并不高。目前,你可以将浆果存放在食物储存容器中以阻止其腐烂。 技能与科技树 技能和科技的提升都需要通过进行与之相关的活动来实现。在科技树中选中不同区域,右侧会显示你需要完成哪些操作才能提升相应的技能或科技。 通过制作物品可以提升你的制作技能。通过砍树可以增加挖掘进度等。 前期提升 farming(农耕)最简单的方法是制作锄头,开垦一些农田并进行耕种。反复耕种,直到解锁谷仓建筑。之后,锄地的速度会有些慢。 在撰写本文时(抢先体验版发布阶段),农耕系统尚未达到良好的平衡。许多农耕活动需要 manure(肥料),而在游戏初期开始农耕时,肥料不易获取,需要升级科技树才能获得。我认为随着游戏的持续开发,这一问题将会得到解决。 不过,一旦能够招募村民并将他们分配为农民,他们会自行提供种子和肥料——你只需在管理界面的农耕子标签中,委派他们在哪里种植什么作物即可。村民提升技能的速度较慢,所以要做好花费数年时间等待农耕科技技能积累的准备。 你的村庄生活
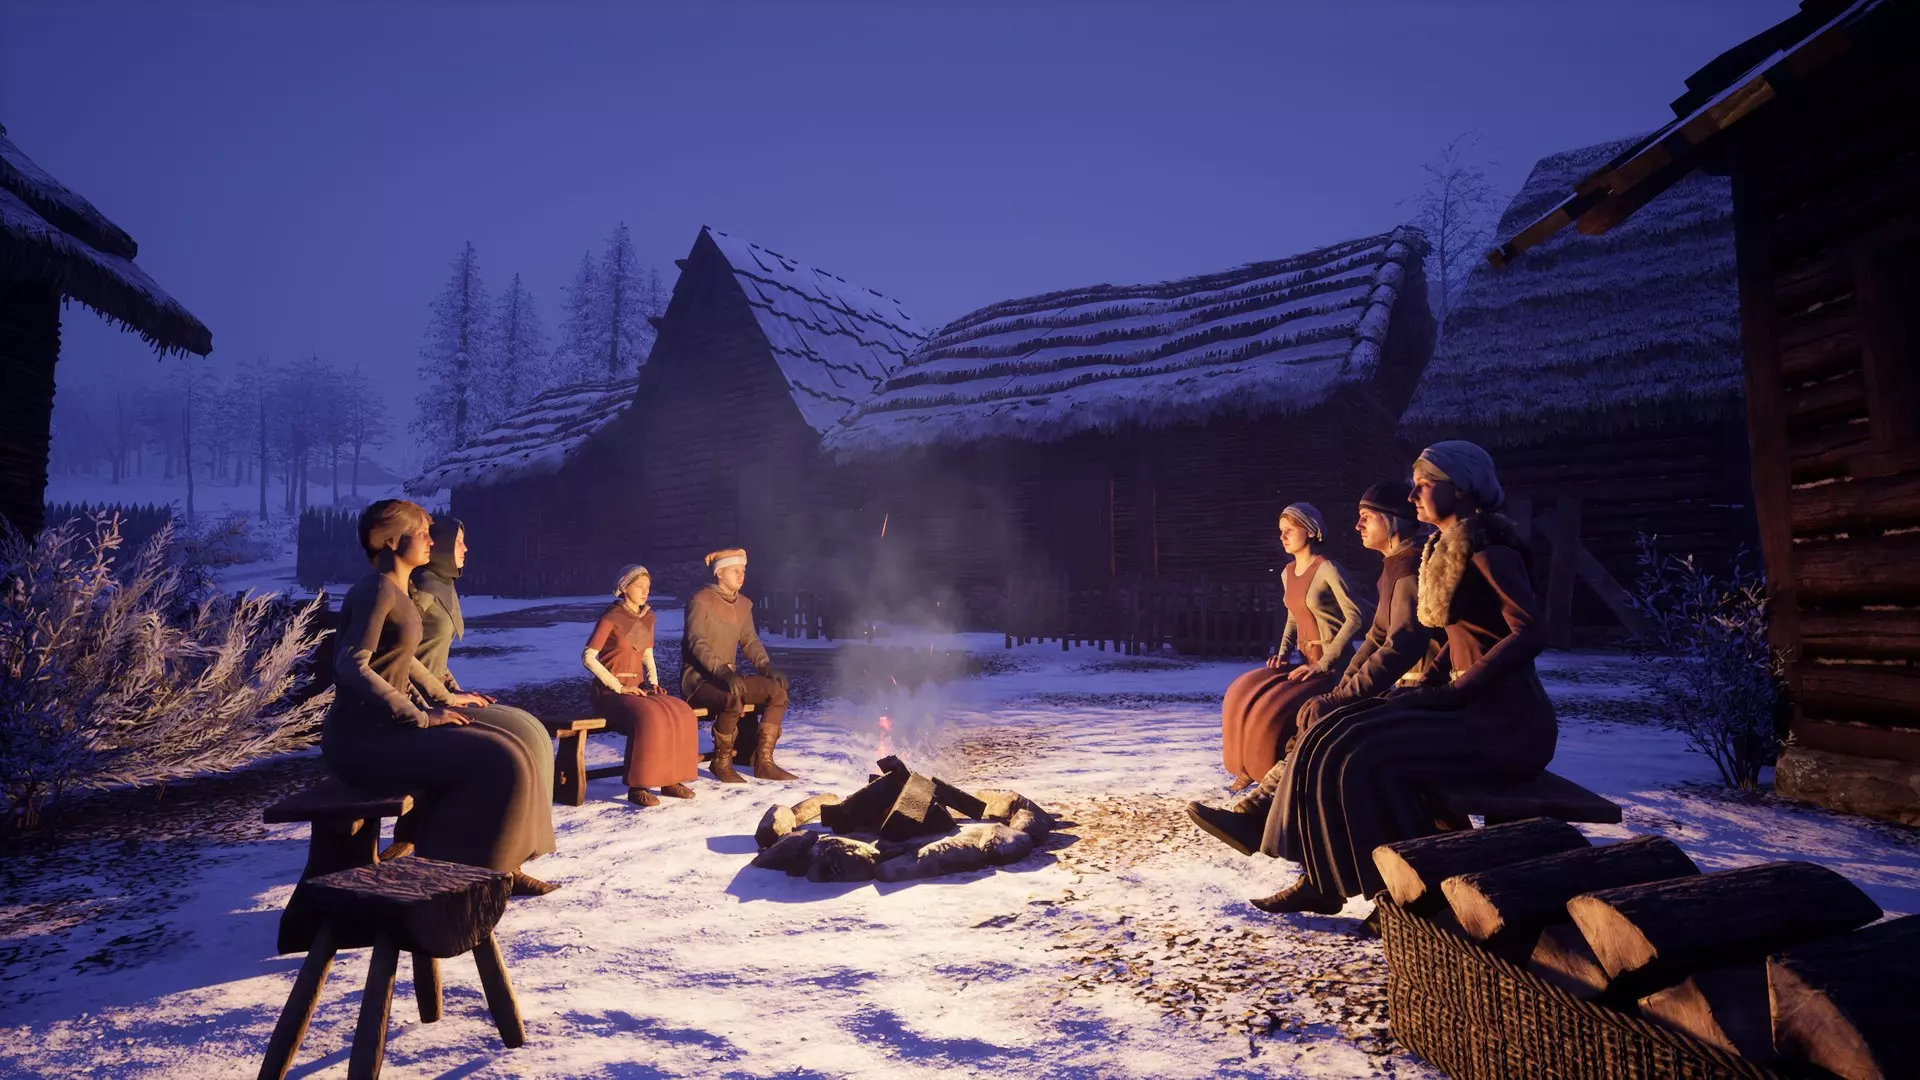
MarriageThe main character is male and one of the gameplay mechanics is to marry and create an heir that can continue running the village when the main character is too old. It can take a significant amount of time to court a prospective woman and your dialog choices will determine their affection level toward you. You will want that affection level to be as close to 100 as possible before asking for their hand in marriage. Some dialog options will increase affection level, others will decrease it. If you choose a dialog option that increases affection, you can continue the conversation up to two more times, at which point you will need to wait until the next day to pursue more. If you choose a dialog option that decreases affection, no further courtship dialog is possible until the next day. Because it can take an entire year (or more, depending on whether you choose poorly during dialog), it is worthwhile to start the process early and devote a little bit of each day to courtship dialog. Once married, your wife can provide healing as well as help you reset your skill points. You will also be presented the option at some point to create a child, an heir who will continue the gameplay after your character has aged beyond the point of adventuring. My character's son is now 1 year old, so I have not reached a point to witness the mechanic of the heir taking over. Some folks have encountered bugs and not received the dialog option to create an heir. Preparing your Village for VillagersNPC Villagers require some basic necessities in order to survive. In addition to housing, you should also ensure you have a Resource Storage and a Food Storage before inviting anybody to join your village (more on the invitation process in the Villagers section below). Initially, you'll need to stock the chests with food and wood yourself, until you've got the Villagers assigned to professions that will help in this regard (Namely Field Hand, Hunter, and Lumberjack). Cooked Meat does well to fill up the chest in the Food Storage. For wood, absolutely convert logs into firewood through your 'Q' crafting menu. It fills the need for wood significantly better than logs and sticks (Note: A lumberjack will only provide Logs and sticks. It will fall to you to periodically hop into the chest and convert the logs to firewood). Have at least one small house in addition to your own. If you've been spending time raising your Approval with NPCs in preparation to invite them to your village, you may want more than one house ready. Keep in mind, the number of buildings you can have at a given time is capped by your Dynasty Point score. Your buildings, and your maximum, can be viewed on the Management tab. When Villagers join your village, you can use the Management tab to assign them housing and professions. The chest in whatever building you assign a Villager to will need to have the proper tools for them to do their job. For instance, a lumberjack needs an axe, so stock some axes in the Woodshed chest. A farmer will want a hoe, scythe, and sack for seed, so place these in the chest in the Barn (note: "Field Hand" is the profession that actually sows and harvests). VillagersOnce your village has enough Dynasty points and buildings, you'll want to invite villagers to move there. Villagers require a house, a constant supply of wood via the Resource Storage building, and food via the Food Storage building. Much like courtship dialog, villagers seeking a new home will require their opinion of you be at least 70% Approval (default upon meeting them is usually 50%). You will want to begin talking to them early on, even before you're ready to invite them, as like courtship dialog, you can at most have 3 successful dialog attempts with a person before having to wait until the next day. Once you meet or exceed 70% in their opinion of you, you can invite them to your village. Provided you have enough Dynasty points, they'll agree. TaxesTaxes are due to the Castellan, Unigost, each Spring. I don't know the equation, but the total is based upon land farmed and number of villages (it is visible on the Management tab). If you are unable to pay the tax in a given Spring, you will incur that tax as a debt. That debt, plus your normal tax, will be due the following Spring. Being unable to pay incurs a Dynasty Point penalty (I do not know how much). Receiving -10,000 Dynasty Points will have you exiled from the valley and you will lose the game. Fun fact: If it's the last day of winter and you simply don't have the coin to pay your tax, make a bunch of Knives and sell them. It isn't super profitable but it'll work in a pinch. If you've got the goods to cook, dipping into your food stores and cooking a stack of meals will also earn some decent coin. If you've been selling to the merchants so much through the winter that they're out of coin, you'll have to hike to another town - the good news is their inventory and purse reset each season. Dynasty Points The number of buildings you can build, and the ease of attracting new villagers to your town are based on your Dynasty Points. Initially you will only be able to build 8 buildings. At the 500-point mark, that will increase to 16. At the 1,000-point mark, it will increase to 20. You earn the first five hundred or so Dynasty Points simply by advancing through the game's Main Quest line. After that, additional points can be earned by completing the '!' quests that pop up. They award very few points (2 to 5 in my experience), which can make the grind from 500 to 1000 (a main quest requirement at one point) a bit long. Like other things, I imagine this will be addressed as they continue to develop the game. When you go to deliver your taxes for the THIRD time, the Main Quest line will continue as Unigost asks you to help him collect these taxes. Upon completion, you'll be awarded 200 Dynasty Points. Depending on your choices in conversation with him, you may lose 50 of those points. I gained an additional 100 Dynasty Points either as a result of that conversation, or by completing Alwyn's quest to give him a Recurve Bow. I did it immediately afterwards, and forgot which one awarded me that additional 100. I bought the Recurve Bow for 700 coins in Lesnica. Fun Fact: As of 9/21 I am at 880 Dynasty Points. StealingIf you aren't noticed by anybody, stealing is a legitimate way to acquire some hard-to-craft items early game, and even to complete quests. For example, if someone needs a bucket and you can't craft one yet, you can steal one. Keep in mind, if you are seen stealing, you will receive negative Dynasty Points. If you hit a certain negative threshold of Dynasty Points, you are cast into exile from the region and the game is over. Save before stealing, and pay attention to your surroundings.