


杀戮尖塔
 Steam Deck
 家庭共享
家庭共享 云存档
云存档 创意工坊
创意工坊 支持手柄
支持手柄 可仅用鼠标
可仅用鼠标 可仅用触控
可仅用触控 云游戏
云游戏

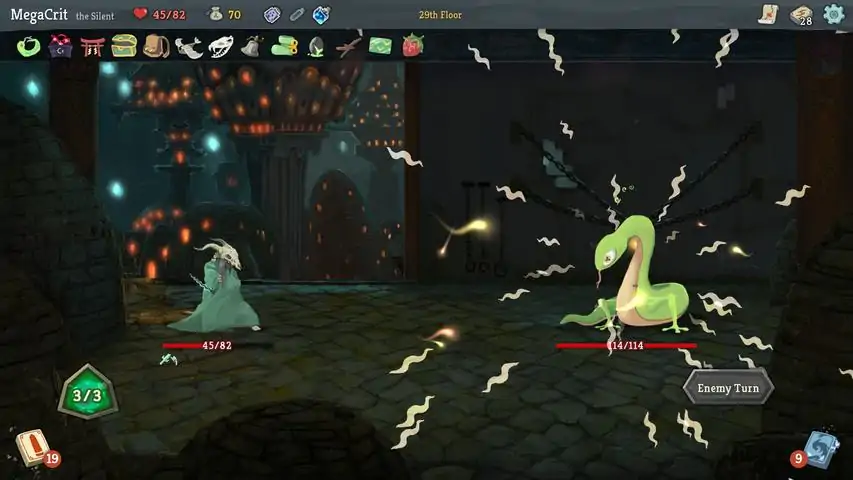
你可以通过如下操作将游戏语言设置为简体中文:点击游戏菜单中的“Settings”选项,在设置窗口中将右下角的“Language”从“English”改为“Chinese (Simplified)”,然后重新启动游戏。我们将卡牌游戏与Roguelike游戏融为一体,制作出了这款最棒的单机组牌游戏。打造出独一无二的牌组、遇见无数离奇的生物、发现威力强大的遗物、去屠戮这座高塔吧!游戏特色动态构建的牌组:谨慎选择你的卡牌!在攀爬高塔的途中邂逅百余张不同的卡牌,选择是否将它们加入你的牌组,通过组合和搭配来让牌组发挥力量,打败敌人、挑战登顶。不断变化的高塔:每次开始爬塔的旅程时,高塔的构造都会发生变化。是选择高风险高回报,还是谨慎前行?面对不同的敌人、选择不同的卡牌、发现不同的遗物、甚至挑战不同的Boss!威力强大的遗物:在塔中你将发现名为遗物的各种强大物品,这些遗物可能会与你的牌组产生强大的化学反应,让你的战力得到飞跃。但也不要过于大意,为了获得遗物,有时你所付出的代价,可会超过区区金钱……《Slay the Spire》已经结束抢先体验,目前游戏共有下述内容:四名角色,各自拥有独特的牌组。350多张可用的卡牌。200多种可被找到的物品与道具。50多场完全不同的战斗。50多件神秘的事件,可能给你带来帮助,也可能将你害得很惨。每日挑战模式,让你可以在进行独特游戏的同时,与世界各地的玩家们比较你的表现。自定模式,让你可以自由混合各种疯狂的特殊效果。
评价
共43条评价

玩游戏不玩杀戮尖塔,就像四大名著不看红楼梦,说明这个人文学造诣和自我修养不足,他理解不了这种内在的阳春白雪的高雅艺术,他只能看到外表的辞藻堆砌,参不透其中深奥的精神内核,他整个人的层次就卡在这里了,只能度过一个相对失败的人生。
当初大一买电脑就16块买了这个游戏,当时还没意识到会发生什么,后来玩的天昏地暗我电脑直接打了128个mod,每次启动就要15分钟,后来崩溃了,启动器删了重下也解决不了报错,一个mod都装不了了,于是我出现在了这里。
下载233乐园APP
专心推荐好游戏
纠纷处理及不良内容举报电话:
4006600910 (工作时间: 9:00-12:30,14:00-18:00)
北京市朝阳区启阳路4号院2号楼15层1803室
本公司产品适合10周岁以上玩家使用 未成年人家长监护