换一换
换一换 


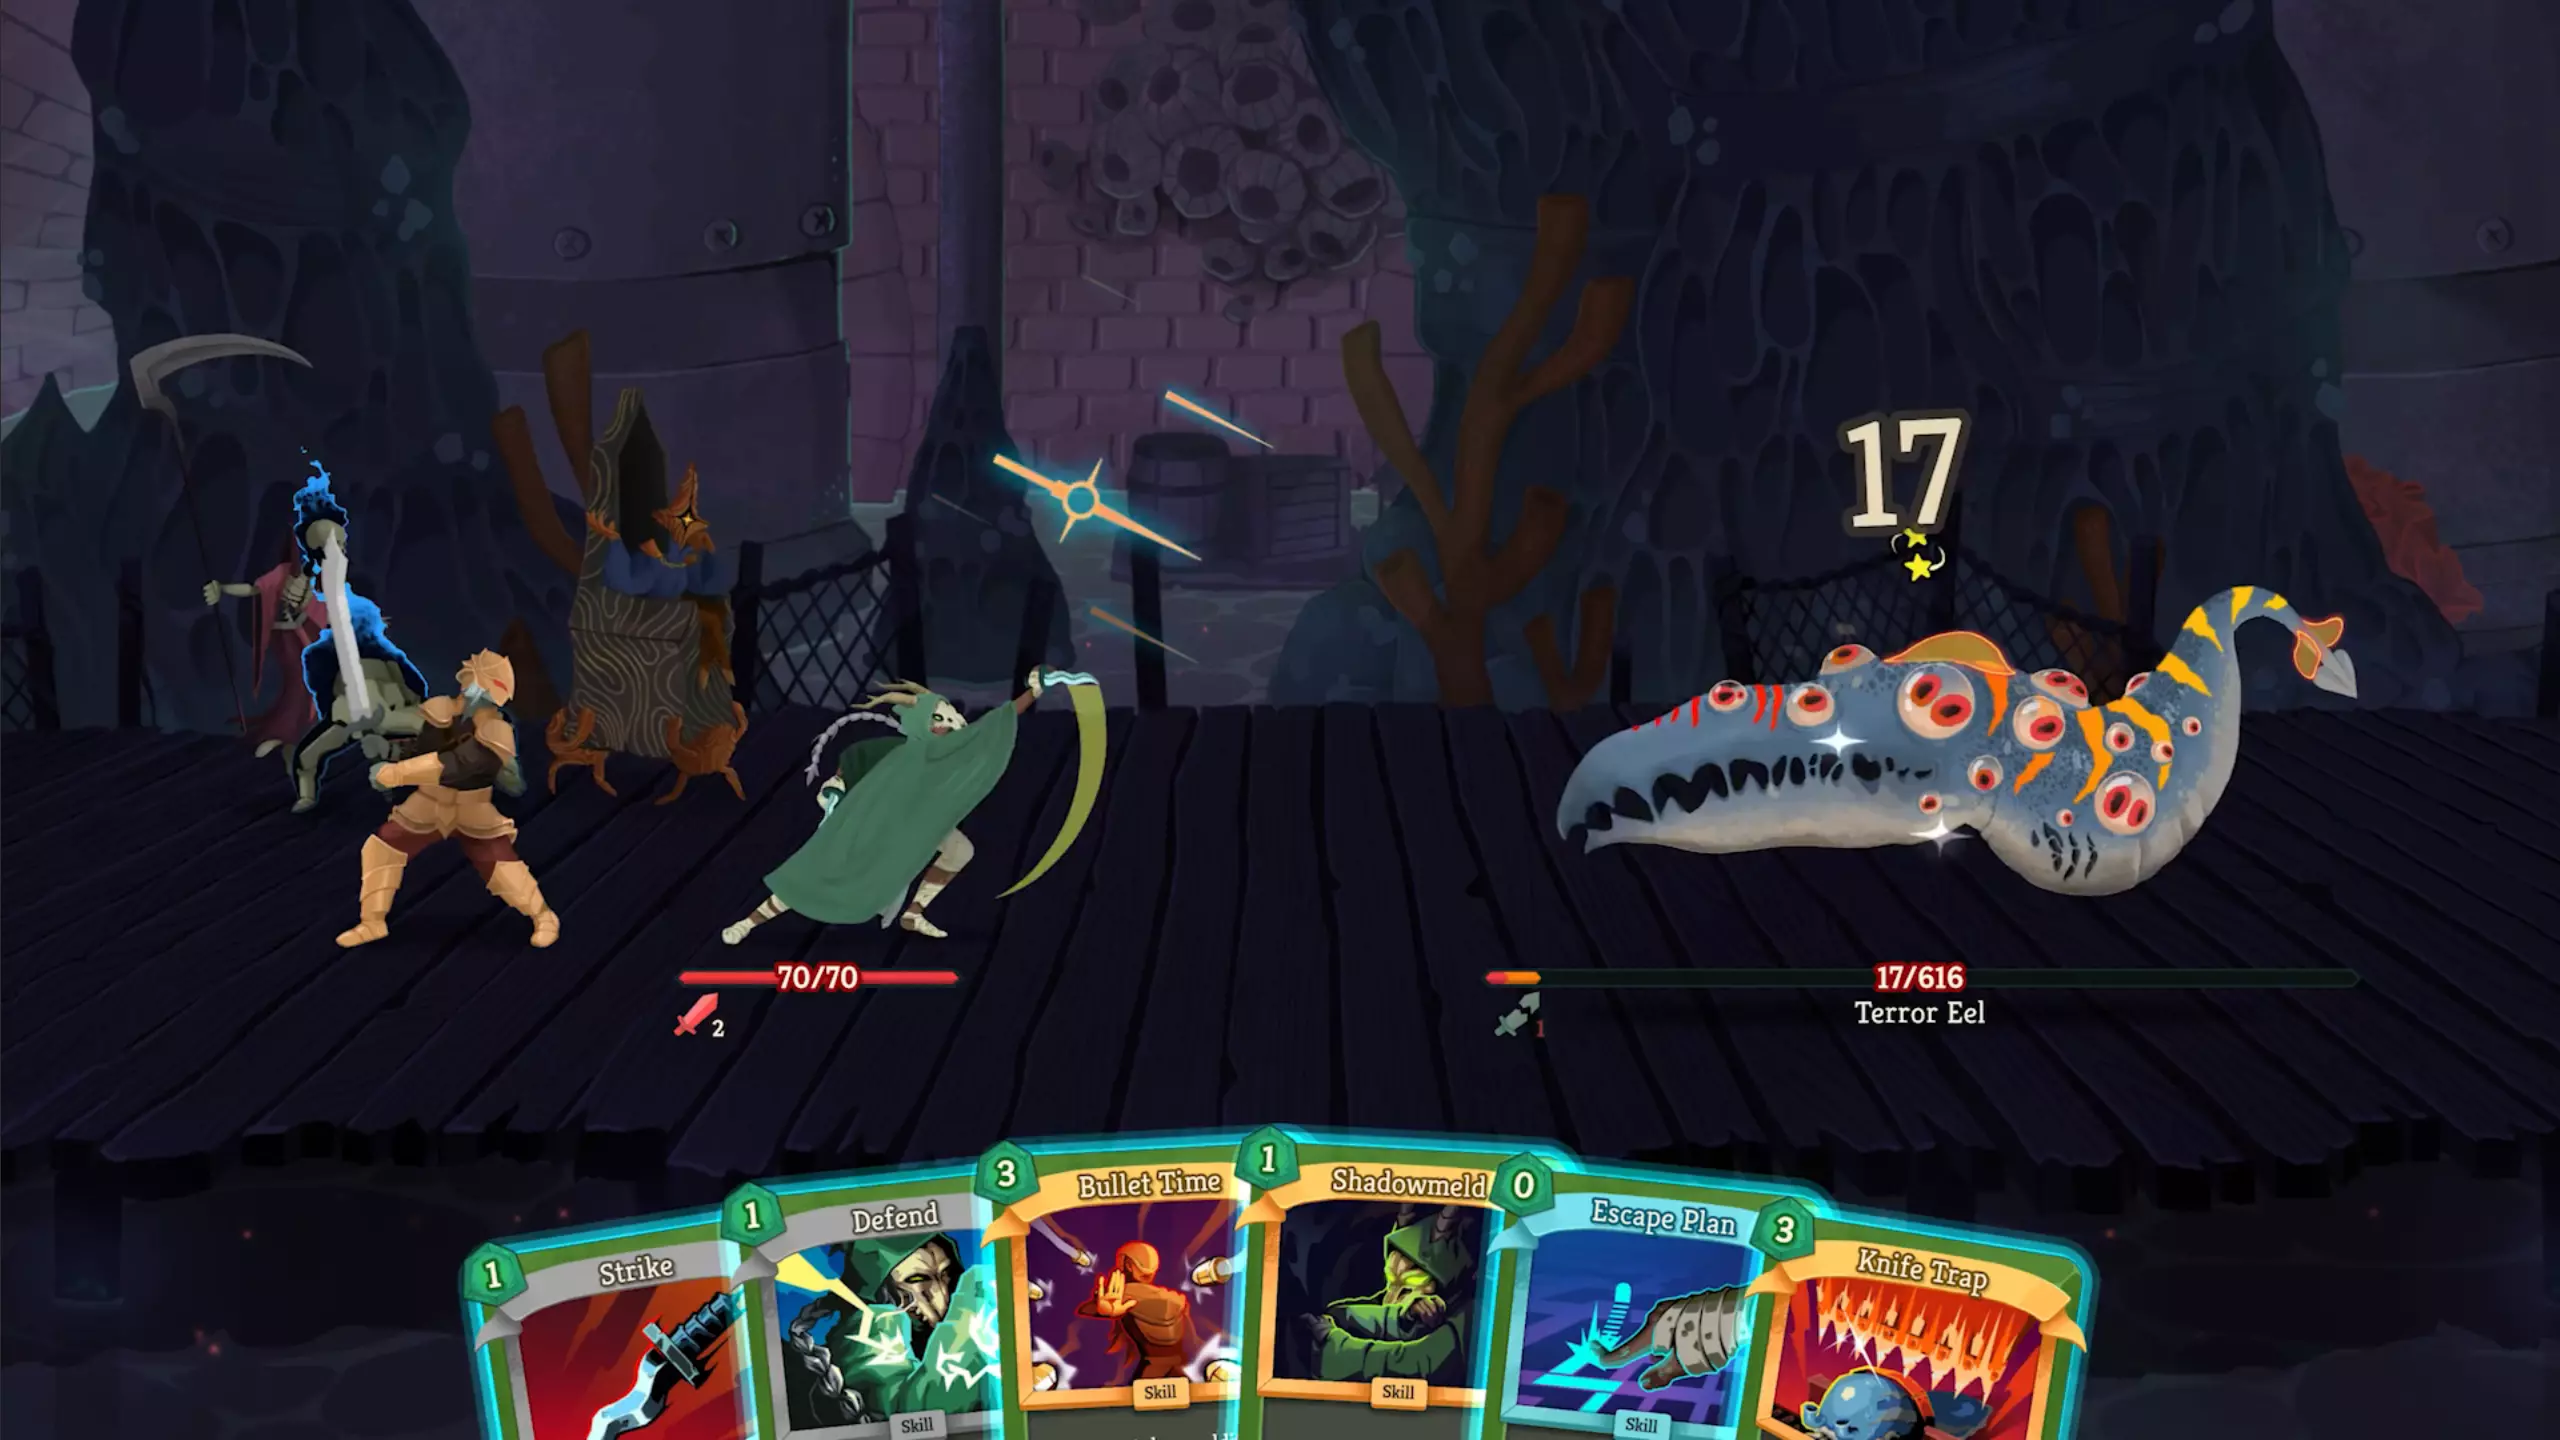
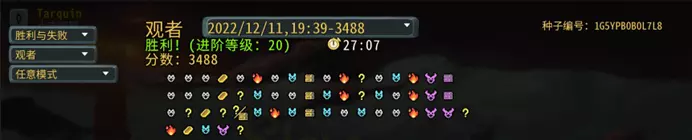
This guide describes the strategy I use to maintain long (10+) win streaks when playing as The Ironclad. I describe the cards I prioritize at different points in the game, my approach to navigating the map, and more. Introduction This guide will focus on a particular way to play the Ironclad class that is very defensive. The Ironclad supports many different styles of play, but I have found this style to be the most simple and consistent for securing consecutive victories. I (Quincunx/ForgottenArbiter) have personally used primarily this style to obtain a current active win streak of 25+. Hopefully, you can use this knowledge as well to improve your skills on the Ironclad. Note: This guide contains significant spoilers. If you want to explore the game yourself, stop reading now! Also, if all you want is a spreadsheet telling you which cards to take, you can find that here[docs.google.com]. Up to date for Weekly Patch 15 (03-09-2018). Why Defensive? A larger portion are offensive-oriented, rather than defensive. Also, their main stat is Strength, while the Silent is focused more on Dexterity. Why should we build the Ironclad in a defensive manner? In short, I find it more consistent. As long as you defend against all of the incoming damage every turn, you only need a minimum amount of offense to win the fight. If your deck is filled with defensive cards, you have a high chance of being able to defend against enough damage every turn. If your deck relies on killing the enemy as quickly as possible, then if you ever enter a battle and cannot win in one or two turns, you face taking large amounts of damage from the enemy attacks. The best way to mitigate this risk is to create small, focused decks. However, I find that making these types of decks with Ironclad relies a bit too much on finding certain key cards. Another big reason why defensive decks work well is the presence of one-card win conditions that will eventually lead to a win despite playing mostly blocks every turn. I will talk more about these later when I get into how to actually draft your cards. Here we go! General Strategy There are a few constant playstyle decisions that I will be assuming throughout the run. They all have exceptions, but all card and event decisions should be made with them in mind. Don't take curses. Necronomicurse is fine, because it always comes with a game-winning relic. Upgrading a card is probably worth a 25% chance at an Injury, if you don't feel like the curse will kill your deck. If you really want the extra power, a 50% chance of a curse can be worth a relic. I suggest avoiding every other optional means of obtaining curses, unless you have Omamori. This includes Calling Bell. Never take Calling Bell from a boss without 2 charges of Omamori. Keep a small deck. Generally, I advocate only taking about as many cards as you are going to upgrade. When every card in your deck is strong, it makes turns very consistent. I will give a bit more specific advice on which cards to take later, but my average final deck size is less than 20 cards. Keeping a small deck also requires you to remove cards. I recommend removing Strikes first, followed by Defends. If you do not upgrade Bash, consider removing it before Defends. Save Dexterity potions. Dexterity potions are the best potion in the game for us. If you make it to the final boss with 3 Dex potions, it almost doesn't matter what cards are in your deck; it's that hard to lose. These potions are sometimes worth picking up in a shop, and should mostly only be used in encounters where you think you are likely to die or take overwhelming damage otherwise. When do I rest? It's hard to give a general answer, but it's good to rest when you're below 50% hp or about to take some tricky fights. Hopefully, when following this guide, you won't need to rest more than once or twice throughout the run. Card Upgrade Priority Whirlwind is the highest priority, followed by True Grit and Body Slam. Afterwards, generally Powers > Utility Skills > Defensive Skills > Attacks, though it varies pretty widely. The spreadsheet in the introduction has a more detailed breakdown of upgrade priority. For example, a few other Attacks are significantly improved by an upgrade and should take higher priority, including Uppercut and Pommel Strike. Also, Bash takes medium-high priority and is often upgraded at the first Rest Site. Floor 0 Strategy: Neow As long as you have reached the boss of the first Act in your previous run, you receive a choice of four options from Neow, the mysterious space-whale-looking entity. Which choice I make depends on what lies ahead, so I recommend opening the map, and keeping the layout in mind as you make your choice. For example, 250 gold is better if a shop is present early on: Unique Choice: Lose your starting Relic. Obtain a random Boss relic. This is fun, but bad for consistently winning. The Ironclad starting relic is quite good. I judge it to be about the level of a rare relic. On the other hand, some of the Boss relics you can obtain have potentially disastrous outcomes. Calling Bell is probably the worst, giving you potentially disastrous curses in exchange for less benefit. Pandora's Box can leave you with a deck containing zero defensive cards, which will cause you to take much more damage until you can repair the problem. Drawbacks: The only two that I would avoid are "Obtain a Curse" and "Lose 50% of your current HP". Obtaining a curse is likely to cost HP in the short run, and will cost you card removal in the long run. It is not worth any of the benefits. Losing 50% of your current HP is very likely to force you to rest at a campfire later, costing you a precious upgrade. It is also a simply risky option, so it is less desirable when aiming for consistency. However, I sometimes consider taking it, especially if the other options look weak. Benefits: These are roughly in order of priority, taking into account the drawbacks that come with the options. Strongest: Remove a card from your deck (choose a Strike) Obtain a random common Relic Remove 2 cards (choose 2 Strikes, or a Strike and a Defend to be safer) Obtain a random rare Relic Upgrade a Card (upgrade Bash) Obtain 250 gold Obtain 100 gold Pickable: Obtain 3 random Potions Enemies in your next three combats have 1 HP (basically only if you can "snipe" an Elite) Choose a Card to obtain Transform a Card (pick Strike) Max HP +8 Avoid These: Choose a rare Card to obtain (not usually worth the downside) Max HP +16 (not worth the downside) Obtain a random rare Card Transform 2 Cards Act 1 Strategy: The Exordium Route Choice When choosing a route through the map, prioritize Rest Sites > Elites > Shops > Events > Monsters. I will not give up a Rest Site for an Elite, but may give up a Rest Site for 2 Elites, if I am feeling strong. Avoid paths with 2 mandatory Elite fights in a row (no Rest Site in between) unless you are sure you can win without taking much damage. If you can without giving up a Rest Site (and haven't given away all your gold), try to visit one Shop in the first half of the Act. Card Choice Priorities The logic for picking cards is somewhat complicated. For a simpler (but less detailed) spreadsheet view, look here[docs.google.com]. Generally, plan to finish the first Act with 3-6 cards added to your deck. Your top priority is to improve your offensive capabilities. The main offensive cards you want to find at this point are, in order of priority: Whirlwind, Pommel Strike, Cleave, Fiend Fire, Inflame, Body Slam, Rampage, Heavy Blade, Headbutt, Iron Wave, Uppercut, Spot Weakness, and Twin Strike. If you are past Floor 4 and haven't seen any of the cards above, try to at least get one of the cards below before fighting any elites: Armaments, Clash, Clothesline, Flex, Bludgeon, Hemokinesis, Thunderclap, Pummel, Infernal Blade, Sever Soul, Carnage, Wild Strike For this strategy, I don't recommend ever any offensive cards on Act 1 that are not on these lists (it is strong to, for example, pick Searing Blow on the first floor and pursue a Searing Blow strategy, but that is not covered by this guide). You generally want 2-3 of the above cards, which will comprise a large portion of your damage until the end of the game. Defensive and utility cards are less desirable than offensive cards until you have enough offense, but again, there are a few that you should be looking for. Pick mostly from this list, in order of priority (a maximum of one copy should be picked for each card with a *): Battle Trance*, Shrug it Off, True Grit, Disarm*, Shockwave*, Inflame*, Offering, Reaper, Impervious, Double Tap*, Flame Barrier, Evolve*, Ghostly Armor, Feed Finally, there are a few rare cards that you should always keep an eye out for. These are your win conditions: Limit Break, Demon Form, Barricade After you feel comfortable with the rest of your deck, you should take the first one of these that you see, but no more. Afterwards, you will build your deck around the one you choose. Be careful when picking these, however, as they are likely to be dead cards in your deck until at least the boss of Act 1. Shop Choices My general priority for shops in Act 1 is: Thread and Needle > Apotheosis > Key Cards > Remove a Card > Relics = Useful Misc Cards Key cards include Whirlwind or cards that you desperately need to maintain a decent offense/defense. Useful Miscellaneous cards include Disarm, Shockwave, Battle Trance, Shrug it Off, and Inflame. You can also buy potions, though I would only recommend that if you are nervous about an upcoming Elite. Encounter Strategy Lagavulin This enemy sleeps for 3 rounds if you do not wake it up by doing HP damage. I recommend using these turns to play powers and set up, if you can. This fight gets very painful if it drags on for too long, so it can be beneficial to take damage in order to end it faster. 3 Sentries These enemies always alternate between dazing and attacking. Your first priority in this fight is to kill either the Sentry in front or the Sentry in back (usually I pick the one with lowest HP), so that you only receive a maximum of 8 damage each turn. Boss Strategy The Guardian: Suggested safe HP: 35 Strategy: Burst through the offensive mode if possible to avoid the biggest attacks. Watch the Sharp Hide power, and try not to take unnecessary damage. Hexaghost: Suggested safe HP: 45 Strategy: This is a DPS race. It may be worth taking minor damage in order to kill this boss faster. Trivialized by Disarm (safe HP 20). Slime Boss: Suggested safe HP: 50 Strategy: Try to set things up so you split him on the turn when he does his big (35-damage) attack, using the largest amount of extra damage possible. I prefer to focus the Acid Slime (L) first. Choosing Boss Relics The highest priority is to choose a relic that gives an additional energy per turn. All of these relics are better than any other relics, though Philosopher's Stone is not preferred until Act 2, as it has much more severe downsides when taken early. If Cursed Key is selected, I recommend not opening non-boss chests in order to avoid the curses. If no energy relic is available, choose anything other than Calling Bell or Pandora's Box, according to preference. Act 2 Strategy: The City Route Choice If you have access to Whirlwind or another AoE, or your deck has otherwise good offense, prioritize Rest Sites > First Shop > Elites > Events > Other Shops > Monsters. Otherwise, avoid all Elites if possible. Card Choice Priorities Hopefully, you managed to acquire one of the following win conditions by now (probably from the boss): Limit Break, Demon Form, Barricade If so, you no longer need any more offensive cards in your deck. The main exceptions are getting at least one copy of strength gain with Limit Break, and getting Body Slam or Rampage with Barricade. If you didn't, then try to obtain a strength synergy package of (Strength gain card + Heavy Blade/Twin Strike/etc.) as your main damage. It doesn't take very much to easily kill any enemy, just a couple extra cards. Things like Necronomicon, Double Tap, and Girya all help you get enough damage, too. Other than what I stated above, the cards you take should be very limited now. Basically, only take these (in order of priority, and anything marked with a * should have at most one copy in your deck): Battle Trance*, Reaper, Disarm*, Shockwave*, Whirlwind*, Entrench*, Feel No Pain*, Offering, Shrug it Off, Impervious, Double Tap*, True Grit+*, Evolve*, Warcry+ It is likely that your deck is still weak in some areas. In that case, consider taking these cards, only to shore up these weaknesses (didn't find defensive cards in Act 1, still need more damage, etc.): Inflame*, Cleave*, Fiend Fire, Pommel Strike, Body Slam, Rampage, Heavy Blade, Flame Barrier, Ghostly Armor, Spot Weakness*, Thunderclap*, Metallicize* Shop Choices My general priority for shops on Act 2 is: Thread and Needle > Remove a Card > Relics = Cards > Potions The only cards worth considering are those listed above, plus Apotheosis, if you are still on the first half of Act 2. If you see a Dexterity potion in the shop, it may be a good idea to pick it up, especially if you don't have one already. Encounter Strategy Most encounters are fairly straightforward, but there are a few where I recommend focusing a certain enemy first. Looter + Mugger To start, focus the Mugger in the back, unless HP values work out so that you can burst the Looter in one turn but not the Mugger. He hits harder on turn 3 and blocks for more in general. Often it is worth using a potion in this fight if it saves you 45 stolen gold. Centurion + Mystic Focus the Centurion before the Mystic. It seems counter-intuitive, but you are likely to lose less HP this way, as the Centurion hits harder with the Mystic dead. Slavers Focus the Red Slaver (in the back) first here. If you can kill him before he makes you Vulnerable, then you should come out of this fight without losing too much HP. Event Strategy Vampires: This event gives you the option to exchange all of your Strikes and either 30% of your max HP or a Blood Vial for 5 copies of Bite. Bite is a very powerful card, especially in a defensive deck. If you have enough block to avoid damage every turn, you can usually use Bite to heal up to full health in every encounter. The biggest downside is that you get 5 copies of the card, and you would probably rather have only about 3, if you could choose. Losing 30% max HP isn't usually a bit penalty, especially given the healing from Bites. I recommend usually taking the Bites. If you have fewer than 2 Strikes left in your deck or are running Demon Form, it comes down to personal preference, because the added cards will bloat your deck somewhat, and it is harder to stall with Bites while Demon Form is active. Boss Strategy The Champ: Suggested safe HP: Max (or 30 if running Barricade) Strategy: Get him to close to 50% as possible, and then deal as much damage as you can in the next two turns to spend the minimum amount of time with him enraged. Try not to take unnecessary damage early, and consider using a Dexterity potion to be extra safe, if you have any doubts about your deck. I consider this boss is the #1 win streak killer. Much easier if running Barricade, and Disarm helps significantly. Bronze Automaton: Suggested safe HP: 60 (or 40 if running Barricade) Strategy: This boss summons orbs which will steal the rarest card in your deck. Kill the orbs first, and then focus the Automaton. Keep in mind that his pattern is to repeat Attack -> Defend -> Attack -> Defend -> Hyper Beam -> Stunned. The Collector: Suggested safe HP: Max Strategy: Since the recent buff, the Collector is quite scary. If you keep one minion at low HP while he is summoning, you can waste half of the summon. Otherwise, I suggest focusing the minions, then the Collector, as before. The game refuses to give me this boss since the patch, so I will update as I am able to test some more. Act 3 Strategy: The Beyond Route Choice Elites are pretty much the only thing that can end your run if you've made it this far by following this guide, so avoid them. Otherwise, Rest Sites are probably the highest priority, since you can always keep upgrading cards. Sometimes you will enter this Act with 600+ gold, in which case Shops become a much higher priority. Card Choice Priorities You should be pretty much done with your deck by now. The card priorities are similar to Act 2, except that by now, a few cards have definitely fallen off in terms of usefulness: Battle Trance*, Reaper*, Disarm*, Shockwave*, Entrench*, Feel No Pain*, Offering, Shrug it Off, Impervious, Double Tap*, Warcry+ Shop Choices Thread and Needle > Remove a Card > Relics = Cards > Potions Pretty similar to Act 2, except now you should plan a way to spend all of your remaining gold. Encounter Strategy Darklings All three Darklings are not the same. The middle one is much less dangerous, as it cannot use the double attack. If you have to kill one before the others, or if you have to choose which one to disarm, it is often correct to kill/disarm the Darkling on the left or right. Shapes (Spiker/Exploder/Repulsor) If you have Feel No Pain, then the Repulsors provide a renewable source of block, and it makes sense to leave one alive. Otherwise, I suggest focusing them first, as their daze attack can be very deadly for a thin deck, especially if it happens twice per turn. Usually, I focus Exploders before Spikers, as they can be whittled down in relative safety with a defensive build. Boss Strategy The Awakened One: Suggested safe HP: Max Strategy: This guy received a serious buff recently. Disarm is very helpful to reduce his damage output. He never scales in damage, so as long as you can weather his hits, you can build up your win condition (Barricade, Limit Break, Demon Form) as much as you like, and there is little point in playing a power that kills him faster in phase 1. Make sure you kill the Cultists first. Donu and Deca: Suggested safe HP: Max Strategy: Focus Donu first. If you know you are facing this boss, picking up a copy of Feel No Pain can be helpful. This is the hardest boss for our strategy, so it's extra helpful to bring at least one Dexterity potion. Time Eater: Suggested safe HP: Max Strategy: Watch the card counter and try not to play too many cards. Don't play unnecessary cards, and if you drafted one of my three win conditions, you should win by default. Even if you didn't, you can probably block almost all of his damage, making this fight fairly straightforward. Watch out for his heal to 50% hp and debuff cleanse, which he uses one turn after being brought below 50%. Sample Decks Here are some of the final decks from my current win streak, for an example of how to choose cards. Unfortunately, due to how game logs are saved, I do not know which cards were upgraded. However, it is safe to assume that almost every card other than Defend is upgraded in most decks. Deck 1 (game 4 in streak) 3x Defend, Bash, True Grit, Bludgeon, Pommel Strike, Shockwave, Cleave, Fiend Fire, Shrug it Off, Apotheosis, Flame Barrier, Uppercut, Ghostly Armor, Reaper, Flame Barrier (17 cards) In my first few floors I picked True Grit, Bludgeon, and Pommel strike, satisfying my need for early damage and defense. Shockwave was the next pick, as it is always a card that is worth taking when available. Because I still lacked a source of AoE, I picked Cleave when it showed up right before the boss. Fiend Fire was offered as a boss card, so I took it to ensure an easier path through Act 2. Philosopher's Stone was the only Energy relic available, so I chose to take it. Shrug it Off was offered from the first fight, and is rarely bad to pick. A very early shop had Apotheosis, as well. Because Philosopher's Stone can be painful, I took it to allow more resting, along with a Flame Barrier. The second boss gave me Snecko's Eye. With that in hand, I drafted a few higher cost cards to round out my deck, including the very valuable Reaper, whic helped me end every fight at full HP. Deck 2 (game 5 in streak) 3x Defend, Bash, Uppercut, Whirlwind, Shrug it Off, Body Slam, Juggernaut, True Grit, Disarm, Entrench, Evolve, Demon Form, Iron Wave, Thunderclap (16 cards) I took Juggernaut from the first boss, perhaps hoping for some supplementary damage on Act 2. With Mark of Pain, Evolve was a priority Act 2 pick. Picking up Demon Form afterwards basically invalidated my Juggernaut, however, as it was used to scale my damage on Act 3. Thunderclap was a final pickup to add some Artifact stripping against Donu and Deca. Deck 3 (game 6 in streak) I actually have a picture of this one!
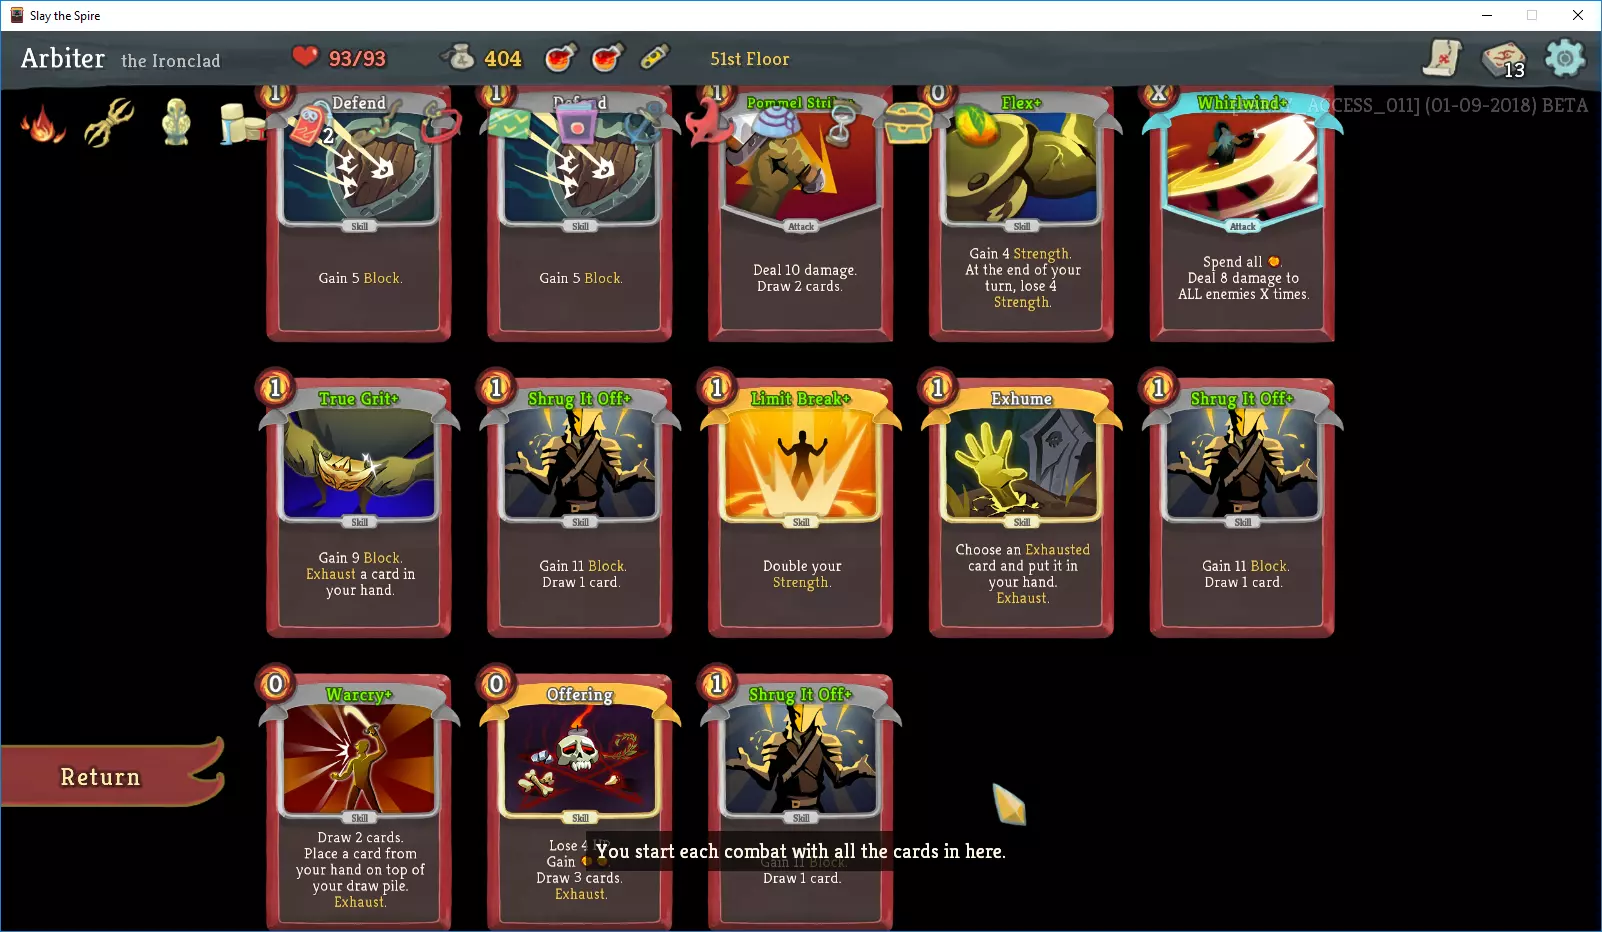
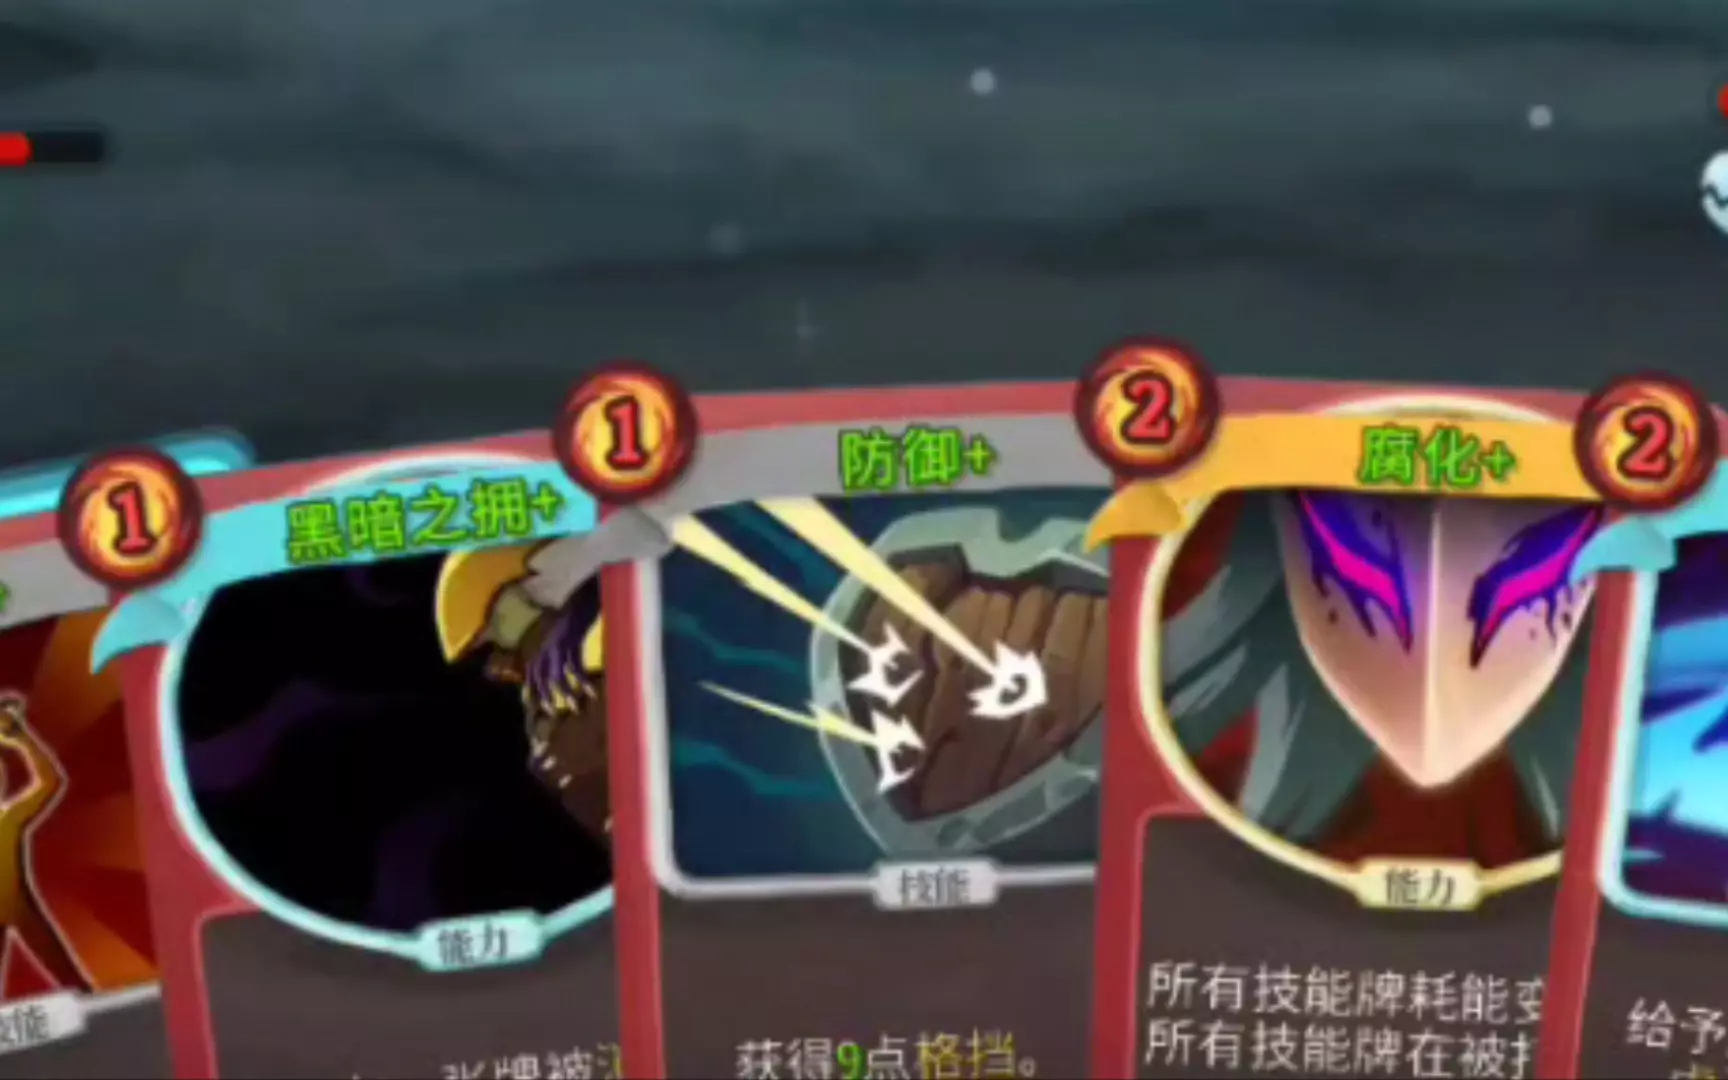
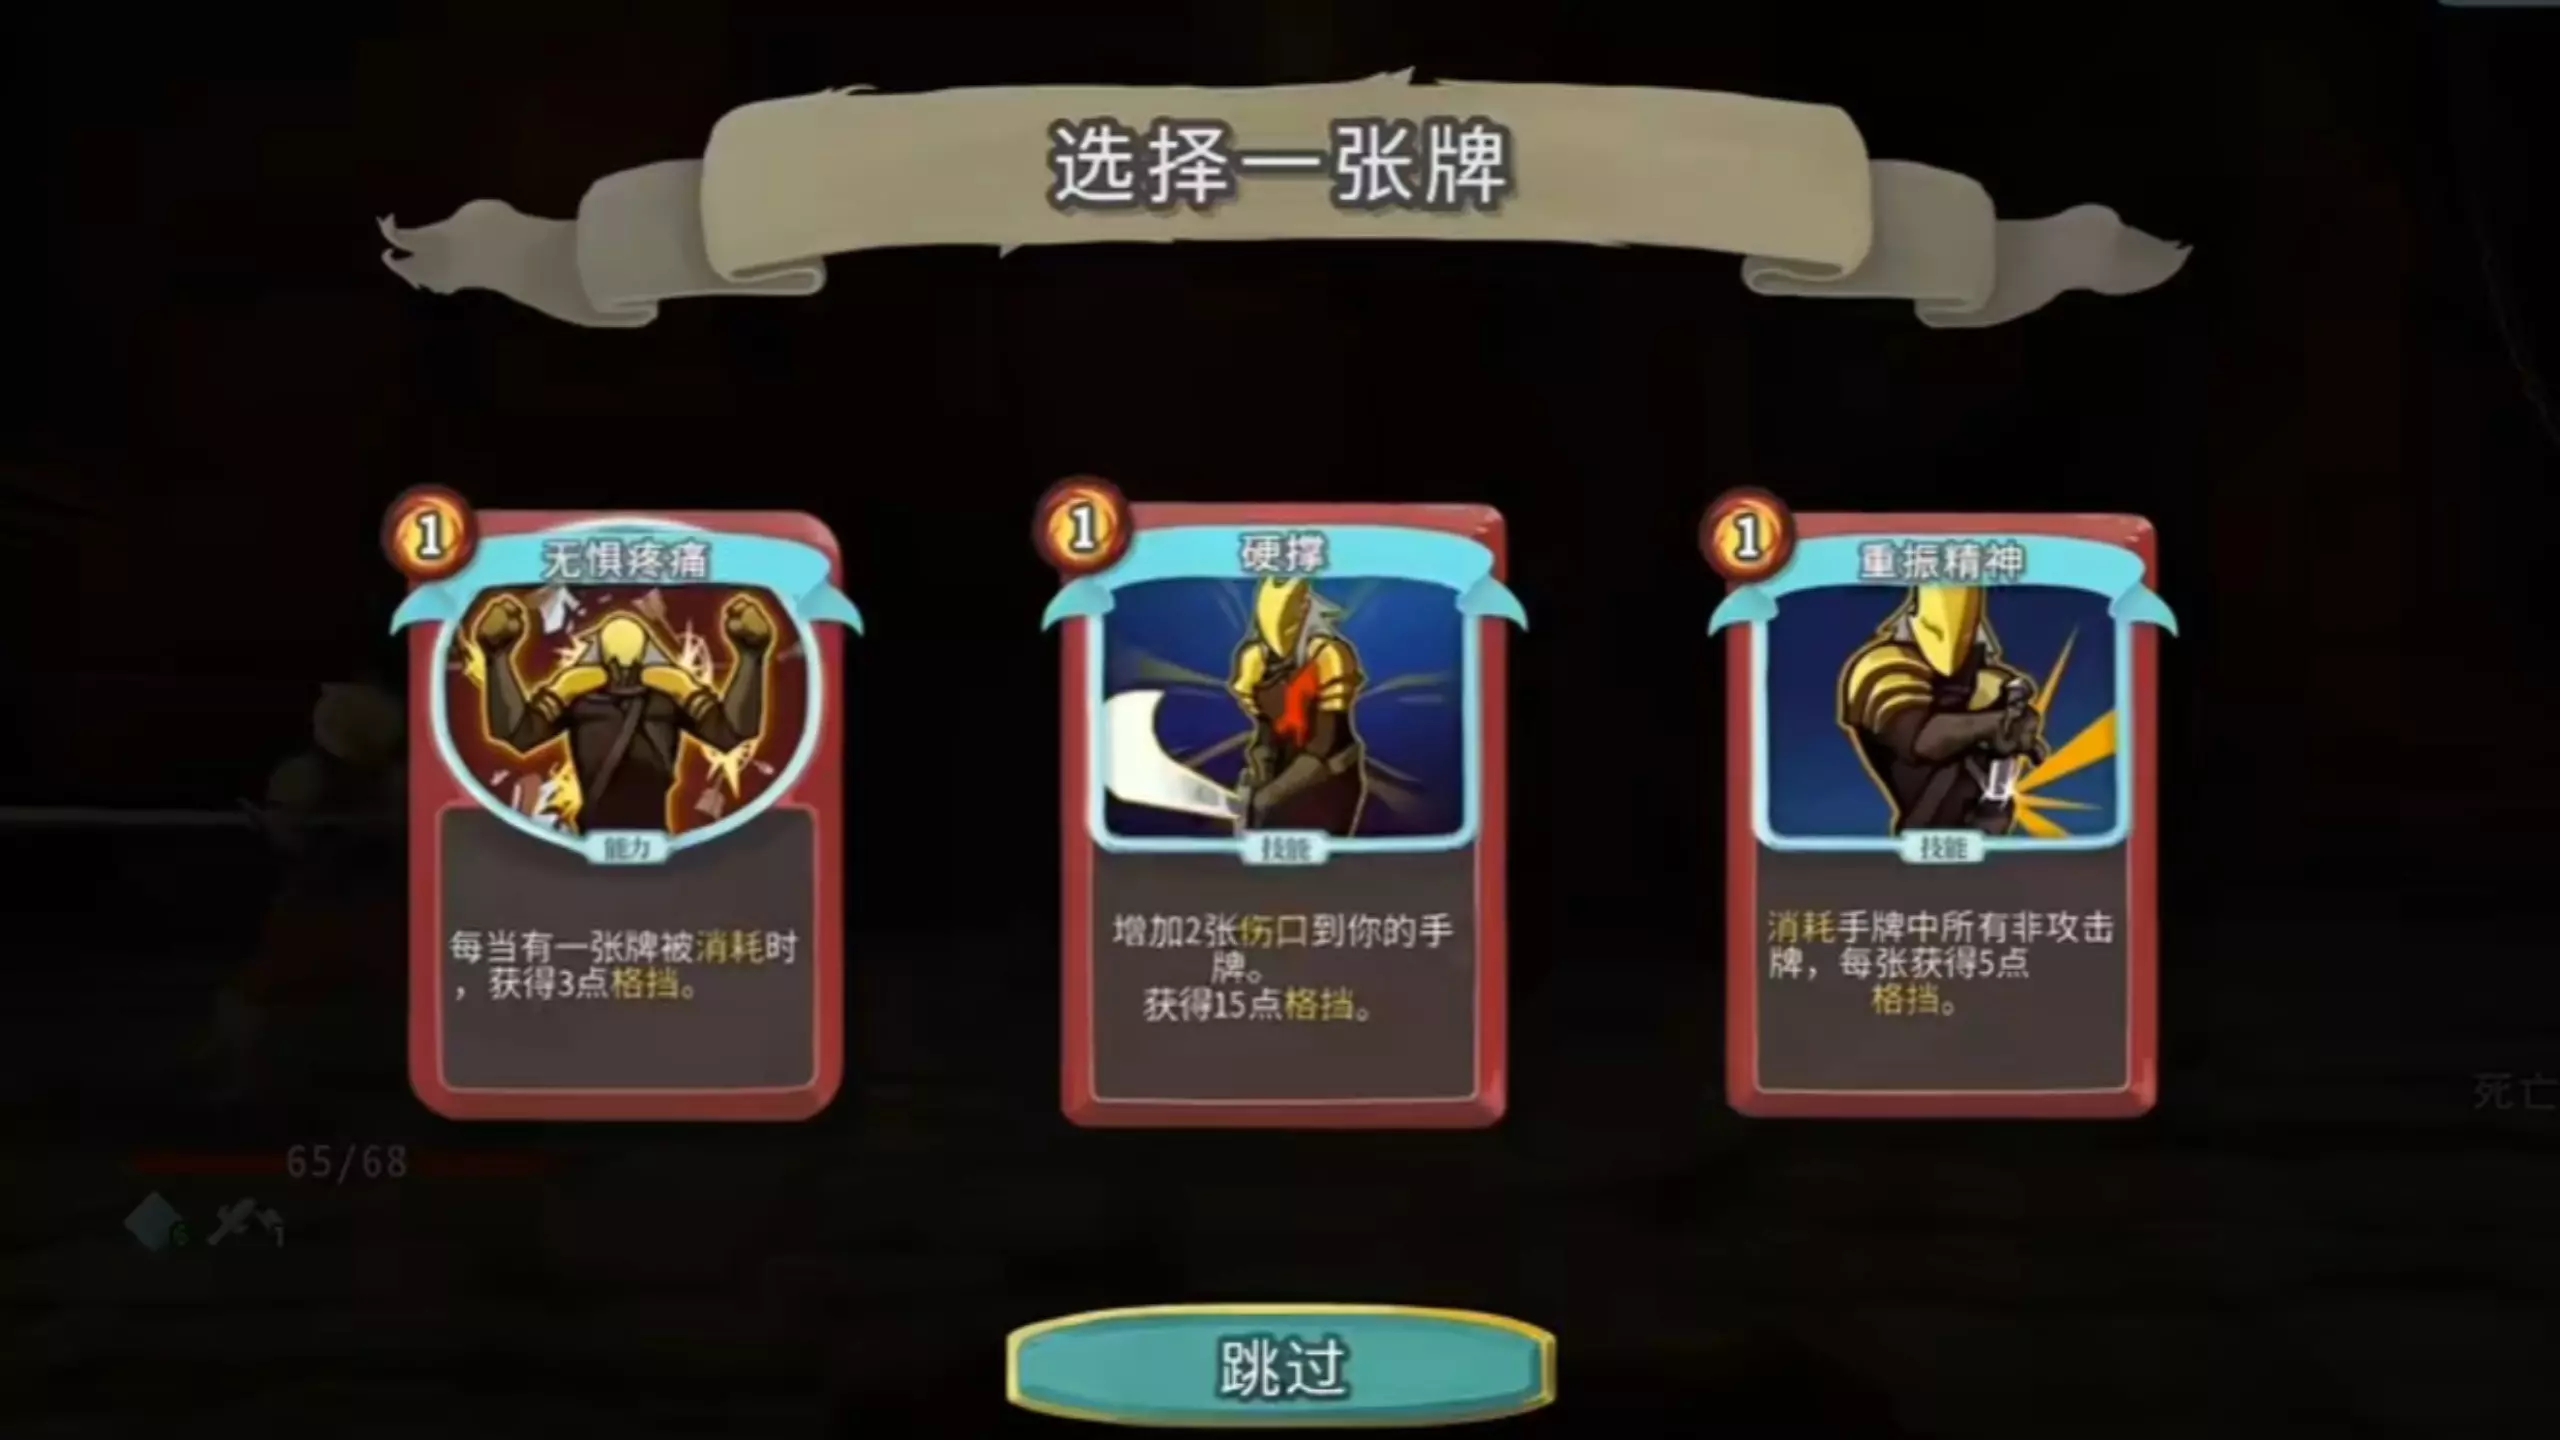
从匹配游戏中被迫选了【掘墓】,但对套牌影响不大。一个力量遗物让【极限突破】能单独生效,不过和【灵活】配合效果更好。后期拿到的【奉献】和【战吼+】进一步提升了稳定性。 套牌4(连胜第16场) 打击,4张防御,猛击,冲突,暴怒,2张耸肩无视,身体撞击,壁垒,劈砍,幽灵护甲,火焰屏障,冲击波,头槌,缴械(共18张牌) 第三幕没有抓任何牌。【灵质】导致移除的牌相对较少,但除此之外,这是一套非常标准的壁垒/身体撞击套牌。 常见问题 问:会做关于静默猎手的攻略吗? 答:我终于抽出时间做了一份静默猎手的简易攻略!关于卡牌选择的指南。除此之外,请使用与铁甲战士指南相同的游戏策略。 问:什么时候应该挖掘遗物? 答:谢谢!根据我的表格数据,平均而言,挖掘遗物比升级优先级中等或更低的卡牌更有价值。通常,挖掘遗物时唯一需要担心的是获得【死亡分枝】,它可能对许多卡组造成负面影响。如果你在50层时只有通过获得【死亡分枝】才能击败敌人,那么在追求连胜时我会避免挖掘。否则,请随意挖掘!反正我觉得挖掘很有趣。如果你有【神化】,在升级完【神化】以及可能的几张关键能力牌后,可以尽情挖掘。 问:某个敌人的行动模式是什么?我有【符文穹顶】,记不起来了!另外,所有事件都有什么作用? 答:可以查看相关参考文档!目前,它比任何《杀戮尖塔》维基都更完整,而且非常准确。 总结 希望你能从我的指南中学到一些关于铁甲战士玩法的知识!我想强调的是,这并非该职业唯一的玩法,也不一定是最佳玩法,但如果你能运用这些建议取得自己的长连胜(甚至是首次胜利),我就认为这是成功的。祝你在尖塔冒险中好运!