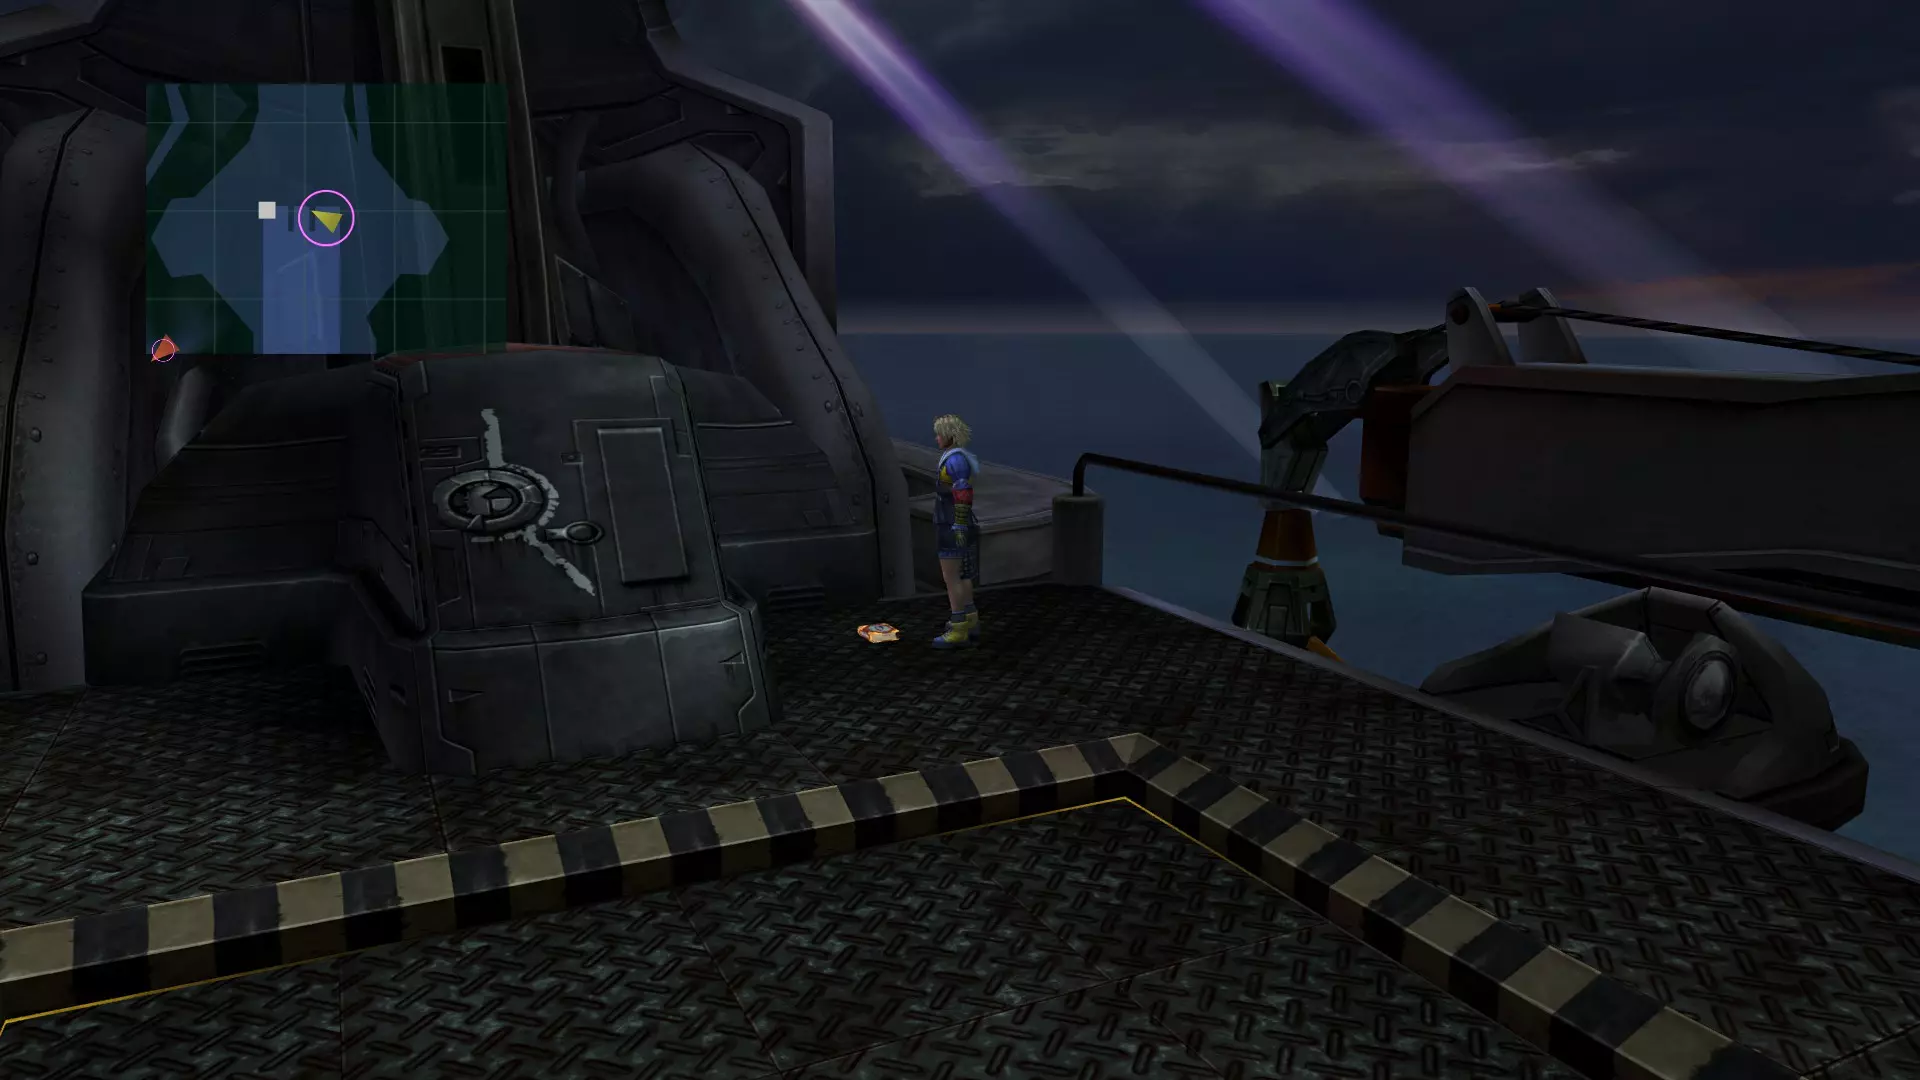
愿本指南能帮助你在精彩的《最终幻想X》游戏中完成试炼之窟。我本人已获得Steam成就100% FFX Completion,希望能鼓励其他喜爱这款游戏的玩家,并在他们的游戏过程中提供帮助。本指南还包含了隐藏召唤兽【阿尼玛】的获取方法。只需观看视频(无解说),步骤简单直接。 祝游玩愉快! 贝萨德寺院 1. 调查后方的符号,使右侧墙上出现纹章,然后触摸纹章,墙壁会打开。 2. 从凹槽中取出纹章之球,然后进入走廊。走下楼梯,调查墙上的符号。拿起你手中的符文球,继续沿着走廊前进,用它打开门。 3. 门打开后,从门上的凹槽中取出符文球,继续沿着路径前进,直到看到左侧有第二面隐藏的墙,墙上有一个球形凹槽。将你手中的“符文”球插入凹槽。墙会打开,但暂时不要进去。 4. 继续沿着路径前进并转弯,你会看到一个发光的符号。触摸它,墙就会打开。沿着路径向下走,拿到贝萨德球。 5. 现在你手中有了贝萨德球,沿着路径返回,将贝萨德球插入你刚才所在位置对面的基座中。 6.离开基座(稍后会回来),返回步骤3中的隐藏通道。就是我们之前跳过的那条。进去拿取破坏之球。 破坏之球 7. 然后进入你找到贝塞德之球的隐藏通道,将破坏之球插入凹槽。 8. 这会打开另一条隐藏通道,你必须在那里拿到隐藏宝箱以获得隐藏召唤兽【阿尼玛】。拿到宝箱后,返回并将基座推回原位,完成试炼。 奇利卡寺院
- As you start out, go left and grab the sphere - Then, go to the door on and on the right side you'll see a "recess" to place the sphere (causing the door to become lit-on-fire. Remove the sphere and proceed through the door - Now, proceed all the way back and insert the sphere into the recess. This will make a glyph appear - After the glyph appears, remove the sphere and proceed the right side of the wall and you'll notice another recess to insert the sphere. - After you've inserted the sphere on the right side of the wall, go back (north) and touch the glyph (opening another chamber) - From the back, there's a pedestal that holds a glyph sphere, take it and insert it into the left wall - Proceed north through the next chamber and to the northeast is a shining button on the floor. Step on it - After you've stepped onto the shining button making the pedestal teleport; go to the right where you'll see another sphere grab it (just right of the teleported-pedestal was) - Place the sphere into the slot of the pedestal - Now, head back south in the previous chamber where on the left side of the wall was the glyph sphere. Grab it and head back north into the chamber where the pedestal is - Insert the glyph sphere into the recess on the right side of the wall - Now, push the pedestal to where that shining floor-button is (northright) this will make the pedestal descend below - Take the sphere from the pedestal head up the steps and insert the sphere into the right side-of the door's recess *Don't Go Through the Door...yet* Destruction Sphere - Head back down the steps and go up the steps and head to the right side of the hidden chamber (the one next to the shining floor button) grab the destruction sphere - Take the destruction and head down the steps to the right ( next to the pedestal is) where you can place the sphere into the recess revealing the hidden treasure - the red armlet and of course treasure #2 - Anima - Now, just head up the steps remove the sphere from the flaming door and exit Djose Temple 1. From the start head to the right and grab the "Djose Sphere" from the recess 2. Then insert the "Djose Sphere" into the door 3. Next grab the Second-Djose Sphere from the recess (the one on the left) and insert it into the door which in-turn opens the door 4. As you proceed through the door - grab the sphere on the right and insert the sphere into the pedestal 5. Next grab the Djose sphere (on the left) that's on the wall and head right down the path. You'll see an empty recess to which you'll be able to insert the sphere (there's a shining glyph on the upper-left-wall) above the recess 6. From there, run to the pedestal (where you inserted the Djose Sphere) and remove it. Head back to where you inserted the other Djose sphere (and to the right) is another empy-recess to insert the sphere. 7. In-turn this will activate an upside-down-hanging-pedestal. Now, run back to the room where the other pedestal is and push it underneath the Upside-Down-Hanging-Pedestal 8. This will charge the pedestal with the glyph sphere in it 9. Now remove the Charged-Glyph sphere from the pedestal, and run back to the room where there's a Glyph on the Wall (in the back). Insert the charged glyph sphere (on the right recess) to open up a secret chamber. 10. Before you enter through the secret chamber, run back to the pedestal. There's two Djose sphere on the wall you want to remove and insert it into the pedestal and push the pedestal through the secret chamber and into the "lightning-floor" beneath. The Pedestal will levitate (providing you the necessary-platform) 11. Afterwards, jump across the lightning floor and push the pedestal so it'll activate the side wall. 12. Now jump back and run back to the left - there's a shining floor switch you'll need to activate so you can teleport the pedestal back. 13. After doing so; take both the Djose Sphere's and insert each on the wall back to the beginning of the Temple. There's a recess on the left and right of the walls. Doing so you'll activate both the "wings" of the symbol on the ground. 14. Afterwards, run back to the room where the floor glyph is; and just to the right is the Charged-Glyph sphere. Remove it and insert it into the recess on the right wall. 15. This in-turn transform the pedestal into a Rising-Platform. Get on the platform and go up the next level 16. Ride the platform to the next level and push all the statues in it place. This will activate all of them. 17. The Exit-Chamber Door will then open but do not exit. Instead let's go and get the Destruction Sphere. Destruction Sphere 18. Ride the Platform down and next to the shining floor switch is a "dim glyph" on the wall. Touch it to activate an hidden chamber which has the destruction sphere in it. 19. Grab the destruction sphere and ride the platform up and insert the destruction sphere into the pedestal which will reveal a hidden treasure chest. 20. Open the chest and now you can exit through the door. Macalania Temple The Goal is to Rebuild the Ice Bridge Descend down the ramp and push the pedestal into the ice formation to the right, this causes it to stay in position. Now go to the wall at the end, collect the Macalania Sphere from the recess and insert it into the pedestal. Now, push the pedestal into the remaining ice formation, allowing it to slide down a ramp. Remove the Glyph Sphere from the central pillar and follow the pedestal down the ramp, pushing the pedestal to the right after doing so, causing one segment of the bridge to be rebuilt. (Lower Level) Insert the Glyph Sphere into the recess to the far left, allowing another Macalania Sphere to be accessed above. Ascend the ramp and take the new sphere from its recess, and go back down the ramp. Insert the sphere into the remaining pillar, causing a second segment to be rebuilt. Go back up the ramp and take the Macalania Sphere out of the remaining recess, causing the ramp leading to the lower level disappears. Insert the sphere into the final pillar on the top level, where the Glyph Sphere was, fully building the bridge and completing the trials. Destruction Sphere Remove the Macalania Sphere from the central pillar and insert it into the first recess mentioned, forming the ice formation initial. Go up the first ramp to the shining tile which has appeared and step onto it, bringing the pedestal to the top level. Remove the Macalania Sphere from the pedestal and then push it down to the lower level, lodging it into a large pillar. Walk down the ramp and insert the Macalania Sphere into remaining recess to recreate the ramp leading to the lower level. Step onto the shining tile near to it (not on the very top level) to find a Destruction Sphere inside, which the player should take out. Push the pedestal into the ice formation and down the ramp as before, and follow it down once again. Insert the Destruction Sphere into the recess close to the ramp on the left to destroy a segment of ice which was encasing the Luck Sphere treasure. Ascend the bridge once more, taking the Macalania Sphere from the recess to the right and inserting it into the pedestal below. Push the pedestal to the right and walk up the ramp a final time. Take the Macalania Sphere from the recess forming the ramp and insert it into the central pillar, restoring the bridge. Ascend the large ramp, being careful not to step on the shining tile, and exit, completing the trials. Bevelle Temple Interesting Side Note: This is the only temple that it's necessary to use a Destruction Sphere to complete. Go forward and pass the first turning. At the second, Go left when the prompt. Remove the Bevelle Sphere from its recess and push the pedestal back onto the path. At the end of the pathway, turn around, and go to the left section. Insert the Bevelle Sphere into the recess to generate a path on another floor and push the pedestal back. At the next turning, choose to turn into the lower level to descend onto another turning. Choose to go left to stay on the middle level and turn right at the second turning. Take the Glyph Sphere, insert it into the pedestal, and push the pedestal back onto the path. At the next turning, go right and remove the Bevelle Sphere from inside the pedestal (the pedestal will not transport the player without this). Insert the sphere into the recess on the left to generate a path which can be walked along. Remove the Glyph Sphere and walk across it. Insert the sphere into the symbol at the end of the corridor to have the barrier dissipate and allow access to the Destruction Sphere. Take the sphere and insert it into the pedestal, along with the Bevelle Sphere from the recess, and push the pedestal back onto the path. Travel to the point where the Glyph Sphere was found (the second turning) and insert the Destruction Sphere inside the recess to allow a path to be traversed from which the trials can be completed. Before taking the path to complete the trials, go back to the first turning of the level (which allows movement between levels) and go to the bottom level. Remove the Bevelle Sphere and return to the middle level, taking the Destruction Sphere path (first turning). On the platform, push the pedestal away from the main path (the way the player is facing) to enter the final room. With the second Bevelle Sphere in hand, climb the stairs and insert it into the recess to allow a path to move. Take the HP Sphere Destruction Treasure from its chest on the right and step onto the shining tile in its place. Once the pedestal is generated, push it onto the moving path to attain the Knight Lance (this treasure is impossible to open without the second Bevelle Sphere from the bottom level. When back to the platform, walk right past the shining tile to complete the trials. Zanarkand Dome & Anima The Zanarkand Dome (Temple) is best going to be explained through a video. There's really no easy way of explanation (at least in text format) also, included in the video is: How to Acquire the Aeon: Anima Enjoy!


 换一换
换一换 


