换一换
换一换 


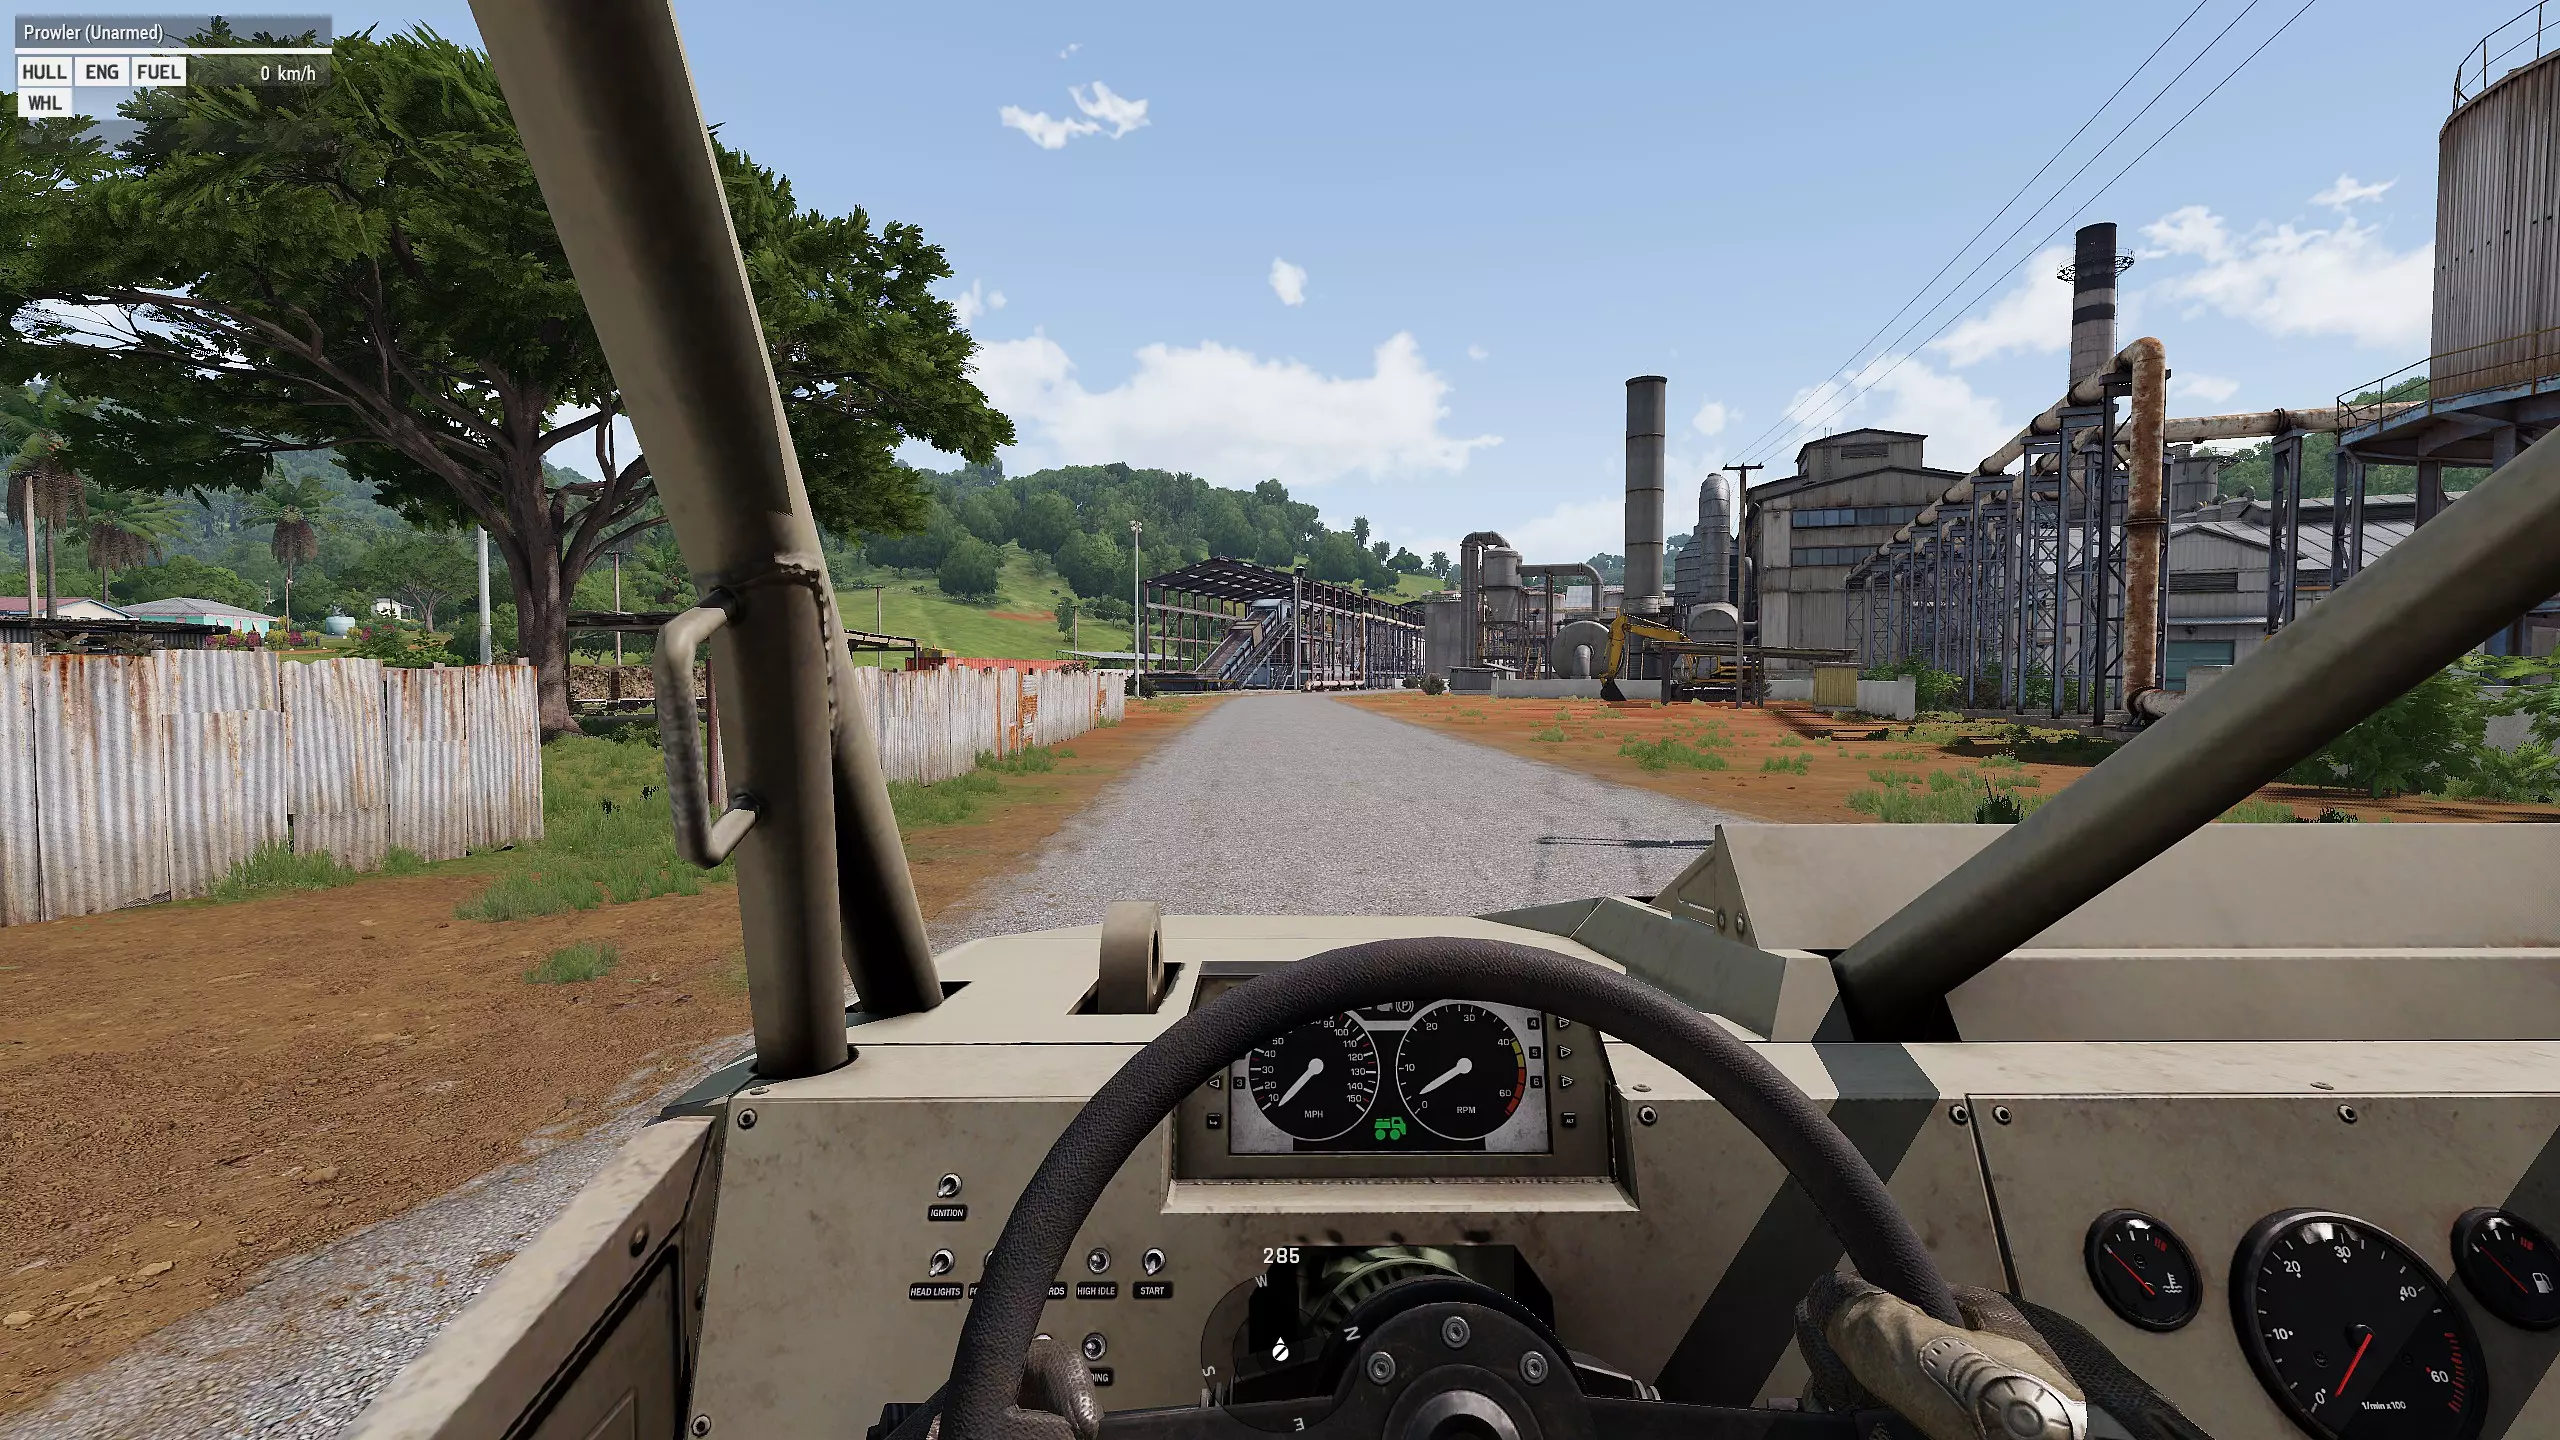
Unlock the full potential of Arma 3 with our detailed guide on debug commands. Whether you're a mission creator, server admin, or an avid player, understanding debug commands is essential for troubleshooting, testing, and optimizing gameplay. Introduction Welcome to the Arma 3 Debug Commands Guide! This comprehensive resource is designed to help you unlock the full potential of Arma 3 by mastering the use of debug commands. Whether you're a mission creator, server admin, or an avid player, understanding these commands can significantly enhance your gameplay and server management experience. Overview of Arma 3 Debug Commands Arma 3 is a complex and immersive military simulation game that offers a vast range of features and customization options. One of the key tools for maximizing the game's capabilities is the use of debug commands. These commands provide powerful functionalities for testing, troubleshooting, and optimizing various aspects of the game, from mission development to server performance. Importance and Benefits of Using Debug Commands Debug commands are essential for several reasons: Troubleshooting: Quickly identify and resolve issues affecting gameplay or server performance. Testing: Experiment with different scenarios, missions, and scripts to ensure everything functions as intended. Optimization: Fine-tune your game settings and server configurations for the best possible experience. Customization: Unlock advanced features for creating and managing custom content. Whether you're looking to improve your own experience or contribute to the Arma 3 community by developing mods and missions, mastering debug commands is a crucial skill. This guide will take you through everything you need to know, from basic command usage to advanced techniques, so you can make the most of your Arma 3 experience. Let's get started! Getting Started In order to utilize debug commands in Arma 3, you need to have admin privileges on the server. Here’s how to get started: How to Enable Debug Mode To use debug commands, follow these simple steps: Ensure Admin Access: You must be an admin on the server where you wish to use debug commands. Without admin privileges, you won’t be able to execute these commands. Access the Debug Console: Once in the game, press ESC to pause the game. If you have the necessary permissions, the debug console will be accessible. Execute Commands: With the console open, you can directly input and execute debug commands. This allows for real-time testing and adjustments during gameplay. Once you have verified that you can access the debug console, you are ready to start using various commands to enhance your gameplay experience. Proceed to the next section for a list of useful commands and how to implement them effectively. Basic Commands These commands are commonly used for routine gameplay management and adjustments. Kill Playerplayer setdamage 1; Kills the player character instantly. Open Arsenal["Open",true] spawn BIS_fnc_arsenal; Opens the Virtual Arsenal for the player. Turn Off Swayplayer setCustomAimCoef 0; Eliminates weapon sway for the player. Disable Fatigueplayer enableFatigue false; Disables fatigue, allowing the player to sprint indefinitely. Skip Time by 5 HoursskipTime 5; Advances the in-game time by 5 hours. Remove All WeaponsremoveAllWeapons player; Removes all weapons from the player. Destroy Targetcursortarget setdamage 1; Destroys whatever object or unit you are currently looking at. Heal Playerplayer setDamage 0; Fully heals the player character. Show Text on ScreentitleText ["Show this text", "PLAIN"]; Displays text in the middle of the screen for the entire server. Delete VehicledeleteVehicle cursorTarget; Deletes any vehicle the player is looking at. Repair Vehicle_timeForRepair = 0; _vehicle = vehicle player; hint format ["Please wait %1 seconds for repair/flip",_timeForRepair]; sleep _timeForRepair; if (_vehicle == player) then {_vehicle = cursorTarget;}; _vehicle setfuel 1; _vehicle setdamage 0; _vehicle = nil; vehicle = this select 0; _vehicle setvectorup [0,0,1]; Repairs the player's vehicle fully. Set Ammo to 1player setAmmo [currentWeapon player, 1]; Sets the player's current weapon ammo to 1 round (change value as needed). Advanced Commands These commands are used for more complex actions and server management tasks. Replace Server Texthint "N. F. Mendana is boss"; Displays a hint message on the screen, which can be used for server notifications. Set Player Ammoplayer setAmmo [currentWeapon player, 1]; Sets the player's ammo for the current weapon to a specific amount. Remove Fog0 setFog 0; forceWeatherChange; 999999 setFog 0; Removes fog from the game environment. Remove Fuel from Vehiclevehicle player setfuel 0; Drains all fuel from the player's vehicle. Add Weapon to Playerplayer addweaponglobal "arifle_MX_GL_F"; Gives the player a specific weapon (can be modified for different weapons). God Modeplayer allowdamage false; Makes the player invulnerable to damage. Blame Player Scriptif (name player == "Astral") then {} else { [] spawn { sleep 5; _BRG_popuptext = "<t size='1' color='#ff1111'>WARNING Astral using SSPCM to cheat</t>"; _BRG_popuptext2 = "<t size='1' color='#ff1111'>Type in chat '#kick Astral' if want remove him in the game</t>"; _BRG_value1 = [_BRG_popuptext, 0.01, (safeZoneY + 0.05), 0.5, 0, 0, 90] spawn bis_fnc_dynamicText; playsound "Hint"; sleep 2; _BRG_value1 = [_BRG_popuptext, 0.01, (safeZoneY + 0.05), 0.5, 0, 0, 90] spawn bis_fnc_dynamicText; sleep 2; _BRG_value1 = [_BRG_popuptext, 0.01, (safeZoneY + 0.05), 5, 0, 0, 90] spawn bis_fnc_dynamicText; sleep 5; _BRG_value1 = [_BRG_popuptext2, 0.01, (safeZoneY + 0.05), 15, 0, 0, 90] spawn bis_fnc_dynamicText; playsound "Hint"; }; }; Custom script for displaying messages regarding player actions. Teleport Player_pos = getPosATL player; _pos set [2, 700]; player setPosATL _pos; player spawn bis_fnc_halo; Teleports the player 700 meters into the air. Select Teleport LocationopenMap true; onMapSingleClick { onMapSingleClick {}; {_x setPos _pos;} forEach units group player; hint ''; openMap false; }; Allows the player to select a teleport location on the map. ESP Wallhacksif (isnil ("WookieESP")) then {WookieESP = 0;}; if (WookieESP==0) then { WookieESP=1; cutText [format["Esp On"], "PLAIN DOWN"]; hint "Esp On"; } else { WookieESP=0; cutText [format["Esp Off"], "PLAIN DOWN"]; hint "Esp Off"; }; if (WookieESP==1) then { oneachframe { _nigs = nearestobjects [player,["CAManBase"],1400]; { if ((side _x != side player) && (getPlayerUID _x != "") && ((player distance _x) < 1400)) then { drawIcon3D ["", [1,0,0,0.7], GetPosATL _x, 0.1, 0.1, 45, (format ["%2 : %1m",round(player distance _x), name _x]), 1, 0.03, "default"]; } else { if ((getPlayerUID _x != "") && ((player distance _x) < 1000)) then { drawIcon3D ["", [0,1,0.5,0.4], GetPosATL _x, 0.1, 0.1, 45, (format ["%2 : %1m",round(player distance _x), name _x]), 1, 0.03, "default"]; }; }; } foreach playableUnits; _noobs = nearestobjects [player,["CAManBase"],100]; { if (((alive _x)) && ((player distance _x) < 100)) then { if ((side _x != side player) && ((player distance _x) < 100)) then { if (player distance _x < 10 && _x iskindof "CAManBase" && side _x != civilian) then { drawLine3D [[getposatl player select 0, getposatl player select 1, getposatl player select 2], _x, [1,0,0,(abs((((player distance _x)) - 100)/100))]]; }; } else { drawLine3D [[getposatl player select 0, getposatl player select 1, getposatl player select 2], _x, [0,1,0,(abs((((player distance _x)) - 100)/100))]]; }; }; } foreach playableUnits; }; } else { oneachframe {nil}; }; Provides a visual indication of other players' positions through walls. Fun commands These commands add entertainment and non-standard gameplay elements. Attach GBU to Player_expl1 = "Bo_GBU12_LGB" createVehicle position player; _expl1 attachTo [player, [-0.1, 0.1, 0.15], "Pelvis"]; _expl1 setVectorDirAndUp [], [-0.5, 0.5, 0]; _expl2 = "Bo_GBU12_LGB" createVehicle position player; _expl2 attachTo [player, [0, 0.15, 0.15], "Pelvis"]; _expl2 setVectorDirAndUp [], [0, 1, 0]; _expl3 = "Bo_GBU12_LGB" createVehicle position player; _expl3 attachTo [player, [0.1, 0.1, 0.15], "Pelvis"]; _expl3 setVectorDirAndUp [], [0.5, 0.5, 0]; Attaches explosive GBU units to the player. Give Moneylife_atmcash = life_atmcash + 999999; Increases the player's in-game money by a large amount. Attach Smoke to Player_expl1 = "G_40mm_SmokeBlue" createVehicle position player; _expl1 attachTo [player, [-0.1, 0.1, 0.15], "Pelvis"]; _expl1 setVectorDirAndUp [], [-0.5, 0.5, 0]; _expl2 = "G_40mm_SmokeOrange" createVehicle position player; _expl2 attachTo [player, [0, 0.15, 0.15], "Pelvis"]; _expl2 setVectorDirAndUp [], [0, 1, 0]; _expl3 = "G_40mm_SmokePurple" createVehicle position player; _expl3 attachTo [player, [0.1, 0.1, 0.15], "Pelvis"]; _expl3 setVectorDirAndUp [], [0.5, 0.5, 0]; Attaches colorful smoke grenades to the player. Create Sandstorm[player, -1, 0.8, true] call BIS_fnc_sandstorm; Creates a small sandstorm effect near the player. Attach Chicken to Player's Head_expl1 = "Cock_random_F" createVehicle position player; _expl1 attachTo [player, [-0.1, 0.1, 0.15], "Head"]; _expl1 setVectorDirAndUp [], [-0.5, 0.5, 0]; Attaches a chicken to the player's head for comedic effect. Speed Upgrade for Vehicleshint "Speed upgrade loaded!"; waituntil {!isnull (finddisplay 46)}; (findDisplay 46) displayAddEventHandler ["KeyDown","_this select 1 call MY_KEYDOWN_FNC;false;"]; MY_KEYDOWN_FNC = { _vcl = vehicle player; if (_vcl == player) exitwith {}; _nos = _vcl getvariable "nitro"; _supgrade = _vcl getvariable "supgrade"; if (isEngineOn _vcl) then { switch (_this) do { case 17: { if (isEngineOn _vcl and !isnil "_supgrade") then { _vcl SetVelocity [(velocity _vcl select 0) * 1.011, (velocity _vcl select 1) * 1.011, (velocity _vcl select 2) * 0.99]; } else { _vcl setvariable ["supgrade", 1, true]; }; }; case 42: { if (isEngineOn _vcl and !isnil "_nos") then { _vcl setVelocity [(velocity _vcl select 0) * 1.01, (velocity _vcl select 1) * 1.01, (velocity _vcl select 2) * 0.99]; } else { _vcl setvariable ["nitro", 1, true]; }; }; }; }; }; Enhances vehicle speed, providing a boost when keys are pressed. Destroy Player Vehiclevehicle player setdamage 1; Destroys the player's current vehicle. Shoot Carsplayer addEventHandler ["Fired", { _bullet = _this select 6; _unit = _this select 0; _newPos = _unit modelToWorld [0,8,1]; _veh = createVehicle ["I_MRAP_03_F",_newPos,[],0,"CAN_COLLIDE"]; _veh setDir getDir _unit; _veh setVelocity velocity _bullet; deleteVehicle _bullet; }]; Transforms bullets fired by the player into vehicles, creating a trail of cars. Get Speedyplayer setAnimSpeedCoef 100; Increases player movement speed significantly. Creating commands These commands add unique and entertaining elements to the game, providing new ways to interact with the Arma 3 environment. Create a Fireworks Showfor "_i" from 1 to 10 do { _firework = "F_20mm_Tracer_Red" createVehicle (player modelToWorld [random 20, random 20, 50]); _firework setVelocity [random 20 - 10, random 20 - 10, -10]; sleep 0.5; }; Creates a series of red tracer rounds that simulate fireworks above the player. Summon a Helicopter Armyfor "_i" from 1 to 5 do { _heli = "B_Heli_Attack_01_F" createVehicle (player modelToWorld [0, _i * 15, 100]); _heli flyInHeight 100; _heli setDir random 360; }; Summons five attack helicopters flying above the player in a formation. Create a Protective Force Fieldfor "_i" from 0 to 360 step 36 do { _pos = [player, 10, _i] call BIS_fnc_relPos; _field = "Land_HelipadEmpty_F" createVehicle _pos; _field setPosATL [_pos select 0, _pos select 1, 0]; }; Creates a circle of helipads around the player to simulate a protective force field. Launch a Supply Drop_supplyBox = "Box_IND_Ammo_F" createVehicle [getPos player select 0, getPos player select 1, 100]; _supplyBox setVelocity [0, 0, -10]; Drops an ammo supply box from the sky to the player's current location. Call in Airstrike at Cursor_airstrike = "Bo_GBU12_LGB" createVehicle (getPos cursorTarget); _airstrike setPosATL [(getPos cursorTarget select 0), (getPos cursorTarget select 1), 500]; _airstrike setVelocity [0, 0, -50]; Calls in an airstrike on the location where the player is aiming. Spawn a Friendly Infantry Squadfor "_i" from 0 to 4 do { _soldier = "B_Soldier_F" createUnit [getPos player, group player, format ["Soldier%1", _i], 0.5, "PRIVATE"]; _soldier moveTo (player modelToWorld [5, _i * 2, 0]); }; Spawns a squad of friendly infantry soldiers that follow the player. Instant Night to Day TransitionsetTimeMultiplier 0; skipTime (24 - daytime); setTimeMultiplier 1; Instantly transitions the game world from night to day. Spawn a Guard Dog_dog = "Dog_F" createVehicle position player; _dog attachTo [player, [1, 1, 0]]; Spawns a dog that follows the player closely, simulating a guard dog effect. Conclusion Thank you for exploring our Arma 3 Debug Commands Guide! We hope these commands have inspired you to enhance your Arma 3 experience with creative and powerful scripts. Join Our Community For more tips, tricks, and discussions, feel free to join our Discord server. It's a great place to connect with other players, share your own scripts, and get help when needed. Click the link to join: Join our Discord[discord.gg]. Acknowledgments A big shoutout to pleas hjelp ne for contributing some of the awesome commands featured in this guide. Their creativity and expertise are greatly appreciated. Feedback and Suggestions If you think we've missed any cool commands or if you need help with any scripts, please use the comment section below. Your feedback and suggestions are invaluable in helping us improve and expand this guide. Thank you for your support, and happy scripting in Arma 3!
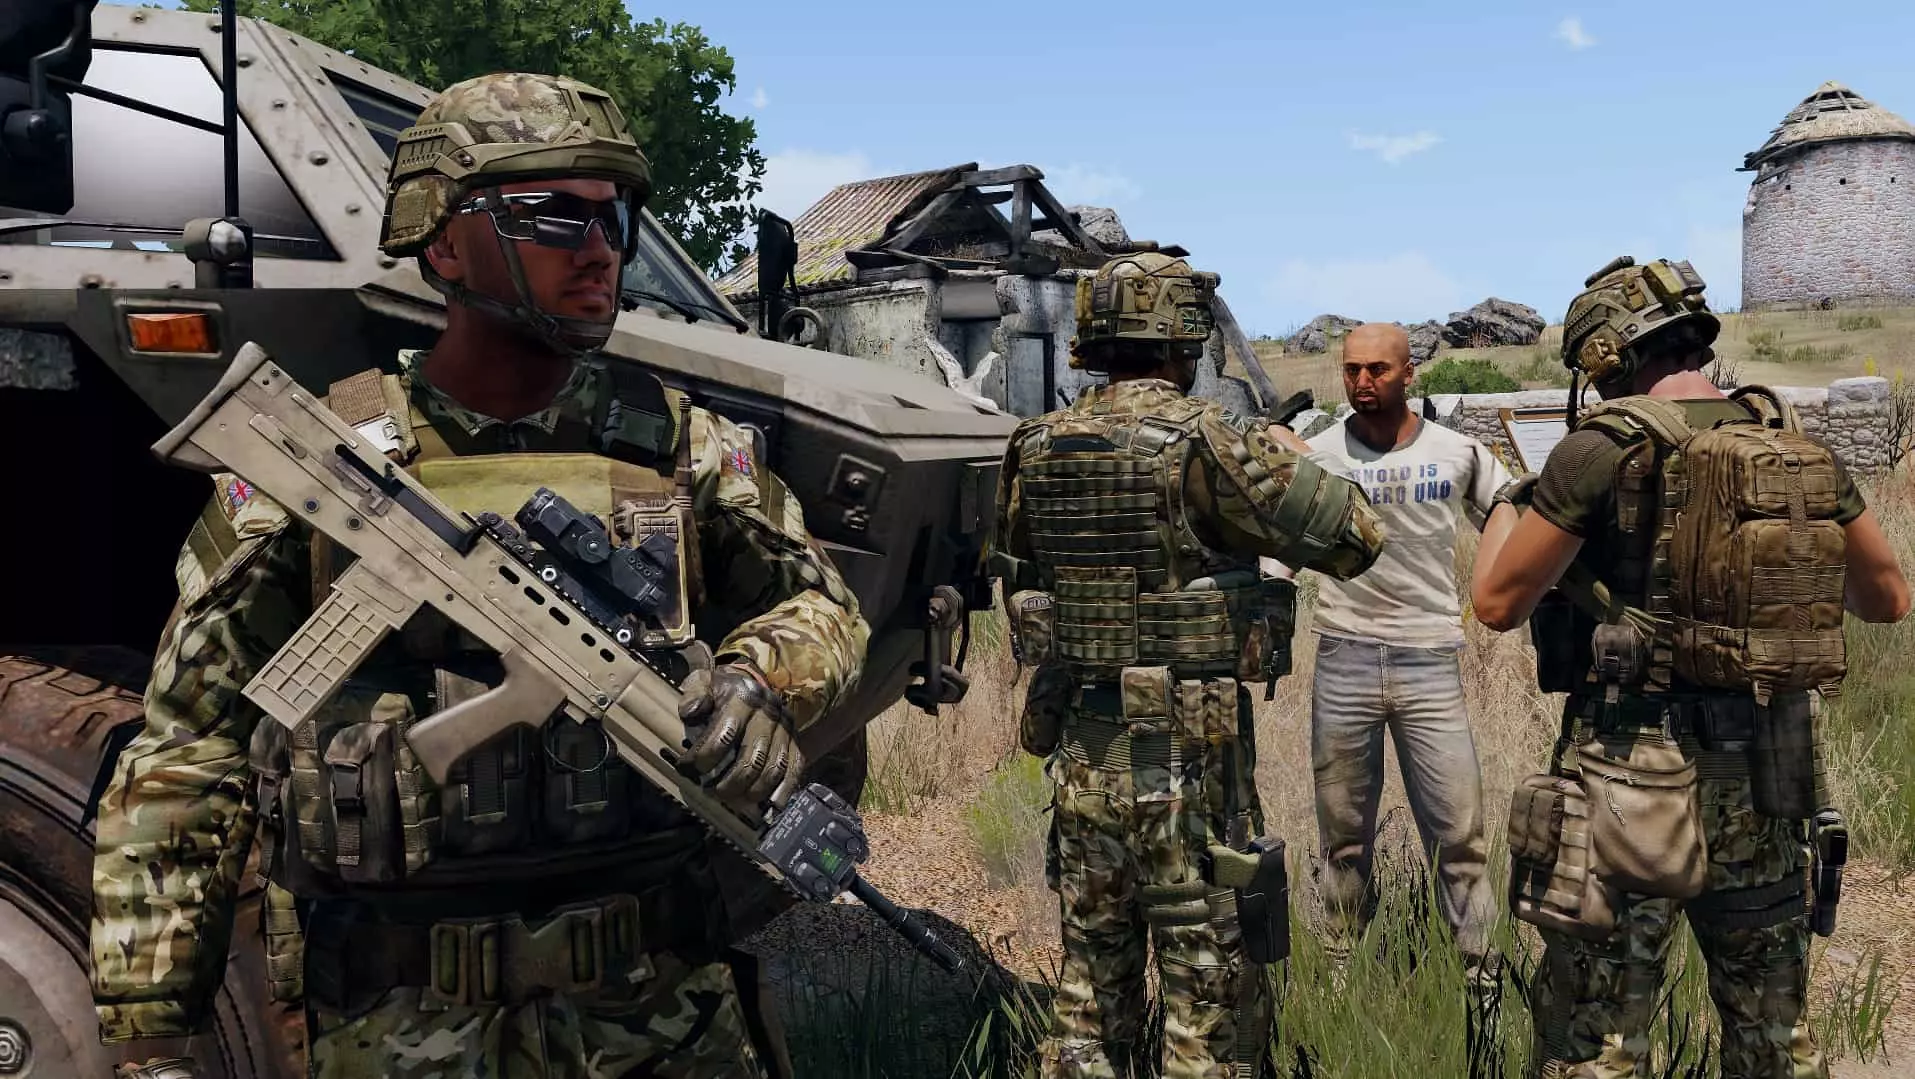
武装突袭3 调试指令

导读
这是一份《武装突袭3》调试指令全指南,涵盖调试指令的启用方法、基础、进阶、趣味及创意类指令,能帮助任务创作者、服务器管理员和玩家实现故障排查、测试、优化、自定义等需求,大幅提升游戏体验与服务器管理效率。

评论
共0条评论

《韦诺之战》指令
我们都在尝试以某种方式拓展游戏玩法,让游戏不再枯燥,或者只是为了更轻松地进行游戏。在这里,我将为大家展示《韦诺之战》的指令列表! 这些指令在多人游戏中可能无法使…
2026-04-05 19:000赞 · 0评论

热血传奇老G开区26天体验 当传奇老G难吗 传奇老G日常揭秘 热血传奇服务器管理
热血传奇老G开区26天真实体验分享,当老G到底有多难?传奇老G日常揭秘,从开区到运营的心酸历程,服务器管理、玩家问题处理、游戏平衡维护,每一个环节都是挑战,想当…
2026-05-21 10:070赞 · 0评论

反恐精英:起源 指令
命令 adjust_crosshair – 每次输入此命令都会更改准星颜色 allow_spectators – 设置是否允许观察者观看游戏 bgmvolume…
2026-02-14 13:000赞 · 0评论

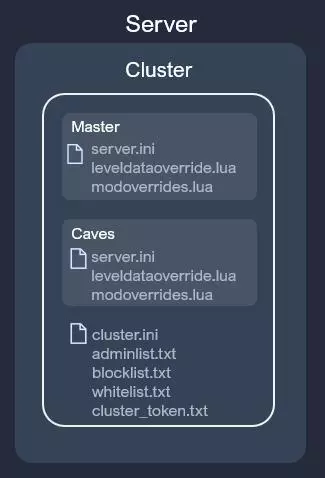
专用服务器配置项和命令行参数详解
详解专用服务器中cluster.ini、server.ini的各配置项作用 服务器管理常见问题解答 服务器命令行启动参数详细说明 内容简介 写在最前:玩《饥荒》…
2026-02-24 03:011赞 · 0评论
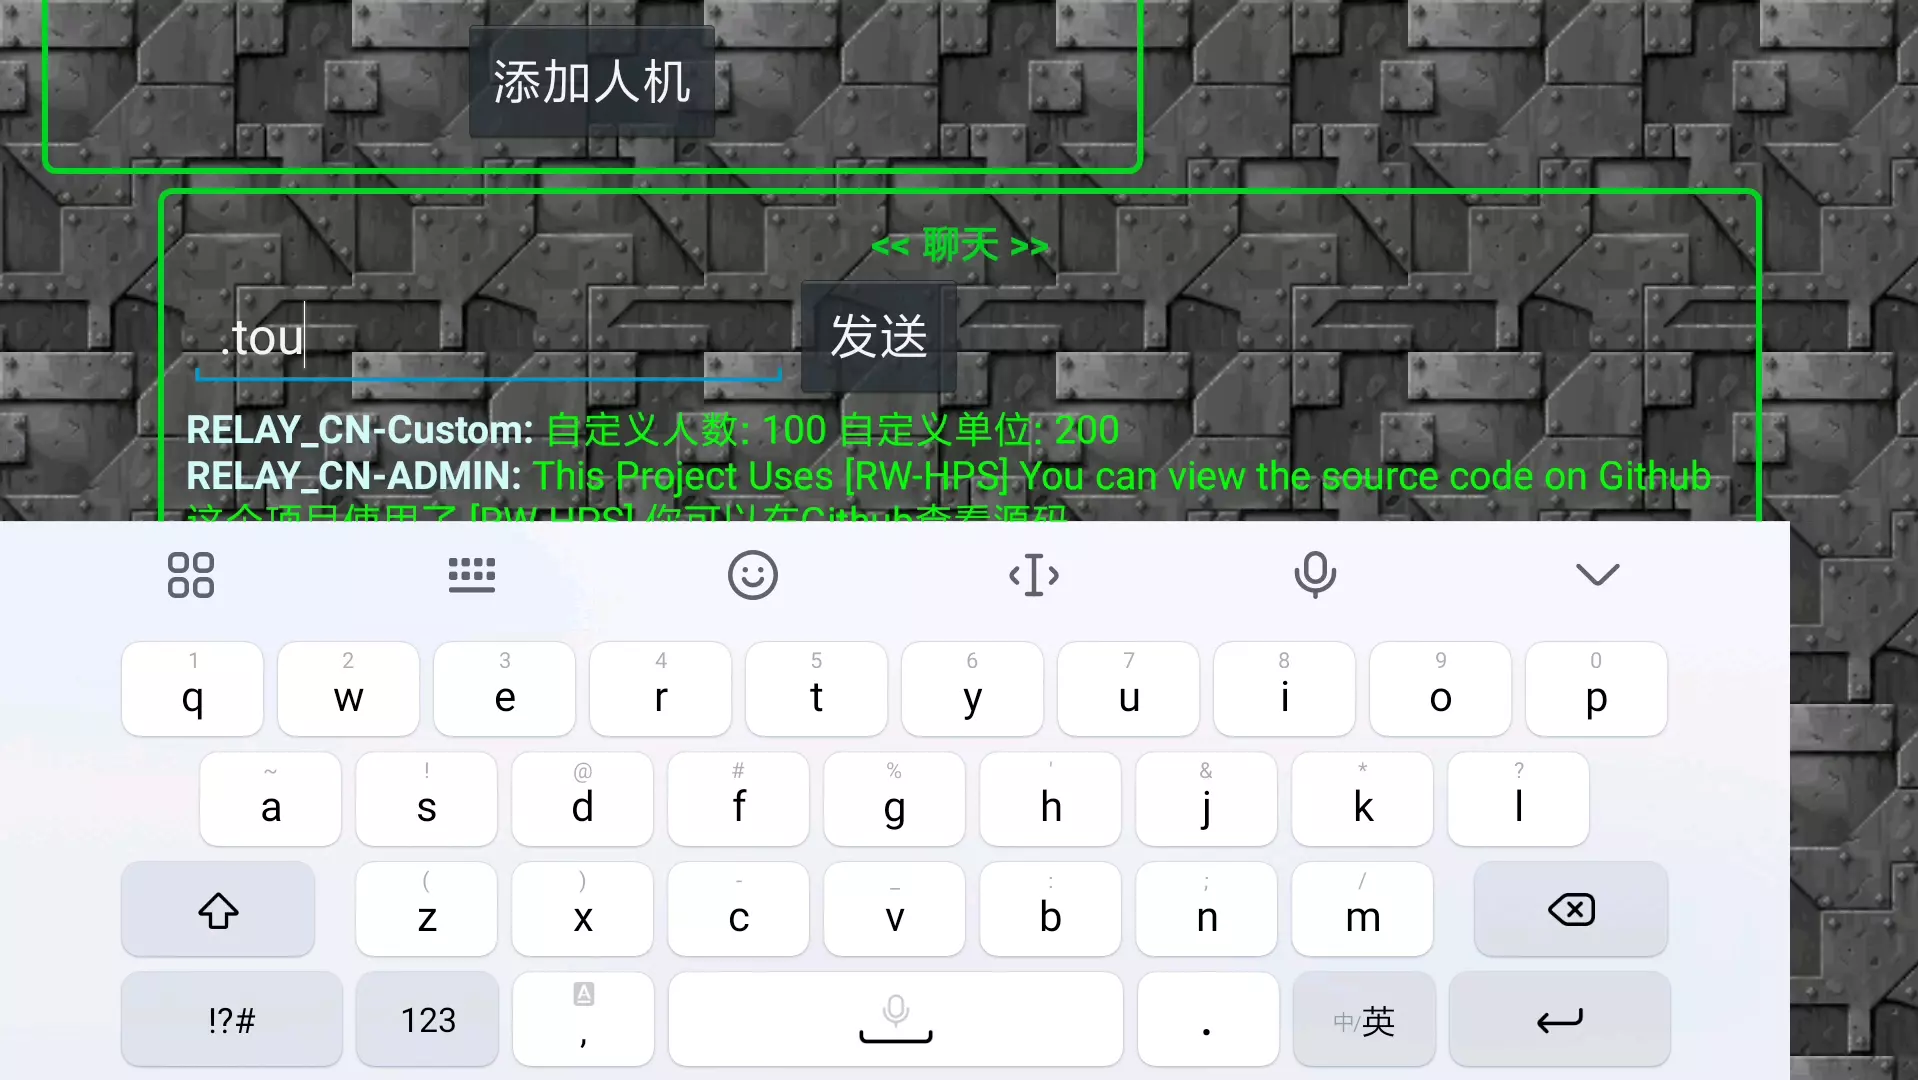
铁锈战争 一些有用的铁锈战争指令
轻松让你管理服务器或整蛊房主
2025-09-07 12:010赞 · 0评论
攻略向 以撒的结合十个你注意不到的细节(可能吧)
萌新up主,感谢大家支持喵!
2026-05-06 13:350赞 · 0评论
战术小队国际服怎么了 战术小队服务器管理 战术小队网暴 战术小队规则遵守
《战术小队》国际服管理问题引热议!部分玩家引导网民针对服务器进行网暴,一遇到不公平情况就挂某吧、小blank盒。服务器管理和玩家行为到底该如何结合才能营造良好环…
2026-06-01 13:350赞 · 0评论

单机冒险岛 单机冒险岛就是为所欲为
2026-04-29 21:320赞 · 0评论
客户端是什么意思 我的世界客户端是什么意思-详解客户端与服务端区别
速览: 233乐园小编为大家带来《我的世界》客户端的解析,帮助玩家理解客户端与服务端的区别。客户端是玩家用来连接和游玩服务器的程序,而服务端则由服主管理,可以输…
2025-10-20 20:550赞 · 0评论
[创神岛]我的世界超级防刷屏...抓人...踢人
支持我啦!因为我是22年老腐竹QWQ
2025-09-07 04:590赞 · 0评论
暂无更多
最新更新
- 社区雷达 #60 — 新的社区雷达已锁定你的位置!💥 来看看《武装突袭3》社区最新、最棒的部分内容: 完整的COMRAD
- 生存与发展特卖 — 【生存与发展特卖】现已开启! 《武装突袭3》黄金版和铂金版可享受70%的折扣,其DLC和CDLC最高可享67%的折扣! 《武装突袭: reforger》拥有广阔…
- 《武装突袭3》远征军#003(热修复)创作者战报 — 发件人:Tiny Gecko Studios 收件人:《武装突袭3》创作者DLC用户 单位:远征军 活动:1.2.1版本更新(热修复) 大小:约692.2 MB…
- 75th MilSim - 这是基地。 — 75连是一个国际性俄语社区,致力于打造贴近现代士兵真实战斗情况的逼真游戏场景。我们的项目对待游戏态度严肃,专注于创作各种不同的战役:从虚构到真实。我们希望建立一…
- ZSU TIGRIS雷达与瞄准十字线 — 我已经在游戏里玩了600多个小时……你可能觉得我早就该知道这个了,但我在“底格里斯”上待的时间不超过几分钟,直到这周才发现它的瞄准雷达。所以我发这个是为了帮助像…
- 武装突袭3-视频介绍
- 武装突袭3-视频介绍
- 社区雷达 #59 — 又一个社区雷达来啦! 来看看《武装突袭3》社区的一些精彩内容 完整社区雷达
- Steam 2026年春季特卖 — 2026年Steam春季特卖现已开启! 《武装突袭3》黄金版和铂金版均享7折优惠,其DLC及CDLC最高享67%折扣! 《武装突袭:Reforger》同样参与促…
- 《武装突袭3》创作者DLC:远征军 1.2版本更新内容 — 《武装突袭3》创作者DLC:远征军 1.2版本更新内容 1.本次更新带来全新的无人战斗航空器、新武器变体、装备、载具涂装,以及各种修复和改进。 2.更新亮点: …