换一换
换一换 


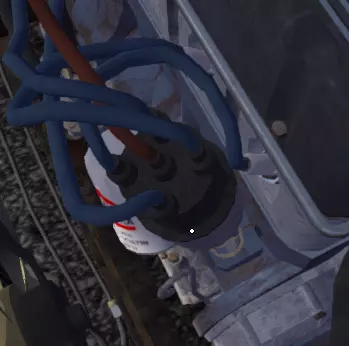
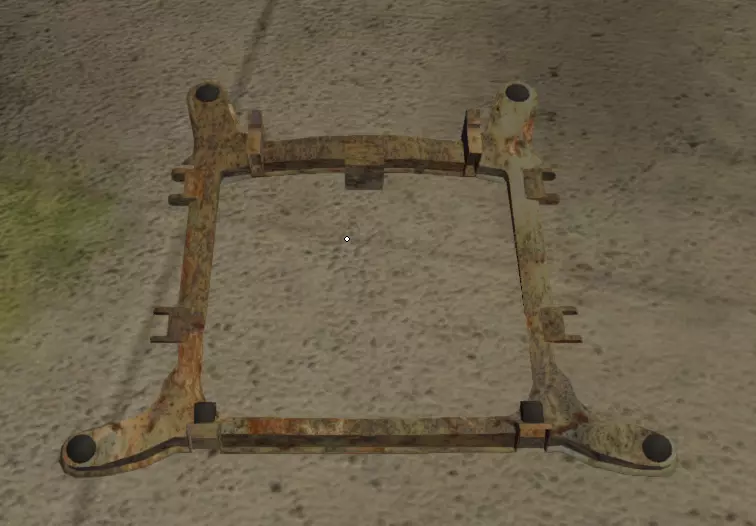
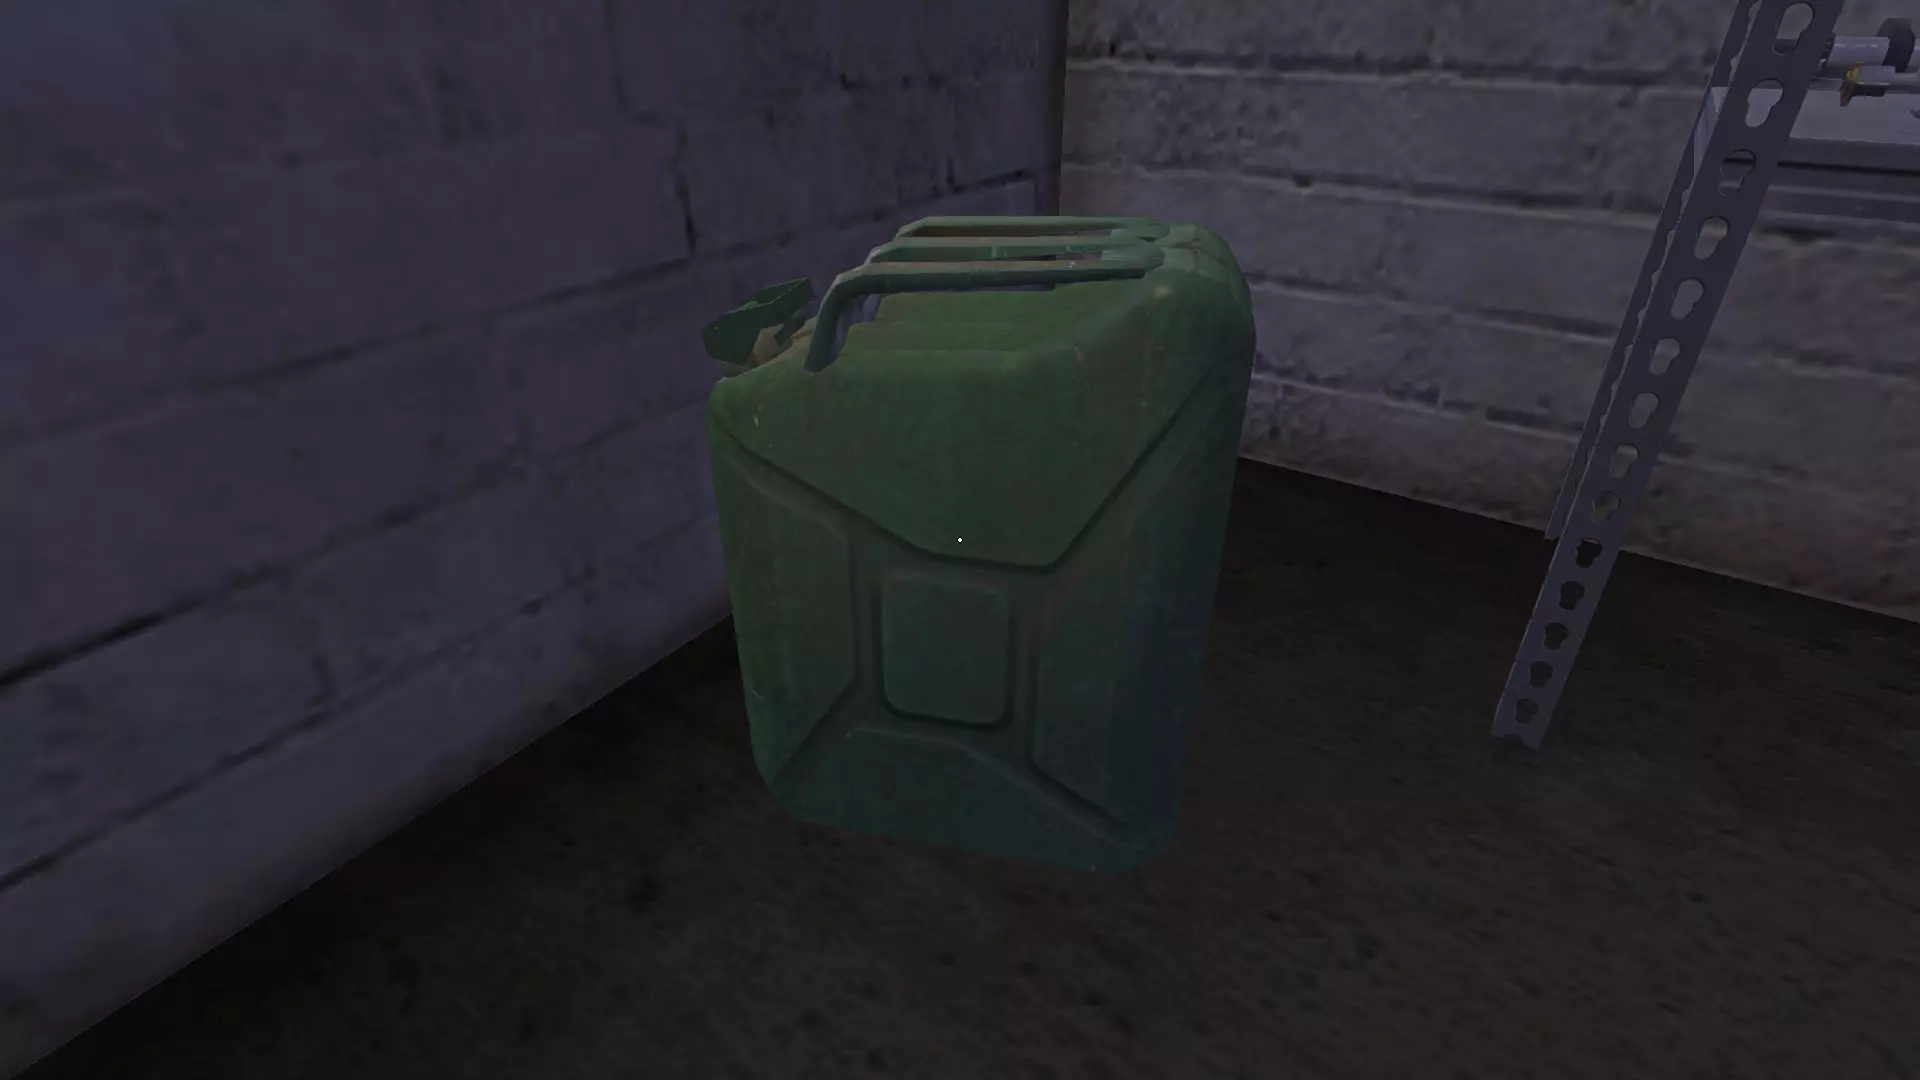
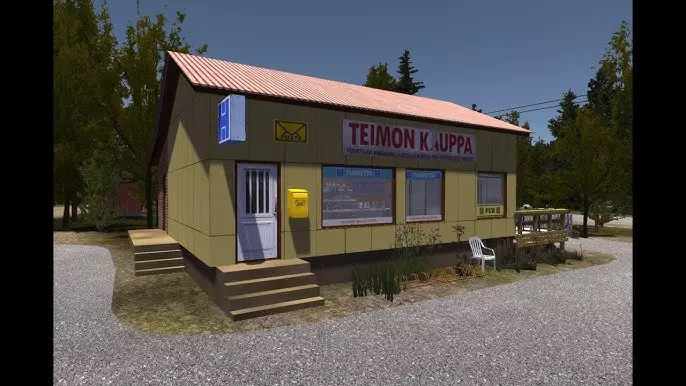
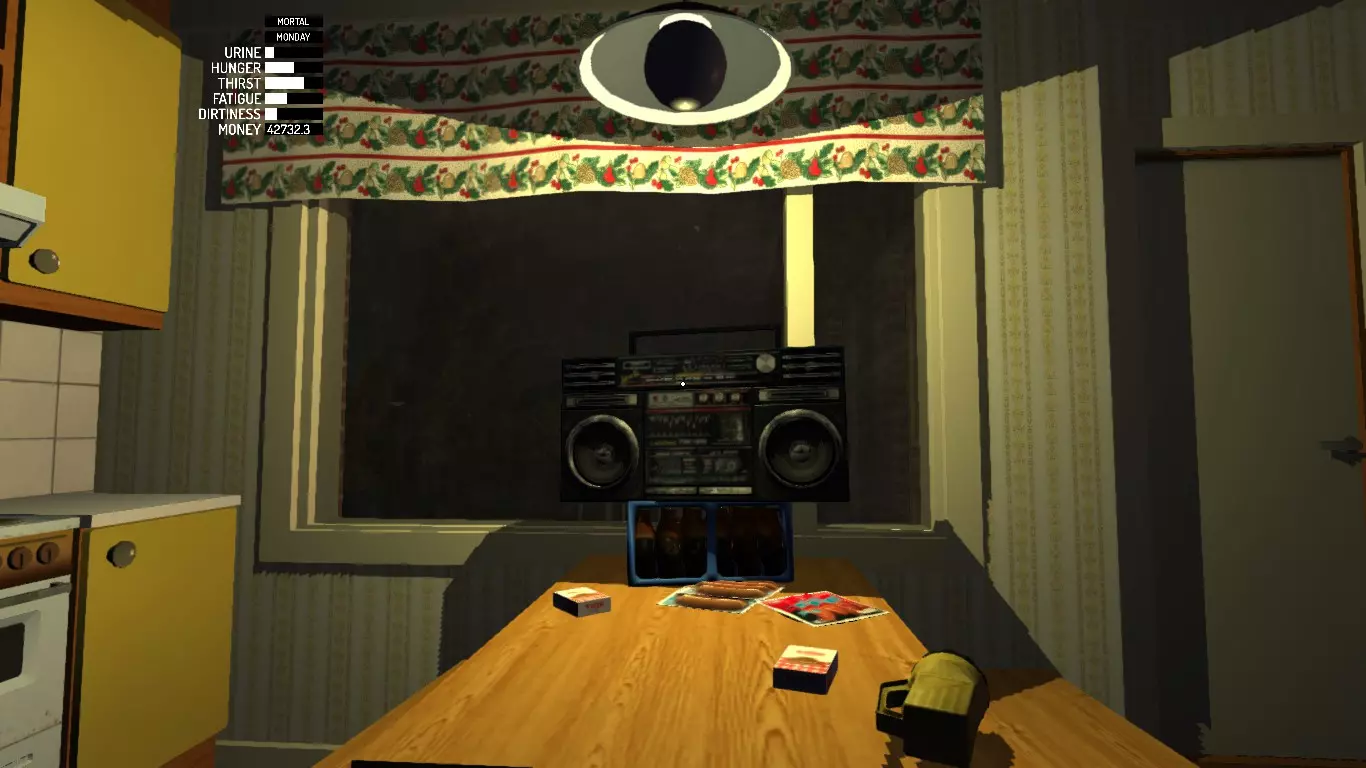
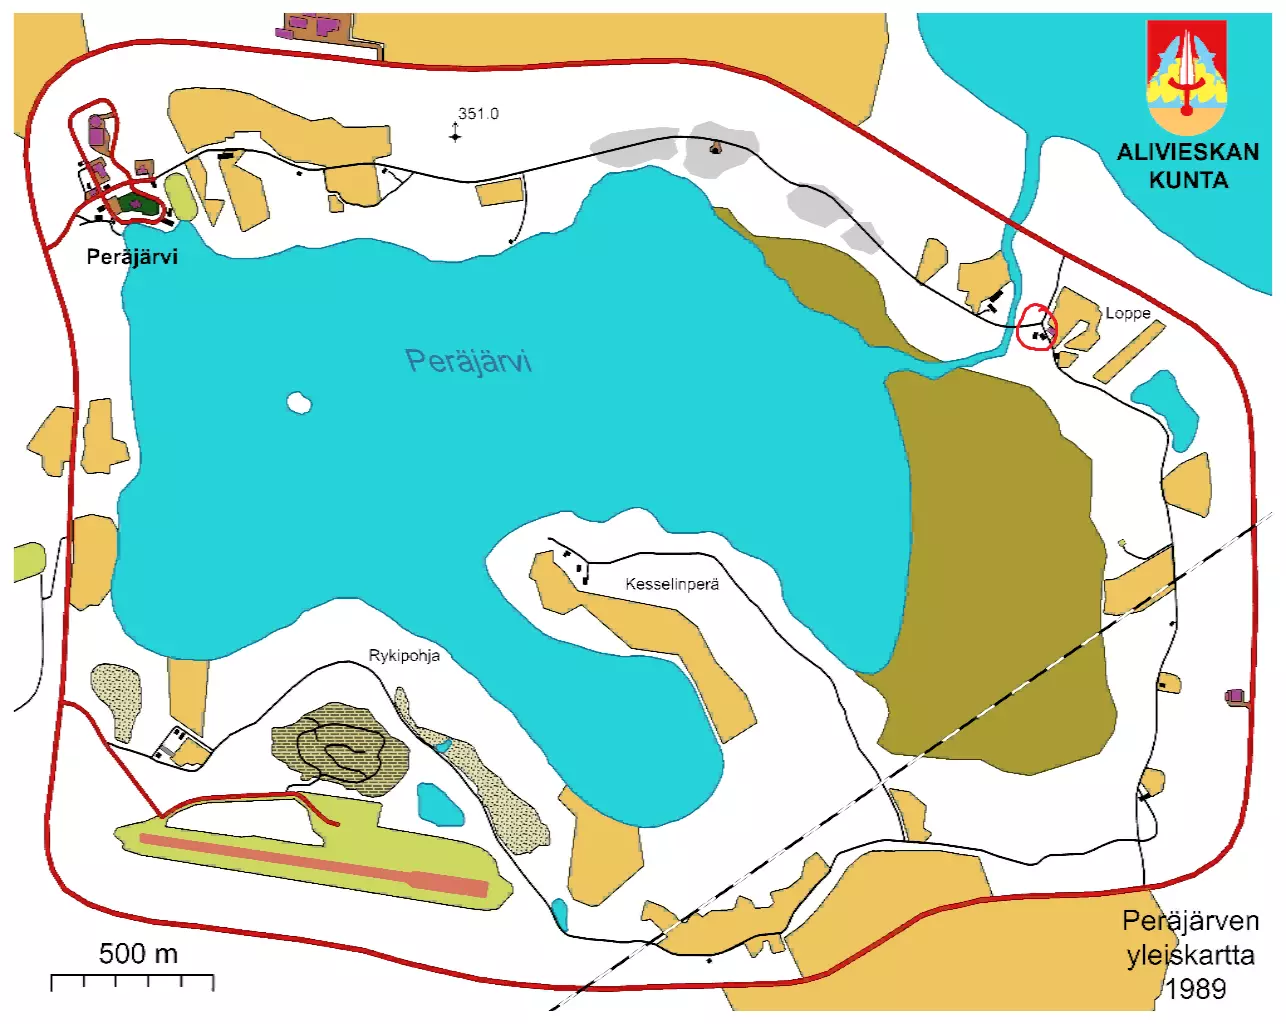
Here is my own summarized and condensed guide to completing the game. Everything was taken from the fandom wiki from this article: MY SUMMER CAR GUIDE 2: ELECTRIC BOOGALOO[my-summer-car.fandom.com], and condensed to make it easier to follow. Introduction My Summer Car is a realistic car building simulator set in rural Finland during the summer of 1995. You play as a 19-year-old whose parents have left for vacation in Tenerife. Your main mission: assemble your father's 1974 Satsuma AMP, a car in pieces sitting in the garage. Final goal of the game: Restore and modify your Satsuma, pass the vehicle inspection, and participate in the local rally. Basic Mechanics Essential Controls KeyActionFMain interaction (eat, drink, activate)LMBPick up object / Open doorsRMBSecondary actionsQLean leftNSwear (reduces stress)PUrinateISmoke a cigarette1/2Hands mode/Tools mode⏎ EnterEnter driving mode Character Needs You have 6 need bars to monitor (top left corner): NeedHow to manageThirstDrink from tap (`Q` to lean), beer, milk, or wellsHungerEat sausages, chips, pizza, macaroniStressSwear (`N`), smoke, sauna, chop woodUrineUrinate outside, toilet or shower (`P`)FatigueSleep in bed (hold `F`)DirtinessTake a shower (big knob then small knob) ⚠️ Warning: Red bars continue to rise up to 1.5x before death. Do NOT pee inside the house - it creates permanent puddles! SavingYou can only save at the toilet or outdoor outhouses. Saving advances time by 2 hours. First Trip to the Store Preparation Before Leaving Charge the battery: Place the old battery (back-right corner of garage) on the charger Install the driver seat: This triggers the timer for uncle's van (90 real minutes) Open the catalog: Order the fuel mixture gauge and the ratchet set Check the pistons: Note which ones are blackened (they need replacing) Take the green jerrycan (gasoline) Option 1: By Road (Tractor) Vehicle: Kekmet (tractor) with trailer Advantages: Reliable, lots of space, no helmet needed Route: Get the Christmas present at uncle's house (money) - DO NOT DRINK the booze! Start the tractor (hand throttle, ignition, handbrake) Hook up the trailer, put the black diesel jerrycan inside Bring beers and sausages for the trip Go left at the first two intersections, straight until FleetariAt Fleetari (repair shop) - Buy: Alternator (425 mk) Starter (295 mk) Head gasket (329 mk) - optional Blackened pistons (349 mk each)At the abandoned farmhouse (after Fleetari, turn right going uphill): Break the door with the tractor forks Go up to the attic, hug the wall to avoid wasps Grab the 4 wheels on the mattress Throw them out the windowAt Teimo's (store) - Buy: ItemQtyPriceAlternator belt1295 mkBattery (optional)0-1495 mkBrake fluid3105 mkCigarettes114 mkLight bulbs256 mkMotor oil1149 mkOil filter159 mkSausages12131 mkSpark plug box199 mk Mail the order letter in the mailbox Fill up with diesel (black pump) and gasoline (green pump) PAY AT THE REGISTER! Option 2: By Water (Boat) Vehicles: Boat + Moped (Jonnez ES) Advantages: Faster in a straight line Procedure: Put the moped in the boat (careful with the physics!) Start the boat (pull cord), put in neutral first Aim for the central island, then Peräjärvi beach Dock at the pier, do your shopping on the moped For Fleetari: follow the river, dock at the small bridge Starting the moped: Kickstand up Driving mode (`⏎`) Lean (`Q`), turn fuel tap down (`RMB`) Kickstart until it starts Building the Car How Assembly Works Pick up a part with `LMB` Approach its location - a checkmark ✓ appears Place it with `LMB` Bolt it: Open wrench set (`F`), tool mode (`1`/`2`), select size, scroll up to tighten Assembly Order Chassis BoltsPartLocation4x10SubframeBottom of engine bay4x9Steering rackRear of subframe2x8Steering columnFrom rack to interior2x102 WishbonesFront wheel wells1x122 SpindlesOn wishbones1x122 Steering rodsBeside wishbones1x142 Disc brakesOn spindles1x14 + 3x92 HalfshaftsBehind disc brakes1x12 + 3x10 + 4x92 StrutsOn top of spindles2x122 Trail armsRear wheel wells-2 Coil springsOn trail arms1x12 + 2x62 Shock absorbersOn trail arms1x142 Drum brakesOn trail arms4x134 WheelsOn brakes Engine Block BoltsPartNotes-CrankshaftBottom of block2x93 Main bearingsOn crankshaft2x74 PistonsFrom crankshaft upward-Head gasketOn block10x7Cylinder headOn gasket5x8HeadersSide of cylinder head2x10Block on hoistAlign with hoist, bolt, lift5x8Rocker shaftOn cylinder head (needs tuning!)6x7Rocker coverOn rocker shaftSPW4 Spark plugsSide of head (spark plug wrench)2x5CamshaftLeft hole in block1x10Camshaft gearOn camshaft (needs alignment!)-Timing chainOn gear and crankshaft6x6Timing coverOn chain5x7Water pumpOn timing cover4x7Water pump pulleyOn pump1x11Crankshaft pulleyOn crankshaft1x7 + 1x10 + SCRAlternatorAbove pulley (needs tuning!)-Alternator beltOn alternator and pulleysSCRDistributorSide of head (needs tuning!)-Engine plateOpposite of alternator2x7 + 1x5StarterOn engine plate6x7FlywheelOn engine plate-Clutch pressure plateOn clutch cover-Clutch discOn clutch cover6x6Clutch assemblyOn flywheel8x7 + 1x13OilpanBottom of block6x7 + 1x10GearboxBottom of block4x7Inspection coverOn gearbox7x6Drive gearOn gearbox4x8CarburetorAbove headers (needs tuning!)2x6Air filterOn carburetorHANDOil filterFront of block (scroll up)2x7Fuel pumpNext to oil filter3x11Block on subframeMount engine in car Engine (continued) BoltsPartNotes2x8ElectricsFrom spark plugs to bay1x8Fuel strainerFrom pump to bay4x7RadiatorFront of bay (needs filling!)SCR3 Radiator hosesFrom radiator to block1x9 + 2x8Clutch master cylinderRear of bay (needs filling!)2x7Clutch liningFrom cylinder to gearbox1x9 + 2x8Brake master cylinderRear of bay (needs filling!)11x7Brake liningFrom cylinder to wheels7x11 + 1x12Fuel tankUnder trunk-Fuel tank pipeFrom top into tank3x7Exhaust pipeFrom headers, under car1x7Exhaust mufflerEnd of pipe3x5Gear linkageFrom gearbox to interior2x8BatteryCorner of bay (after wiring!) Interior BoltsPart1x10Steering wheel3x6Gear stick4x8 + 1x5Handbrake (bolt 5 under car, do last!)4x92 Front seats2x9Rear seat-Back panel2x10Dashboard2x7Clock gauge2x6Dashboard meters (bolts in glove box)-Radio Exterior BoltsPart4x6Hood5x52 Fenders4x102 Doors4x6Bootlid2x82 Bumpers2x6Grille2x72 Headlights (wire first!)-2 Light bulbs (in headlights)-2 Rear lights-4 Hubcaps Tuning and Adjustments Steering Rods (Wheel Alignment) When: After mounting chassis and wheels How: Take a size 14 wrench (not ratchet!) Locate the nut on the steering rod Scroll down until the wheel stops moving Scroll up 60 times exactly Repeat for the other wheel Rocker Shaft (Valves) Method without starting engine: Take the screwdriver On each screw, scroll down until fully loosened Scroll up 7 times Repeat for all valves 🔊 If you hear clicking after starting, readjust the valves. Camshaft Gear How: After tightening, continue scrolling up to rotate the gear. Align the notch on the gear with the notches on the crankshaft and block. ⚠️ Misalignment can severely damage the engine! Alternator Loosen the screwdriver screw Scroll up by hand on the alternator Install the belt Scroll down until it stops Scroll up 2 times 🔊 If the belt squeaks, readjust the alternator. Distributor Method without starting: Loosen 2 notches with the screwdriver Scroll down by hand until it stops Scroll up 27 times Carburetor With fuel mixture gauge (after starting, engine warm): Scroll up = more air (number goes up) Scroll down = less air (number goes down) Ideal ratio: 14.5 - 14.9 for inspection, 13.5 for performance Without gauge (by smoke color): Gray/black smoke = too rich → scroll up Very white smoke = too lean → scroll down Clear smoke = good Electrical Wiring Connections to Make Connector 1Connector 2Rear harnessFuel tankRear harnessLeft rear lightRear harnessRight rear lightHeadlights connectorLeft headlight (unbolt first)Headlights connectorRight headlight (unbolt first)Headlights connectorMain connectorMain connectorRegulatorMain connectorPositive battery terminalMain connectorIgnition coilMain connectorRadiator fanFuseboxDashboard 1 (temp/fuel)FuseboxIgnition switchFuseboxDashboard 2 (hazard/lighter)Radio harnessRadioDash connectorLight switchDash connectorAFR gauge (if purchased)Battery + terminal (8)Starter (5)Battery - terminal (8)Starter ground (unbolt 7 first) ⚠️ IMPORTANT: Connect the POSITIVE terminal first, then negative. Otherwise risk of fire or electrocution! Fluids Motor Oil Where: Rocker cover Check: Dipstick (`F`) - darker means more worn Change: Unscrew size 13 bolt on oilpan, let it drain, screw back, refill Coolant Where: Radiator Free trick: Drink lots of water, then pee in the radiator! No difference from real coolant. Brake/Clutch Fluid Where: Master cylinders (rear engine bay) Amount: ~2.5 bottles Gasoline Where: Fuel tank pipe (under trunk) Pour the entire green jerrycan Troubleshooting Car makes no sound Incomplete wiring Starter not secured Dead or improperly connected battery → Charge battery or buy a new one Cranks but won't start Fuel leak / no fuel Spark plugs not tightened Broken rocker shaft Starts but stalls Spark plugs not tightened Bad tuning (distributor, valves, carburetor) Strange SoundsSoundProbable CauseHigh-pitched chirpDistributor misadjustedContinuous squealBelt too loose or water pump brokenClickingValves misadjustedKnockingCamshaft gear misaligned (STOP IMMEDIATELY!)BackfiringCarburetor too lean or camshaft misadjusted Dashboard Warning Lights Red rectangle: Low oil pressure → oil leak Red circle: Alternator not charging → check wiring/belt White Smoke from Engine Blown head gasket or missing exhaust Car Pulls to One Side Bent suspension or misaligned wheels Wheels Spin but Car Won't Move Handbrake still engaged! The Uncle and the Truck Uncle's AppearanceUncle Toivo appears 30-90 minutes (real time) after installing either: The engine The driver seat The rear left trail armWhen the blue van appears in front of his house, knock on his door to get the keys. Timeline Week 1: First van loan (1 day) Week 2: Second van loan (1 day) Week 3: Uncle loses his license → You get the Gifu truck (permanently)The van will then be available at the inspection shop. Second Trip (with the van)Route: Paved road → highway → first exit to town Reminders: Speed limit for van/truck: 80 km/h Wear your seatbelt! Pick up your order at Teimo's Fill up with diesel Vehicle Inspection Before InspectionRequired: Warning triangle (behind the tractor) All tuning completed All fluids filled Working headlightsAvoid highways without registration plates (fines!). Procedure Enter the inspection shop, park on the lift Talk to Lindell, pay 325 mk He inspects and gives you the reportIf passed: You receive registration plates! If failed: Note the problems, fix them, retake inspection. Points Checked Working lights Brakes Steering Emissions (air/fuel ratio) Warning triangle General condition Jobs and Money Main JobsJobPaymentFrequencyNotesFirewood delivery~3,200 mk~1x/weekChop wood, deliver with tractor+trailer. Reduces stress!Septic tank pumping1,200 mk/house (x5)~1x/weekRequires Gifu truckWrecked cars2,000-4,500 mkOnce eachTow wrecks to FleetariDrunk taxi500-675 mkRandom (night)Answer phone, drive him homeStrawberry picking40 mk/boxDaily 6am-8pmMax ~4,800 mk if whole fieldGrandma's groceriesVariableRandomListen to her stories (press `K`)Kilju (homebrew)~3,000 mk/batch~1x/weekSee belowFleetari vandalism10 bottles + 40% discountOnceDump sewage on inspection shop Making Kilju Get the kilju barrel (in front of sauna on the island) Buy 6 sugar and 1 yeast at Teimo's Put them in the barrel, fill with water from tap Close the lid when foam appears Wait 5 game days When liquid is clear and sediment at bottom, it's ready Fill 20 empty juice bottles Deliver to Jokke (table under the parasol)💡 Empty bottles can be found at the landfill or at Teimo's (5 max in stock). Stealing Jouko's SuitcaseAfter driving Jouko (the drunk) home 5 times, he reveals he's a millionaire. You can then steal his suitcase full of money! Final Tips Save often at the toilet Unplug the phone before sleeping (unless you want the taxi job) Don't drive drunk - police checkpoints give fines Always keep food in the fridge Check the oil regularly with the dipstick Don't drive too fast on dirt roads Conclusion Good luck in your Finnish summer! 🇫🇮 Guide based on the My Summer Car wiki and various community sources. Summarized by me to have a easy-to-read guide while playing
《我的夏日汽车》精简完全指南

导读
这是一篇《我的夏日汽车》精简完全指南,涵盖游戏核心玩法:玩家要在1995年芬兰乡村,组装父亲的1974款Satsuma AMP,完成车辆检测并参加拉力赛。指南包含基础操作、角色需求管理、车辆组装步骤、调校、故障排查、赚钱工作等内容,助力玩家完成车辆修复与赛事挑战。

评论
共0条评论

[法语] - 《我的夏日汽车》基础(建设中)
本指南旨在帮助你开始游戏、组装车辆并了解游戏的运行机制。指南的大部分内容基于我的游戏经验,但也有部分内容直接翻译自其他指南和网站。请原谅我没有使用重音符号,我使…
2026-04-01 10:000赞 · 0评论
《我的冬季汽车》土耳其语详细指南
大家好!作为一名玩了《我的夏日汽车》很长时间的玩家,我为新出的《我的冬日汽车》制作了这份详尽的攻略。【基础玩家控制】 W-A-S-D:前后左右 Q:弯腰 CTR…
2026-02-19 16:000赞 · 0评论

全游戏通用指南
如标题所示,这是一份帮助你顺利进行游戏流程的文档,也可以称之为玩家手册。 本指南已有6年多历史,但我仍会不时更新内容。 希望新老玩家都能喜欢这份指南! 主菜单 …
2026-02-17 19:000赞 · 0评论

游戏 极速赛车向前冲:家人们,我回来了!《百吨王变身》
暴爽疯狂赛车游戏有着十分出色的玩法设定,你的目标是组装车辆, 在不同的场景关卡中冒险闯关,赛车要稳定快速地通过相应的场景, 玩法简单、充满趣味。
2026-05-15 10:090赞 · 0评论

彩蛋 新式刷金车!!!!(禁止给官方泄露)(结尾有彩蛋)
禁止给官方泄露,禁止给官方泄露,禁止给官方泄露,禁止给官方泄露,禁止给官方泄露,禁止给官方泄露,禁止给官方泄露,禁止给官方泄露,禁止给官方泄露,禁止给官方泄露,…
2026-04-30 07:430赞 · 0评论
模拟驾驶 车祸模拟器手机也可以玩了
-
2025-11-11 10:150赞 · 0评论
拉力赛 跟我玩脏?我可是巴音布鲁克2冠王
2026-05-10 16:350赞 · 0评论

所有类型的萨茨马(Satsuma)
在本指南中,我将为大家介绍《我的夏日汽车》中所有可能的萨茨uma车型。车辆的评价将基于以下标准:1)轮胎类型;2)化油器类型;3)传动比;4)车身/涂装。本指南…
2026-04-05 19:000赞 · 0评论
所有GT部件
爸,GT零件在哪儿? 前言 在本指南中,我想直观地展示在游戏【我的夏日汽车】中,开发者巧妙散布的所有嘎斯零件的位置。这里会附上:一张用红色圆圈标记出所有位置的地…
2026-02-17 19:000赞 · 0评论
如何在《我的夏日汽车》中成为真正的芬兰人
《旋转轮胎:雪地奔驰》珀伊贾尔维村本地生活生存指南 对于想要像当地人一样在珀伊贾尔维村生活并生存下来的人,本指南将为你提供一步步的指导。 大多数指南会告诉你如何…
2026-02-17 19:000赞 · 0评论

暂无更多
最新更新
- 萨茨uma调校+竞技化油器 — 在本《我的夏季汽车》游戏指南中,我将简明扼要地按步骤教你调校萨茨umu(Satsuma)。本指南面向游戏新手。为了让你在调校时更容易计数,你可以先数到10,数完…
- 所有类型的萨茨马(Satsuma) — 在本指南中,我将为大家介绍《我的夏日汽车》中所有可能的萨茨uma车型。车辆的评价将基于以下标准:1)轮胎类型;2)化油器类型;3)传动比;4)车身/涂装。本指南…
- 如何赢得彩票 — 现在我们来学习如何赢得彩票。好吧,或者说如何不赢。 该做什么,以及怎么做 首先,我们得开车去我们的泰莫商店,在那里买下那张梦寐以求的彩票!
- 全车指南 — 购物清单 需要购买: - 发电机皮带 - 电池 - 刹车油 x3 - 灯泡盒 x2 - 机油 - 冷却液 - 机油滤清器 - 火花塞盒 - 食物,大量食物 - …
- [法语] - 《我的夏日汽车》基础(建设中) — 本指南旨在帮助你开始游戏、组装车辆并了解游戏的运行机制。指南的大部分内容基于我的游戏经验,但也有部分内容直接翻译自其他指南和网站。请原谅我没有使用重音符号,我使…
- 《我的夏日汽车》精简完全指南 — Here is my own summarized and condensed guide to completing the game. Everything…
- 我的夏季汽车 | 声音本地化 | 文本 | 纹理 + 成就 — 本指南将帮助你为《我的夏季汽车》安装文本、声音、纹理的俄语化补丁以及成就相关内容。俄语化补丁演示
- 在芬兰村庄组装发动机还能活下来吗? — 本指南将为你介绍发动机的组装及其正确调试方法。 (说实话,我曾一度对自己的指南能否被看到感到绝望,但耐心等待后,我看到了许多积极的反馈,新指南的推出只是时间问题…
- 乌克兰语(《我的暑假汽车》语言) — 此内容包含外部链接,根据规则予以删除。
- 如何在《汽车修理工模拟》中正确组装车辆 — 我想解释一下如何在《我的夏日汽车》中正确组装汽车。 你可以按照本指南操作,或者借助互联网。 我还会讲述游戏后期需要用到的内容。 这适用于新手。新手的组装时间为4…