换一换
换一换 


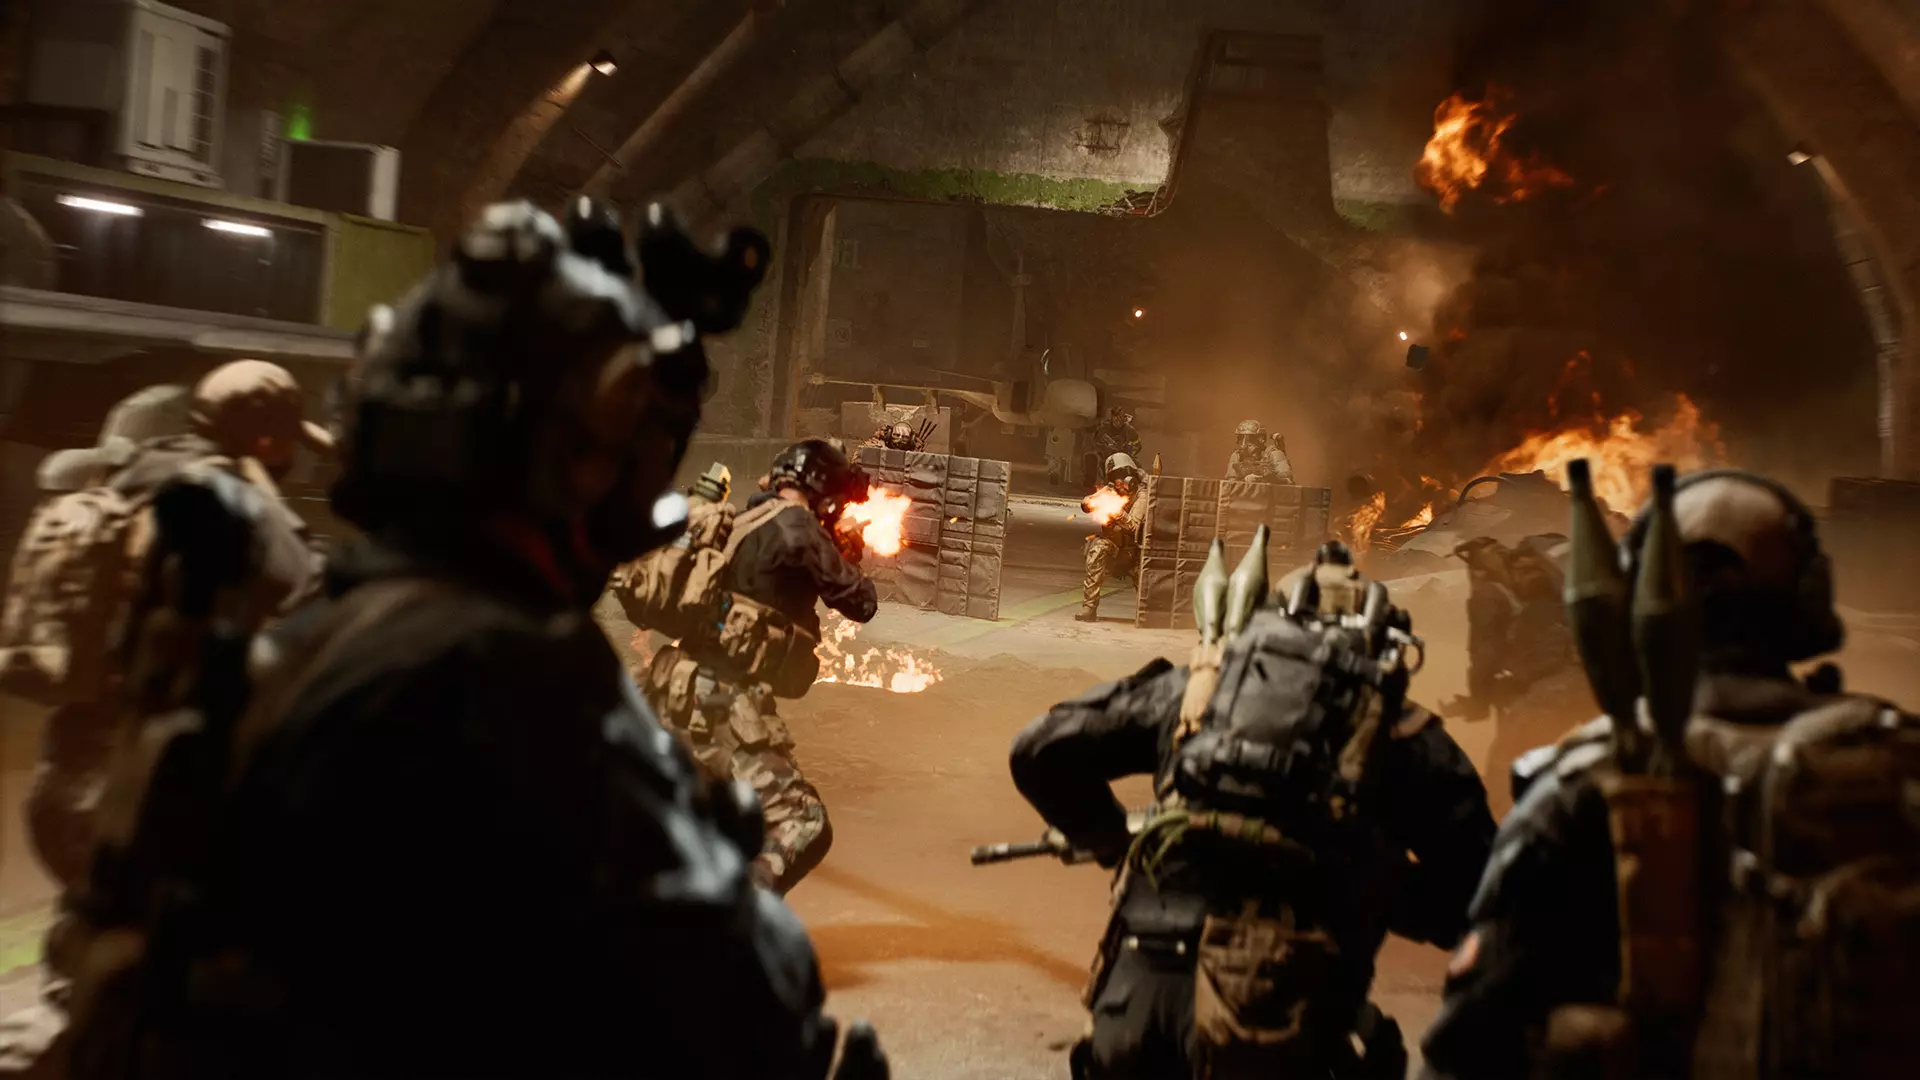
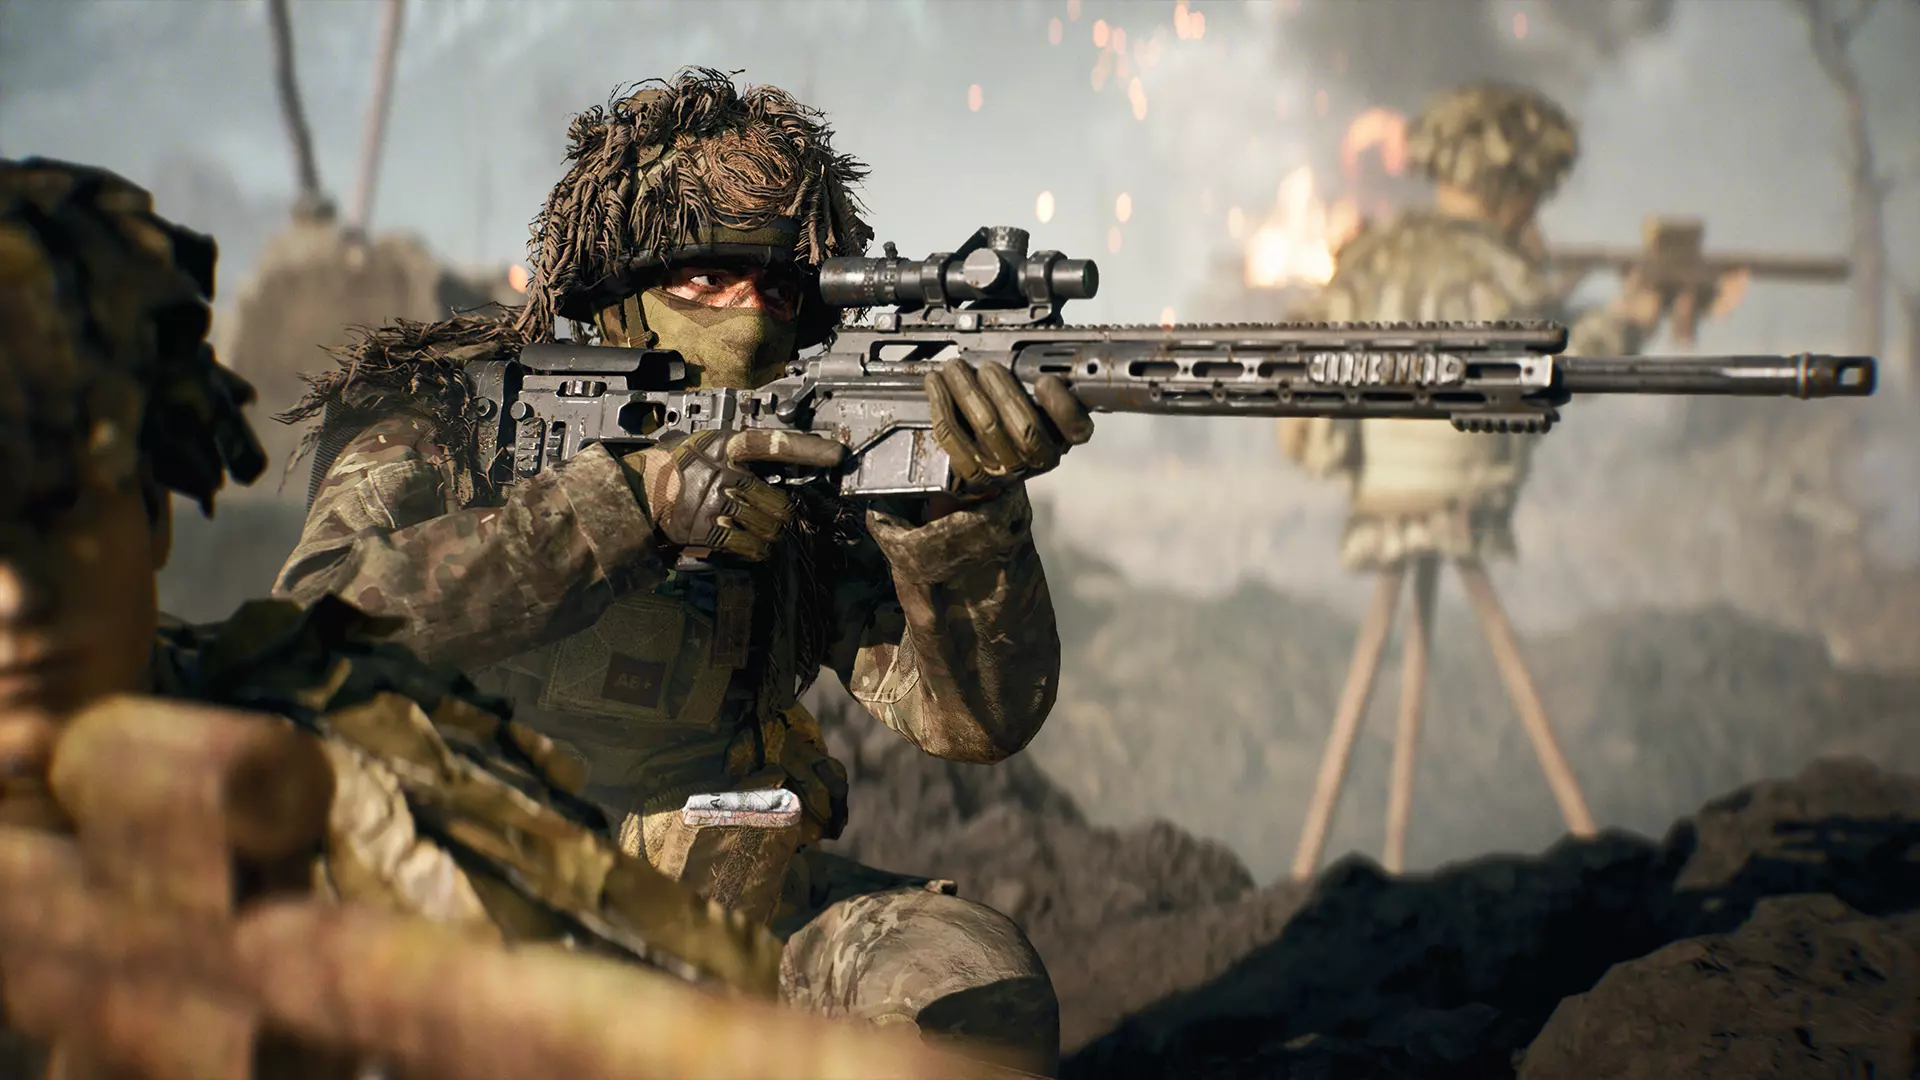
在【挑战模式】中生存并晋级:这是一种全新的残酷淘汰模式,小队将通过竞赛来完成任务。 在【挑战模式】中,八支小队将在一系列特殊任务中展开正面交锋,这些任务会将每个小队的能力推向极限。解密、撤离、区域控制、目标保护、炸药运输等等——只有全能的小队才能在这场淘汰制的【挑战模式】中脱颖而出,并最终迎来小队间的对决。 准备好迎接【挑战模式】了吗?组建你的小队,在这场竞技体验中赢得荣耀吧。核心玩法:挑战模式 挑战模式是一种基于四轮任务序列的竞争性回合制模式: 第一轮任务 - 八支小队 第二轮任务 - 六支小队 第三轮任务 - 四支小队 最终任务 - 两支小队 每个任务的战斗区域基于林登堡要塞的部分区域,并根据剩余小队数量进行定制调整,因此第一轮任务的战斗区域最大,最终任务的战斗区域最小。在特定情况下,例如多支小队提前退出而放弃挑战模式,第二轮和第三轮任务的顺序可以跳过。 在第一季开始时,共有八种任务类型;在第一季期间将新增一个名为“竞技”的任务,后续季节性更新中还将添加更多任务类型。与大逃杀模式不同,《战地风云6》的“挑战”模式中的职业与该作多人模式中的职业相同;如果你玩过《战地风云6》的多人模式,那么你的装备配置将直接带入“挑战”模式。 特定任务可能会因小队选择非常规职业而受益;与其选择标准的“突击、工程、支援和侦察”平衡组合,不如尝试让两个、三个甚至四个队员都使用同一职业,这样或许能获得更大成功。 重新分配 没人喜欢中途退出的玩家,尤其是当你在“挑战”模式中表现出色却因队友退出而受影响时。当你的“挑战”模式队伍因队友退出而被淘汰时,你有机会被分配到一个新的“挑战”模式队伍,而不是直接被淘汰。重新分配机制确保所有队伍在整个挑战模式比赛中都有四名活跃玩家,会将表现优异的玩家分配给那些在任务中途有队友离开的队伍。在每个任务结束时(最终任务除外),所有队伍(包括已被淘汰的队伍)都将被检查是否有空缺位置。如果存活队伍存在空缺,或者在多个已淘汰和存活队伍中出现特殊的空缺情况,就会触发重新分配,以确保下一个任务的队伍数量正确。满编四人且晋级到下一个任务的队伍不会进行重新分配。挑战模式任务
Every Gauntlet “round” is a different mode or “mission” - with eight mission types and numerous Combat Zones, it is incredibly rare to have the exact same Gauntlet mission sequence in back-to-back matches with over 70,000 different possible combinations. However, prior to each mission, a miniature briefing takes place that details the rules of engagement and how points are scored. Every mission offers one point for every kill and revive. This means reviving a squadmate is technically a two point play, as it earns your squad one point while denying a point from the enemy. Keep this in mind when determining your strategy for success as well as Class choice, since the Support Class has multiple tools to help with revives. True to Battlefield’s core principles, however, the most effective point scoring method across all but one mission is to play the objective. Whether it is destroying M-COMS, holding consoles, or remaining on designated zones, objective play will rack up score faster than playing for a K/D ratio. Across all missions, points are doubled in the last minute of that mission. For example, if a mission normally rewards a squad one point per kill, then a squad will receive two points per kill during the last minute of the mission. Some missions will only appear in specific Gauntlet rounds. For example, “Heist” is only played as a Final mission between two squads and does not show up as a First, Second or Third mission. The eight available Gauntlet missions, as well as when they can appear in a Gauntlet, are as follows:[table equalcells="1" colwidth=",,,,"][tr][th] Name[/th][th] 1st Mission (8 Teams)[/th][th] 2nd Mission (6 Teams)[/th][th] 3rd Mission (4 Teams)[/th][th] Final Mission (2 Teams)[/th][/tr][tr][td] Circuit[/td][td] ✓[/td][td] ✓[/td][td] ✓[/td][td] ✓[/td][/tr][tr][td] Contract[/td][td] [/td][td] ✓[/td][td] ✓[/td][td] ✓[/td][/tr][tr][td] Deadlock[/td][td] ✓[/td][td] ✓[/td][td] ✓[/td][td] ✓[/td][/tr][tr][td] Decryption[/td][td] ✓[/td][td] ✓[/td][td] ✓[/td][td] ✓[/td][/tr][tr][td] Extraction[/td][td] ✓[/td][td] ✓[/td][td] ✓[/td][td] [/td][/tr][tr][td] Heist[/td][td] [/td][td] [/td][td] [/td][td] ✓[/td][/tr][tr][td] Vendetta[/td][td] [/td][td] ✓[/td][td] ✓[/td][td] ✓[/td][/tr][tr][td] Wreckage[/td][td] ✓[/td][td] ✓[/td][td] ✓[/td][td] ✓[/td][/tr][/table]Circuit Squads earn points by simultaneously capturing and holding as many control consoles as possible. Think Domination, except you must actively capture each control console, the number of which varies by stage: FIRST MISSION - Up to 36 Control Consoles SECOND MISSION - Up to 24 Control Consoles THIRD MISSION - Up to 12 Control Consoles FINAL MISSION - Up to 5 Control Consoles One point is earned every 20 seconds for each console controlled. The Support Class and its wealth of revival and defensive Gadgets could be great to lean on in this fast-paced mission, or the Assault Class can shine through its abilities to capture objectives faster than other Classes. Otherwise, consider the Recon and Engineer to lay down nasty traps on their captured consoles to prevent - or get the drop on - enemies from stealing them.Contract Every life counts in Contract. Squads earn one point for a kill, one point for a revive, and fifteen points for wiping a squad entirely, which brings us to the objective of a Contract: Any squad wiped - as in, all four squadmates are dead at the same time - is automatically eliminated from the Gauntlet match. In other words, this is a sudden death deathmatch. This mission is over when either the timer elapses or a number of teams has been eliminated to the following: FIRST MISSION - Four squads eliminated (Eight squads down to Four) THIRD MISSION - Two squads eliminated (Four squads down to Two) FINAL MISSION - One squad eliminated (Two squads down to the Winning Squad) More than any other mission, all classes can be the MVP of a Contract mission, so long as no reckless decisions are made. This may lead to less aggressive strategies, but be forewarned: all players are spotted periodically to prevent stagnation, so a squad that sits back and tries to play passively will have their defensive idle cover positions blownDeadlock Squads compete to secure and control rotating capture zones for as long as possible. This is most similar to the King of the Hill Multiplayer mode, but with a twist depending on how many squads play this mission. Like King of the Hill, a player may stand in a Deadlock capture zone to control it for their squad. If players from different squads occupy the same capture zone, the zone is contested. Having multiple players from the same squad occupying the zone does not cause points to be granted more quickly. Prior to the end of one zone, the location of the next one will be revealed on the map, allowing for a “rotation” over to the next objective for those who wish to play aggressively. Except for the Final Mission, where there is only one rotating zone, Deadlock features multiple capture zones. Specifically: FIRST MISSION - Four Zones SECOND MISSION - Three Zones THIRD MISSION - Two Zones FOURTH MISSION - One Zone This allows your squad to split up to get more points, although you may want to focus on just one zone to ensure consistent point scoring opportunities. Whether there is one capture zone or four, a squad earns one point by owning one zone for three seconds. All Classes can make an impact in Deadlock, but a special mention should be given to the Assault Class and its Spawn Beacon for granting advanced positions on active (or upcoming) objectives and capturing zones faster.Decryption Squads compete to secure and protect beacon pickups for set periods of time to "calibrate" them and score points, specifically 10 points after 50 seconds of calibration time. Picking up a beacon automatically marks you on the map and in the overworld, making you a target. Only one squad member can hold one beacon at a time, but each squad member can carry one beacon each. Sprinting will halt the decryption process, making slow, calculated movements necessary for survival while holding a beacon. Playing the objective - calibrating beacons - is crucial to success; the squad who balances beacon calibration with tactical engagement choices and consistently revives will ultimately come out on top. Although it may not be a great idea to crowd a squadmate with a beacon, leaving them alone is a recipe for disaster. This might mean the Support Class and its litany of defensive tools can help lock down beacons until they are calibrated, or the Recon Class could step up to spot enemy movements and hinder their advancements with anti-personnel mines. Otherwise, the Assault Class can decrypt beacons faster than any other class, but having a four-Assault set-up may leave the squad open to counter-attacks from savvy Support, Recon, and Engineer enemies.Extraction Travel between consoles scattered throughout the level to gather data, then extract the recovered drives using drones. The mission begins with terminals placed throughout the map with data drives sticking out of them, as well as drone pads that periodically call in drones for extractions. Players must interact with terminals to extract a recovered drive, then find a pad with a drone waiting to extract a drive. There is a countdown of 5 seconds before the drone leaves, and a drone can multiple extract multiple drives at once A squad earns three points for each successful recovered drive extracted, and a player can carry up to 10 drives at once, which can lead to up to 30 points per player in one extraction. Coordinating an escort for those holding drives, especially if your squad decides to risk carrying multiple drives at once, should be the main priority for winning - or advancing to the next mission after - an Extraction mission, with aggressive kills and reviving opportunities seen as regular point bonuses. The Recon and Engineer Classes can set traps around drone pads to make it harder for enemy squads to extract drives and rob them of point-scoring opportunities. Alternatively, the Assault Class and its Spawn Beacon can be great for getting reinforcements when extracting drives.Heist Seen as an ultimate showdown mission, Heist tasks the two remaining squads in a Gauntlet to retrieve objectives from enemy bases and return them to their own HQ, all while also defending an objective of their own. This is similar in format to the classic “Capture the Flag” game, but with intense stakes. If a squad drops a stolen case, consider it a fumble: either squad can pick it back up or it will automatically reset back to its original base if nobody picks it up within 60 seconds. Every enemy cache capture grants 10 points. All Classes have the chance to rise above the rest, but a Gauntlet victory will come down to how a squad compliments each other’s individual playstyle. Some may decide to watch their own cache back at their spawn in a defensive role, while others may take flank routes as another takes an aggressive beeline towards the enemy cache. Not communicating and coordinating these efforts can lead to a loss, but that should be second nature to squads who survived a Gauntlet long enough to see a Heist go down.Vendetta Protect your squad's High Value Target (HVT) and kill the enemy HVTs. The first operator to get a kill is marked as the first High Value Target (HVT). Whoever is a HVT earns their squad one point every five seconds they are alive, and their location is always visible on the map and HUD compass. All successful Vendetta strategies are focused on the safety of your principal; your squad’s HVT needs to be kept alive for as long as possible to rack up score for the squad. The Recon Class may be ideal for this mission, as they can spot enemies protecting their HVT while also going behind their lines with clandestine tools. Another potential priority Class is Support, who can lay down Deployable Cover and Intercept Systems to defend their HVT.Wreckage Your squad needs to find, transport and detonate bombs at specific locations across the map. Think of this as a squad-based Rush or, for our Battlefield veterans out there, consider this a respectful nod to some classic obliteration gameplay… When the mission starts, a number of bombs spawn at randomized positions. Interacting with the bomb causes a soldier to pick it up. A soldier can hold only one bomb at a time, and will explode if they fail to plant it at an M-COM in time. Bomb carriers and M-COM Sites - active, inactive and armed - are indicated to all players. Every M-COM Destroyed rewards 10 points, disarming a bomb off an M-COM rewards 5 points. The Assault Class’ quicker plant and defuse times can make them the go-to objective driver on the squad. However, the amount of defensive gadgets across the other three classes can make for a more well-rounded team that can help push towards and lock down objectives.