换一换
换一换 


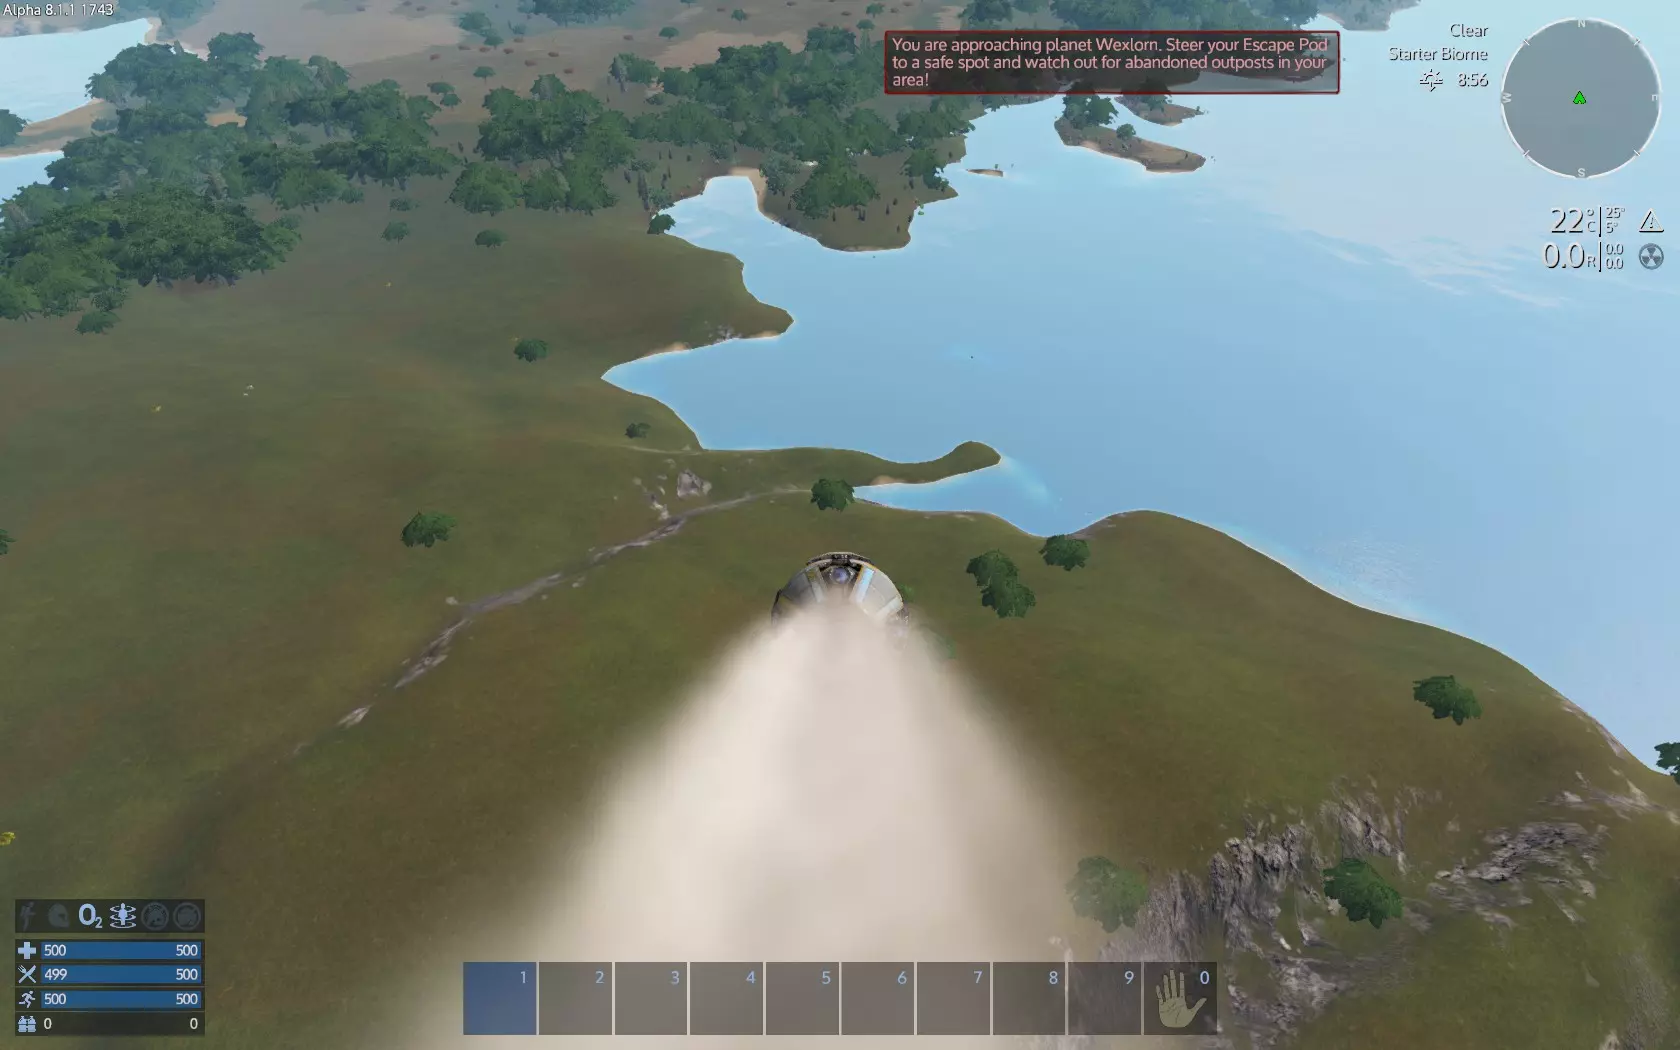
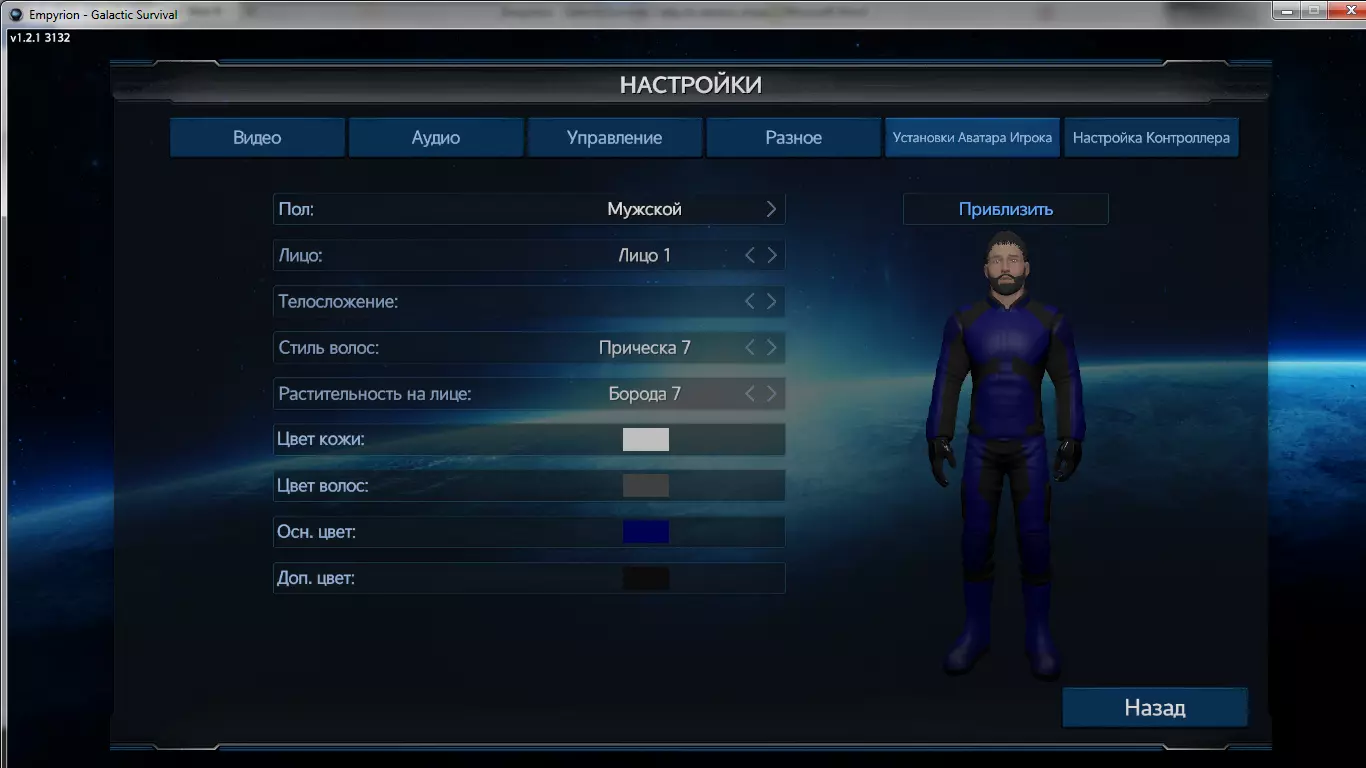
The configuration guide to Reforged Eden 1 and Reforged Eden 2, custom scenarios for Empyrion - Galactic Survival This guide explains how to install the scenario on a dedicated server or to customize it for your own needs. Please note that I cannot offer much support in setting up a dedicated server or editing scenario files beyond what is already listed in this guide. I suggest checking out the official forums or the official discord if you have general questions on setting up servers or customizing scenarios. About Reforged Eden Reforged Eden 1 is a complete game overhaul that combines Vermillion's Reforged Galaxy and ravien_ff's Project Eden scenarios. Nearly every block, weapon, POI, planet, trader, and mission has been updated or replaced and a large amount of new content added. This greatly changes the game experience. Reforged Eden increases the overall difficulty and slows down progression. It is intended for experienced players looking for a more difficult, long term PvE experience with a variety of ways to progress and new things to explore. Reforged Eden 2 is a complete rewrite and overhaul of Reforged Eden 1. Please see their respective workshop pages to learn more. Setup for Single Player and COOP Simply subscribe to the scenario on the workshop: Reforged Eden 1 Reforged Eden 2 Restart your game if it was already running and let Steam download the scenario. Then start a new game as single player or coop, select scenarios, then select either Reforged Eden 1 or Reforged Eden 2. For coop you might need to first start it as single player, then quit and resume the save game as coop. Set up your game difficulty options as desired, and then select your starting planet. You can cycle through the starting planets by left or right clicking on the name of the starting planet in the upper right. The description and estimated difficulty of the starting planet will be displayed in the box in the bottom center. Give it a few minutes to load the game and you're good to go. If running a COOP server it may take a few more minutes. Note that COOP uses more system resources and at least 16gb of memory will be required. It is recommended to use a true dedicated server instead of running the scenario in COOP mode due to COOP having several problems and requiring more system resources. Setup for Dedicated Servers The scenario may not load properly if you skip the below steps! These steps are used when first setting up a server OR when updating the scenario on the server. You cannot change the scenario used for an existing save game. You must start a new save game to use a new scenario. IMPORTANT STEPS:When transferring the scenario files to your server via FTP, set the transfer mode to "binary" in your FTP client to avoid various errors with custom models and effects. After copying the scenario files RENAME them to be something other than the default numerical Steam ID. Never change the scenario name in an existing save game. Use the same folder name for the scenario when updating the scenario. You cannot change the scenario used for existing save games. You must start a new save game if you want to use a different scenario. The scenario does not get automatically updated on your server. You must manually copy the scenario files over again from your PC to your server if you want to update the scenario. Before reporting any issue, triple check that you followed all steps and that the scenario build listed on the loading screen matches the one in the update notes on the workshop. Simply subscribe to the scenario that you want to use: Reforged Eden 1 Reforged Eden 2 Let Steam download the scenario. After subscribing to the scenario, go to your Steam's Empyrion Workshop folder, usually located here: SteamLibrary steamapps workshop content 383120 Find the folder for the scenario and copy it. Folder name for Reforged Eden 1: 2550354956 Folder name for Reforged Eden 2: 3143225812 Go to your dedicated server's main Content/Scenarios folder and paste that folder in there. >>> IMPORTANT STEP <<< Rename the folder that you copied over. If you leave it as the default name of the string of numbers it will not function correctly. Give it a new name. Open the gameoptions.yaml file under that folder and set up your initial game options for a new game under the mp section as desired. By default Reforged Eden's options are already optimized for coop or private group PvE play. Once a save game is started, you will need to edit the gameoptions.yaml under that save game instead. Alternatively: Use the Empyrion Admin Helper (EAH) to manage your server if you have access to it. It's recommended to keep anti-grief distances to 0, as the anti-grief zones can prevent custom asteroids from being mined. Set the scenario name in dedicated.yaml to point to that renamed folder you copied over. >>> IMPORTANT STEP <<< In your dedicated.yaml file for your server, set the TimeoutBootingPfServer to 2000. This may fix warp issues. Follow this guide on how to continue setting up your dedicated server.I am not an expert on server setup, so I will probably be unable to assist if you have general questions on how to setup an Empyrion server or encounter issues with setting up an Empyrion server, beyond the scenario specific parts already mentioned in this guide. Difficulty settings and game options are stored in gameoptions.yaml. Server configuration settings are stored in dedicated.yaml or whichever dedicated file you have set your server to use. Remember that custom scenarios only apply to new save games, so you need to start a new save for the initial setup of the server. You cannot change the scenario that is used for an existing game. Note that if you are using a rented host to run your server, their setup and options may vary. Speak with customer support for your specific host for details. To update the scenario on a server:Simply follow the above steps to copy the scenario files from your workshop folder to the server again, overwriting files if prompted. MAKE SURE TO FOLLOW THE IMPORTANT STEPS AT THE START OF THIS SECTION ABOVE WHEN UPDATING YOUR SERVER. You do not need to start a new save game when updating the scenario on the server, however some parts of the update might not apply to existing save games. Reducing star count for multiplayer performance:ONLY PLAYERS EXPERIENCED WITH FILE EDITING SHOULD ATTEMPT TO CHANGE THE STAR COUNT. DOING SO INCORRECTLY MAY CORRUPT YOUR SAVE GAME PERMANETLY. Directions for reducing the star count of the galaxy to help with long term server stability and save game size. The more playfields are generated, the more data is kept in the save game and the larger the database grows. This can cause issues on larger servers the longer the save game is run. Reducing the star count will lower the total number of playfields in the galaxy which may help, but it is not a guarantee. Not useful for smaller servers or single player where you will simply never generate most of the star systems anyway. Notepad++ or equivalent text editor is recommended! TO PREVIEW YOUR CHANGES IN A TEST GAME: 1: Start a new test save game using the scenario. 2: While still running the game, alt-tab out and go to your save game's Content/Configuration folder in file explorer. For example: Empyrion - Galactic Survival Saves Games NewGame Content Configuration 3: Open up GalaxyConfig.ecf and change the StarCount to whatever min and max values you want to try then save the file. 4: Tab back to the game and open the console and type (without the quotes) "galaxy". 5: Open the galaxy map and look at how the galaxy appears. 6: Repeat until you're satisfied with the galaxy star count. 7: Take note of the average warp distance between the stars. You may need to increase the warp drive range so players do not get stuck. TO CHANGE THE STAR COUNT: 1: After copying the scenario files to your server, but before starting the save game for the first time, open up the GalaxyConfig.ecf file in the scenario files you just copied over. The file is under Content Configuration in the scenario. 2: Change the StarCount values to whatever min and max value you want. The game will generate a galaxy with a total number of stars between those two values. For example: StarCount: "28000, 30000" 3: Save and close the file, then start a new save game on the server. The new galaxy will have the star count specified. NOTE: Never change the galaxy config file under the save game folder for any existing save game as it can corrupt the database of that save. Always use a throwaway test save to preview changes to the galaxy config before starting your save game. TO CHANGE THE WARP DRIVE RANGE: 1: Open up the BlocksConfig.ecf file under the Content/Configuration folder in the scenario. 2: Search the block config file for WarpDrive and change the RangeLY value to whatever you want for each warp drive type. Note: Do not set any warp drive to longer than a 100ly range, as this will let players bypass the ancient warp gate and warp directly to the decay star cluster. Note2: Remember that the basic warp drive gets up to +50ly range from navigational data, while the advanced warp drive gets +100ly range from navigational data. 3: Save the file. 4: Scenario updates will overwrite your changes and you will have to apply them to the file again. In-game scenario settings There are new scenario settings available in-game for servers. These settings can affect things such as whether keys get used up, etc. You can use this in single player as well if you want. Admin access to the server is required: First, only those with server admin access can access these console commands. Attempting to use these commands without the proper admin access can result in automatic temporary or permanent bans from a server. To access the Project Eden Admin Control: Use console command "give item Token 6000" (without the quotes). Open the PDA (default hotkey F1) and under the tutorial tab activate the Project Eden Settings Menu. Select the Admin Menu option and configure your settings as desired. Trash the token when done. These settings use the dialog system to store a global variable in the database for your save game. Settings should be persistent within a save game, but will need to be re-applied when starting a new save game. The scenario is by default optimized for single player or coop. These settings can increase the amount of time it can take to reach the very end game content in the scenario which might be better for servers. Local copies and customization Making any modifications to the configuration files of Reforged Eden 2 is not supported by the scenario developers.If any changes are made, this means you are entirely responsible for any and all issues that arise while playing and for keeping it updated. We can only support the unmodified version of the scenario as uploaded by us on the Steam Workshop or Nexus Mods. If you wish to further customize the scenario with your own changes or custom config mods, or play it offline, or resolve co-op issues, you will also have to create a local copy of the scenario. After subscribing to the scenario, go to your Steam's Empyrion Workshop folder, usually located here: SteamLibrary steamapps workshop content 383120 Find the appropriate folder for the scenario: Folder name for Reforged Eden 1: 2550354956 Folder name for Reforged Eden 2: 3143225812 Single Player: Right click on Empyrion in your Steam Library, select Properties, then Local Files. Click Browse Local Files. Go to Empyrion - Galactic Survival/Content/Scenarios and paste that folder in there. Dedicated Servers: Go to your server's main Content/Scenarios folder and paste that folder in there. >>> IMPORTANT STEP <<< Rename the folder that you copied over. If you leave it as the default name of random numbers it will not function correctly. Give it a new name. For this example we'll use Reforged Eden 1 as the new folder name. Use this new folder to make your edits to Reforged Eden. Note that you will need to repeat this process anytime you want to update your local copy of the scenario. If sharing a modified version of the scenario please see the workshop page for that scenario for details about what can and cannot be shared and any requirements on doing so. Making Playfields PvP These directions are given for using Notepad++, but any editor with a replace in files function will work. All edits are CASE SENSITIVE and require EXACT SYNTAX. Some edits will require a NEW SAVE GAME. Edit at your own risk. By default all playfields in Project Eden are set to PvE. If you simply want to enable global PvP for all playfields: Edit the gameoptions.yaml file and set ForcePvP: True. If you want to give playfields a chance to be PvP: Go to the /Content/Playfields folder in the scenario and open the playfield_dynamic.yaml or space_dynamic.yaml file in any of the playfield folders (for example Alien) using a good text editor such as Notepad++. Change PvPProb: 0 to whatever you want. 0 is 0% chance and 1.0 is 100% chance that the playfield will be PvP. Credits and Acknowledgments Custom models, icons, music, and other assets included with the scenario may be covered under third party license agreements. You should not redistribute or use these assets outside of the game or in your own projects. You should not modify them or use them for profit. You may use these on your servers as part of the scenario, but you are not authorized to sell access to in-game items on your server that use these assets for real world money or otherwise restrict access to specific items that use these assets for real world money. Restricting access to your entire server based on whitelists, Patreon subscriptions, etc is okay. I claim no ownership of any asset that was created by a third party.I have to put these rules in place to protect both the intellectual property of the authors and other players. I do not claim ownership or authority or make any legally binding claim, this is just a general disclaimer for the layperson. Don't be a jerk. Respect the intellectual property of others. This scenario uses many assets created by various authors from the Unity store and elsewhere. All credit for their designs goes to the original authors. Big thanks to @verteks.visuals[www.instagram.com] for creating the UCH Research Vessel briefing room looping video and UCHN ship name signs. Thanks to D34DP5YCH0 for new Hydroponics Bays icons. Music courtesy of: Alexzander Jordon[soundcloud.com] Aim To Head Andrew Sitkov I have made a collection of workshop blueprints that were adapted for use in this scenario. The collection is not a complete list as some blueprints are not from the workshop. Additional credits are below: The following authors should be credited for some of the content included with this scenario: Needleship - Gas Dwarfs Monroe - Monroe's Planet Pack I Tellrog - TheDeep Kieve - Temperate Rainforest and Temperate Moon Fenra369 - Desert Kharak Indigo Synn - LCD Screens Set 1 Mythra13: NASA Space Shuttle Fractalite: Various Ravis: Biolab Pandora Krenios: Antenna Mishgun-907: Angara-1 Rocket BURG: Buran Darok Phoenix: BA-MINING-TOWER Warped Realities: Destroyed Dome Kentaki: C&C GDI Air Base Burrbrusk: Dome of the Colony Myrmidon: Cerberus-NG MK 3 edit (original by Jrandal), Anax LC, Poseidon's Trident MK II Robot Shark: Various Brimstone: Various Krabbenfischer Paul oojimaflip: Various Maratoder: UEC Factory Base Rustimus: Remote Mining Outpost Ashrai: Basecamp Alpha zaphodikus: ZA-OmicronBase Taun Hawk - Advanced Drill Platform Volendrung - Stone Sentinels Eliteace - Highrise Construction Ramachandra - Various POI liftallthepizzas - Broken-Cylinder TwilightDragon & Damonicus1986 - Mithra derelic Base Codswallop - Alien Nexus FuzzBuzzPutty - Various POIs Devanow - Zig Patrol Vessel (original by Piddlefeet) Star_Lord_Sajuuk - Blackstone Pyramid https://steamcommunity.com/sharedfiles/filedetails/?id=1569423657 Sabaithal - VOID POIs Ambiguous Pirate - Destroyed Large Shipyard Wraithworks - Various POIs TubbaWabba - Sssssnake Temple 123 - CAS Hammer Light Mining CV cgpost1959 - Chinook G2-7.25-CGP Dan Bolo - HUBO HM-174 celewin - Mine-eleven urialia - LEV-A23 Horizon Ret0rus - Patsux MD291 Matti - Bullwark Freighter "Vingilot" Ivo Shandor - Refinery ZoulouAlpha - Legendary Pentaxid (BA) sulusdacor - NPCstuff 3 - crawler - BA Siege - Alien Cruiser, Alien Marauder Titka - Infested alien ship T.A.A.G™Vader® - Alien Invader - Conversion NeoFix - CV AKX-YY Alien Cruiser Kaeser - Xen'uan Carrier Steph - Multiple City Ruin Blueprints https://steamcommunity.com/id/Shyxxxtina/myworkshopfiles/ D00mnoodle - Theta Space Station (A9 updated) JR3050T - BA T12 ProcessingStation Na-Palm - Offworld Farm michaelhartman89 - Various city buildings Blaine - Mosquito Fighter Siege Inc - Abandoned Atlas Mine Man_From_Mars - Black Pyramid. Ravis - Glacial Ice planet Pear78 - Pears-BA-SkybreachFallen, Pears-BA-UC_dayz_POI Vollinger - Facility O-9druz.777, Spanj, MajorLeeStoned & skyelan, AkevaBanshee, Shandril, CuriousMind, TheMaverick150, Mereel [GER], sfx, Aslantis ✞, Dagrôs, Procyon Lotor, styLmntz, Steel Dragon, tweaksource, piddlefoot, filbertfarmer, Bucco, icewolfen, groberts, Anubis09, ArtemisRouge, Lttetak, Resurgam7, Procyon Lotor, CheekyShenanigans, DarkestWarrior, Don2K7, Garaman, Stan, StrifeA, Pear, Sulusdacor, Vollinger, AllNamedUsed.gaming, Blummenfaust StHotPants, Dadrick, Ente, Matcz, Xellosse, illegal cheese, TRX, Kithid, TheAngriestBrit, Furious Hellfire, 350, higgins_, Cold3y3s, Ishantil, Commander Qtatron, Jupiter Vessel Corp. D34DP5YCH0 for new loading screens, Hydroponics Bays icons, and posters. BattlestormTitan, MaverickJay69, AkevaBanshee, and Hitsuju for posters. JarvisGB, Garaman, Geoffman72, Pantheis, PxxLz, Slappy_Nuts, Stan, WesternDevil, Akeva, Samsquatch, thescripthd, Don2k7, Kafoops, for loading screenshots. (Please let me know if I missed you!) byo13 for scrap traders. Cargo shuttles by: AllNamedUsed.gaming, Blummenfaust, Procyon Lotor, StHotPants, sulusdacor, Dadrick, Matcz, Xellosse, illegal cheese, Stan, TRX, TheAngriestBrit. Decal submissions: Dadrick, Icewolfen, Sanjay, Stan, thescripthd, Spanj, ArtemisRouge, Garaman, RtBucco, Pear, CrazyZ, DarkestWarrior, Anubis09, Jrandall, Procyon Lotor. Satellites by: Ente, Procyon Lotor, Stan, DarkestWarrior. June 2024 Loading Screenshot Challenge: AllNamesUsed, Dadrick, Movado, Kainne, SandroMc, LordAdmiralStrife, JarvisGB, liftheavy, Stan. Bonedog for logo stencils. August 2025 Jump Gate POI challenge: Ente, AllNamesUsed, mikezach, and scawoosha. Dogmeat for new custom models used in Reforged Galaxy/Reforged Eden (SV food processor, constructors). NotOats for Micro Jump Drive teleport dialogue and assistance with the API. RexXxus for dialogue code used in inventory and LCD management. A special thanks to RexXxus for the development and continued support of the eWPDA and eWCCT tools and Vermillion for his help with the configs and his amazing work on Reforged. If I have missed anyone please let me know. Image credits: Credit for Eden_HematiteOre.png: Robert M. Lavinsky Source: https://commons.wikimedia.org/wiki/File:Quartz-Hematite-113680.jpg Licensed under Creative Commons Attribution-ShareAlike 3.0 Unported (CC BY-SA 3.0) https://creativecommons.org/licenses/by-sa/3.0/deed.en Edited to remove background. Credit for Eden_IlmeniteOre.png: Robert M. Lavinsky Source: https://commons.wikimedia.org/wiki/File:Ilmenite-155036.jpg Licensed under Creative Commons Attribution-ShareAlike 3.0 Unported (CC BY-SA 3.0) https://creativecommons.org/licenses/by-sa/3.0/deed.en Edited to remove background. Credit for Eden_ChromiteOre.png: Robert M. Lavinsky Source: https://commons.wikimedia.org/wiki/File:Chromite-468934.jpg Licensed under Creative Commons Attribution-ShareAlike 3.0 Unported (CC BY-SA 3.0) https://creativecommons.org/licenses/by-sa/3.0/deed.en Edited to remove background. Credit for Eden_PyrolusiteOre.png: Credit: U.S. Geological Survey Department of the Interior/USGS U.S. Geological Survey/photo by Unknown Source: https://commons.wikimedia.org/wiki/File:Pyrolusite_-_USGS_ID_Stose,_GW_1425.jpg Edited to remove background.
《重生之伊甸》配置指南

2026-02-15 10:00:16

导读
这是《重生之伊甸》(Reforged Eden)的配置指南,涵盖Reforged Eden 1和2两款《帝国霸业:银河生存》的自定义模组,介绍了模组特色,还详细给出单人/多人合作、专用服务器的安装设置步骤,以及模组自定义、难度调整等操作方法。

评论
共0条评论

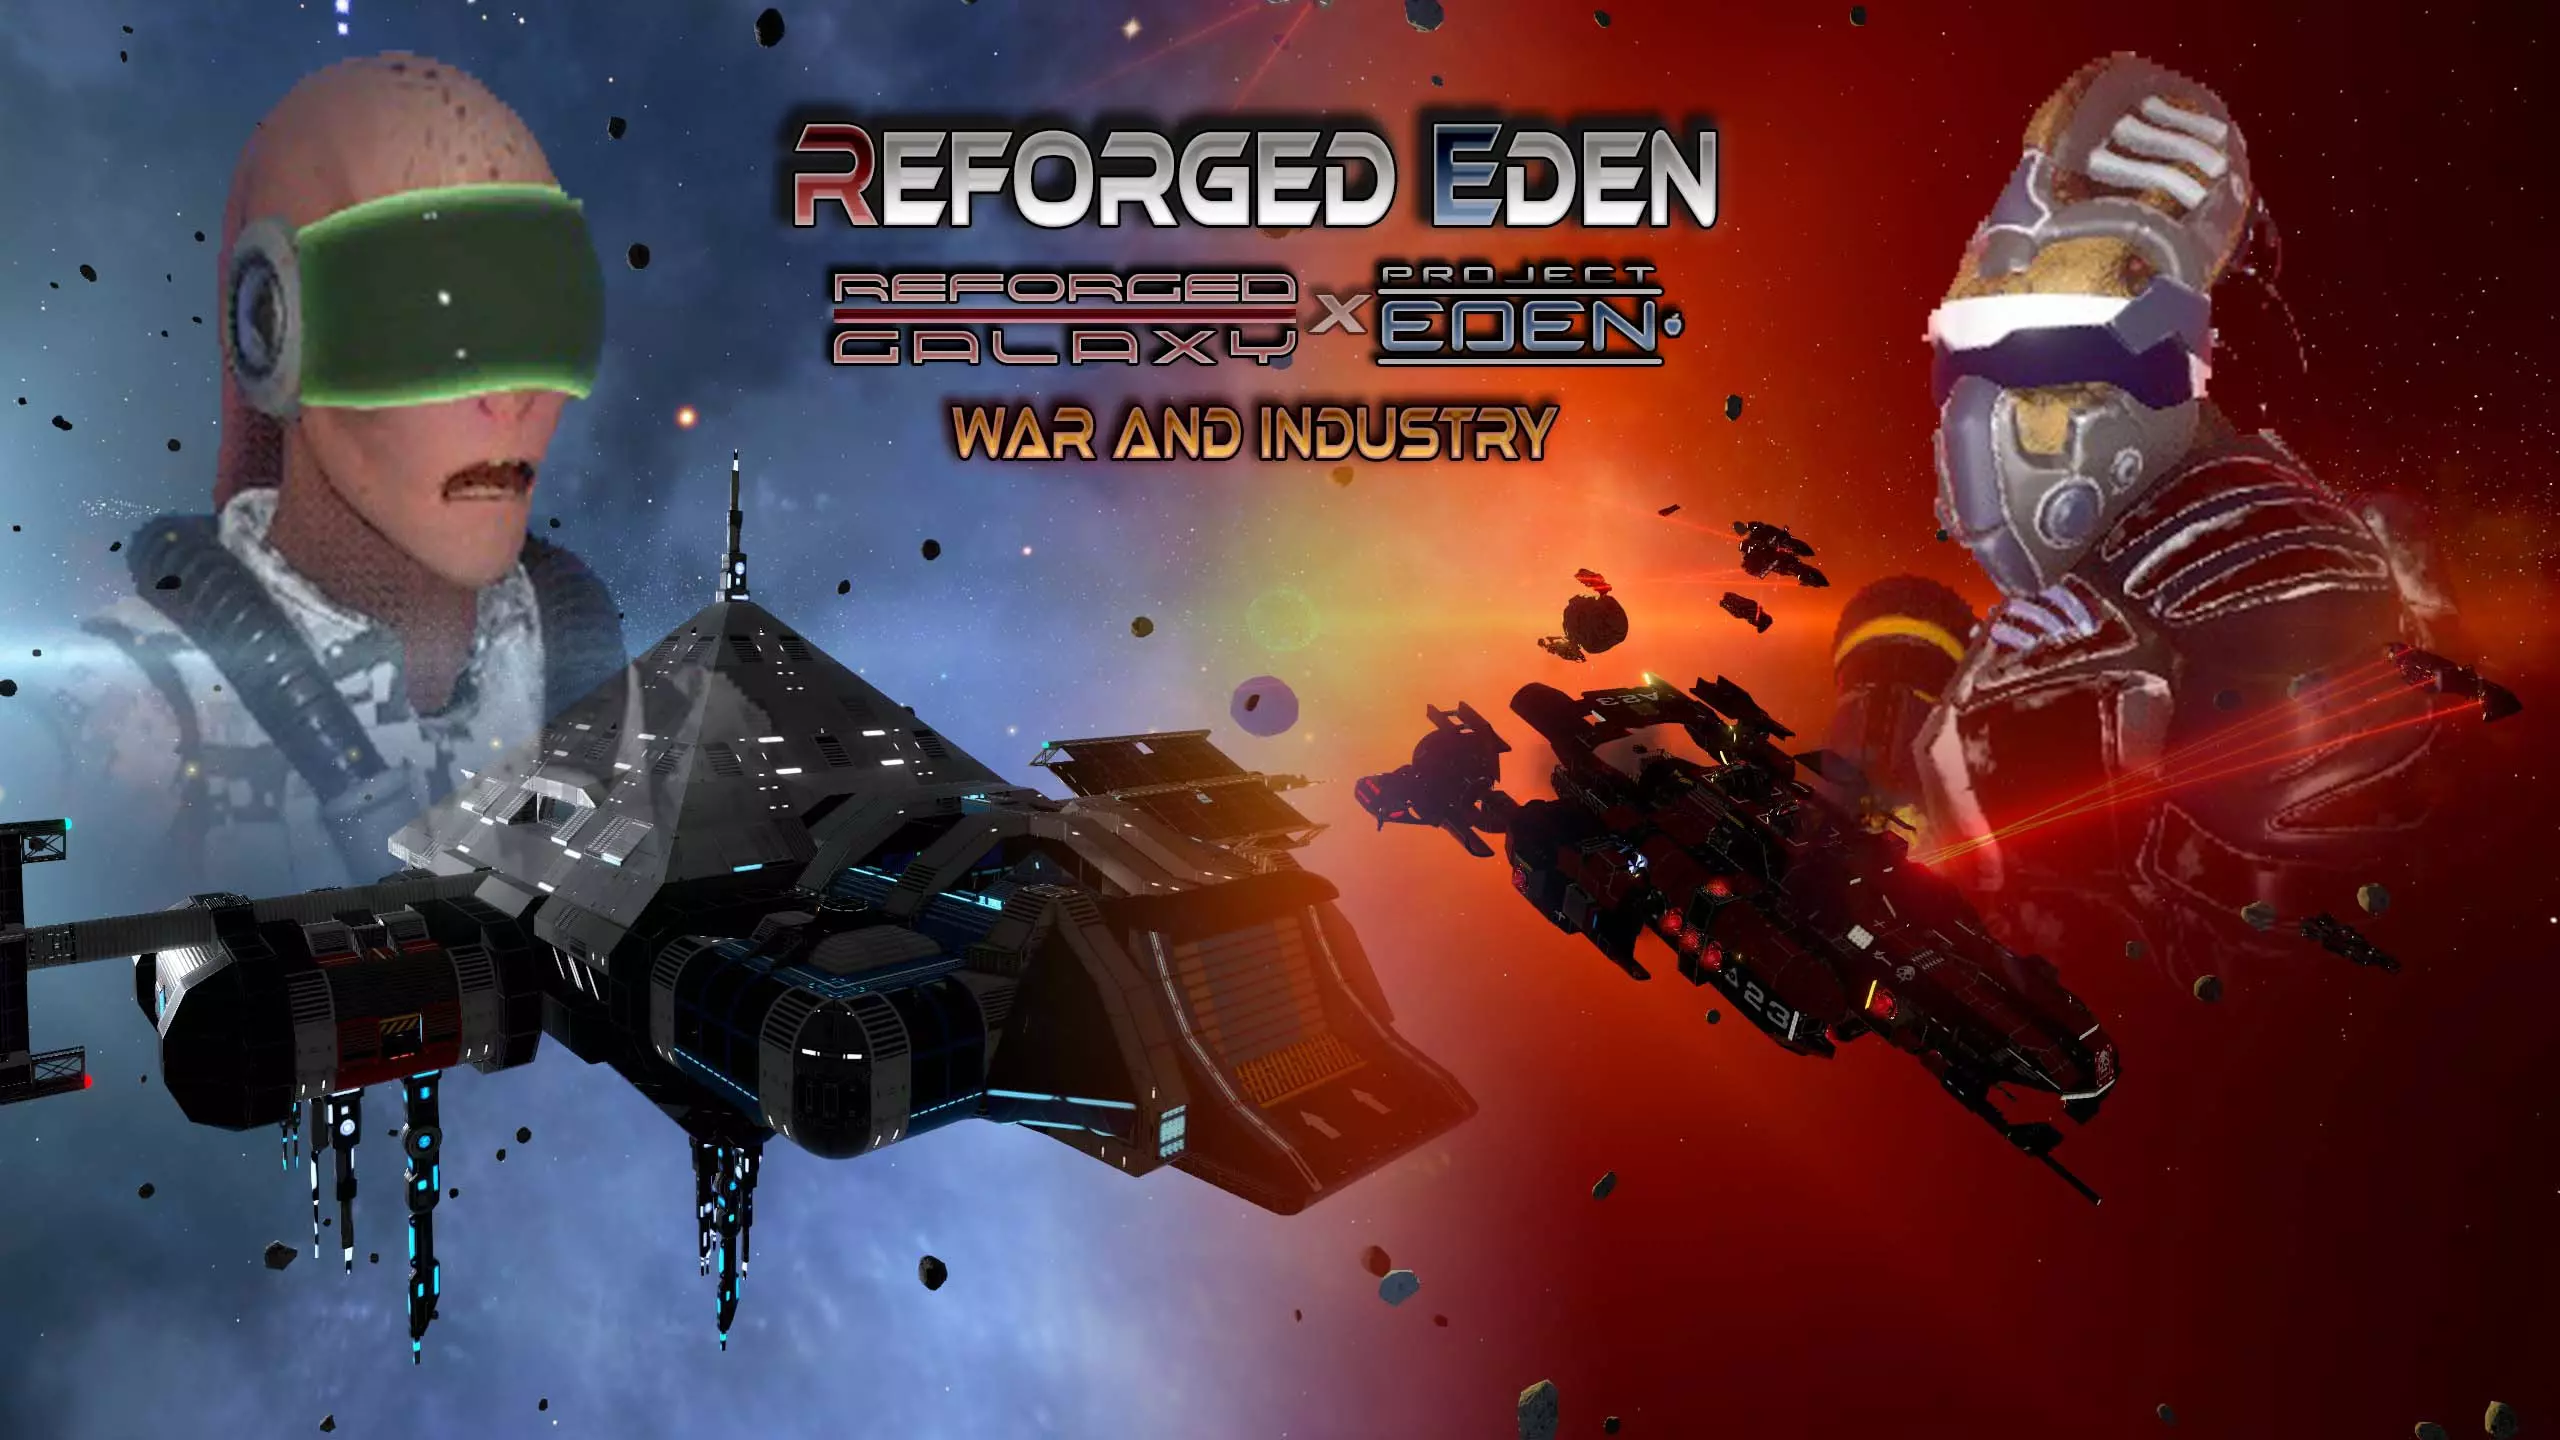
【预览】《重生边缘》战争与工业更新说明
《Reforged Eden》战争与工业更新完整更新说明 重要提示: 1. 本次更新包含多项高度实验性的功能,这些功能拓展了场景的可能性。随着未知问题的发现,预…
2026-02-16 04:000赞 · 0评论
冒险的开始。新手需要知道什么
这是一份初期生存指南。涵盖了游戏的基础知识。 第一章:创建冒险 在游戏开始前,你可以在该页面创建角色。
2026-02-15 10:000赞 · 0评论
v1.14.2 热修复补丁
《帝国霸业:银河生存》修复公告 各位银河生存者们! 我们发布了一个小型更新来解决部分问题,敬请期待更多内容! 问题反馈渠道: - 漏洞报告:https://em…
2026-01-14 11:400赞 · 0评论

《帝国霸业:银河生存》v1.16更新内容
《Empyrion - Galactic Survival》1.16版本更新内容 1. 本次1.16版本不仅旨在通过为太阳系和行星添加更多POI、载具以及敌人,…
2026-03-25 14:430赞 · 0评论
《帝国霸业:银河生存》v1.16 测试版
《Empyrion - Galactic Survival》v1.16 Build 5001 更新内容 1. 为默认随机场景添加了关于黑暗派系的内联信息以供参考…
2026-03-20 13:210赞 · 0评论
《帝国霸业:银河生存》1.11.3版本本地化内容
游戏1.11.3版本翻译。PDA、对话和本地化文件的近乎完整翻译。 说明: 对PDA、对话和本地化文件进行了机器翻译(并进行后续修正),以便更舒适地游玩包含新增…
2026-02-16 04:000赞 · 0评论
《帝国霸业:银河生存》烦恼咨询室
容易卡关的地方等内容以Q&A形式整理的小贴士类内容 2021/11/24 v1.6.3 整体进行了修改 由于基础是2018年写的内容,所以还残留一些不太完善的地…
2026-02-15 22:000赞 · 0评论
Empyrion脚本基础:编写燃料、氧气和五氧化二磷指示器
ASTIC的《帝国霸业:银河生存》脚本模组基础编写指南。获取并在投影仪上显示燃料、氧气和五氧化物储量的动态数据。《帝国霸业:银河生存》脚本模组基础编写视频指南(…
2026-02-15 16:000赞 · 0评论
《帝国霸业:银河生存》v1.16.1 热修复更新内容
《帝国霸业:银河生存》更新内容 修复内容: 1. 修复部分NPC在玩家处于其上方一定距离时才会攻击玩家的问题 反馈与报告渠道: - 漏洞报告 - POI和任务相…
2026-03-26 15:380赞 · 0评论
v1.16 实验版
《帝国霸业 - 银河生存》1.16版本更新内容 1. 本次1.16版本不仅致力于让银河系重焕生机,具体措施包括: - 在太阳系和行星中增加更多兴趣点、载具以及敌…
2026-03-12 17:000赞 · 0评论

暂无更多
最新更新
- Empyrion - Galactic Survival-视频介绍
- 创意沙盒捆绑包 — 各位银河生存者们! 我们在Steam上推出了一个超棒的创意沙盒捆绑包,其中包含了一些最出色的建造、工程和沙盒体验游戏! 包含以下游戏: 《帝国霸业 - 银河生存…
- 《帝国霸业:银河生存》v1.16.1 热修复更新内容 — 《帝国霸业:银河生存》更新内容 修复内容: 1. 修复部分NPC在玩家处于其上方一定距离时才会攻击玩家的问题 反馈与报告渠道: - 漏洞报告 - POI和任务相…
- 《帝国霸业:银河生存》v1.16更新内容 — 《Empyrion - Galactic Survival》1.16版本更新内容 1. 本次1.16版本不仅旨在通过为太阳系和行星添加更多POI、载具以及敌人,…
- 《帝国霸业:银河生存》v1.16 测试版 — 《Empyrion - Galactic Survival》v1.16 Build 5001 更新内容 1. 为默认随机场景添加了关于黑暗派系的内联信息以供参考…
- v1.16 实验版 — 《帝国霸业 - 银河生存》1.16版本更新内容 1. 本次1.16版本不仅致力于让银河系重焕生机,具体措施包括: - 在太阳系和行星中增加更多兴趣点、载具以及敌…
- 【预览】《重生边缘》战争与工业更新说明 — 《Reforged Eden》战争与工业更新完整更新说明 重要提示: 1. 本次更新包含多项高度实验性的功能,这些功能拓展了场景的可能性。随着未知问题的发现,预…
- 《帝国霸业:银河生存》1.11.3版本本地化内容 — 游戏1.11.3版本翻译。PDA、对话和本地化文件的近乎完整翻译。 说明: 对PDA、对话和本地化文件进行了机器翻译(并进行后续修正),以便更舒适地游玩包含新增…
- 《重生边缘2》面向《重生边缘1》玩家的指南 — The Reforged Eden 2 guide for Reforged Eden 1 players. Explains the main differe…
- 新玩家生存启动指南(已更新至游戏版本9+) — 本指南将帮助初次游玩9+版本的新玩家。它以行动为导向,而非罗列信息。这些行动会构成小型任务,所有任务共同形成一个初始计划,与游戏的教程任务并行。该计划能确保你获…