换一换
换一换 


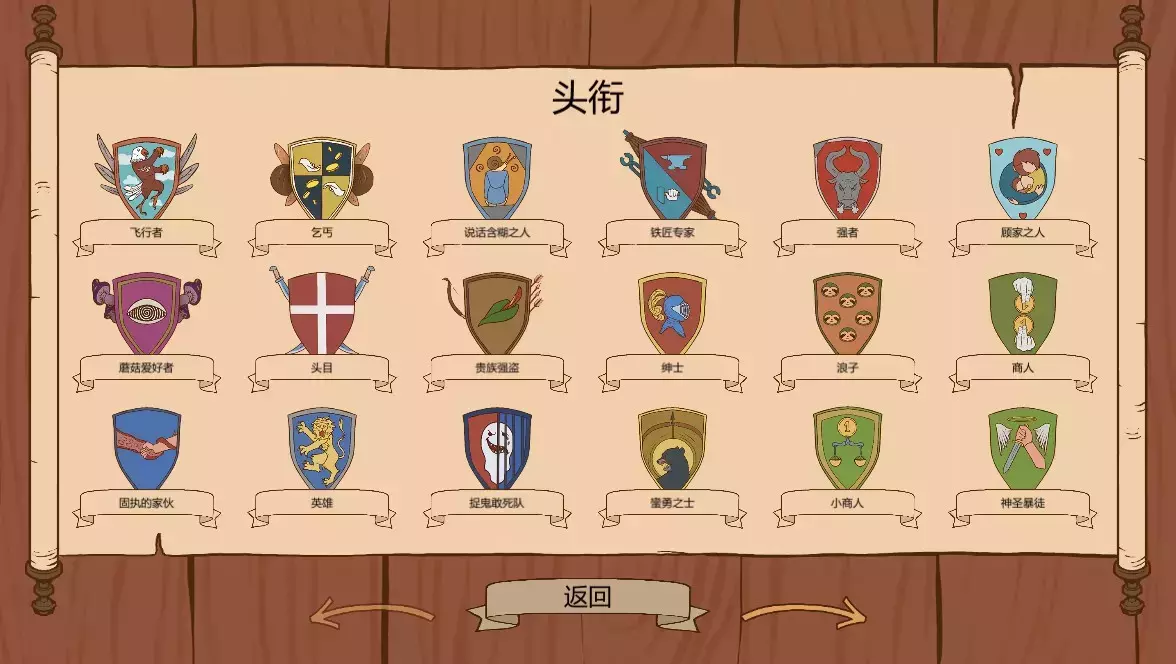
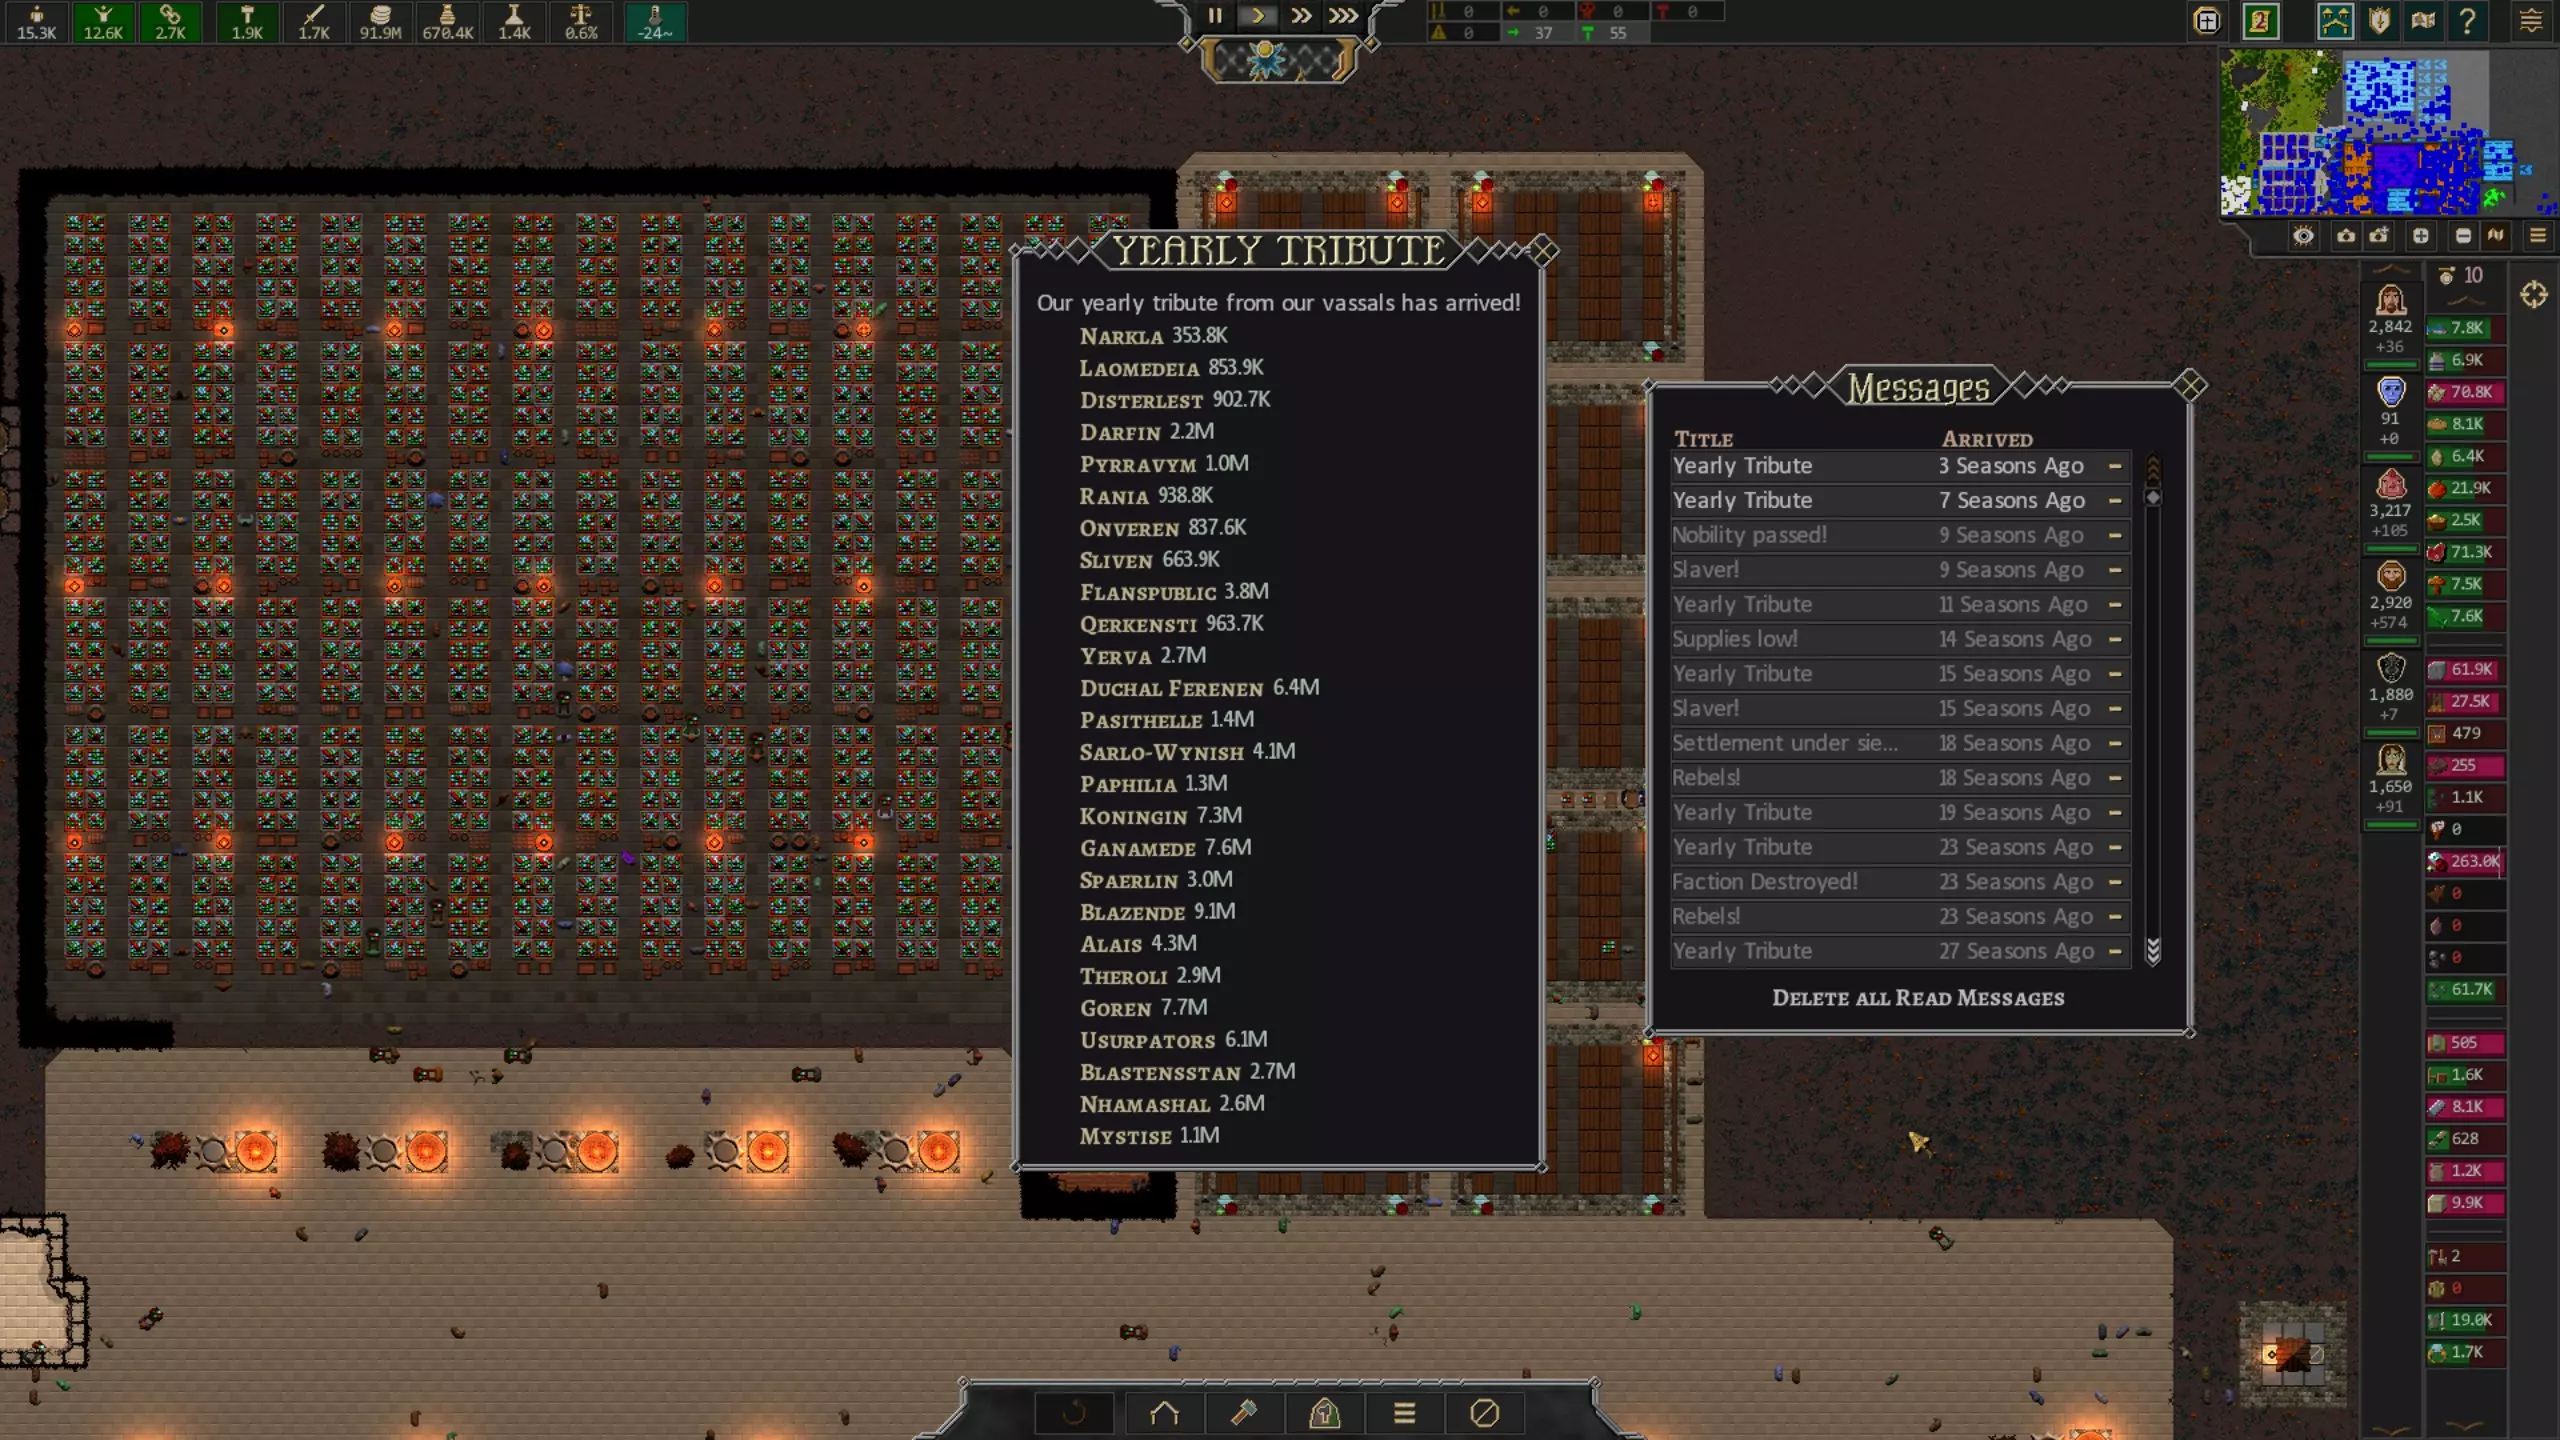
A guide and tierlist to Titles, Royalty Levels, and Achievements. Titles: S+ Tier Title: The WiseRequirements: Population >= 2.00k, Education >80% Effect: +4.00k Knowledge, +.5 University learning rate Guide: The Wise is an exceptional title for slingshotting your productivity into the midgame. With an immediate bonus of 4000 Knowledge, you can jumpstart your city's manufacturing logistics, allowing for early access to critical infrastructure like refined carpenters, advanced smelters, and machinery workshops. 4000 knowledge frees up to 200 to 400 scribe jobs in the early game. The Wise also provides a less powerful, but still noticeable bonus to learning speed once you unlock universities. A 50% boost to learning speed means you gain your education productivity bonus faster and you require fewer universities to maintain the same education level for a population. Title: Lord of the Seven KingdomsRequirements: Control at least 7 regions Effect: +50 Admin Guide: Easily one of the most powerful titles in the game, the Lord of the Seven Kingdoms is a game-changer for you early game. By giving you +50 Admin right off the bat, this title allows you to rapidly expand your territory by capturing nearby cities as soon as you accumulate enough money (around 100k) to hire mercenaries without having a population requirement. This influx of resources and coins from the new cities will significantly boost your production capabilities. Titles: S tier Title: First of their NameRequirements: Population >= 1.50k, Happiness: Plebians >= 25% Effect: Settle: 4.5 (Starting pop of 50), 1.00k Knowledge Guide: "First of their Name" is a useful title to get a head start in a new playthrough. It provides you with a solid population base and a significant knowledge boost that can propel your early game development. You need to be very quick to gather extra food with foraging for food and a hunting building ASAP, but 1k free knowledge and instant access to import/export depots is a great tool to industrialize rapidly. Even if your extra population starves, your knowledge boost gives you a strong start The BuilderRequirements: Royal Palace >= 3 Effect: Build Points +2 Guide: I would sell an organ to get a global boost of even 1 build point. Build points are one of the most valuable resources in the game, every settlement is restrictively capped by build points by their population size, with very few ways of pushing that limit. An additional 2 Build Points can drastically increase the utility of low-fertility, low-population settlements. Ore and coal resources tend to be controlled by cities with a low population capacity, meaning your mine levels are limited. Between this title and a builders guild for +5 build points, you can get a tiny town that would normally only support a single level 1 mine to double its productivity by getting a second mind. Title: The MercifulRequirements: Enemies Killed >= 2.0k, Mercy >90% Effect: +1 loyalty of vassal city populations, +.1 city population loyalty Guide: "The Merciful" is an excellent title for maintaining stability within your empire, particularly when managing vassal cities. The loyalty boost lessens the risk of uprisings or discontent. In your city, a loyalty below 50% risks riots, and having a 10% buffer can go a long way. For vassal populations, it can be difficult for your populations to have quite enough loyalty to maintain order in maximum-level city hall vassals. This could mean that you don't have to spend workforce on maintaining an expensive building that provides happiness and have that workforce instead produce levies, income, or resources. Titles: A tier The ArtisanRequirements: Lifetime Goods crafted>= 100k Effect: +.2 Workshop Productivity (Bowlers, Carpenters, Jewellers, Masonries, Mechanics, Papermakers, Potteries, Rationmakers, Smithies, Tailors) Guide: The Artisan is awesome throughout all stages of gameplay, from early to late. A 20% productivity boost of refined is a nice bonus through all stages. You'll likely achieve this as one of your first achievements just by playing the game. This a great title to take for your second playthrough as soon as you get your first 5 titles, and can carry you far for as many playthroughs as you need. Title: The GreatRequirements: Population >= 8.00k, Happiness: Plebians >= 100% Effect: +.15 Happiness Guide: "The Great" is a title for enhancing your city's overall happiness, particularly useful mid-to-late-game where large populations make happiness challenging to maintain. It provides a moderate happiness boost that can significantly impact immigration and population stability, but this can be stacked with other happiness titles for a pretty significant bonus. My general rule is that a happiness offset like this works as a population boost, i.e. your population is 10% higher than it would be otherwise. This means you could have a population of 2200 providing the services necessary for a population of 2000. To get the title, increase your population to above 8.00k and give everyone money and a day off. Title: Seer of the GodsRequirements: All temple Service ratio >=95% Effect: +.15 Happiness Guide: Seer of the Gods is just another “The Great” title in case you want to stack it. Combine with other happiness bonuses for a huge happiness boost and a great boost to immigration. Happiness titles don't make for very fun or interesting titles by themselves, but they make for a fun run if you stack them all. The IncompetentRequirements: Reputation <20%, Defeats > 20 Effect: +.5 Diplomatic opinion Guide: By increasing diplomatic opinion by 50%, you get a larger buffer before other nations feel threatened by you, though it doesn't seem to quite be you getting 50% bigger. This title can significantly delay war, allowing you to focus on the growth and consolidation of your resources. Opinion is determined mostly by their size relative so that when war does come to your door, you’ll be bigger than them. The UsurperRequirements: Royalties Assassinated >= 200 Effect: +.5 Diplomatic opinion Guide: Again another duplicate to incompetent. A cumulative 100% is significant in terms of breathing room, excessive in my opinion. By the time your diplomatic opinion is low enough for war, I suspect most player factions will be big enough to win a decisive victory. The DrunkardRequirements: Drink rations >= 75%, Population >= 200 Effect: +.2 drink production Guide: The Drunkard is a strong choice due to the sheer volume of drinks needed to maintain a city. used separately for armies, drink rations, and bars. While there are many ways to increase drink production, having the option to boost drink production may be the best single production boost you can choose the others only competing by increase a bunch of facilities at once. Titles: B tier Breaker of ChainsRequirements: Slaves Emancipated>= 5.00k Effect: +.1 Happiness Guide: This is another happiness offset. Breaker of chains isn’t as good as other happiness boosts but it’s not too difficult to get. The SlaverRequirements: Enslaved population >=1.5k (I think emancipated), Slaves >= 3.00k Effect: +.25 submission Ranking: B tier Guide: Slavery in this game is really strong. It's pretty much free labor for little to no amenities. You want to maximize the number of slaves while maintaining a 100% submission to prevent rebellion. The slaver is better than the merciless but combined can give you a pretty high slave population relative to your own population, that being said, there are plenty of other methods to increase your slave population, so the overall strategy is more fluffy than metagamey. The Merciless Requirements: Enemies Killed >= 2.0k, Mercy <0% Effect: +.2 submission Guide: Similar to the slaver, slavery is pretty much free labor for little to no amenities. See slaver if you just want one submission-boosting title. Richest of kingsRequirements: Denari from sales: >=7.50M, Denari >= 5 M Effect: +.25 Proximity, +1.5 Deflation Richest of Kings addresses some of the most challenging aspects of late-game management: inflation and proximity issues. With a significant offset in inflation and a 25% longer distance before proximity comes into play, this title can significantly enhance your trade efficiency and economic stability. With this boost in my games, I was able to stretch from the very center of the map to the edge without getting road. Best suited for long, drawn-out plays where maximizing empire size and economic power are the goal. Titles: C tier The BureaucratRequirements:Admin >= 1.00k Effect: +5% Admin Guide: The Bureaucrat title offers a modest but permanent +5% boost to your admin capabilities. Admin is honestly one of the most labor-efficient resources in the game and has no inefficiency at scale or caps. The EntertainerRequirements: Speakers >= 95%, Stages >=95%, Fightpits >= 95% Effect: +.05 Happiness Guide: A 5% increase in happiness is a pretty weak bonus for a limited slot. That being said, if you have nothing else useful to take then you may as well. The PleasurerRequirements: Massage Parlours >= 90%, Population >=5.00k Effect: +.05 Happiness Guide: Fun when stacked on top of another 4 happiness bonuses, otherwise not particularly useful. The ConquerorRequirements: Enemies killed >= 40.0K, Battles Won >= 20, Battles lost <4 Effect: +.1 Defense Guide: The conqueror effectively increases untrained defense by 50%. Base +.1 defense is equivalent to 7% defensive training. That being said, its not hard to match that for your soldiers, and its not likely you will benefit much from that max increase. Consider pairing it with other military-focused titles for a synergistic boost. The MadRequirements: Deranged Population >=200 Effect: +.25 Sanity Guide: With a +0.25 increase in sanity, this title helps stabilize your workforce and reduces the disruptions caused by mental health issues. Even when I do nothing for sanity, I don't ever get more than a handful of insane people. At most 3 or so out of 100? Even a 3% labor availability is just not worth a title slot. Protector of the realmRequirements: Invasions won >=100 Effect: +.1 defense skill Guide: Again, +.1 base defense is pretty good when base defense is .2. It’s just that training is relatively cheap and not very useful. The UniterRequirements: Kingdoms united (all time) >= 20 Effect: +.25 Diplomatic opinion Guide: Approval is nice but the other approval titles do more and take a bit less work and stacking them all together is overkill. Child of the SunRequirements: Area: Fruit Farms >10.0k, Area: Vegetable Farms >= 10.0k, Area: Fruit Orchards >= 2.50k Effect: +.1 farms productivity (Cotton, Fruit, Grain, Herb, Mushroom, Opiate, Vegetable, Orchards) Guide: Child of the Sun offers a modest productivity boost to various farm types. However, the necessity for such a title diminishes rapidly as you progress in the game. By mid-game, you’ll likely have vassals to manage farming operations, freeing up your citizens for other tasks. As such, the limited productivity boost offered is not enough to warrant a valuable title slot, making Child of the Sun a low priority unless you are plaining an opiate run. Ruler of the Sedge and BeeRequirements: Climate: warm, Population >= 5.00k Effect: +.5 Heat Resistance Guide: Similar to its cold counterpart, Ruler of the Sedge and Bee offers resistance to warm climates. While managing heat can be more challenging than cold, careful city planning usually mitigates the need for such specific resistance. Therefore, this title often doesn’t provide enough of a strategic advantage to justify its use over other more universally beneficial options. Titles: D tier Herdsman of Entelodonts Requirements: Area: Entolodont Pasture >= 20.0k Effect: +.15 productivity Pastures (Auroch, balticrawler, Eneldont, Globdien, Onx) Guide: This title grants a +0.15 productivity increase to pastures, which can be somewhat useful in regions with low fertility or specific gameplay styles like Garthimis. Pastures are for the most part just more space-demanding farms, with farms being outsourced by midgame. LifebringerRequirements: Lifetime Cured >= 10.0k Effect: +.25 Health Guide: In most scenarios, sanitation issues are caused by a massive population rather than direct health deficits, which are the culprits behind outbreaks. Despite a seemingly generous +.25 to health, you’ll find that your population will ultimately play a more crucial role in sanitation levels managing city health. By the time health becomes a significant issue due to high population, other mechanisms typically overshadow the benefits of a health boost, rendering these titlesless effective than anticipated. The CaretakerRequirements: Hospital satisfaction >=100%, Population >= 5.00k Effect: +.2 Health Guide: Health concerns can often be mitigated with adequate city services long before they become critical. Even then, life bringer has a better bonus. Heaviest of HandsRequirements: Executions: >=2.00k Effect: +.1 Lawfulness Guide: Heaviest of Hands offers a moderate increase to lawfulness but lawfulness issues can be managed through in-game measures. The investment in a title slot for such a minor and situational benefit is pretty underwhelming. Warden of the NorthRequirements: Climate: cold, Population >= 5.00k Effect: +.5 Cold Resistance Guide: Warden of the North provides a specific resistance to cold climates, which might seem strong in certain cold climates. However, the more straightforward solution to cold conditions—increasing hearth availability—renders this title somewhat redundant. Given that hearths also contribute to happiness, Warden of the North often becomes an unnecessary fluff title rather than a necessity. The UndefeatedRequirements: Reputation >=90%, Victories >=50 Effect: +.1 Morale, +10% raid security Guide: The Undefeated might bolster city defenses with a slight morale boost and enhanced raid security. However, the overall impact of these bonuses is pretty lame. More often than not, equipment and manpower will have a far more significant effect on combat outcomes than the modest increases provided by this title. Titles: F Tier The ClumsyRequirements: Accidents [All time] >= 300 Effect: +1 safety Guide: Given the low occurrence rate and minimal consequences of accidents, dedicating a title slot to The Clumsy is generally not useful, especially when other titles offer more substantial benefits. The NudistRequirements: Game time >7.5k (Around 25 years?), Population >= 200, Average clothes equipped <.05 per person. Effect: +.1 Heat resistance and +.1 Cold resistance Guide: The Nudist is arguably one of the least impactful titles available. Offering a +.1 to both heat and cold resistance, its benefits are almost negligible in practical gameplay. Given the minimal effect these resistances have on overall survival this title fails to justify occupying one of the limited and valuable title slots. The Nudist’s only use is being taken after your first run inevitably fails as your citizens become unhappy from lack of clothes. Leader Levels MirRequires: Population >= 0 Unlocks: None Effects: None EmirRequires: Population >= 25 Unlocks: Laboratory Effects: Happiness +.05, Immigration +.5 AmarirRequires: Population >= 50 Unlocks: Import/Export Depot Effects: Happiness +.05, Immigration +.25 ProntixRequires: Population >= 75 Unlocks: Training Ground, Dungeon, Slaver Effects: Happiness +.10, Immigration +.15 ApprontixRequires: Population >= 140 Unlocks: Rationmakerm Army Supply Depot Effects: Happiness +.10 Approntix RayRequires: Population >= 140 Unlocks: Rationmaker, Army Supply Depot Effects: +1 Nobles, Happiness +.10 LegatiRequires: Population >= 300 Unlocks: Guardpost, Scaffold, Stock Effects: +1 Nobles, Happiness +.10 DakoriRequires: Population >= 500 Unlocks: Administration, Embassy Effects: +2 Nobles, Happiness +.10, Loyalty +.10 Dakori RayRequires: Population >= 1.20k Unlocks: None Effects: +2 Nobles, Happiness +.10, Loyalty +.10 SoraxRequires: Population >= 3.00k Unlocks: None Effects: +2 Nobles, Happiness +.10, Loyalty +.10 Sorax RayRequires: Population >= 7.00k Unlocks: None Effects: +1 Nobles AstaRequires: Population >= 10.00k Unlocks: None Effects: +2 Nobles Asta RayRequires: Population >= 12.00k, Region >= 12 Unlocks: None Effects: +4 Nobles
《西克斯之歌》成就

导读
这是《西克斯之歌》的头衔、王室等级与成就指南,将头衔分为S+到F多个梯队,介绍了各梯队头衔的获取要求、效果及实用攻略,还列出不同王室等级的人口要求、解锁建筑与效果,助力玩家规划发展。

评论
共0条评论

【V63】初期难点攻略指南
《西克斯之歌》是一款在居民和经济模拟方面十分精细且极具魅力的游戏,但相应地,其系统也较为复杂。 尤其是在游戏最初期,即便完成了教程,仍有许多难以理解的地方,因此…
2026-02-15 22:000赞 · 0评论
如何创建自己的高度图
这是一份关于如何创建自定义地图的简单简短指南。你只需要一个像画图(Paint)这样的图片编辑器。 高度图 首先你需要了解《西克斯之歌》中地图的生成方式。在这款游…
2026-02-15 10:000赞 · 0评论

模组制作:入门指南
本指南不会教你如何用Java编码,也不会解释什么是NullPointerException。它将提供一个自动化工具链,帮助你尽可能轻松地开始《西克斯之歌》的模组…
2026-02-15 19:000赞 · 0评论

头čĄ
《西克斯之歌》游戏内所有称号 不称职的
2026-02-15 13:000赞 · 0评论

《人生的选择:中世纪》全47个头衔解锁方式攻略
注释
2025-09-15 08:5054赞 · 2评论
开箱 谁不想拥有一个这样的大金标呢?
-
2025-08-30 01:490赞 · 0评论

(已开奖)樱花氛围小游戏(一)丨海鸥与薯条、老人与鱼
大家好,这里是娜娜,
2023-11-20 10:13575赞 · 195评论

【已开奖】【MVP达人】要成为拥有MVP的人,就先从这里开始吧!
你可能知道VIP,但也许不知道MVP,玩太空杀的肯定都知道,一起深入沉浸MVP,沉浸完,可别忘了参加活动哦~
2023-10-16 04:04102赞 · 50评论

《西克斯之歌》模组制作手册
大家好! 我正在编写一份《西克斯之歌》的全面模组制作指南。这份指南从一个基于东多利亚人创建种族的简短简易教程开始,帮助你熟悉《西克斯之歌》的文件结构,进而详细解…
2026-02-16 04:000赞 · 0评论
如何破坏《西克斯之歌》的经济系统!(无限资源,无通货膨胀)
大家好!我通常很擅长利用游戏内的经济系统。不知道为什么,就是能做到。 这份简短的指南将告诉你,年轻人,如何搞垮赛克西安经济!你也可以成为暴君,万王之王!垄断西希…
2026-02-15 19:000赞 · 0评论
暂无更多
最新更新
- 希克斯之歌-视频介绍
- 希克斯之歌 2026年 — 《希克斯之歌》V71“名称待定” - 初夏更新内容 我们有消息要分享。目前还不是更新补丁,但可以先了解一下2026年《希克斯之歌》的后续计划。 我们希望下一次更…
- 《西克斯之歌》模组制作手册 — 大家好! 我正在编写一份《西克斯之歌》的全面模组制作指南。这份指南从一个基于东多利亚人创建种族的简短简易教程开始,帮助你熟悉《西克斯之歌》的文件结构,进而详细解…
- Linux(Proton)中的创意工坊模组 — Linux系统下的模组安装方法 1. 安装游戏 2. 使用你选择的Proton版本 3. 测试游戏在未加载模组的情况下是否能正常运行 如果一切正常,请继续以下步…
- 我希望之前就知道的事(过时内容) — 《西克斯之歌》是一款复杂但令人放松的游戏。教程会教你基础知识,但还有很多需要考虑的地方。 我玩过多个版本,在这款佳作上投入了不少时间。以下是我在游戏过程中学到的…
- 《西克斯之歌》成就 — A guide and tierlist to Titles, Royalty Levels, and Achievements. Titles: S+ Tie…
- 【V63】初期难点攻略指南 — 《西克斯之歌》是一款在居民和经济模拟方面十分精细且极具魅力的游戏,但相应地,其系统也较为复杂。 尤其是在游戏最初期,即便完成了教程,仍有许多难以理解的地方,因此…
- 运输物流指南 — 我制作本指南的原因是,自V69更新后,关于该主题的大多数其他指南、YouTube视频、Reddit帖子以及Discord讨论大多已过时。本指南应该会在一段时间内…
- 使用SteamCMD上传模组 — 其他上传工具无法正常使用时的替代方法 准备工作 本指南旨在提供模组上传方法,不会教授如何制作模组。此方法适用于所有游戏。 你需要:已完成的模组文件、SteamC…
- 魔法数值与机制 — Actual magic numbers and mechanics info. Preface The wiki pages for SOS are egre…