换一换
换一换 


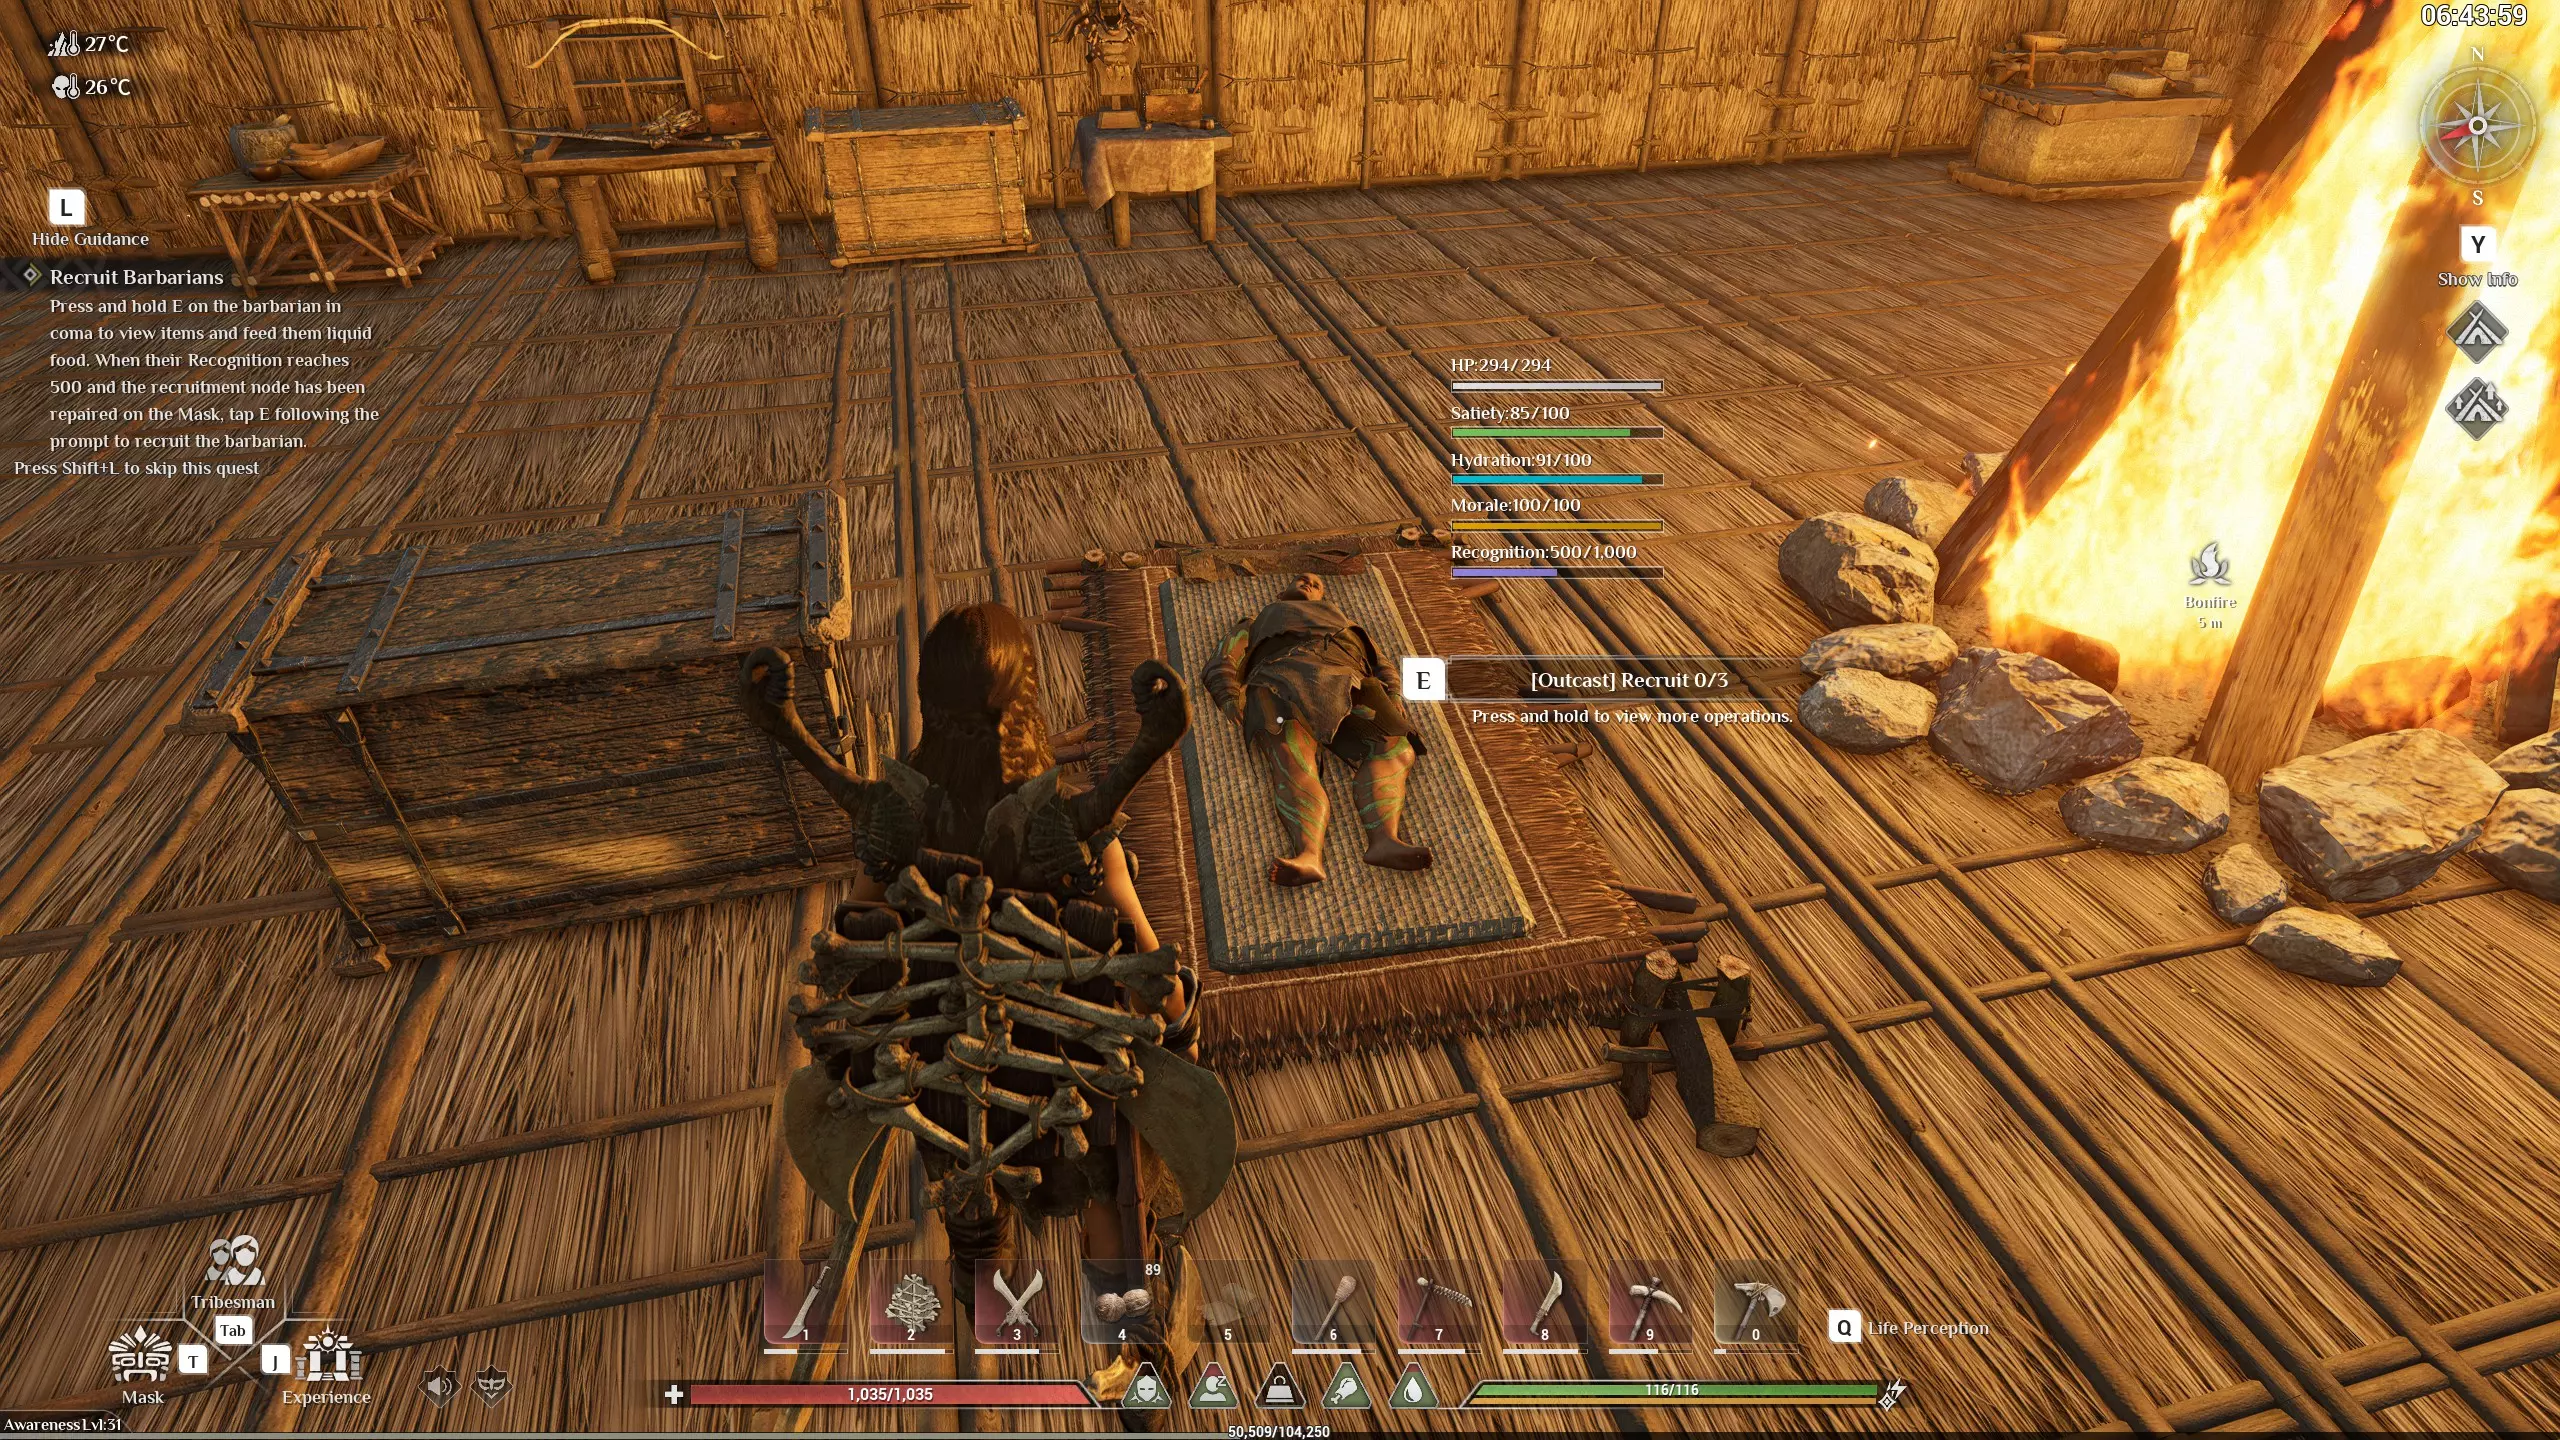
本指南的主要目标是提供关于各种工作台的尺寸要求、可附加的升级以及它们所使用技能的清晰且全面的信息。了解这些要素后,你将能够有效地规划基地布局、明智地管理资源,并自信地度过各个时代。 简介 如果你和我一样,喜欢优化自己的游戏体验,追求完美的布局并掌握游戏的各个方面。在《灵魂面具》中,种类繁多的制作工作台、它们的升级以及所使用的技能可能会让人感到眼花缭乱。我制作本指南是为了帮助其他玩家应对这些复杂内容,实现最高效且最实用的设置。本指南包含以下内容 详细的工作台信息:了解每个工作台的尺寸要求以及如何优化你的基地布局。 升级附件:学习每个工作台可用的升级选项,以及这些升级如何增强你的制作能力。 技能运用:找出与每个工作台相关的技能,帮助你更高效地为部落成员分配任务。 解锁顺序建议:获取按步骤排列的指南,了解考虑到认知强度和资源管理的最佳工作台及建筑解锁顺序。 基于技能的工作台分配:快速概览哪些技能对应哪些工作台,以便你轻松进行分组。无论你是想精进策略的资深玩家,还是寻求指引的新手,本指南都旨在让你的《灵魂面具》之旅更加愉快和成功。深入了解,让我们一起优化你的精通之路! 技能概述 了解游戏中的技能对于高效制作和 progression 至关重要。每个工作台都需要特定的技能,这些技能可以通过游戏过程逐步培养。以下是关键技能的简要概述: - 伐木:获取木材的基本技能。 - 采集:用于收集各种资源的通用技能。 - 编织:制作布料和布制物品的必要技能。 - 木材与石材:使用木材和石材制作从基础到高级物品的基本技能。 - 窑炉:用于制作需要高温处理物品的技能。炼金术:用于制作药水和其他炼金物品。 武器锻造:用于制作和升级武器的专业技能。 采矿:用于开采矿物。 种植:与耕种和植物培育相关。 制陶:涉及陶器物品的制作。 皮革加工:用于制作皮革相关物品。 工匠:制作各种基础物品的通用制作技能。 烹饪:用于准备食物和饮料的基本技能。 armor Crafting:用于制作和升级 armor。 【时代】:营火 皮革加工:屠夫桌
尺寸(初始):1x1 可升级:否 所需技能:皮革加工 用途:处理各种动物制品 所需材料: 树枝 x5 额外可选 x10 石头 燧石 额外可选 x10 原木 硬木 制作地点:手动制作 感知强度:4 鞣制架

维度(初始):1x1 可升级:否 所需技能:皮革制作 用途:用于制革厂 所需材料: 树枝 x20 粗绳 x5 制作地点:手动制作 感知强度:4 木材与石料 木工桌

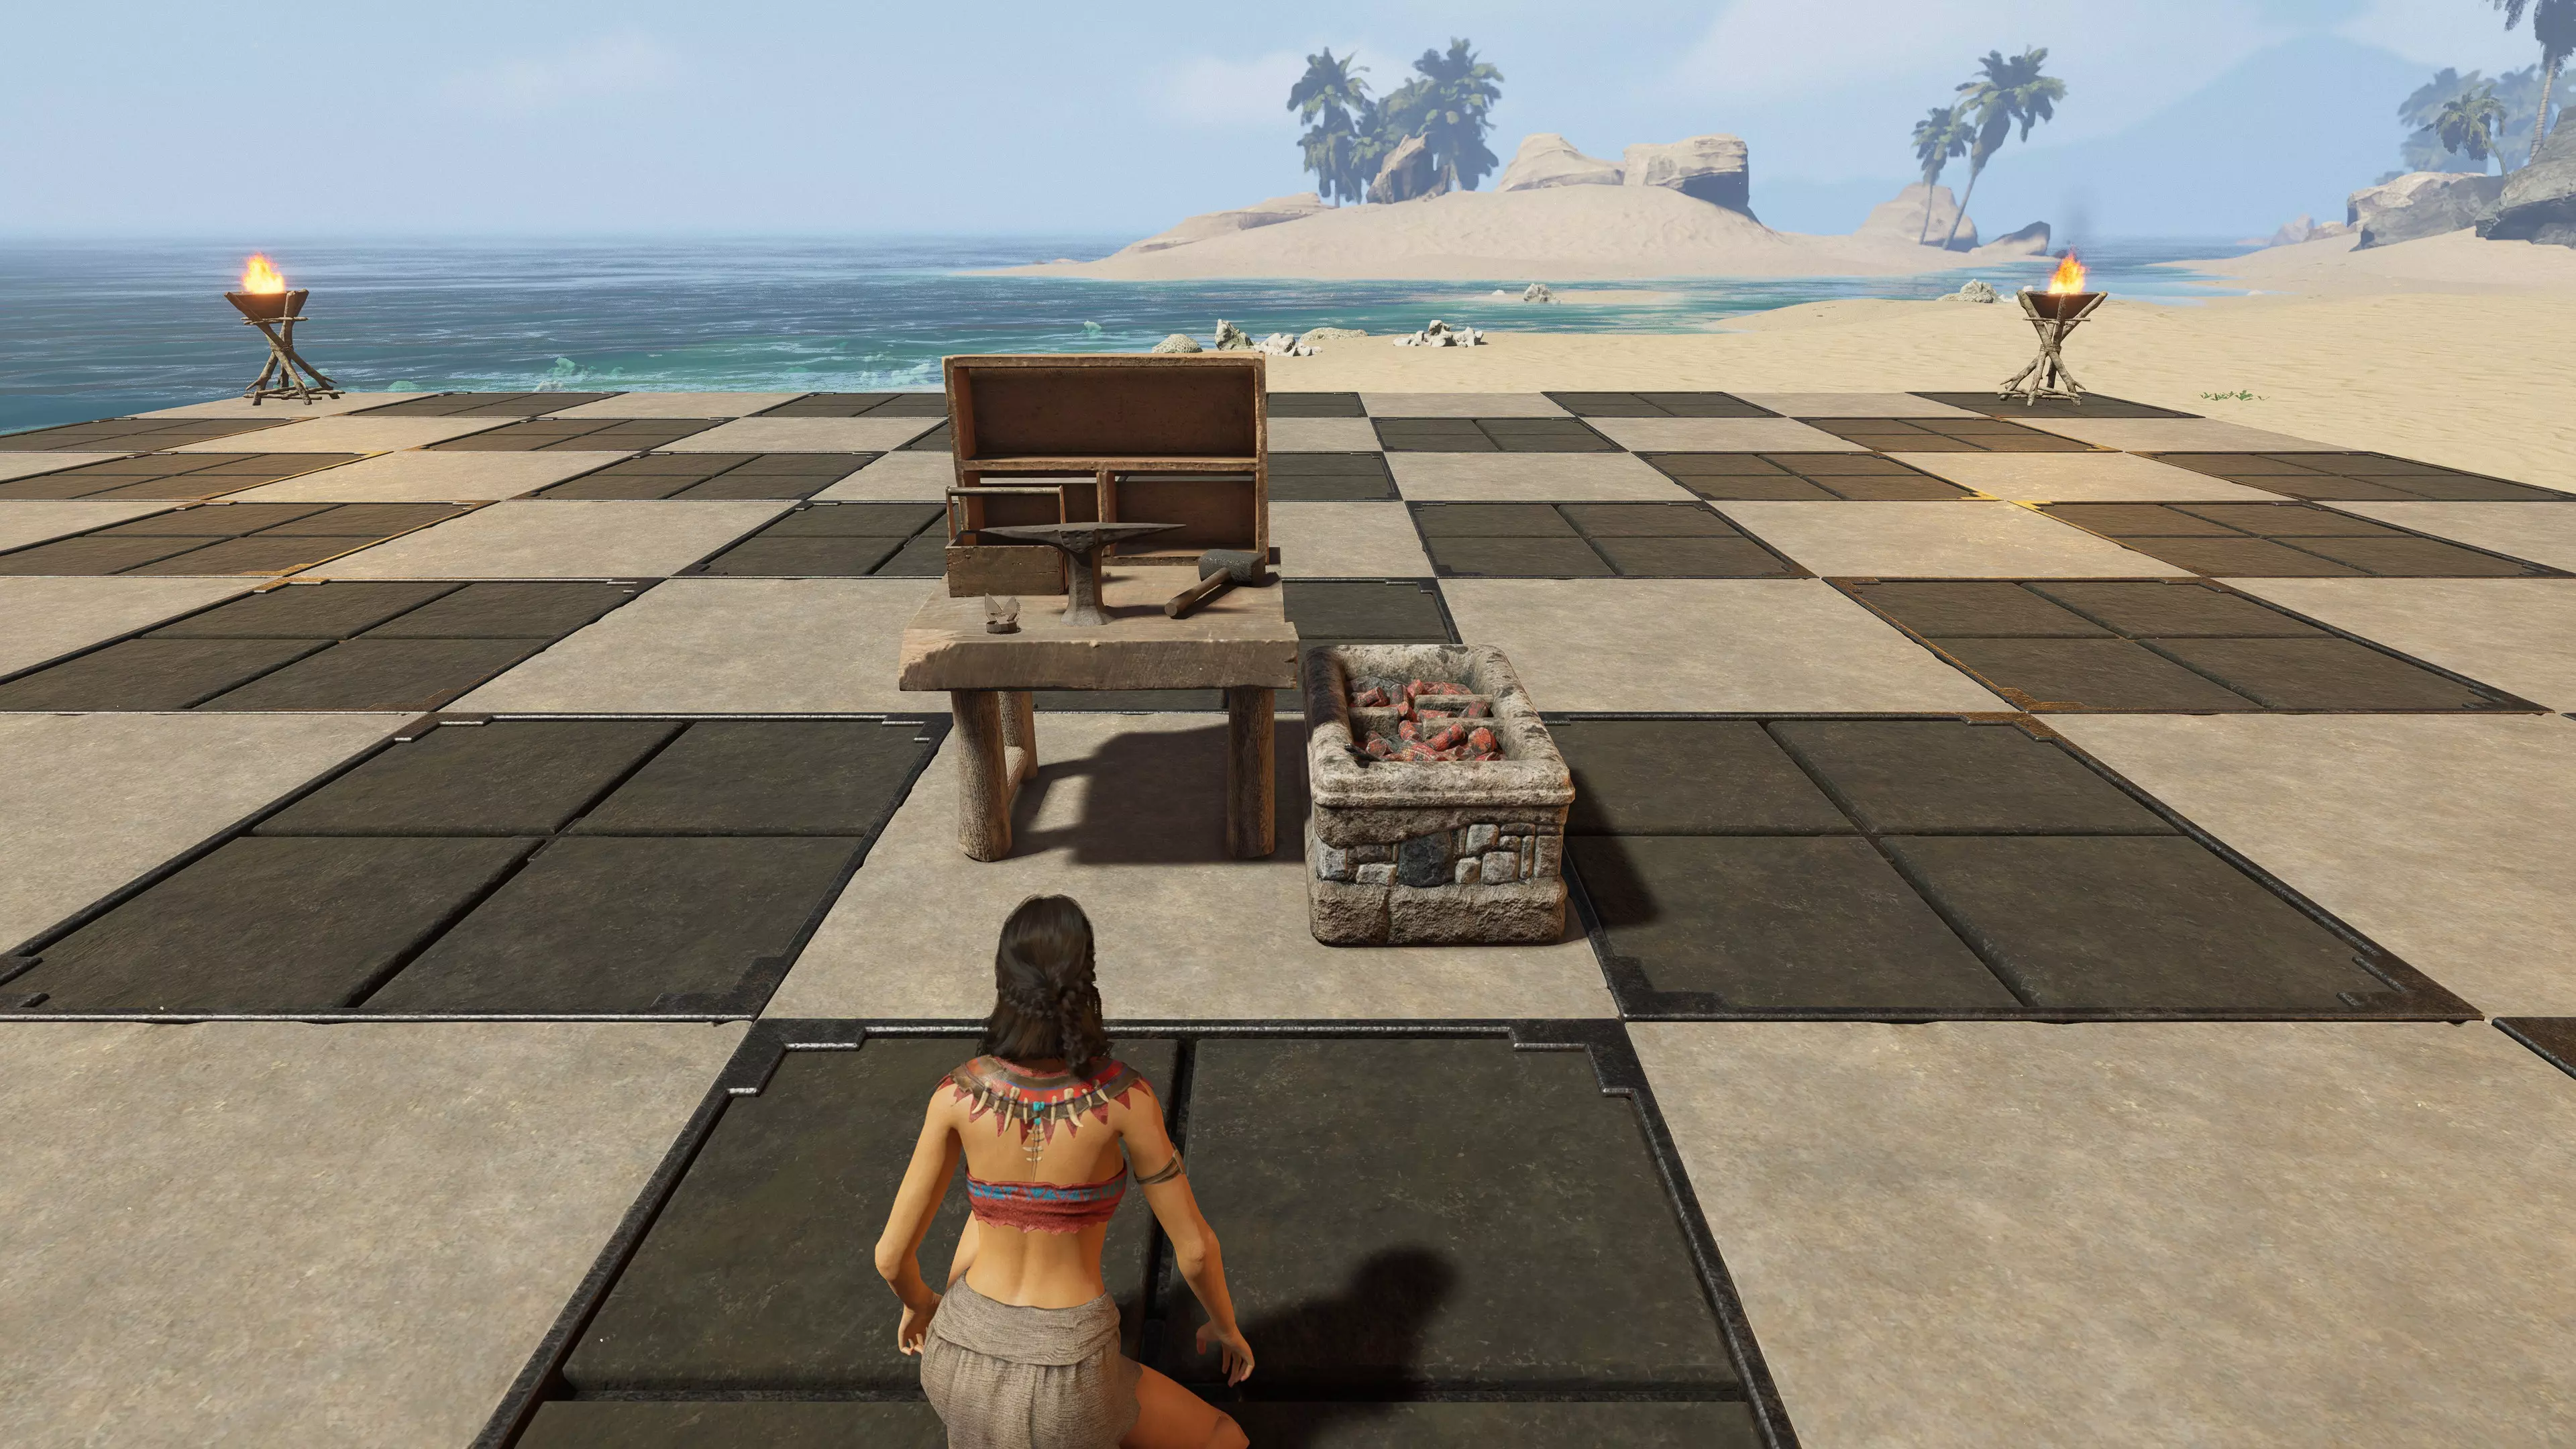
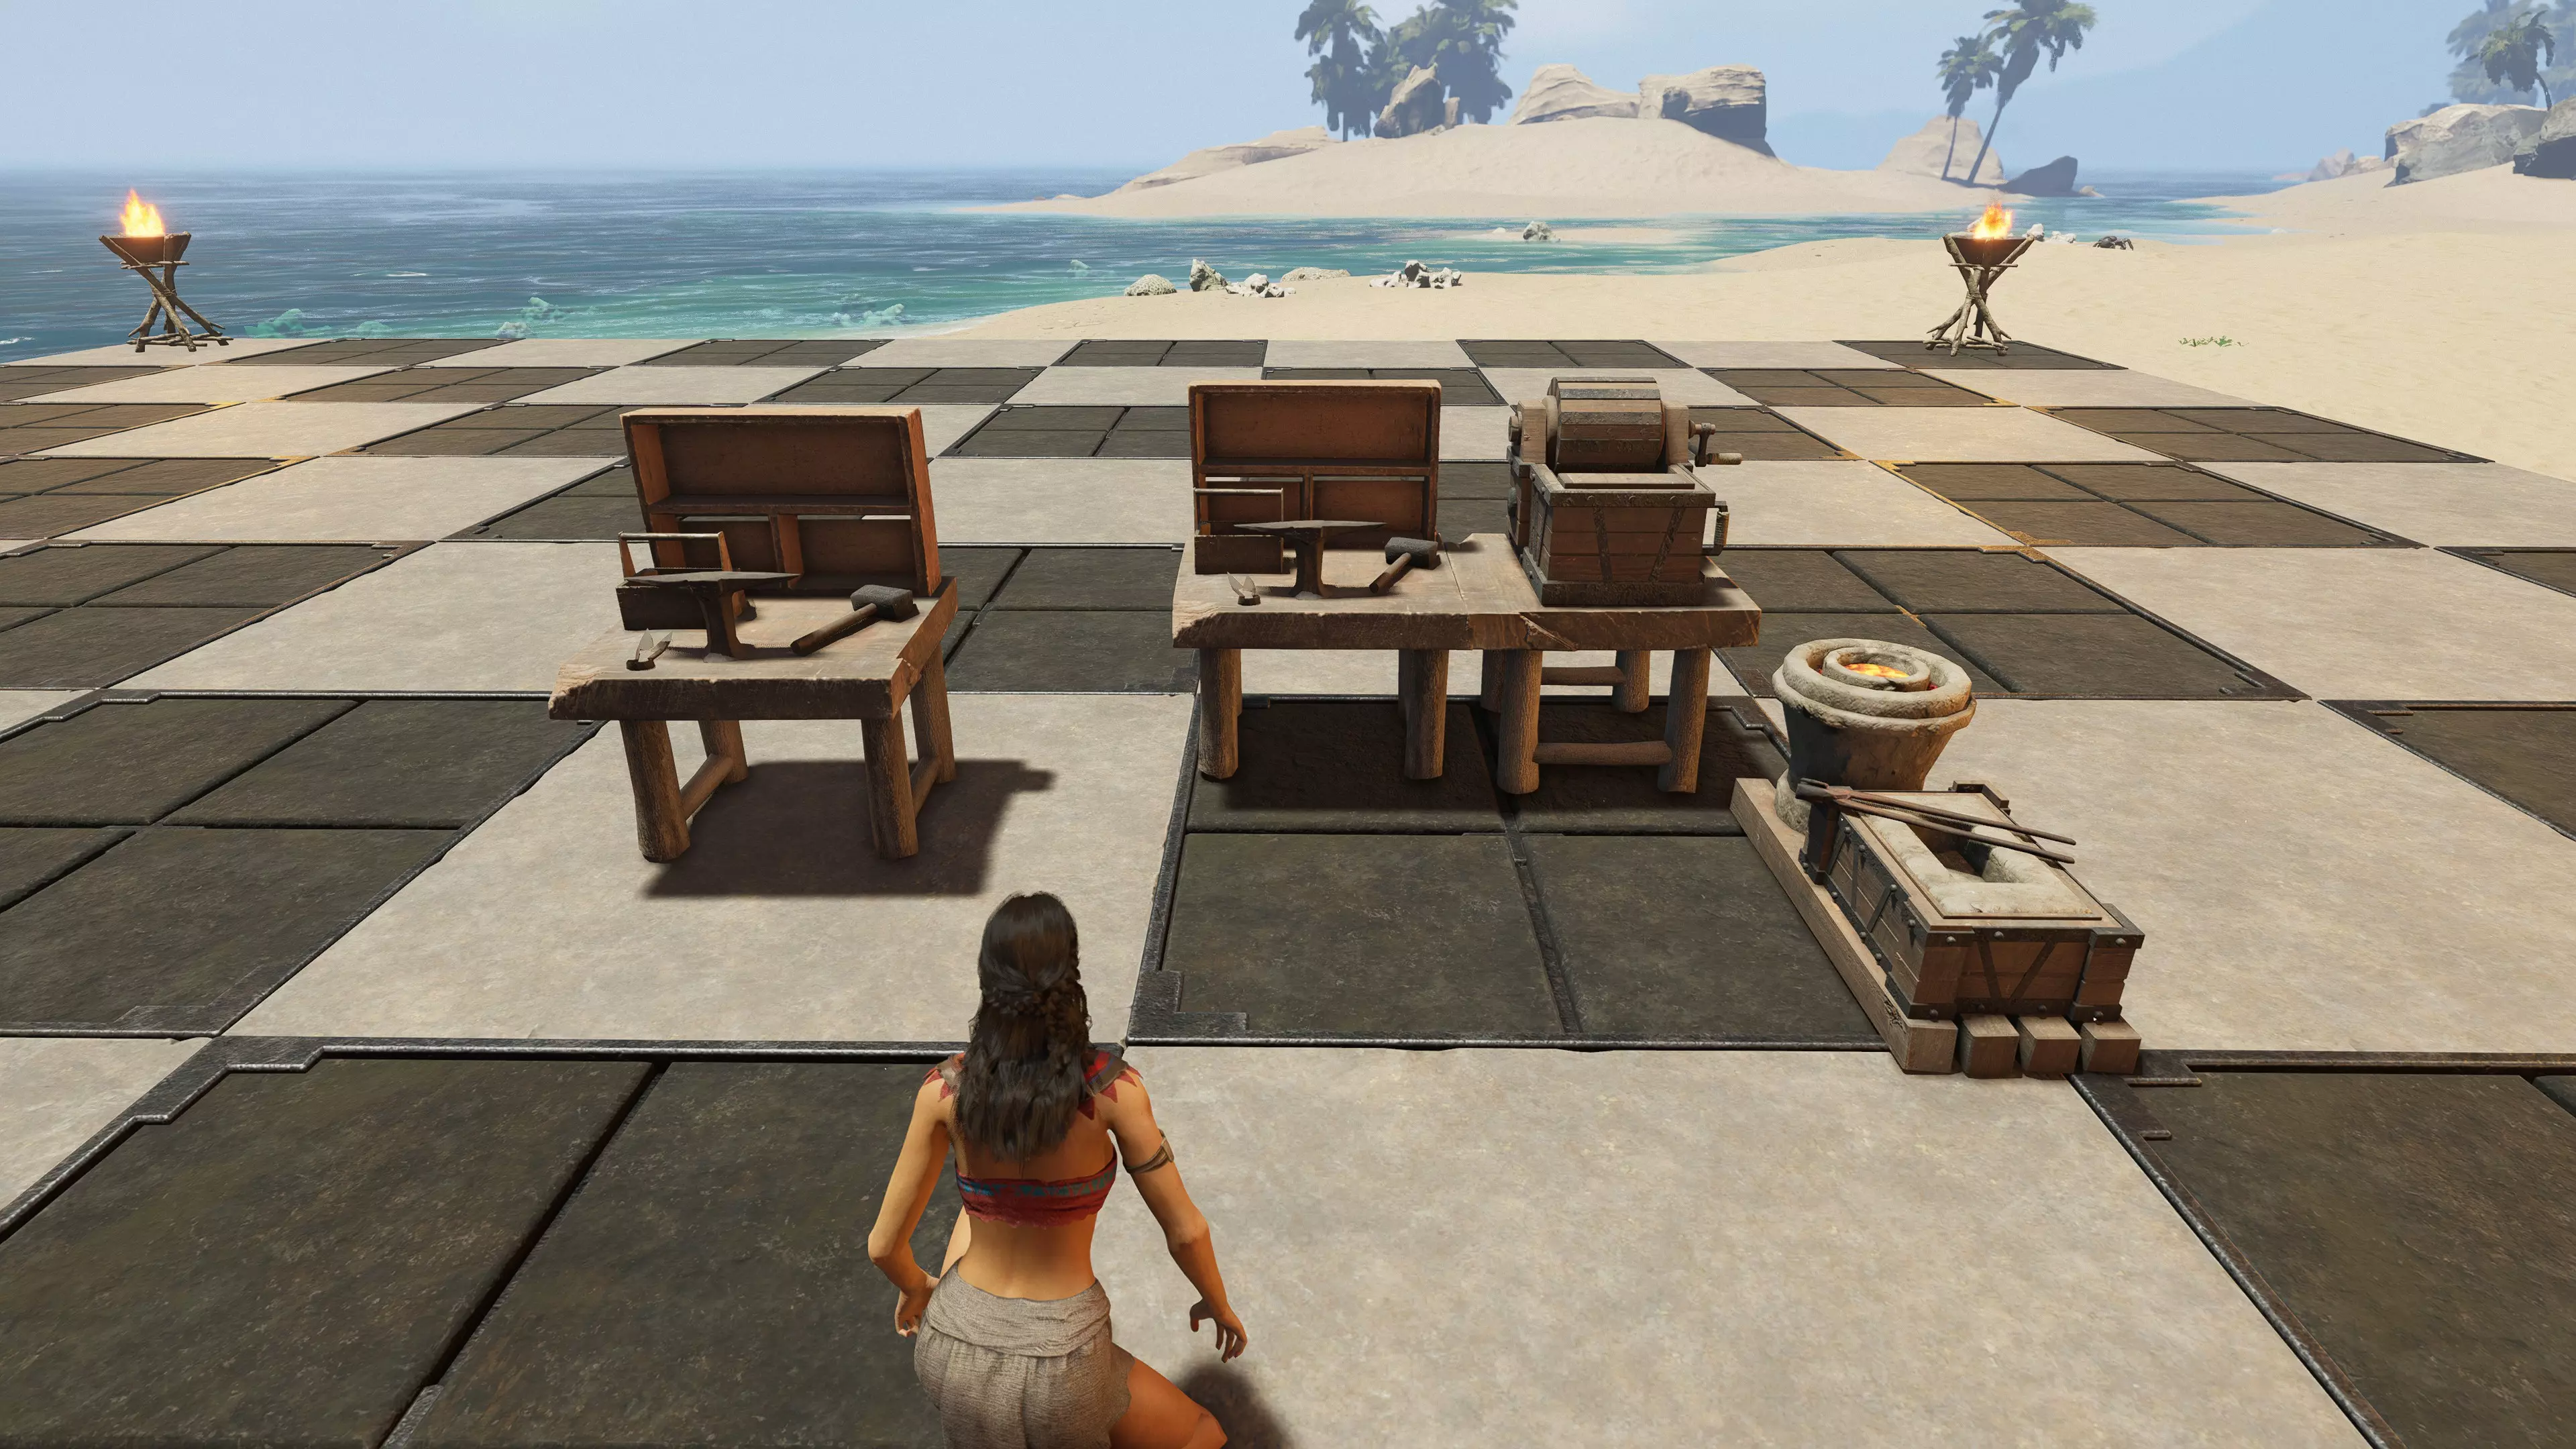
尺寸(初始):1x1 可升级:是 尺寸(最终):2x1 所需技能:木材与石材 用途:加工各种类型的木材 制作材料: 粗绳x5 额外可选材料x20 原木 升级1所需材料: 青铜锭x15 皮革x10 木柄x5 升级2所需材料: 皮绳x10 木板x5 青铜链甲x5 升级3所需材料: 铁锭x10 铁链甲x10 硬木条x10 制作地点:手动制作 感知强度:3(初始)、20、30、40(升级后) 额外提示:最终形态会略微超出一个地基。 工匠工匠工作台

维度(初始):1x1 可升级:是 所需技能:工匠 用途:用于加工各种动物制品 所需材料: 树枝 x5(额外可选 x10) 石头 燧石(额外可选 x10) 原木 硬木 升级1所需材料: 细绳 x10 硬木板 x20 铁锭 x29 制作地点:手动制作 感知强度:9(初始),35(升级后) 织布机

维度(初始):1x1 可升级:否 所需技能:编织 用途:用于制作纺织品和绳索 所需材料: 木板 x10 粗糙皮革 x5 粗绳 x5 制作地点:手动制作 感知强度:6 炼金研磨机

维度(初始):1x1 可升级:否 所需技能:炼金术 用途:用于研磨 所需材料: 石头 x10 木板 x5 制作地点:手动制作 感知强度:3 盆栽盆栽台

尺寸(初始):1x1 可升级:否 所需技能:制陶 用途:用于陶艺制作 所需材料: 黏土 x24 石头 x10 木板 x10 制作地点:手动制作 感知强度:8 烹饪 烹饪炉 尺寸(初始):1x1 可升级:否 所需技能:烹饪 用途:用于加工各种食材 所需材料: 树枝 x10 石头 x20 陶瓷模具 x2 制作地点:手动制作 感知强度:8 时代:篝火 木材与石头 建造工坊

尺寸(初始):1x1 可升级:是 尺寸(最终):2x2 所需技能:木材与石材 用途:用于制作高级建筑材料和桌子 所需材料: 黏土 x20 木板 x20 粗绳 x10 额外可选: 石头 x39 燧石 x39 升级1所需材料: 优质皮革 x10 硬木手柄 x5 额外可选 x20 青铜锭 铁锭 升级2所需材料: 优质硬木 x48 优质硬木板 x20 皮绳 x10 钢锭 x20 制作地点:手动制作 感知强度:10(初始)、30、50(升级后) 烹饪干燥架

维度(初始):1x1 可升级:否 所需技能:烹饪 用途:用于肉类干燥 所需材料: 木板 x20 树枝 x39 树脂 x10 制作地点:手动制作 感知强度:18 植物农田

尺寸(初始):2x2 可升级:否 所需技能:种植 用途:用于种植各种农作物的普通农田 所需材料: 黏土 x20 额外可选 x39 石头 燧石 制作地点:手动制作 感知强度:10 附加提示:可建造在地面或地板上。可相互拼接。上方有屋顶时无法使用。 肥料桶 尺寸(初始):1x1 可升级:否 所需技能:种植 用途:用于生产肥料 所需材料: 石头 x10 黏土 x20 木板 x10 制作地点:手动制作 感知强度:10 附加提示:只能放置在地面上。无地基 谷仓 尺寸(初始):2x2 可升级:否 所需技能:种植 用途:指派部落成员自动管理周围农田(播种;施肥;浇水;收获) 所需材料: 石头x50 硬木板x99 皮绳x20 建造地点:建筑工坊 感知强度:10 窑 土窑

尺寸(初始):1x1 可升级:是 尺寸(最终):1x1 所需技能:窑炉 用途:用于制作木炭、石灰等 所需材料: 黏土 x48 额外可选材料 x96 石头 燧石 升级1所需材料: 石砖 x20 黏土 x20 制作地点:手动制作 感知强度:14(初始),45(升级后) 武器制作武器制作台

尺寸(初始):1x1 可升级:是 尺寸(最终):1x2 所需技能:武器锻造 用途:用于锻造武器 所需材料: 木板 x20 木柄 x10 皮绳 x5 升级1所需材料: 青铜锭 x77 陶瓷模具 x5 硬木板 x20 制作地点:建筑工坊 感知强度:12(初始),22(升级后) 护甲锻造 护甲锻造台

尺寸(初始):1x1 可升级:是 尺寸(最终):1x1 所需技能:护甲制作 用途:用于制作各种装备 所需材料: 木板 x20 皮革 x10 细绳 x10 升级1所需材料: 细绳 x10 木板 x10 铜线 x10 铜锭 x20 升级2所需材料: 细绳 x10 硬木板 x20 铁丝 x10 铁锭 x20 升级3所需材料: 细绳 x10 优质硬木板 x20 钢丝 x10 钢锭 x20 制作地点:建筑工坊 感知强度:15(初始)、25、36、51(升级后) 其他:雨水收集器
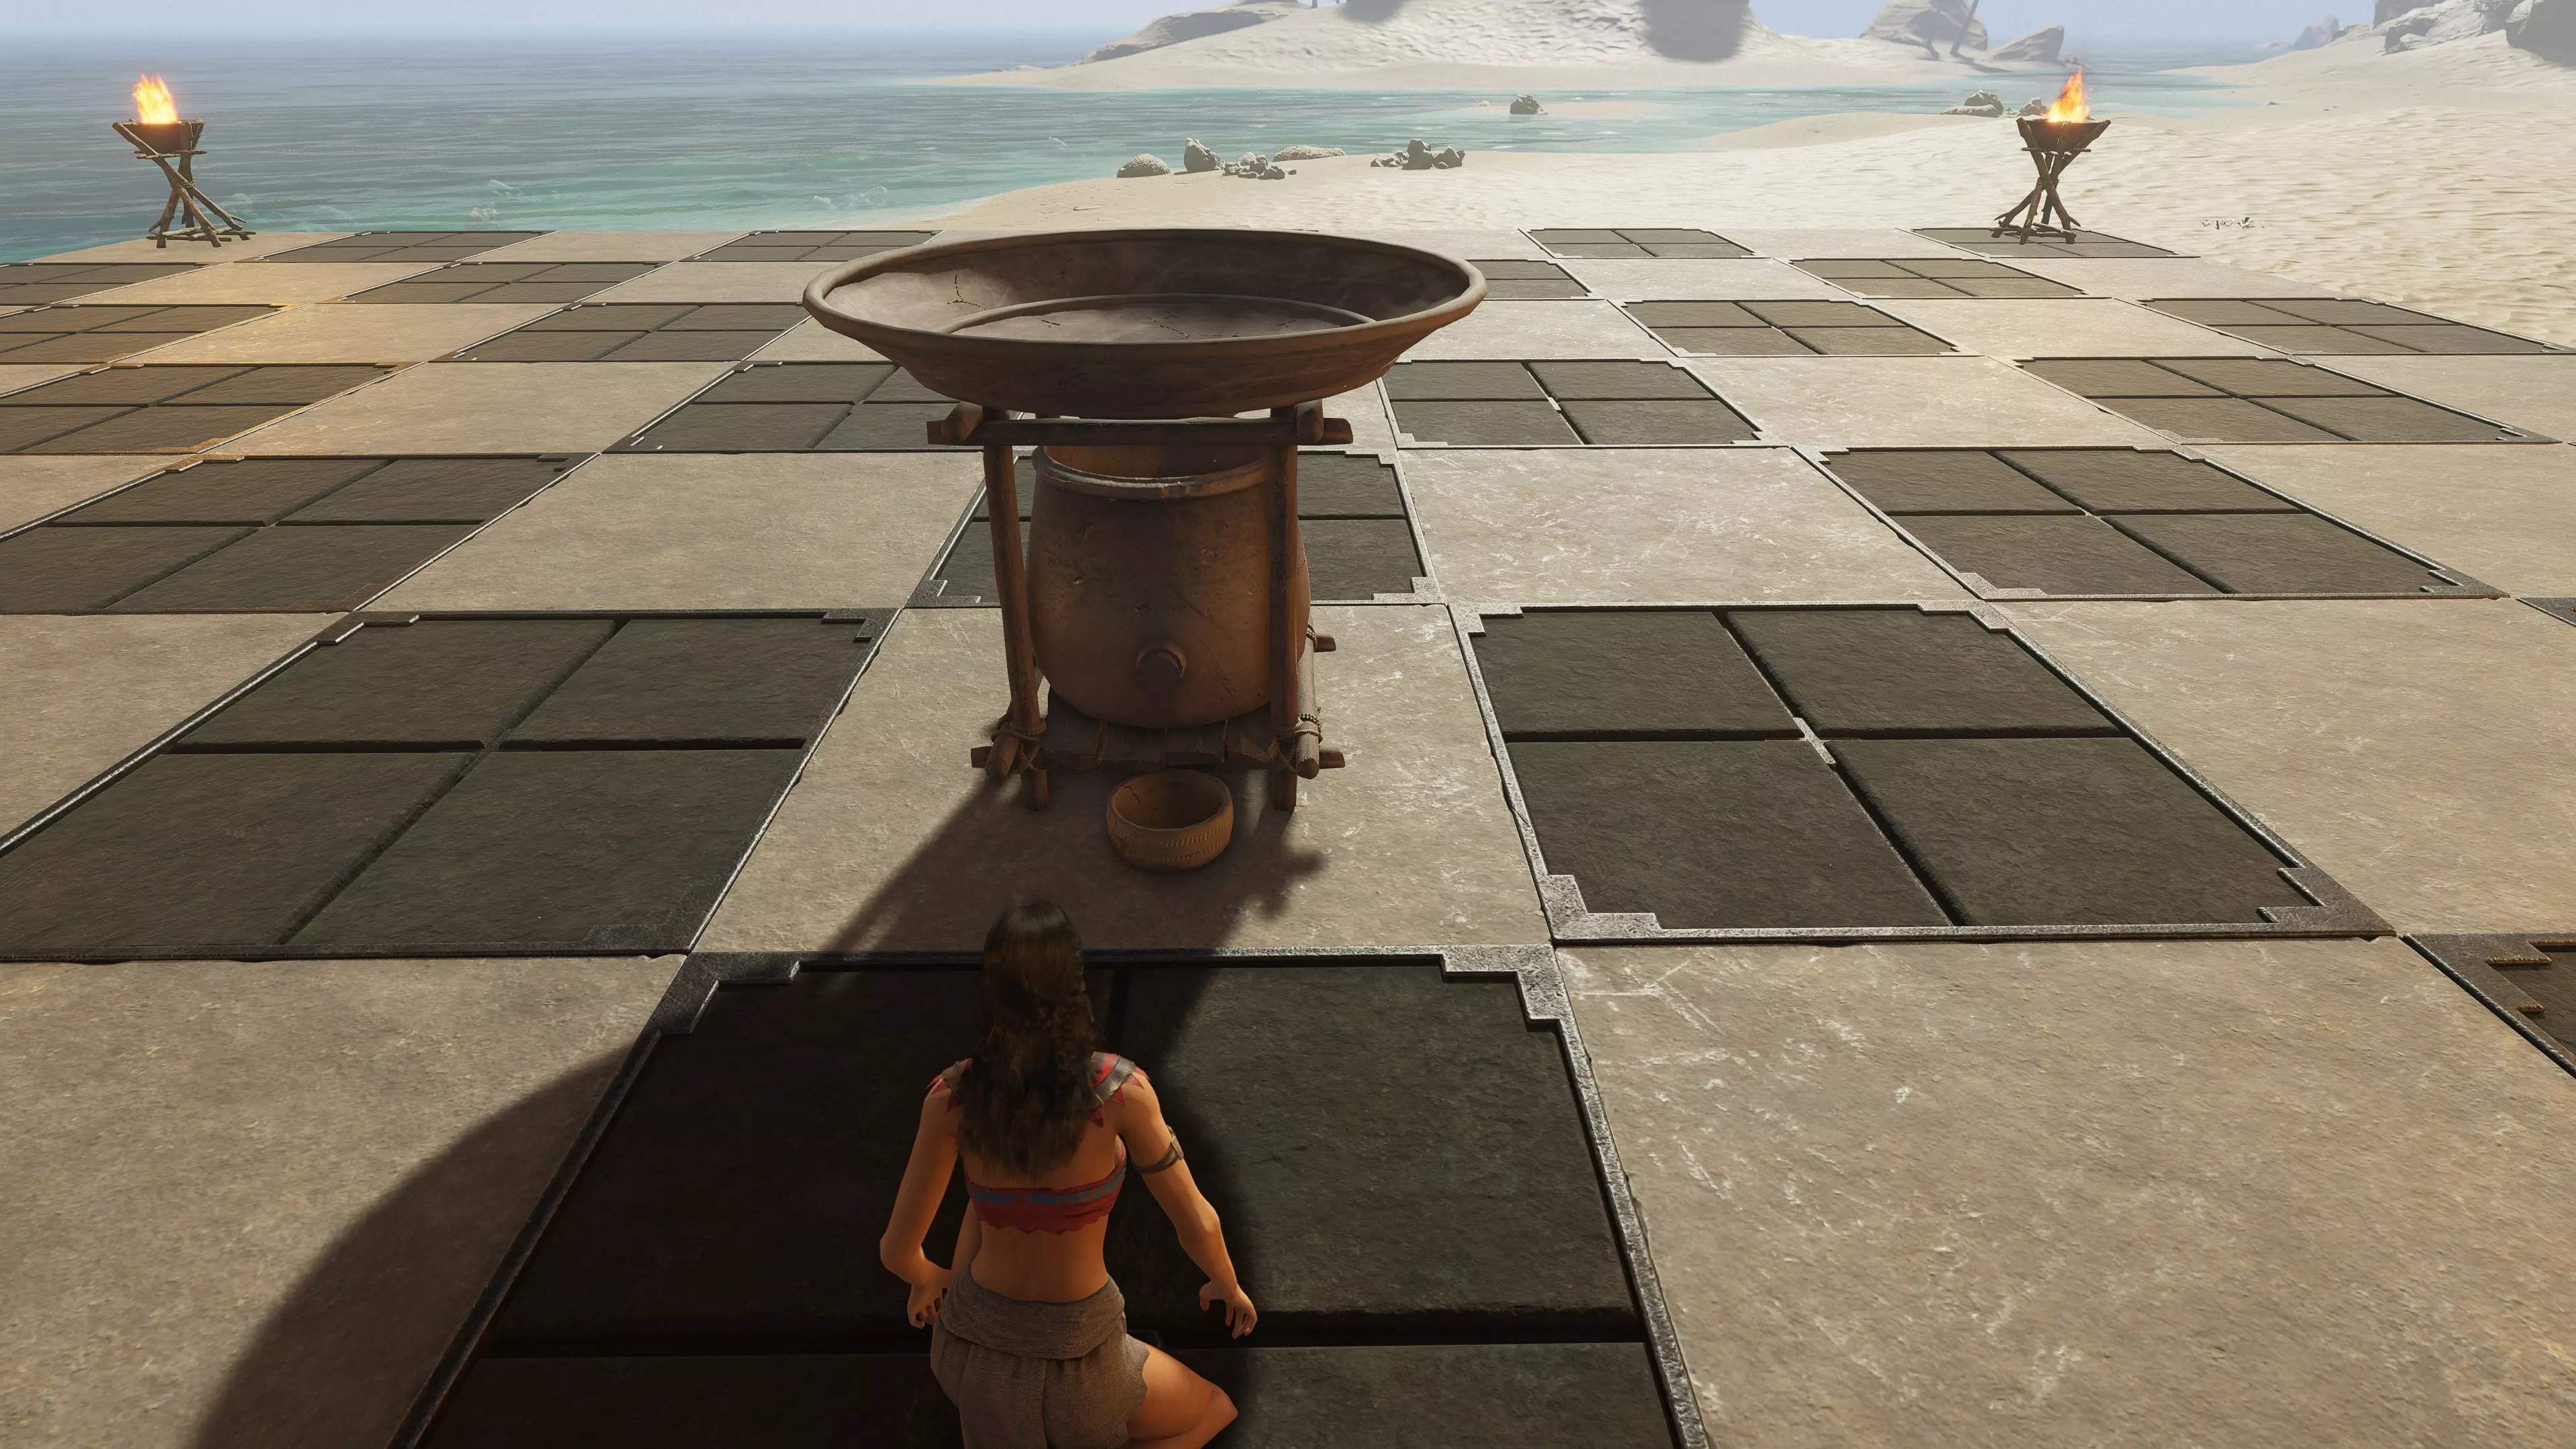
维度(初始):1x1 可升级:否 所需技能:无 用途:收集水 所需材料: 黏土x20 陶瓷模具x2 木柄x8 粗绳x5 制作地点:手动制作 感知强度:10 额外提示:在建造水井前或住处离水源较远时非常有用 时代:营火阶段续篇 水豚围栏

尺寸(初始):3x3 可升级:否 所需技能:无 用途:用于繁殖水豚 所需材料: 木板 x77 茅草 x48 粗绳 x20 制作地点:建筑工坊 感知强度:10 额外提示:用于捕捉幼年水豚的中型陷阱 火鸡笼

尺寸(初始):2x2 可升级:否 所需技能:无 用途:用于饲养火鸡 所需材料: 木板x29 树枝x20 粗绳x20 制作地点:建筑工坊 警戒强度:10 额外提示:用于捕捉幼火鸡的小型陷阱 猴子储物巢 尺寸(初始):1x1 可升级:否 所需技能:无 用途:已驯服猴子的巢穴,用于存放物品 所需材料: 原木x10 纤维x10 茅草x10 额外可选材料x5: 野果 坚果 制作地点:建筑工坊 警戒强度:10 繁殖农场

维度(初始):2x2 可升级:否 所需技能:无 用途:指派部落成员自动管理周围的兽栏(喂食、饮水、收集、屠宰) 所需材料: 黏土 x20 茅草 x60 木板 x99 粗绳 x20 制作地点:建筑工坊 感知强度:10 修理台
尺寸(初始):1x1 可升级:否 所需技能:无 用途:用于修理物品 所需材料: 木板 x10 木柄 x15 皮绳 x5 制作地点:建筑工坊 感知强度:15 装饰桌

尺寸(初始):1x1 可升级:否 所需技能:无 用途:用于自定义面具或改变身体彩绘、涂装、发型等 所需材料: 硬木板 x20 陶瓷模具 x4 硬木手柄 x5 制作地点:建筑工坊 感知强度:15 水井 尺寸(初始):1x1 可升级:否 所需技能:无 用途:用于获取水源 所需材料: 茅草 x20 黏土 x20 细绳 x10 额外可选材料 x10 原木 硬木 制作地点:手动制作 感知强度:15 附加提示:只能放置在地面上,无需地基 厕所

维度(初始):1x1 可升级:否 所需技能:无 用途:简易厕所 所需材料: 硬木板 x10 陶瓷模具 x5 茅草 x39 制作地点:建筑工坊 感知强度:15 额外提示:用于收集部落成员的粪便 时代:青铜时代篝火坑 伐木场

伐木场(初始):2x2 不可升级 所需技能:伐木 用途:指派部落成员自动砍伐周围的树木 所需材料: 石头x48 青铜锭x77 硬木板x29 皮绳x39 制作地点:建筑工坊 感知强度:25 采集场(初始):2x2 不可升级 所需技能:采集 用途:指派部落成员自动采集周围的灌木 所需材料: 燧石x48 青铜锭x77 木板x58 皮绳x39 制作地点:建筑工坊 感知强度:25 窑炉

尺寸(初始):3x1 可升级:否 所需技能:窑炉 用途:用于熔炼各种低熔点金属 所需材料: 石头x96 陶瓷模具x5 黏土x48 制作地点:建筑工坊 感知强度:20 炼金酿造台

尺寸(初始):1x1 可升级:是 尺寸(最终):1x1 所需技能:窑炉 用途:用于生产药水和药品 所需材料: 青铜锭 x48 细绳 x10 硬木板 x10 皮革 x20 升级1所需材料: 陶瓷模具 x5 青铜锭 x10 木柄 x10 升级2所需材料: 硬木柄 x5 铁锭 x10 硬木条 x10 制作地点:建筑工坊 感知强度:24(初始)、25、35(升级后) 采矿挖掘坑

尺寸(初始):2x2 可升级:否 所需技能:采矿 用途:指派部落成员自动开采周围资源 所需材料:燧石x39、青铜锭x96、硬木板x48、皮革绳x20 制作地点:建筑工坊 感知强度:25 烹饪酿造罐 尺寸(初始):1x1 可升级:否 所需技能:烹饪 用途:用于酿造各种酒类 所需材料:石头x20、陶瓷模具x2、硬木板x10、黏土x48 制作地点:手动制作 感知强度:20 榨油机 尺寸(初始):2x1 可升级:否 所需技能:烹饪 用途:用于制作油 所需材料:青铜锭x20、硬木条x20、硬木板x20、细绳x20 制作地点:建筑工坊 感知强度:30 工作台 尺寸(初始):1x1可升级:否 所需技能:烹饪 用途:用于加工各种高级食材 所需材料:青铜锭x58、石砖x96、硬木板x20、黏土x48 制作地点:建筑工坊 感知强度:30 额外提示:仍需烹饪锅 其他:不可拆解台
尺寸(初始):1x1 可升级:是 尺寸(最终):1x2 所需技能:无 用途:用于分解物品 所需材料: 青铜锭x39 硬木板x20 细绳x10 额外可选x39 石头 燧石 升级1所需材料: 铁锭x10 金属零件x5 铁丝x5 升级2所需材料: 钢锭x10 钢模具x5 钢线x5 制作地点:建筑工坊 察觉强度:23(初始)、35、50(升级后) 食人鱼池

尺寸(初始):2x3 可升级:否 所需技能:无 用途:用于养殖食人鱼 所需材料: 耗水量x960 石砖x48 硬木板x20 硬木手柄x10 细绳索x20 制作地点:建筑工坊 感知强度:30 额外提示:捕捉食人鱼需要捕鱼陷阱 蜂巢

尺寸(初始):1x1 可升级:否 所需技能:无 用途:可饲养蜜蜂以生产蜂蜜 所需材料: 木板x39 细绳x5 茅草x20 木条x39 制作地点:建筑工坊 感知强度:30 额外提示:使用蜜蜂糖浆可吸引500只蜜蜂。达到该数量后,糖浆将不再消耗。 浴缸

尺寸(初始):1x1 可升级:否 所需技能:无 用途:大型自热浴缸 所需材料: 硬木板x29 石砖x20 黏土x20 青铜锭x10 建造地点:建筑工坊 警觉强度:30 竞技场 尺寸(初始):10x12 可升级:否 所需技能:无 用途:在竞技场与部落成员战斗 所需材料: 石砖x192 硬木板x39 硬木x20 粗绳x39 建造地点:建筑工坊 警觉强度:30 额外提示:部落成员在竞技场中不会死亡,他们可以在其中提升战斗技能。他们会自动在里面战斗。 十字弩塔

基础弩炮 尺寸(初始):1x1 可升级:否 所需技能:无 用途:防御建筑,可向人员或动物发射多种弩箭 所需材料: 青铜锭x39 硬木板x39 皮绳x10 皮革x10 制作地点:建筑工坊 警戒范围:30 额外提示:对建筑无效。需要部落成员操作。 攻城弩炮 尺寸(初始):1x1 可升级:否 所需技能:无 用途:攻城器械,可远距离发射多种投射物 所需材料: 青铜锭x58 硬木板x48 皮绳x10 皮革x15 硬木条x20 制作地点:建筑工坊 警戒范围:30 额外提示:使用更好的投射物时对建筑造成更多伤害。需要手动操作。年龄:钢铁坑篝火 编织动力纺车

尺寸(初始):2x1 可升级:否 所需技能:无 用途:用于快速纺织。需要风车提供动力 所需材料: 硬木条x48 优质皮革x20 皮绳x20 金属板x20 制作地点:建筑工坊 感知强度:46 额外提示:仍需织布机。连接口在左侧。 炼金染缸

维度(初始):1x1 可升级:否 所需技能:炼金术 用途:用于制作颜料 所需材料: 黏土 x77 陶瓷模具 x2 树枝 x20 棉绳 x10 制作地点:建筑工坊 感知强度:35 窑 鼓风炉
维度(初始):1x3 可升级:否 所需技能:窑炉 用途:用于熔炼铁锭 所需材料: 石砖 x192 陶瓷模具 x10 青铜锭 x96 制作地点:建筑工坊 感知强度:35 额外提示:仍需熔炉 其他:冷却台

冰窖 尺寸(初始):1x1 可升级:否 所需技能:无 用途:冰层融化时降低区域温度 所需材料: 石砖x48 优质皮革x39 黏土x39 硬木板x20 制作地点:建筑工坊 感知强度:35

维度(初始):1x1 可升级:否 所需技能:无 用途:利用冰的冷冻效果,可在低温下保存食材以降低腐败速度 所需材料: 石砖x96 黏土x48 制作地点:建筑工坊 感知强度:40 空气加热器

维度(初始):1x1 可升级:否 所需技能:无 用途:提供大范围供暖 所需材料: 铁锭 x48 优质皮革 x39 硬木板 x20 皮绳 x20 橡胶 x20 制作地点:建筑工坊 感知强度:40 风车

尺寸(初始):1x1 可升级:否 所需技能:无 用途:允许通过风能进行能量转换 所需材料: 硬木板 x96 优质皮革 x48 铁锭 x96 金属零件 x20 叶片所需材料: 优质硬木板 x15 硬木零件 x5 优质硬木手柄 x5 能量扩展器所需材料: 硬木板 x10 优质皮革 x5 铁锭 x20 金属零件 x10 制作地点:建筑工坊 感知强度:46 额外提示:必须放置在地基上。图片中展示的是顶部已安装木质风车叶片的状态。只需将其放置,叶片就会自动卡合在顶部,因为风车本身没有插槽。 时代:钢铁坑篝火 木材与石材动力切割机

维度(初始):1x1 可升级:否 所需技能:木材与石材 用途:用于快速切割和加工各种大型物品。需要风车提供动力 所需材料: 铁锭 x48 皮绳 x48 金属板 x48 金属零件 x20 制作地点:建筑工坊 感知强度:50 额外提示:背部有连接口 动力工坊

维度(初始):1x1 可升级:否 所需技能:木材与石材 用途:可加工各种精密零件,需要风车才能运行 所需材料: 钢锭x96 精致皮革x48 金属零件x96 金属板x48 钢模具x10 制作地点:建筑工坊 感知强度:54 额外提示:左侧连接 炼金动力磨坊

尺寸(初始):1x1 可升级:否 所需技能:炼金术 用途:用于快速研磨各种矿石和坚硬物体。需要风车提供动力 所需材料: 黑石砖 x48 优质硬木板 x48 金属零件 x20 金属板 x48 钢模具 x50 制作地点:建筑工坊 感知强度:54 额外提示:背部连接 蒸馏器

尺寸(初始):1x1 可升级:是 尺寸(最终):1x2 所需技能:炼金术 用途:用于净化和蒸馏各种物品 所需材料: 精密零件 x10 陶瓷模具 x10 玻璃 x48 额外可选材料 x39 木条 硬木条 升级1所需材料: 钢锭 x15 陶瓷模具 x5 优质硬木板 x20 制作地点:建筑工坊 感知强度:54(初始),54(升级后) 窑炉动力精炼炉

维度(初始):1x1 可升级:否 所需技能:熔炉 用途:用于精炼和提纯金属。需要风车才能运行 所需材料: 黑石条 x48 陶瓷模具 x10 金属零件 x48 金属板 x48 制作地点:建筑工坊 感知强度:50 额外提示:背部有连接口。除非不需要焦煤,否则仍需保留之前的熔炉。可以移除普通熔炉。 blast furnace有石膏,但如果不需要,可以将其移除。 时代:精钢坑篝火 时代:精钢坑篝火 武器制作 远古强化台

尺寸(初始):2x1 可升级:否 所需技能:武器锻造 用途:用于快速编织。需要风车提供动力 所需材料: 硬木条 x48 优质皮革 x20 皮绳 x20 金属板 x20 制作地点:建筑工坊 感知强度:46 额外提示:仍需织布机。连接口在左侧 基础传送门 尺寸(初始):3x2 可升级:否 所需技能:无 用途:允许在基地之间传送 所需材料: 传送门部件1 传送门部件2 传送门部件3 制作地点:神秘石桌 感知强度:不适用 额外提示:取决于你何时进入拥有此物品的地牢。它非常重,因此需要带坐骑或部落成员帮忙运回家。需要击败第三个 boss 才能使用通常情况下,坐骑和物品无法通过。只有你穿戴的装备和快捷栏中的物品可以通过。可以通过更改服务器设置来允许物品通过。 我的矿场 维度(初始):不适用 可升级:否 所需技能:无 用途:一种大型采集装置,可快速自动收集资源 所需材料:不适用 制作地点:建筑工坊(用于升级部件) 感知强度:不适用 额外提示:不可放置。地图上的一些矿场区域存在野生矿场。部件可以放入其中。需要进行修复和添加燃料。只有部落成员可以操作它。由于它们位于有生物生成的区域,因此只能在其附近放置矿场箱子,篝火和营火在那里无法使用。 防辐射塔

维度(初始):1x1 可升级:否 所需技能:无 用途:阻挡30米内的辐射 所需材料:无 制作地点:无 感知强度:无 神秘石桌

Dimensions (Beginning): 2x1 Upgradable: No Required Skill: None Usage: Adjust mask and save your tribesman data Materials Needed: Mystery Stone Table Mysterious Stone Table Part 1 Where to Craft: Place Manually Awareness Strength: N/A Additional Tips: Retrieve from the dungeons on the map. Very heavy, bring a mount to bring it back with you more easily. Suggested Unlock Order Campfire AgeButcher's Table (Awareness Strength: 4) Essential for processing animal products early on.Grinder (Awareness Strength: 3) Useful for alchemy and grinding materials.Tanning Rack (Awareness Strength: 4) Important for leatherworking and processing hides.Loom (Awareness Strength: 6) Vital for weaving and creating textiles.Cooking Stove (Awareness Strength: 8) Necessary for processing various food materials.Potting Table (Awareness Strength: 8) Needed for pottery and creating ceramic items.Craftsman's Bench (Awareness Strength: 9) Useful for crafting various tools and equipment. Bonfire AgeRainwater Collector (Awareness Strength: 10) Collects water, critical before unlocking the well.Farmland (Awareness Strength: 10) Essential for growing crops.Fertilizer Bucket (Awareness Strength: 10) Important for producing fertilizers.Granary (Awareness Strength: 10) Assign a Tribesman to automatically manage the surrounding farmlands (Seed; Fertilize; Water; Harvest)Turkey Coop (Awareness Strength: 10) Useful for breeding turkeys and getting meat/feathers.Capybara Pen (Awareness Strength: 10) Necessary for breeding capybaras.Monkey Storage Nest (Awareness Strength: 10) Provides additional storage.Breeding Farm (Awareness Strength: 10) Assign a Tribesman to auto manage surrounding animal pens (Feed; Water; Collect; Slaughter)Building Workshop (Awareness Strength: 10) Required for crafting advanced building materials.Weapon Crafting Bench (Awareness Strength: 12) For forging weapons.Repair Bench (Awareness Strength: 15) Needed for repairing items.Well (Awareness Strength: 15) Provides a steady water source.Armor Forging Table (Awareness Strength: 15) For crafting armor.Decor Table (Awareness Strength: 15) Used for customizing masks and body art.Earth Kiln (Awareness Strength: 14) For making charcoal, lime, etc.Drying Rack (Awareness Strength: 18) For drying meats. Bronze Pit Bonfire AgeFurnace (Awareness Strength: 20) Crucial for smelting metals.Brewing Tank (Awareness Strength: 20) Used for brewing wines.Uncrafting Table (Awareness Strength: 23) For uncrafting items.Brewing Stand (Awareness Strength: 24) Produces potions and medicines.Granary (Awareness Strength: 25) Manages farmlands automatically.Collection Yard (Awareness Strength: 25) Automatically gathers bushes.Excavation Pit (Awareness Strength: 25) Automatically mines the surroundings.Logging Yard (Awareness Strength: 25) Automatically chops trees.Breeding Farm (Awareness Strength: 25) Manages animal pens.Oil Press (Awareness Strength: 30) For making oil.Piranha Pool (Awareness Strength: 30) Breeds piranhas.Beehive (Awareness Strength: 30) Produces honey.Bath (Awareness Strength: 30) Provides a large, self-heating bath.Worktop (Awareness Strength: 30) For processing advanced food materials.Crossbow Tower (Awareness Strength: 30) Defensive structure.Siege Ballista (Awareness Strength: 30) For launching projectiles over long distances.Arena (Awareness Strength: 30) For training tribesmen in combat. Iron Pit Bonfire AgeDye Vat (Awareness Strength: 35) Used for making paints.Cooling Table (Awareness Strength: 35) Reduces temperature in an area.Blast Furnace (Awareness Strength: 35) For smelting iron ingots.Ice Cellar (Awareness Strength: 40) Preserves food by reducing spoilage.Air Heater (Awareness Strength: 40) Provides heating in a large area.Windmill (Awareness Strength: 46) Allows power conversion via wind power.Powered Spinning Wheel (Awareness Strength: 46) Designed for fast weaving, needs windmill power. Steel Pit Bonfire AgePowered Cutting Machine (Awareness Strength: 50) For cutting and processing large materials quickly.Powered Mill (Awareness Strength: 50) Grinds ores and hard objects quickly.Powered Refining Furnace (Awareness Strength: 50) Refines and purifies metals, requires windmill.Distiller (Awareness Strength: 54) For purifying and distilling various items.Power Workshop (Awareness Strength: 54) Processes precision parts, requires windmill. Fine Steel Pit Bonfire AgeAncient Enhance Table (Awareness Strength: 60) Enhances weapons and armor. UnknownBasic Portal Allows teleportation between bases.Anti Radiation Tower Blocks radiation within 30 meters.Mysterious Stone Table Adjusts masks and saves tribesman data.Mine It’s out there in the wilds. One location that I know of is on the west side of the volcano. Skill-Based Workbench Allocations This section outlines the various skills and the corresponding workbenches required for crafting and other activities. Each skill is associated with specific workbenches that enable the crafting of related items. LoggingLogging Yard HarvestCollection Yard WeavingLoom Powered Spinning Wheel Wood & StoneCarpenter's Table Building Workshop Powered Cutting Machine Power Workshop KilnEarth Kiln Furnace Blast Furnace Powered Refining Furnace AlchemyGrinder Brewing Stand Dye Vat Powered Mill Distiller Weapon CraftingWeapon Crafting Bench Ancient Enhance Table MiningExcavation Pit Mine PlantFarmland Fertilizer Bucket Granary PottingPotting Table LeatherworkingButcher's Table Tanning Rack CraftsmanCraftsman's Bench CookingCooking Stove Drying Rack Brewing Tank Oil Press Worktop Armor CraftingArmor Forging Table None (General or Unknown)Rainwater Collector Capybara Pen Turkey Coop Monkey Storage Nest Repair Bench Decor Table Well Outhouse Uncrafting Table Breeding Farm Piranha Pool Beehive Bath Arena Crossbow Tower Siege Ballista Cooling Table Ice Cellar Air Heater Windmill Basic Portal Anti Radiation Tower Mysterious Stone Table Tips and Tricks Suggested Unlock Order: Balance the awareness strength required and the utility of each bench or structure to ensure a smooth progression. Resource Management: Always keep track of your materials and maintain a stockpile of essential items to avoid crafting delays. Ensure you have enough resources to craft and upgrade the next essential items. Tribesmen Management: Assign tribesmen efficiently to automate tasks and maximize productivity. Environmental Considerations: Plan your base layout considering specific structure requirements (e.g., no roof over farmland). Placement Efficiency: Group related workbenches together and place them near relevant resource storage to minimize travel time and streamline crafting processes. Upgrade Strategically: Prioritize upgrading workbenches that will give you the most immediate benefit. FAQ Section Q: How do I unlock workbenches? A: Workbenches are unlocked by progressing through the game’s ages and by upgrading specific skills. Refer to the "Suggested Unlock Order" section of this guide for a recommended sequence. Q: What materials do I need to craft each workbench? A: Each workbench requires a different set of materials. Check the "Workbench Details" section for a detailed list of materials needed for each workbench. Q: How do I upgrade a workbench? A: Upgrading a workbench typically involves using additional materials and sometimes requires higher skill levels. Detailed upgrade paths and requirements are listed in the "Workbench Details" section. Q: How do I increase my skill levels? A: Skills are increased by performing relevant tasks and crafting items related to those skills. Consistently using workbenches associated with a specific skill will help you level up faster. Q: Are there any tips for optimizing workbench placement? A: Yes, place workbenches near relevant resource storage or production areas to minimize travel time. Group related workbenches together to streamline crafting processes. See the "Tips and Tricks" section for more detailed advice. Q: How do I know which workbench to prioritize for upgrades? A: Prioritize workbenches that will give you the most immediate benefit for your current needs. For example, upgrading a Forge early can be crucial if you require advanced metal tools. The "Suggested Unlock Order" and "Tips and Tricks" sections provide more detailed recommendations. Q: What are the benefits of upgrading a workbench? A: Upgrading a workbench can unlock new crafting recipes, increase crafting efficiency, and improve the quality of crafted items. Detailed benefits for each workbench are listed in the "Workbench Details" section. Q: How do I know if I have the right skills for a workbench? A: Each workbench entry in this guide lists the required skills. You can also check your character’s skill tree in the game to see your current levels and what is needed for specific workbenches. Q: What is the best strategy for resource gathering to build workbenches? A: Efficient resource gathering involves planning ahead and creating stockpiles of essential materials. Focus on gathering basic materials in bulk early on, and set up resource production areas near your crafting stations. The "Tips and Tricks" section has more detailed strategies. Q: Are there any hidden or secret workbenches? A: Some games include hidden or secret workbenches that can be unlocked through special achievements or quests. Keep an eye out for in-game hints or community forums for these secrets. Q: How can I maximize the efficiency of my crafting operations? A: Plan your workbench layout to minimize travel time between related crafting stations. Upgrade storage near crafting areas, and prioritize upgrading workbenches that will streamline your most common crafting tasks. More detailed strategies are in the "Tips and Tricks" section. Updates and Revisions This guide is a living document which will be regularly updated to reflect new information, patches, and player feedback. Here’s a record of the changes and improvements made: Version 1.1 (June 20 2024) Changes: Adjusted for the new changes to Granary and Breeding pen down to Bonfire Age. Fixes: Brewing Stand was incorrectly labelled as Cooking instead of Alchemy Fixes: Fixed repeating Bonfire age and fixed the missing Bronze AgeVersion 1.0 (June 14 2024) Initial Release: Launched the first version of the guide, covering the basics of crafting and building in Soulmask, including detailed bench information, upgrade attachments, and skill utilization.How to ContributeYour feedback and contributions are invaluable for keeping this guide accurate and helpful. If you have suggestions, corrections, or new information, please reach out through our comment section. Let's continue to make this guide the best resource for all Soulmask players!