换一换
换一换 


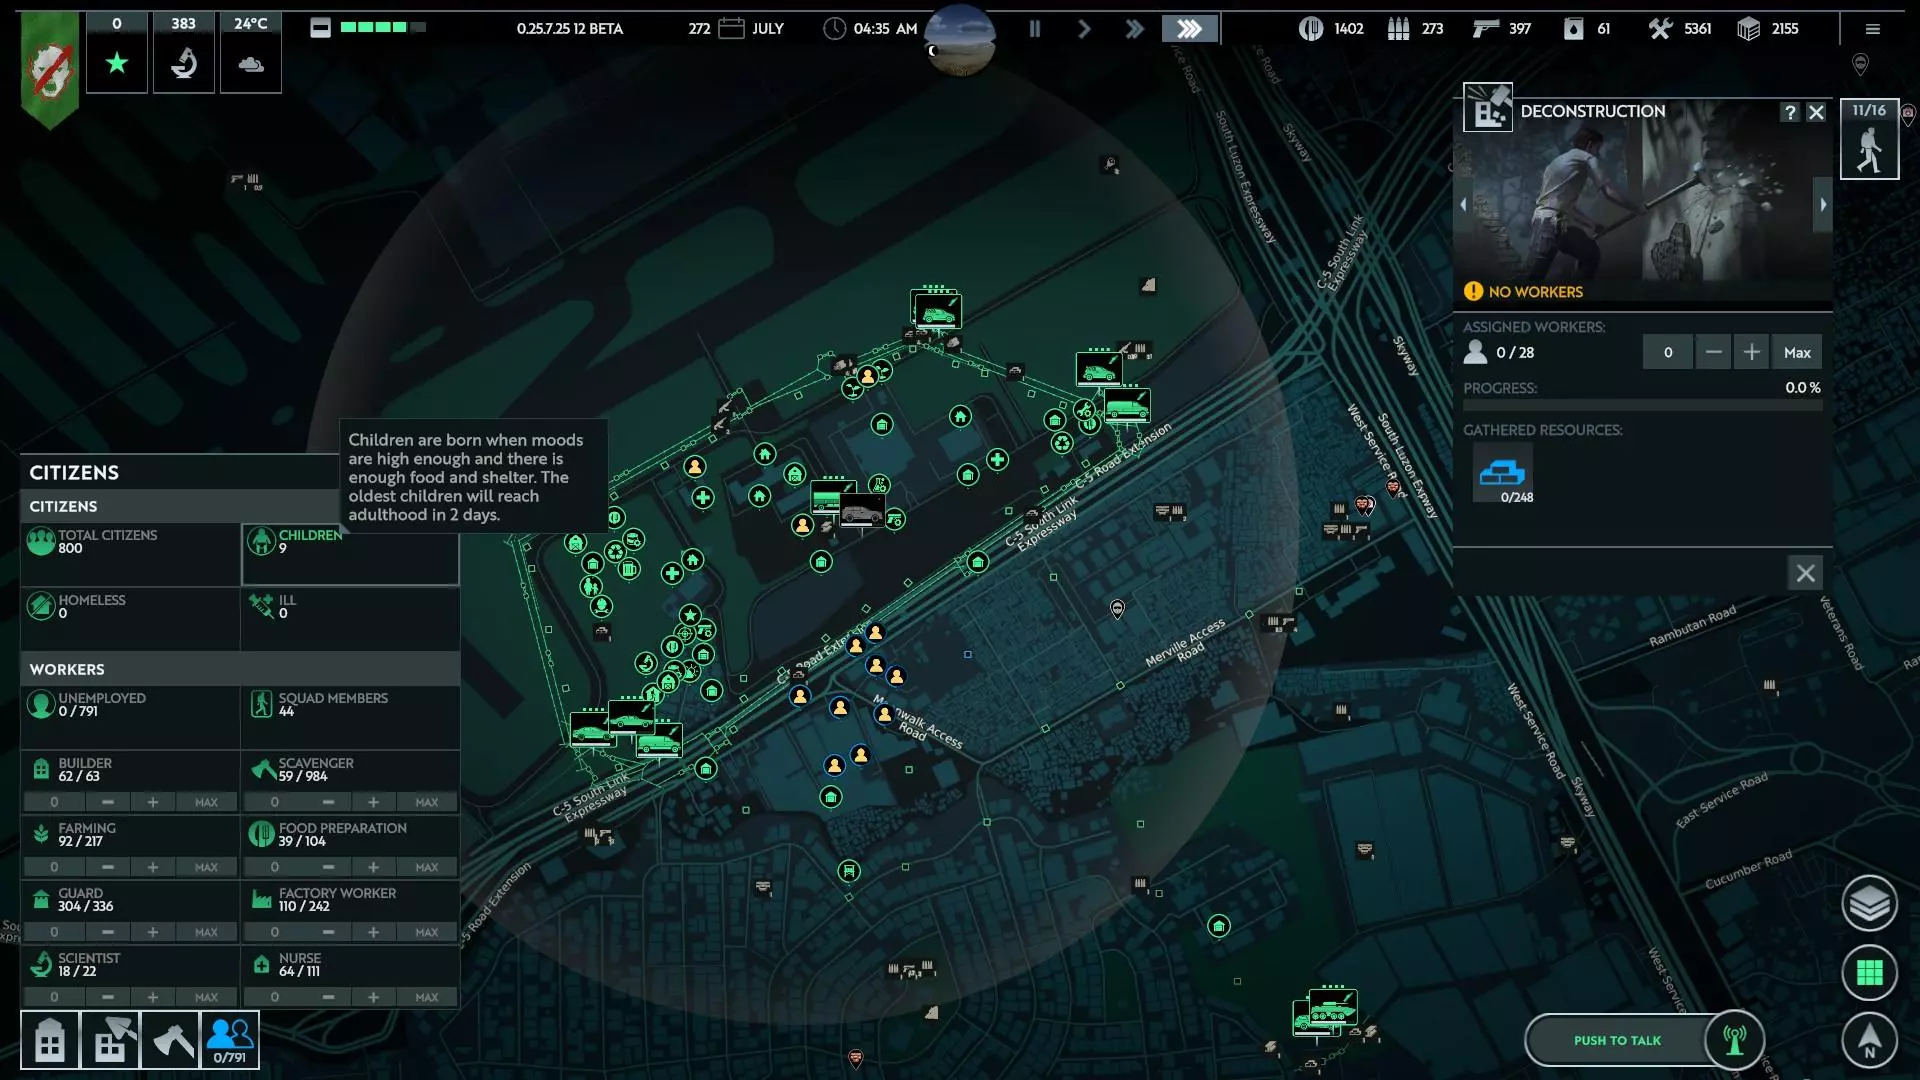
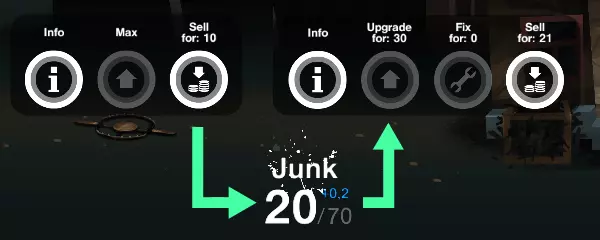
As most of the existing guides seem to focus on specific commands or early game survival, this guide is instead focused on end game sustainability, past day 60-80 and at max population size. Introduction The focus of this guide is centered around long term sustainability for end game colonies, for those who like the idea of an "indefinite survival" mode. While the first section will discuss some important initial and early choices to set yourself up for success, especially in terms of starting location, the remaining sections will focus on how best to build towards, maintain and defend a maximally populated colony of approximately 700 residents. It will also include a small amount of speculation regarding internal game mechanics, pathing, and AI logic - these are based on gameplay and observation alone, and should not be taken as a certainty. Initial location selection For the purposes of this guide, we will be using my most successful colony as shown in the title screenshot, built on the Willamsburg, Brooklyn waterfront, close to the Willamsburg bridge. For fun, and out of boredom, this settlement grew to include a small secondary colony, and expanded across the bridge to include a defensive garrison on the other side of the bridge; this however is not necessary for success. As a general rule, the smaller the physical footprint you can get away with, the better. Your largest challenge as you approach the end game, frankly, is going to be the annoyance of brick resource build up hogging your warehouse space, as until the tree regrowth mechanic is fully realized, you will end up rapidly needing to deconstruct buildings for their wood alone. When selecting your initial location, there are four primary considerations: 1. Close access to resources While the aforementioned brick build up hogging up warehouse space is indeed an issue in late game, past the first ten days or so, the bulk of your resources should come from deconstructing buildings. Especially in a denser urban environment, you will need to clear these anyways for fire lines, and being able to get all three core construction resources at once is critical. You should, however, ensure your location has a decent nearby park or forest for early wood resources. Deconstructing buildings before building your first warehouse is a poor idea, as it will eat up space on resources like metal and bricks that you will not really need until later. 2. A good mix of large and small buildings You want to defend as maximally small an area as you can, and, excepting warehouses and your arms factory, you do not want most of your production buildings to accommodate more than about 10-15 people. Worker pathing and material gathering renders anything much faster that this almost completely moot, and you will waste population allocation. 3. At least one natural barrier on at least one attack vector In the example case, it's New York's east river. Yes, zombies can swim. They are quite slow swimmers however, and with the exception of a handful of winter months, this will allow you to shape your defenses more judiciously, and use fewer resources. 4. Enough unpaved internal space for approximately 20 farms This is slightly overkill, but some bad luck in terms of stormy day spawns can put you in a bind surprisingly quickly. You do not want your squads to be doing much of any scavenging past about 500 people whatsoever. You will need them as a core part of your defensive strategy, and to allow for dynamic population allocation, which we will cover in a later section. Early Game Build Up and Prioritization While this guide is more focused on end game sustainability, there are some early game choices that will be essential to reaching a self-sustaining, defensible colony in the shortest period of time. 1. Research Prioritization. Very little in the game is more important than building up a large population as quickly as possible, and getting the most out of your workers. In the first thirty days or so, almost all of your resources should come from scavenging. This includes food, ammunition, medical supplies, tools, all of it. Getting that 40% productivity boost from your workers as early as possible is also critical to success. To that end, once you have researched and built an antenna (and ignore the warning about attracting raiders, you should broadcast a new invite basically every morning), prioritize the following in terms of your research and development: 1. Advanced woodworking. You want to start building homes and not shelters as quickly as you possibly can. You also do not want to partially adapt buildings if you can help it, as it's a waste of defensible footprint. Instead, try to select buildings that can accomodate approximately 50-100 people as your homes. You will ultimately need about 800 homes, and it is always better to build those as you need them, rather than trying to build up a lot of headroom at once. Always be sure to have at least 50 unoccupied homes available, as especially towards the end game, new settlers will tend not to arrive unless you have space for them. While the theoretical "hard cap" is a population of 700, I generally tend to end up with around 720-730 from the last large group that arrives. 2. Food production techniques. Fertilization use and efficient cooking/farms are essential to optimizing your return relative to real estate and worker allocation. 3. Basic chemistry, and its associated trees. By the mid game you want to be able to move away from scavenging and use your squads primarily for defense and scouting. To that end, you will need to be able to convert fertilizer to fuel, so that fuel can be used for ammunition production. 4. Arms production (but ignore the shotgun side of the tree). Unlock the sniper rifle as soon as you can. This is the only weapon you ever really want to build. 5. Advanced masonry. Fortified walls, gatehouse and towers are going to be the backbone of your end game defensive strategy. 6. Medical Tree, but really just first aid. If you're smart about managing your squads, they really shouldn't be getting seriously injured all that often. Outside one particular story element I will not spoiler, I have never once needed a medbay. 7. Weather station. If you feel like it out of a sense of completionism you can unlock the shotgun first, but shotguns are useless. Your final step will essentially be to deadapt your research center and turn it into a weather station. For both the weather station and the research center, a team of four is more than adequate. 2. Scavenging Prioritization. In the early days, you will not have a ton of mouths to feed, but you should still focus on food sources early on. You'll want to build two squads straight away, keep them close to your settlement, and explore all the nearby buildings as early as you can. You'll get plenty of food for the first twelve days or so this way. Focus on gathering wood early, focus on building a decent sized warehouse first, a research center and then antenna second, and then start focusing on homes until you hit about 200. From there you can begin to build up your food production economy. Once you hit about 100 people, max out your number of squads at 6. Leave two close to home for flexible defense, use the other four to prioritize scavenging. Get research materials first, medical supplies second, tools third, fuel fourth. You will end up finding plenty of ammunition and food in question mark buildings. Always take vehicles that you find, even if you don't have squads for them. You will want as many as you can get in the end game. Prioritize giving any assault rifles you find in early game to your two defensive squads first. 3. Build a Second HQ This was the revelation that changed the way I play this game the most. More HQs = more squads. This is enormous. I find a ton of micro annoying, and even in dense urban centers you won't generally find more than a dozen vehicles at max, but you want to build a second HQ in a building that can support approximately 25-30 shelters once you hit about 200 people, which will allow you to assemble another six squads. Squads are vastly, vastly better than defensive structures, as squads gain experience, and experience means not only better accuracy but longer effective range. Always give all the best weapons you have to your squads first. In the end game you will want them all equipped with sniper rifles. Production Building Layout and Worker Allocation Optimization In the first few playthroughs I attempted, I learned the hard way that there is not a linear relationship between worker assignment and speed of production. An enormous amount of dead time can and will be incurred, for example, if you build homes that are too large. An hour plus of the day can be lost just to the maximum speed that workers can exit said home. The same can be said for long distances between production buildings such as barns and cookhouses and their nearest warehouse. To that end, the most optimal locations have long rows of smaller buildings around their outer edges, with larger buildings towards the center of the settlement. Warehouses magically share a central pool of resources in the current mechanic. Use this to your advantage, and have lots of small warehouses that serve only as access portals. In the example colony, the outer building block is primarily dedicated to food production and cooking. We will get to sum total worker allocation at the end of this section, but a typical row consists of one cookhouse, one warehouse, one cookhouse, one warehouse, etc. This allows each cookhouse maximal proximity to new material stock, allows for a good outer spread of warehouses for scavengers to have the shortest possible path to return materials, and allows for a wide range of defensive positions for your squads (which we will get to the strategy of in the next section). The same holds for barns, which you will want to account for about half your food production. Meat not only provides a better return in terms of meals per resources, the associated fertilizer production will also be a necessity for optimizing your farm production and providing the necessary materials for end game fuel production (which you won't need a ton of, but will be necessary for sustainable ammunition production and the minimal travel requirements of your squads). Employ the same strategy for your barns. Cookhouses and barns have the fastest production times per worker, and your chokepoint for a typical 10-15 person crew will almost always be how quickly workers can get new raw materials. As a general rule of thumb for a typical block layout: 1. Have one outer row of buildings before your defensive walls that's your cookhouse/warehouse line 2. Have one outer row of buildings before your defensive walls that's your barn/warehouse line 3. Select an initial HQ with a decent amount of negative space around it, and keep your farms close to it. 4. Your arms factory, research center, chemical plant, housing, and any large warehouses that are just for maximum storage overhead can all go in the interior buildings. Now let's get to worker allocation and optimization. One of the benefits of a weather center in the end game is you can plan for safe dynamic allocation of workers ahead of full moons. If you know a full moon is coming, you can have your squads provide the minimal guard against raiders necessary during the day, unassign all your guard workers, and let them go ham on scavenging or building. This can be very, very useful in helping to expedite clearing large sections of buildings for resources or fire lines, or quickly getting your first defensive perimeter setup. In the mid game you will also want to ensure your arms factory can support approximately 50-100 workers (do not go over this, the tool cost alone will make it a pain to build), so that you can start producing sniper rifles quickly. Once all your squads and defensive structures are equipped with sniper rifles, you can drop this down to a skeleton crew of 5-10 for sustainable ammunition production. This dynamic allocation aside, in a typical sustainable colony of approximately 700 people, you should expect to allocate your workers thusly: 1. About half your population should be reserved for guard posts and squads. You will sometimes get massive, flat swarms that can easily overwhelm your defenses, or sometimes even split hordes that attack from multiple vectors. You need to be prepared for that. 2. Approximately 40 permanent farmers 3. Approximately 40 permanent barn workers 4. Approximately 80 permanent cookhouse workers 5. Approximately 20 permanent factory workers, split evenly between one arms production facility and one chemical plant. In the end game, once you have all your guards and squads equipped with sniper rifles, the arms plant should exclusively be producing ammunition, and the chemical plant should exclusively be turn fertilizer into fuel. 6. At most 10 people working in a medbay/weather center. Honestly you can get away with 5. It's nice to have a little build up of medkits in case a swarm defense goes a little badly, and it's essential to be able to plan ahead for storms and full moons. 7. The remaining 150-200 people in your population should be full time scavengers/builders. Wood burn is going to be your primary resource challenge throughout most of the game. You should not ever really need a tool factory. You'll need a grand total of approximately 100 tools to build up your necessary factories and farms. You can scavenge all of this. Defensive Layout and Strategy The title of this section might as well be "squads are your friend," but lets break down the example colony piece by piece, in terms of priority. As a caveat before this, I have opted against barbed wire breaks as I have not found them necessary, and found the micro of constantly repairing them annoying. However, you can get away with fewer guards by employing an outer barrier of barbed wire to slow enemy hordes. 1. Your first priority should be establishing some small warehouses along the outer perimeter of buildings in your zone. This will not only give you some cheap headroom for resources in the early game, it will also give you "ammo dumps" for your squads, who will form the backbone of your defensive strategy. Squads are mobile. Towers are not. You can stack as many squads as you like in any size building. Especially once those squads all have sniper rifles, that can represent an overwhelming amount of firepower, exactly where you need it, and by stacking those squads on a warehouse, they will have essentially unlimited ammunition. A dozen experienced squads, all with sniper rifles, will more or less decimate any swarm, even in the end game. Be mindful of your access points and fire lines here. You will likely need to clear some surrounding buildings to ensure those warehouses have clean lines of fire. 2. Your second priority should be building your primary defensive perimeter, consisting of fortified walls and gatehouse. Gatehouses are great. They store more ammunition, they allow for clean pathing in and out of your zone, and they are extremely durable. Keep this wall as close as possible to your outer building row. You want to give your squads as much range as possible. 3. Your third priority should be to establish a loose outer perimeter of fortified towers. Once again, all defensive structures, all of them, should have sniper rifles. These will not only help to soften up enemy hordes before they hit your primary line, they will also help pull aggro and prevent large flat swarms from overwhelming any specific point in your primary defensive line. 4. Your last priority, which in some cases is not even necessary, is to reinforce your gatehouses with a few internal towers directly behind your primary perimeter. These provide a little extra oomph against swarms that get close enough to start doing real damage, and can help distract/pull aggro from your squishier buildings if swarms do break through. 5. In the end game, presuming you have built the second HQ and recruited a dozen squads, you will want to set them up primarily as your outer most perimeter, as shown in the example photo. This does several good things for you. Firstly, these squads can largely take care of stray hordes and raiders all on their own during the day and during swarm free nights. Getting your squads as many kills as possible pays dividends in terms of their combat effectiveness as well. In turn, this can often allow you to unassign guards during the day for extra scavengers. Secondly, this allows you to quickly and easily gather the free guns and ammo raiders will so kindly bring to you. Lastly, and most importantly, this dramatically expands your sight lines, especially at night. Positioning your squads this way allows them to act as an early warning system, wherein you can detect the incoming vector of a swarm with enough time to funnel these squads back to the appropriate defensive warehouse/ammo dump before the swarm can start attacking your buildings. Importantly, ONLY position as many outer guards as you can find vehicles for, but leave your squads outside and directly next to those vehicles in their forward scout positions. Veteran squads with sniper rifles will usually take down even a full horde or raider group before they can get close enough to harm you as long as they are out of a vehicle. However, you will not make it back to your ammo dump in time without vehicles. Summary and Key Takeaways 1. Squads are your friend. You can have more than six if you build more HQs. Do that. A dozen is the magic number for me. A dozen veteran/elite squads with sniper rifles can often take down end game swarms all on their own. 2. With the exception of central warehouses, big buildings are not your friend. Having lots of smaller warehouses and production buildings close together allows for more efficient pathing and the best bang for buck in terms of production per worker. Blocks with row houses along the outer perimeter of your zone are great for this, as you want as many warehouses on your perimeter as ammo dumps as possible. Partially adapting buildings sucks, as it increases the footprint you need to defend. Try to avoid building your zone in an area with a lot of large buildings. Large tall buildings are better than large flat buildings. Having a few tall buildings is useful for warehouses and sight lines. Never build homes much larger than 100 people, as you will waste time on worker exit in the mornings. Keep your cookhouses, barns and chemical factory to buildings that can accommodate between 10 and 20 workers. 3. Warehouses can also double as ammo dumps for squads in defensive usage. Being able to stack squads on outer small warehouses is a great way to concentrate fire where you need it. 4. In an endgame 700 population zone, expect half your population to be guards and squads. You'll need about 150 people for cooking and food production. Food production should be split evenly between barns and farms. You'll need at most 20-30 for ammo, fuel, medkit and weather center. The rest can be reserved for scavenging, repair, and building tasks. 5. Your arms factory should be able to handle 50-100 people for midgame production. Don't go bigger than this or you'll waste too many resources building it, don't go smaller or you won't build weapons fast enough. Only build sniper rifles. Arm your squads first and your towers and gatehouses second. 6. Layer your defenses. Set your squads up in end game once your economy is functioning and you no longer need to scavenge as an outer perimeter for early warning, and to handle raiders during the day, which will allow your guard assignments to be switched to scavenging during the day. Get your squads as many kills as you can. Veterancy pays dividends in combat efficacy. Do not post outer guard squads without tethering them to a vehicle, but leave them outside said vehicle in their guard positions for combat efficacy. You will need the speed to be able to funnel them to a defensive warehouse/ammo dump for swarms. Scatter a few towers around your primary perimeter wall to soften up hordes and pull aggro during swarms. Healthily reinforce your primary perimeter wall with gatehouses. This not only will provide the necessary firepower, it also helps with pathing and durability. If you have the headroom in terms of population, you can also distribute a handful of towers around the inside of your primary perimeter wall for some extra punch against hordes that make it to your walls, and to help pull aggro away from your squishier buildings in the event of a breakthrough.
可持续殖民地完整结局游戏指南

2026-02-18 01:00:22

导读
这是一份《可持续殖民地完整结局游戏指南》,聚焦游戏后期(60-80天后)700人规模殖民地的可持续运营。涵盖初始选址建议,早期研究、搜刮、多HQ建造等发展策略,生产建筑布局与人员分配优化,以及以小队为核心的防御布局,助力玩家打造、维持并防御满人口殖民地。

评论
共0条评论

如何生存并取得优异胜利
本指南适用于新手玩家以及那些在游戏中表现糟糕、像小婴儿一样轻易死亡的玩家。 步骤1:加入游戏。 (这是获胜的重要一步) 步骤2:不要死亡。 步骤3:获取滑膛枪。…
2026-04-05 01:000赞 · 0评论

如何度过狗的一生
如果你想生存并获得乐趣,以下内容或许能帮到你。它会教你如何像狗狗一样生活并生存下去。 生存指南: 要想生存,你需要遵循以下指示! 步骤1:进食。要进食,你需要按…
2026-04-01 01:000赞 · 0评论
如何避免死亡
本指南将为你提供一些避免受到惊吓的技巧。 技巧: 在开始介绍技巧前需要说明:妈妈只会在你发出噪音或离她非常近时才会发动攻击。因此,最基本的技巧是:在确认妈妈不在…
2026-03-20 04:000赞 · 0评论
【过时】终极英语避坑指南
☢☢ 一份详尽的攻略,包含实用技巧。☢☢ 本指南适用于所有等级的潜行者,但主要面向新手。指南还展示了有助于你更好地了解区域的有用信息。 本指南将教你基础知识和一…
2026-02-19 13:000赞 · 0评论

《饥荒联机版》新手怎么过第一个晚上?萌新安全度过第一夜生存攻略
2026-06-21 19:330赞 · 0评论

《吉星派对》野排怎么玩?神人派对之野野排(3)攻略,应对奇葩队友技巧分享
不不不不不,我是愤怒的!《吉星派对》野排到底有多难?神人派对之野野排(3)带你体验真实路人局,看看野排队友能有多离谱,教你如何应对各种奇葩情况,提升你的野排生存…
2026-06-14 21:180赞 · 0评论

游戏杂谈 如果你误入畸形动物园,千万不要做的三件事情,就可能保住性命
-
2026-05-01 13:380赞 · 0评论

《SafeHome》指南
本指南适用于屡战屡败的玩家。 游戏中存在一些需要摸索的战术元素,但如果你懒得自己探索,这里会为你介绍《SafeHome》世界中的基本生存规则。 核心要点: - …
2026-04-07 01:000赞 · 0评论
《The Forest of Bronx》生存指南
你对报纸上关于布朗克斯区的目击事件持怀疑态度,于是你心想“这肯定不是真的,我得亲自去看看”,随后你探索了布朗克斯森林,在发现布朗克斯深坑后被一名帮派成员抓住。欢…
2026-03-31 16:000赞 · 0评论
一份非常全面的指南
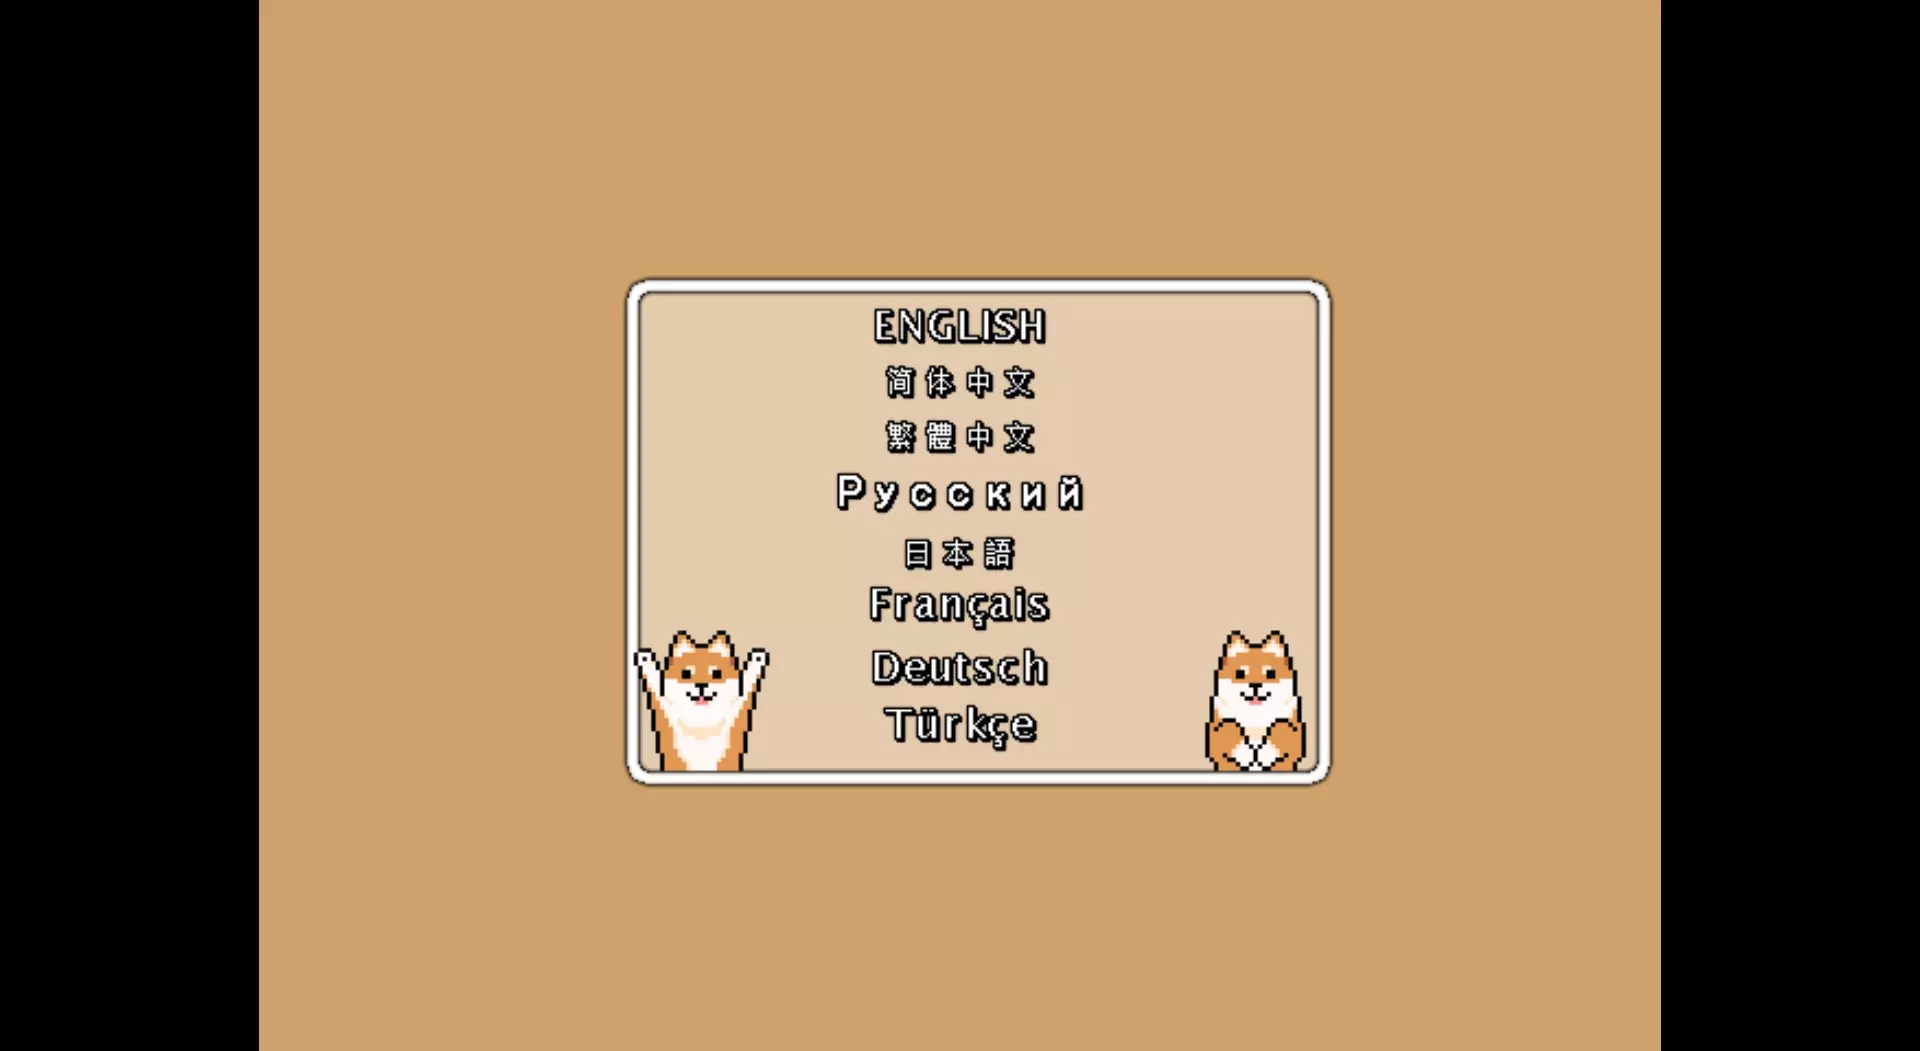
“非常可爱的小方块” 我们在这里的主要目标可以说是生存,我会慢慢开始讲述我们是如何生存的…… 开始 一开始,一个可爱的画面迎接我们,并且让我们选择继续使用的语言…
2026-03-31 16:000赞 · 0评论
暂无更多
最新更新
- 《无感染区》重大更新#6 - 开放测试分支更新 — 《无感染区》开放测试版更新内容 本次开放测试版(open_beta)分支发布了新的游戏版本,包含对近期更新后玩家反馈的多项常见问题修复。 1. **优先级系统调…
- 《无感染区》更新#38修复公告 1. 修复了巴士总部容量问题 2. 服务器更新 — 《无感染区》修复公告 1. 调整了车队模式下巴士总部的容量,从初始设置后的60提升至300。 2. 更新了服务器设置。 3. 更新了分析事件相关内容。 4. 修…
- 《无感染区》重大更新#6预览 - 全新优先级系统、区域警报、熔铁炉 — 《无感染区》大型更新#6内容公告 各位幸存者们,大家好! 我们很高兴为大家带来《无感染区》大型更新#6的另一批新特性。如果您错过了之前的公告,我们最近新增了爆炸…
- 《无感染区》更新公告#37 - 修复内容 1. 树木采集系统平衡调整 2. 新增服务器 3. 商队问题修复 — 《无感染区》修复更新公告 1. 新增新加坡服务器。下载新地图时,游戏会自动检测并切换至最佳服务器。 2. 为以车队模式开始的游戏中的载具增加了初始资源。 3. …
- 200天 — 第200天基本情况总结以及初期需要做什么才能撑到第200天 第200天——一切如何? 我在第200天的一些个人见解 首先,不是我想这样,而是因为市民太多会让我的…
- 《无感染区》Bug修复更新 #36 - 自由视角、建筑拆分修复、内存泄漏修复 — 各位幸存者们,大家好! 应广大玩家的需求,我们已开始试验自由视角控制台命令。尽管该功能尚处于高度试验阶段,但我们仍将其加入了当前版本。欢迎大家体验并反馈使用感受…
- Globetrotter Achievement — 我在2024年11月7日解锁了该成就,本指南将帮助你也解锁它。 Great Success! 2025年5月12日更新:已由开发团队修复。 如何解锁成就
- 我是传奇 — 你是否曾想过获得类似电影《我是传奇》中的成就,也就是仅靠一名幸存者存活12天?以下是我的做法: 1. 选择纽约市(哈哈) 2. 将所有人编成小队,让剩余人力开始…
- 如何提升游戏性能? — 如果你想提升游戏的性能和稳定性,可以尝试以下解决方案: 调整设置 尝试降低图形设置,因为默认设置可能无法达到你期望的帧率。
- 藏身处与巢穴使用指南 — 对于许多玩家来说,藏身处和据点目前有点难对付。以下是应对方法: 藏身处是土匪的生成点。它和你的建筑一样有生命值,并且里面始终至少有一个4人土匪小队。要对付它,你…