换一换
换一换 


指挥官们的技能有增有减,游戏中还新增了传送门,可用的方法也更多了:是时候推出一份关于三级单位及其变体的深度指南了 简介 各位《forts》的粉丝们,大家好! 如果你能看到这里,我猜你一定想对敌人降下恐惧、死亡与毁灭。如果是这样,那你可来对地方了,本指南将介绍三级单位背后的策略和方法,让你也能做到这一点。 要是你甚至不知道三级单位是什么……欢迎你,我会向你展示难以置信的力量,以及如同醉酒核弹般的随机之神的裁决。 否则,你很可能是个异端或 troll,那就赶紧离开我的船!
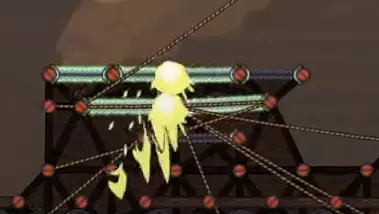
T3基础知识 三级武器(T3)传统上是指用绳索摆动以向空中发射的加农炮。而发射出去的炮弹终将落下…… 防御三级武器的成本可能很高,这不仅体现在资源消耗上。额外的重量可能导致基地坍塌,防御设施也会使扩张变得困难且充满风险。 这个名称起源于早期的堡垒(我能找到的最早记录是2017年年中): 一级武器是火焰迫击炮,二级武器是重型迫击炮,三级武器是加农炮。 四级武器(T4)这一术语被用于指代几种不同的事物,但最普遍的共识是指在散射射击激活期间仍保持零偏差的20毫米炮。我也见过它被用于指代榴弹炮T3、破坏者T3以及无限升级T3。
策略 仅仅知道如何制造三级单位(T3)并不意味着这是个好主意 以下是决定投入三级单位时需要考虑的主要要点 三级单位是否可行?-地图是否有会导致投射物失效的屋顶? 这在飞行堡垒/堡垒舰类地图中很常见,也是钟乳石等地图的固有问题
你的基地是否位于狭窄区域,导致你无法通过调整碰撞箱来避开地形?碰撞箱可能比你预期的要大,因此试图将T3(三阶建筑)放置得离墙壁太近可能会导致问题。默认情况下,你可以通过Ctrl + Shift + D启用调试模式(目前在游戏中无法使用,仅在回放中可用)。
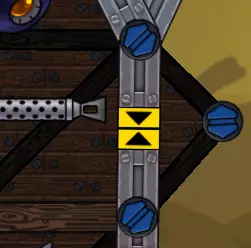
是否有模组可以阻止你使用特定方法? 有些模组会禁用关节旋转断裂功能,或者会立即断裂连接到未占领基地的绳索。如果你的设计依赖这些功能,可能需要在游戏初期进行测试。 关节旋转断裂功能正常
关节旋转断裂已禁用
普通绳索(你需要几乎同时删除两个括号)
绳索断裂
建造T3单位是个好主意吗?-你的基地在哪里? 你是否因为作为前沿基地而容易在早期成为目标?敌人是否有角度用直射火力攻击你的T3单位位置?
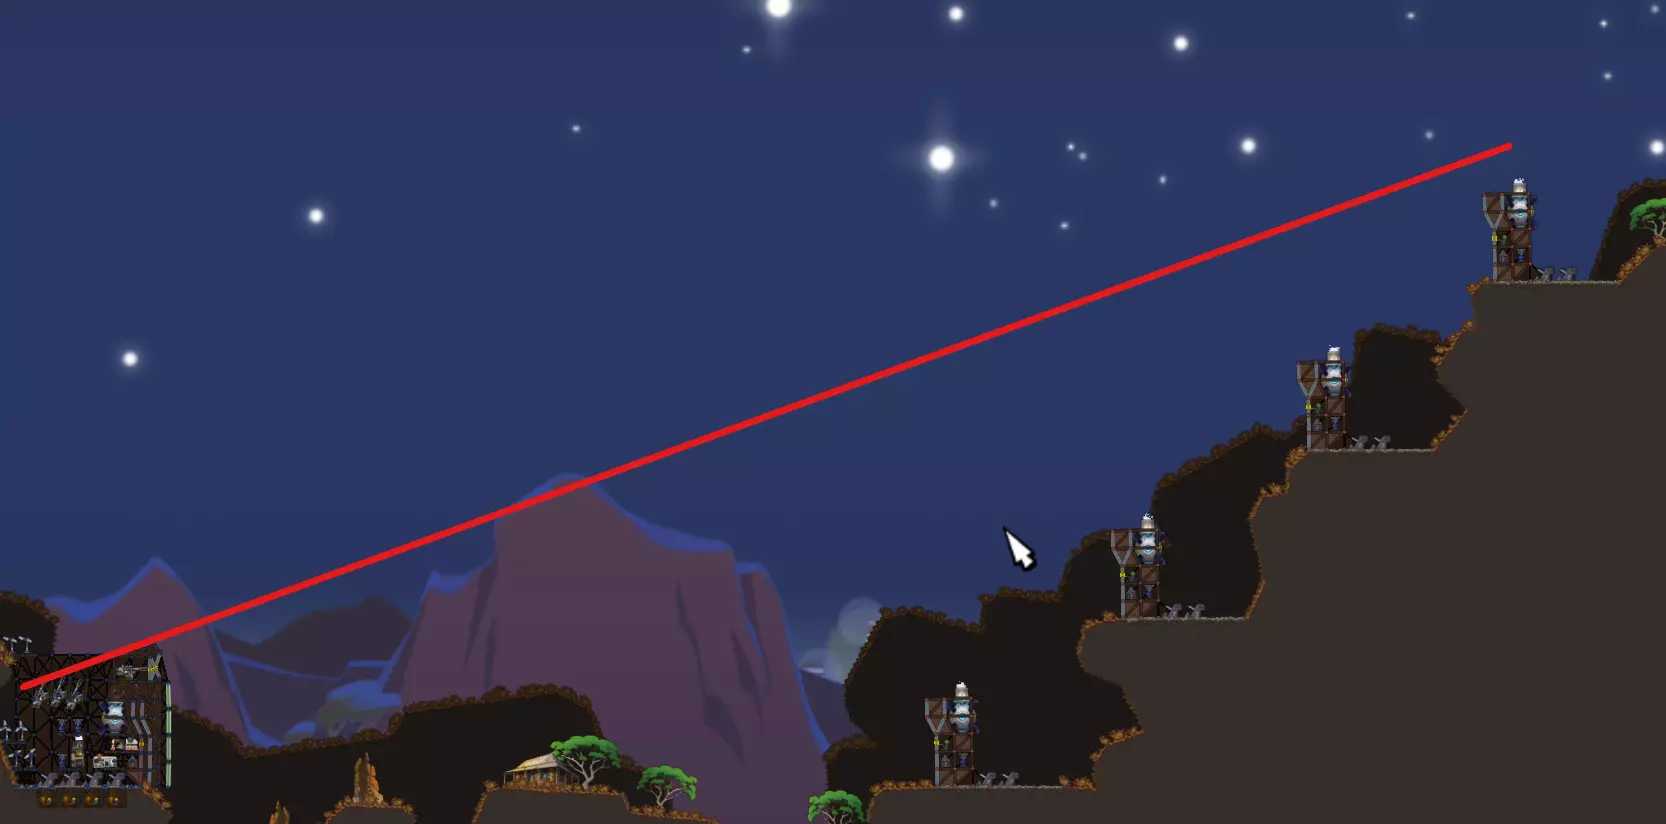
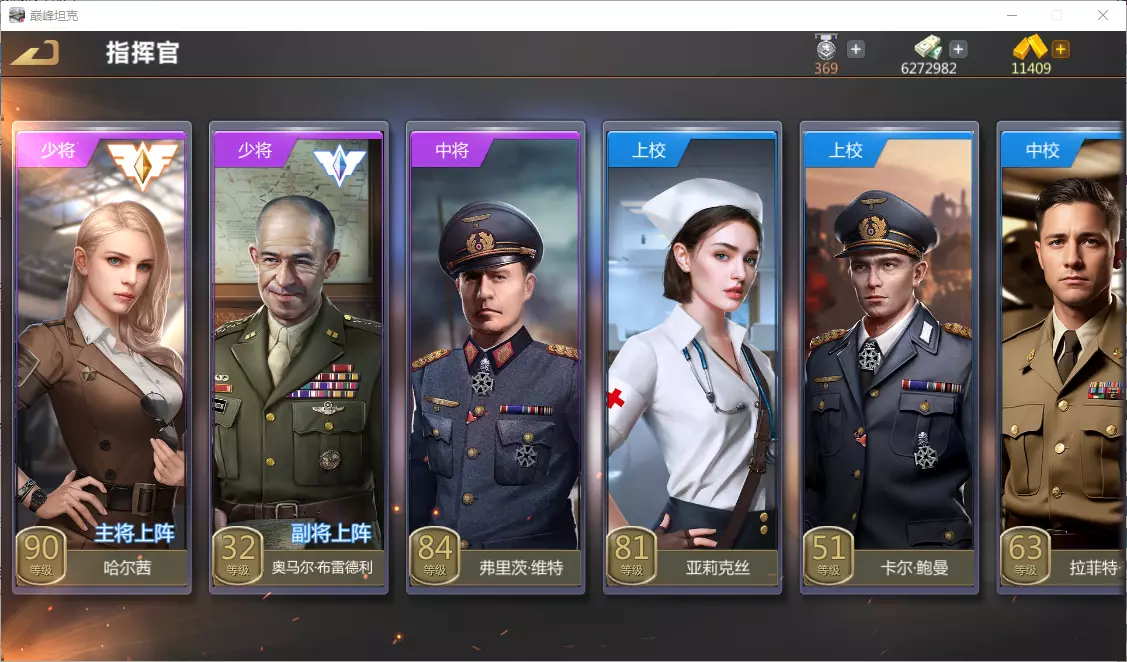
红色=危险 -你能否在不影响能源生产的前提下建造T3阵地? 这主要取决于练习程度、设计方案以及可用的建造空间。炮台对能源的消耗极大,尤其是在无需等待舱门修复的情况下,因此能源生产至关重要。 -其他方面需要多少APM? 团队死斗模式与合作模式的区别、队友的水平如何?你是否需要投入大量资源和时间进行重新设计?不受干扰进行部署的时间越长越好(甚至在炮台可用之前),但不要让自己暴露在被一击秒杀的风险中。 游戏模式:合作模式 通常是使用T3的最佳场景之一。只要团队成员具备足够能力,你就可以专注于部署、侦查以及必要时的防御工作。如果你能消耗掉敌人足够多的资源和时间、引发电池的连锁反应、制造混乱,或者直接用聚能炮弹摧毁核心,那么你对目标的选择和瞄准可以迅速扭转战局。 但是……一个糟糕的合作团队往往需要微观管理,以避免因结构薄弱、武器放置不当和金属滥用而导致的严重失败。你最大的希望可能就是只搭建1个或2个简单的T3装置,等有时间再回来,希望这些T3装置能分散那个整场游戏都试图在核心前放置20门迫击炮的随机队友的注意力。 团队死亡竞赛(及AI) 说实话,在团队死亡竞赛中进行部署往往要困难得多。你的每分钟操作数(APM)需要分配在部署和防御上,而且被攻击的可能性是真实存在的。有利于后期的地图或游戏大厅会对你很有帮助,无论是通过队伍间的隔墙、休战协议还是初始基地设计来实现这一点。如果队友拥有磁力光束并且时机把握得当,就能打出一些令人“恶心”的射击,敌人即使想防御也几乎难以招架。我建议提供一些支援来帮助你的队伍,哪怕只是防空和狙击手,保护你的队伍就是保护友方“肉盾”的生存时间,这可能是唯一的希望。 占领点 在占领点模式中,三级单位(T3)通常几乎没有用处。核心在游戏结束前几乎是无敌的,基地的很大一部分也受到保护,而暴露在外的部分往往只是背景支撑结构。来自意想不到角度的T3电锯或高射炮可能会给敌人带来惊喜,但你的操作效率(APM)几乎总是需要用在其他地方。 指挥官 随着指挥官更新(2020-10-09b版本发布),许多技能已被添加或改进。 每位指挥官都将获得一份与T3单位相关性的总结以及以下方面的排名数据: 经济 - 这包括直接的经济加成,如“捏拳”的资源回收,以及被动经济加成,如“破坏者”的免费地基。经济始终很重要,但对于T3单位,你必须采用与许多其他建造方式不同的经济管理方式:对稳定性和T3阵地的投资,需要维修的门更少,以及供T3单位开火的能量。 实用性 - 你的指挥官在常规相关 gameplay 中的有用程度。这可能包括建造速度、紧急按钮主动技能、被动技能、削弱敌人经济等。火力——你的指挥官在T3阶段能造成多少伤害,需同时考虑平均伤害和爆发伤害。 (0-较差,1-平均,2-良好,3-优秀,4-极高,无指挥官时默认值为[1,0,1]) 注:这些评分主要针对团队死亡竞赛模式,因为在合作模式中,经济和辅助因素的重要性往往不及伤害。尽管仍有一些非常有用的指挥官,但通常仅限于建筑师和装甲犰狳。


护盾反射是抵御加农炮的绝佳防御手段,还能玩出一些花样。对于非爆发型武器,主动技能效果可能很致命,因为它们的偏差为0(不再包含20密位;那些20密位的“四级武器”已经过时了):但如果没有它,你会很难命中目标。 *被动/普通状态为0分,主动状态为2-3分

无法识别或无法翻译,已删除。

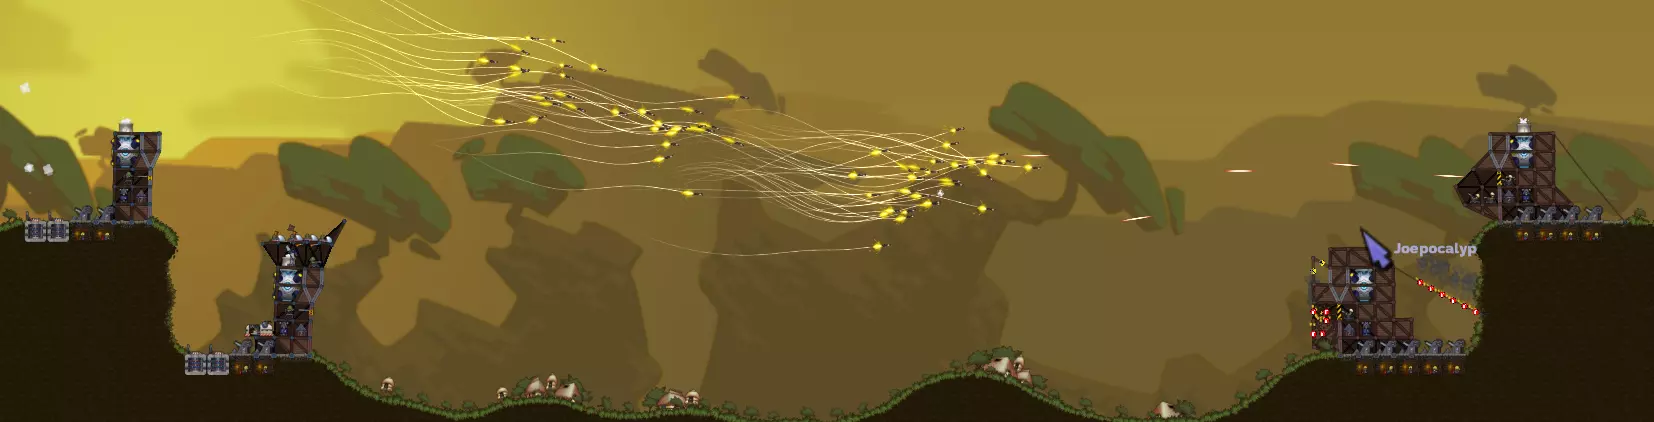
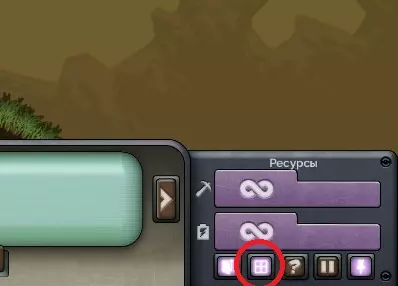
通过建造20s可以节省资源,同时在激活期间仍能获得加农炮,打击敌人的经济,并集结更多T3单位以增加弹道聚合的机会。

根据你的基地设计,利用免费地基可以节省大量资源,而主动技能即使在对手部署防御后也能有效造成伤害。这是我个人的最爱,也是一个不错的选择。

EMP激活时会禁用【能量反弹】,这可能确实很烦人,但也能通过削弱能量生产来为团队提供支援。其范围效果在像【战舰】这样的大型地图上效果最佳,因为在这些地图上很容易命中大部分目标。与20毫米机炮协同使用可发挥更强大的压制支援作用,再配合主炮使用则能进一步扩大优势。

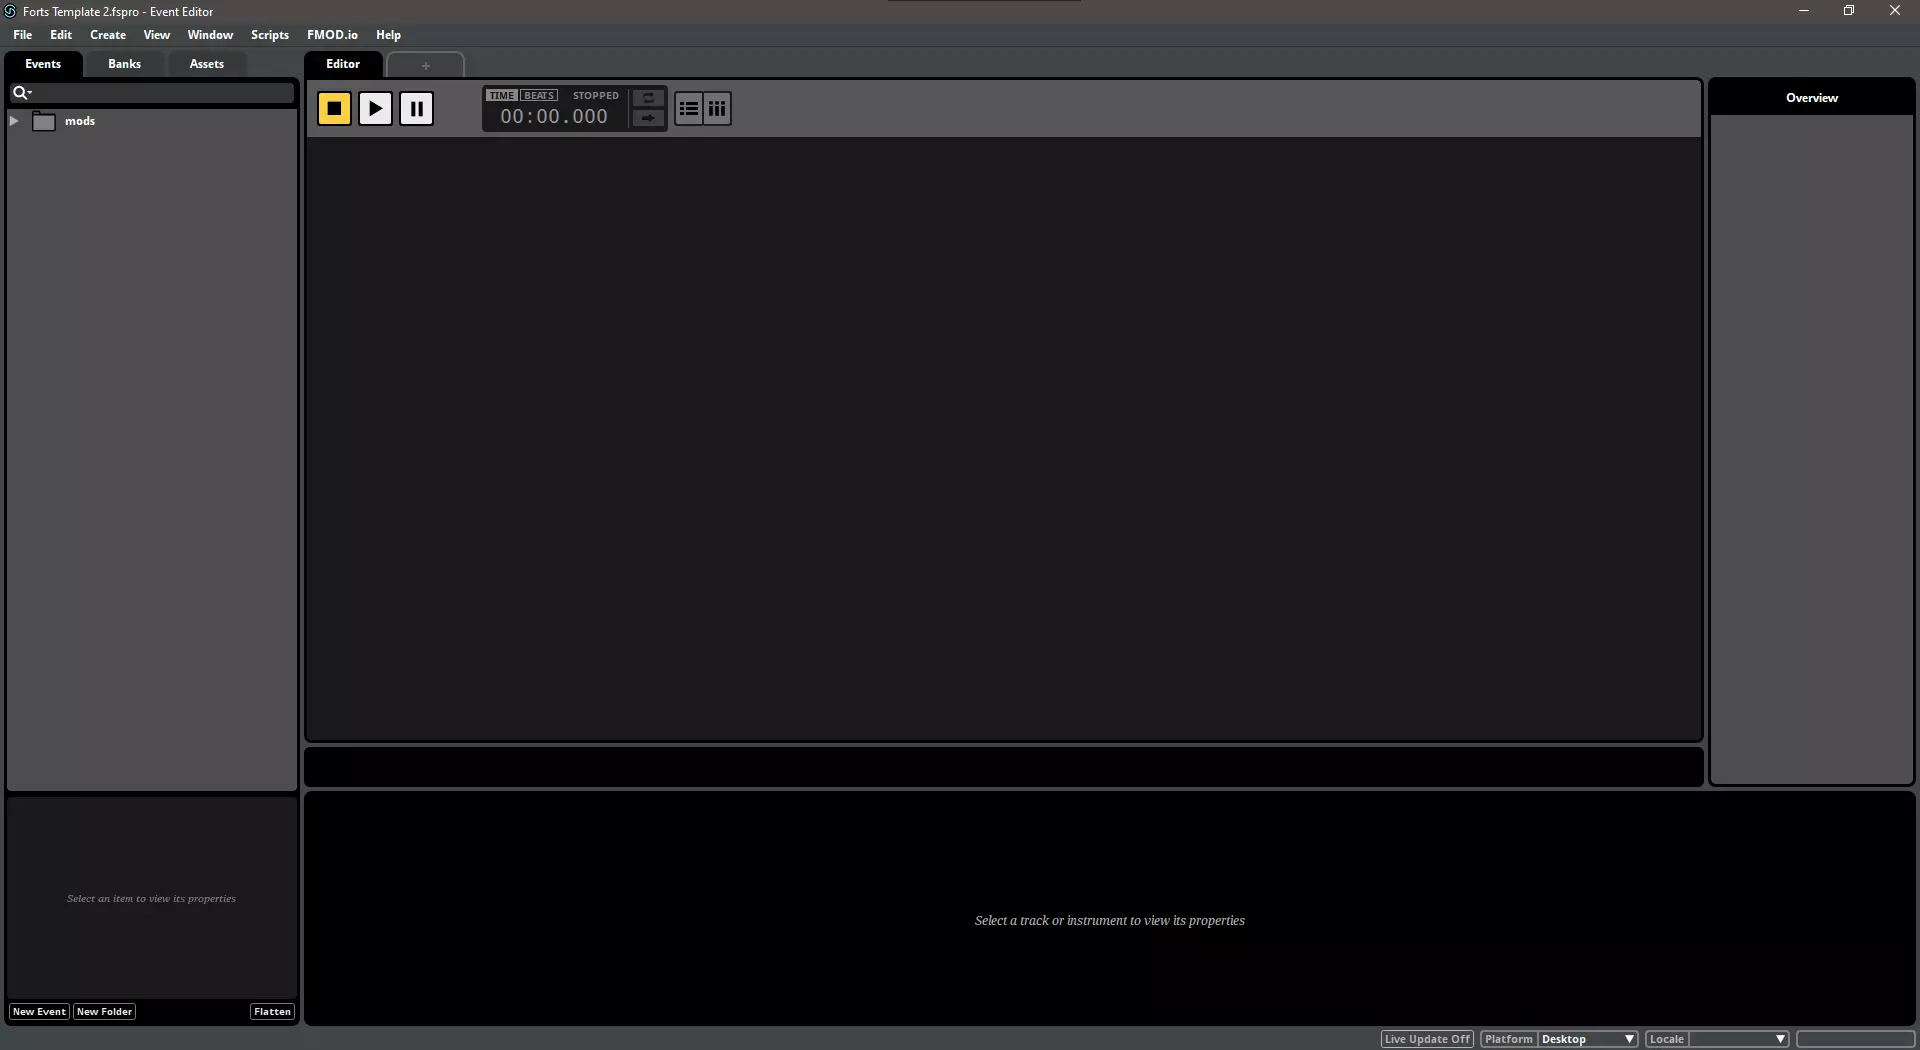
一个极其实用的选择。特别值得注意的是【装置和武器可在2秒内移动】,这使得玩家能够安全建造并切换到T3配置,也能根据需要快速在直射武器和T3之间切换。此外,【内部传送门对敌人隐藏】的特性可用于隐藏T3传送门或实现“返还 sender”战术。

可以速经济,然后通过主动技能追赶进度,快速应对威胁,避免资源闲置。如果你打算优先发展经济,且预计敌人不会比你先出T3单位,这会是个可靠的选择。记住要在使用技能前先出T3单位,因为该技能对未连接的基地无效。

激活后可获得资源加成,升级所需时间更短。作为多面手,其强度堪比过载元时期。

速度快但容易耗尽能量;需要仔细规划或采取极端措施为武器供能。我认为这对于T3单位来说是一个风险较高的选择,尤其是在团队死斗模式(TDM)中大量使用时。不过在合作模式中,如果使用较少的T3单位、优先快速发展经济或采用混合建造方式,只要能妥善处理能量生产,这种选择就能很好地发挥作用。

凭借新被动技能,你可以造成额外伤害、减缓维修速度,还能持续骚扰敌人。与【月光酒】类似,该技能在大型地图上效果极佳,而且足够数量的20毫米T3炮进行链式射击时,能让敌方基地持续着火,不断消耗敌方经济并散播恐慌。

部分武器的被动换弹速度加成和未命中时的主动即时换弹需要大量资源(尤其是能量),但主动技能期间的伤害加成能造成巨额伤害。与【飓风】类似,存在资源不足的风险,但该伤害加成无需额外射速即可生效,这一点或有助于弥补资源不足的问题。

对T3级(T3s)没有任何奖励

允许你在资源方面抢占先机,并通过主动技能节省资源,还能出售资源以进行混合流派构建等。这是一个强大的全能型选择,几乎在任何情况下都是不错的挑选。

留意敌人动向,减缓他们的推进速度,提前规划并窃取资源。如果你擅长瞄准,能够快速切换目标攻击不同基地,或者打算在支援角色上投入大量时间,那么这位指挥官或许是个不错的选择。

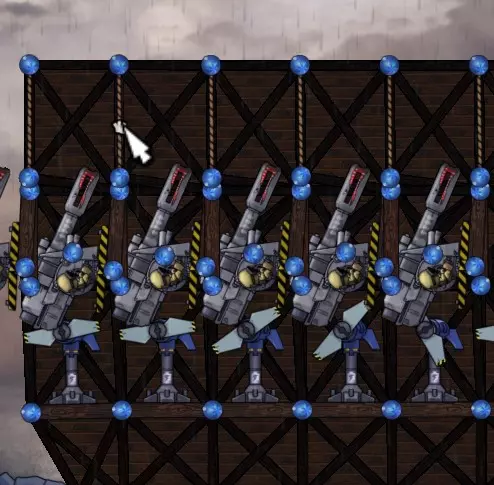
[2,3,1] Synergizes well with the playstyle; cheap defenses, save yourself with the active, force opponents to triple door with an AP sniper. However you lose out on being able to sell metal for an eco boost early game. A good pick but may require some changes if you are used to selling for eco. Varients Any device/weapon uses when T3'd: -don't function, at all Mortars and Heavy Mortars, swarms and Warheads -so situational and inefficient there is typically no point Machine gun, Minigun, sniper, AP sniper, magnabeam, sandbag, EMP, rockets, shotgun, buzzsaw, smoke bomb -actually work to some extent Flak: can be useful for aiming at high flying howitzers on large maps when other aa gets sniped or can't see it, not feasible for removing aa now that it's damage against gunners has been nerfed Fire Laser and Plasma Laser: can be used as premium aa, protected from doorsnipes and not even having to wait for doors to open. You can protect teammates from anything that can be shot down (cannon:firebeam and howitzer:plasma) (though laser aa for swarms and warheads lasers still works better when pre-fired directly in the path at launch), definitely a more supportive role and not useful from some base positions battery & metal store: can stack to save space, typically impractical unless desperate for space turbine:can stack to save space, has to remain vertical or lose efficiency, typically impractical unless desperate, this could be used to get more protected energy if you have the time to set up -best options 20 mil: works well for commanders with splash damage buffs (like firebird, buster, and moonshine), removing aa on large maps, but cannot focus damage cannon: the OG tier three and almost always the most powerful option Howitzer: can make howitzers very hard to hit with aa depending on map. extremely precise because they have no deviation. Remember not to group fire these nor shoot down the howie shells with other T3s. Can also serve as aa bait. smokestacks: though fiddly these usually are annoying to defend so finding a setup to stack a few would be useful modded: keep in mind weapon weight when attempting to T3 modded weapons, some setups require a very specify weight to function and heavier weapons may break ropes Rope based disjoints and ropes-Ropes that are the sole owner (no foundation or non-rope material) of one or more of their nodes terminate -Nodes set a reference angle based on the oldest connection (this can include ropes as well as braces)(this also sets the angle of the sprite) -Rotation of a non-rope material around this reference past a certain threshold triggers a disjoint -The disjoint event can only create one new node so it sorts each strut/material/connection into 2 categories with some tolerance/threshold; moving or not-moving (based on the reference angle, it is considered to be not-moving) -A new node is created on top of the original and all 'moving' connections/materials/struts/ropes are recreated to be connected to the new node (resetting their priorities)(the relative priorities of the moving connections appear to maintained) thus ropes disconnecting is often because braces are recreated leaving a rope to define the reference angle, the relative rotation of a strut triggers a disjoint; the rope stays with the node (by default, it is the reference) while the strut is moved to the new floating node. then the rope terminates because it's alone Be careful when catching to not cause disjoints that could drop a T3 because of this, some designs will be more forgiving in this regard. ask me and I will start working on a demo for this if need be IntroRope based T3s can be very reliable and cheaper than others but generally require more practice and understanding to execute. Because of some janky or unintuitive mechanics concerning ropes and rotation disjoints I summarized the system the game uses in these cases. pros/cons+does not require moonshot +does not have a passive energy cost +does not require investing in portals +more interesting +isn't a portal +can be more compact -more setup -some designs are risky or require specific parameters -setup delays build time Designin general designs will be based on having the brace your T3 weapon is placed on be the oldest connection to a node with a rope, this will prevent it from getting disconnected as described above. This can be done either by a foolproof system where other braces are intended to be disjointed, through close timing, or extra steps. Because designs can be incredibly versatile and there are so many options I couldn't possibly cover every variation. Classicas far as I can tell this is the design most people are familiar with from Incursus's video. Will not accommodate the howitzer firing angle unless done backwards. Certainly not the cleanest option but fits in a 2v2 grid. TileableI heavily recommend the first tileable design here Multiple setups can be made and used as resources become available. It's the go-to on large co-op maps as well as being compact for use in TDM. Recursionprimarily for devices because weapons will not be able to shoot while overlapped. Some modded weapons like periscope gunners may work. Portal based Due to the introduction of portals an easy method of shooting into the sky is available, with an additional energy cost and investment they are considered by some to be a sub par strategy and traitorous option. They also cannot be as compact as roped versions that overlap the hitboxes. pros/cons+easy +can redirect to direct fire -initial investment -passive cost -requires moonshot -boring -may spontaneous explode your base if you're not careful about energy requirements -return fire being directed into your core or near foundations if set up in certain places design Other the more unorthodox methods pence ropeless no ropes required, doesn't even need joint rotation breaks disabled. Is fairly tolerant of weight and works for howitzers. Can tile every 2 grid spaces. note: you can also just counterbalance a structure to tilt something upwards but this setup goes all the way scattershot shield using the scattershot shield reflect to shoot into the sky, EXTREMELY painful to aim stasis chamber (someone discovered a way of using portals to achieve a very similar effect ) using portals and shields to gather projectiles without significantly changing their speed (currently seems to be impossible due to some mechanics reworks) -hopefully can get around to making a mod to adjust the mechanics or commission someone to do so [shield reflect now appears to have a dampening affect and the portal+shield interaction still reflects unpredictably]) Tips and stuff On large maps without a brutal windfloor you can place T3s above turbines.
在三级火力下建造三级建筑风险极高,应优先进行建造和防御。如果条件允许,【反弹屋顶】或许是最佳选择。 AI默认无法制造或发射三级武器。但通过无绳设置以及添加火炮至间接火力武器列表的模组,AI可以做到这一点,不过出于某些原因,它通常仍然不会这么做。 返回大约需要10秒,你可以在炮弹即将击中基地时使用火焰光束将其点燃,但注意不要过早击中导致炮弹烧毁。 稳定性技术:稳定性技术:稳定性技术 祝你好运,玩得开心。