换一换
换一换 


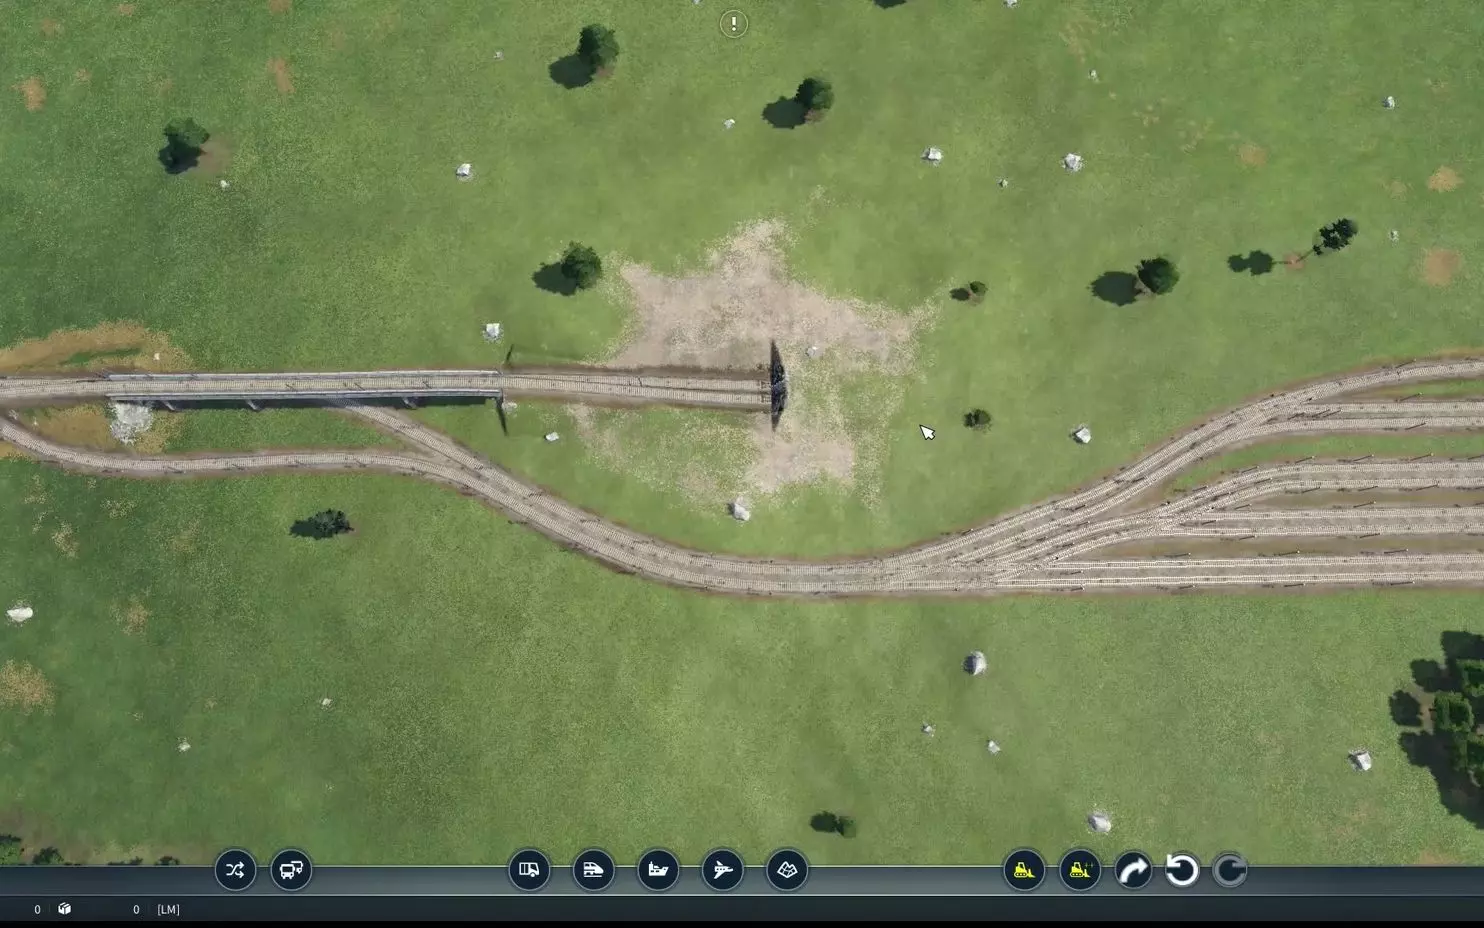
Useful for beginners and experienced! Start Hello, I wrote some days ago a guide in German and following to the positiv feedback I will translate it now into English. But I will keep the texts short and focus on the findings. 1) Some data and facts Trains vs Horses: https://steamcommunity.com/app/1066780/discussions/0/3829691612495354394/?tscn=1587721466#c2262439317596569636 (in German) Short: Trains make more money (about 2,xx times more for one unit). It is useful to use them from a rate of 100. Is the track short and the delievering rate 100, trains and horses have the same profit. Horses don't always reach the needed rate. Income per vehicle type: https://steamcommunity.com/app/1066780/discussions/0/2262439317597812501/ (also in English) Profit after 30 years -> trains vs. horses: https://steamcommunity.com/app/1066780/discussions/0/2263565850573438782/#c2263565850577698572 (in English) But watch for the mid/late game. Then it could be possible the new trains will make loses, because the operating costs are higher than the income -> switch to trucks. 2) When I choose trains and when horses? It depends. At the end of the delivery route I use only horses to bring the goods in the city. Trains produce to much emission. https://ibb.co/wCpy4fq (in German; Beladen = loaded; Leer = empty) Look at this picture. Here are 4 methods for 1 simple scenario (forest -> sawmill -> tool factory; west of the forest is a city which needs tools // rate forest 400; sawmill 200; tool factory 200; city 200). First: 1 Train from the forest, to the sawmill, to the tool factory and the whole way back -> Worst -100 % Second: 1 Train from the forest to the sawmill and back. 1 half long train from the sawmill to the tool factory and back. Third: Same as Second but Line 1: 67 % of the wagons are for logs and 33 % for tools and Line 2: 50:50. -> Both at 0 %, but they are very different, because method 3 brings tools back and method 2 not. M3 needs more trains, because you are using 33 % of the train for the tool wagons. Fourth: Horses. 2 Lines. -> Best Method. +300 %, because we can use the carriage/truck for both ways. The first line is only half full back, because it has a rate of 400 and the other 200. So one way full with 4 logs and back with 2 tools. This T-account method is very useful to calculate the efficiency for a line/route. Other example: https://ibb.co/g4xqbg5 Method 1) 1 Mixed train with grain and food waggons. 3 horse lines from the farm to the city (one to the next junction, one to the city border and the last into the city). -> Company value: -2,5 Mio. € (after 7 years) Method 2) 2 trains: One only with grain wagons and one half long only with food wagons. 3 horse lines from the farm to the city. -> Company value: -1,5 Mio. € (after 7 years) Method 3) 1 horse line from the farm to a harbour west. One lgfine with 2 ships to the food factory and back. One line with 1 ship from the farm to the city. 1 horse line into the city. -> Company value: +1 Mio. € (after 7 years) Method 4) One horse line from the farm to the food factory and back. From there 3 horse lines. -> Company value: +1,4 Mio. € (after 7 years) Method 5) 1 Train from the farm to the food factory. Two ships from the food factory to the city. One horse line into the city. -> Company value: -0,5 Mio. € (after 7 years) MAYBE it would be the best to mix method 3 and 4. Ships to the food factory and back and 3 lines to the city. Why? The ship to the city from M3 had long waiting times. Waiting times = Paying for nothing. Horses have only a load of 4 and so the line can be adjusted in small steps. The ship has 70 and is very inflexible. PS: I used the ship "Wilhelm". Start small and look how the rate evolves. With two Wilhelm I had exactly a rate of 100. With 2 "Rigi" also. Why? They are 3 km/h faster, but in this case they waited longer -> costed more money. 3) How to optimize public transport and what is the whire circle around the station? https://steamcommunity.com/app/1066780/discussions/0/2262439317605510707/#c2262439317609442036 (in English) The whire circle around the stop is partitioned in 4 sectors (25/50/75/100 %). Some notes about public transport: a) Public Transport is not very constant. It changes often and depends on many factors. b) If a bus/tram (capacity 4, 8, 10,...) leaves the station and at the station people at the amount of the capacity of the bus/tram are still waiting -> add a bus/tram. c) Public transport has to be profitable!!! If it is not, you use to many vehicles, the line doesn't work or the used vehicles are "excessive". d) Look often on the "town screen" to experience, how many people want to get from town A to B. e) When the profit of a line is smaller than the operating costs of an additional vehicle don't add another vehicle. Your line is already on its limit. f) At the beginning I could use very short lines, but when the operating costs of the new vehicles become higher and higher you have to optimize the line. Make it as long as possible, but useful. No unnecessary turnings, no zigzag, no "only two lines" -> CW/CCW" (Hello here to "all" Youtubers :-)). Use long straight lines supported by CW/CCW-lines. Example: https://ibb.co/1sdtxs9 (Town north) & https://ibb.co/J3N9YXy (Town south) Town A: Line usage of 60 – 63 %; NO private cars used by Town A people; just five lines; every single one profitable Town B: Line usage of 68 – 72 %; NO private cars used by Town B people; just three lines; every single one profitable Just less than 10 people commuted between this cities, which were connected by a 100 km/h street and a train line (125 km/h). g) Lines should overlap at useful stops. But they shouldn't share to many stops, because one line will be unprofitable/useless at this road. It would be like, you use two train lines on one connection. h) I build on every street two stops; one for the right lane and one for the left, so every junction has 3/4 stops. This will give every steet a 100 % sector (white circle explanation above). i) When you go clockwise always go also counter-clockwise! Why? Let's say you are at stop West and want to go to stop South. When you only have a CW line you have to go from West, to North, to East to South. That's stupid. Use CCW so you come directly to stop South. So a street should always have a line on the right lane and on the left lane (could be round lines or just a straight line which comes back). j) Using a 100 km/h bus/truck on a 60 km/h road? Pay attention on the used road. j) Latency and short walks to the station have no negative effect to the usage of public transport. This is why I also build on every street two stations. Here is another example how I set up lines in a city: https://ibb.co/C0pGXWF (the black markers are the stations where two lines overlap) -> Same town but OPTIMIZED: https://ibb.co/py6cBsW Line Yellow, Red and Purple are unchanged. Line Blue and Green are reduced, because two stations (marked black) were later crowded. So Line Brown and Violet (?; hard to see: at the end of Red) are now supplying Line Red and Yellow with a much faster frequency, because these two lines are much shorter than the old Blue and Green line. Problem is: Long lines in combination with slow vehicles+low capacity. Some station will crowd fast and you have to use more vehicles to just support THIS ONE station. Solution: Reduce the line and split it in two like in this example, so the frequency gets higher. So one line will supply the mainstop and the other the mainstop to the workplaces. 4) How to I reduce horses/trucks in the towns? Easy: Build at the city border a cargo station and a cargo stop. Then Line A goes from the factory to the stop, unloads, goes back. Then Line B loads the goods at the station and drives to the stop in the town. So you prevent that 20 or more vehicles drive through your city, because the 5 vehicles from Line B will do the same (same rate). Very useful: Place the cargo stops at a leftsided sideroad (driving direction). Why? When you use a 4-lane street, buses will always be at the right side/lane. When you place a station at a leftsided sideroad the truck/horse will use the left lane. So the trucks/horses will not be slown down by public transport. Forgot to post this picture: https://ibb.co/HCB2qtg (from a post end of april in transportfever.net) As you can see, the orange line (3) goes from left to right and back empty & the green line (5) goes from right to left and back empty. I combined this to lines later, because this was a brilliant situation to reduce cars and traffic. Instead of total 10 cars, I used then just 7 and they were both directions full! Wouldn't I use the cargo stations at the city border the blue and brown line (2 & 4) had to supply the city with minimum 20 vehicles and this would be horrible! 5) RATE! RATE! RATE! The rate is the most important thing in this game. When your tool factory delievers 50 tools to Town A, use the right amount of vehicles to fulfil the rate of 50. Don't use more! 6) You are getting paid by airline station to station! Lets say Town A is in the west and Town B in the east. A big mountain between, but a road goes south which connects the two cities. What are you doing? Wrong! Don't build a tunnel for 5 Mio. €! Other suggestion? Correct! You place a passanger station south of the mountain where the road is and set up two lines: Line A from town A to the station and the other from town B to the station. So you get paid for A to station and station to B. One example: https://ibb.co/6Y6zFX2 + https://ibb.co/cNvtyqQ The just delieverd 4 fuel a tour but were profitable, also the red line to the east! (See also point 8) 7) Altitude difference Low on funds and the 3 km bridge is to expensive? Maybe this will be usefull: Build the road/rail from contour line to contour line. Or you can also press M/N to use the bridge/tunnel mode. 8) Operating costs The lines which supply the city from the city border are always at "drive when full". This reduces traffic and oparating costs. When a horse carriage waits e. g. one year the costs will go down from 4.000 € to 1.600 €, only 40 %. 9) Free mode Struggling with the maps after the campaign? The same with me at the beginning. Search for towns which request fuel, tools, food or bricks. They are the easiest to produce (food and bricks more than the two others, but the quarry delievers at the start only 100 and the farm 200). And when these industries are close, use this as starting point. 10) Sometimes less is more! Example: With six small planes I had a profit of 12 Mio. €. With 12 small planes only 6 Mio. €. Why? Because the 12 were waiting in the sky, waited at the airport, etc. Use "just in time"! 11) Experimented! Unsure about something? Save the game and do theory A and B. 12) Optimize the linemanager! Always set the %-amount of goods a train, ship or plane should take. Why? Example: Train a has a capacity of 100. It goes to the sawmill. It will produce 50 planks. These 50 planks are going to the tool factory. What I'm doing: After the train is delivering the logs and goes back, I change the line to this: 1) 100 % Logs to the sawmill; waiting time 1 min. 2) 50 % planks to the tool factory; 1 min. 3) At the tool factory it just unloads (changing nothing) When at the sawmill are 33 planks it will not wait 1 min., it will just wait for 17 other planks (50 % of 100 = 50). A vehicle which is waiting for some time and takes a number of goods to the target, will reduce operating cost and increase income. In one test the train reduced the cost to 350k (instead of 410k) and the profit went up to 20k more. Tipp: When you mix train wagons pay attention that you keep the ratio of the goods. E. g. grain 2 -> food 1 = Grain 2 wagons -> food 1 wagon. 13) Use longer trains! I try to use one max. train (e. g. 400m or less but not more than 400m = max. of the train station//e. g. at the start with europe = 5 engines and 50 wagons) to supply one industry (lets say with a rate of 400). When it's enough I just have to use one rail instead of two and the risk of a jam will be reduced...or there is no risk. When better trains appear I reduce the amount of engines or wagons. So it's also easier to calculate one train for max. efficiency than 5. 14) Emission Use low emission vehicles for the town and higher emission vehicles for the traffic outside. End I hope, I was able to regive the German content correctly into English and it was understandable. Many of these points are combinable; e. g. 8, 12 and 13. If you have questions just ask and I will try to help. I will keep it up-to-date, when I recognize somehting new. PS: When a Youtuber or whoever wants to use this contect for himself, please ask before. It took me hours (!) for the many tests, writing, translating, etc. Thank you for reading!
《狂热运输2》专家级优化技巧

导读
这是《狂热运输2》的专家级优化技巧帖,对比了火车、马匹等运输工具的收益、适用场景,还分享了公共运输线路优化、城市货运车辆精简、运输速率把控、运营成本控制等多方面的实用技巧,帮助玩家提升游戏内的运营效率与收益。

评论
共0条评论

物流管理
或者:为何你的货运链无法正常运作。 以及:如何在困难难度下通关游戏。 介绍 虽然本指南仍然有效,但已有些过时:【线路监控器】现在会显示线路的年度货物运输量。无需…
2026-04-03 16:000赞 · 0评论
UnicornPoacher的《运输狂热2》指南
欢迎阅读我的《狂热运输2》进阶策略指南。本指南将聚焦运输原理、规划、分析、设计及技巧,旨在帮助你实现利润最大化、提升游戏真实感并融入美学设计。 本指南默认你已具…
2026-02-20 10:000赞 · 0评论
内容无法识别,已删除。
本文详细讲解轨道、信号、站台、线路等火车基本知识 轨道与信号调度知识 1. 玩过战役的人应该知道一个技巧,在一条轨道上建立一个小分支,用来停车,这样就可以使一条…
2026-02-18 19:000赞 · 0评论
单机游戏 【狂热运输2新手教程#1】工厂不产货?一篇搞懂线路搭建逻辑!
【狂热运输2新手教程】完整版的分章教程#1(共3期),包含了最重要的供应链核心逻辑,以及收支讲解! 需要观看完整版的小伙伴可从此链接跳转:https://www…
2026-02-12 11:170赞 · 0评论
火车 我用狂热运输2建造了一个价值超1万美元的沙盘
-
2025-09-22 11:250赞 · 0评论
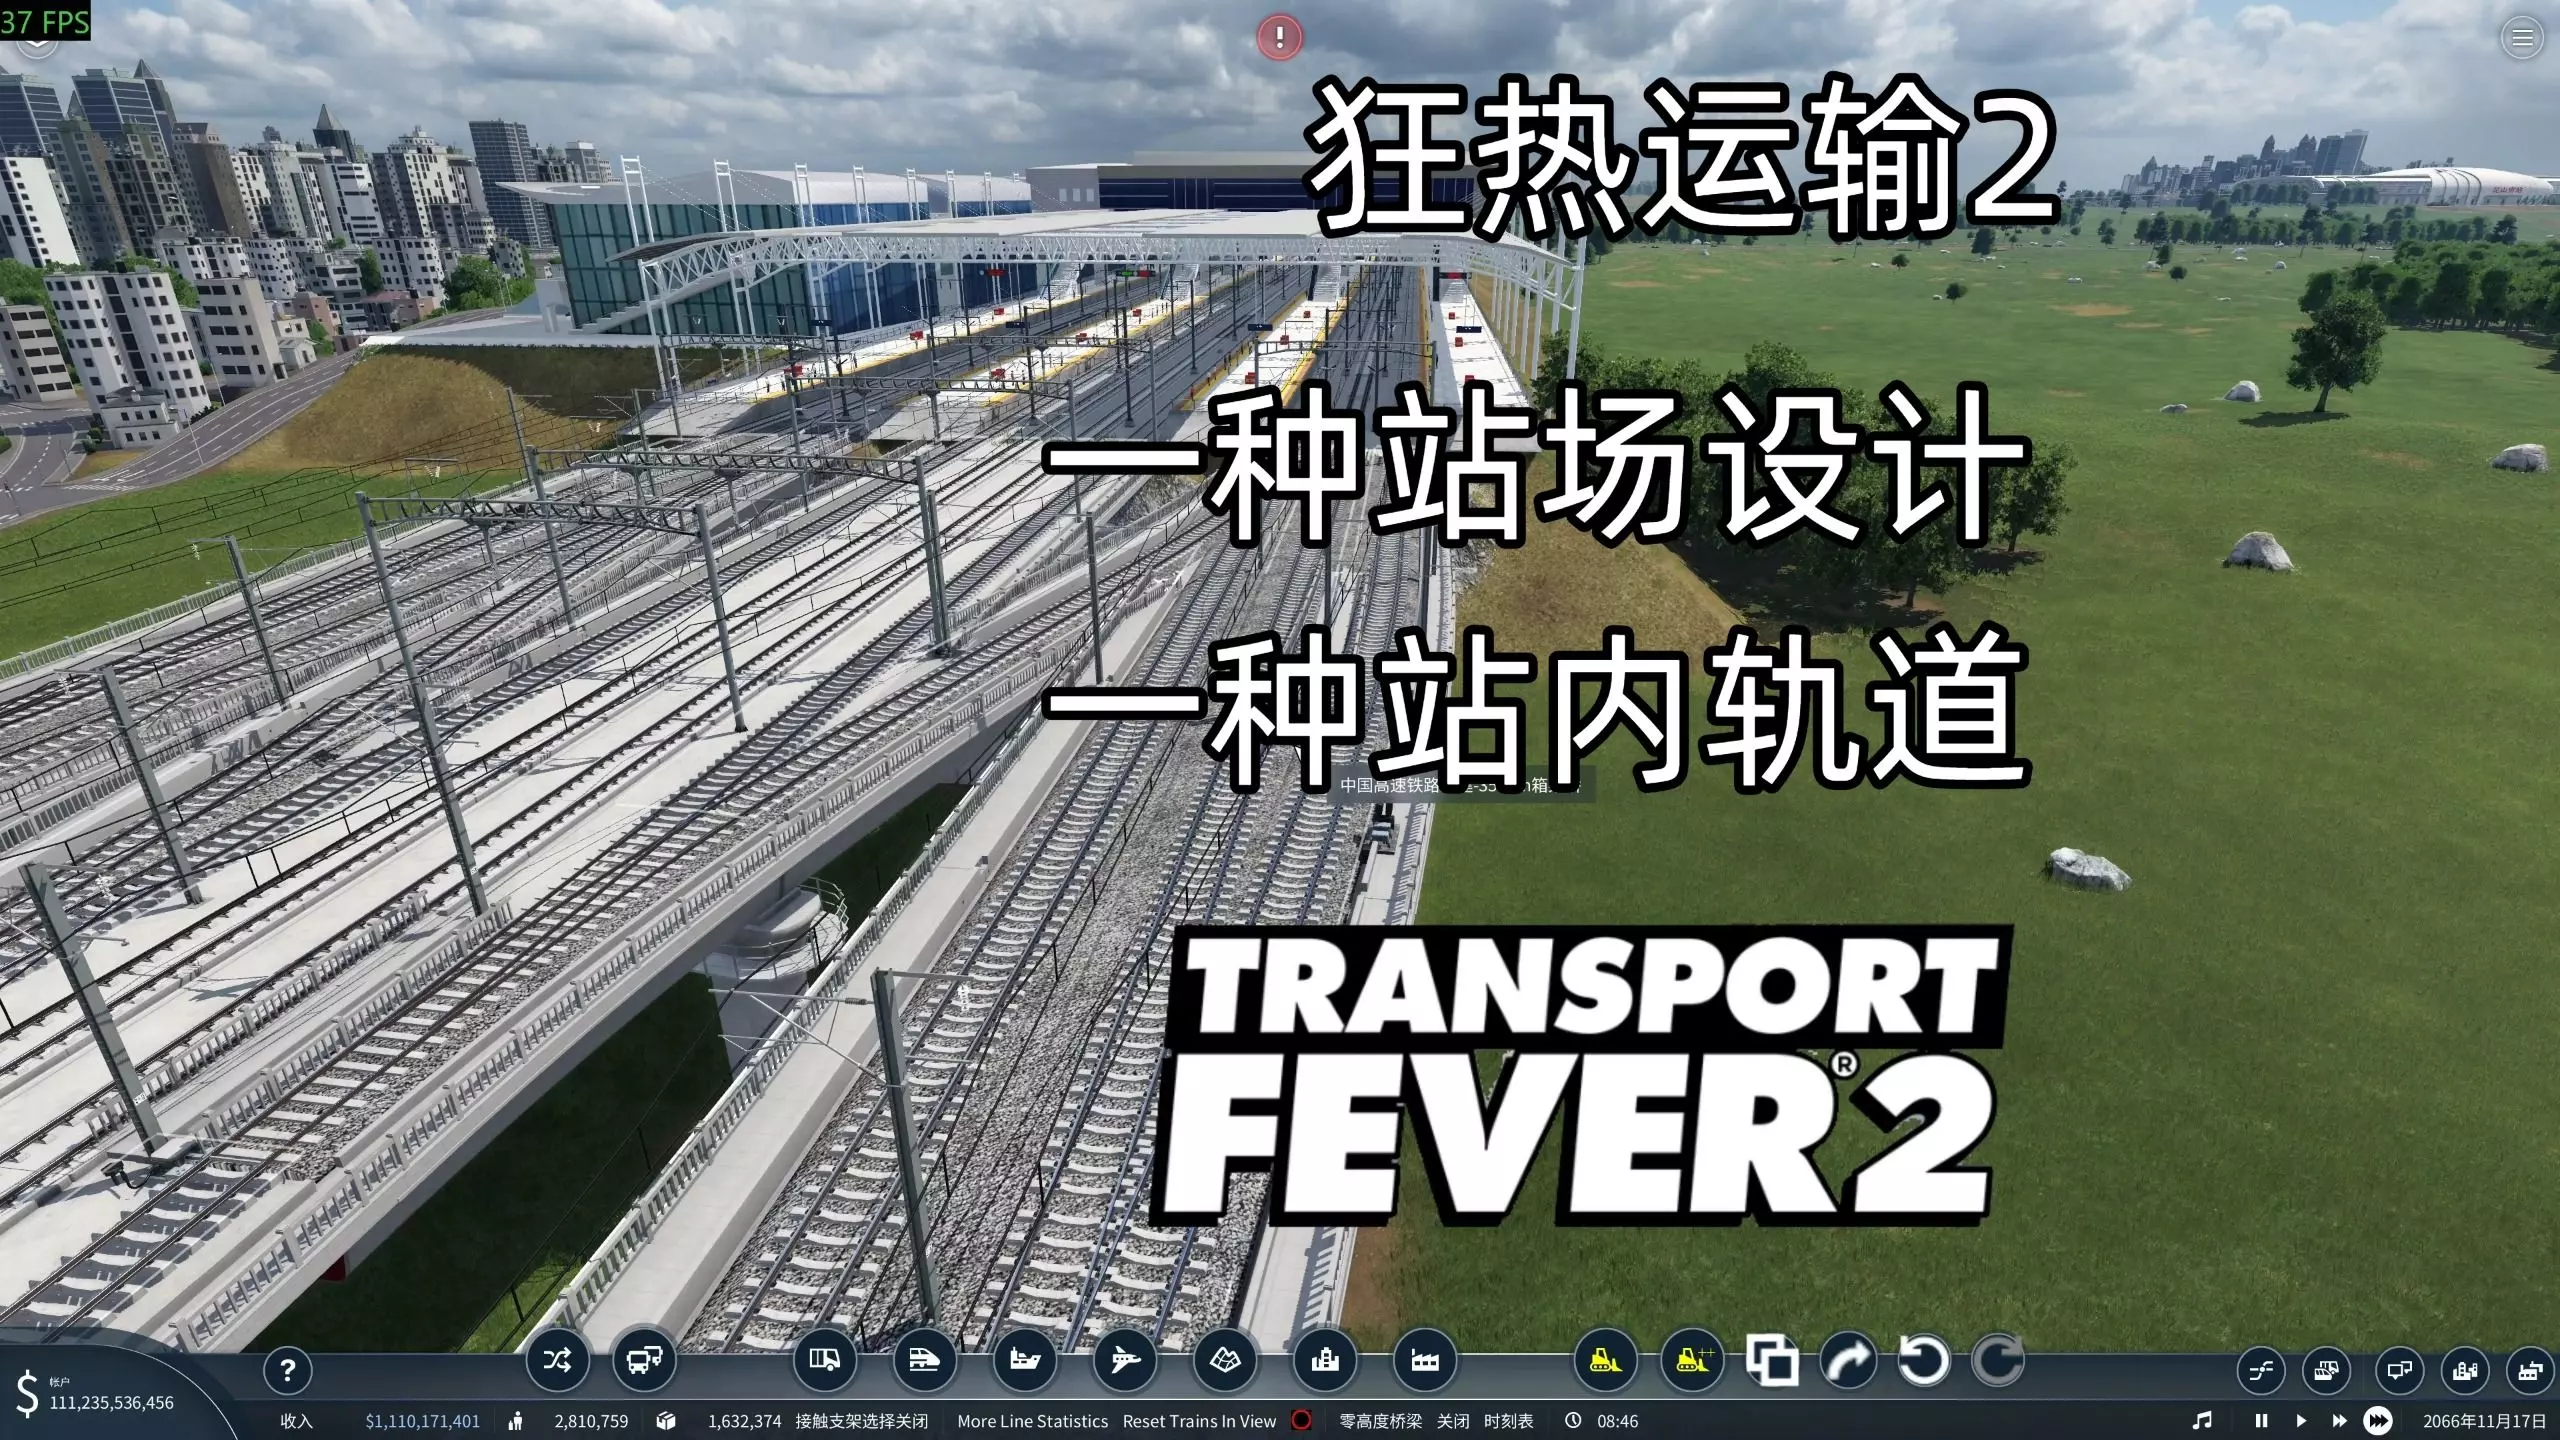
火车 【狂热运输2】一种站场设计,一种站内轨道分享(来自上期视频的切片+一些补充,与时刻表无关)
做时刻表视频的时候想到了点题外话,单独切出来做个短视频
2026-05-01 03:340赞 · 0评论
《狂热运输2》最佳模组
《狂热运输2》各类最佳模组推荐 简介 以下是我认为的最佳模组列表。 车辆类最佳模组:汽车、火车、轮船 DB双层客车 S-Bahn BR 423/422/430 …
2026-02-20 01:000赞 · 0评论

《狂热运输2》任务1-第5章:阻止会面
如果你在寻找【黑貂饲养者俱乐部】的三个位置时遇到困难,你不是一个人。在查看了地图上的每一座城市后,我只能去《狂热运输2》的讨论区搜索,发现从一开始这就是个难题。…
2026-02-19 01:000赞 · 0评论

理解并解决游戏性能问题
本指南旨在解释影响游戏性能的因素,以及解决性能不足的可能方法。 简介 在《狂热运输2》论坛的讨论帖中,最常被问到的问题和发布的投诉之一与性能有关。常见问题包括游…
2026-02-18 10:000赞 · 0评论
狂热运输 狂热运输2 新手小tips 信号灯和车站铁路建设方式
2025-10-05 10:310赞 · 0评论
暂无更多
最新更新
- 《狂热运输3》精选模组计划公布 — 我们自豪地推出独一无二的【精选模组计划】!玩家们将能在首日就体验到丰富多样的高质量模组,这些模组将带来流畅且可靠的游戏体验。
- 如何为从Steam下载的游戏安装非Steam模组 — 你可能已经问过自己“如何为从Steam下载的游戏安装非Steam模组?”这个问题。本指南将回答这个问题 安装模组 要为从Steam下载的游戏安装非Steam模组…
- 打盹了 — 如何制造噪音 这是一个颇具迷惑性的任务,其完成方式并不明显。完成该任务的方法是建造【公交站、铁路、车站等设施】。使用推土机也能达成目标,而且成本更低(有些岩石推…
- 自动建造控制指南 — 对于喜欢专注于游戏规划逻辑和景观方面的玩家来说,频繁处理游戏中的AI自动建造可能会相当烦人。道路和建筑会自动建造在玩家并未规划的位置。在游戏中控制自动建造并不难…
- 功率和扭矩 — Часто просматривая видео по прохождению игры Transport Fever а после и Transport…
- 博物馆路线成就指南 — 如何解锁Museum Line成就 解锁Museum Line成就需要你在一条线路上拥有全时间线的所有公路客运车辆(公交车)。 因此,要获得此成就,你需要从18…
- UnicornPoacher的《运输狂热2》指南 — 欢迎阅读我的《狂热运输2》进阶策略指南。本指南将聚焦运输原理、规划、分析、设计及技巧,旨在帮助你实现利润最大化、提升游戏真实感并融入美学设计。 本指南默认你已具…
- 全任务/时代/勋章完整注释指南 — 我完成了所有任务,全程没有说话,但大家似乎很喜欢。不过很多人一直希望能听到我的声音!不是理性的声音啦!而是希望我能增加解说来提供进一步的帮助。所以,为了那些提出…
- 载具列表 - 亚洲【开发中】 — 基于游戏内信息,按出现日期排序的所有可购买载具及其属性的完整列表。 基本信息 关于本指南的说明:幸运的是,与《运输狂热》相比,《运输狂热2》的游戏文件结构没有太…
- 《狂热运输2》入门指南 — 这是我刚开始玩《军团要塞2》时希望能有的指南。当时有很多不错的信息,但没有一个地方能集中告诉我所有需要知道的内容,以便有效地运用游戏机制。 本指南涵盖了《军团要…