换一换
换一换 


一份指南,旨在介绍一些游戏内未提及的简单技巧,解析成就,并提供全面的庄园建设策略。 简介 本指南目前正在逐步完善中。现在上传是为了向玩家提供与纪念碑相关的9个新成就。 【奠基】是一款轻松的中世纪城市建造游戏,玩家可以建立等级制度、购买土地、发展经济,并设计庄园、教堂和城堡主楼。不过,游戏往往较为严苛,且很少向领主展示他们实际能做的事情。本指南将为那些略有困难的玩家提供快速提示,解释如何轻松完成成就,并详细分解建筑产出、成本相关信息,以及我应对游戏中部分刻板AI机制的方法。 我希望通过本指南,能让更多玩家顺利体验并享受这款王国策略游戏,避免因难以理解而觉得购买这款策略游戏是浪费金钱。若有更多玩家能建立繁荣的社区,这款游戏有望变得更受欢迎,从而帮助开发者完成游戏的开发。撰写本指南时,游戏当前版本为1.6.16.0718。成就 《Foundation》共有21个成就,本部分将说明解锁其中大部分成就的条件。

恶劣天气是一种随机事件,通常会使鱼类产量增加20%,浆果、小麦以及啤酒花/葡萄产量减少50%。只需合理管理资源,确保没有村民因不开心而离开,你就能解锁该成就。

当有10名新成员时,你将解锁教堂。


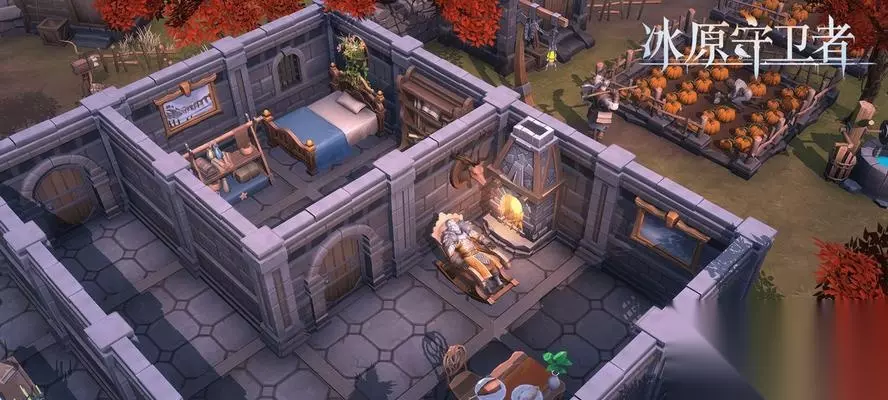
目前游戏中存在金币上限溢出的机制。例如,若你的金币上限为5000,在进行军事行动后获得2000金币,此时你的账户会显示7000/5000。 若想将金币上限提升至10000,理想的方法是建造宝库。首先需要建造【领主庄园】,该建筑在拥有10名新居民时解锁。接着,你需要为庄园内的每个房间设置宝库功能。 其中,最有效的房间是【领主庄园:石制套装】中的【石制主楼】。此建筑在拥有20名平民和20点劳动辉煌值时解锁,初始可存储390金币。每增加1层高度,可额外增加60金币存储量,但每增加2-3层高度,建造价格也会相应上涨。建造10座这样的建筑,能轻松帮助你达到10000金币的存储上限。获取黄金的最佳方式是通过军事行动或在市场上销售葡萄酒。

积攒500金币,然后通过右上角的【领地】按钮购买土地。你可能需要在总共只能持有500金币的情况下进行此操作,但不用担心,金币归零只会阻止你进行外部交易,不会有其他影响。

这个有点意思,要解锁它,你需要建造【绵羊农场】,该建筑在达到1级新手等级时解锁。放置后,你必须生成绵羊才能让建筑运作,但实际上生成的动物数量没有限制。当绵羊数量达到特定数目时,你会收到特定提示,分别是: 0=生成绵羊 4=(拜托……别滥用了……) 10=说真的,停下! 15=考虑一下邻居吧! 20=那股味道…… 25=要是游戏因此出问题,可别去跟开发者抱怨 30=他们会问你:你生成了多少只绵羊? 35=如果他们问了,别回答!40=因为他们会说:呃,那是预判(不知道他们想说什么) 45=你是想看看有没有害群之马吗(“sheep”) 50=因为根本没有。 55=你的坚持令我们感到荣幸。 60=我的天,一只害群之马。不可能!!【成就解锁】 65=抱歉,我无法确定:我只是个(“游戏开发者”) 70=好吧,我该回去继续我的常规按键操作了(我猜这里应该是想说“按键连打”) 75=尽情在这片土地上养满绵羊吧(“sheep”) 80+=(拜托……别滥用……)


完成简单、困难和极难难度的战役。

要招募骑士,你至少需要拥有6名士兵。


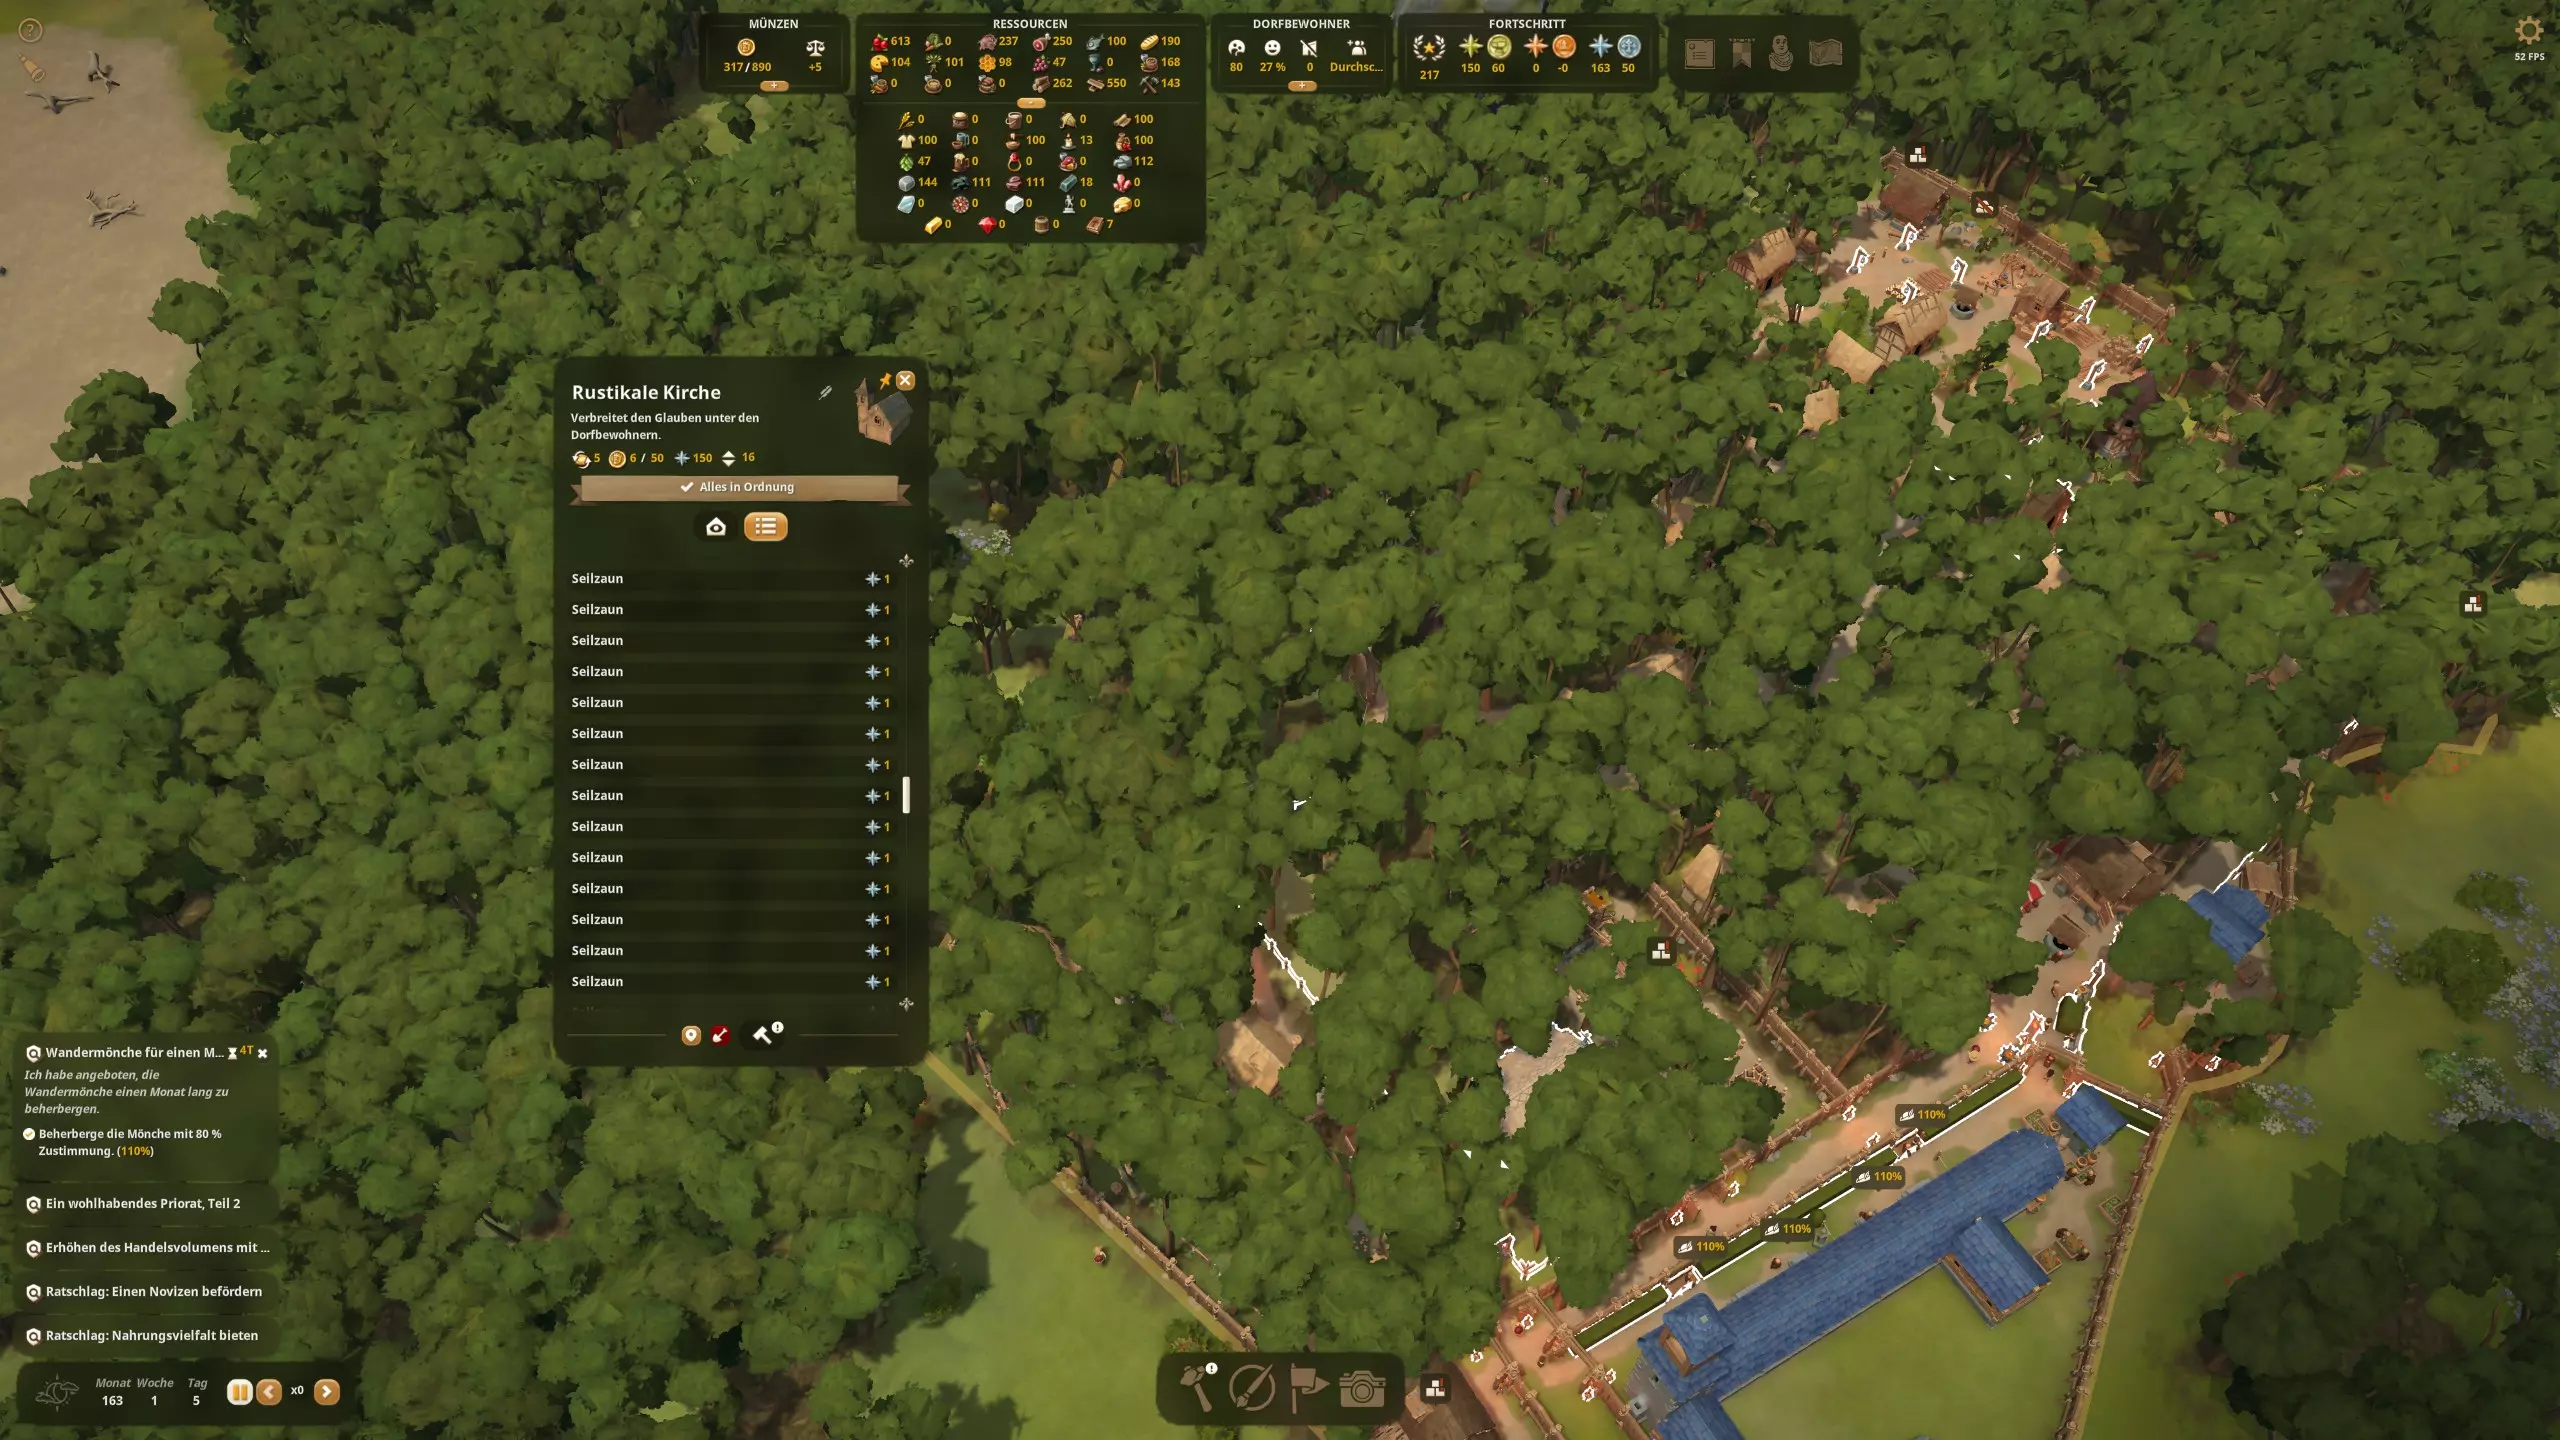
矿物与工艺:你需要建造每个纪念碑并满足其 perk 的所有要求,才能解锁相应成就。要求并非固定在每个单独的纪念碑上,但 perk 是固定的。换句话说,一个纪念碑可能要求完全被森林环绕,或者完全建在河边;但该纪念碑提供的增益始终相同。 获取纪念碑 perk 的要求可能包括: - 无要求:纪念碑始终生效。 - 必须是包含大厅的建筑的一部分。 - 被森林环绕。 - 远离其他建筑。 - 所有部分都在河边。 - 所有部分都高于附近建筑。 - 装饰部件数量达到最大值(不包括杰作部件)_/5。非装饰性部件(包括杰作部件)的最小数量:15个。每个纪念碑在玩家达成特定里程碑前都是隐藏的。达成该里程碑后会显示以下提示。

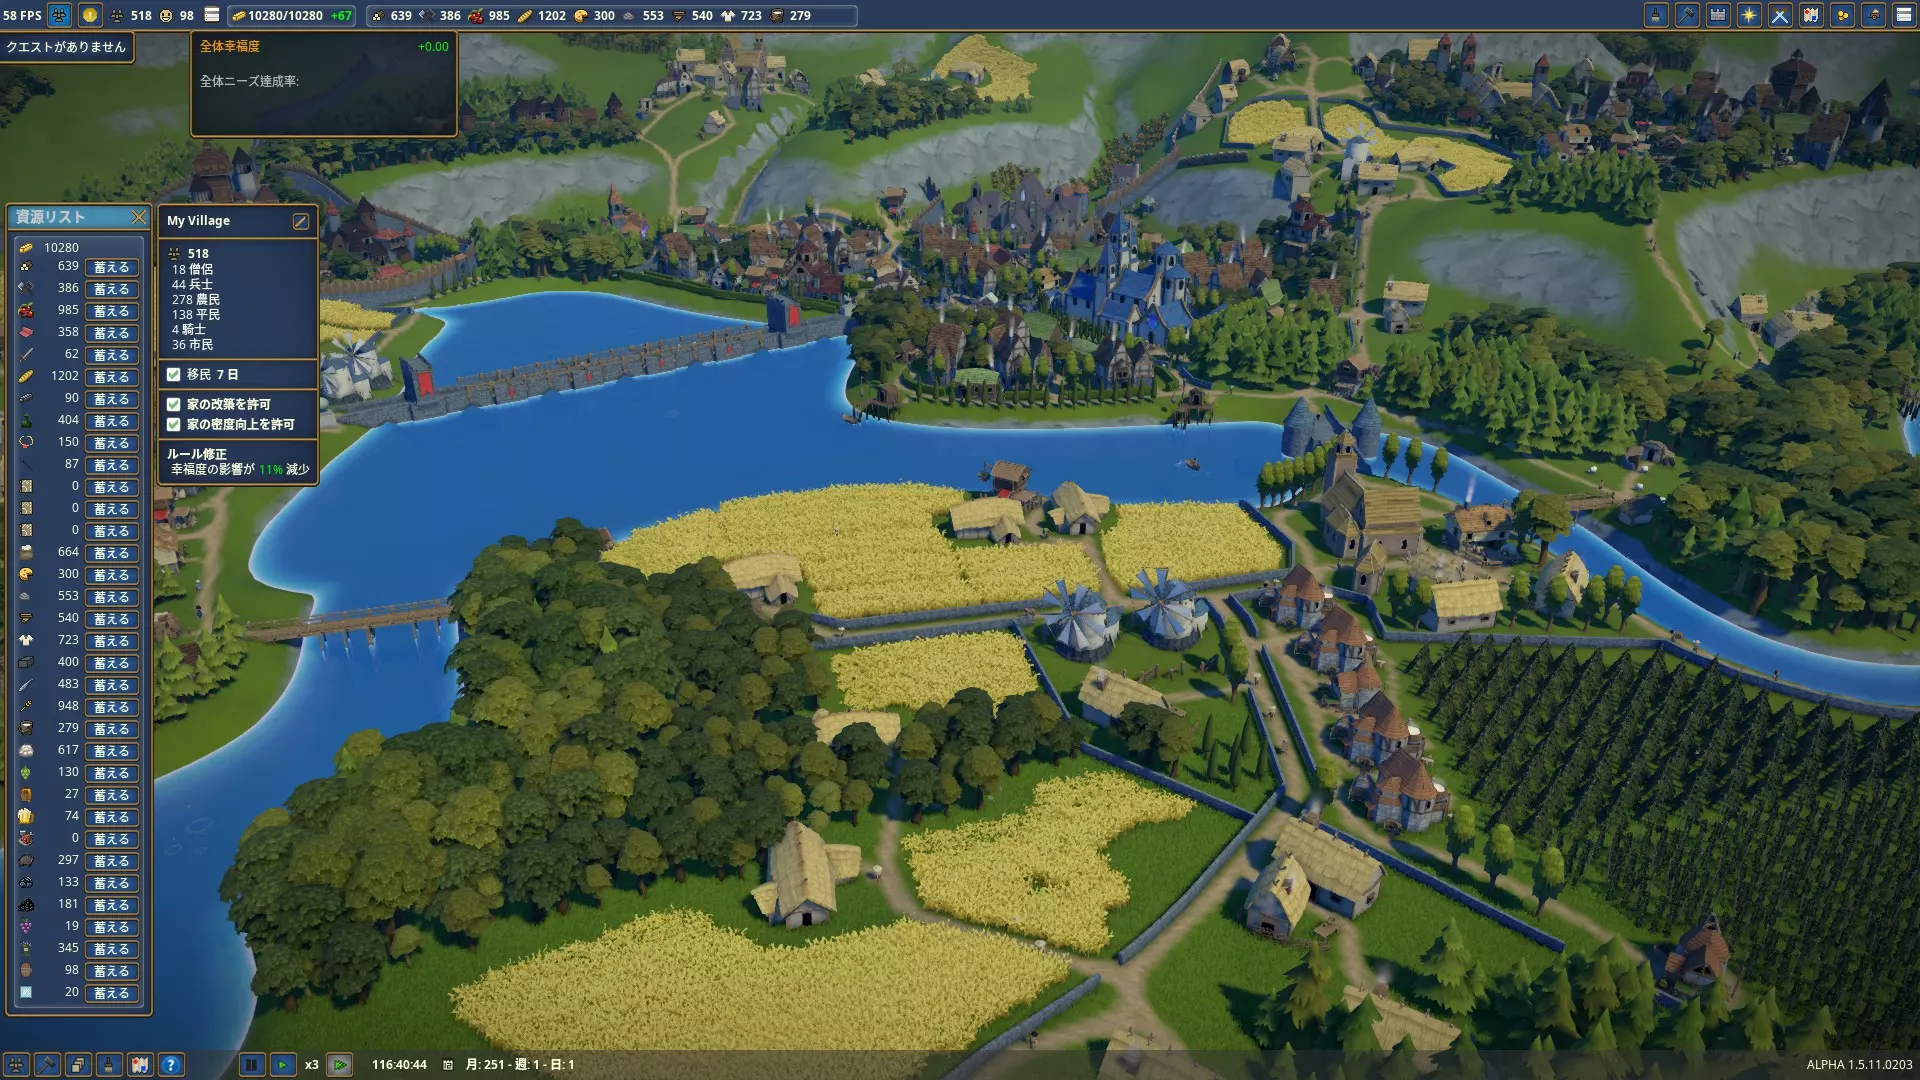
【喷泉雕塑杰作】:在恶劣天气中生存且不失去任何村民(可能也不能让任何人挨饿)。无论如何,这是最简单且你可能最早获得的成就之一。
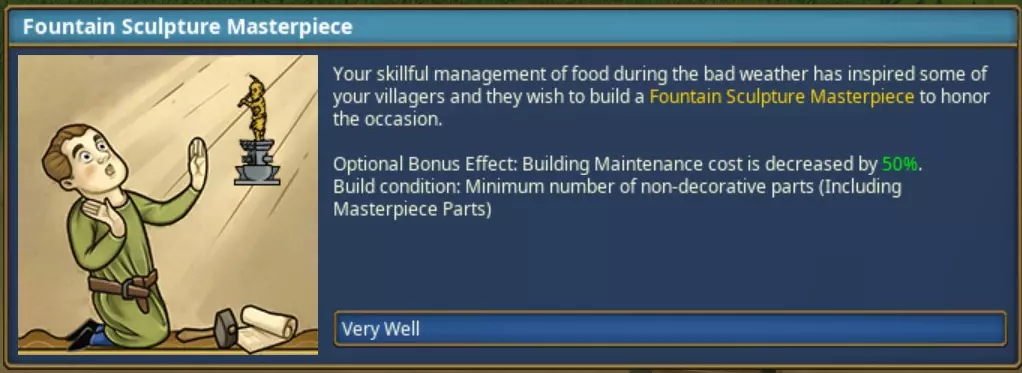

【药用花园杰作】:派遣你的军队执行任务,并让部分士兵受伤归来。一旦你建造了要塞并开始集结军队,这种情况会随机且相当快地发生。
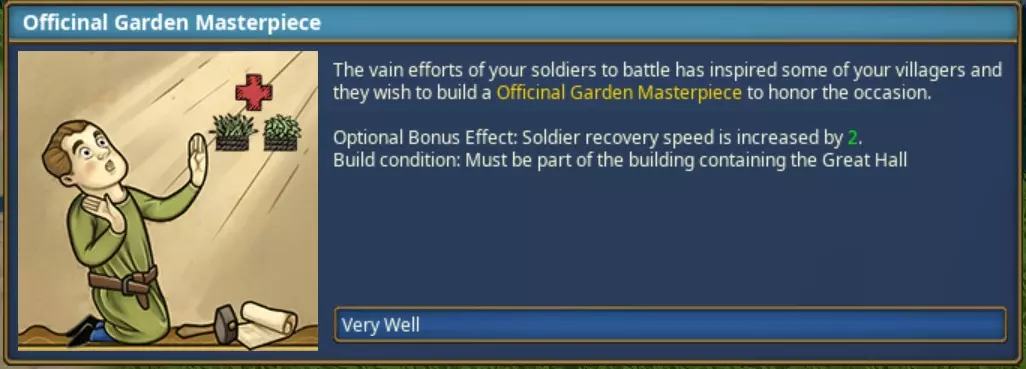

骑士雕像杰作:完全完成一个战役。我认为它不受难度限制,例如简单、困难或极难。要完全完成一个战役,需要完成任务的第三波,成功后你应该能获得纪念碑。

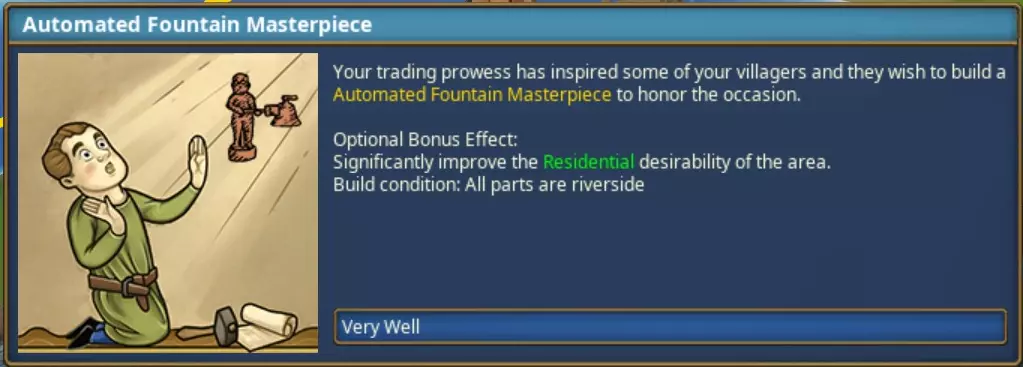
自动喷泉杰作:只需通过贸易达到一定的商品销售阈值。这个成就(和之前的其他成就一样)非常简单,我无法确定具体金额是多少,也不确定是累计的还是每周的。无论如何,只要你出售资源,就能轻松达成这个成就。

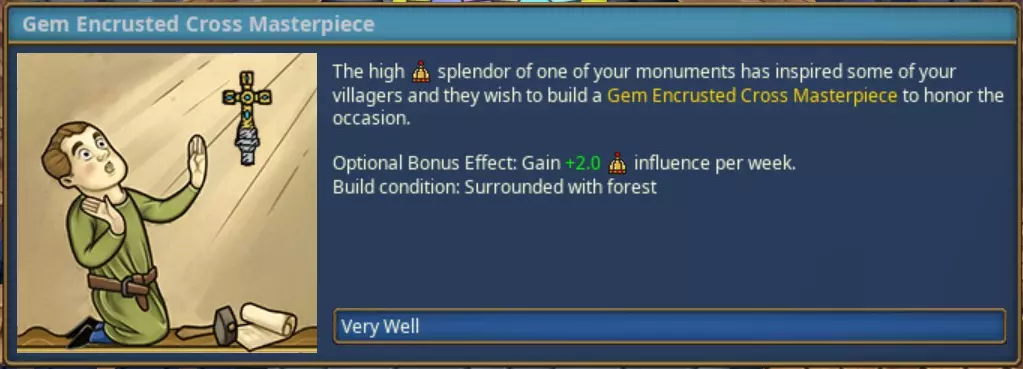
宝石镶嵌十字杰作:使用任意纪念碑达到50点辉煌值。考虑到教堂的所有部件都可增加辉煌值,用教堂完成此成就最为简单。

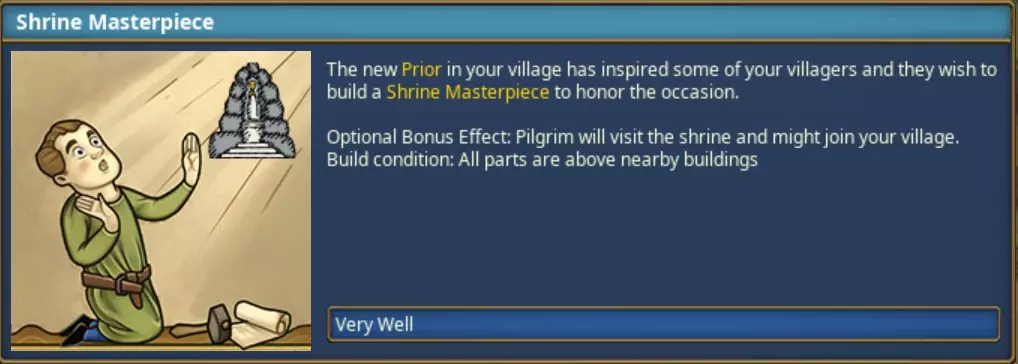
成就【Shrine Masterpiece】:获得一名修道院院长。修道院院长可通过建造修道院并容纳足够的僧侣,最终将其中一名僧侣晋升为修道院院长来获得。我记得所需僧侣数量的阈值至少为10名,但可能记错了。

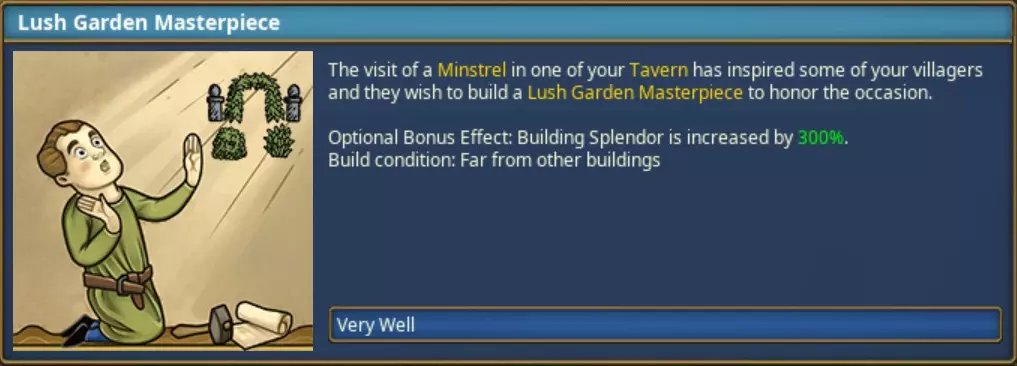
【成就:Lush Garden Masterpiece】让吟游诗人造访酒馆。达成方法是拥有比所需更多的建筑部分,我曾在一个没有可用房间(导致无法实际售卖酒水)的酒馆中完成了这个成就。这意味着吟游诗人会被马厩、厨房或其他额外建筑吸引,而非实际的顾客数量。

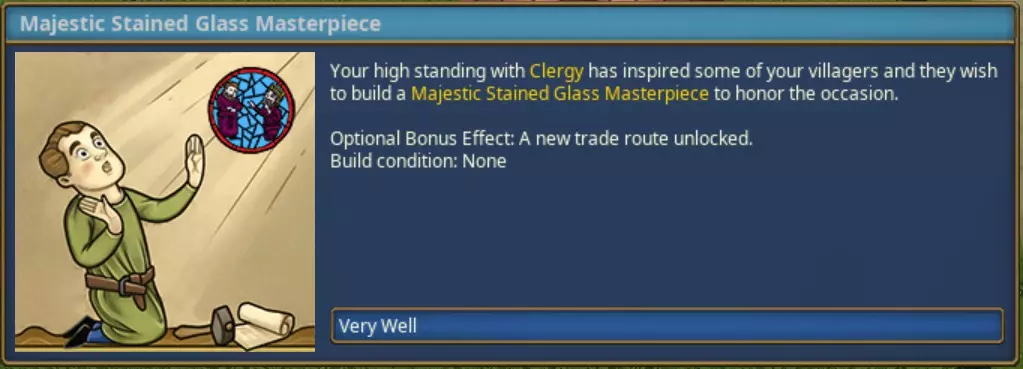
辉煌彩绘玻璃杰作:与神职人员达到50点影响力。影响力是每个派系中位于你的声望值上方的数值,用于购买所有增益。若你与神职人员的影响力达到50点,这一纪念碑将作为新部件出现在任何教堂中。

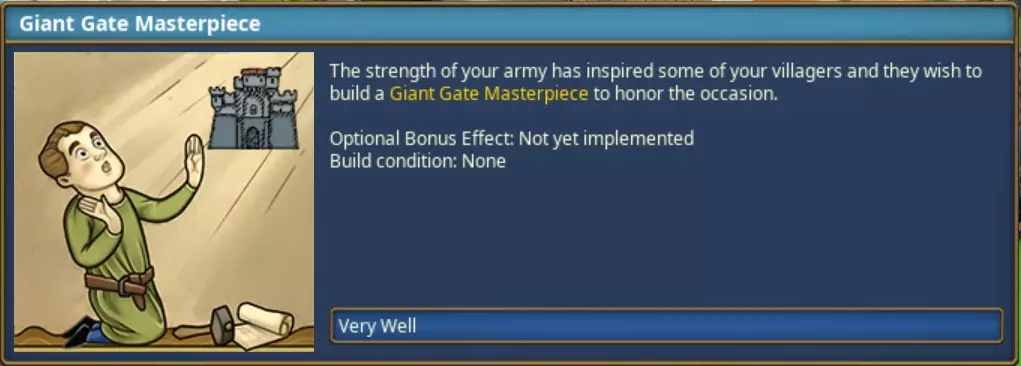
【巨门杰作】:你的军队中拥有6名骑士即可达成此成就。每位骑士麾下至少需要5名士兵,这意味着你的部队总人数至少要有36人。
An Adviser named Tom Simpkins (Full Walk-through) What Am I Missing? (Simple Tips and Features) Ello M'Lord, So you have a village of your own but you can't seem to slow the population flow? Are you running short on food and luxury goods? Will no one dare stay in your village? Well did you know... Immigration Immigration can be stopped at any time by simply ticking the box in the ____ panel. Immigration has three factors to it: Happiness, Living Space, and Employment. They are as follows.. Happiness is simply meeting all the desires of your population: providing food, religion, housing, etc. Living Space is about making sure that ALL your villagers are in their appropriate housing. When a villager is promoted from a Serf to a Commoner they must live in a location that is marked at least HIGH Employment is determined by how many members in your community do not have a job, having everyone perform one duty will keep this at max demand. Monks in the monastery count towards this number! You can see what factor is lowering your immigration by hovering over the ticked box to enable immigration within the ____ panel. Factors have ranges but do not provide numbers so you can see a difference from output with the same label. E.G. You can have High happiness and space, but Average employment resulting in Average immigration pull. You can find the people not working and provide them jobs and still maintain Average employment but increase to a High immigration pull. The takeaway from this is that even if something says its good, doesnt mean that you can't improve upon it more. HIGH+AVERAGE+HIGH=AVERAGE AND HIGH+AVERAGE+HIGH=HIGH EXIST Just because something is listed as favorable does not mean you are guaranteed: Extreme victories can still fail, and High immigration pull can still yield nobody, albeit both are incredibly rare.Food Nearly every resource gatherer can be stacked on top of the same resource to increase your yields. E.G. Fishermen on a fishing spot or Foragers on a berry bush. Fish only appear in ripples on the water, so best to be aware of where your fish actually are. Fish always increase during the storm. If you have access to fish on your map, it would be wise to try to focus on it. Food is arguably the ONLY resource worth purchasing. Never sell them, just always offer to buy just in case you start to tank during moments of bad weather. A stratified economy is a HAPPY ECONOMY. It is far easier to keep serfs and newcomers for manual labor and food jobs since they will be farthest from your village centers, and use commoners and citizens for jobs that can be done at your village center. This is because at rank commoner and up, you will need to provide clothing and two food resources to every individual. This becomes overwhelming VERY fast if not careful.Housing Your villagers will demand HIGH housing attraction at rank Commoner and Citizen, so only be ready to promote when their household is already in an attractive area. Many villagers will jump from house to house to get closer to their job and meet their needs more but eventually they will stop and decide that it is better to walk 150 meters from their house to place of business and become incredibly unproductive. The best solution is to evict villagers when they change jobs or place of business. If you have a bakery move be sure to evict the baker so they will "reset" into the best available housing. If you have a transporter become a shepherd? You better evict him or you will be lucky for him to sheer two sheep a job shift. As annoying as it to stay on top of residency of villagers there will constantly be buildings left abandoned as well, especially from serf to commoner. I find it better to just destroy the building altogether and free up the space. If ONE villager is not in a house that meets their needs because they are a commoner or citizen in Average or Low housing, you will likely NOT receive any new villagers, you must always be mindful of this when you grow and expand. All housing can be drastically improved with the third building tab. Placing bushes, trees, fountains, statues, and lastly markets will yield high attractiveness in increasing order. E.G. bushes provide some low boost, while fountains are incredibly high boost Most jobs will lower attractiveness, that is what the red circle on placement for them represents, keep these away from your village and those without circles at your village center.Economy All buildings and jobs will have a max stack of "50" with a warehouse or granary using the stack of "100". Villagers will sometimes go over this number by a few but at these limits they are told to no longer work or retrieve any more. E.G. A miller will only grab up to 50 wheat and no more. A lumber yard will not collect wood if 50 logs are residing in the camp. Not every job is one to one in the production chain, watch their yields carefully and try to mitigate shortages this way. Some are one to one by employees, and others are one to one by building. E.G. one shepherd supplies one weaver's hut, but two tailors are needed to keep up with the two weavers in the one building. Luxury goods are almost solely fulfilled by monks at a monastery: Honey, Wine, and Herbs The monastery can ONLY be filled by unemployed men Monks without a job will count against your employment. If you do not have the religious influence high enough for a monastery you can send soldiers out for raided jewelry or rely exclusively on the beer at the tavern. Either way you will need to use one of your three pillars to progress into citizens. The only difference between commoner and citizen is one luxury good so if you can provide them it is best to just promote commoners. Wine is by far the best resource you can sell: It is made incredibly fast, the citizens do not use it as much as you'd think, and sells by your citizens for 100 gold and by your trader for 120. True to medieval nature, the best way to get rich is a good ole fashioned military campaign. Easy missions provide hundreds of gold bars while difficult and extremely difficult missions provide thousands of gold bars. You can't have an economy if you can't keep the gains. Build a "treasury" by building a lords manor and making every room a "treasury". By doing this you provide a safety net for your economy because some products take time to make and time to sell. You will see your weekly gains both skyrocket and fall from time to time. This is most common with things like clothing and beer. You can't sell everything, check to see what trade routes are available and what they are willing to buy that you can get rid of. You can't sell "herbs" for example, do not try to build gardens in the attempt to sell them. All products sell for different prices with the general value of nearly everything being "10 gold" but things like berries being "9" and beer at the tavern being "25". Pay attention to these numbers for you can giver the cheaper stuff to the serfs in small one food markets (because it will likely be easier), or you can try to trade it all off and sell things like fish to everyone for that sweet extra profit of "1 gold" You can't buy everything either. You should be able to buy most food sources but you will rely on certain resources that may not be available for purchase (like clothes). DO NOT NEGLECT THESE PRODUCTS